

Farmhouse door wreath from kids shovel
Create a charming farmhouse door wreath with this easy-to-follow guide! The perfect rustic farmhouse wreath can bring so much joy to your home, greeting all who enter and providing a warm and inviting atmosphere.
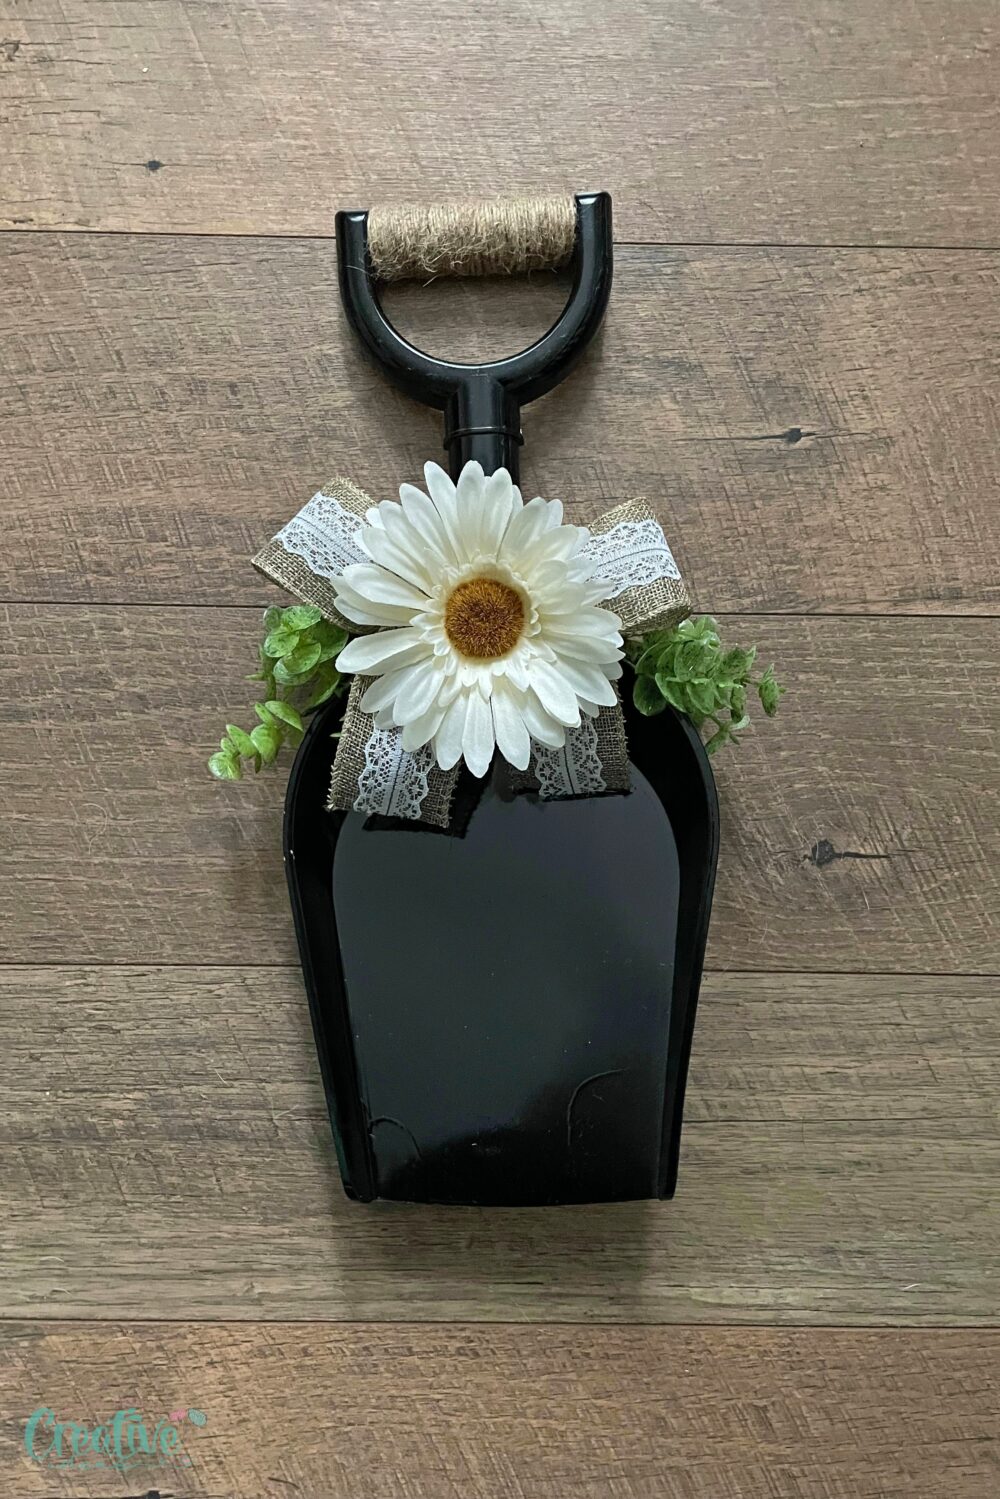
Nothing says “welcome” like a beautifully crafted farmhouse door wreath adorning your front entrance. This classic piece of farmhouse door décor not only enhances the aesthetic appeal of your home but also adds a touch of rustic charm that’s both inviting and stylish. Whether you’re looking to create a seasonal wreath or a year-round staple, the process is both enjoyable and rewarding.
Farmhouse door wreaths exude a timeless charm that can transform any entryway into a warm and inviting space. The rustic farmhouse wreath beautifully blends natural elements and chic designs, making it versatile enough to complement any front door. Plus, creating your own farmhouse wreath for the front door allows you to customize it to suit your personal style and preferences.
How to make a farmhouse door wreath from a plastic shovel
Materials you need
To craft the perfect farmhouse wreath for front door, you’ll need the following materials:
- Kids Plastic Shovel: Adding a playful and unexpected element to your wreath, the kid’s plastic shovel can be painted or wrapped in burlap to match your décor.
- Faux Eucalyptus: With its realistic appearance and low maintenance, faux eucalyptus adds a lush and green touch that brings life to your wreath.
- Burlap Ribbon: This rustic material is perfect for creating bows or wrapping around your wreath, adding texture and a farmhouse feel.
- White Gerber Daisy Bunch: These faux flowers add a fresh and vibrant touch, creating a focal point that stands out on your wreath.
Equipment
Having the right tools on hand will make your crafting process smooth and enjoyable. Here’s what you’ll need:
- Glue Gun: Essential for securely attaching all your materials, a glue gun provides strong adhesion that’s vital for a durable wreath.
- Glue Sticks: Make sure you have plenty on hand, as they are used up quickly in this project.
- Black Spray Paint: Perfect for giving the plastic shovel or other elements a cohesive and polished look.
- Twine: Adds a rustic touch while being functional for wrapping or hanging the wreath.
- Zip Tie: Useful for securing bigger elements like faux eucalyptus or large bows.
- Scissors: A must-have for cutting ribbons, twine, and trimming faux florals.
Step-by-step Instructions
Preparations
- Lay out all your materials and equipment on a clean, flat surface.
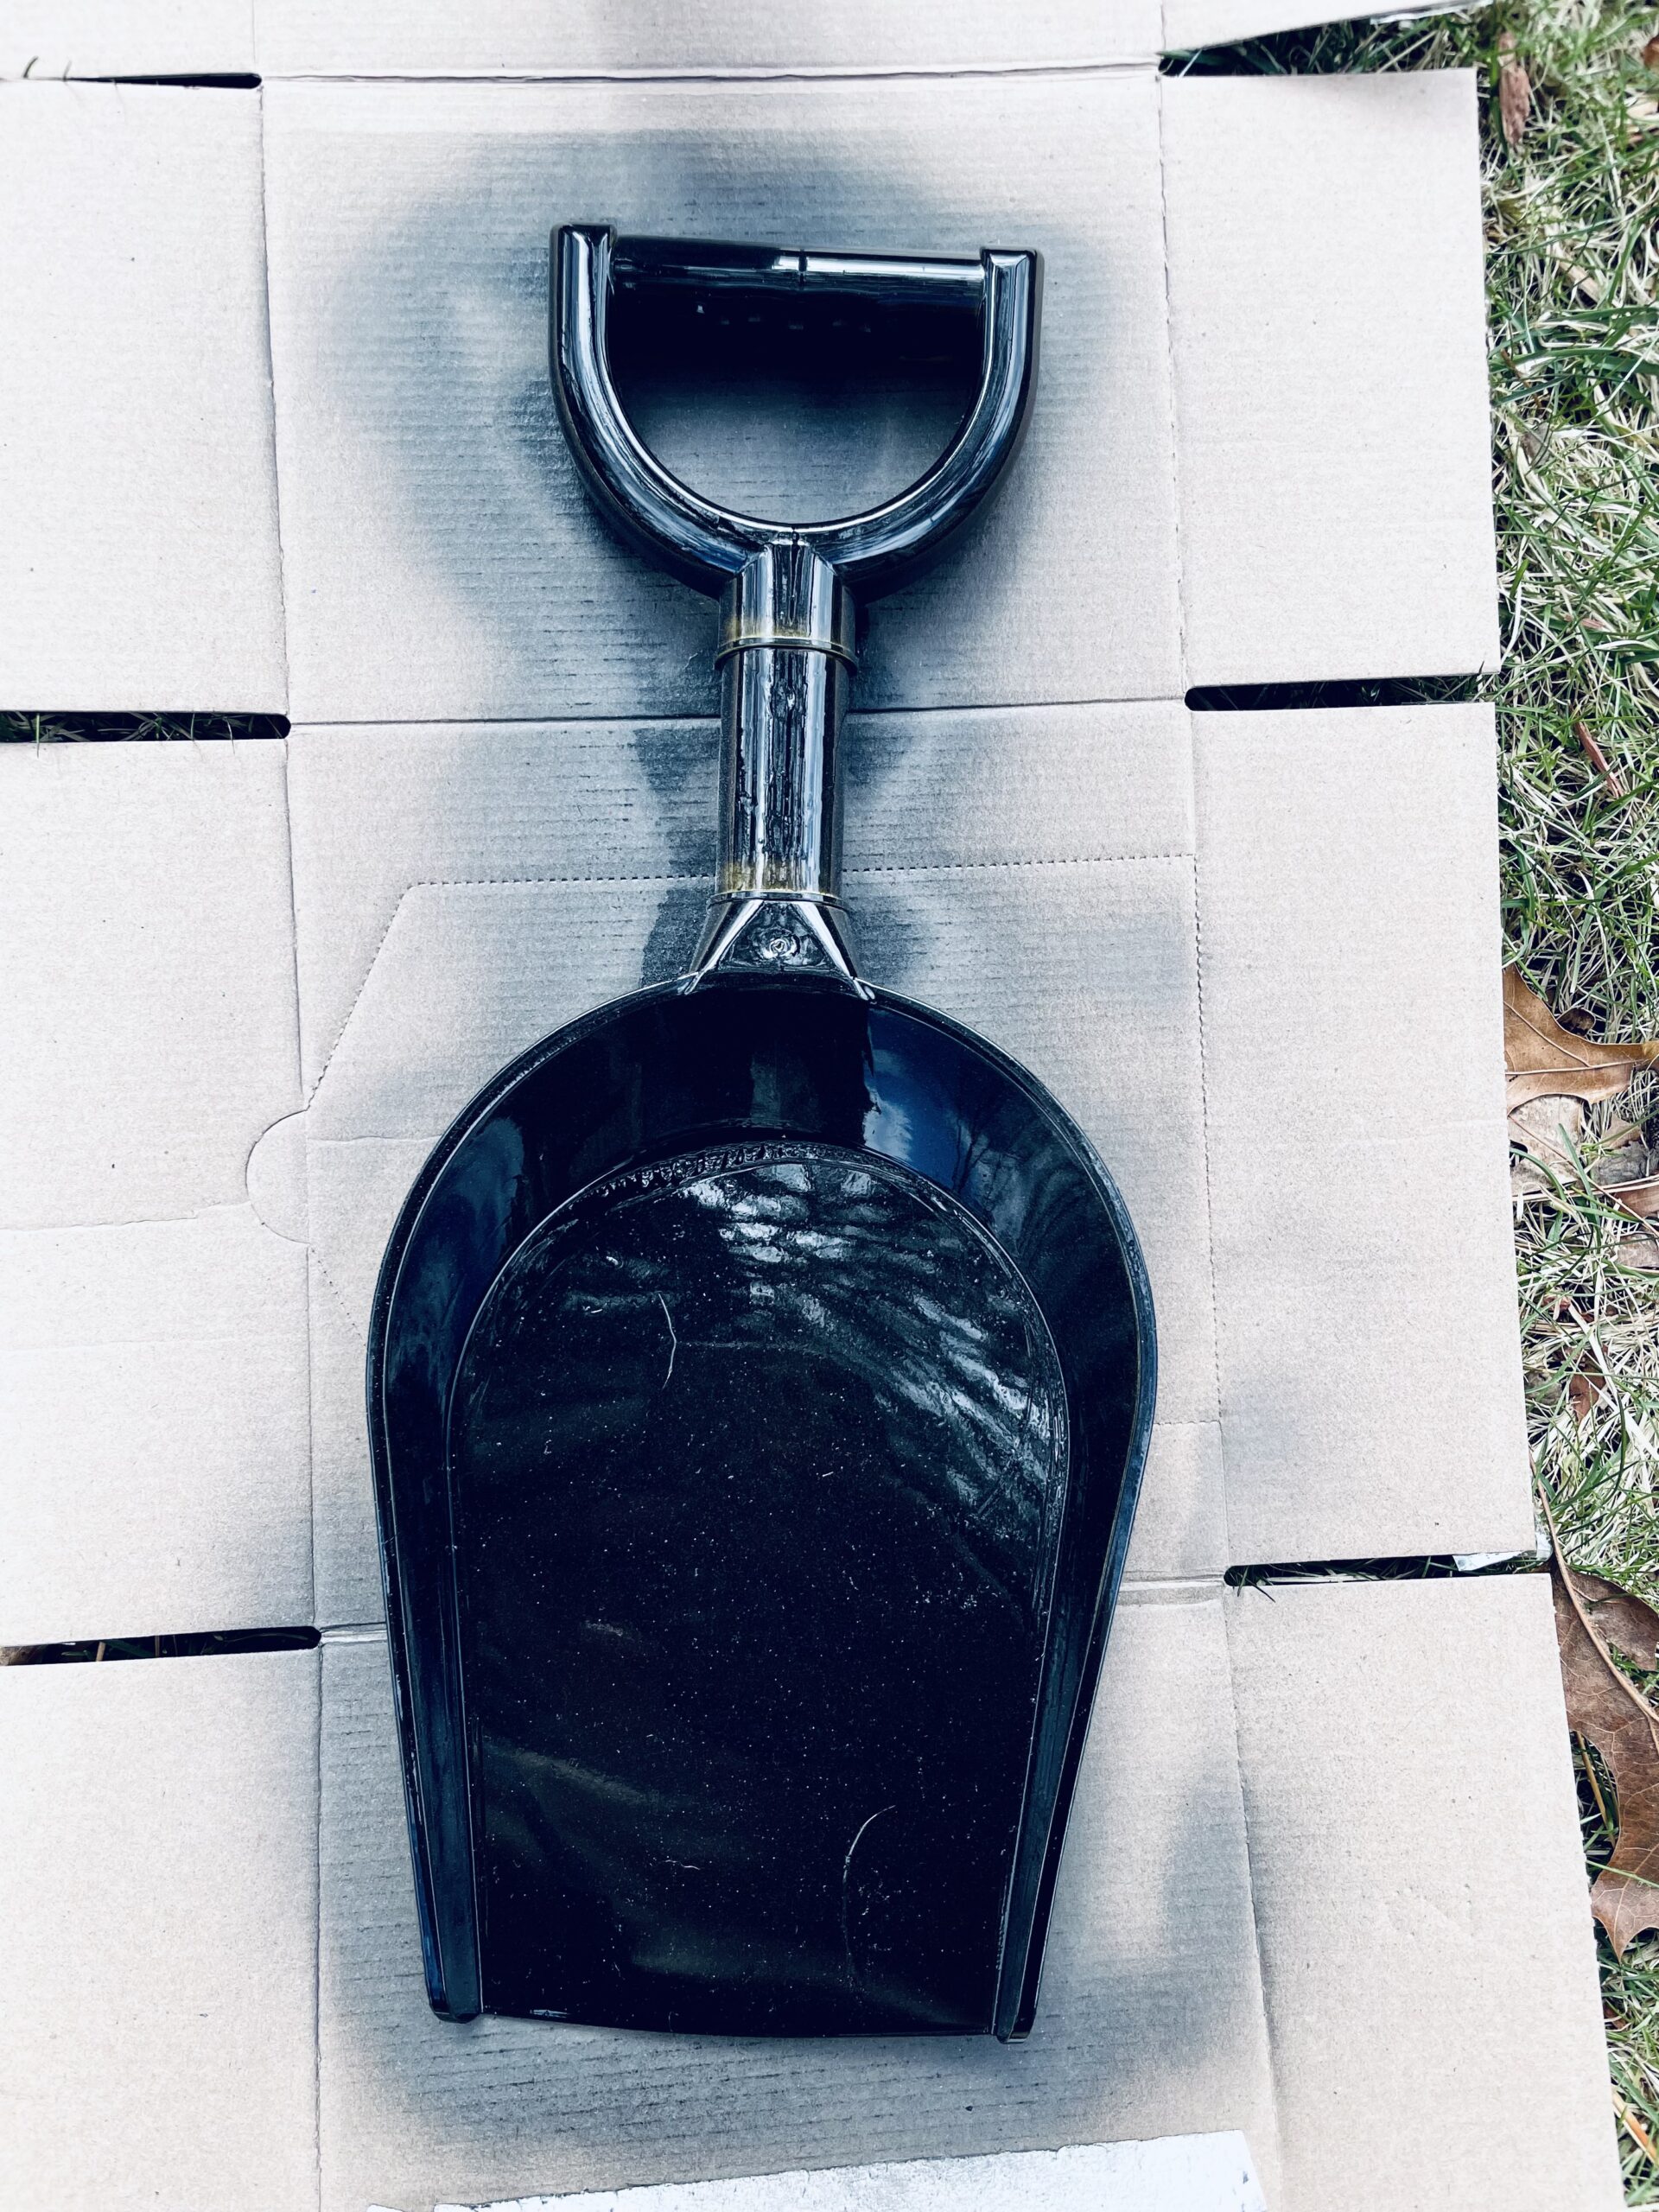
- If you choose to paint the kid’s plastic shovel, do this first and allow it to dry completely.
Crafting
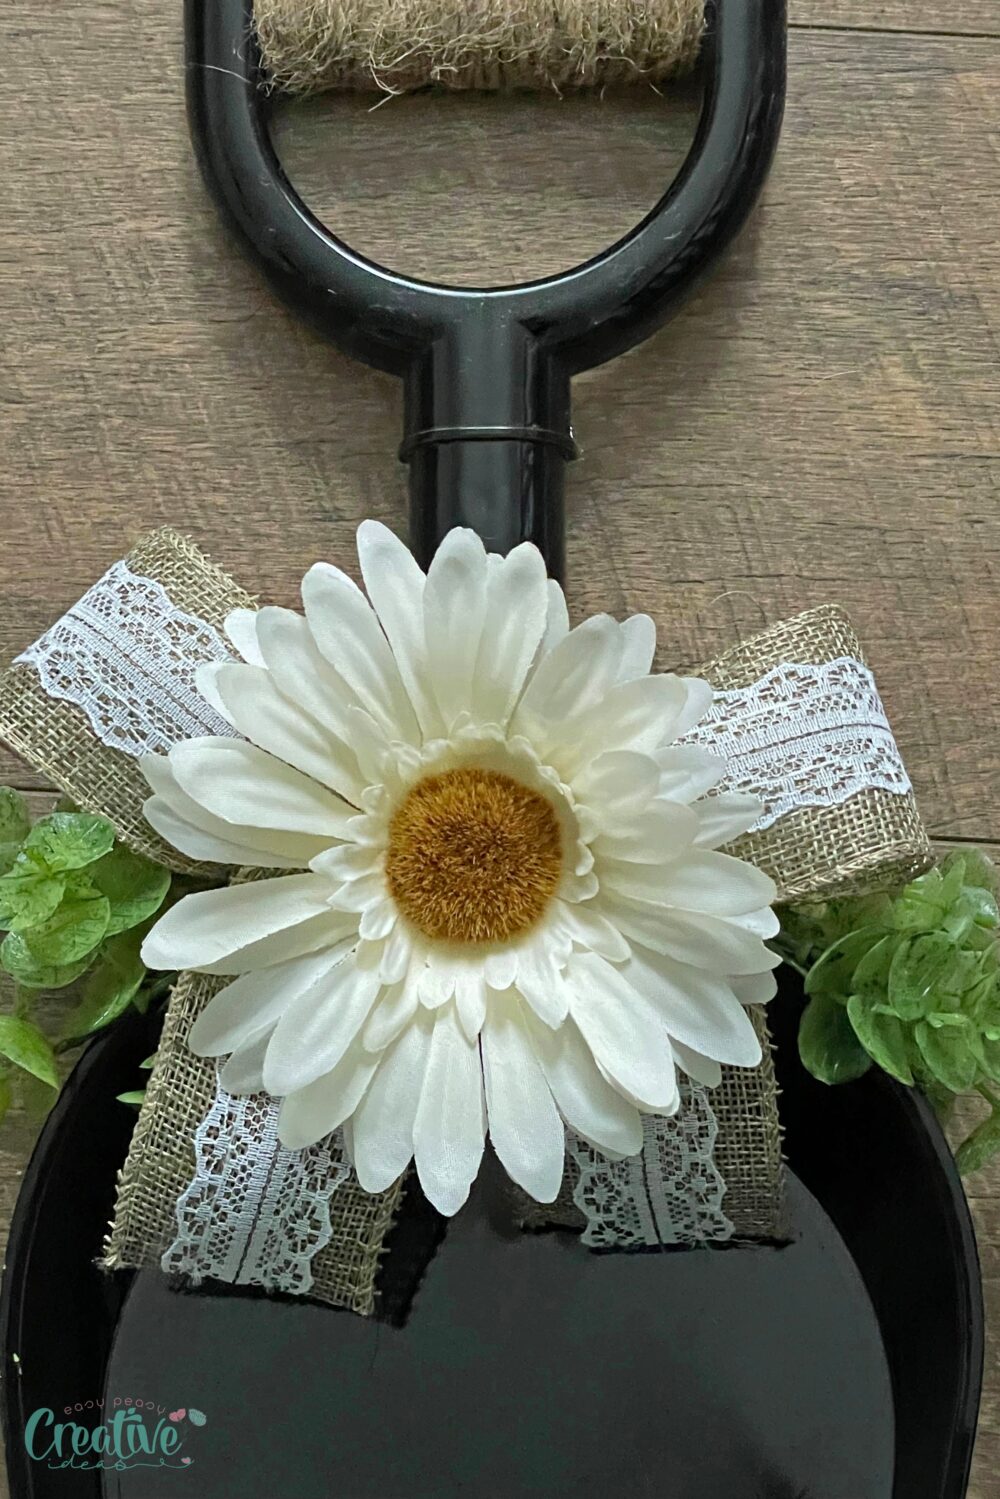
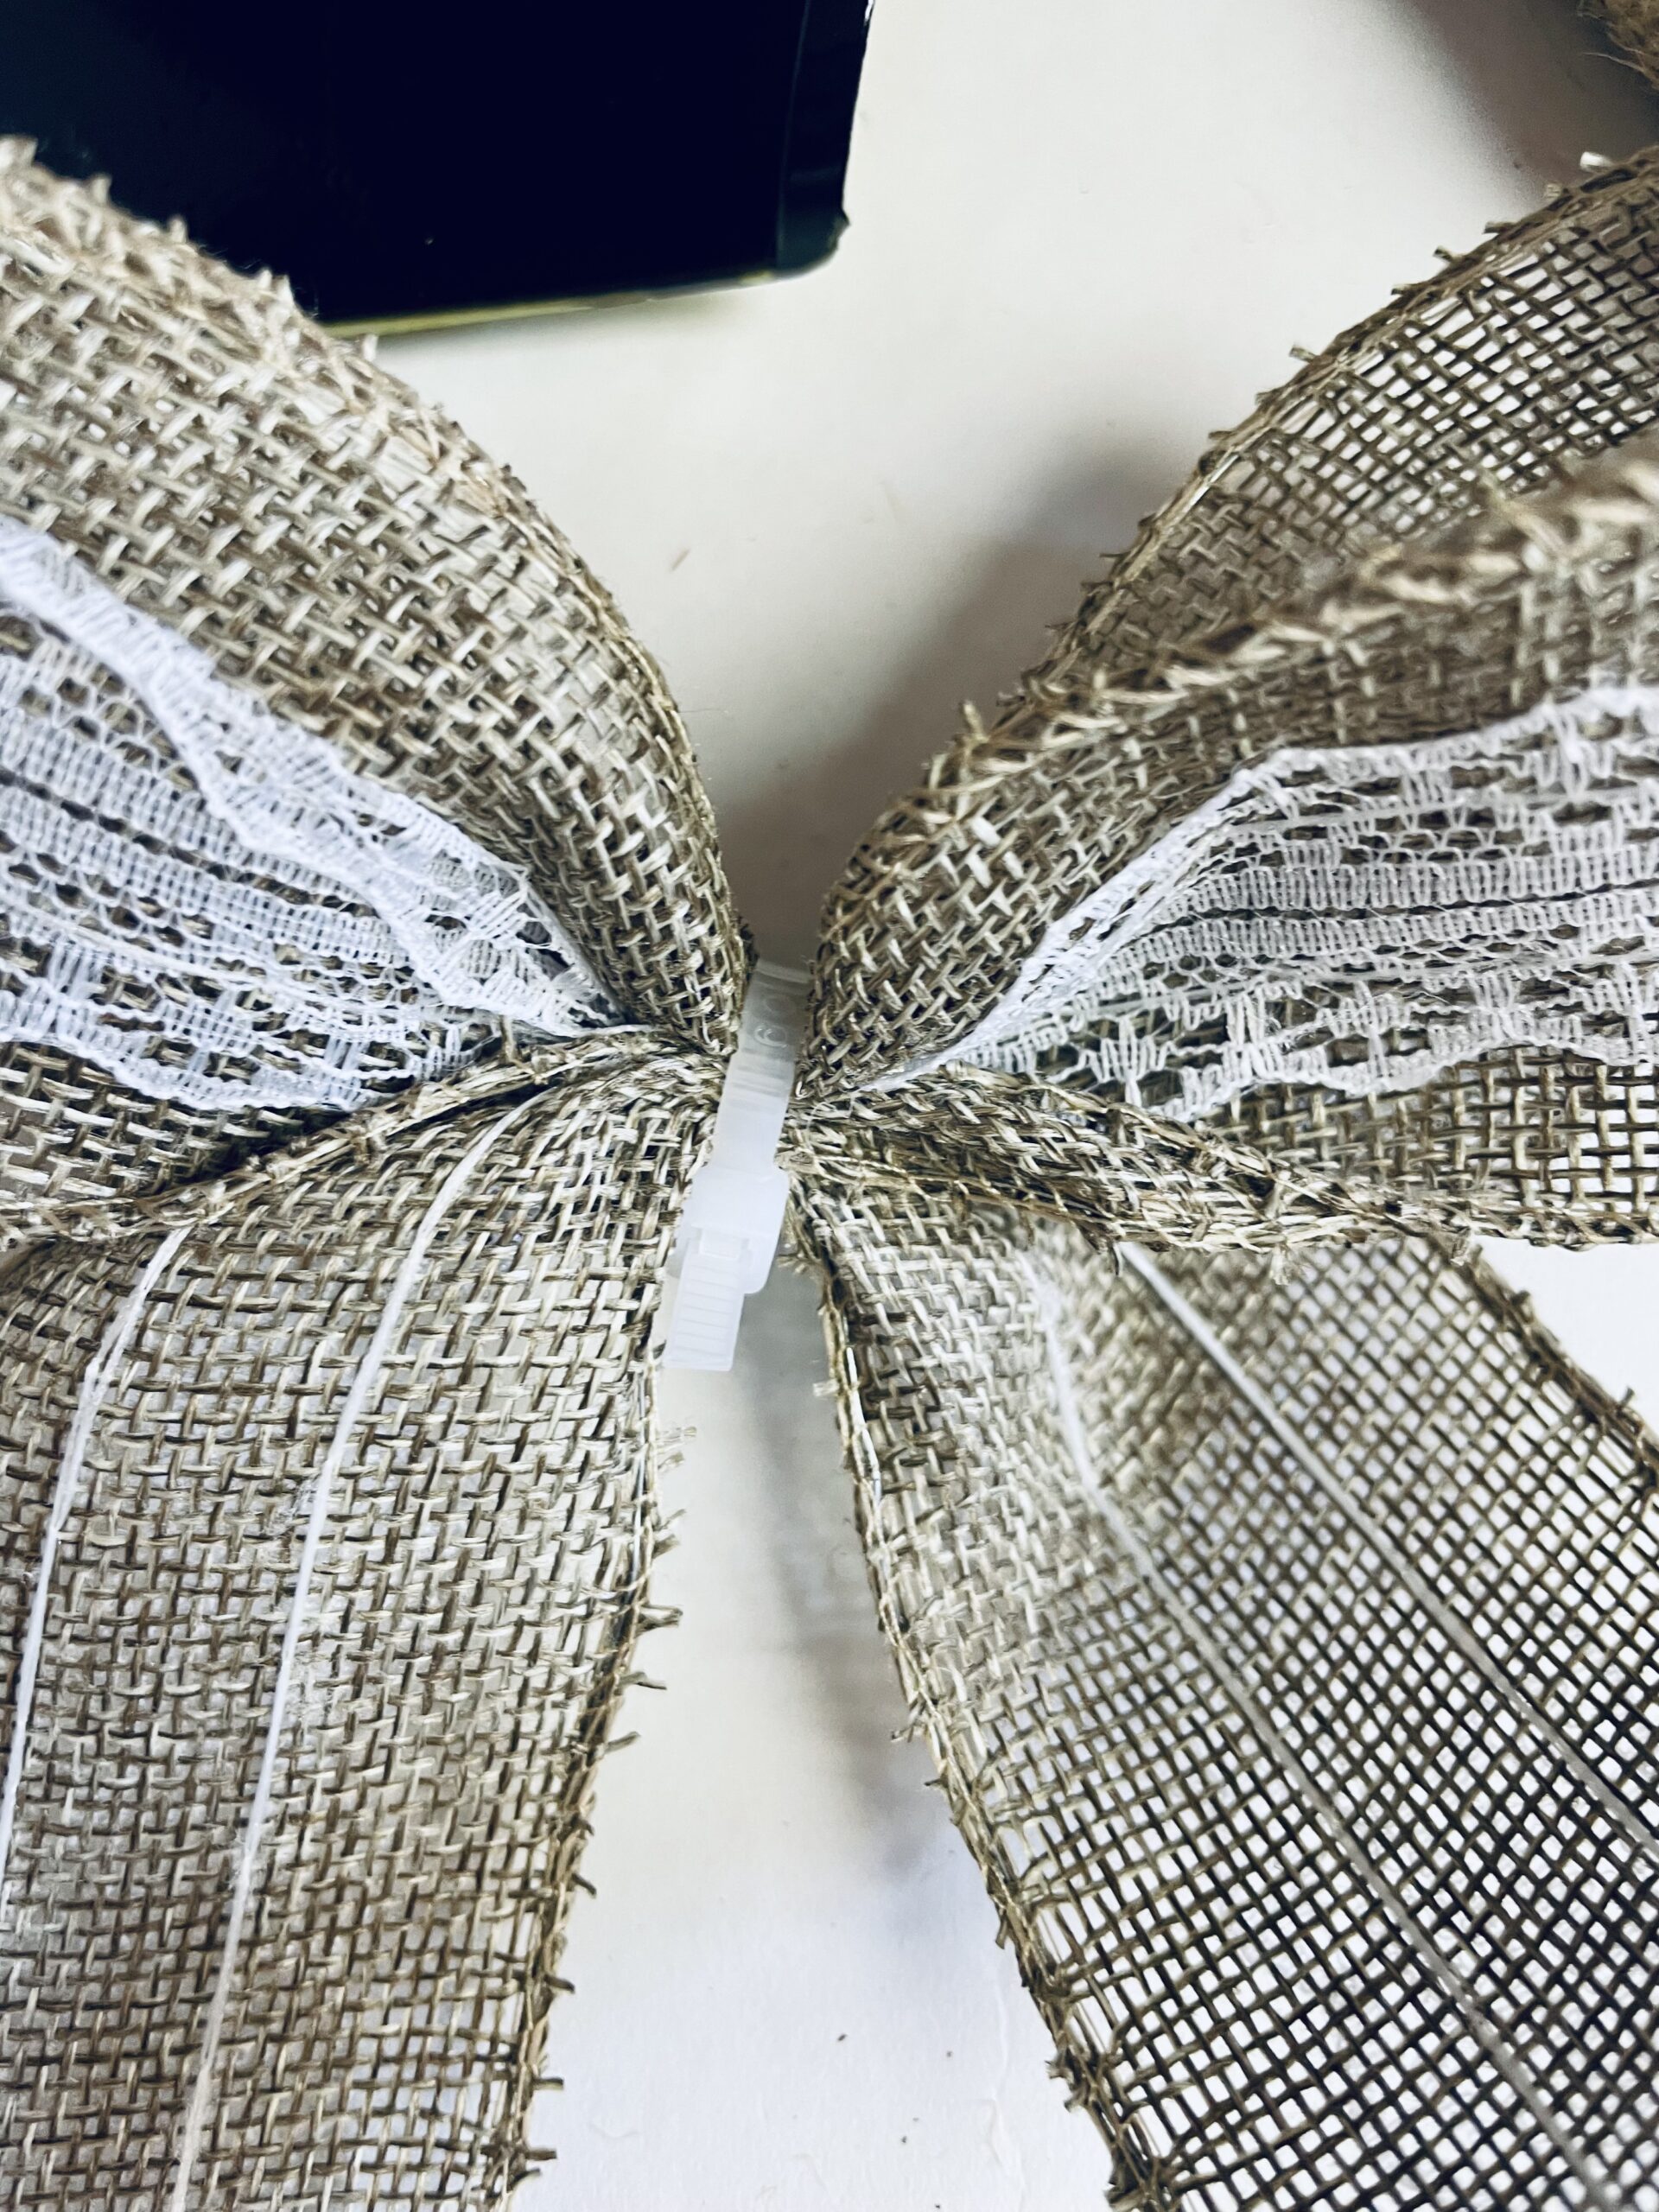
- While that is drying you will take 12 inches of the burlap lace ribbon and make the bow. I just created 2 loops and used a zip tie to secure it in the middle. Then I cut the ends of the bow to the length I wanted.
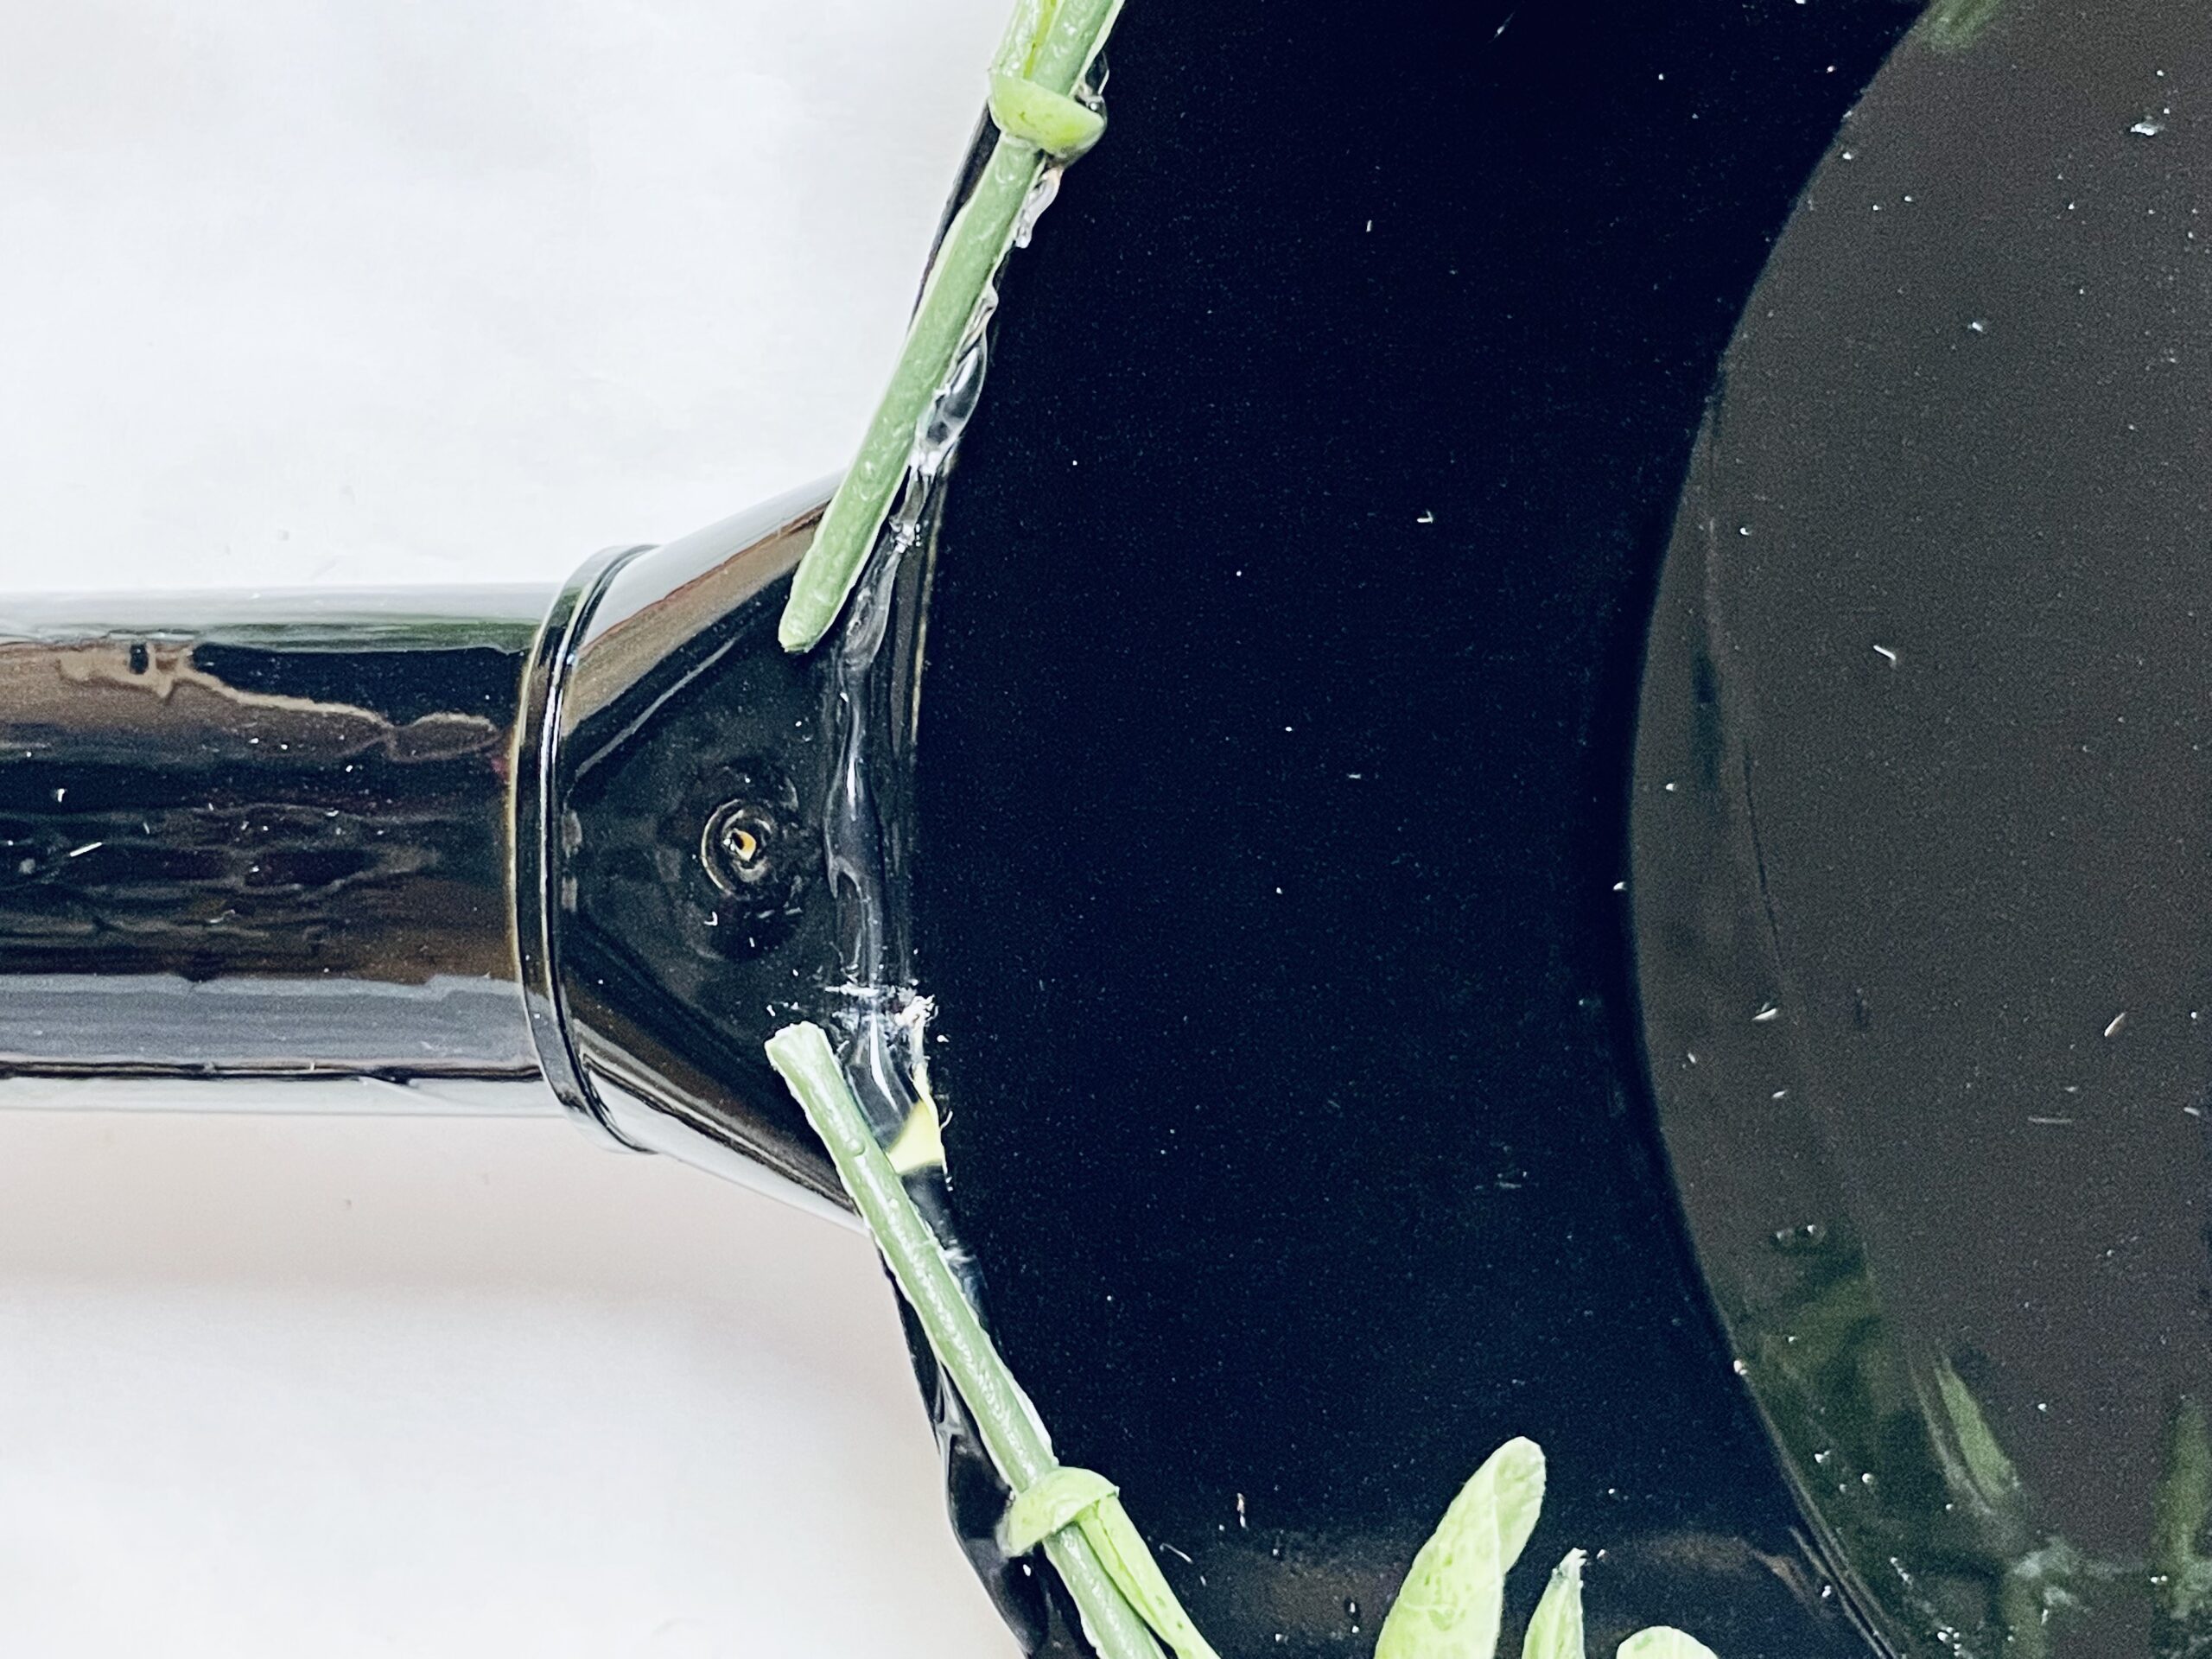
- Once the shovel is completely dry, add a a line of glue and add a couple pieces of the eucalyptus to both sides.
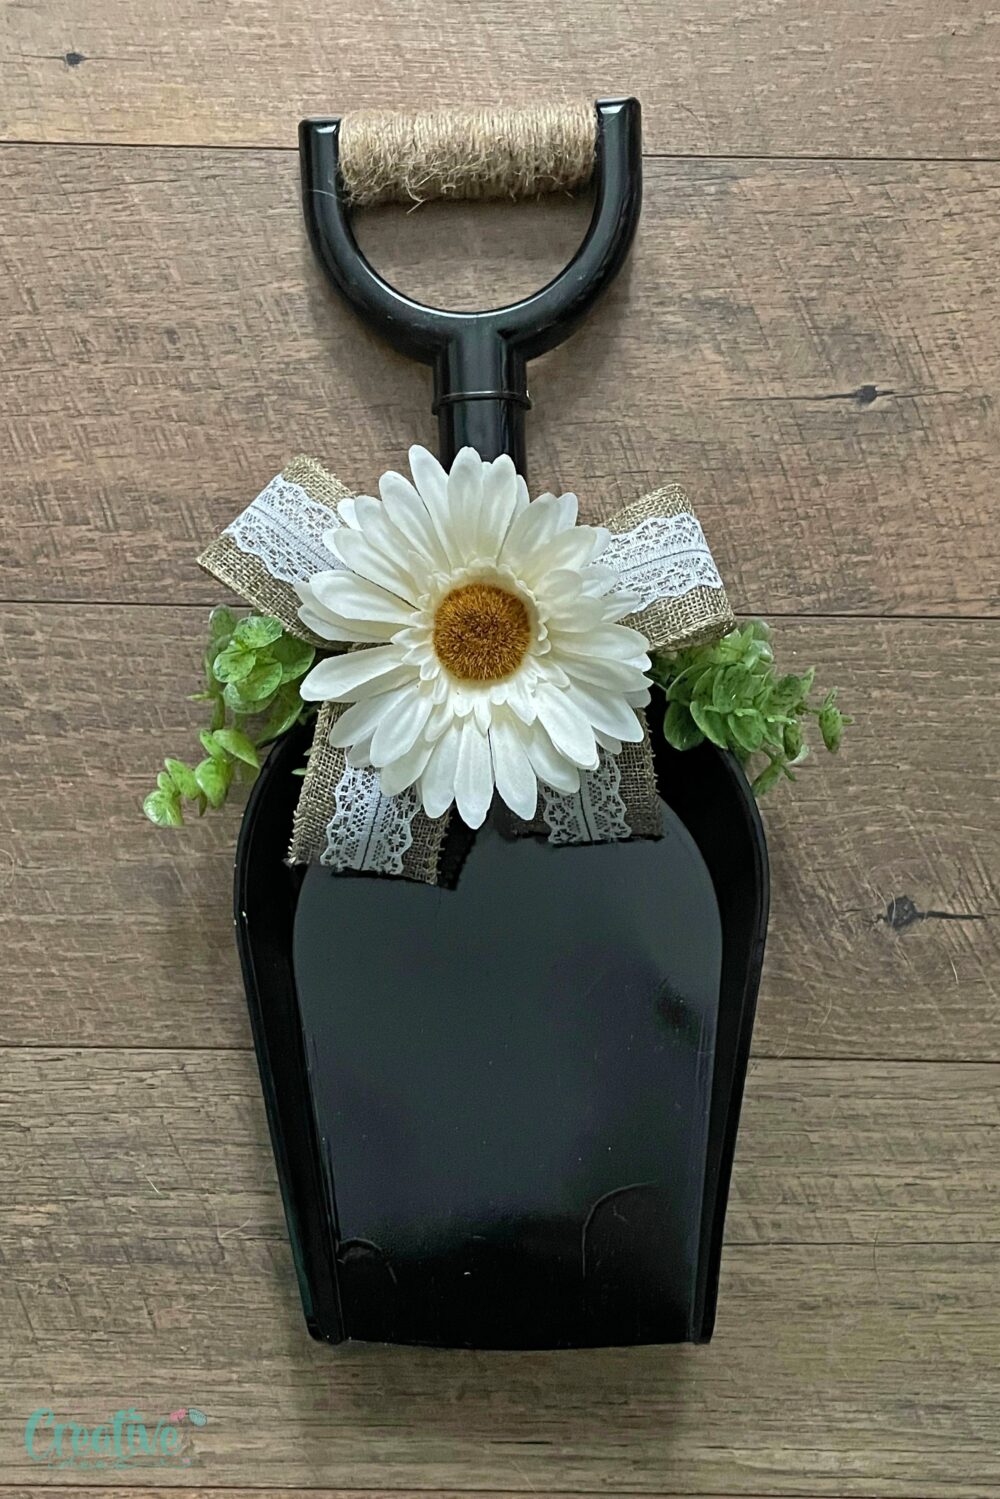
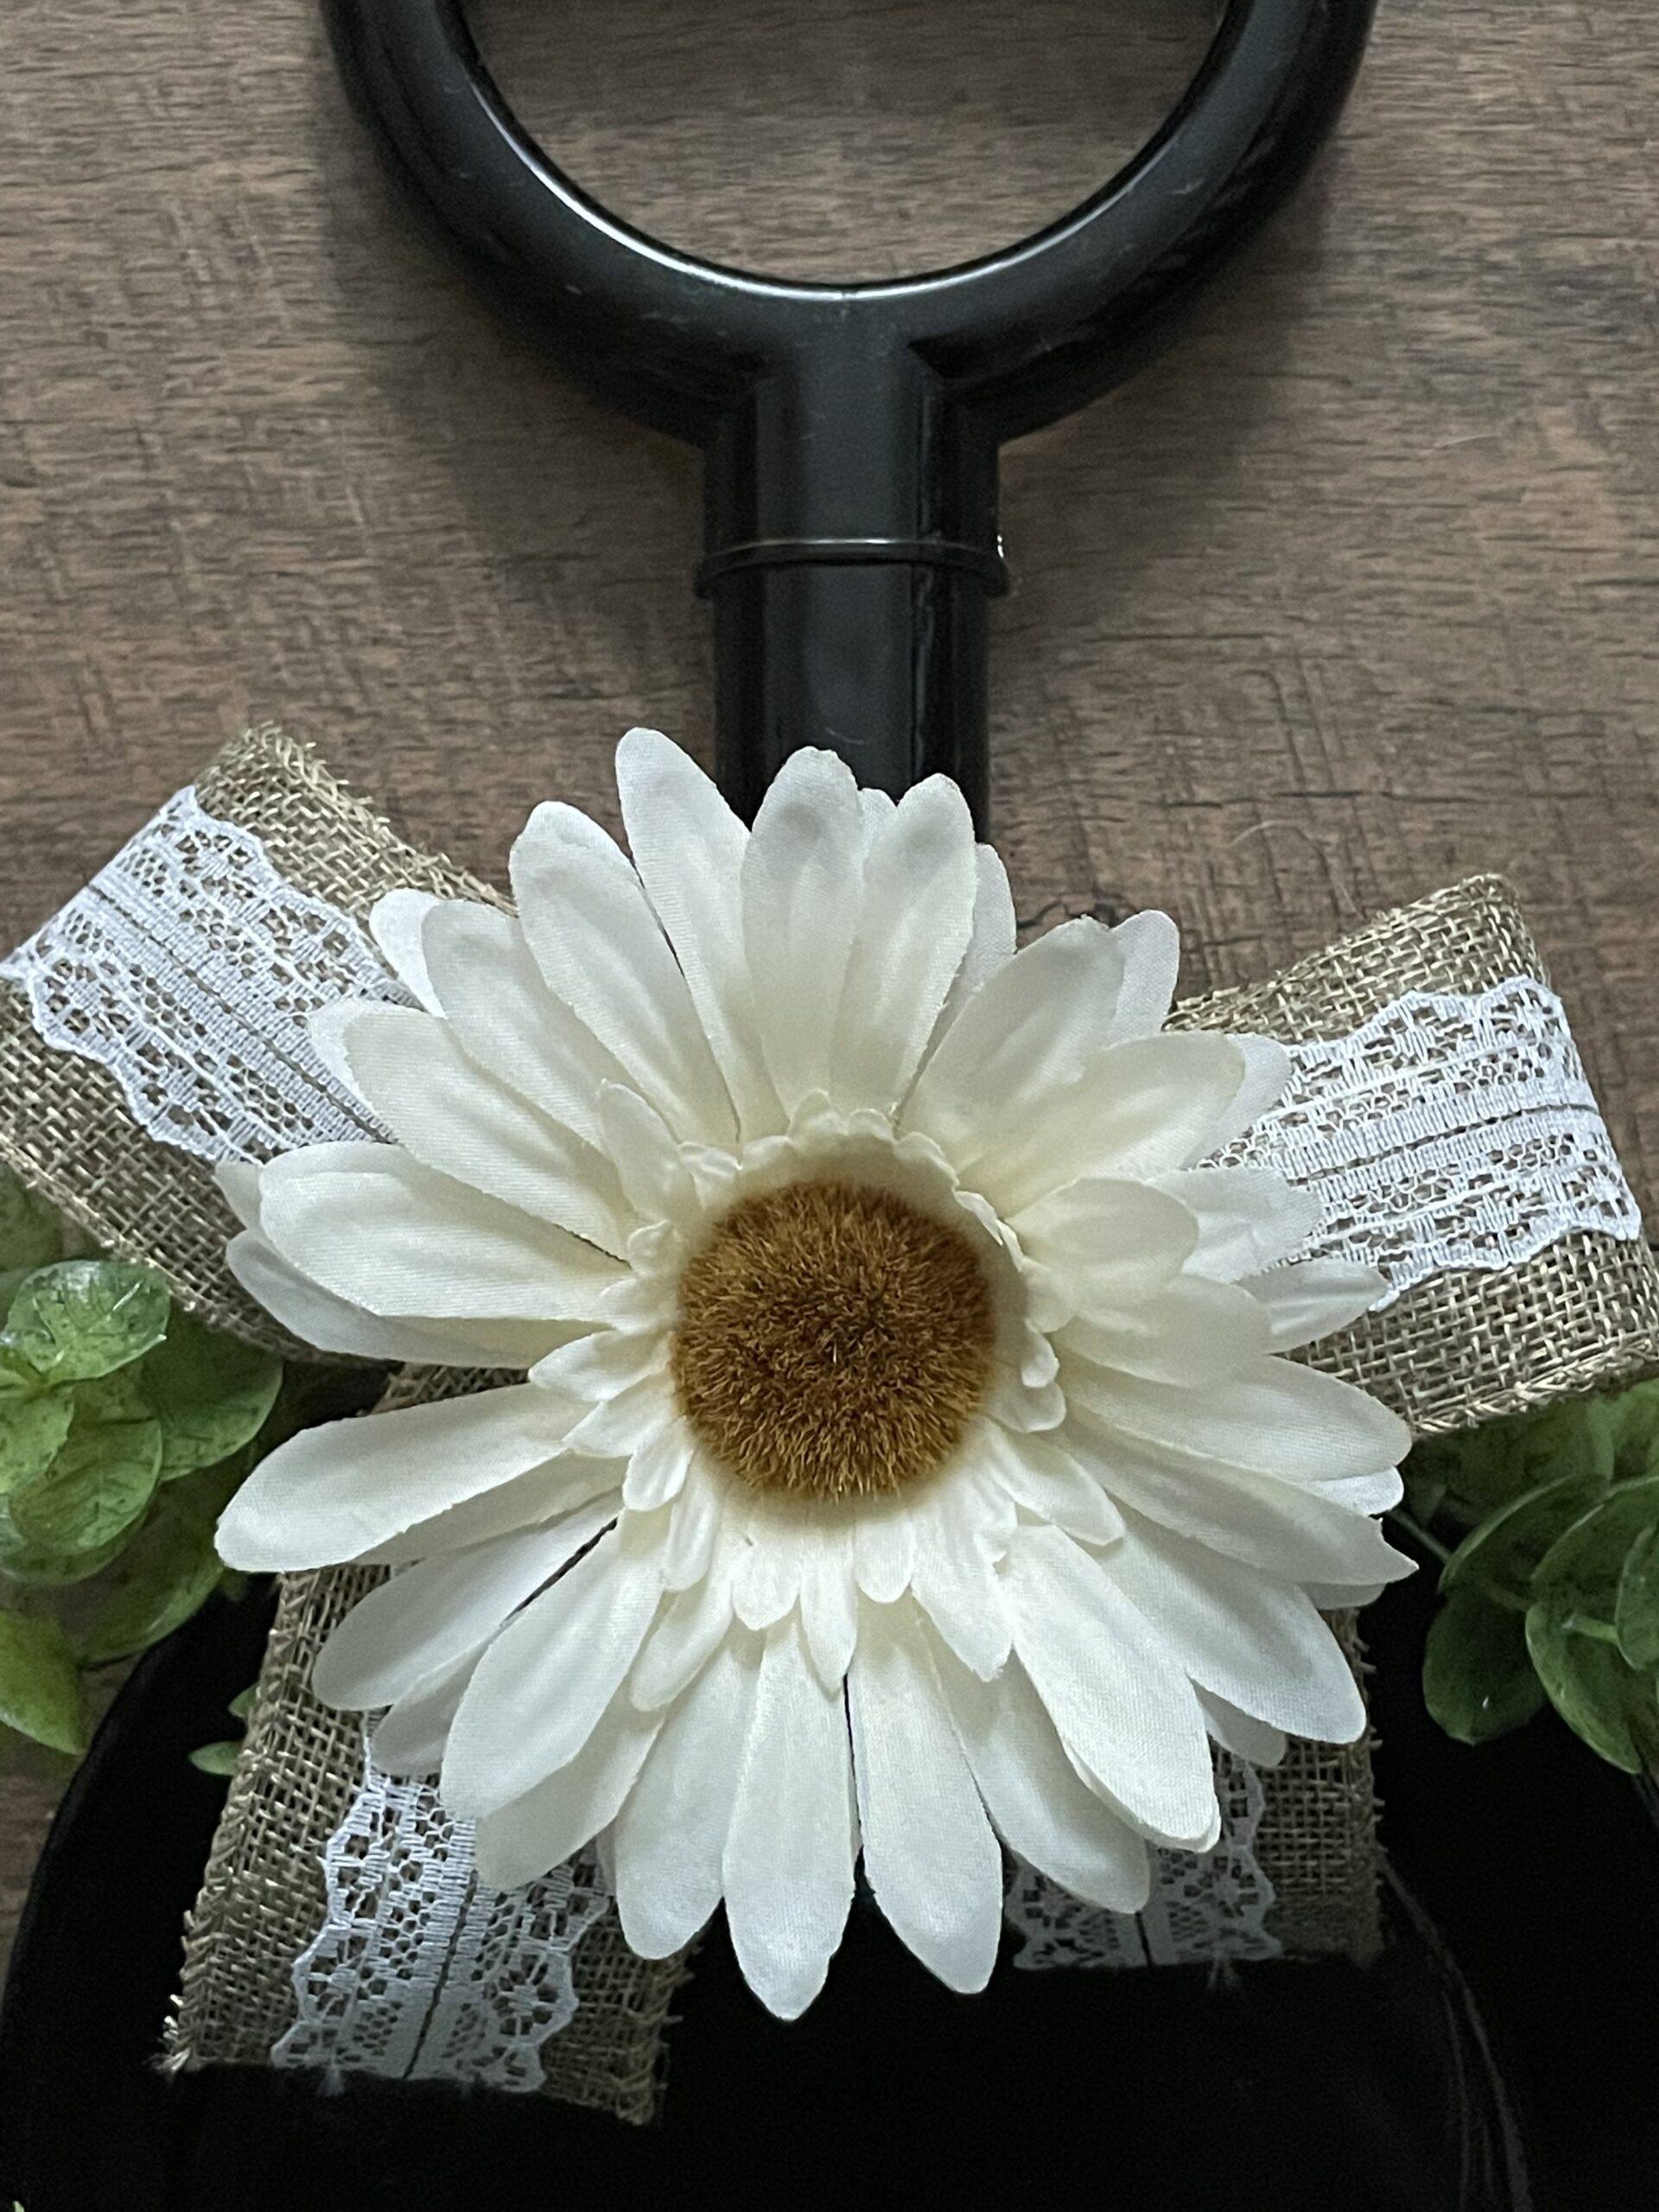
- Next add some glue to the bow and add one of the gerber daisies and then add some hot glue to the backside of the bow and press firmly onto the shovel.
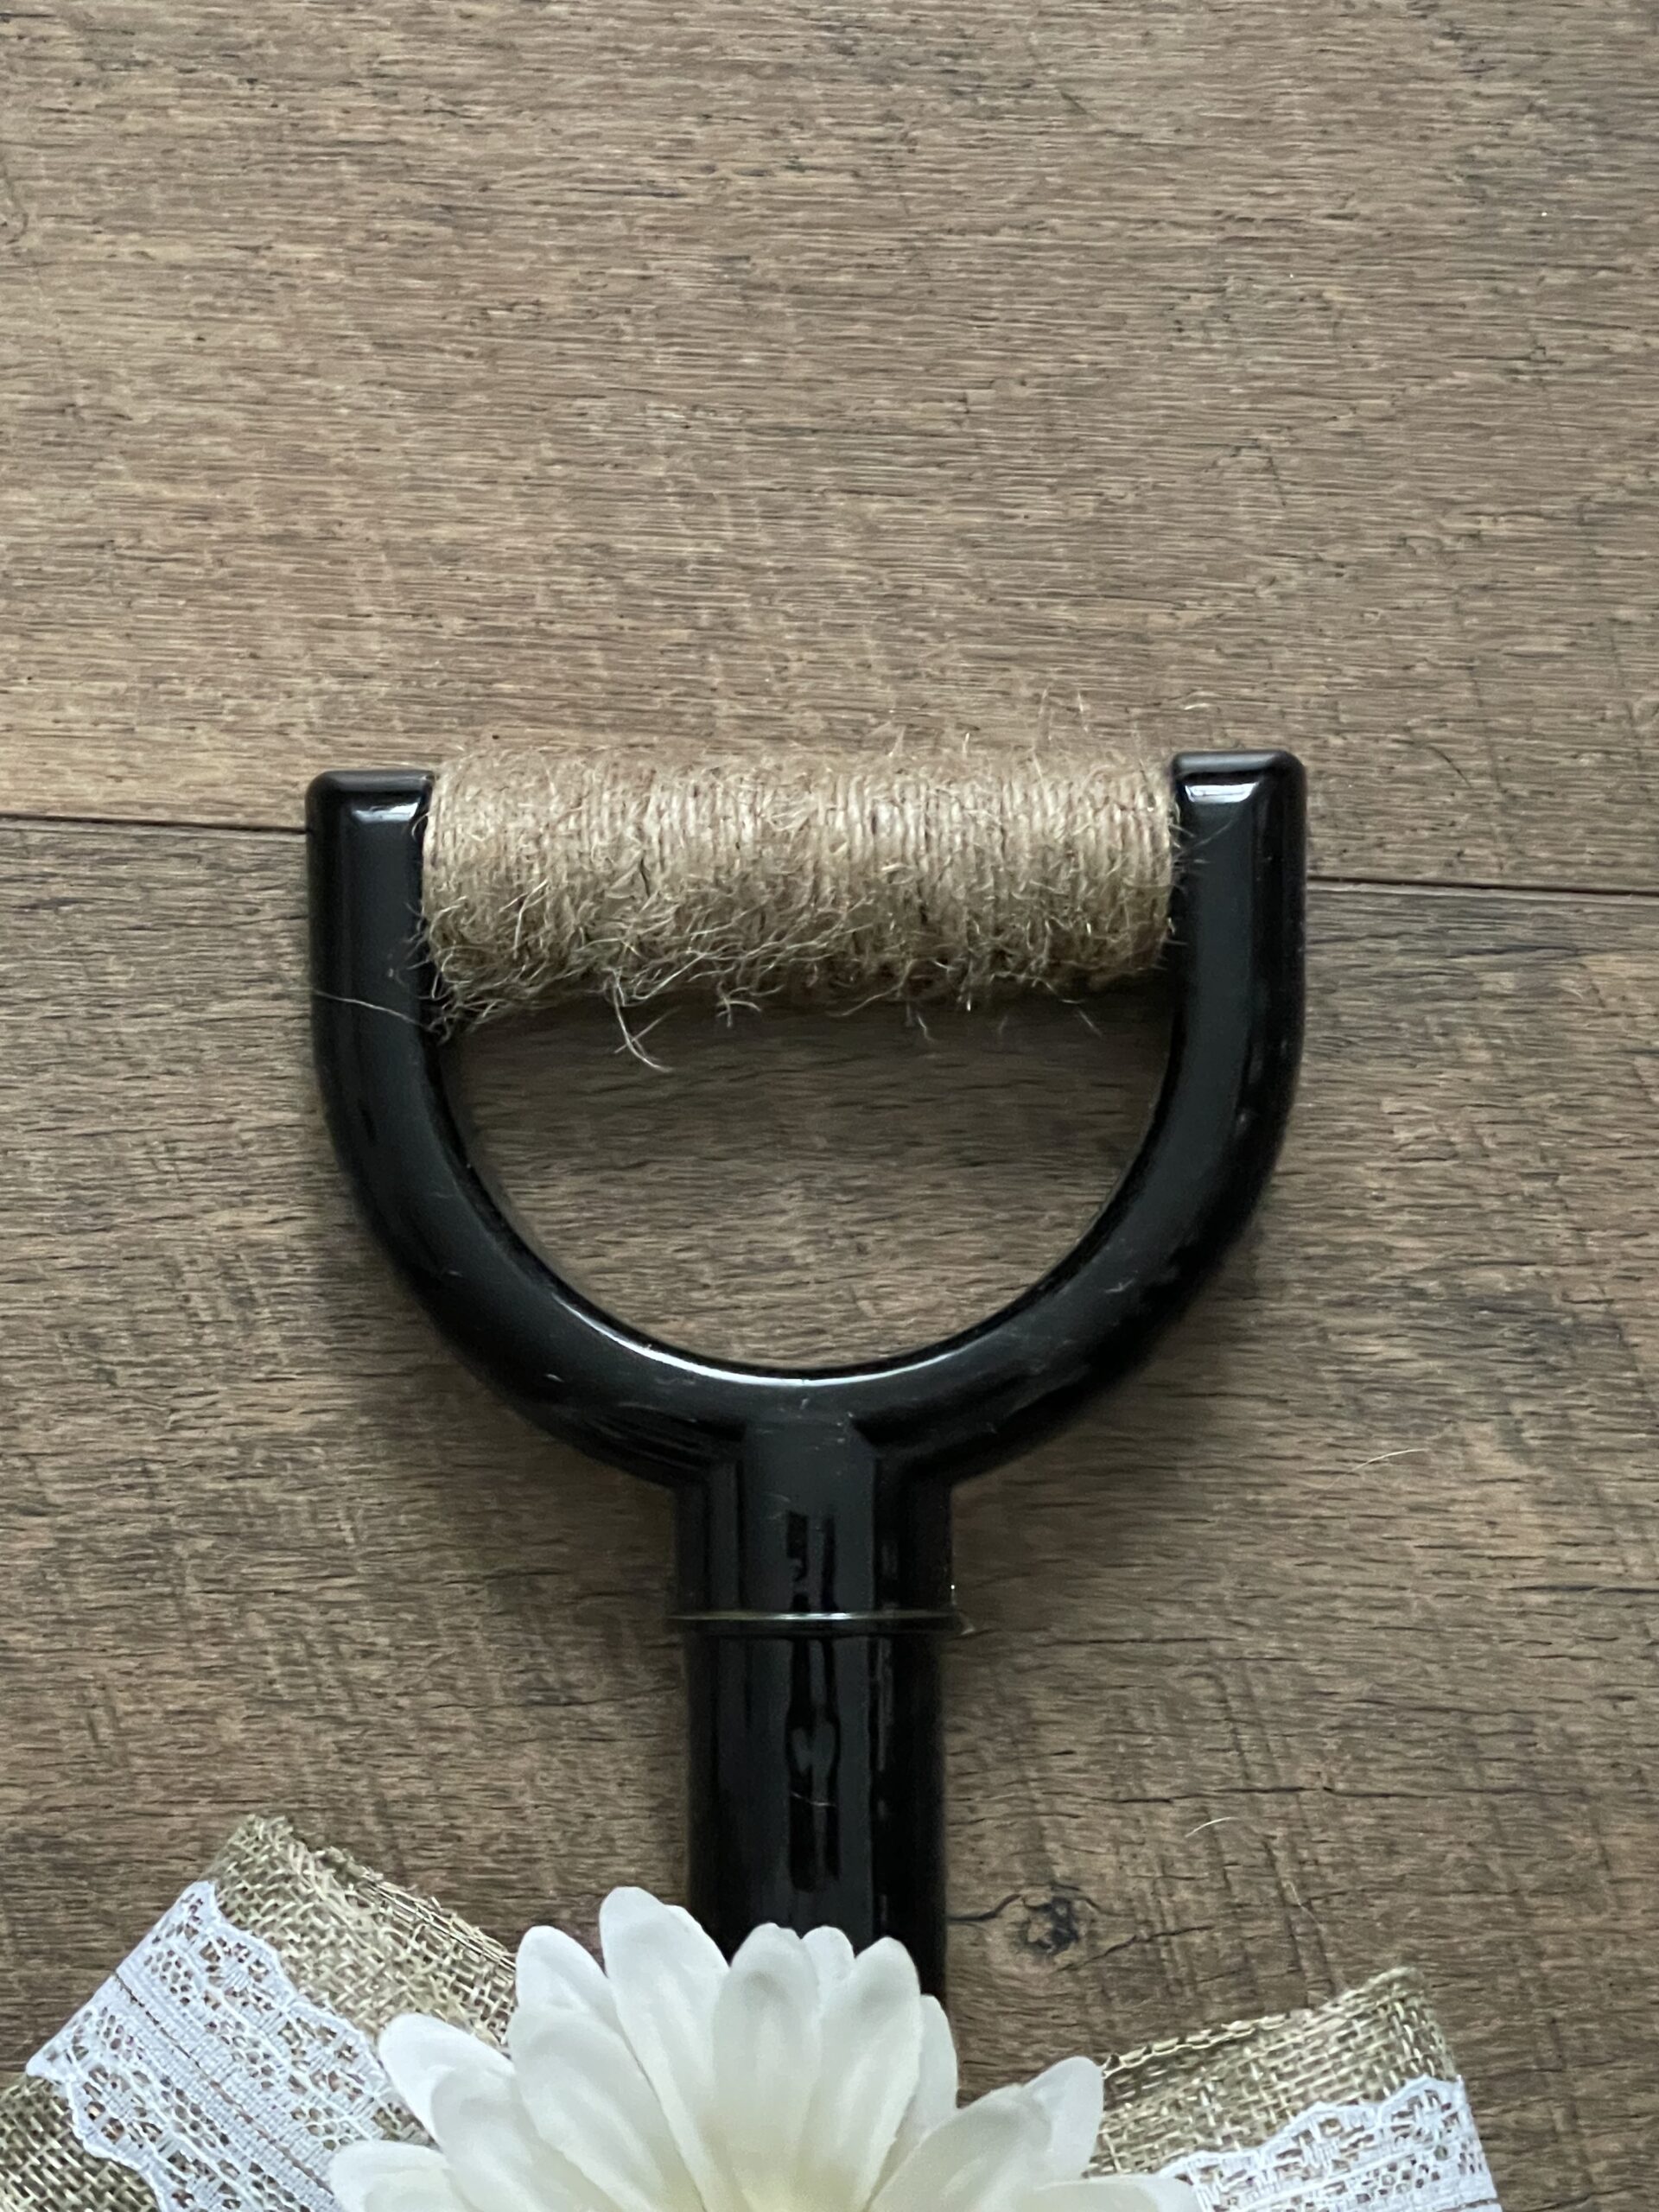
- On the top handle of the shovel, add a dab of hot glue and wrap the twine around the entire handle, cutting the end and then using a dab of hot glue to secure the end piece
Tips
- Use varying shades and textures of greenery to add depth and dimension to your wreath.
- If possible, use a dual-temperature glue gun for better control when attaching delicate pieces like faux flowers and lighter elements.
Craft Variations
- Seasonal Twist: Add seasonal elements like miniature pumpkins for autumn, or faux berry clusters for a festive winter wreath.
- Color Pop: Incorporate bright, bold colors using different flowers or ribbons to match your front door or seasonal décor.
- Personalized Wreath: Monogram your wreath with an initial letter or family name for a personalized touch.
- Minimalist Look: Keep it simple with just greenery and a neutral ribbon for a clean, modern farmhouse look.
Frequently Asked Questions
How do I attach the wreath to my door?
You can use a wreath hanger, adhesive hooks, or loop some twine over the top of the door for hanging.
Can I use real flowers and greens?
While real elements add authenticity, they may not last as long. Faux materials are more durable and maintenance-free.
How do I clean my wreath?
Gently dust it with a soft brush or use a hairdryer on a cool setting to remove dust.
Can I reuse the wreath base?
Yes, you can carefully dismantle the wreath and reuse the base for different themes or seasons.
More Farmhouse Crafts You’ll Enjoy
- DIY tile vase farmhouse décor
- Farmhouse fall centerpiece
- Cotton stems farmhouse décor
- Farmhouse wooden book stack
- DIY tobacco basket wreath
- Vintage galvanized bucket
- Farmhouse cutting board decor
Feeling inspired to craft your own farmhouse door wreath? Get creative and add your own personal touches to make it uniquely yours. Whether you choose to follow this guide or create your own design, a farmhouse wreath is sure to elevate the look of your front entrance. Happy crafting!

Farmhouse door wreath DIY
Materials
- kids plastic shovel
- faux eucalyptus
- burlap ribbon
- white gerber daisy bunch
Tools
- hot glue sticks
- black spray paint
- Twine
- scissors
- Zip tie
Instructions
- Lay out all your materials and equipment on a clean, flat surface. If you choose to paint the kid's plastic shovel, do this first and allow it to dry completely.

- While that is drying you will take 12 inches of the burlap lace ribbon and make the bow. I just created 2 loops and used a zip tie to secure it in the middle and then cut the ends of the bow to the length I wanted.
- Once the shovel is completely dry, add a a line of glue and add a couple pieces of the eucalyptus to both sides.

- Next add some glue to the bow and add one of the gerber daisies and then add some hot glue to the backside of the bow and press firmly onto the shovel.
- On the top handle of the shovel, add a dab of hot glue and wrap the twine around the entire handle, cutting the end and then using a dab of hot glue to secure the end piece
Article may contain Amazon & affiliate links. As an Amazon Associate I earn from qualifying purchases at no additional cost to you.
ABOUT PETRO
Hi, I’m Petro, author and founder of Easy Peasy Creative Ideas. Sewist, crafter, avid DIY-er, foodie, photographer, homemaker and mommy to one. I’m an expert at coming up with quick, clever sewing tips, recycling crafts and simple, easy recipes! You can find my ideas featured in reputable publications such as Country Living, Good House Keeping, Yahoo News, WikiHow, Shutterfly, Parade, Brit & Co and more. Thanks for stopping by and hope you’ll stay for a while, get to know me better and come back another time. Stick around for real fun projects! Read more…