

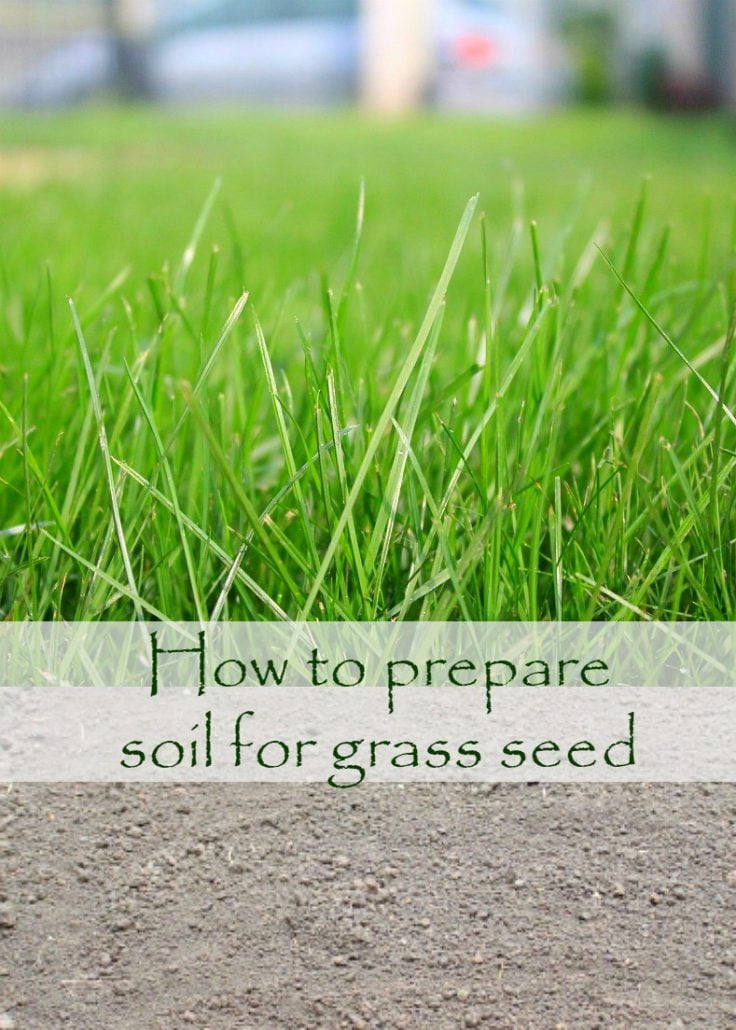
How to prepare soil for grass seed simple step-by-step instructions
To cultivate a healthy lawn, it’s crucial to start with healthy soil. The key to success is in adequately preparing the soil before seeding the grass. Here are the necessary steps to prepare the ground for turf and some important Q&A to help you understand how to prepare soil for grass seed for successful results.
How to prepare soil for grass seed
I was tired of living in a house with an unattractive, muddy yard. Therefore, I decided to grow my own lawn from scratch. The first step was to prepare the ground for grass seed. However, I encountered various difficulties, one of which was related to the quality of soil. To help others facing the same issues, I wanted to share a few tips on how to prepare soil for grass seeds to get the best results.
Properly preparing the soil for turf is crucial for growing a healthy lawn. It’s important to start the soil preparation process a few weeks before seeding. If you’re short on time or impatient, growing a lawn from scratch may not be the best project for you. I recommend following all the steps in this tutorial on preparing ground for grass seed to ensure the best results.
Want more gardening ideas?
- How to care for raspberry bushes
- How to harvest fresh basil
- Killing weeds naturally
- Fall gardening tips to get the yard ready for winter
No soil is perfect, especially poor draining, low quality sub-soils that are exposed by the new constructions as in my case. A poor soil will cost you money and time while a good soil will offer you a perfect looking lawn with minimal effort. Preparing ground for turf does take a bit of an effort but it’s so much easier if you get to start with a healthy soil. I supplemented my yard with topsoil, adding about 10″ to the old soil base, a few weeks before preparing soil for turf.
If I wasn’t very clear, the tips in this tutorial below are meant for a brand new lawn, grown from scratch using grass seeds. The process should start about 2 weeks before you plan to actually sow the seeds. If you have an old lawn, you will need to: kill the grass with an herbicide, completely remove the dead grass and its roots, leave the soil untouched for about 2 weeks, then follow the steps below.
Step-by-step instructions for preparing ground for grass seed
Testing the soil
The soil pH is very important when planting grass seed. Knowing this will indicate how you need to improve the soil quality. Most plants prefer a neutral soil, meaning on a scale from 1 to 14, the pH will have to be around 7. Above 7 is considered alkaline, and below is considered acidic.
The easiest test is the vinegar – baking soda test. You will most likely have both indicators into your house already. Just collect 1 cup of soil from various areas in your lawn and split into two parts. Add ½ cup of vinegar to the first cup and ½ cup of baking soda to the other.
If the soil reacts to the baking soda, this means it’s more acidic. If it reacts to the vinegar, it shows it’s alkaline.
Always test your soil when it’s dry, as wet soil may alter the results.
How to raise the pH:
If you need to raise the soil pH, lime is the most common additive and the most effective. Dry lime reacts slower than damp lime, as water combined with lime helps neutralize the pH. Damp lime would also spread more evenly, but more labor intensive. Dry lime, on the other hand, is cheaper and more effective and easy to transport. It is better for using in large projects and is able to balance soil pH from the first use.
Pelletized lime spreads easily if you don’t have access to large-scale equipment. It’s not vulnerable to drought and wind and reacts faster than pulverized lime, as it’s thoroughly processed before pelletizing. Pulverized lime is best used in moist weather, as dry and windy weather may scatter it, thus leading to uneven spreading. This type is best used in large fields.
Wood ash is another approach for raising the soil pH, and the more organic alternative. Just spread a layer of about ½ inch over the soil and mix in about a foot deep. This is a very effective method, although more labor-intensive (takes several smaller applications over many years). This way, you can also recycle leftover fireplace ashes.
How to lower the pH:
There are many ways to lower the soil pH, the three main being organic matter, aluminum sulfate and sulfur. Sulfur is usually the cheapest thing to use (especially Aluminum Sulfate) and more powerful in a smaller amount. It also acts slower, as it can be metabolized by bacteria and be converted to sulfuric acid through several months.
Aluminum Sulfate acts quicker, being the most effective method from this point of view. It produces soil acidity immediately after dissolving, thus acting almost instantly. Large applications, however, may cause aluminum toxicity and aluminum accumulation.
Organic matter gradually lowers soil pH over a larger period. You can use composted manure, compost or acidic mulches. pH is lowered slowly over time as the matter decomposes and bacteria develop. This is perfect for long-term applications and can also help with soil aeration and drainage.
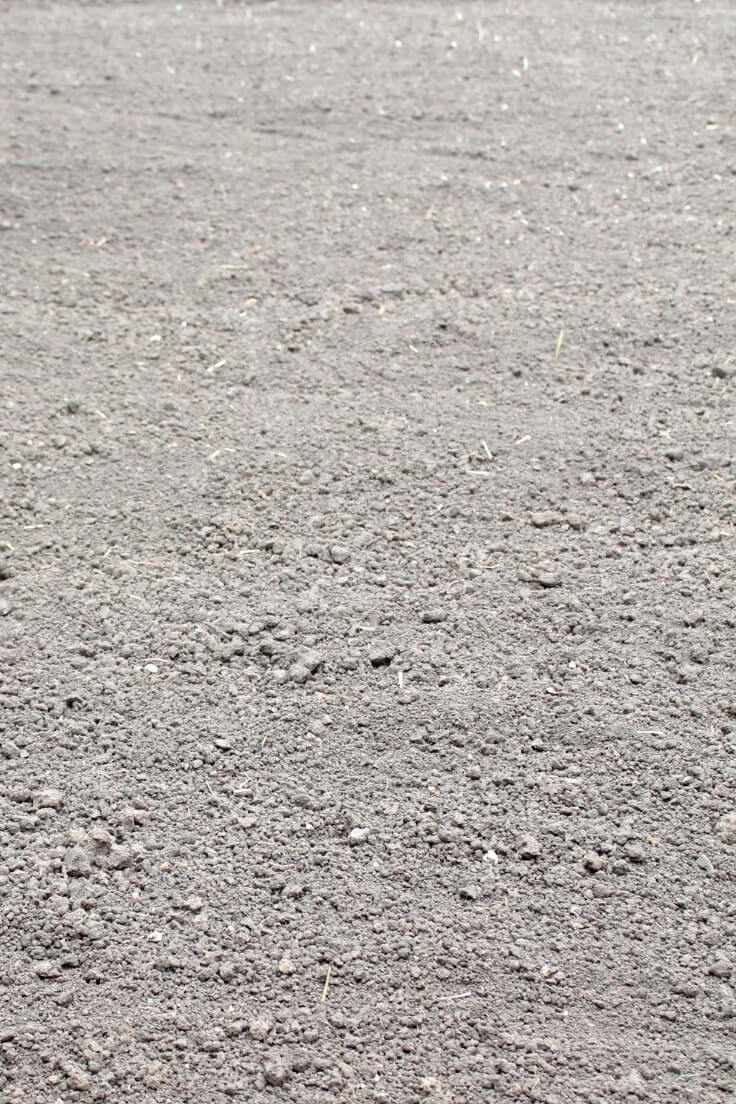
Prepping the soil
- Use a tiller to thoroughly till the soil to break up the compacted areas in your soil. These won’t allow the water to drain properly and the roots to grow. A rototiller will also help add oxygen to your soil. Your goal is to break your soil down to pea sized particles. For smaller lawns use a fork or spade to turn over the soil to a depth of 12 inches.
- Remove any weeds, debris or stones.
- If you have poor quality soil, add organic matter: compost, shredded leaves, grass clippings etc. or an organic slow-release fertilizer. If unsure about your soil quality, perform a soil test in advance.
- You may need to add more soil amendments based on your soil test if you had one performed.
- Once you have improved your soil, it’s time to install your sprinkler system.
Leveling the ground
- Level the soil with a large rake (for small lawns; I think bigger ones look more attractive with little bumps).
- Use a lawn roller/tamper (or your feet, for small lawns) to firmly press the soil down. This process is a must! It will take out large air pockets and prevent the soil level from dropping too much later which is a grass killer (at least in my case;). Make sure you don’t compact the area too much though as it will prevent proper water infiltration and drainage.
- If it’s not raining, I would recommend thoroughly watering your soil at least a week before seeding. This is to make sure it’s properly leveled and no area will be dropping once you’ve started sowing the seeds.
- A couple of days before sowing the seeds rake the soil again with a fine tooth rake.
- Water the soil just the day before seeding, enough to get it damp but not saturated. It will need to be dry enough for you to comfortably step on it when seeding though. If it’s muddy it will stick to your shoes. Also the seeding process will be more difficult.
Once you get all these in place you’re ready to start seeding. Find the next two steps in growing a healthy lawn here: Planting a lawn from seeds and Caring for a new lawn.
Q&A you might find useful
What do I put on soil before grass seed?
You need to prepare the ground before sowing, by adding amendments or fertilizers. You can also add organic matter or soil amendments to improve the quality of the soil.
Should I put topsoil down before seed?
It’s not necessary, especially if you have good quality soil and have amended it with organic matter or fertilizer. This is an additional step that only poor quality soils might require.
Does soil need to be loose for grass seed?
Yes, the soil needs to be loosened with a tiller or rake in order for the roots to grow properly. This will prevent air pockets and water drainage problems and will make room for the roots to grow deep into the soil.
Can you put grass seed on hard soil?
It’s not recommended. The soil needs to be properly tilled and leveled before sowing, otherwise the seed won’t be able to germinate and grow. Hard soil is also more prone to drainage problems.
How do you plant grass seed in compacted soil?
You will need to use a tiller to break up the compacted areas, and then add amendments or fertilizer to improve the quality of the soil. Aeration might also be necessary in order to help drainage and water, oxygen and nutrients reach the grass. If you’re new to gardening, aeration is the process of creating holes in the soil to help water, oxygen and nutrients reach the roots of the grass or plants. This can be done by using a special machine, or you can use a garden fork to poke holes into the soil.
How do you till hard soil for grass seed?
You need to use a tiller with strong blades that can penetrate the soil and break it up in order for you to be able to level it and make room for the grass seeds. Depending on the quality of your hard soil you may need to use a gasoline-powered or electric tiller. You may need to go over the same area multiple times until the soil is broken into small pieces.
How deep should I till for grass seed?
You should till the soil to a depth of at least 5 inches, so that it is easier for water and air to penetrate the soil, and for roots to grow. This will also ensure proper drainage and will prevent standing water from forming.
What is the best tool to break up hard soil to plant grass seed?
The best tool for breaking up hard soil is a tiller. You can use either a gasoline-powered or electric tiller, depending on the size of your lawn and the quality of your hard soil. You may also need to go over the same area multiple times in order to break it up properly.
Should I compact soil before seeding grass?
No, you should not compact the soil BEFORE seeding! You will need to compact the soil loosely after seeding in order to help the seed stick to the soil better, absorb the water and nutrients and germinate.
Will grass seed grow without raking it in?
Yes, grass seed will grow without raking it in. However, for best results you should rake the soil very lightly after sowing your seeds, as this will help them make contact with the soil and ensure germination. It is important to not over-rake the soil, as this can cause air pockets which will prevent water from penetrating the soil, as well as push the seed deeper, making it difficult for the seed to germinate.
Do I need to wet the soil before seeding?
Yes, you should wet the soil before seeding. This will help the seed stick to the ground better, and will help it absorb water and nutrients more easily so that it can germinate properly. It is important not to over-wet the soil, as this could cause drainage problems. The best way to do this is by using a sprinkler or a garden hose to lightly water the soil before sowing.
Should grass seed be covered with soil?
Yes grass seed should be lightly covered with soil. This will help the seed stay in place and make contact with the soil. It is important not to cover the seed too deeply, for the reasons mentioned above.
Can I add a layer of sand over the grass seed?
There are different opinions about whether adding sand will be beneficial or harmful for seed germination. Some people believe that it can help with germination, while others think it may cause mold and damage the seed or hinder its growth.
Based on my experience I support the idea of adding a thin layer of sand, particularly when sowing in hot weather as sand will retain moisture and help with germination. The sand will help retain more water so you don’t need to water that often and will help the seed maintain a cooler temperature, ensuring a better chance of grass seed germination. Also once the roots start to grow deeper into the soil the sand will gradually be incorporated into the soil, helping with water drainage and aeration.
I’m also a big fan of mixing sand and soil in the tilling process, especially for clay soils. This helps the soil loosen up and makes it easier for grass seed to settle into the ground.
If you choose to add a layer of sand over your grass seed, be sure to use a very thin layer (no more than 1/4 inch). This way, you can ensure that the grass seed still has access to water and nutrients.
What fertilizer to use before planting grass?
It important to use a starter fertilizer with the right mix of nutrients before planting your grass seed. A good choice would be an organic, slow-release fertilizer like compost or manure. These fertilizers will gradually release their nutrients over time, ensuring that the grass seed has all the necessary nutrients for growth and health.
You may also want to consider adding nutrients like phosphorus and potassium, as these are essential for root growth and can help the seed to germinate better. It is important not to over-fertilize, as this could burn the seed or lead to disease. Be sure to read the instructions on your fertilizer before applying it to your lawn. This will help ensure that you use the amount of fertilizer in order to get the best results.
Should I cover the seeds with mulch?
It’s not necessary but covering the seeds with a light layer of mulch such a straw can help keep the soil moist and protect them from drying out. Mulching also helps to prevent the birds from eating the seed, allowing more of it to germinate successfully.
Be sure to use a thin layer of mulch (no more than 1/4 inch) in order to ensure that the seed still has access to light, water and nutrients.
Is there a bad time to plant grass seed?
Yes, there are certain times that are not ideal for planting grass seed. Planting during the hot summer months can be difficult as the heat and dryness can cause germination issues or even kill newly planted seedlings.
It is also important to avoid planting in cold weather as this will slow down germination and growth of the grass. The best time to plant grass seed is usually in the fall or spring when temperatures are mild and steady.
Cool-season grasses like Kentucky bluegrass, perennial ryegrass, fine fescue, and tall fescue will do well if planted in spring or in the early fall. This way the new grass seed will have ample time to germinate, grown and establish before the first frost.
Warm-season types of grass seeds such as bermudagrass, zoysia grass, and St. Augustine grass thrive in warm season and should be planted in late spring or early summer.
When should I start grass seed in spring?
The best time to start grass seed in spring is usually around mid to end of March, when the soil temperature has warmed up enough for the seeds to germinate. You should wait until any frost danger has passed and you see some warmer temperatures before sowing your grass seed. With the change in climate, it is also important to keep an eye out for unpredictable weather such as sudden cold spells or heavy rains.
Keep in mind that it will take a few weeks for the seed to become established and begin to grow. So if you start your lawn in the spring, be prepared for some patience before you see results.
Once the grass seed has been planted, it is important to keep the soil moist and regularly fertilize in order to maintain healthy growth. With proper care and attention, your lawn can be lush and green in no time!
Good luck with your grass-seeding project! With the right preparation and care, you can enjoy a beautiful lawn all season long. Happy planting!
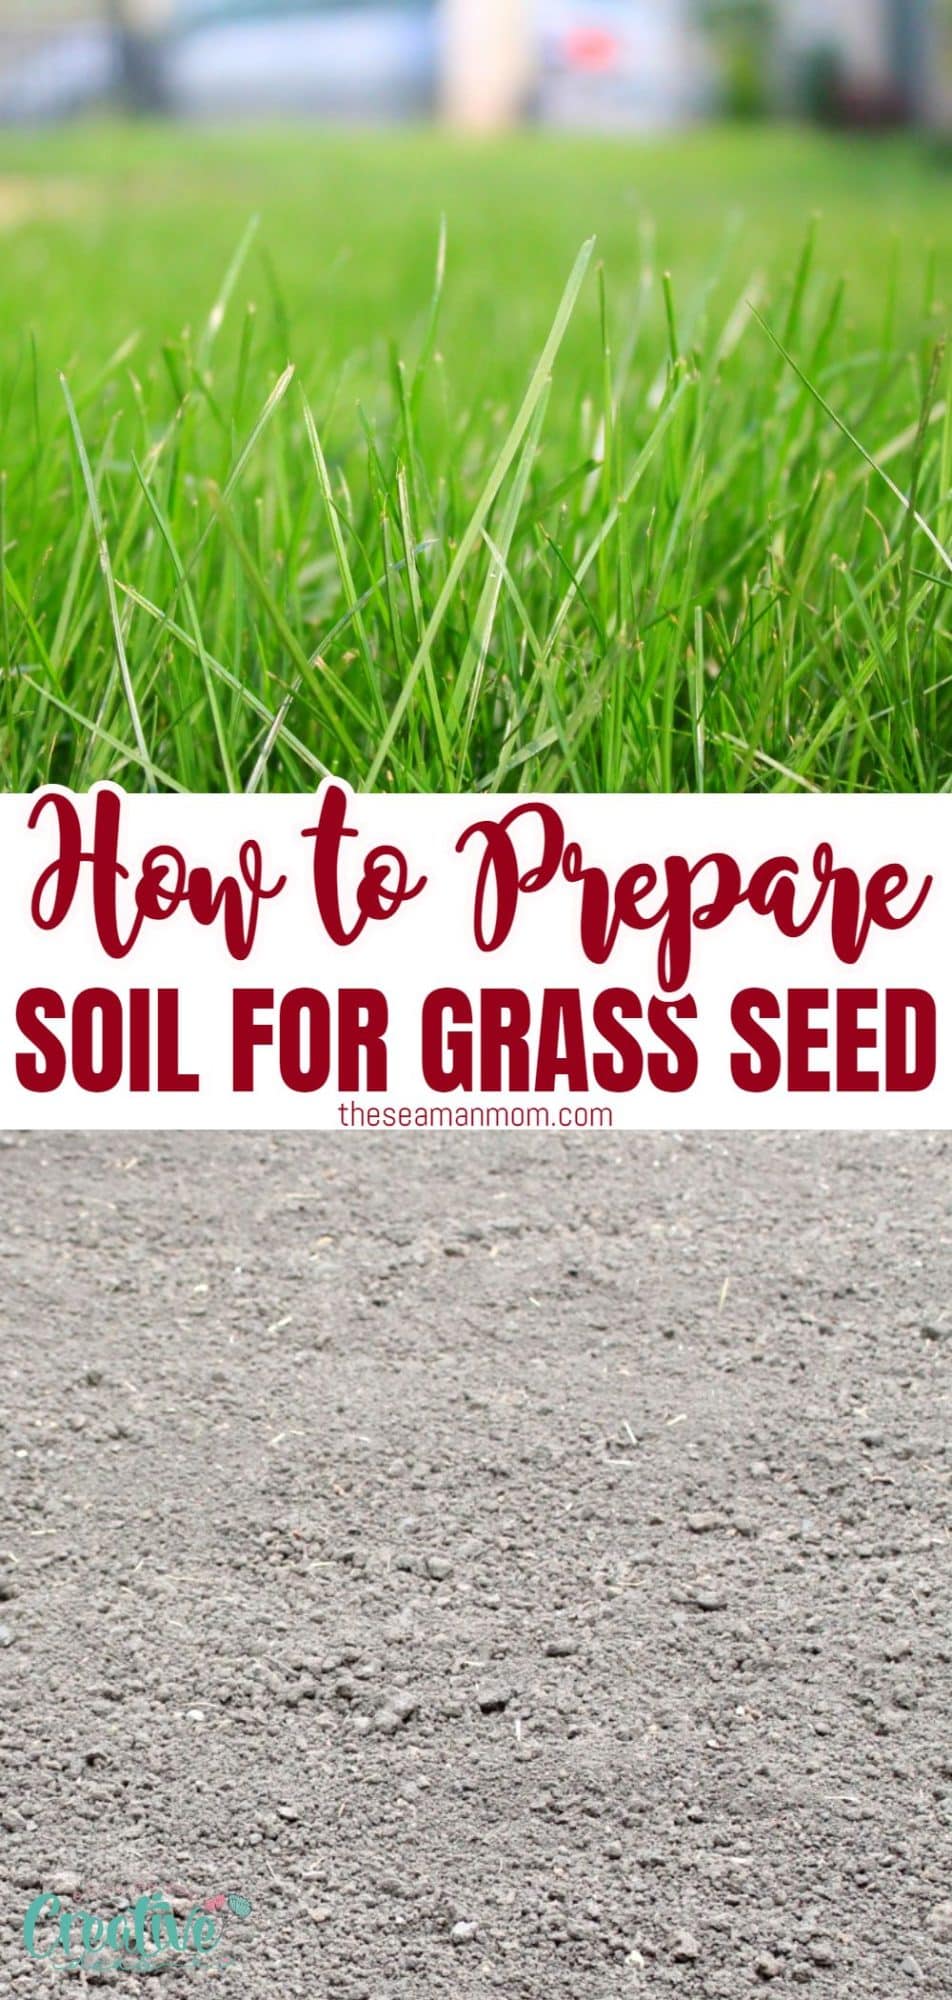
Pin to save for later
Article may contain Amazon & affiliate links. As an Amazon Associate I earn from qualifying purchases at no additional cost to you.

Yes, I agree with author of the article, the best time to prepare soil for grass is early fall when it is not too hot, however one should make sure that the land where seeds are planted should get enough sunshine so that seeds will get a good root establishment and later sprout on time.