

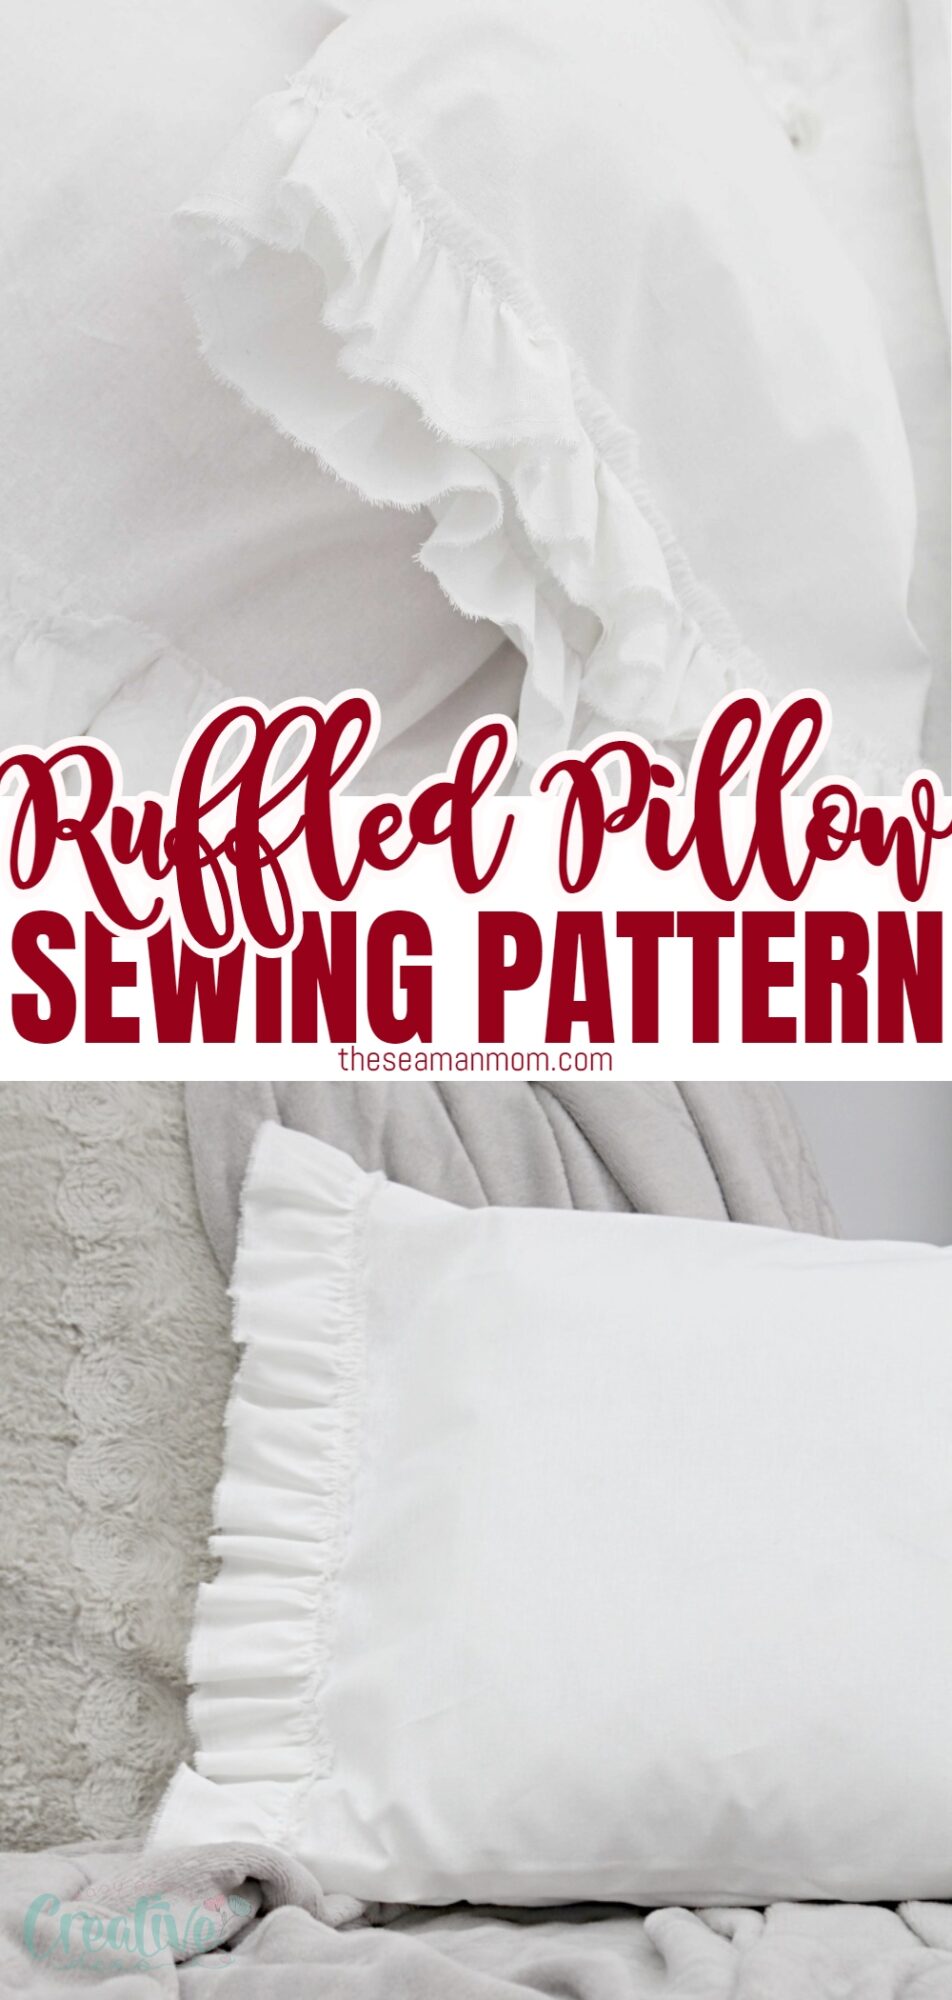
Ruffled pillow case easy sewing tutorial
Create your own farmhouse style ruffled pillow case effortlessly! Then share the love by gifting these shabby chic pillows to friends for a touch of handmade charm in their homes!
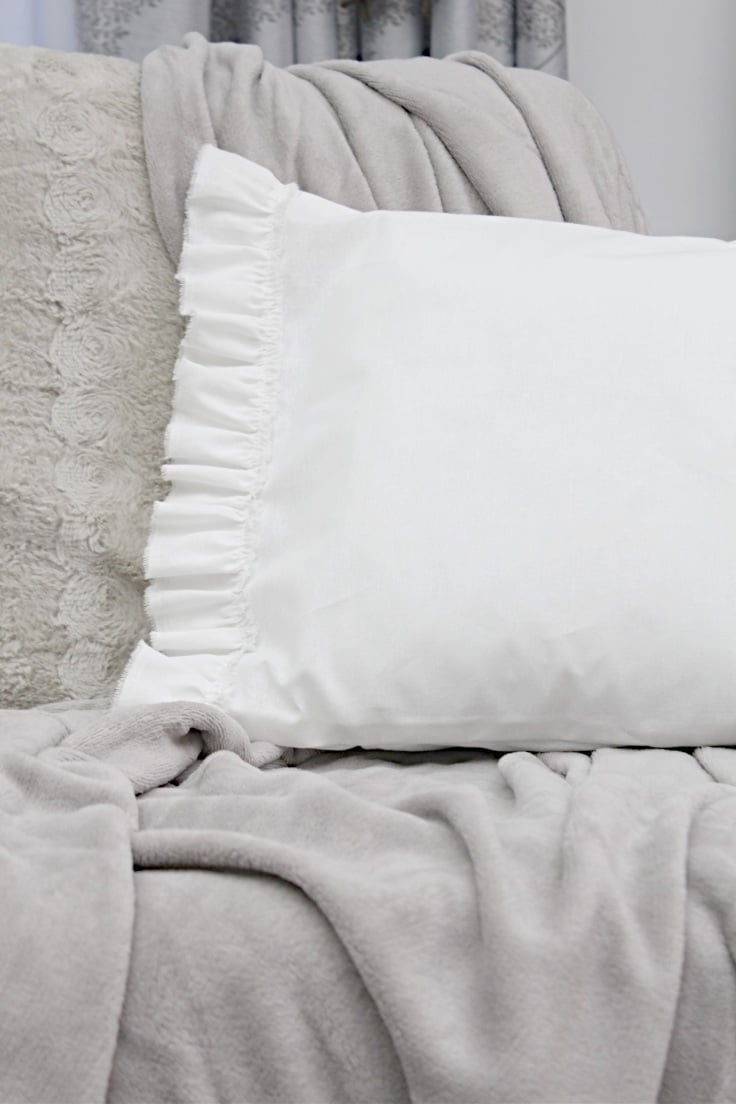
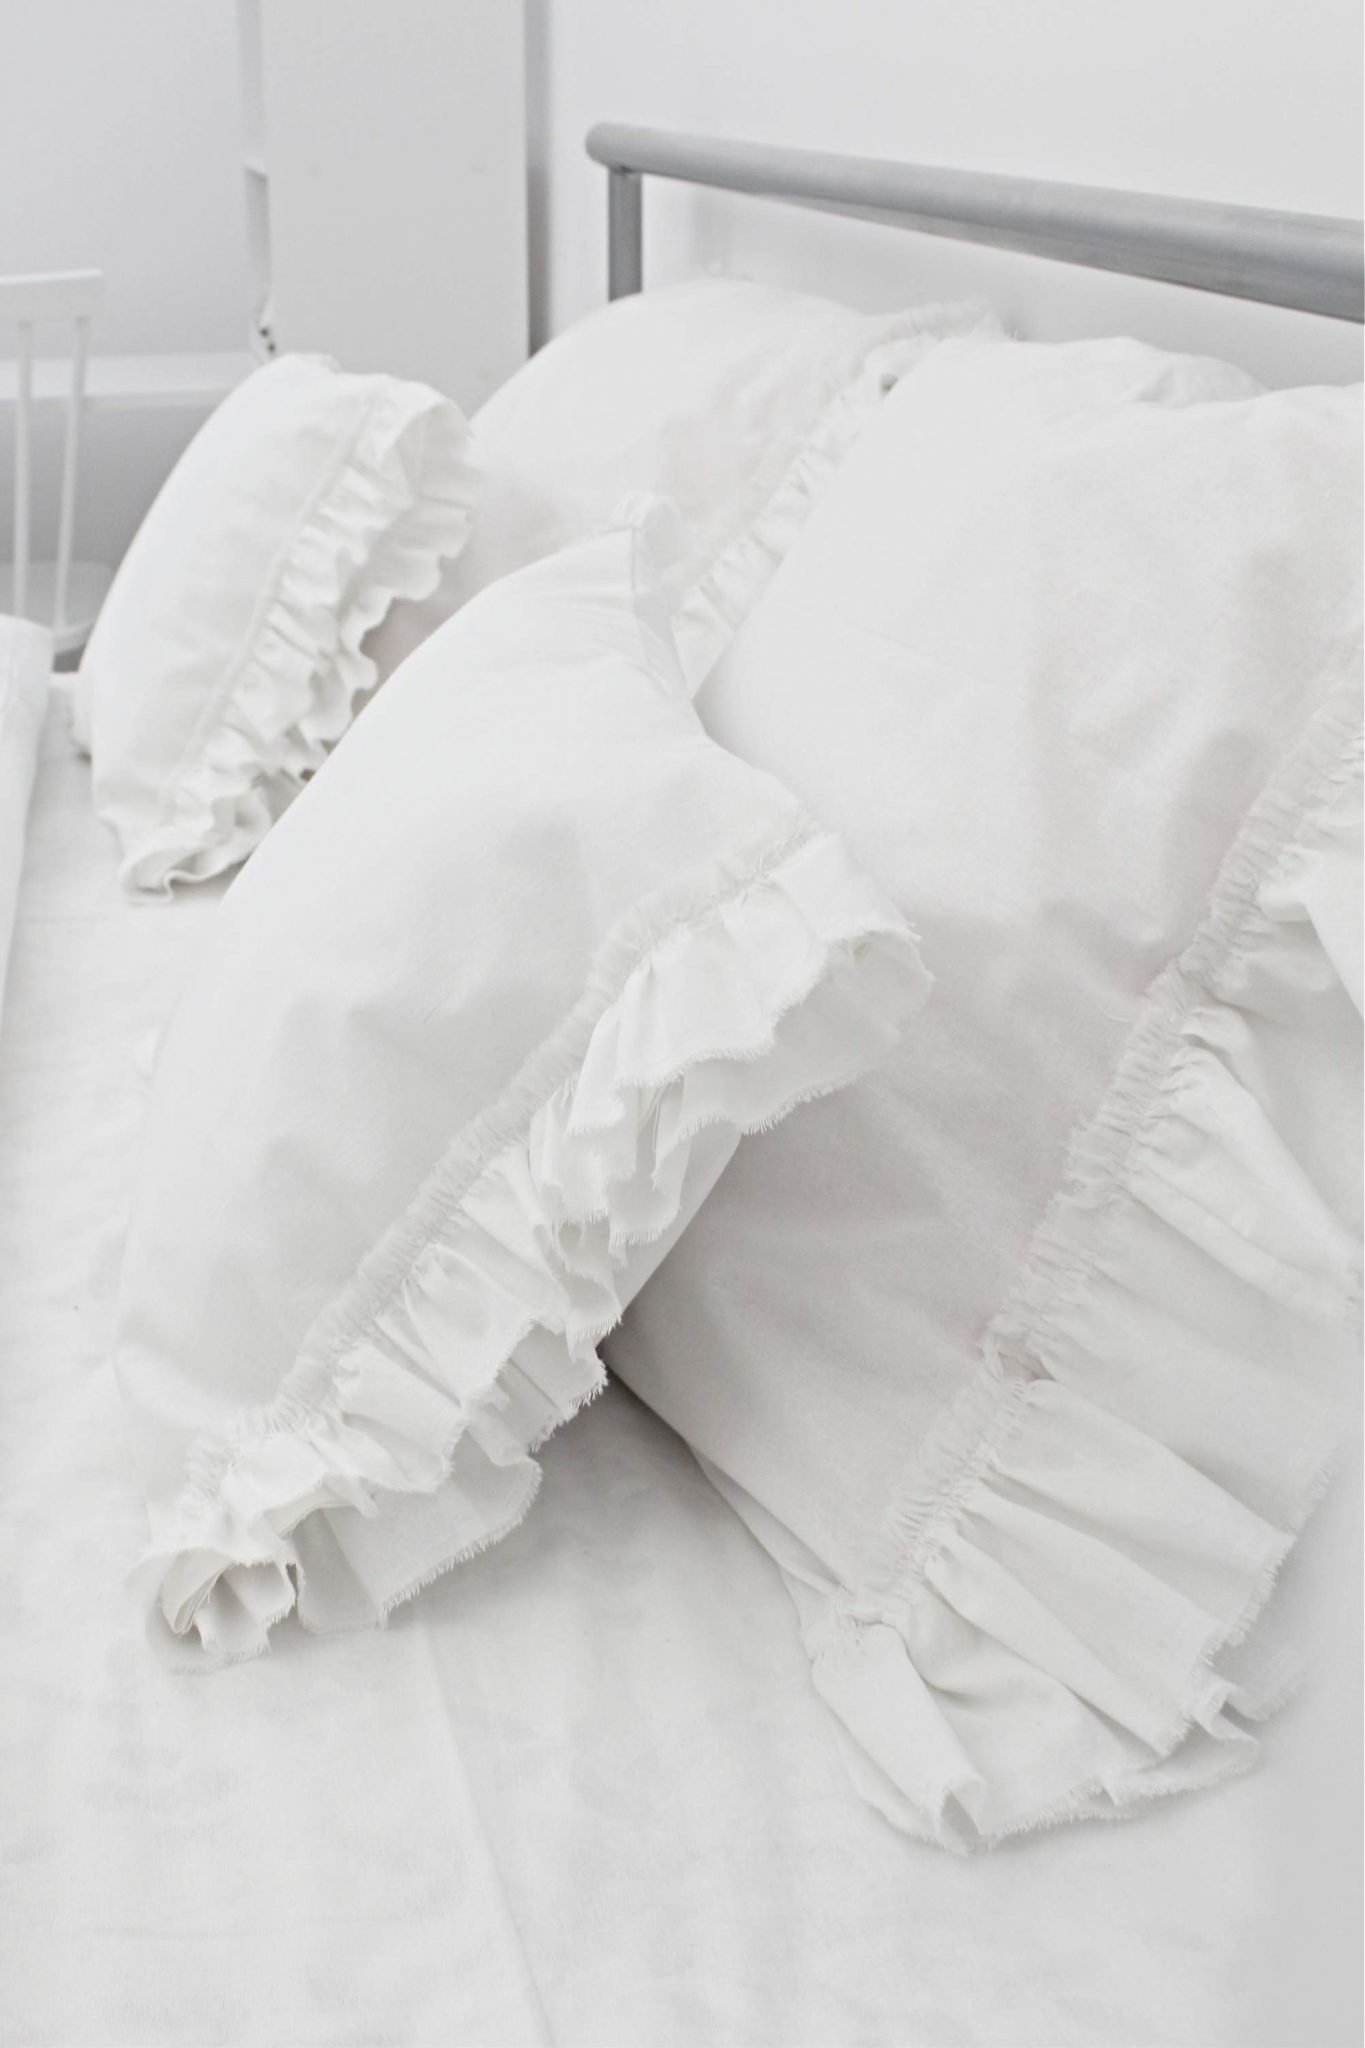
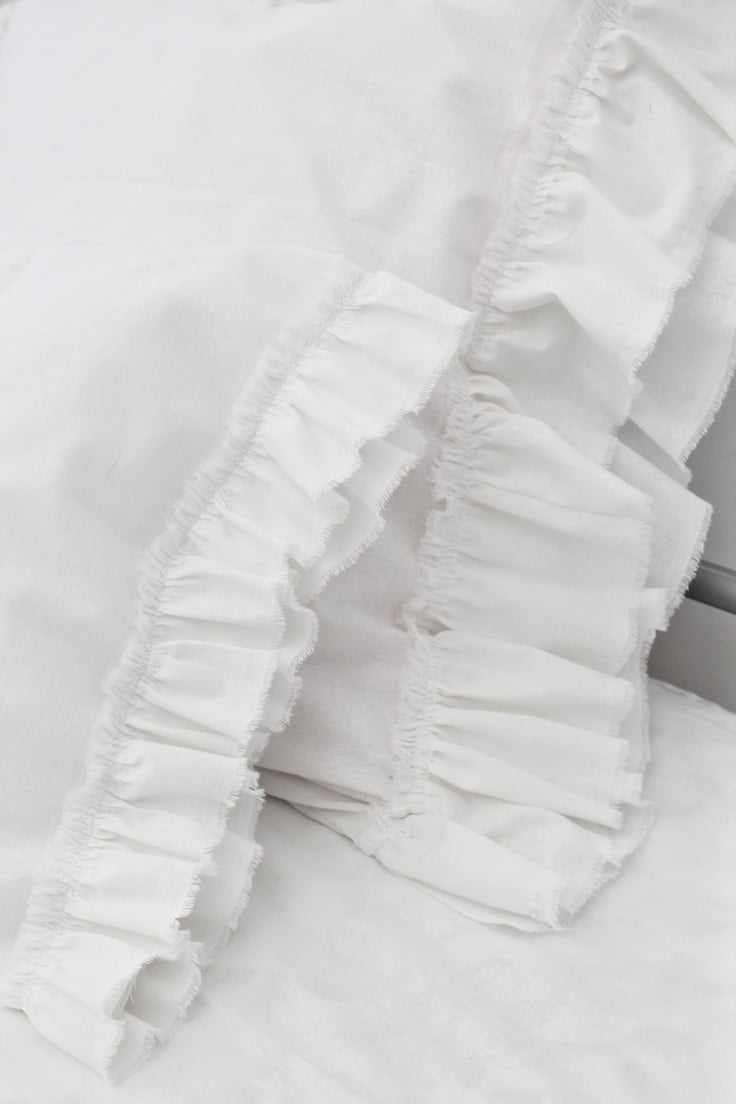
If you love the look of those farmhouse style pillows, I’ll have you know that making your own ruffled pillow case is crazy easy, you’ll want to make tons of these shabby chic pillows! Just remember: sharing is caring so don’t keep them all for yourself! Your friends will be thrilled to display some of your gorgeous handmade farmhouse pillow covers in their homes!
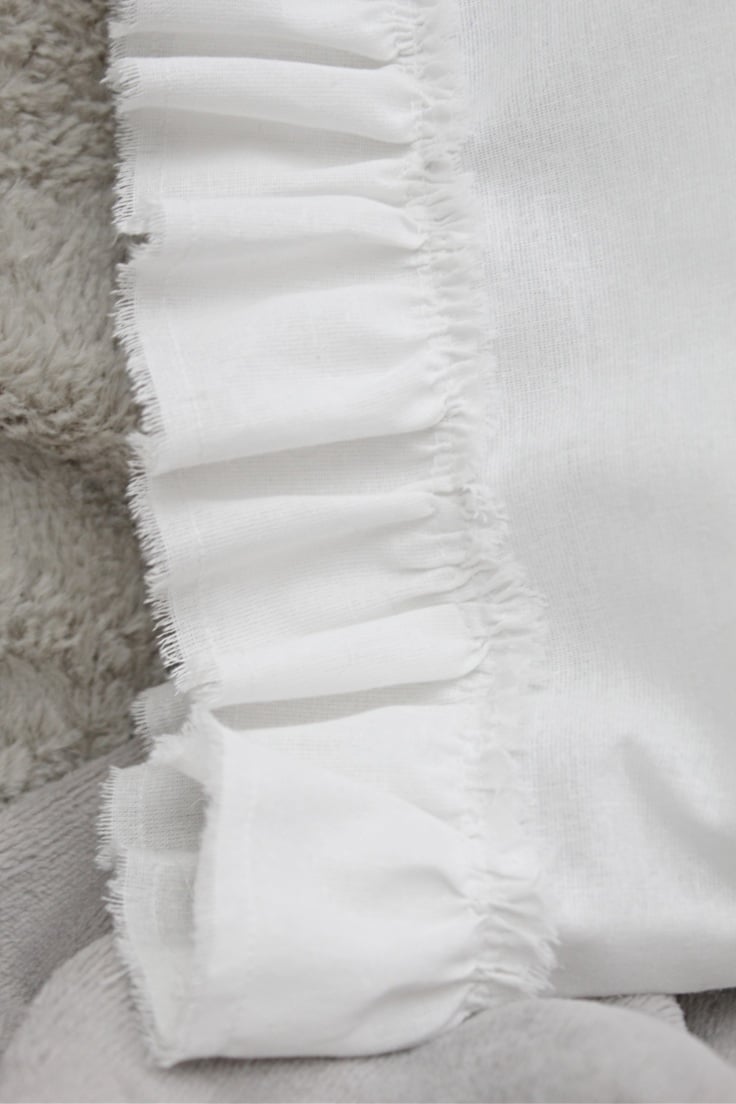
As I’m redesigning my daughter’s room, I made this ruffled bed skirt, followed by the bed sheet, bed skirt and the bed throw. And now it was time for the pillows. The ruffled pillows look so adorable and I love the clean, crisp sense I get every time I look at the bed. It’s sweet but not overly sweet! It’s shabby chic but not too much, it’s farmhouse but still modern.
This ruffled pillow case is great as a beginner sewing project, as it does only require basic sewing skills and it doesn’t take a lot of time. So let’s get to it!
How to make a ruffled pillow case
Materials:
- measuring tape
- linen fabric
- fabric marker
- yardstick (optional but helps a lot)
- scissors
- matching thread
- pins
- sewing machine
- serger (optional)
- pressing iron
Instructions to sew the ruffled pillowcase
Preparing the fabric
- Start by measuring your pillows in width and length.
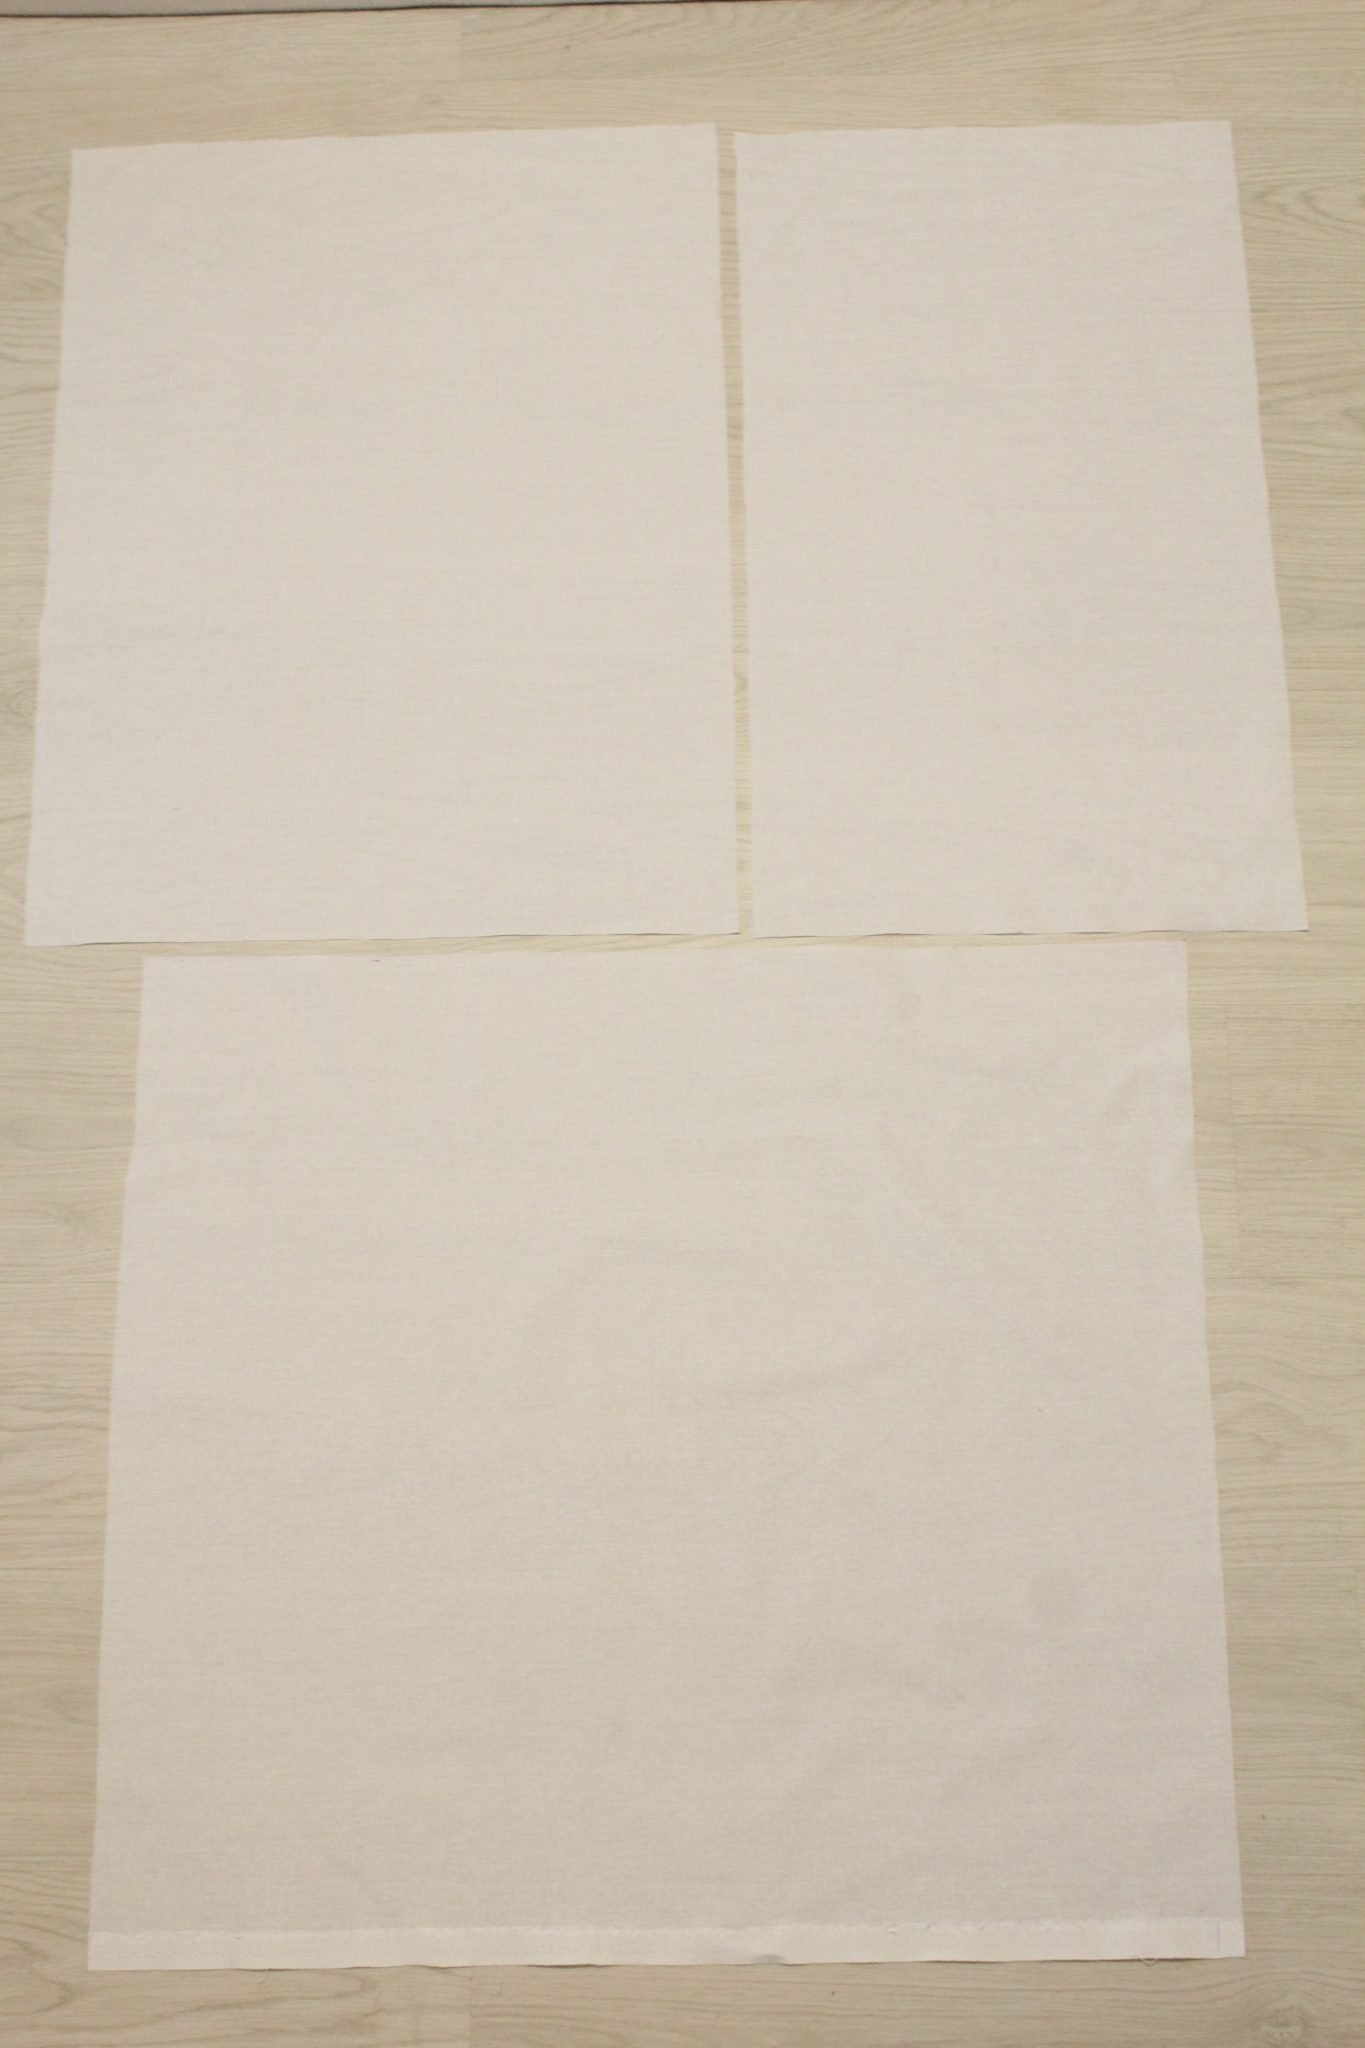
- You will have to cut one panel for the front and 2 panels for the back of the pillowcase.
- Mark your fabric with a fabric marker; using a yardstick is very helpful. Cut or rip the fabric as follows (I recommend ripping for the frayed effect):
- 1 panel for the front of the pillowcase, matching your pillow measurements plus an extra 1″ to the width and 4″ to the length. The extra inch is for seam allowance (you’ll sew the top and bottom of the pillow cases using a 1/2″ allowance on each). The extra 4″ (2″ on each side of the pillow case) are to accommodate the ruffles and the seam allowance (which is not enclosed as they typically are on pillowcases but sewn on the outside and exposed).
- 1 panel for the back that is as wide as the front panel and is half the length of the front panel plus 1″ allowance
- 1 panel for the back that is as wide as the front panel and is half the length of the front panel plus 1″ allowance plus 5″ for overlapping the first back panel.
- For the ruffles, you’ll need two strips twice as long as the width of the pillow (front and back; i.e your pillow is 10″ wide so you have 10″ for the front and 10″ for the back of the pillow; you’ll then need a 40″ strip for 1 ruffle and 40″ strips for the second ruffle).
Preparing the panels
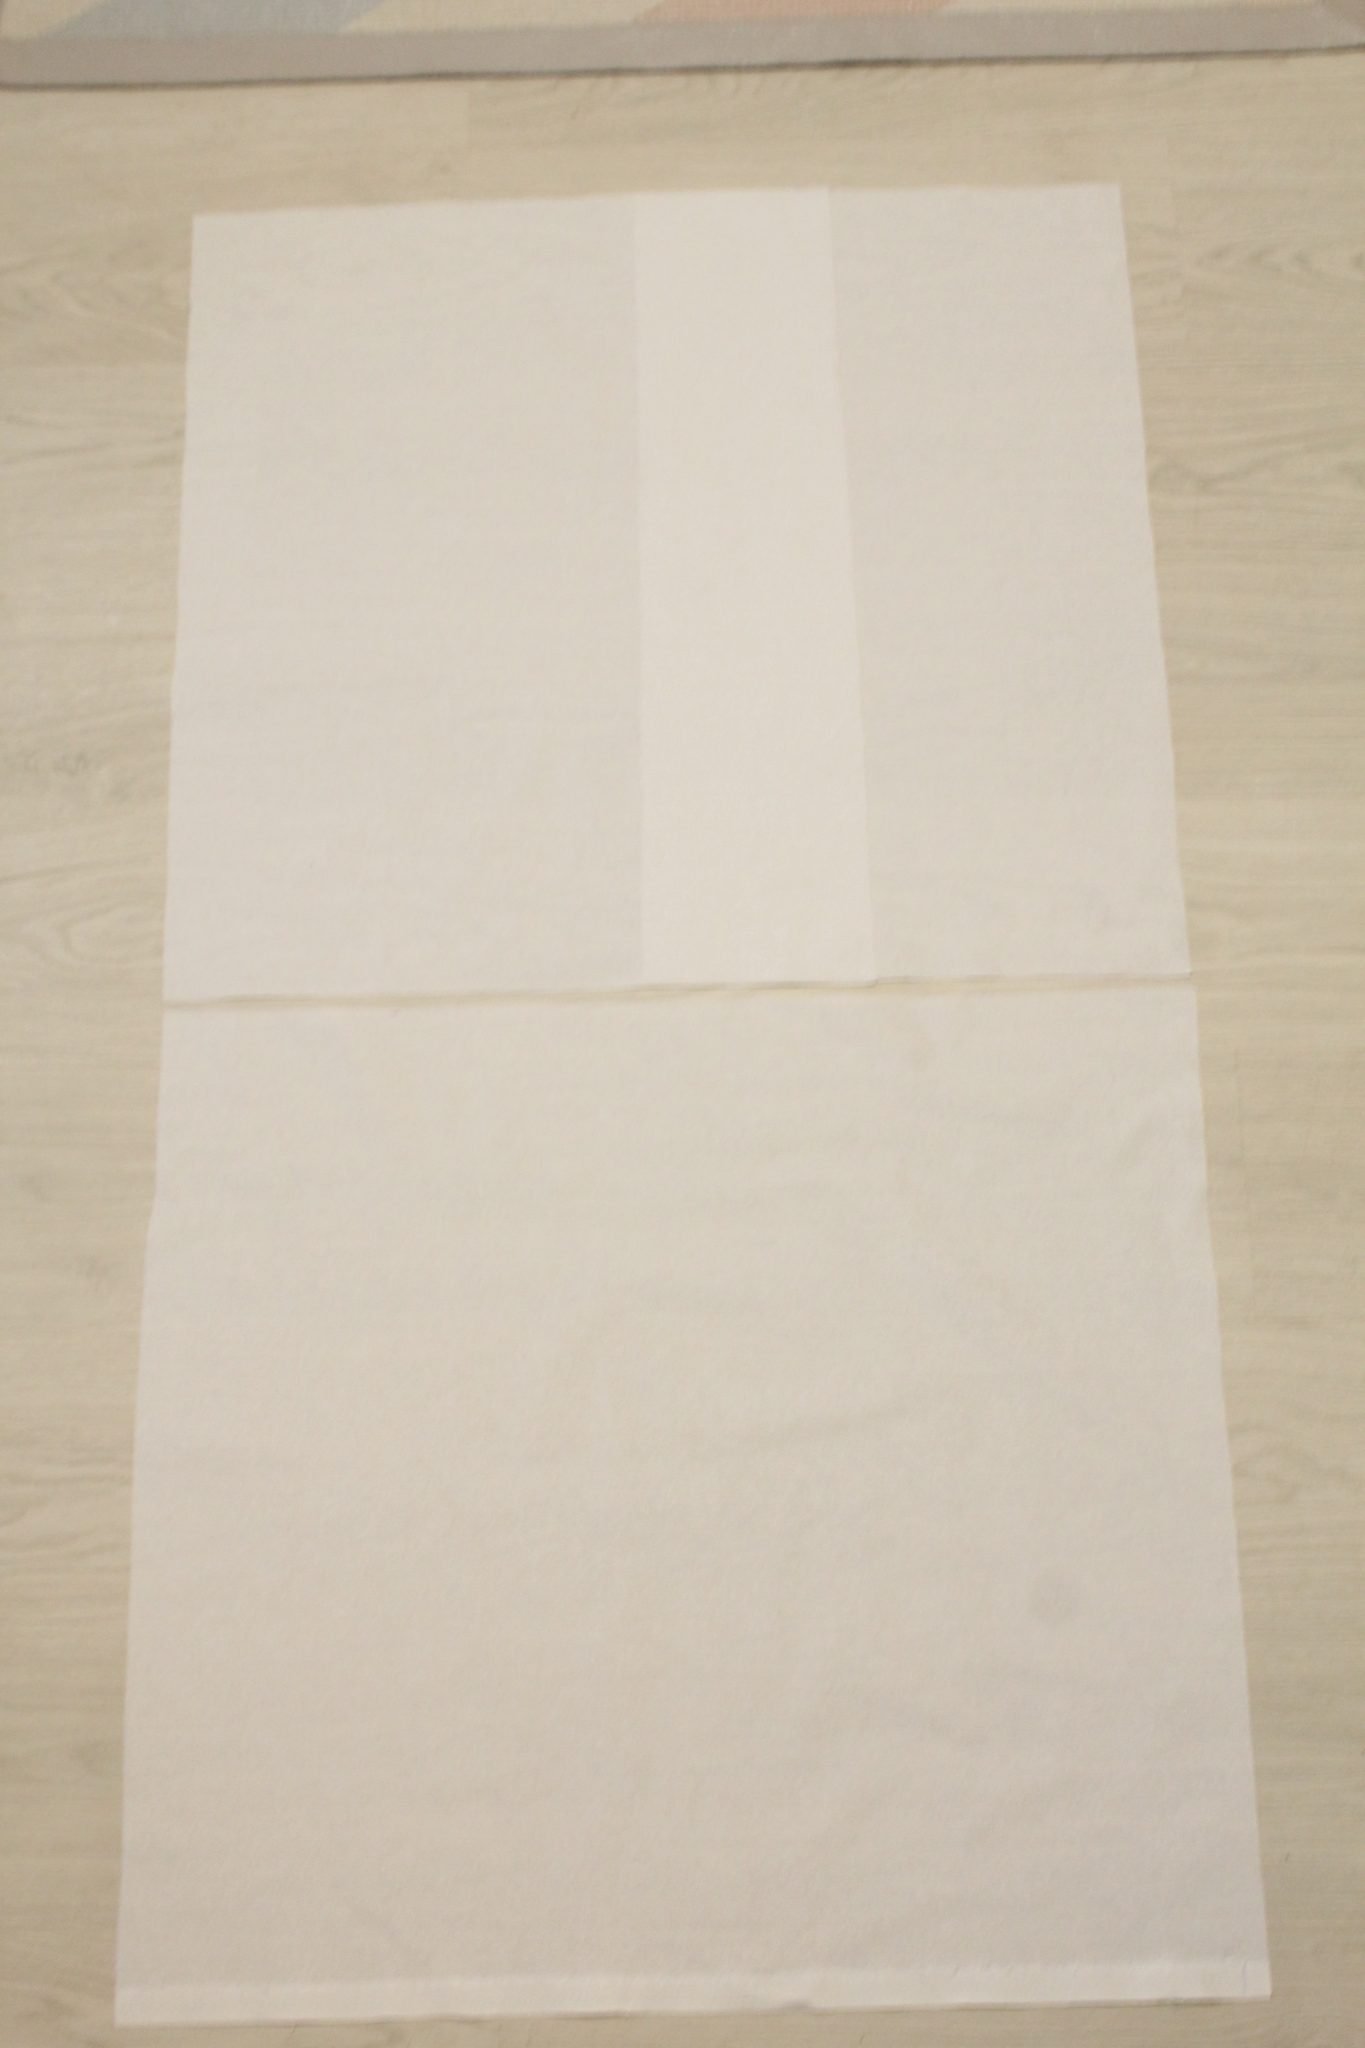
- The back panels will need to overlap in the back and create some sort of a “pocket” where you can insert the pillow into the pillowcase.
- The raw overlapping edges need to be finished as follows.
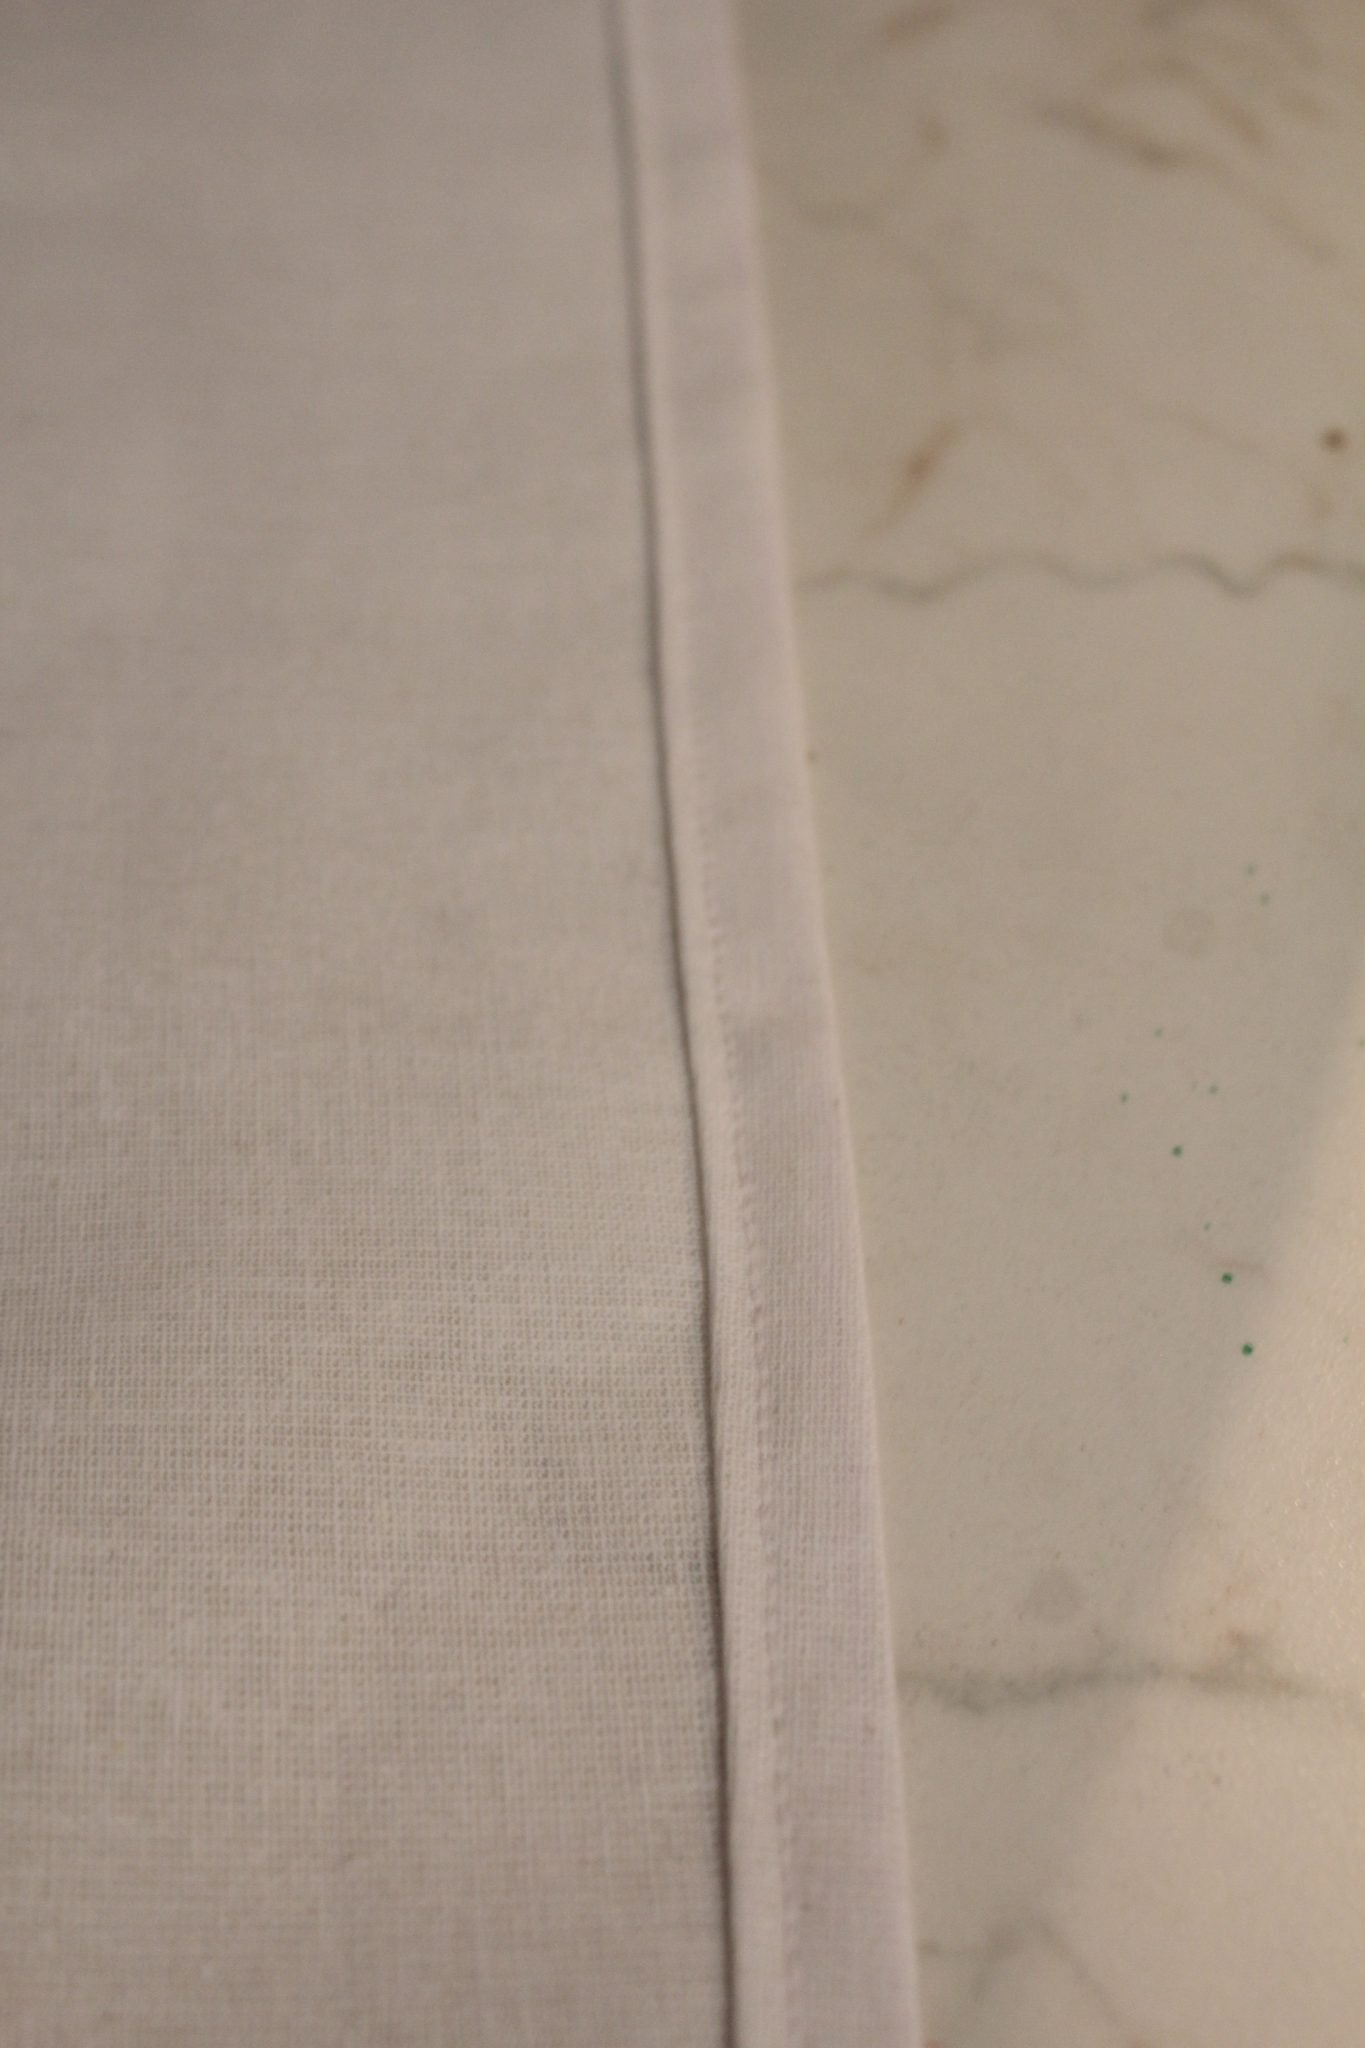
- Working with one panel at a time, get the overlapping edge, fold 1/2″ and press with your iron. Fold again 1/2″ and press. Get the panel to your sewing machine and run a regular stitch along the pressed edge, using a 1/ seam allowance.
- Repeat for the second panel.
- Run a small stitch along the sides of each panel (font and back), about 1/2″ away from the frays to prevent over fraying in the future.
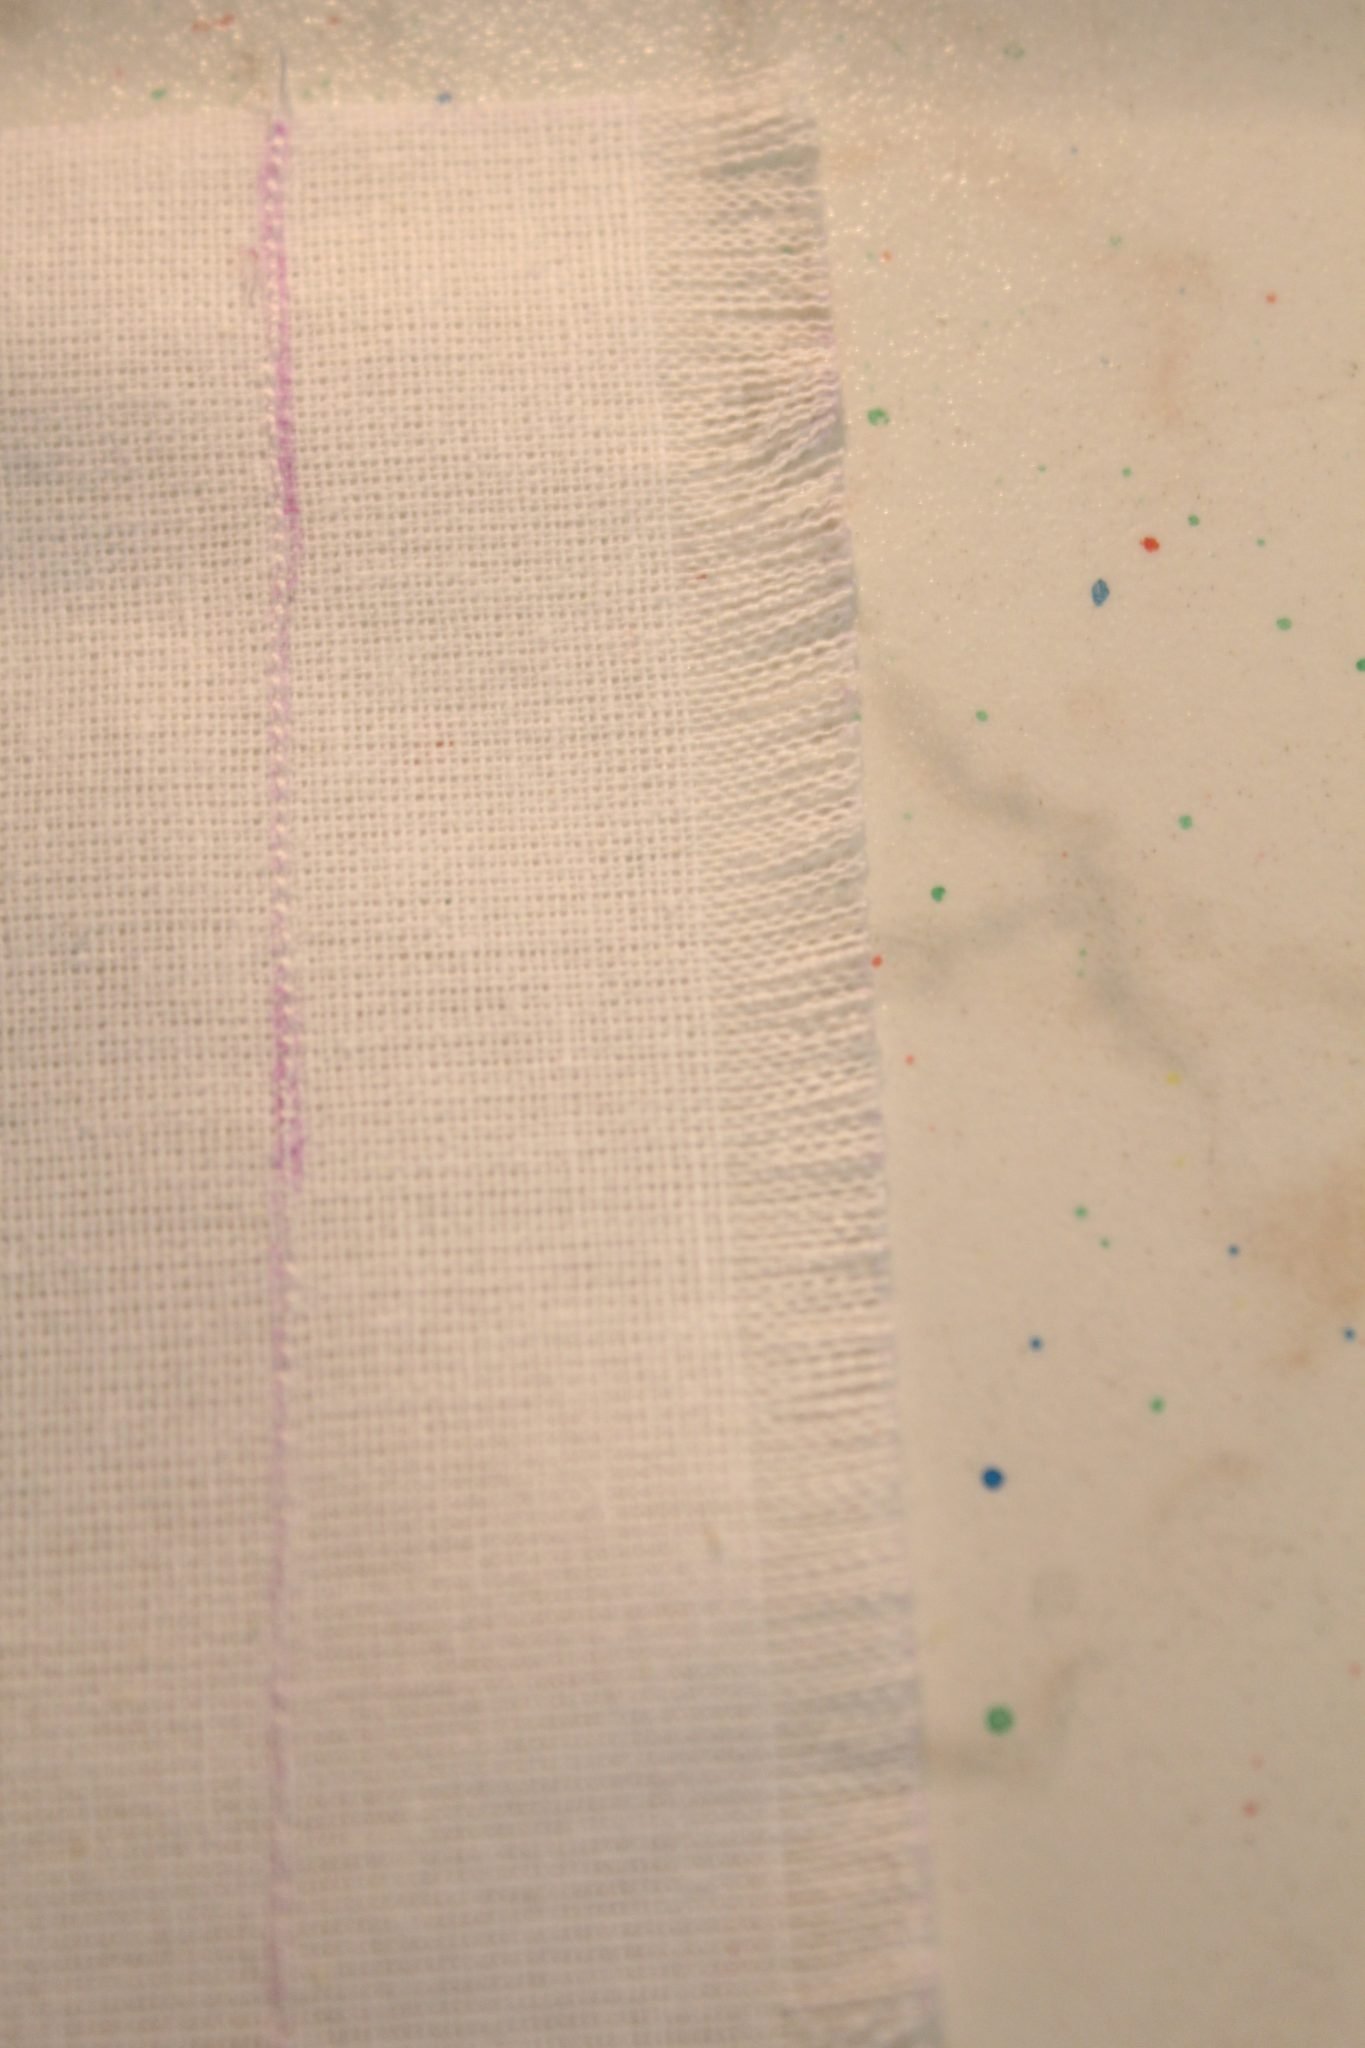
- Remove 3-4 threads on both sides of each panel.
Attaching all panels together
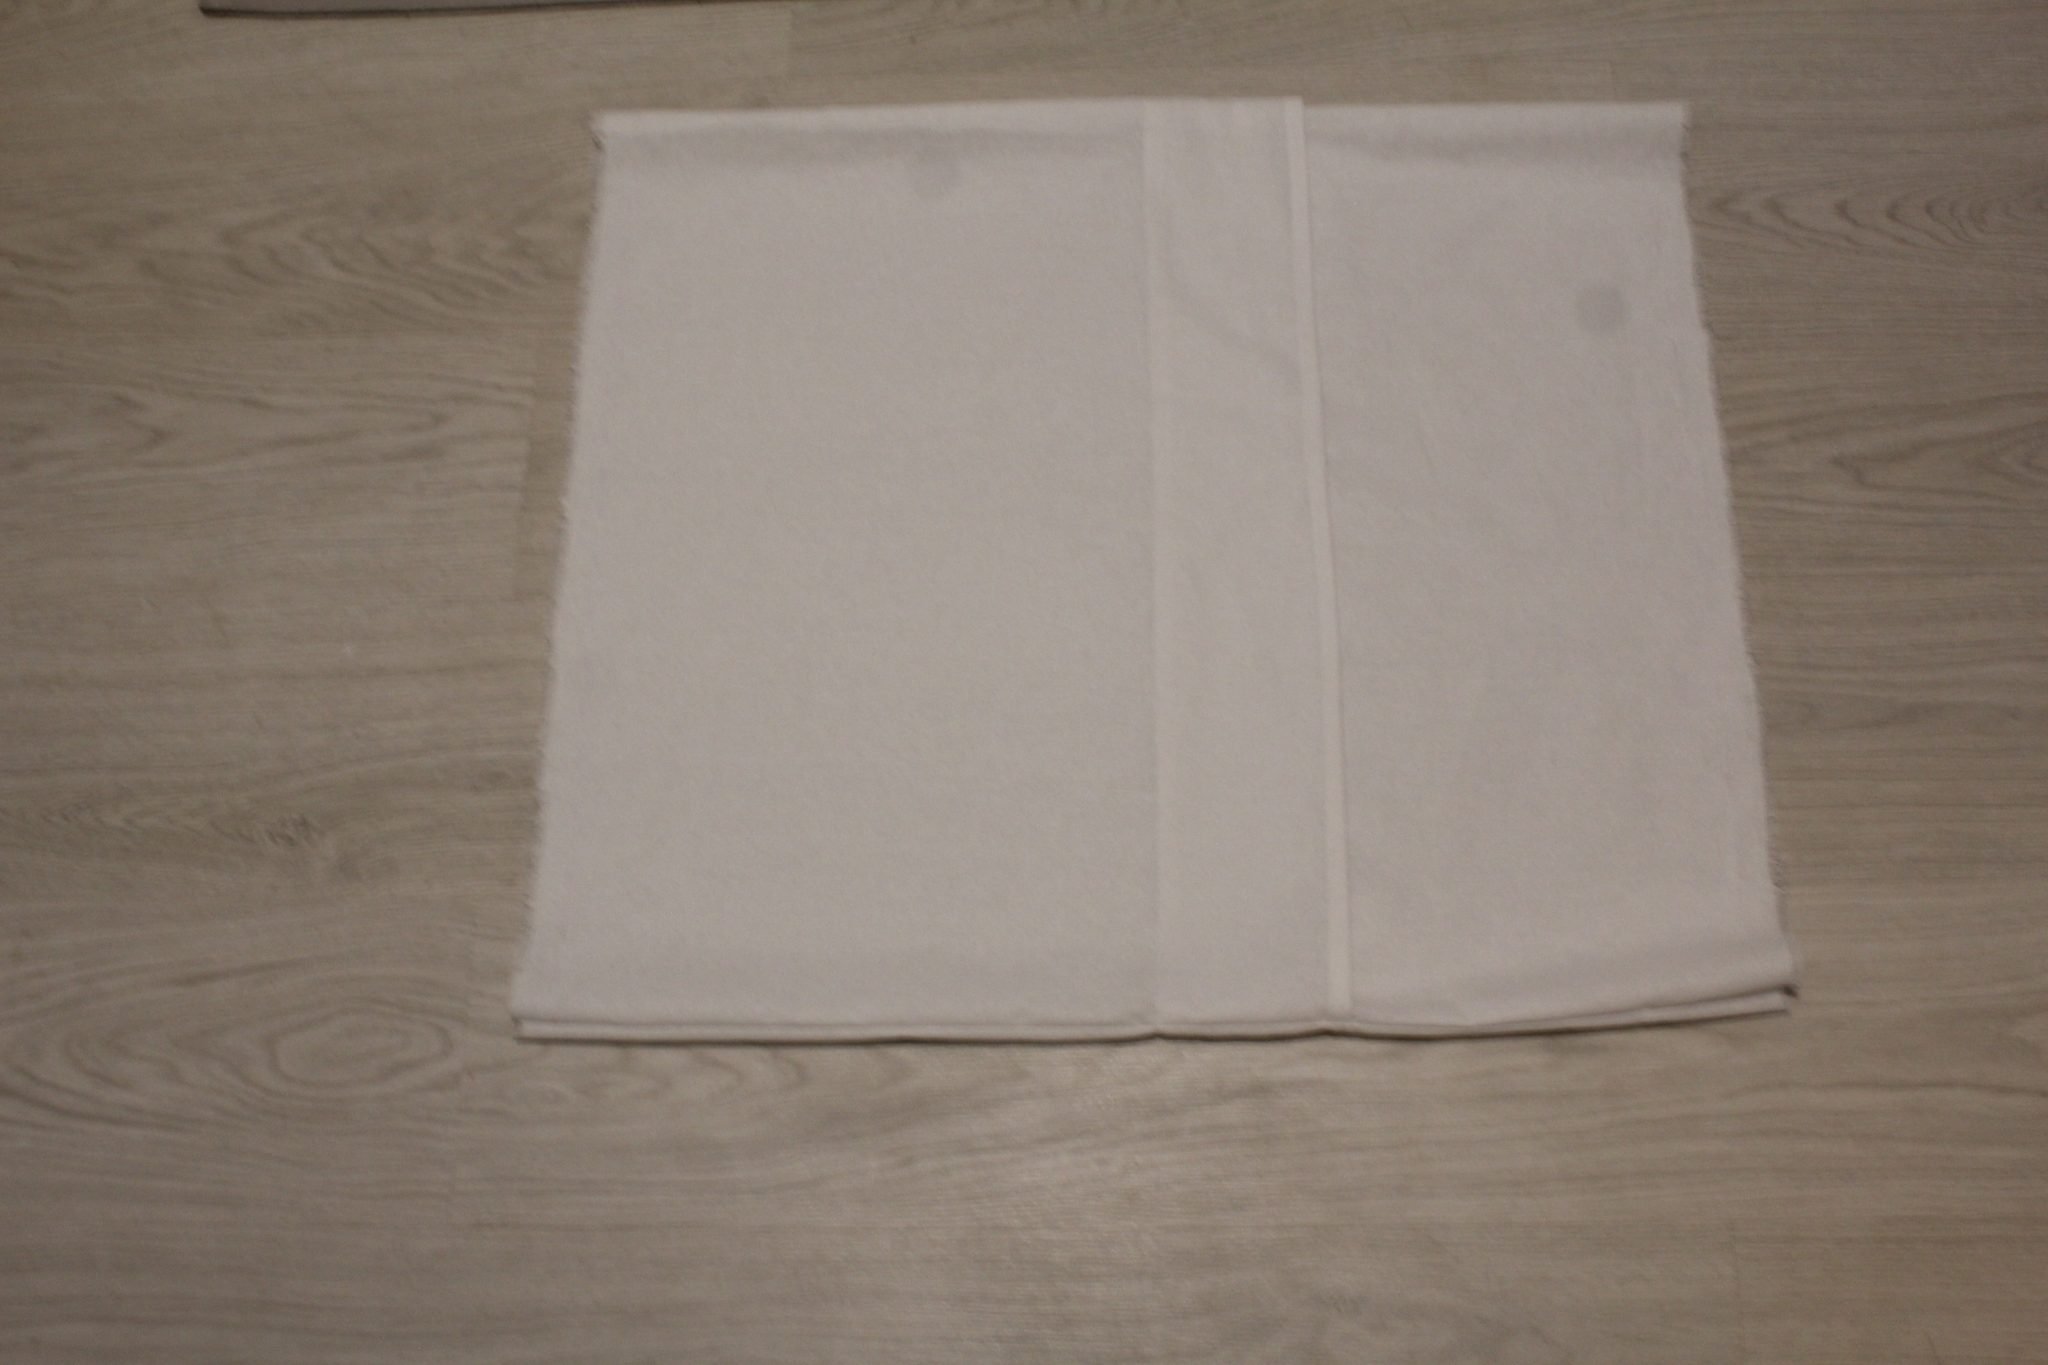
- Place the front panel right side out.
- Place the long back panel over the front panel, on the left hand side, wrong side out, sewn edge facing towards the middle of the pillowcase. The front and long back panel should match at the raw sides, top and bottom.
- Add the short back panel on the right hand side, wrong side out, sewn edge facing towards the middle of the pillowcase. The front and short back panel should match at the raw sides, top and bottom.
- Pin the top and the bottom seams.

- Sew down each seam with 1/2″ seam allowance then finish the seam with a serger or a zig zag stitch.
- Turn pillowcase right side out.
Making the ruffles
- Remove 3-4 threads along both sides of each ruffle strip.
- Run a small stitch along one side of each strip.
- Ruffle the strips using your preferred method (I’ve got a tutorial for gathering fabric here) to match the width of the pillows as indicated above.
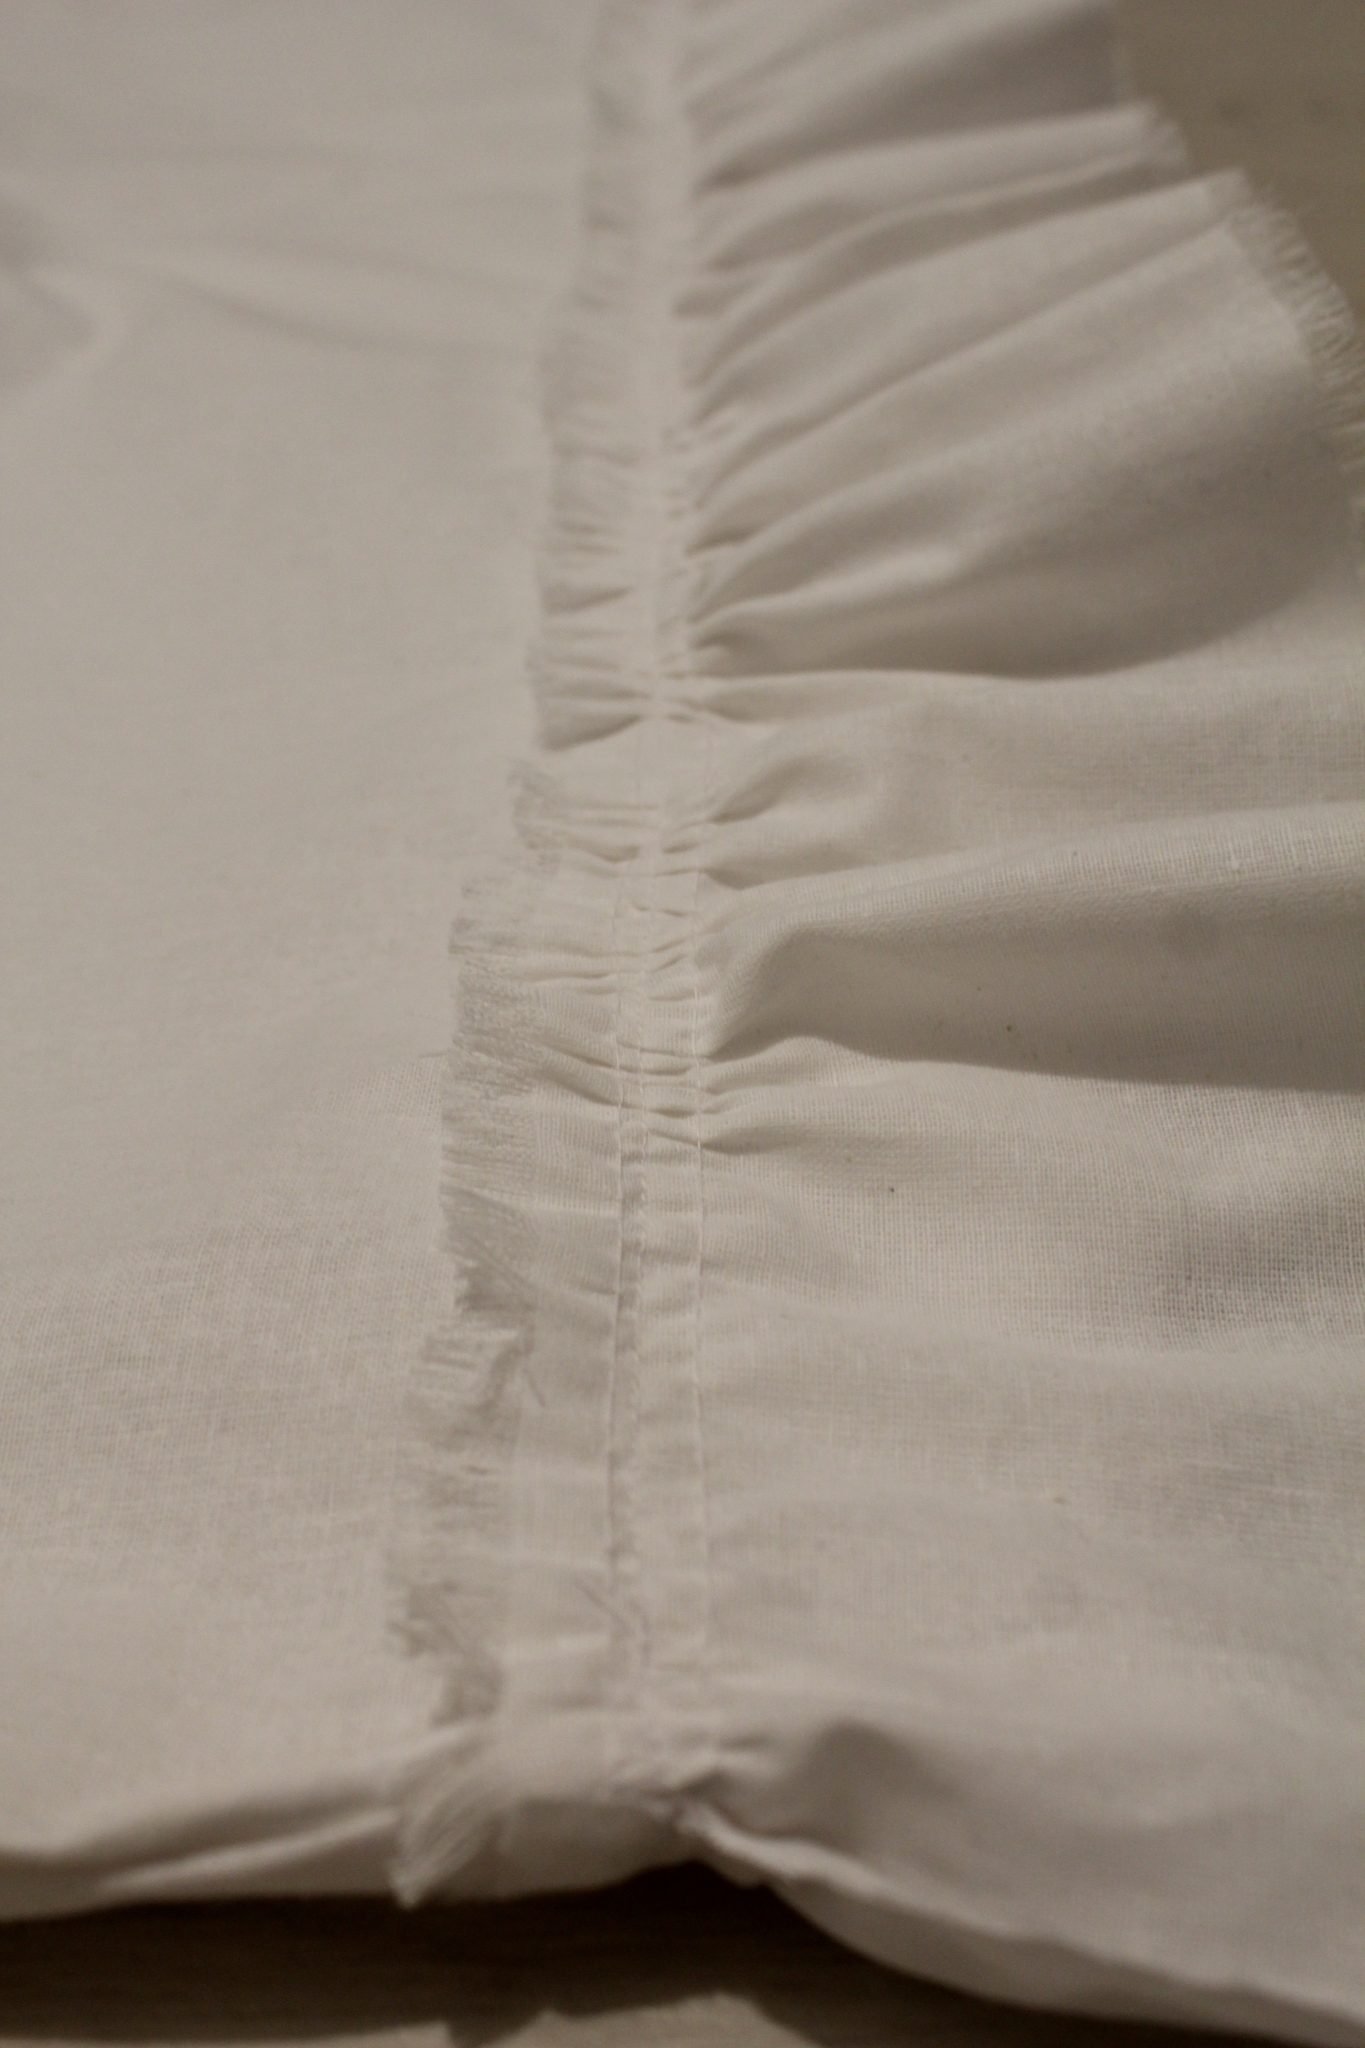
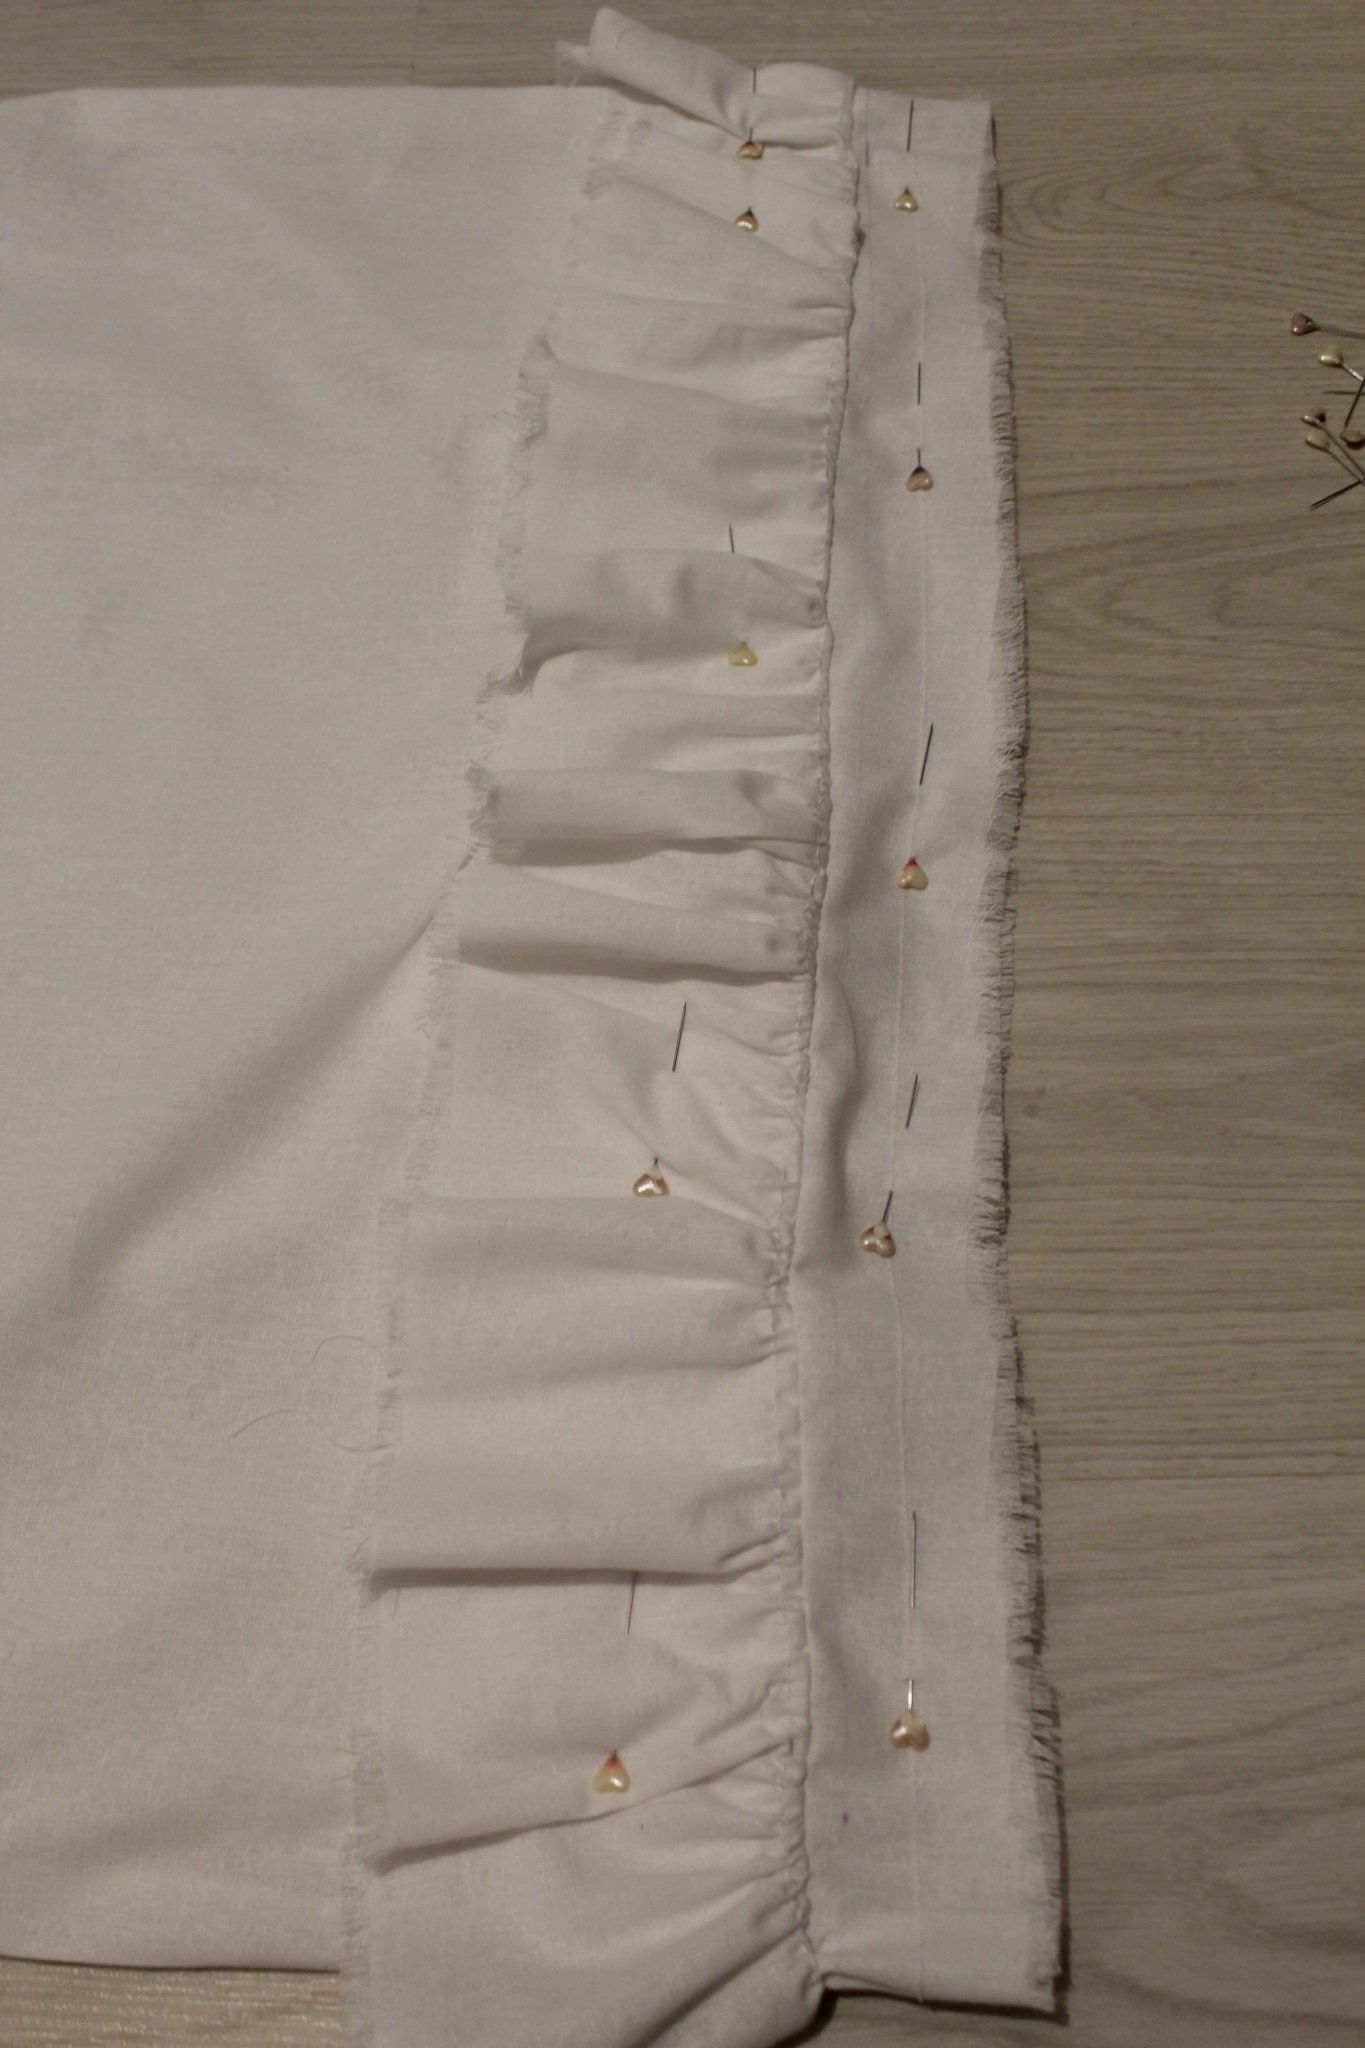
Attaching the ruffles to the pillowcase
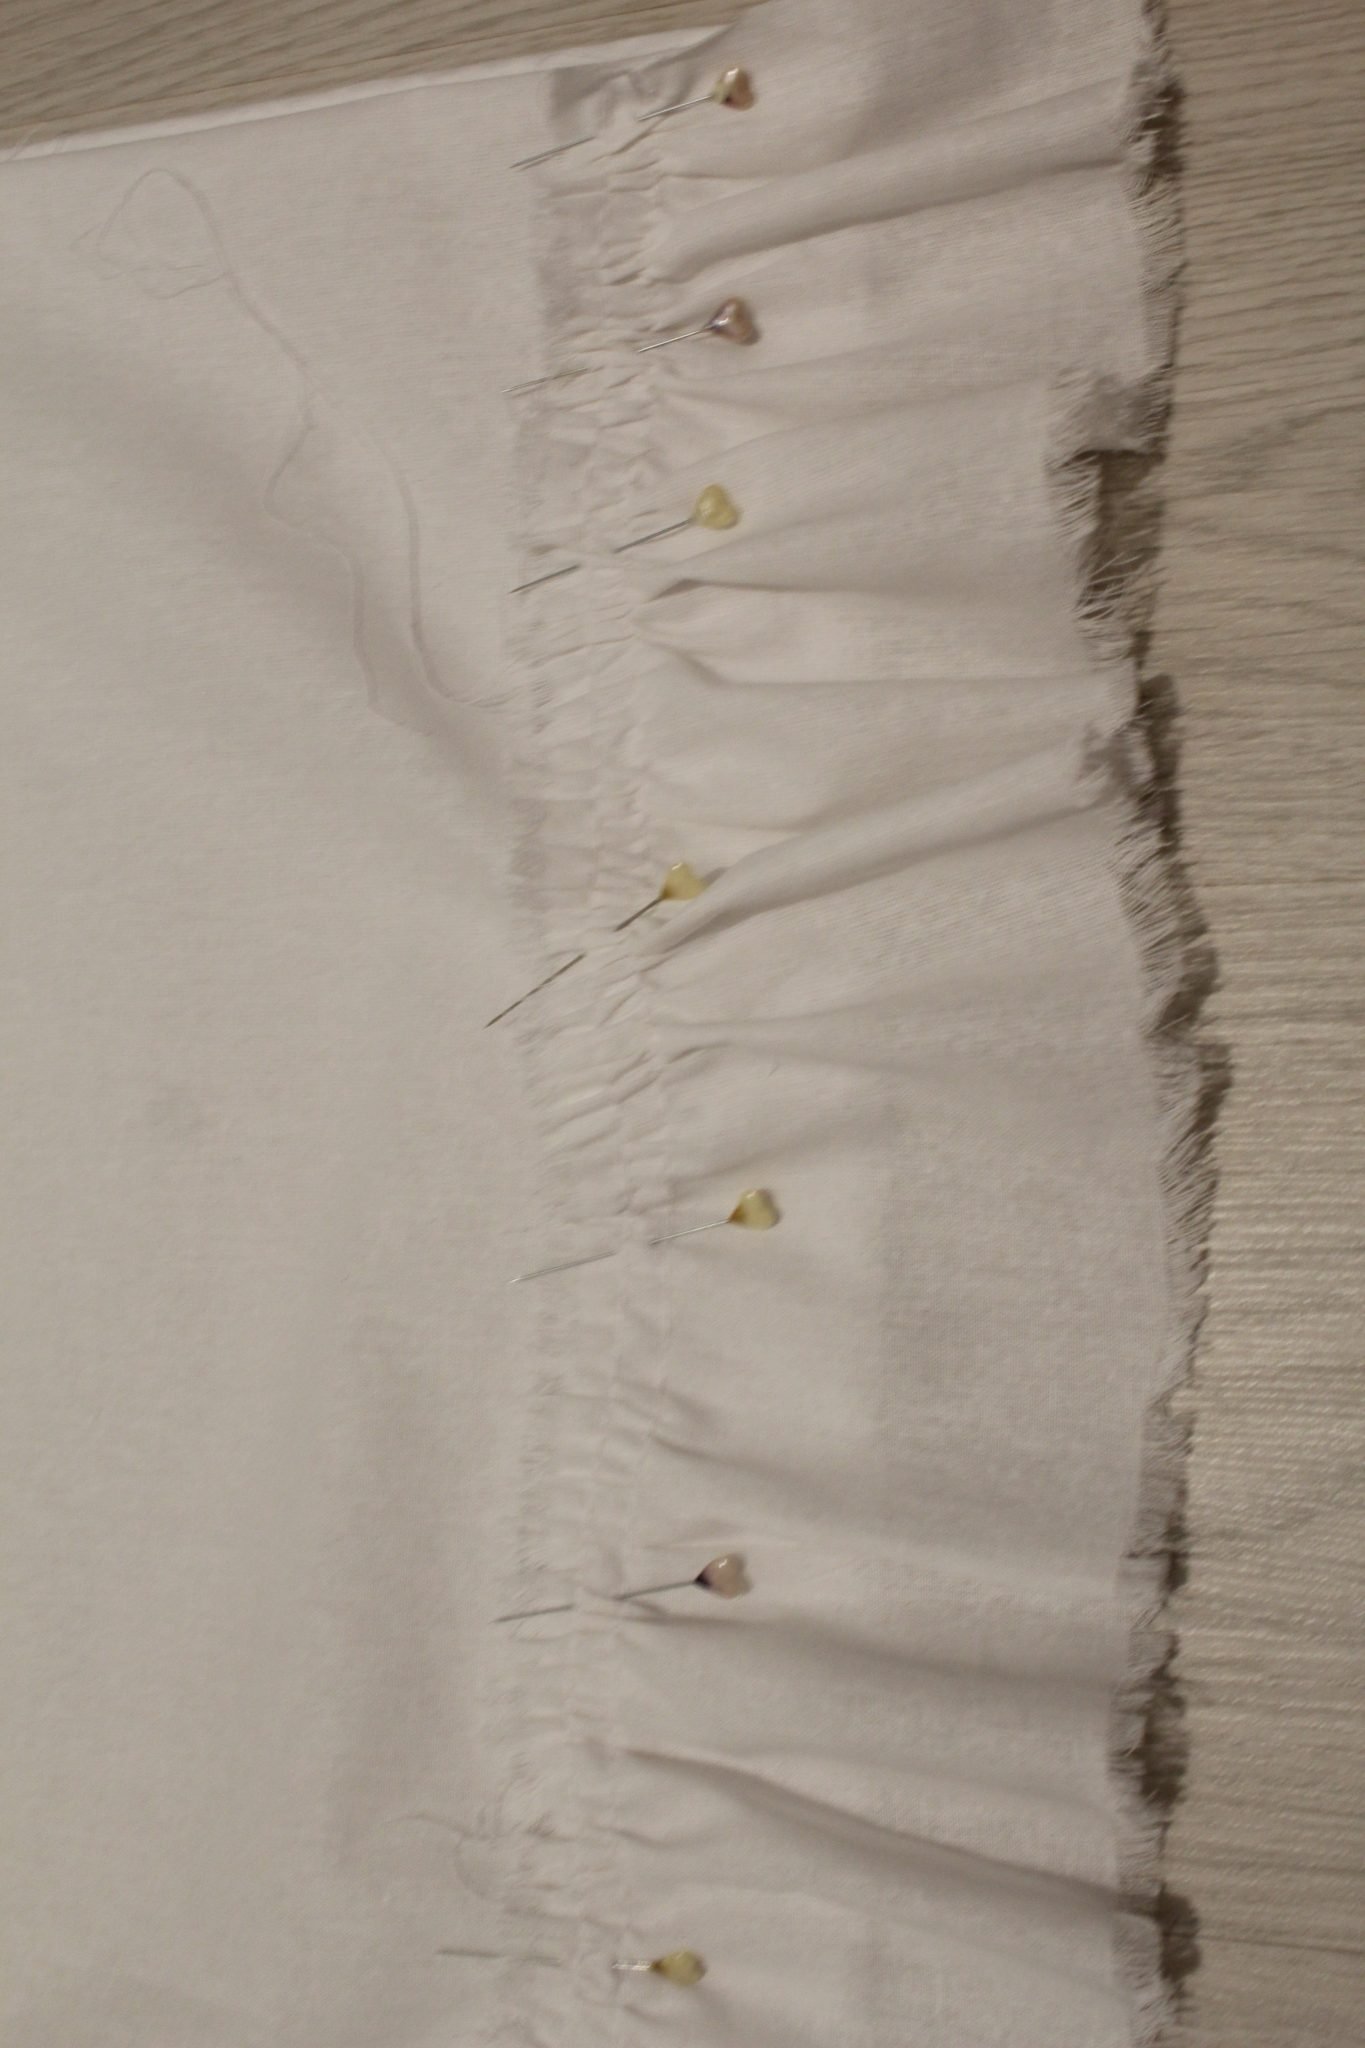
- Measure 2″ away from each side, mark and trace a line with a fabric marker using a yardstick
- Using lots of pins, attach the ruffles following these marks. The edge of the ruffle(the one without the small stitch) should match the line you traced on the pillowcase. Each ruffled strip should go all along each side, from front to back (like a circle)
- Sew down from front to the back using a regular stitch.
- Repeat for the second ruffled strip and the other end of the pillow case.
Finishing the ruffled pillow case
- Now all you have left to do is close the pillowcase ends.
- Fold the ruffles towards the inside of the pillowcase and pin to the pillowcase to get them out of your way.
- This way the side edges will be exposed and you can sew down the back and front panels together with a regular stitch, using a 1″ allowance.
- Remove the pins.
- Insert your pillow into your ruffled pillow case using the pocket in the back. Enjoy!
Tips
- to prevent the pillowcase from over-fraying as you wash it over and over again, simply run a straight stitch about ¼ inch away from the frayed edge.
- Feel free to make the ruffles as short or as long as you like them, there’s absolute freedom in choosing the design of these ruffled pillow cases.
Note
This ruffled pillow case tutorial is for an envelope pillowcase. The top and the bottom seams of the pillowcase are enclosed in the pillowcase and you’ll need to finish with a serger or a zig zag stitch. The sides of the pillow case are sewn with the fabric right side out so the seam is exposed to the outside and the edges are a bit frayed, to match the ruffles.
More tutorials you will enjoy:
Frequently asked questions
Can I use this method for other projects?
Sure! I made this tutorial for a ruffled pillow case but you can easily use the same steps to make the projects I mentioned above in the introduction and even ruffled pillow shams. Don’t know the difference? To be fair it’s not much of a difference: you sleep on pillows while pillow shams are used as decorative pieces, so they are pillows you don’t sleep on.
How long does it take to make a farmhouse style ruffled pillow case?
It depends on your sewing experience and the complexity of the design. However, on average, it can take anywhere from 1-3 hours.
Can I use any type of fabric for these pillow cases?
Yes, you can use any fabric that fits your desired farmhouse style aesthetic. However, it is recommended to use natural fabrics such as cotton or linen for an authentic look.
How do I care for my farmhouse style ruffled pillowcase?
It is best to hand wash or use the delicate cycle on your washing machine and hang dry them. This will help preserve the ruffles and prevent them from getting tangled or ruined in the dryer.
Can I add a monogram or personalized touch to my ruffled pillow case?
Absolutely! You can add a monogram, embroidery, or any other personalization to your pillow case to make it even more unique. Just make sure to do so before sewing the ruffles on.
Do you have any tips for beginners who want to try making these pillow cases?
Start with a simple and basic ruffle design before progressing to more complex ones. Also, make sure to measure and cut your fabric accurately for the best results. And don’t be afraid to experiment with different fabrics and colors!
With just a few basic sewing skills and some fabric, you can easily transform simple pillows into beautiful statement pieces. Plus, these pillow cases make for great gifts for friends and loved ones who appreciate handmade items. So why not give it a try and add a touch of shabby chic to your home today?
Let me know how your project went with a comment below and don’t forget to sign up to my newsletter for more easy peasy sewing patterns and tutorials, delivered right to your inbox. Happy sewing!

Ruffled pillow case sewing tutorial
Materials
- linen fabric
- matching thread
Tools
- measuring tape
- yardstick (optional but helps a lot)
- scissors
- serger (optional)
- pressing iron
Instructions
- Start by measuring your pillows in width and length.
- You will have to cut one panel for the front and 2 panels for the back of the pillowcase.
- Mark your fabric with a fabric marker; using a yardstick is very helpful. Cut or rip the fabric as follows (I recommend ripping for the frayed effect):
- 1 panel for the front of the pillowcase, matching your pillow measurements plus an extra 1" to the width and 4" to the length. The extra inch is for seam allowance (you'll sew the top and bottom of the pillow cases using a 1/2" allowance on each). The extra 4" (2" on each side of the pillow case) are to accommodate the ruffles and the seam allowance (which is not enclosed as they typically are on pillowcases but sewn on the outside and exposed).
- 1 panel for the back that is as wide as the front panel and is half the length of the front panel plus 1" allowance
- 1 panel for the back that is as wide as the front panel and is half the length of the front panel plus 1" allowance plus 5" for overlapping the first back panel.
- For the ruffles, you'll need two strips twice as long as the width of the pillow (front and back; i.e your pillow is 10" wide so you have 10" for the front and 10" for the back of the pillow; you'll then need a 40" strip for 1 ruffle and 40" strips for the second ruffle).
- The back panels will need to overlap in the back and create some sort of a "pocket" where you can insert the pillow into the pillowcase.
- The raw overlapping edges need to be finished as follows.
- Working with one panel at a time, get the overlapping edge, fold 1/2" and press with your iron. Fold again 1/2" and press. Get the panel to your sewing machine and run a regular stitch along the pressed edge, using a 1/ seam allowance.
- Repeat for the second panel.
- Run a small stitch along the sides of each panel (font and back), about 1/2" away from the frays to prevent over fraying in the future.
- Remove 3-4 threads on both sides of each panel.
- Place the front panel right side out.
- Place the long back panel over the front panel, on the left hand side, wrong side out, sewn edge facing towards the middle of the pillowcase. The front and long back panel should match at the raw sides, top and bottom.
- Add the short back panel on the right hand side, wrong side out, sewn edge facing towards the middle of the pillowcase. The front and short back panel should match at the raw sides, top and bottom.
- Pin the top and the bottom seams.
- Sew down each seam with 1/2" seam allowance then finish the seam with a serger or a zig zag stitch.
- Turn pillowcase right side out.
- Remove 3-4 threads along both sides of each ruffle strip.
- Run a small stitch along one side of each strip.
- Ruffle the strips using your preferred method (I've got a tutorial for gathering fabric here) to match the width of the pillows as indicated above.
- Measure 2" away from each side, mark and trace a line with a fabric marker using a yardstick
- Using lots of pins, attach the ruffles following these marks. The edge of the ruffle(the one without the small stitch) should match the line you traced on the pillowcase. Each ruffled strip should go all along each side, from front to back (like a circle)
- Sew down from front to the back using a regular stitch.
- Repeat for the second ruffled strip and the other end of the pillow case.
- Now all you have left to do is close the pillowcase ends.
- Fold the ruffles towards the inside of the pillowcase and pin to the pillowcase to get them out of your way.
- This way the side edges will be exposed and you can sew down the back and front panels together with a regular stitch, using a 1" allowance.
- Remove the pins.
- Insert your pillow into your ruffled pillow case using the pocket in the back. Enjoy!
Notes
Feel free to make the ruffles as short or as long as you like them, there’s absolute freedom in choosing the design of these ruffled pillow cases. Note: This ruffled pillow case tutorial is for an envelope pillowcase. The top and the bottom seams of the pillowcase are enclosed in the pillowcase and you'll need to finish with a serger or a zig zag stitch. The sides of the pillow case are sewn with the fabric right side out so the seam is exposed to the outside and the edges are a bit frayed, to match the ruffles.
Article may contain Amazon & affiliate links. As an Amazon Associate I earn from qualifying purchases at no additional cost to you.

My granddaughter is starting to sew quite a bit. She will live this lovely but simple pillow case. Thanks for sharing this great idea!
Thanks for letting me know, Cyndy! This is quite an easy project, she’ll have no troubles finishing it!
I think this the most original idea I have seen anywhere for pillows.
I will be getting my stash of linen out and bless my granddaughters.
Thank you!
Thanks for your lovely comment, Jacqueline! Glad you liked my tutorial! xoxo