

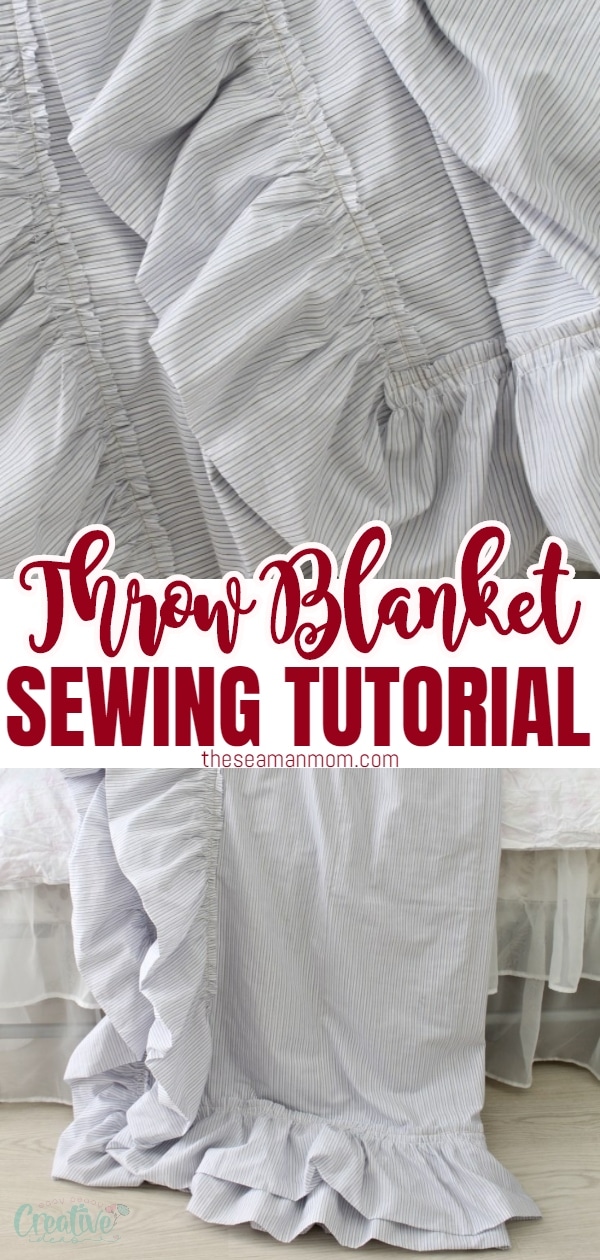
Easy quick and practical DIY throw blanket sewing tutorial
Ever thought about sewing your own linen throw blanket? This quick and simple DIY throw blanket makes sewing a throw blanket a breeze, you’ll be done in no time! This adorable reversible throw blanket is a great decorative piece but will also keep you warm and cozy all season long!
DIY throw blanket
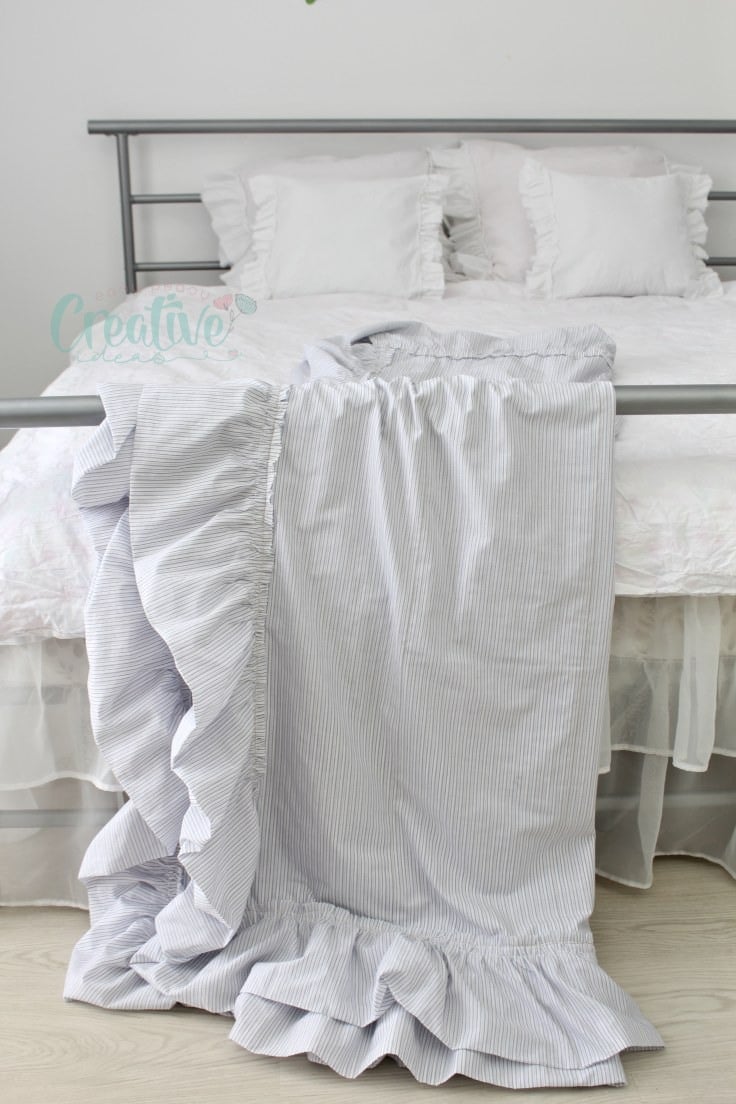
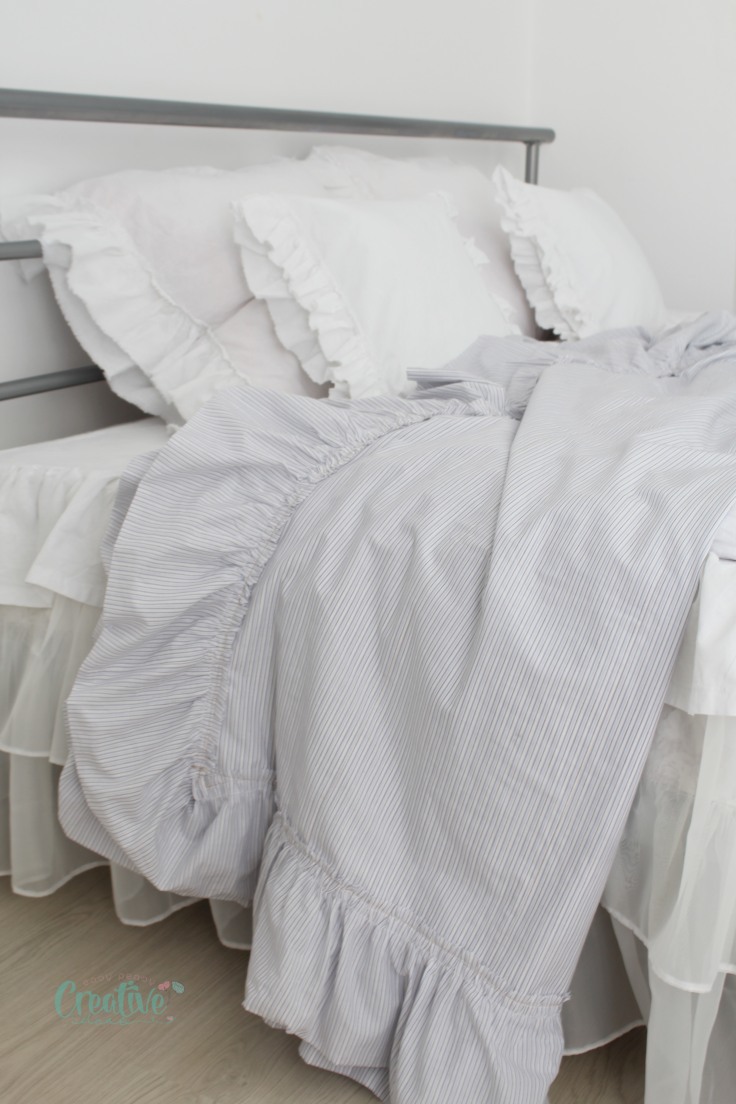
I made this lovely farmhouse throw blanket for my daughter’s room, to complete a pretty long but easy project: redesigning her room! I wanted Ellie to have a place where she could have some privacy but feel as comfortable as she is in her play room where she’s spent most of the past years. This beautiful DIY throw blanket closes the circle and I honestly feel proud of my achievements!
If you like ruffles you’ll love sewing this Retro Apron! Click the photo below to get the pattern!
While very easy and pretty quick for a home project, this easy throw blanket takes a bit longer than you would expect because of the ruffle addition. But you only need basic sewing skills to make it, so any beginner could make a beautiful ruffled blanket. Homemade blankets are a lot more personal and more appreciated. Most would say they are even cozier than store-bought ones, so they also make great DIY gifts.
Want more projects for home?
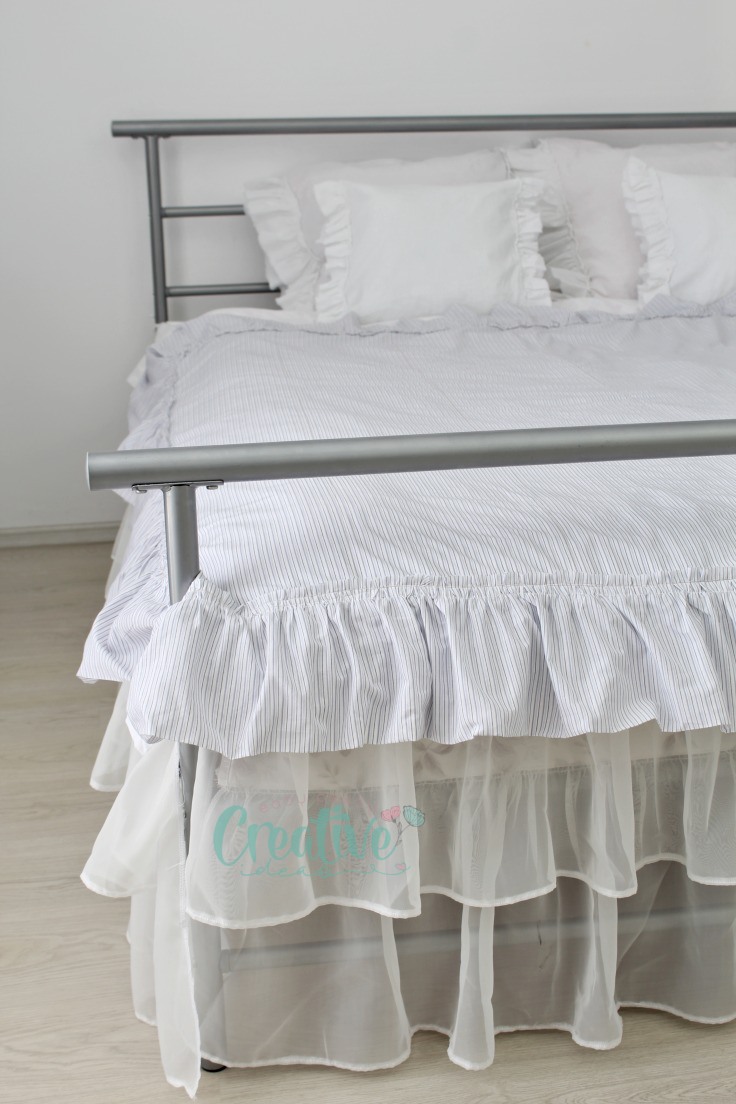
- DIY bed skirt
- Simple pillowcase tutorial
- Christmas tree pillows
- DIY cutlery holder
- Pretty flower pillowcase
I find this farmhouse inspired linen blanket the perfect final touch to this room where I wanted modern, clean lines to blend with farmhouse accents for one of the warmest, coziest rooms in our house. This DIY throw blanket can be used just for its decorative purpose but can also double down as a pretty, soft and cozy blanket to keep her warm when she cuddles in bed, in front of the TV or with a book in her tiny hands.
I wanted to make this linen throw blanket reversible for selfish purposes only: to make my life easier. Being double sided, I don’t have to worry about getting it on the wrong side, especially since I used a fabric with very similar wrong and right sides. Also I’m hoping soon Ellie will be able to make the bed on her own. Plus being double sided makes the blanket a little thicker and warmer.
How to personalize this DIY throw blanket?
There are several ways you can personalize and make this project truly yours. Here are just a few ideas:
- Add a layer of flannel to make it even cozier. With so many different patterns and designs, you can use it for one of the sides of the blanket. In this case, make the ruffles out of the softer fabric to keep that farmhouse look.
- Don’t be afraid to sew several layers of ruffles to spice up the look of your blanket. I’m a girly girl, so I just looove ruffles! There’s absolutely no reason to not add ruffles to a cute DIY throw blanket. Don’t limit yourself to the size of my ruffles. Make them as wide or narrow as you like.
- Of course, you can think of a lot of variations to my ruffled throw blanket: replacing ruffles with tassels for a more romantic look, embroidering large patterns to match the room design or add pom-poms to make it look funnier.
- For a more fresh and catchy look, use contrasting fabrics for the blanket and the ruffles, and make matching pillowcases. This would go great in a little girl’s room that loves a colored environment.
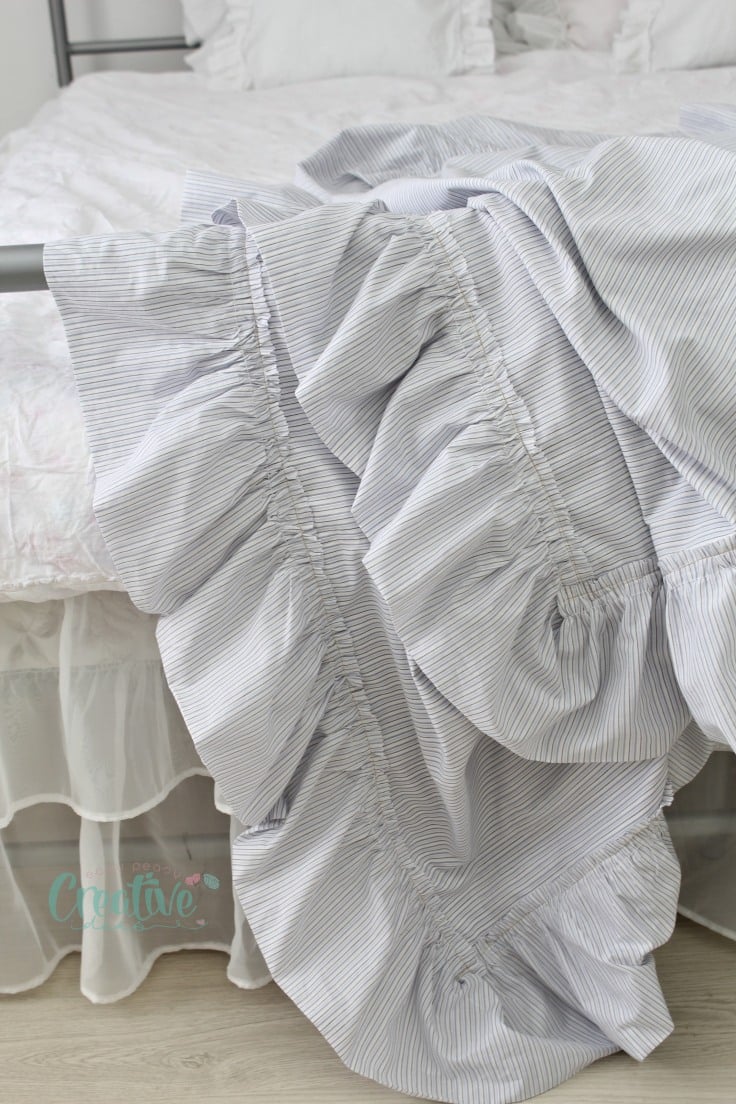
I added double sided ruffles too, as my DIY throw blanket had to match the rest of the bed spreading and inspire the farmhouse/shabby chic style. And to me nothing says that better than big, cute ruffles! Making the ruffled strip double sided also made the sewing project a lot faster and you’ll see why in a minute. But because I made the throw and the ruffles double sided, I did use quite a bit of fabric (6 yards to be more specific).
Most popular sewing projects:
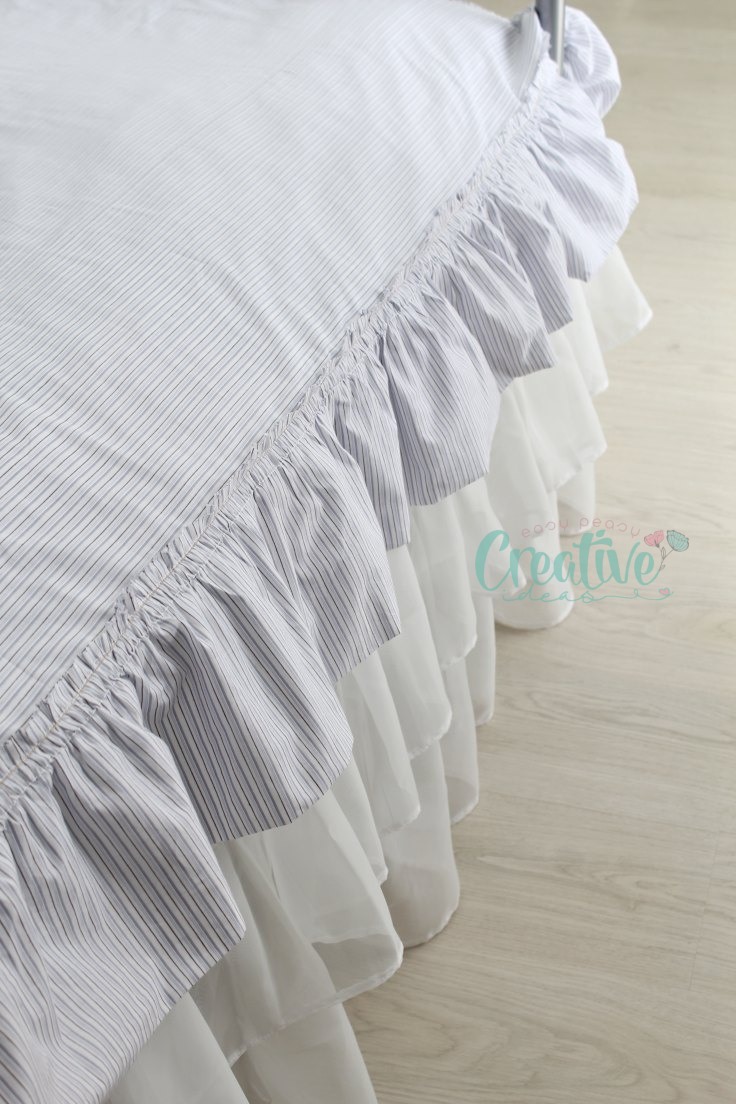
My DIY throw blanket measures 58″x 72″ but feel free to make your bed throw using your own measurements, the process is the same. I also used pinking sheers to cut the raw edges on the ruffle strip but if you can fray yours, the throw will look more rustic than mine. To my surprise, this particular fabric could not be frayed no matter what I tried. Quite frankly it was getting on my nerves as frayed ruffles was my initial goal when I planned for this farmhouse throw blanket.
Everyone can benefit from these lovely and cozy DIY blankets: kids, pets, yourself, so make as many as you can. These ruffled throw blankets can soften the look of your boring living room or spice up your kids’ cozy corner, like in Ellie’s case.
Ruffled throw blanket
Materials:
- 6 yards linen fabric
- fabric marker
- yardstick
- scissors
- pinking sheers
- matching thread
- pins
- sewing machine
- pressing iron
Directions:
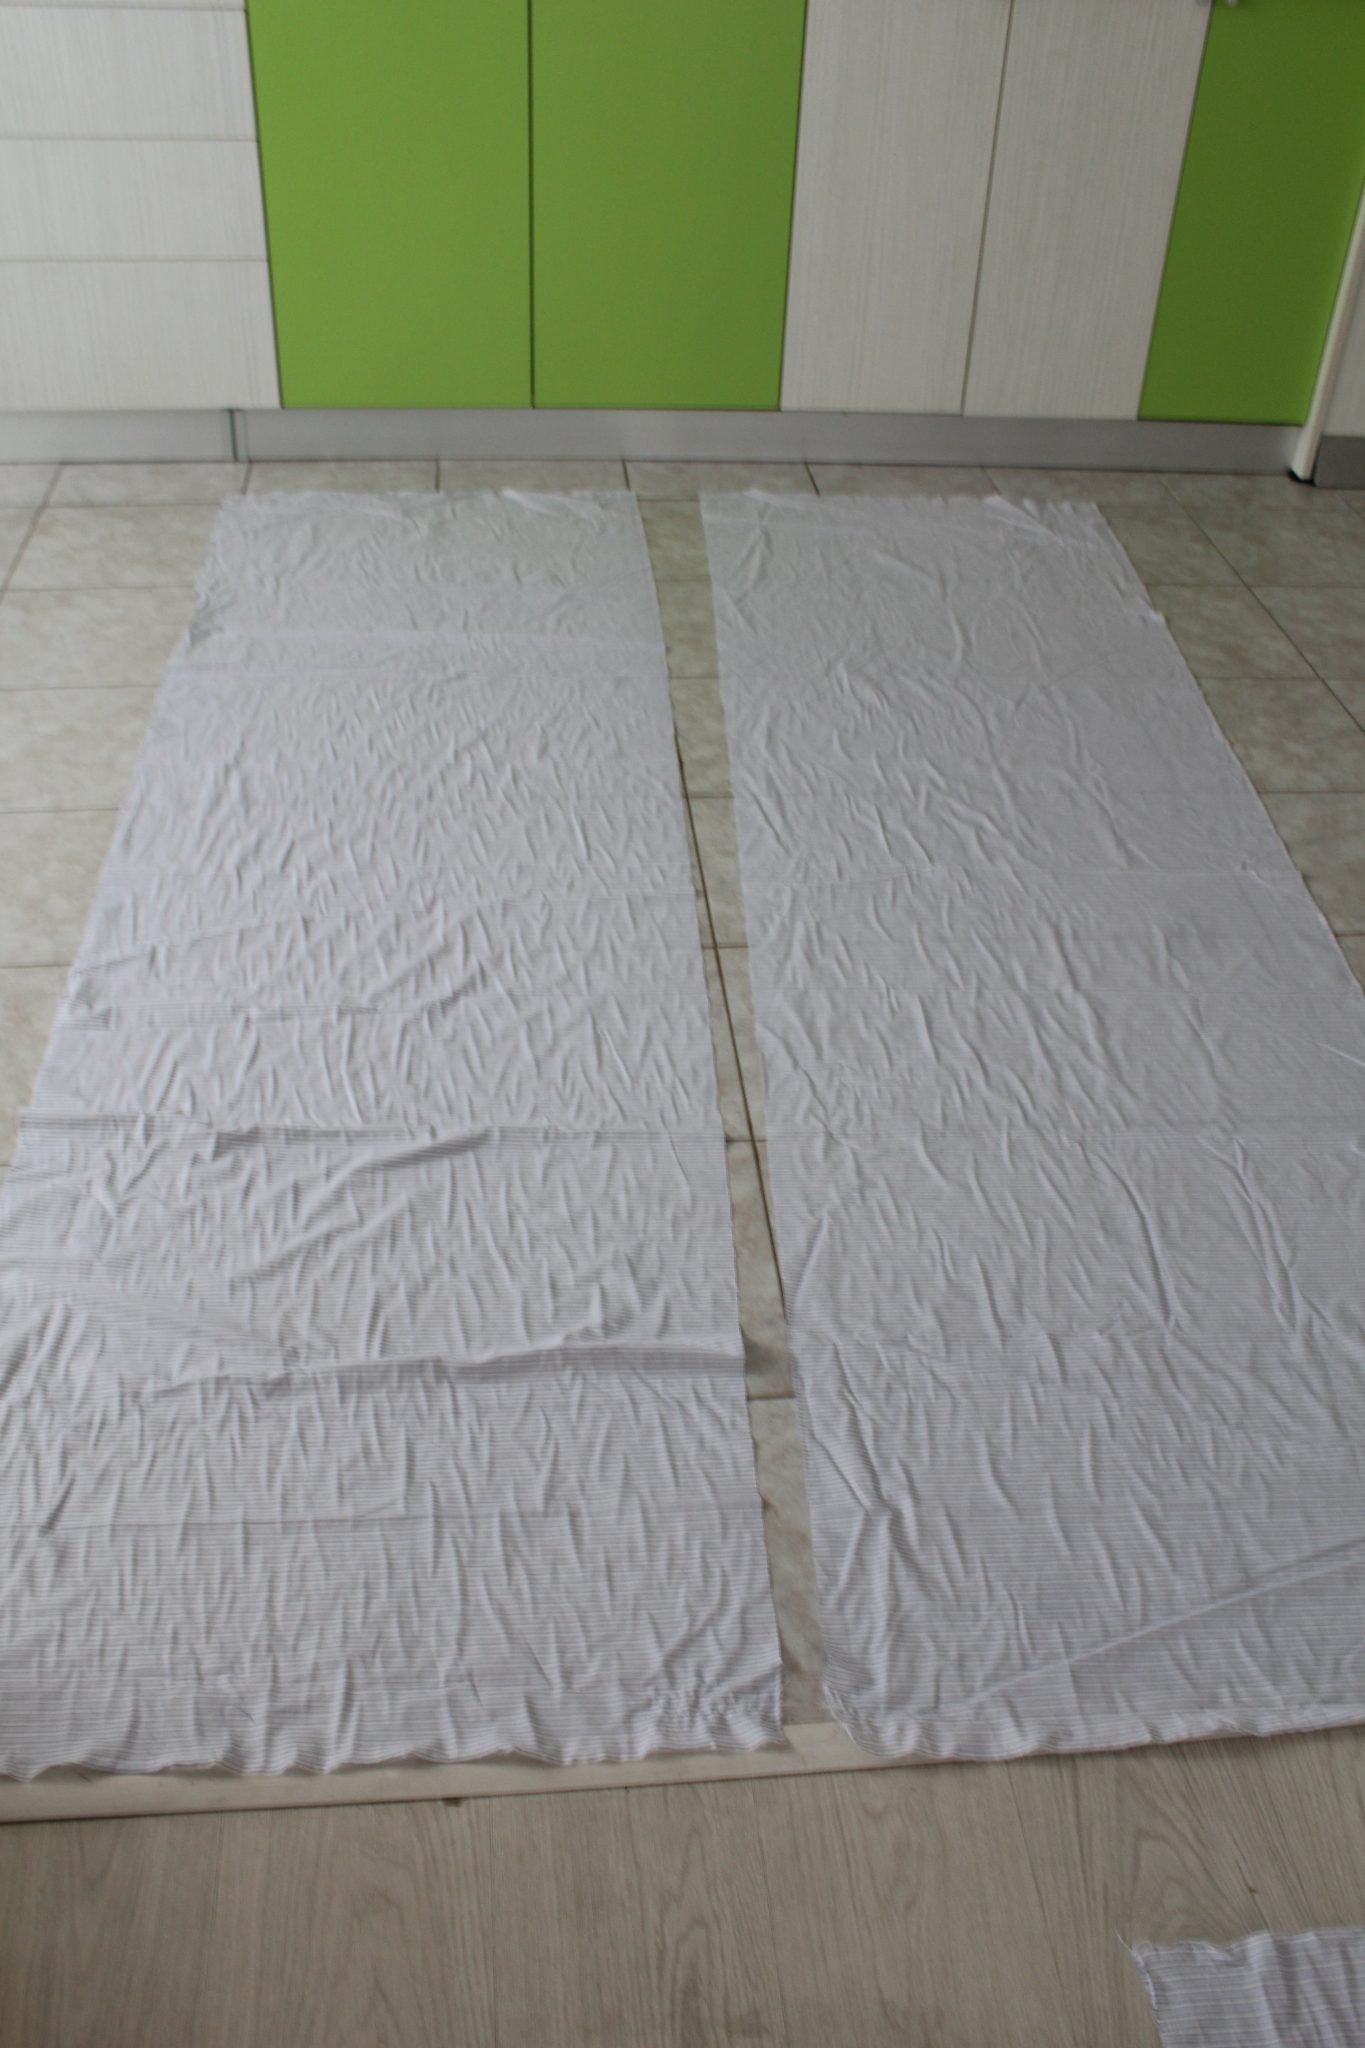
Cutting the fabrics
- Cut 2 panels of 58″ x 72″. A yard is 58″ x 36″ so you’ll basically cut through 4 yards worth of fabric.
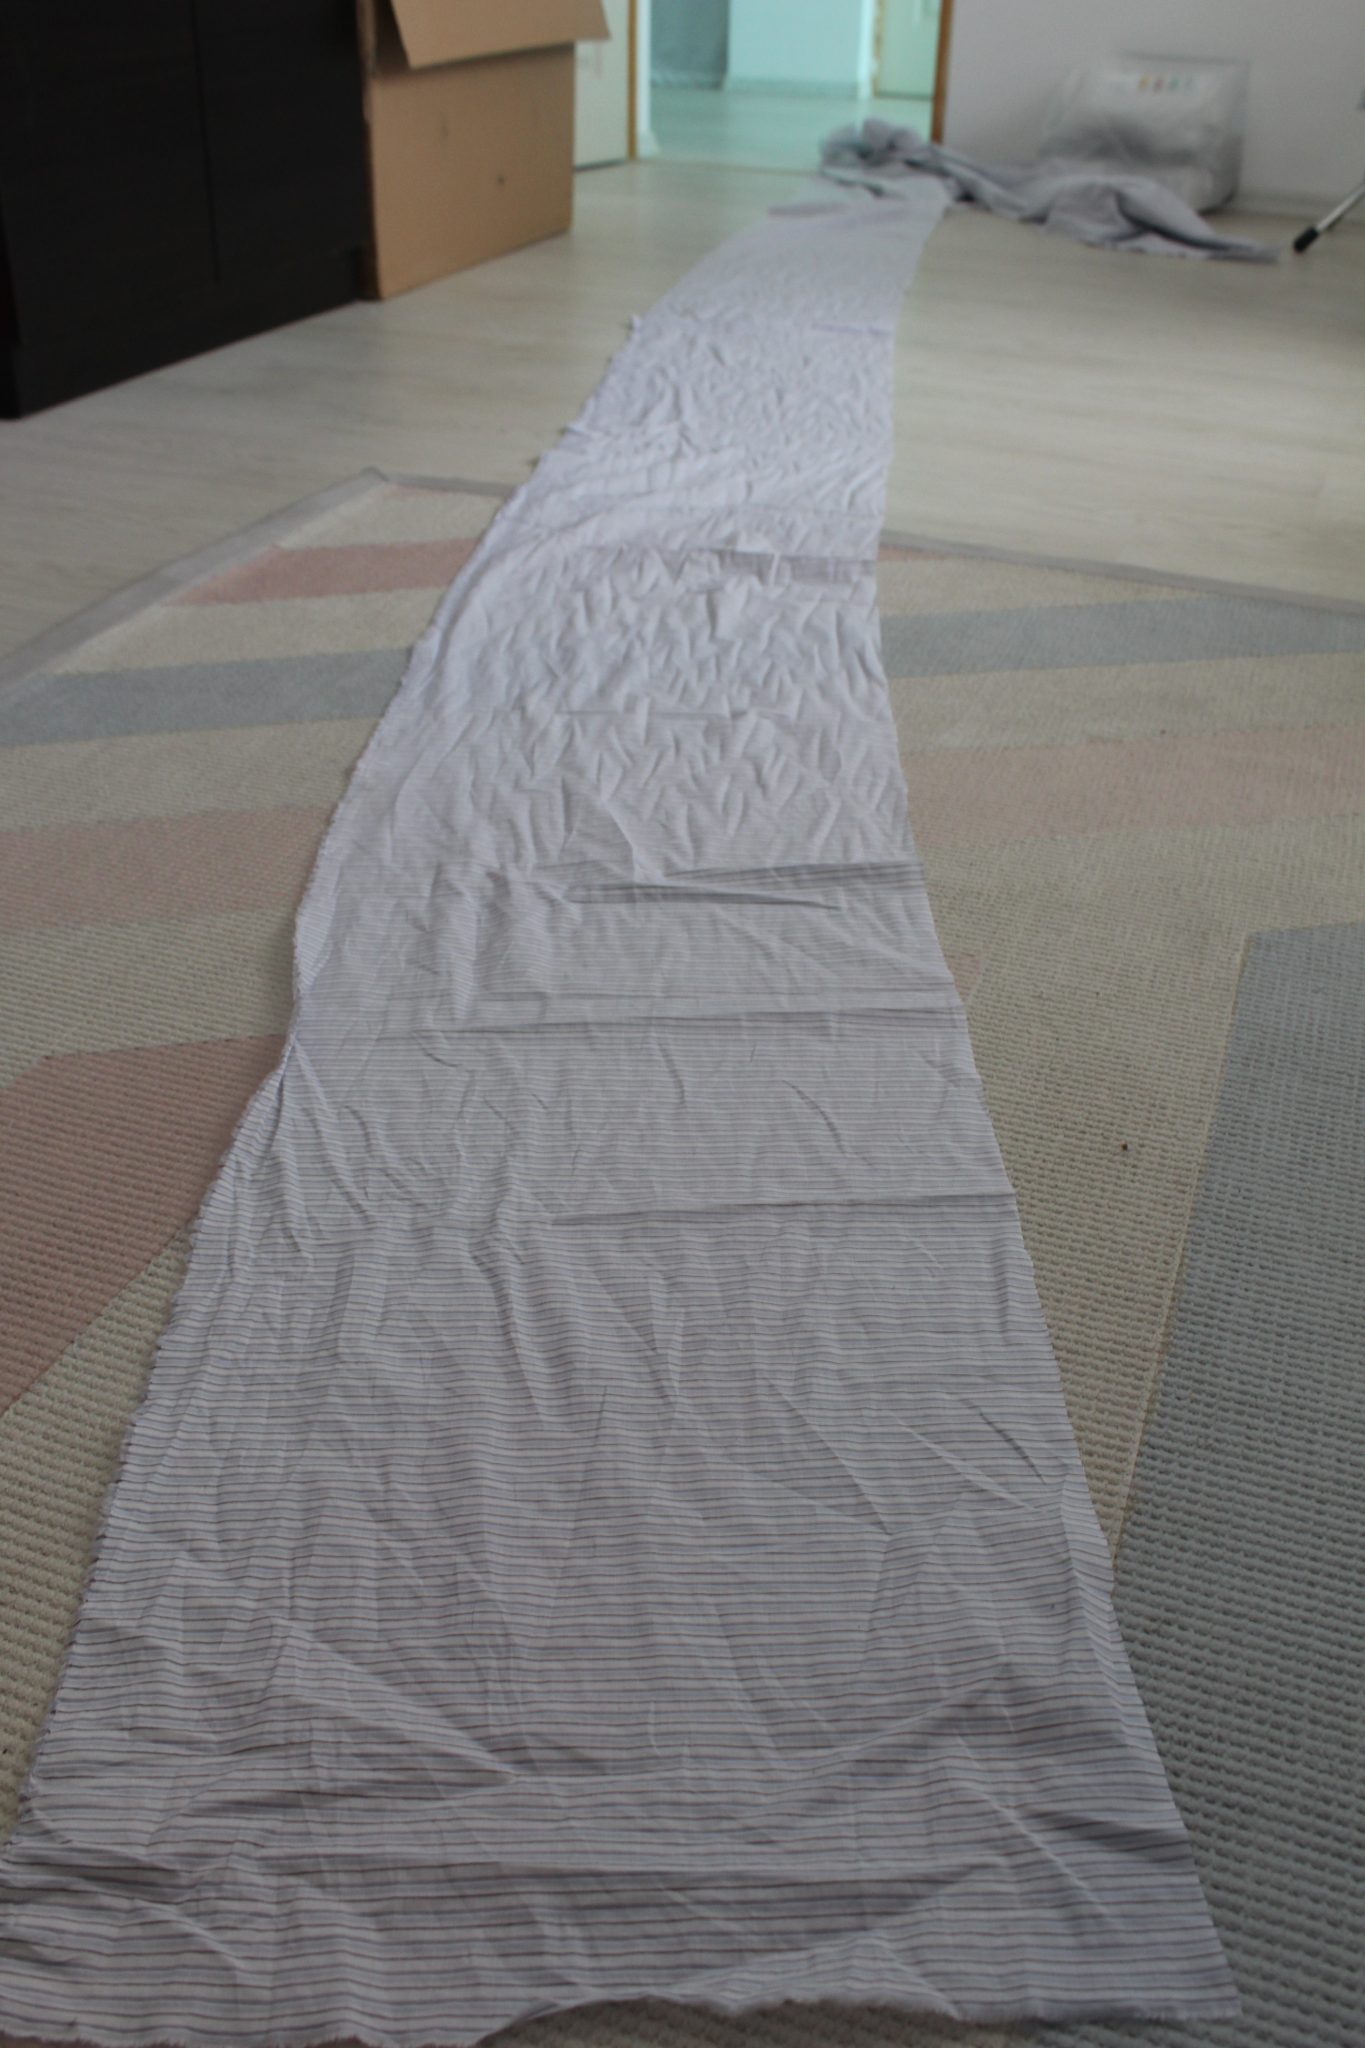
- Use the remaining fabric to cut the strips for the ruffle. I folded the big strip in half, lengthwise and cut along that fold.
- Then I folded each of the halves in half again and cut along the fold. I ended up with 4 strips.
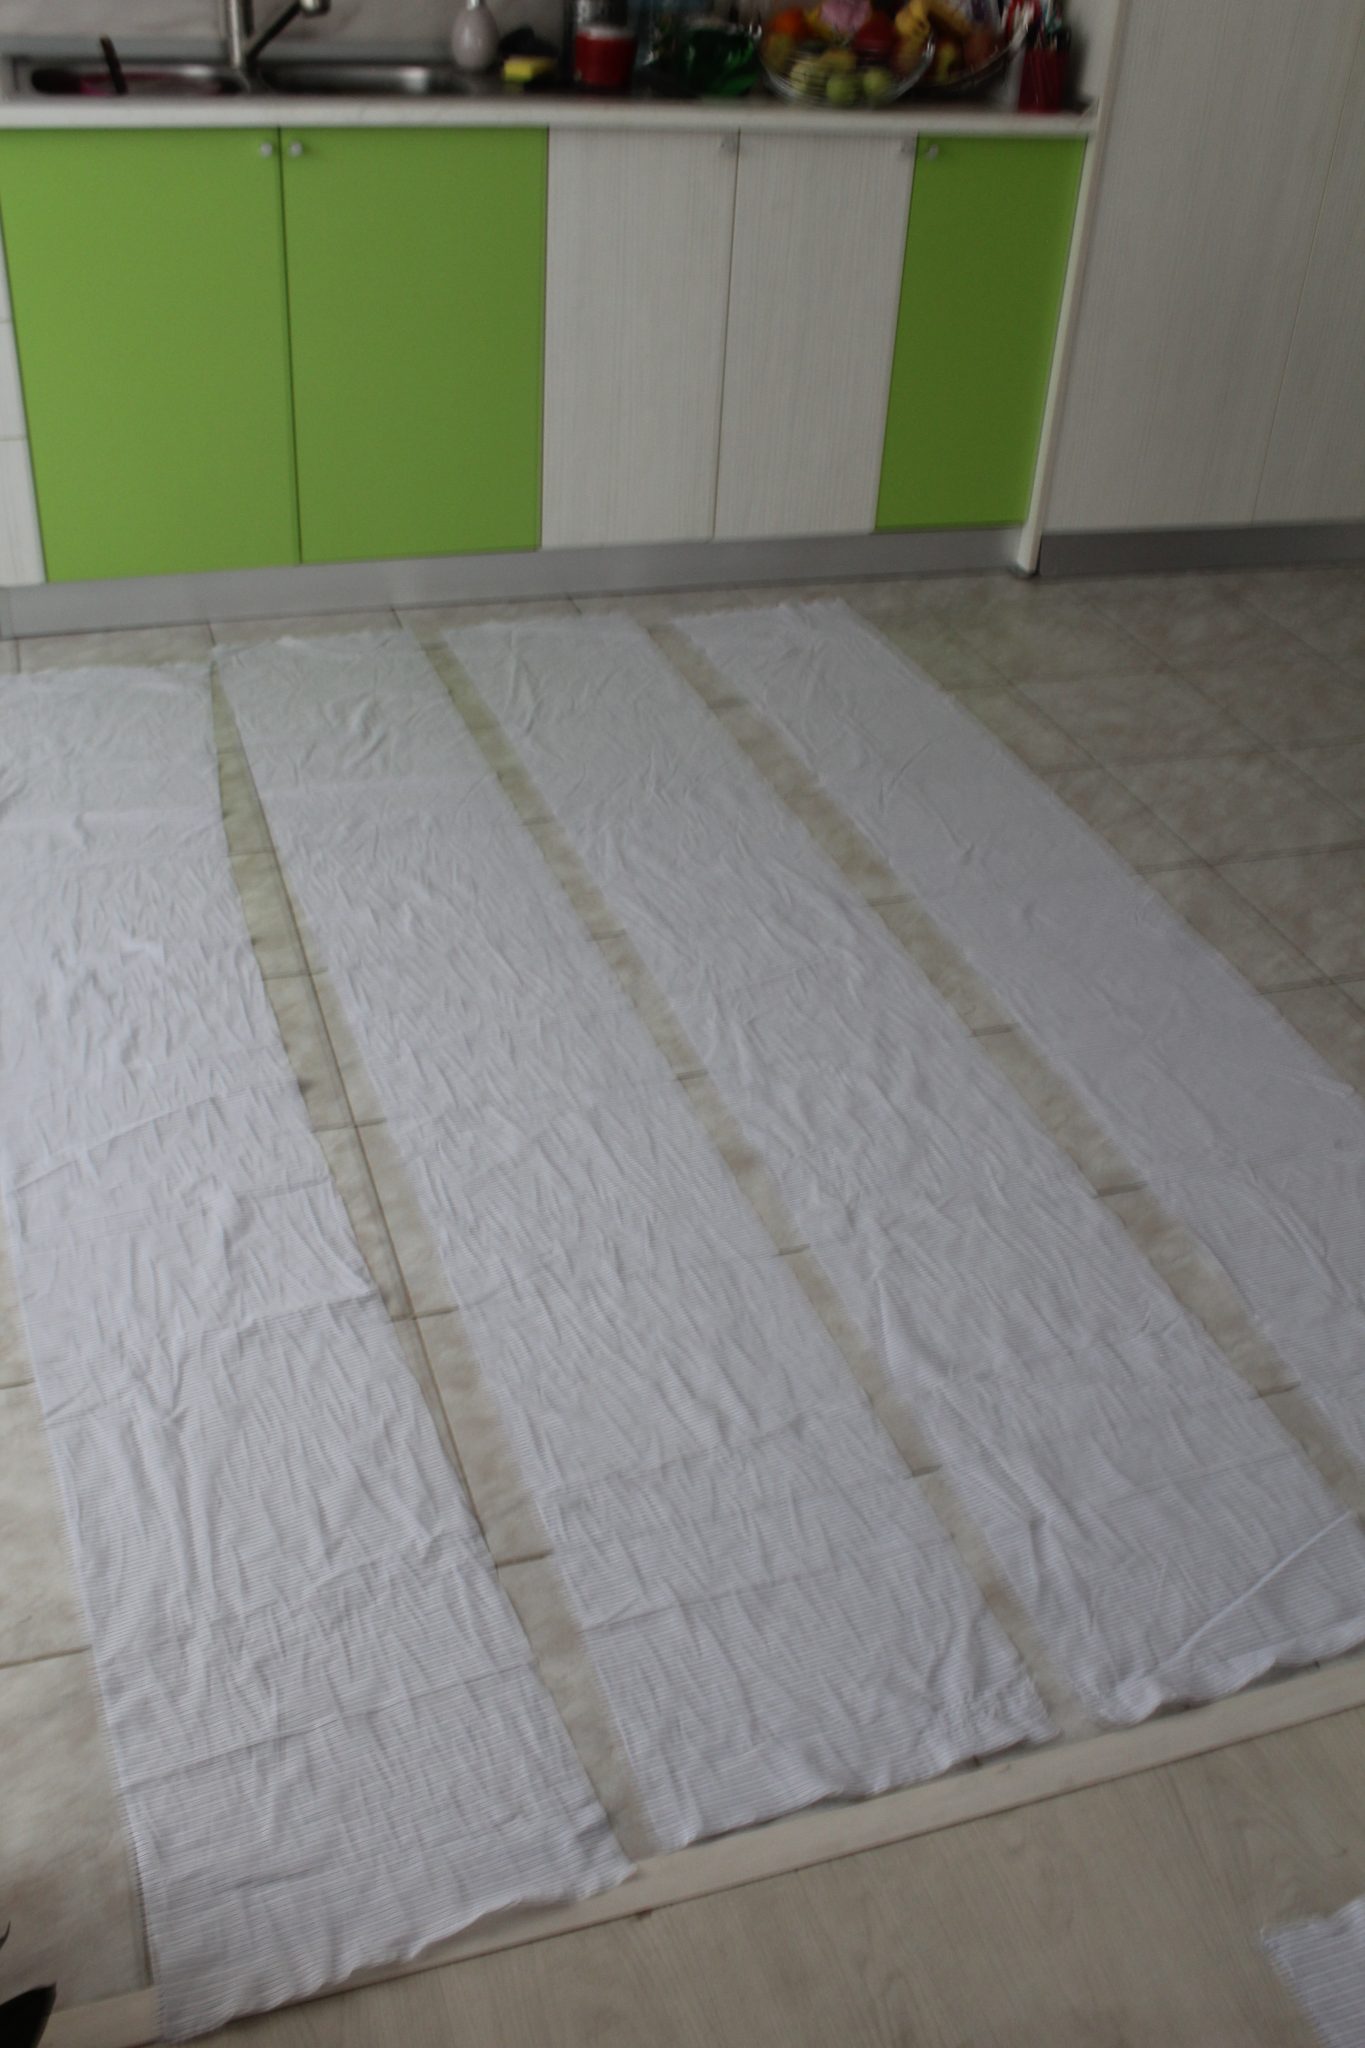
- I made a super long strip from these strips, joined at the ends.
Making the ruffle strip
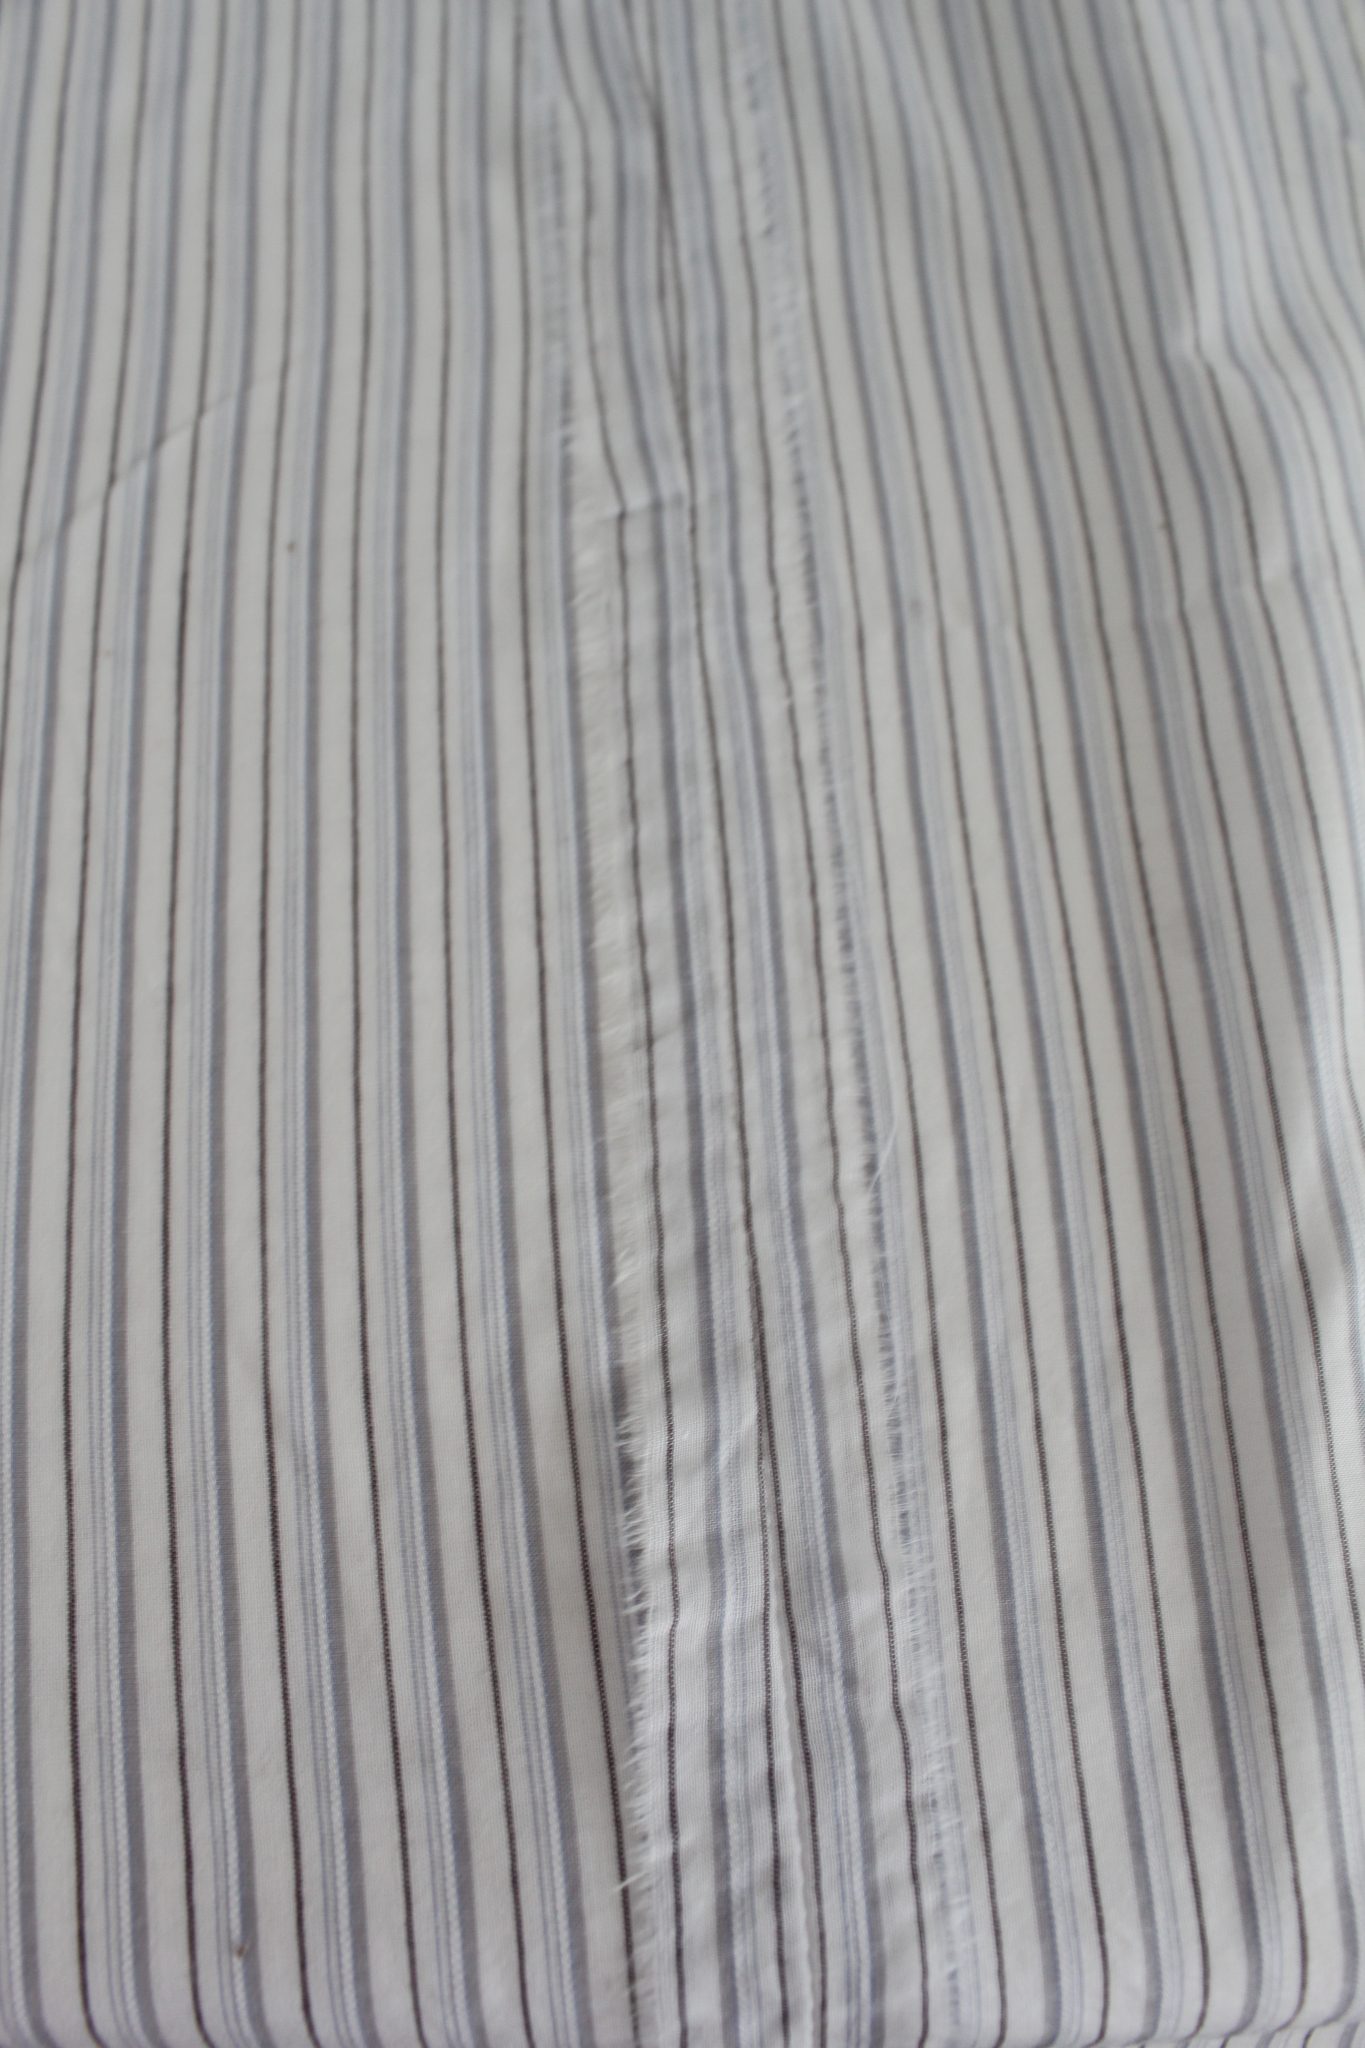
- Place 2 of these strips right sides together and sew with 1/4″ allowance. Repeat until all strips are joined together. I ended up with a huge strips of about 32 ft.
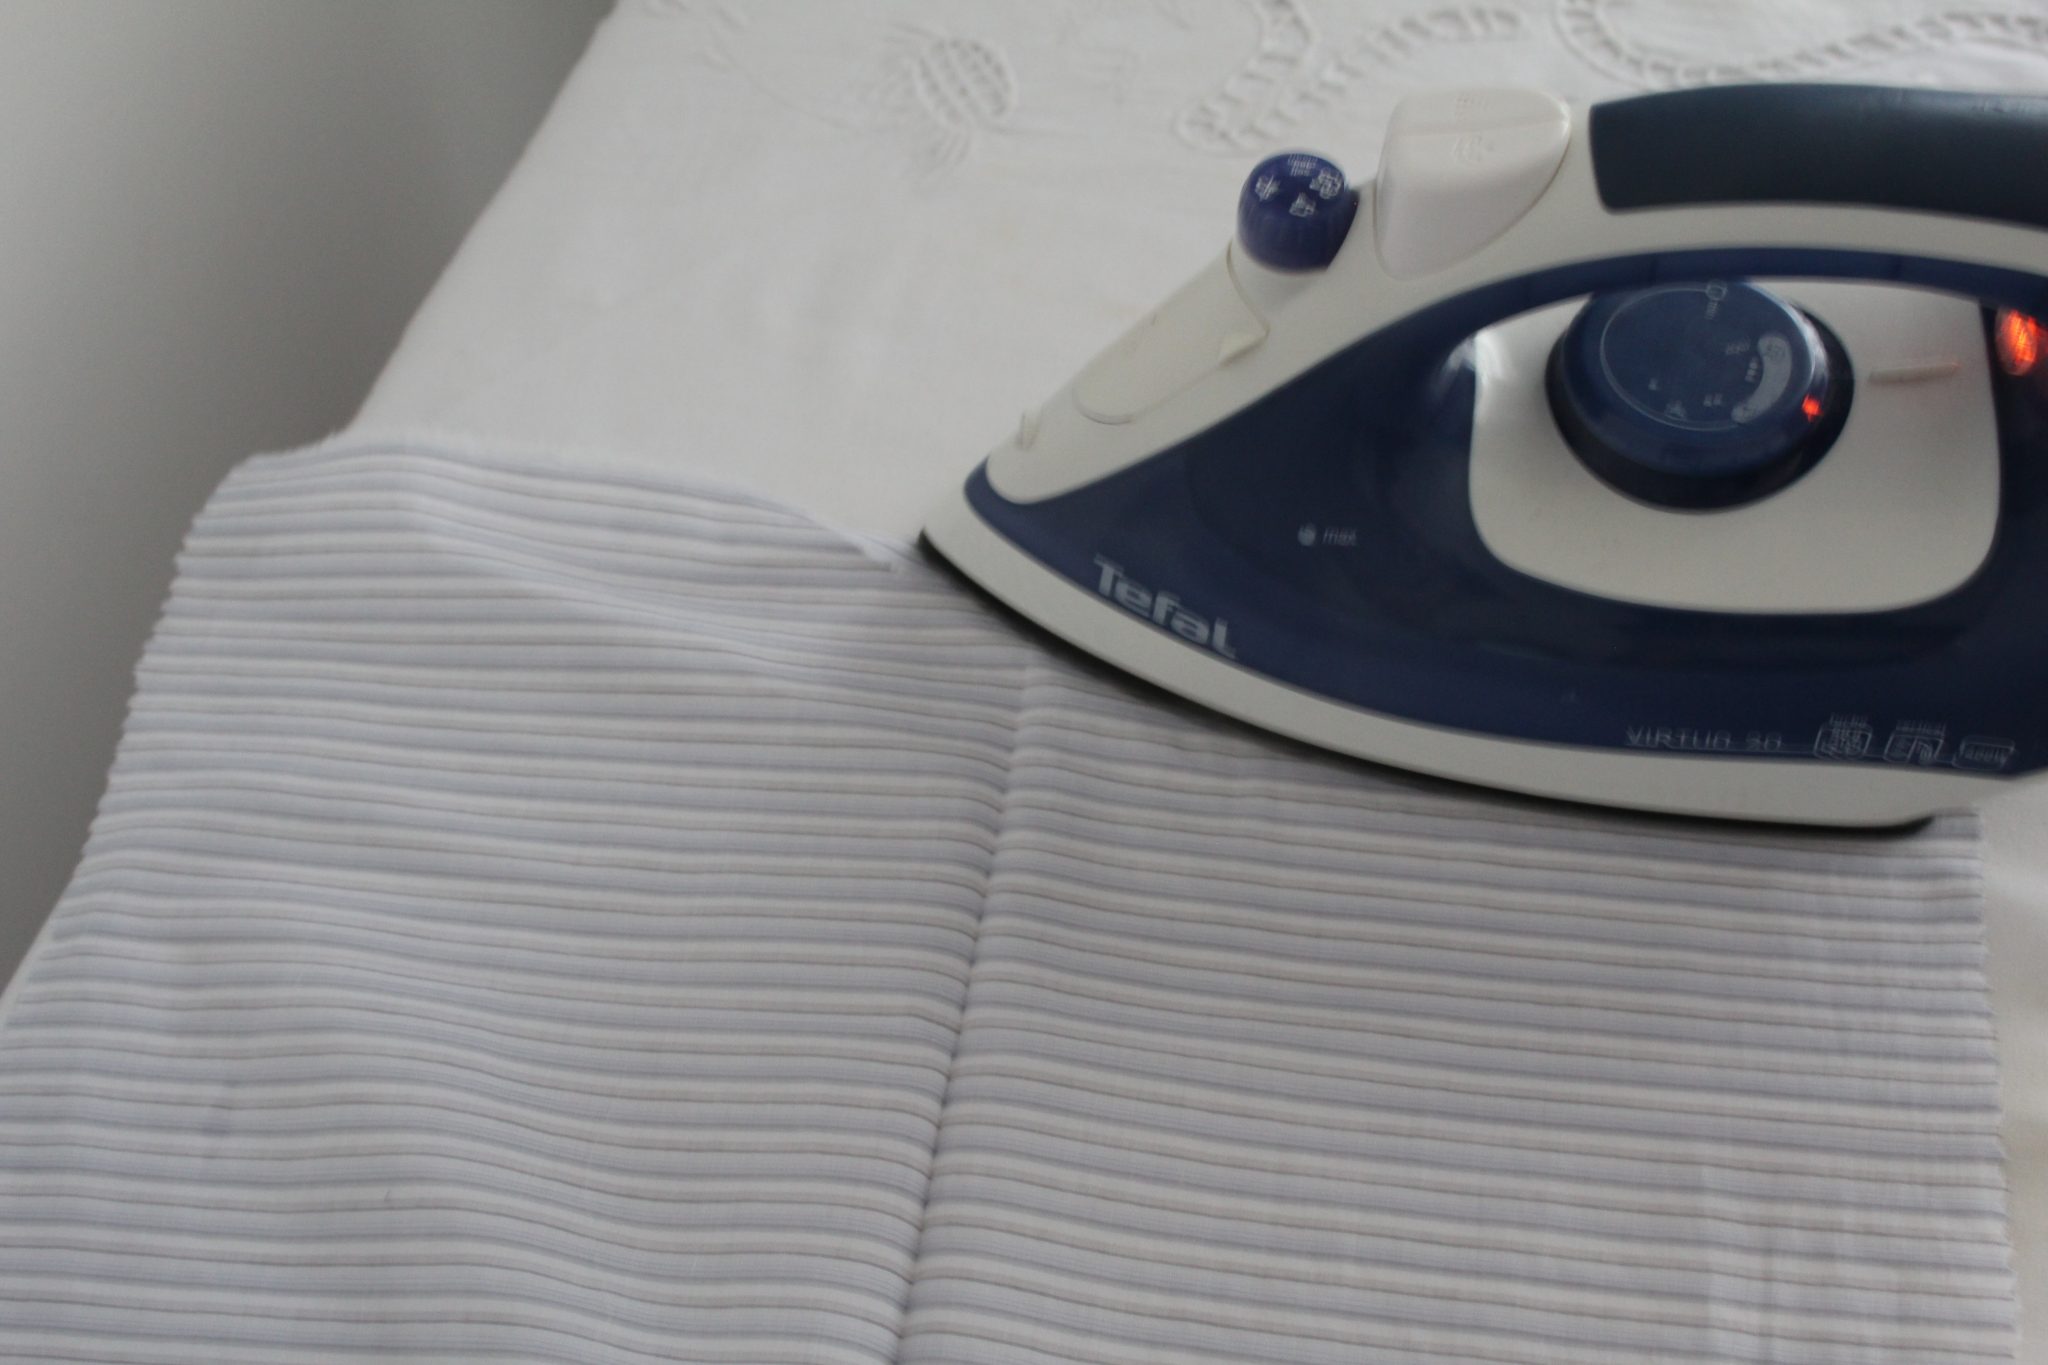
- Press the seams up with an iron.
- Fold the long strip in half and press well, until the fold is sharp.
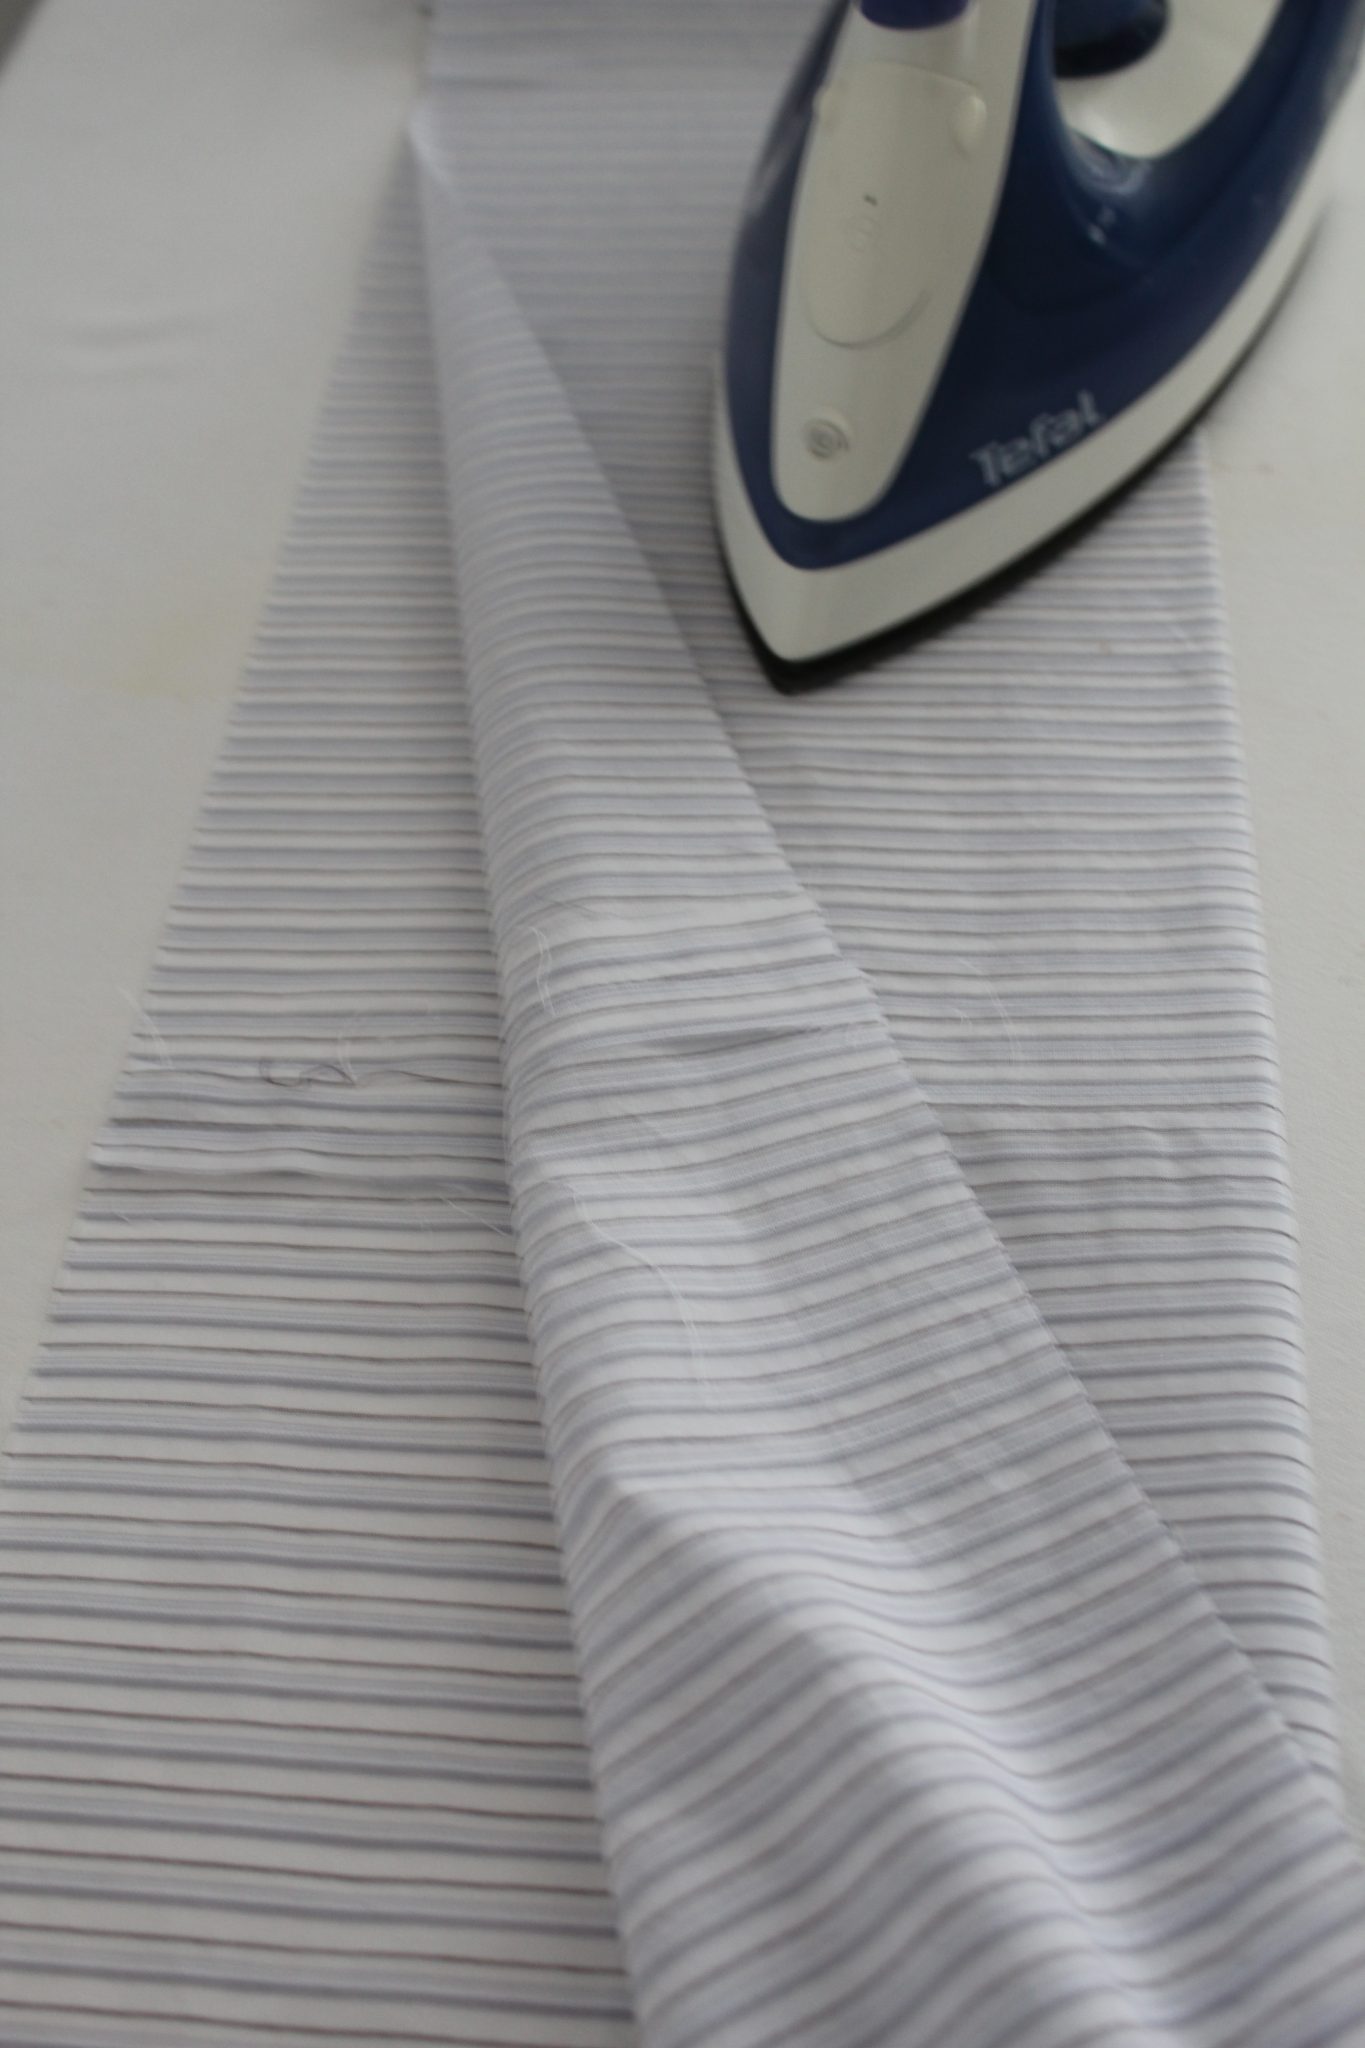
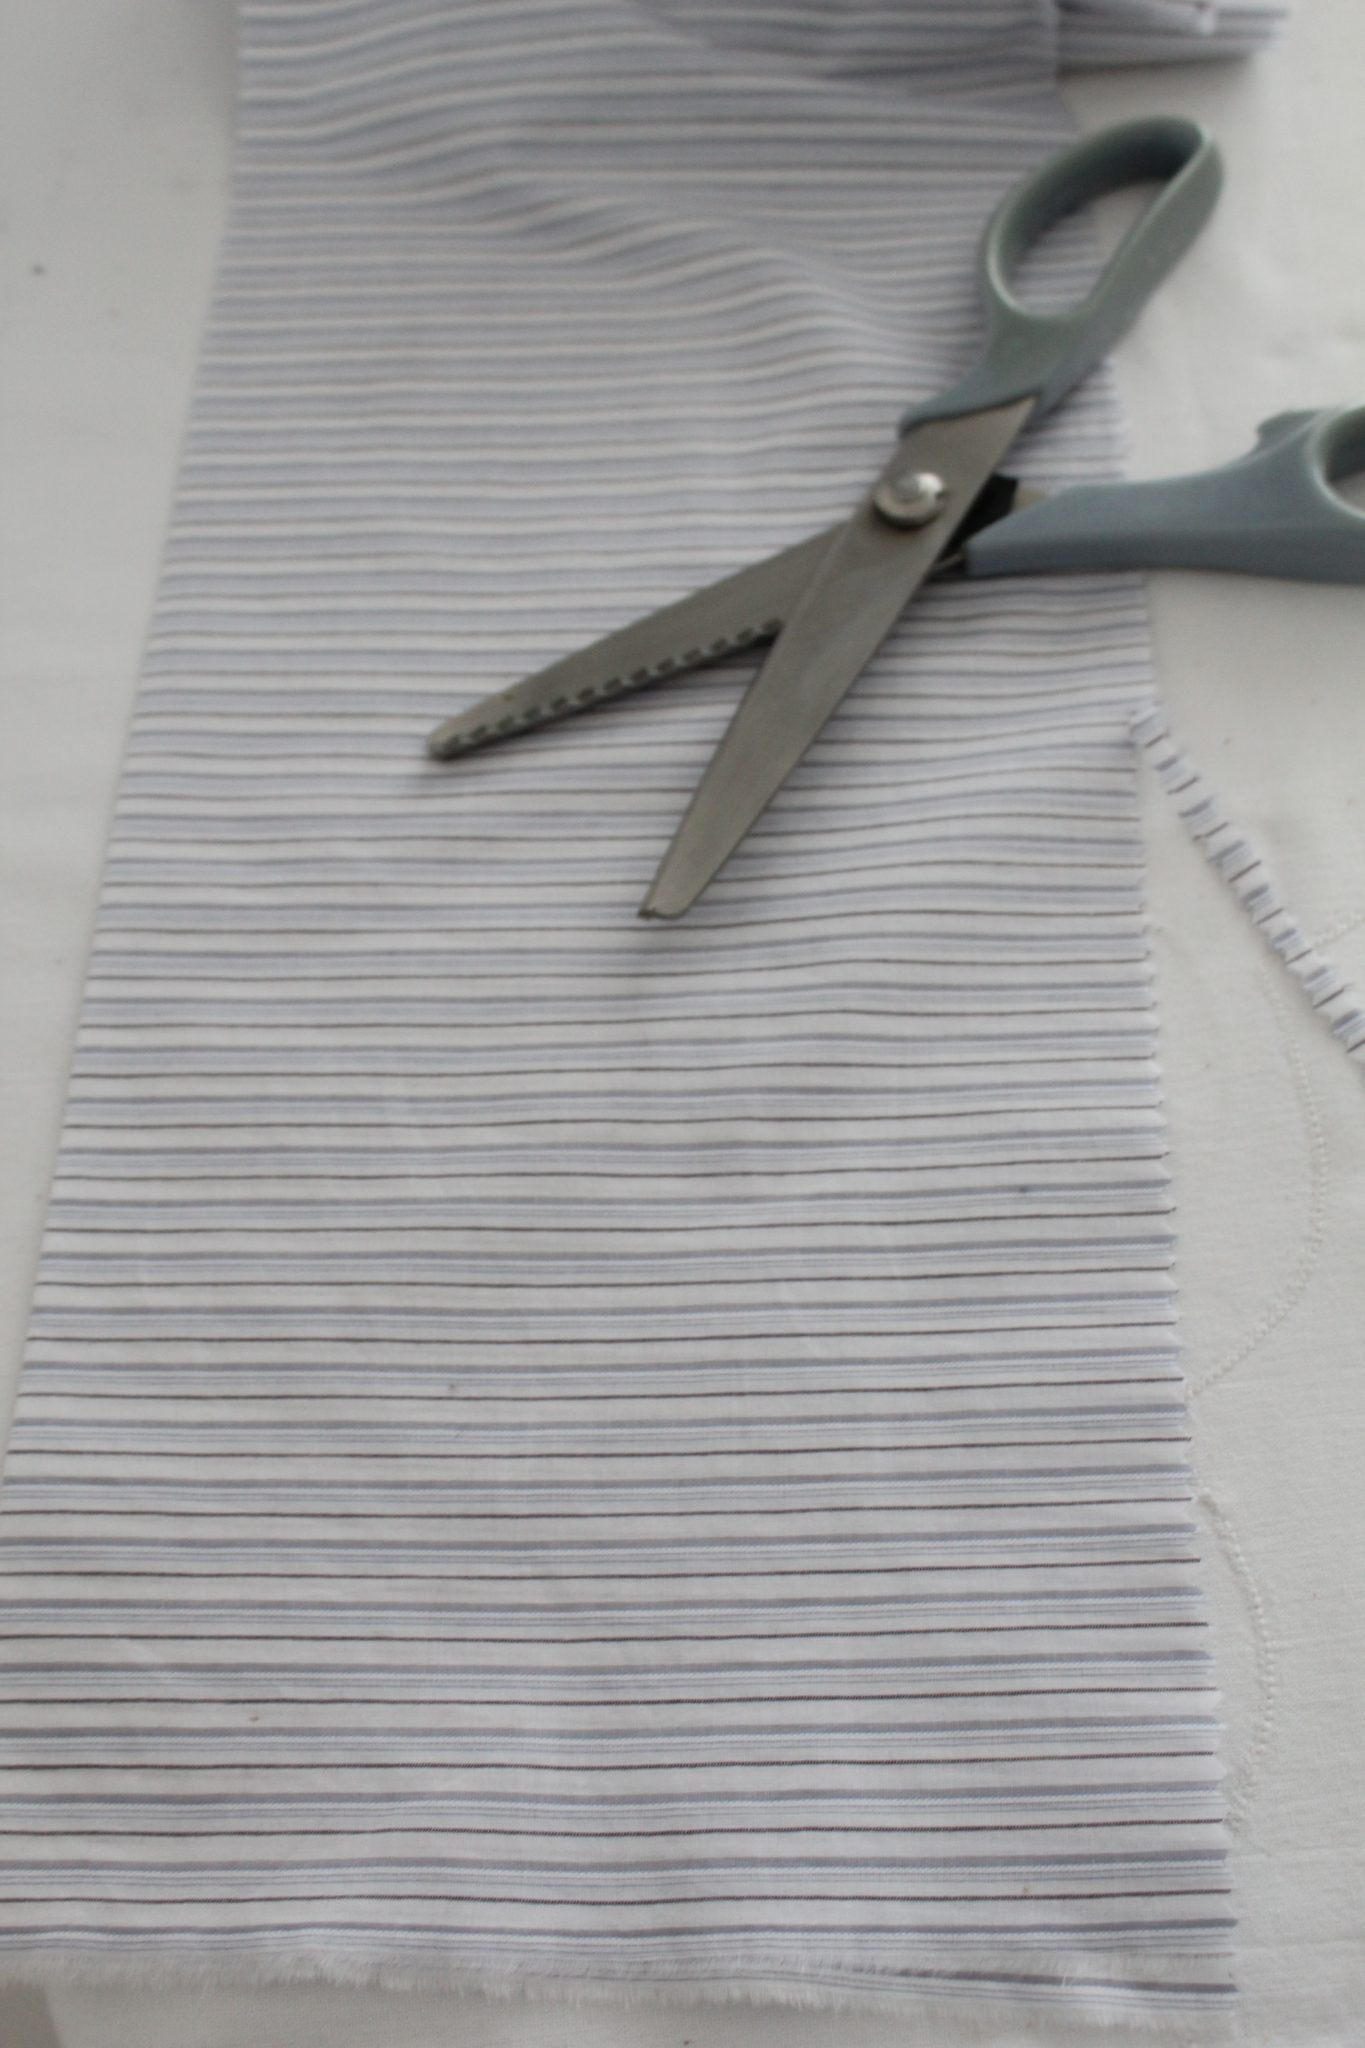
- Using pinking sheers cut along the raw edges, taking in about 1/8″ (do both edges at the same time if you can).
- Open up the folded strip and fold the ends in 1/4″, press and sew down.
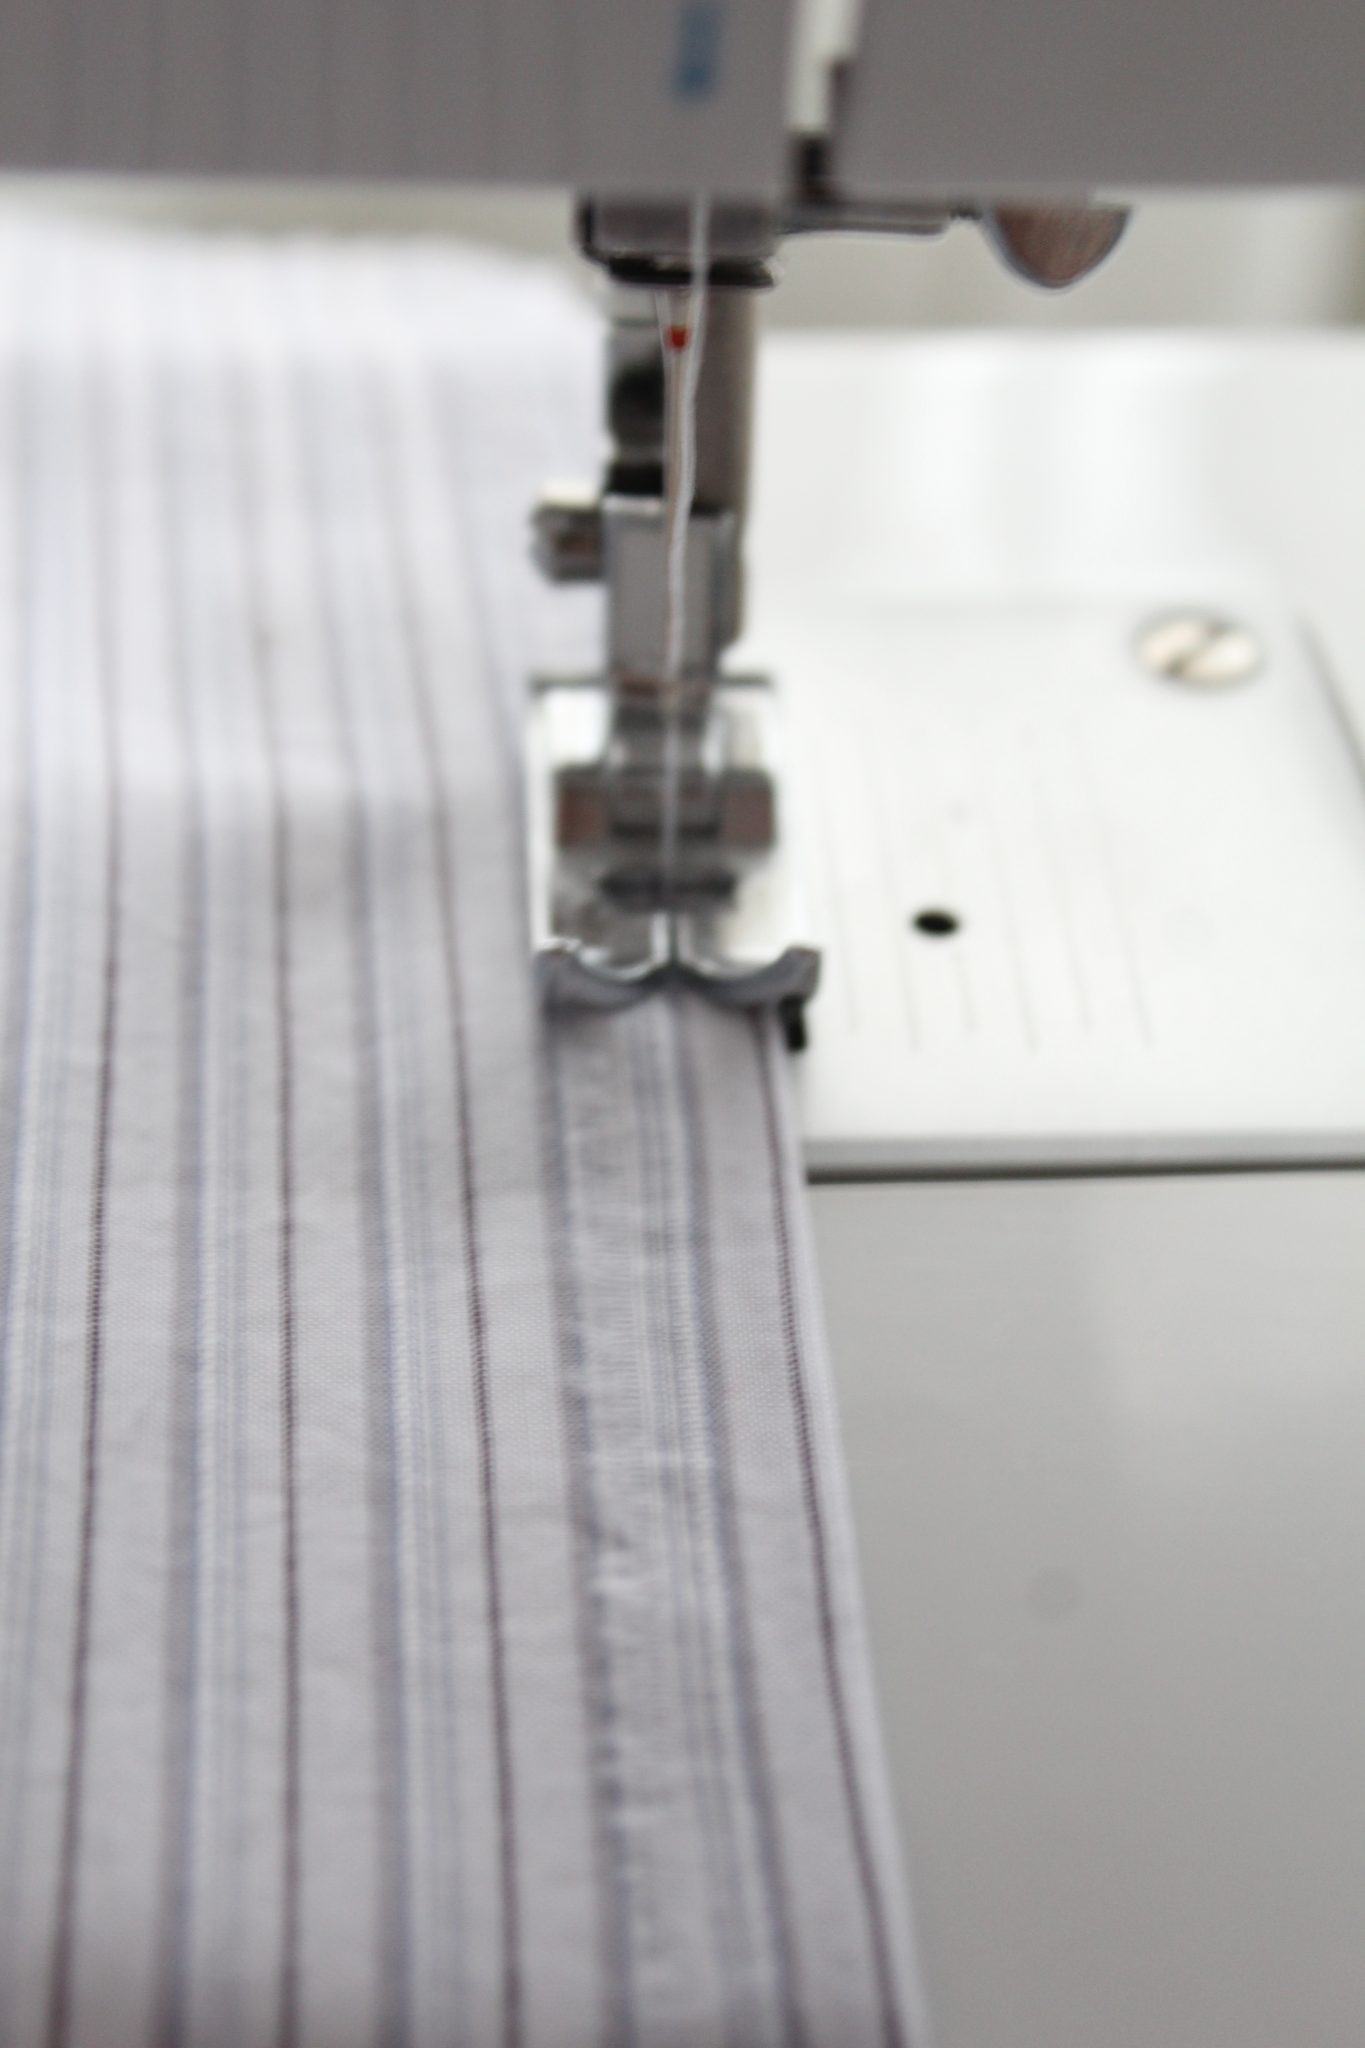
- Ruffle the raw ends on both sides of the long strip and pull or push the ruffles as needed to match the size of the main panels (i.e. measuring all sides of one panel gave me 16 ft so I needed my 32 ft long strip to shrink to that 16 ft size).
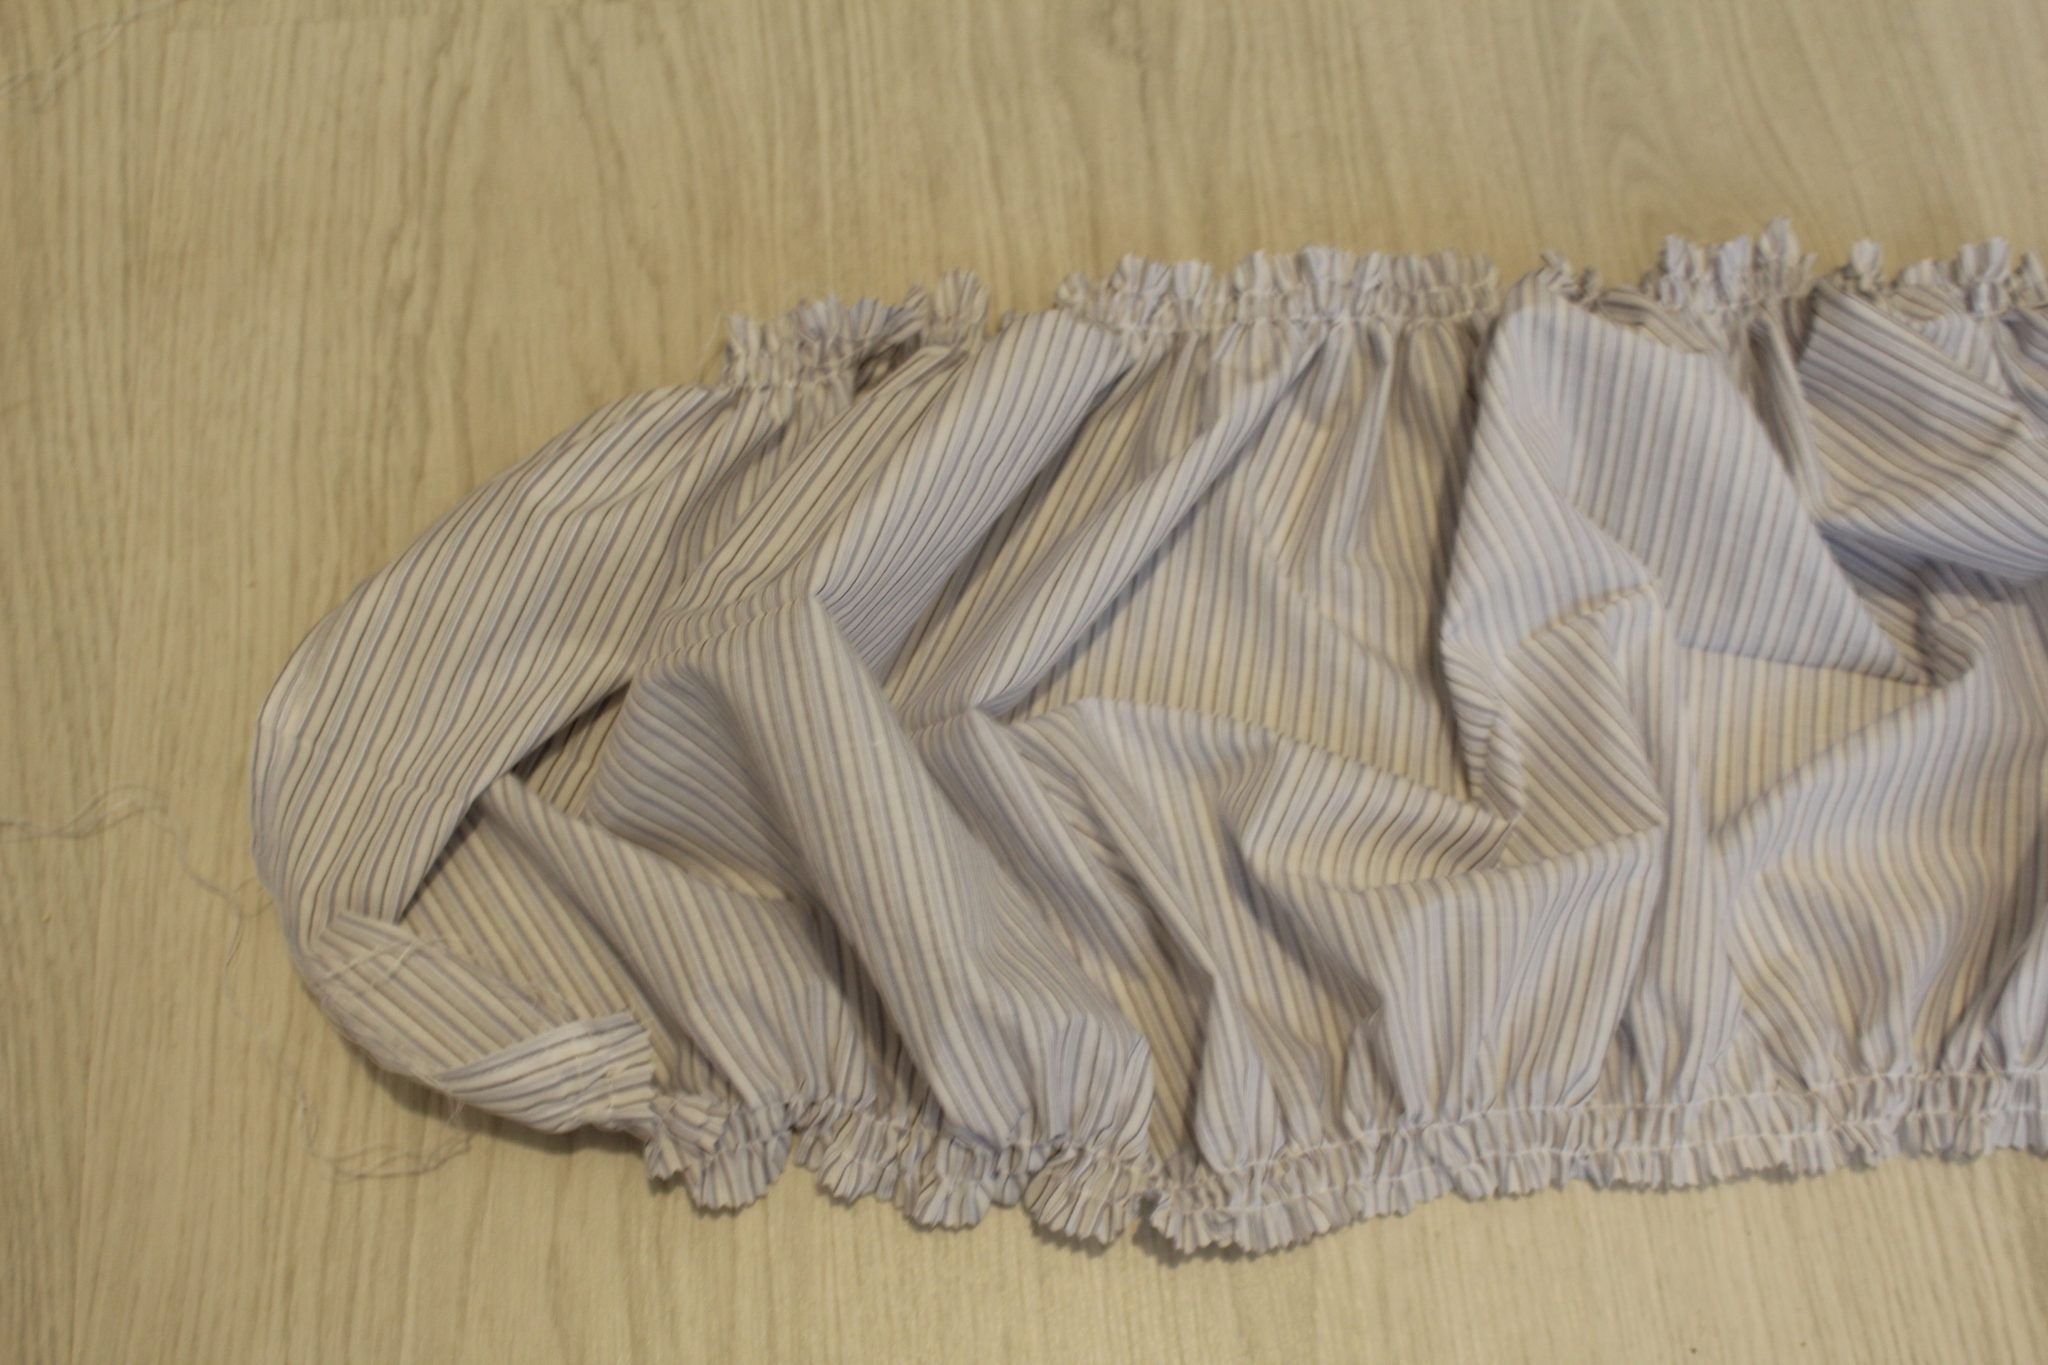
- Fold the ruffled strip again and press the ruffled edges very well.
Sewing the main panels
- Take the main panels and place them wrong sides together.
- Pin and sew down all sides with 1/2″ allowance. I’ve also run a few lines of stitches along the white strips in my fabric. This will help keep both sides of the blanket together when washing and ironing which can be a pain otherwise.
Attaching all pieces
- Open the ruffled strip and pin the main panels to one side of this strip. (I’m sorry, I got distracted and completely forgot to take photos of these steps)
- Fold the strip over the main panels and pin again, this time through all layers. Add the pins between the previous line of needles; then I removed the first set to make sewing easier once this set of pinning was done.
- Sew down with 1″ allowance.
- And you’re done! Your beautiful DIY throw blanket is ready to keep you warm and cozy! Enjoy!
I hope you liked this tutorial and if you did, please let me know in the comments below and don’t forget to rate it. Thanks and happy sewing!
Pin to save for later
Article may contain Amazon & affiliate links. As an Amazon Associate I earn from qualifying purchases at no additional cost to you.

This throw blanket is so beautiful! I love it so much! I would love to add something like this to our living room seating area. I am going to have to try and recreate this. Thanks for sharing your wonderful ideas!
so pretty, I only need to make a plain throw for my son and his girlfriend. They wouldn’t want ruffles but your’s is so pretty, great job! Joan
Aww, thanks so much, Joan! xoxo
I love this i have never actually been brave enough to do one, so here goes. I let you know how it goes!
How exciting! I can’t wait to see the result, I’m sure it will look gorgeous! Thanks for letting me know, Nichole! xoxo