Decorative bobby pins with buttons
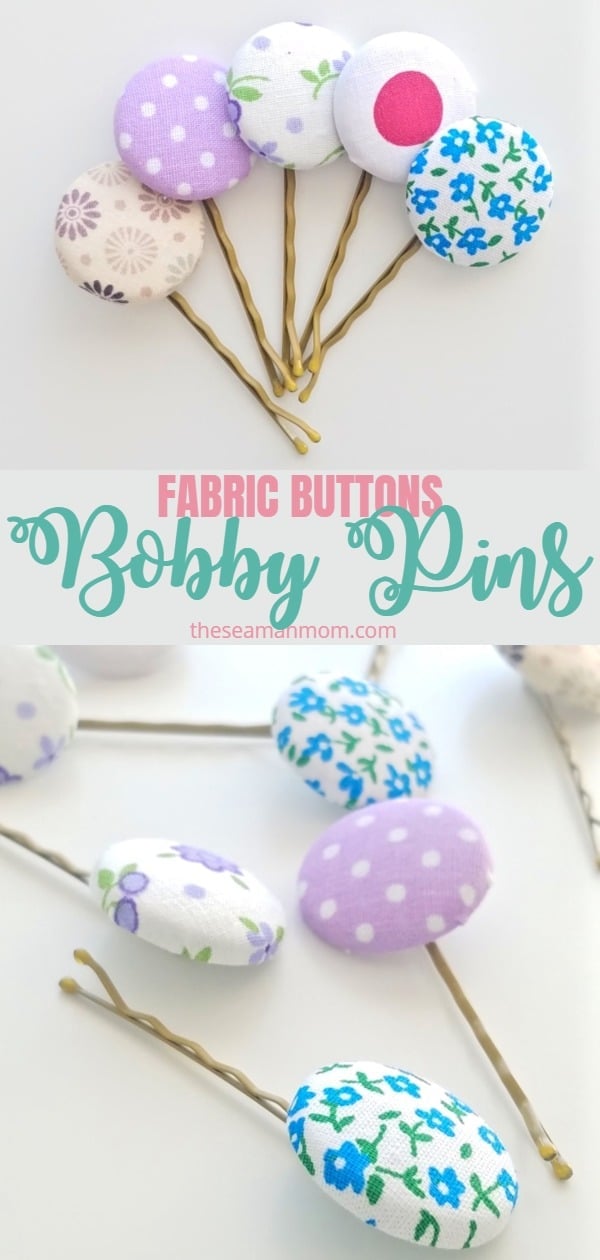
If you’re into embellished bobby pins, these cute bobby pins are something you should definitely wear this season! These decorative bobby pins are super easy to make and personalize too!
Button bobby pins
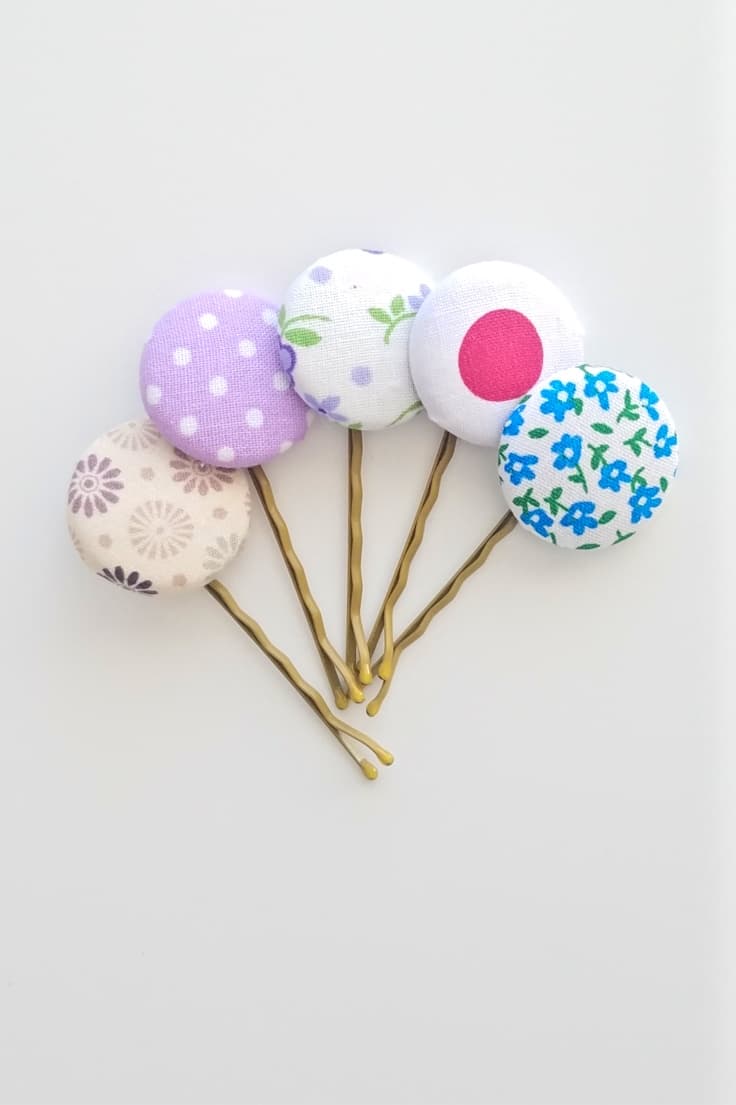
If you’ve been following me for a while you’ve probably “heard” me complaining about my hair constantly being a mess! And while in winter and fall I couldn’t care much because I cover this mess with a hat or a cap, spring and summer are the perfect seasons to start making and wearing cute hair accessories like these decorative bobby pins! This way my messy hair won’t hurt everyone’s eyes so badly lol
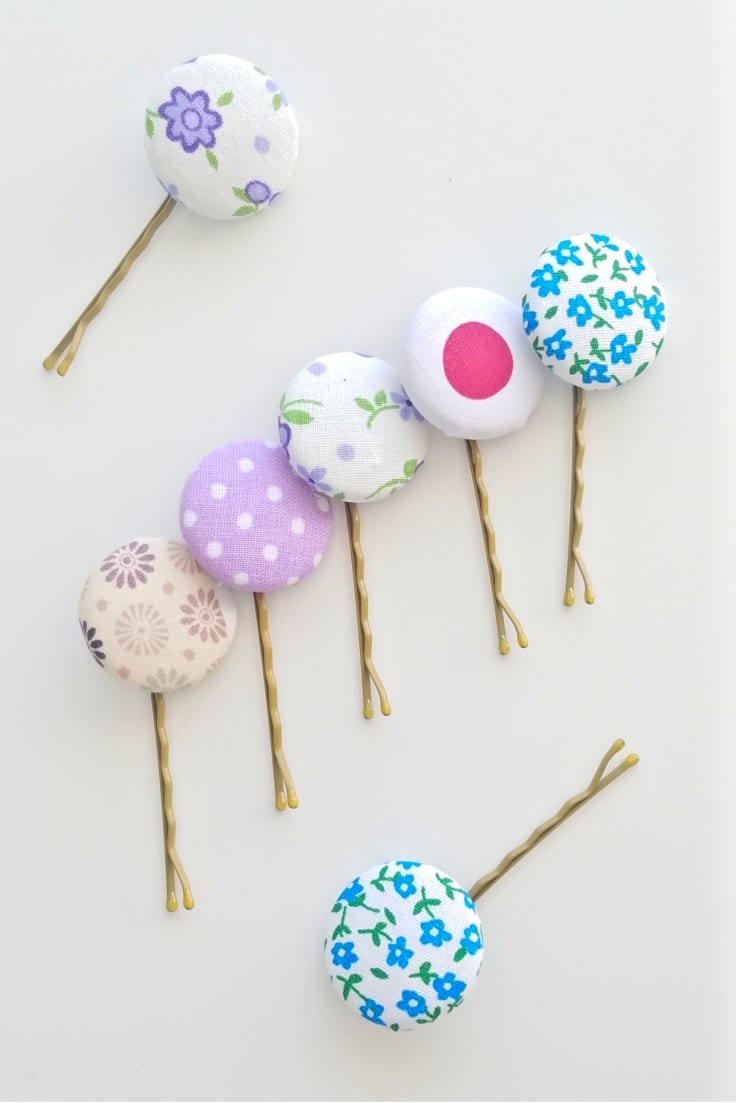
These pretty bobby pins are crazy easy to make, all seven took less than two minutes to make, because I already had a bunch of buttons covered in fabric from these projects. Needless to say I’m completely smitten with these little gems and I plan on wearing them all summer long! These decorative bobby pins also complement well some of my outfits and are great for Ellie’s wardrobe too so we’ll kind of abuse them this season.
More hair accessories you might like:
- DIY flower hair ties
- Singer flower hair pins
- DIY butterfly hair bows
- Bunny hair clip tutorial
- DIY knot headband
These lovely decorative bobby pins are a must for dressing up your hair and are particularly great for every day use. But you can totally wear button hair pins for more formal events if you choose fancier buttons.
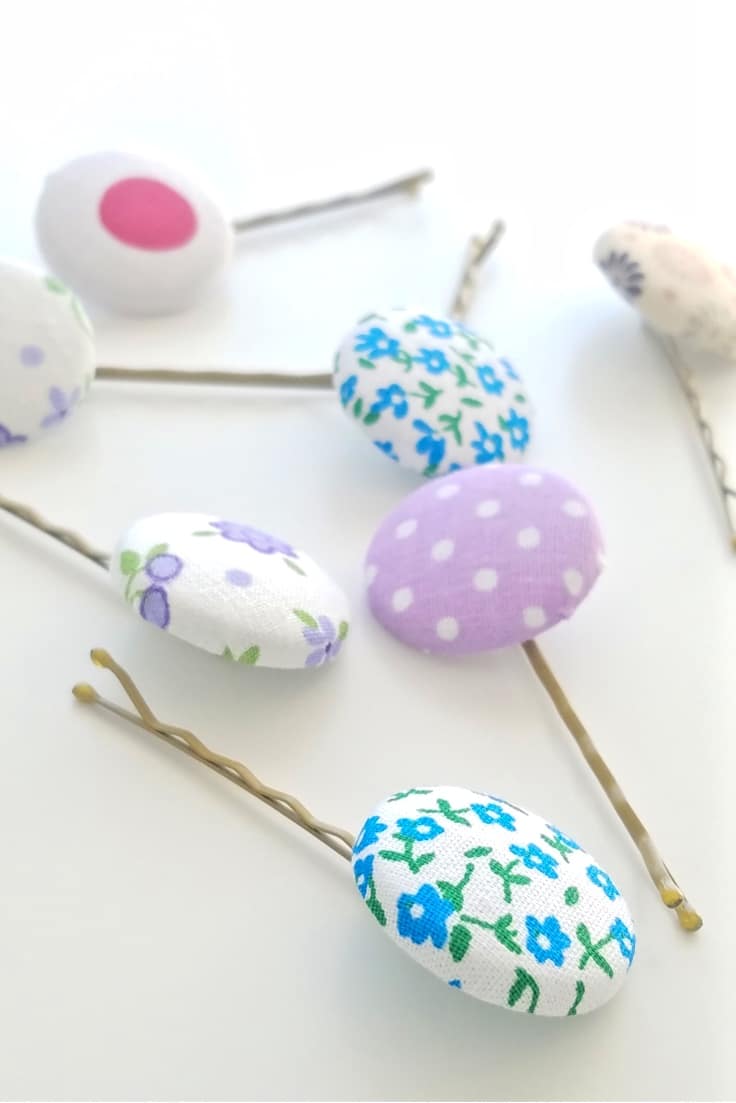
Many people call these hair pins(and I’m guilty as charged too, I call them both hair pins and bobby pins). But did you know there’s quite a difference between hair pins and bobby pins? Bobby pins are u-shaped but completely closed, like these ones in the images here. They also feature open ends. Hair pins are also u-shaped but are not fully closed and don’t have open ends. These are mostly used to keep buns secure while the bobby pins are mostly decorative or used to smooth stray pieces of hair or hold bangs to one side.
The tutorial below can be applied to both bobby pins and hair pins but work super well and easy on bobby pins. Let’s see how easy these decorative bobby pins are!
Decorative bobby pins
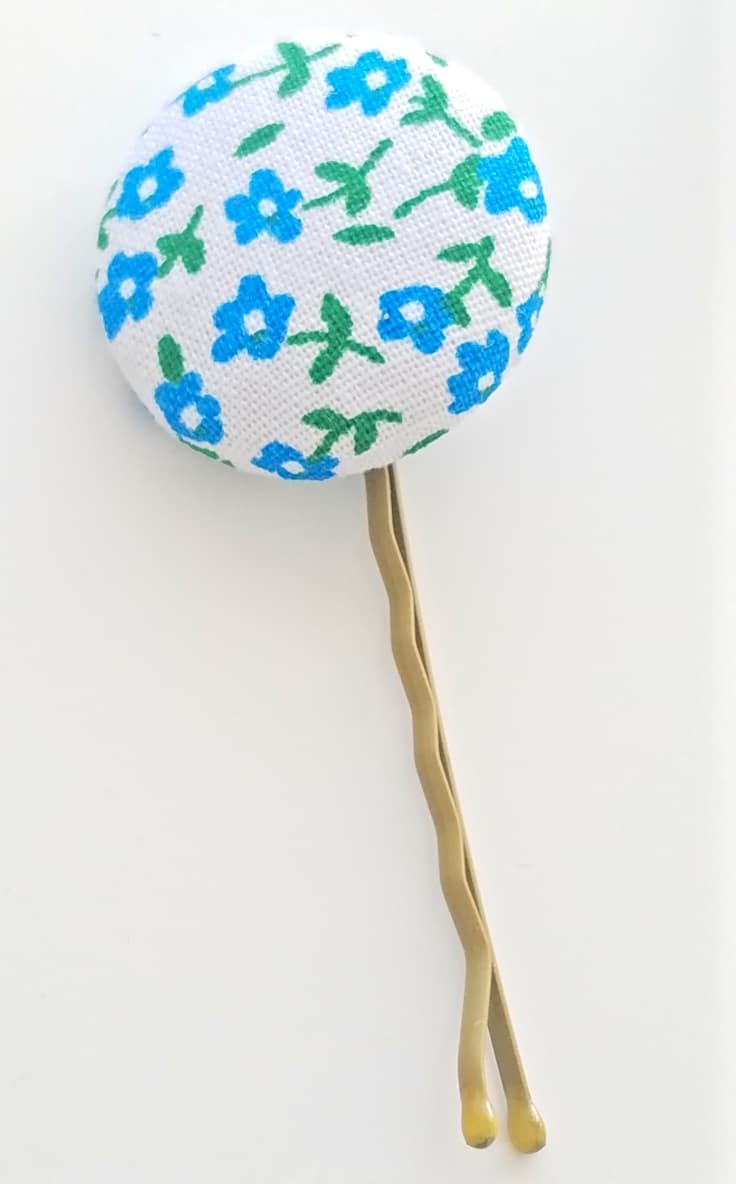
Materials:
- cheap buttons to cover
- fabric scraps
- seam gauge
- fabric marker
- sewing scissors
- glue stick
- bobby pins
- glue – optional
Directions:
- Make your fabric buttons as indicated in this tutorial.
- Insert one side of a bobby pin through the button loop located in the back.
- If the loop is larger than your bobby pin, add a small drop of glue to secure the button and prevent it from moving when wearing the bobby pin.
- And that’s pretty much it! Enjoy your decorative bobby pins!
If you find it handy,, here’s a card you can print with this tutorial.
Decorative bobby pins
Ingredients
- cheap buttons to cover
- fabric scraps
- seam gauge
- fabric marker
- sewing scissors
- glue stick
- bobby pins
- glue - optional
Instructions
- Make your fabric buttons as indicated in this tutorial.
- Insert one side of a bobby pin through the button loop located in the back.
- If the loop is larger than your bobby pin, add a small drop of glue to secure the button and prevent it from moving when wearing the bobby pin.
I’d love to know your thoughts on this tutorial so please leave a comment below! And don’t forget to rate the tutorial! Thanks!
Pin to save for later
Article may contain Amazon & affiliate links. As an Amazon Associate I earn from qualifying purchases at no additional cost to you.


ABOUT PETRO
Hi, I’m Petro, author and founder of Easy Peasy Creative Ideas. Sewist, crafter, avid DIY-er, foodie, photographer, homemaker and mommy to one. I’m an expert at coming up with quick, clever sewing tips, recycling crafts and simple, easy recipes! You can find my ideas featured in reputable publications such as Country Living, Good House Keeping, Yahoo News, WikiHow, Shutterfly, Parade, Brit & Co and more. Thanks for stopping by and hope you’ll stay for a while, get to know me better and come back another time. Stick around for real fun projects! Read more…