

DIY Light Reflector
DIY Light Reflector

Reflectors are a great way to cast beautiful light on your photography subjects. They’re particularly handy for food and craft bloggers like me who often times have to shoot their photographs indoors where the lighting is not the best. A DIY light reflector is very handy for those kind of projects and saves you a few bucks if you don’t want to spend money on a real one.
A DIY light reflector can come in various shapes and can be used in all kinds of different ways. I sometimes shoot indoors, photographing small projects like a dish or a craft, next to a window or with a white backdrop. No matter how bright the natural light is, I still need better lighting for the front and the sides of the subject.
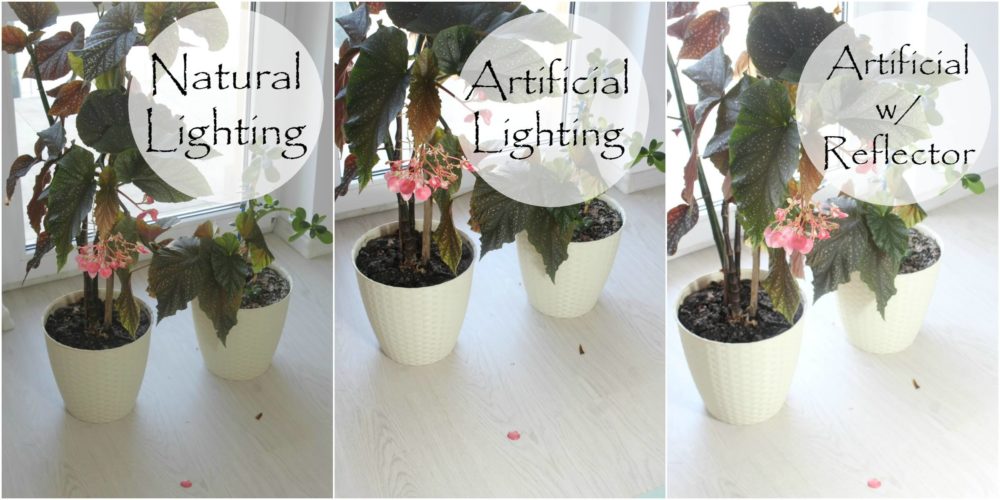
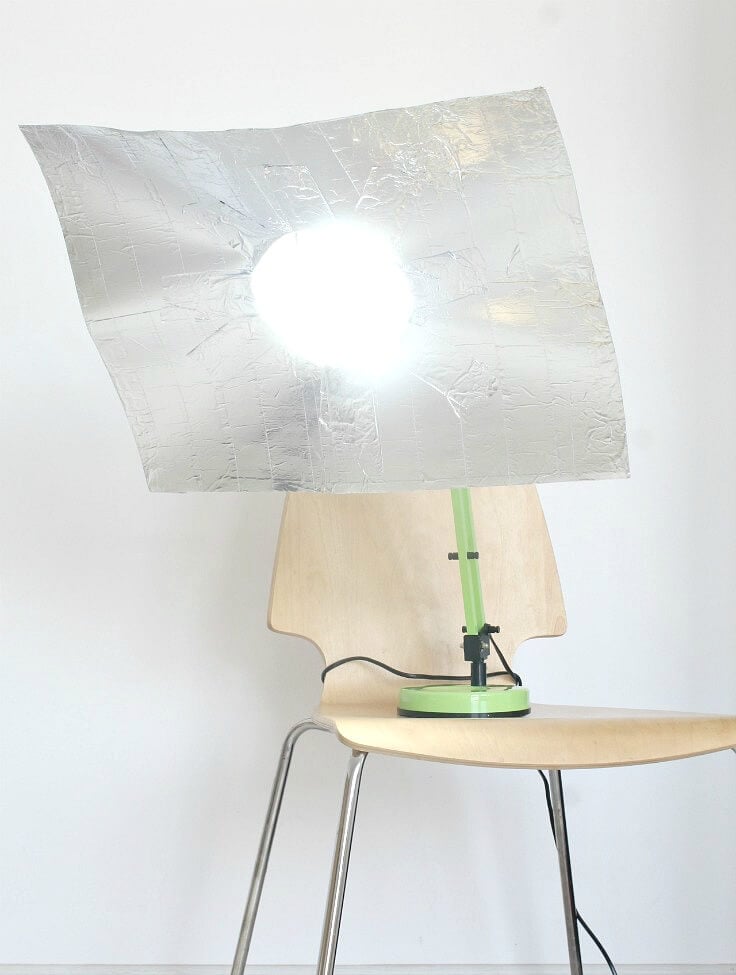
I already made two reflectors I use for the sides, by taping aluminum foil over a couple of polystyrene boards but I still needed something for the front of the subject. Regular lighting from a lamp wouldn’t always be so useful as you can see on the photos below so I needed something to amplify the artificial light coming from my lamp (which btw comes with a blue light bulb and has a swing arm so I can adjust it to direct light wherever I want it, it’s very cool!).
My DIY light reflector is small, very easy to make and use, it needs very simple supplies like aluminium foil tape and cardboard and is perfect for indoor photos on small projects. This is a basic reflector so you can adjust the size and shape as you need for your own projects and lighting.
DIY Light Reflector
Materials:
- aluminium foil tape
- scissors
- card stock sheets taped together (I find these more flexible than cardboard and easier to use)
- swing arm lamp
- sharp cutter/razor knife
[amazon-related-products keywords=”product suggestions keywords”]
Directions:
- Take 2 cardstock sheets and simply tape the aluminium foil all over (you can do the back too if you want it to look even and nicer).
- Trim off excess tape from the edges.
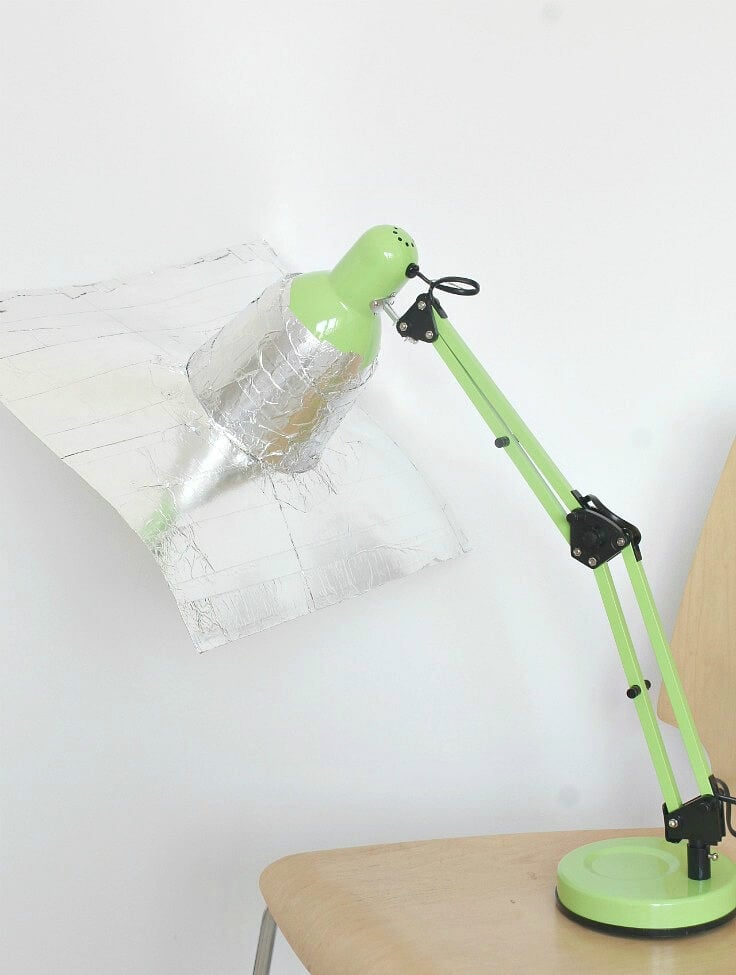
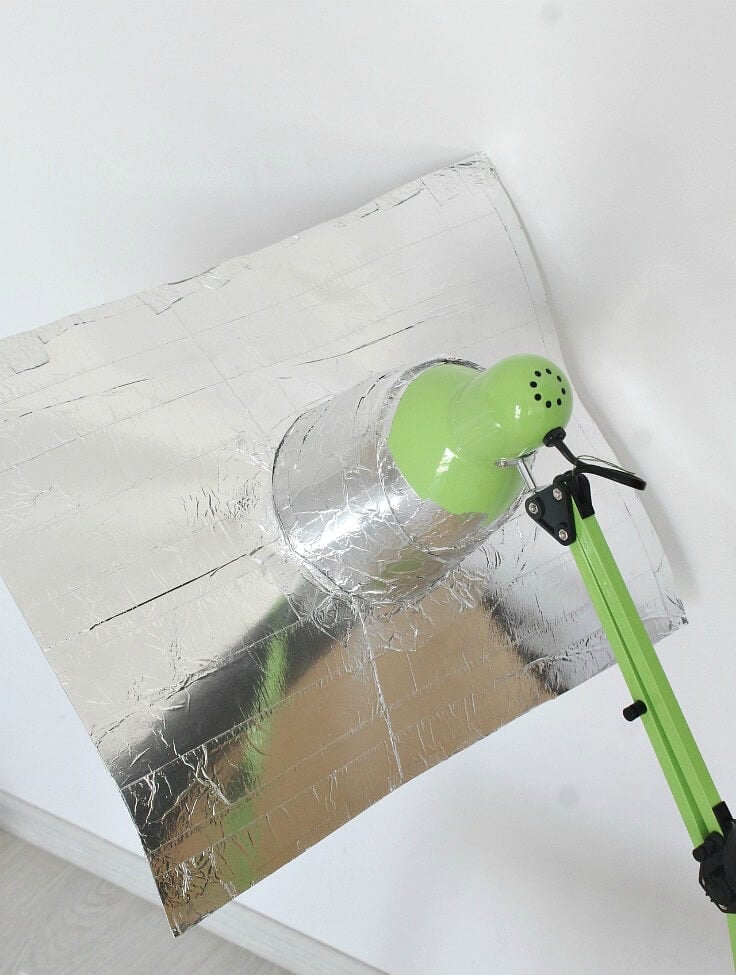
- Wrap the card stock around your lamp, on the outside and then tape to the lamp, also on the outside. (you can also apply aluminium foil tape on the inside of your lamp if you need super strong lighting; just make sure the foil doesn’t touch any electrical wires).
- Trim the “cone” to the desired size (or just leave it as is if your lamp is small and needs a big extension).
- Apply tape over raw edges.
- Take 4 card stock sheets and tape them together with aluminium foil tape.
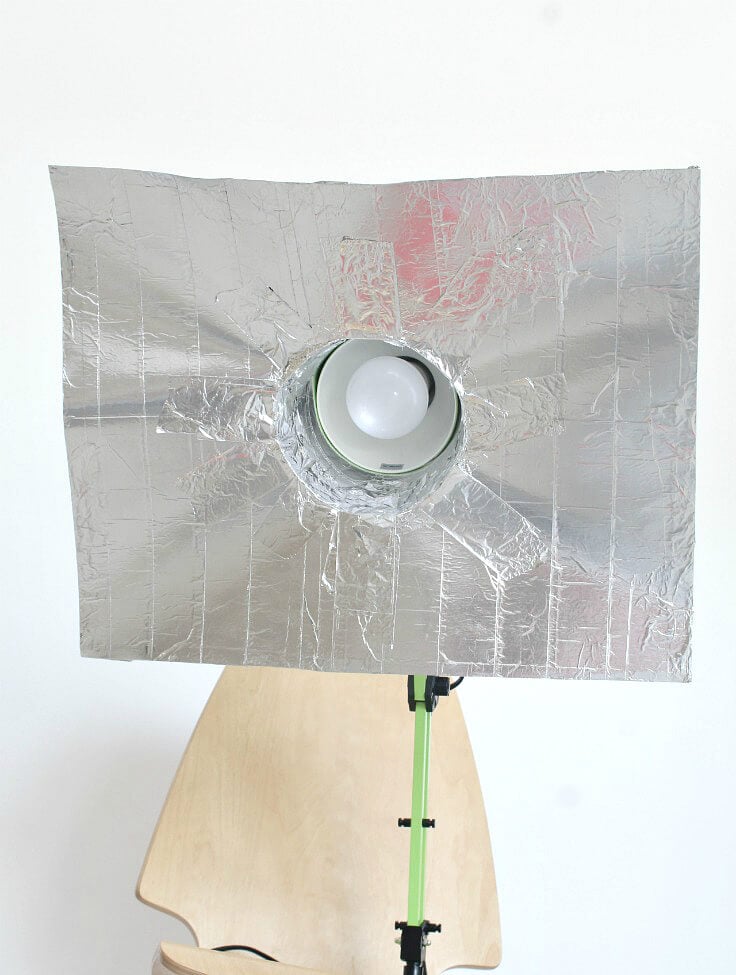
- Place lamp’s head over the large card stock sheet, face down, and draw a circle around it then cut the circle out using a razor knife.
- Tape aluminium foil over raw edges.
- Pass the head of the lamp through the hole, slightly bending the card stock head until it fits through.
- Place the head close to the hole and tape together using aluminium foil tape. Slightly bend the card stock towards the inside.
- And you’re done! Now take your awesome DIY light reflector and go make some beautiful indoor photos!
Note: This shape fits my lighting needs; you may need a different shape, like a box or a circle so adjust accordingly.

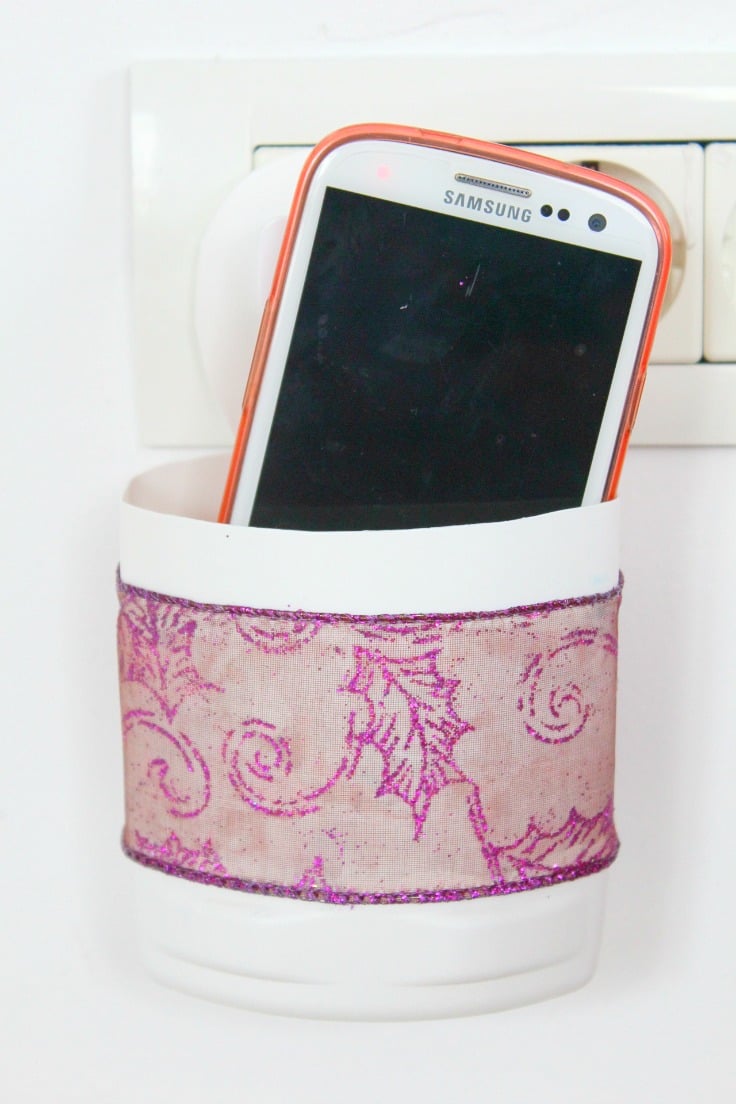
DIY Phone charging station
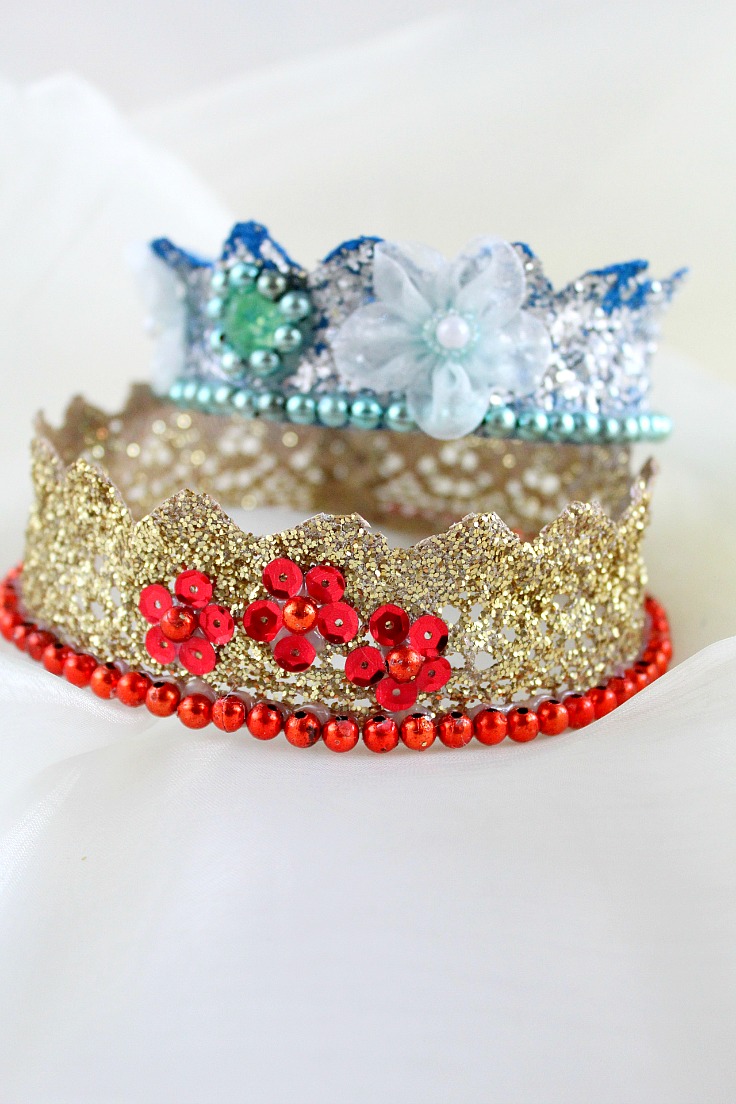
DIY Microwaved Lace Crown
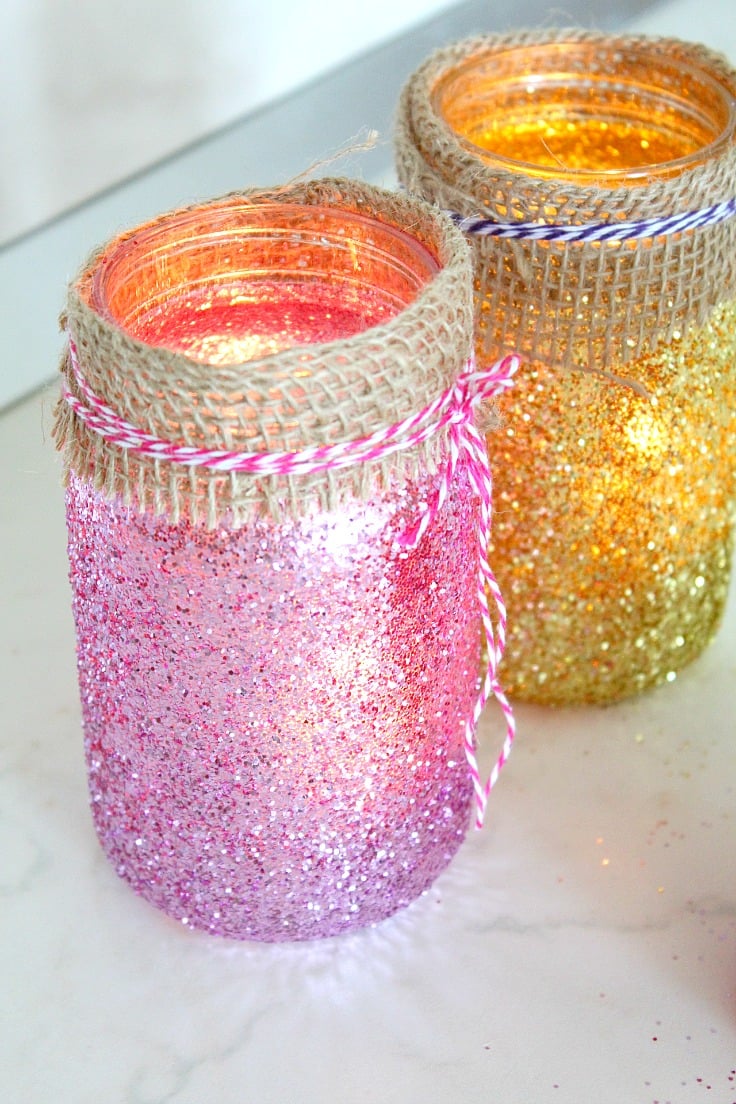
DIY Luminaries
Article may contain Amazon & affiliate links. As an Amazon Associate I earn from qualifying purchases at no additional cost to you.
ABOUT PETRO
Hi, I’m Petro, author and founder of Easy Peasy Creative Ideas. Sewist, crafter, avid DIY-er, foodie, photographer, homemaker and mommy to one. I’m an expert at coming up with quick, clever sewing tips, recycling crafts and simple, easy recipes! You can find my ideas featured in reputable publications such as Country Living, Good House Keeping, Yahoo News, WikiHow, Shutterfly, Parade, Brit & Co and more. Thanks for stopping by and hope you’ll stay for a while, get to know me better and come back another time. Stick around for real fun projects! Read more…