

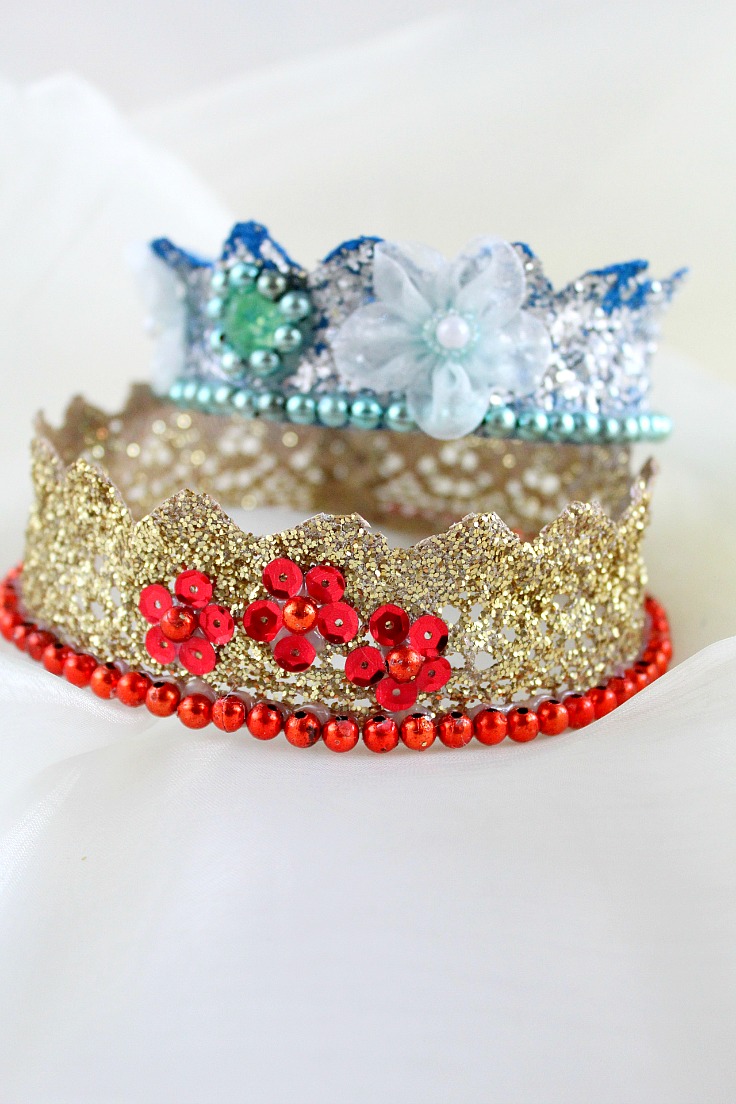
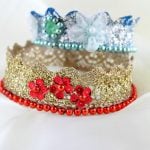
DIY Lace Crown For Parties Or Dress-ups
Hosting a kids birthday party or dress-up soon? Make the little girls happy with this lace crown tutorial! A must for every princess, a glitter crown is fun and simple to make!
DIY Lace Crown
Like every other girl, my little munchkin loves anything princess, from dresses to crowns and tiaras. Her old crown is broken after we ran into an unfortunate accident during our travels boo! And since mommy wants to always see her happy, decided to make a lace crown as adorable as her cutie pie. Because what’s more fun than making your own crown?
Similar posts you will love:
- Glittery Princess crown
- DIY Glitter jar luminaries
- DIY Decorative Google Eyes Bowl
- Easy Lace Headband tutorial
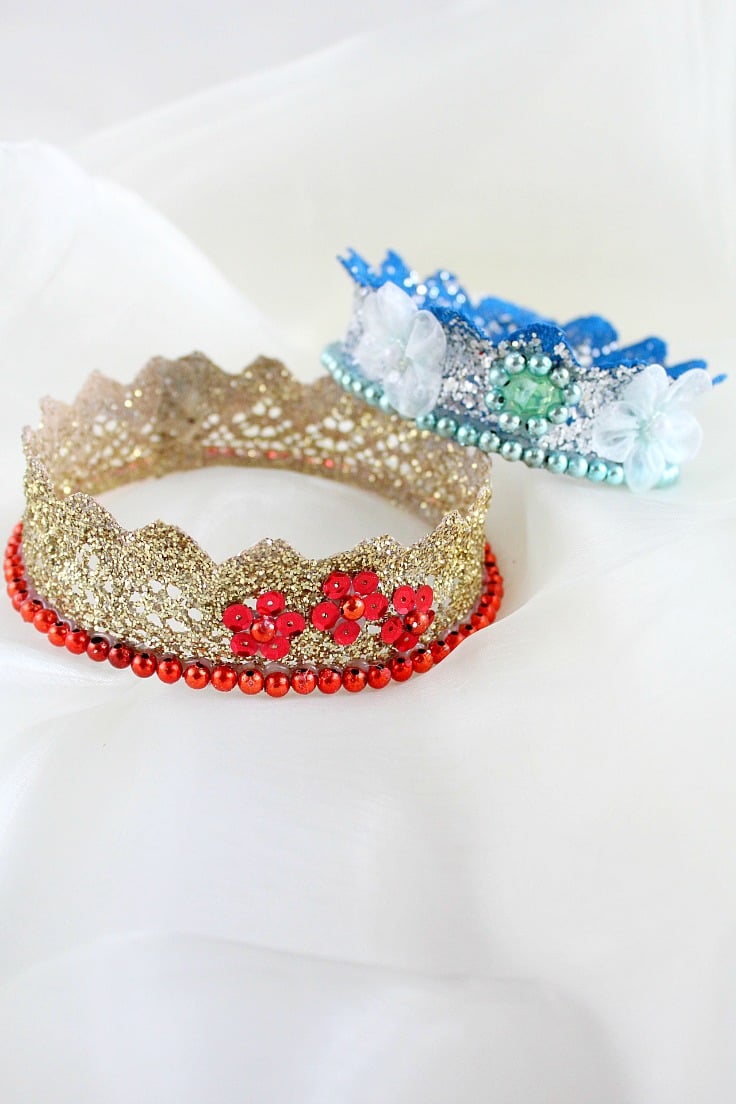
While this lace crown diy is not super quick, it’s something you can make in about 3-4 hours and the result is simply stunning! And I’m not even going to mention how high you’re gonna score in your little princess’ book! She’ll fall head over heels for this gorgeous lace crown!
These are also great for kids parties or dress ups! And you can customize your lace crown with your choice of lace and paint color, by adding glitter, pearls, rhinestones etc whatever you need to truly make this project yours! Every little girl dreams to be a princess, even for a day so why not make her dreams come true?
Lace Crown
Materials:
- crocheted lace (similar here)
- fabric stiffener, liquid and spray
- 3 small bowls
- tacky glue
- scissors
- thin butter knife
- Paint Spray
 in color of choice
 - clear paint spray
- rubber gloves
- mini hot glue gun
- glitter
- jewelry, rhinestones, pearls etc
Online Craft Classes
Felt Flower Headband
Summertime projects for kids at Creativebug
Directions:
- Note: I used crocheted lace as it gives the sturdiest results and I was also more confident to use it in the microwave.
- Place lace in a small bowl and cover in fabric stiffener; soak for 15 minutes.
- Remove lace from the bowl, allowing the excess to gently drip back in to the bowl.
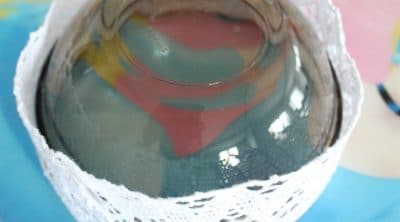
- Wrap the wet lace around the rim of the other 2 small bowls, allowing it to hang. Use a spot of tacky glue to hold the overlapping ends.
- Put the bowls in the microwave, one at a time and microwave on high power for 30 seconds. You may hear some crackling in the initial phases. Just watch the microwave all the time. Continue to microwave in 30 second increments, until the lace is dry to the touch. You may turn the bowl bottoms up past this step.
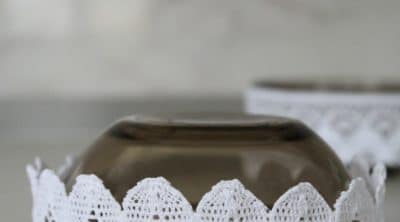
- Once dry, completely spray the crown with more stiffener and return to microwave. Microwave in increments of 15 to 30 seconds until completely dry. I also wanted to fold the edges a bit and I did this after the first spraying session. I just lightly sprayed on the first session, folded the edges and microwaved.
- Repeat the spraying/microwaving stuff until you’re happy with the level of stiffness. I did 8 steps.
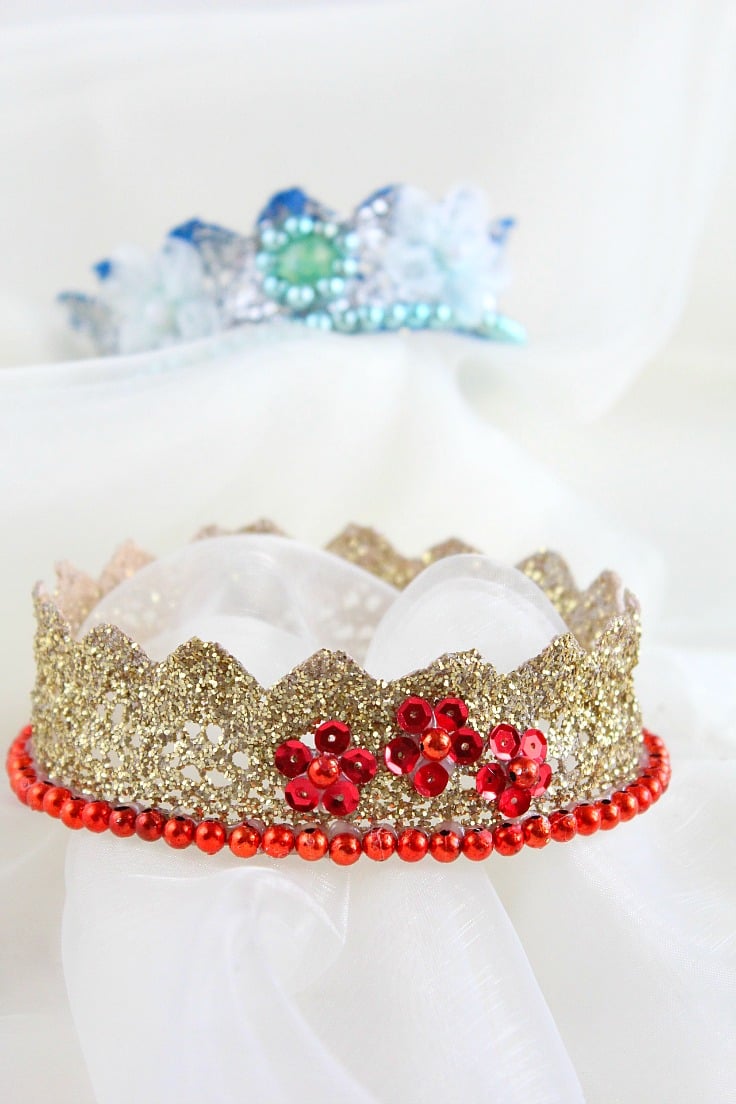
- Remove crowns from bowls, put rubber gloves on and spray paint in color of choice, on both sides. If some of the stiffener has closed up some of the holes in the lace, clean it out with the end of a pin. Apply several coats of paint; the crowns will stiffen even more.
- On the last coat, do a clear paint coat then immediately apply glitter of choice.
- Wait for the paint to completely dry before moving to the next step. Do not dry in the microwave!!
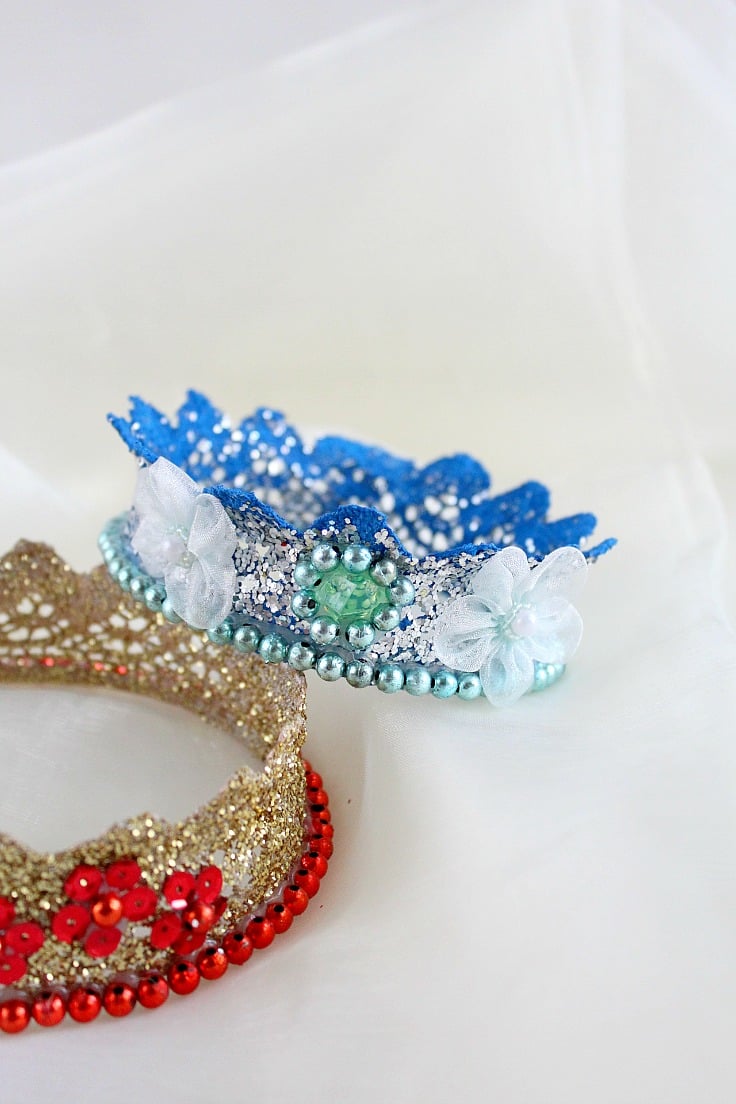
- When crowns are dry, attach some glitz with a hot glue gun.
- And you’re done! Isn’t your DIY lace crown so adorable?
Print the card
Lace crown DIY
Materials
- crocheted lace similar here
- fabric stiffener liquid and spray
- tacky glue
- glitter
- jewelry rhinestones, pearls etc
- clear paint spray
- Paint Spray in color of choice
Tools
- 3 small bowls
- scissors
- thin butter knife
- rubber gloves
- mini hot glue gun
Instructions
- Place lace in a small bowl and cover in fabric stiffener; soak for 15 minutes.
- Remove lace from the bowl, allowing the excess to gently drip back in to the bowl.
- Wrap the wet lace around the rim of the other 2 small bowls, allowing it to hang. Use a spot of tacky glue to hold the overlapping ends.

- Put the bowls in the microwave, one at a time and microwave on high power for 30 seconds. You may hear some crackling in the initial phases. Just watch the microwave all the time. Continue to microwave in 30 second increments, until the lace is dry to the touch. You may turn the bowl bottoms up past this step.
- Once dry, completely spray the crown with more stiffener and return to microwave. Microwave in increments of 15 to 30 seconds until completely dry. I also wanted to fold the edges a bit and I did this after the first spraying session. I just lightly sprayed on the first session, folded the edges and microwaved.
- Repeat the spraying/microwaving stuff until you're happy with the level of stiffness. I did 8 steps.
- Remove crowns from bowls, put rubber gloves on and spray paint in color of choice, on both sides. If some of the stiffener has closed up some of the holes in the lace, clean it out with the end of a pin. Apply several coats of paint; the crowns will stiffen even more.
- On the last coat, do a clear paint coat then immediately apply glitter of choice.
- Wait for the paint to completely dry before moving to the next step. Do not dry in the microwave!!
- When crowns are dry, attach some glitz with a hot glue gun.

Notes
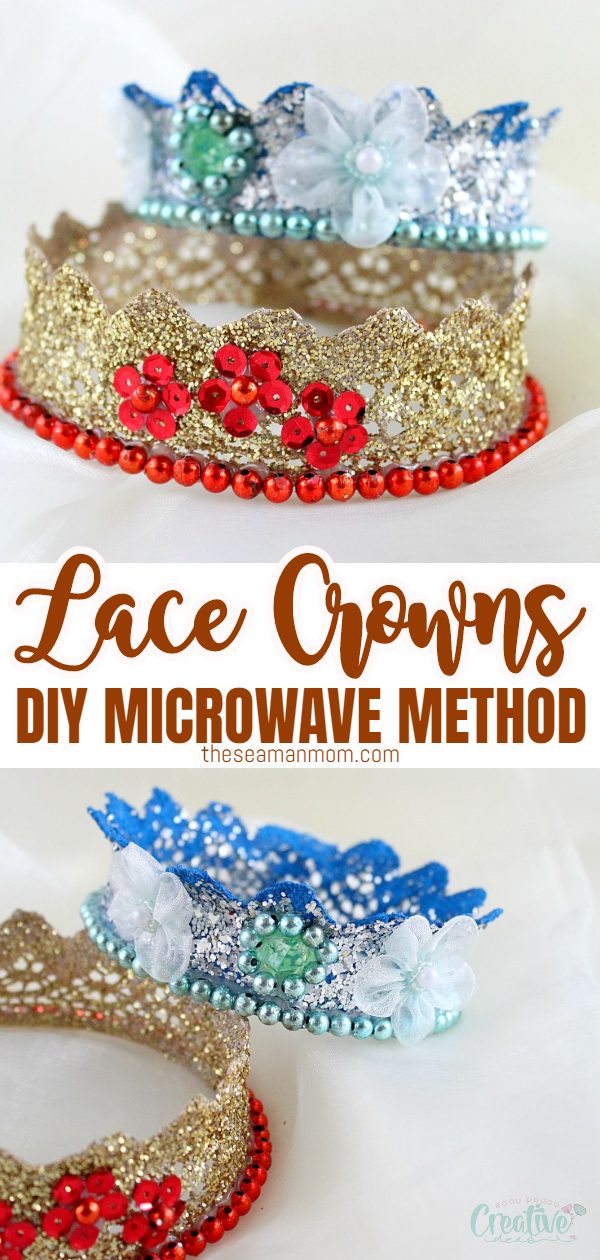
Pin to save for later
Most popular craft
Article may contain Amazon & affiliate links. As an Amazon Associate I earn from qualifying purchases at no additional cost to you.
ABOUT PETRO
Hi, I’m Petro, author and founder of Easy Peasy Creative Ideas. Sewist, crafter, avid DIY-er, foodie, photographer, homemaker and mommy to one. I’m an expert at coming up with quick, clever sewing tips, recycling crafts and simple, easy recipes! You can find my ideas featured in reputable publications such as Country Living, Good House Keeping, Yahoo News, WikiHow, Shutterfly, Parade, Brit & Co and more. Thanks for stopping by and hope you’ll stay for a while, get to know me better and come back another time. Stick around for real fun projects! Read more…