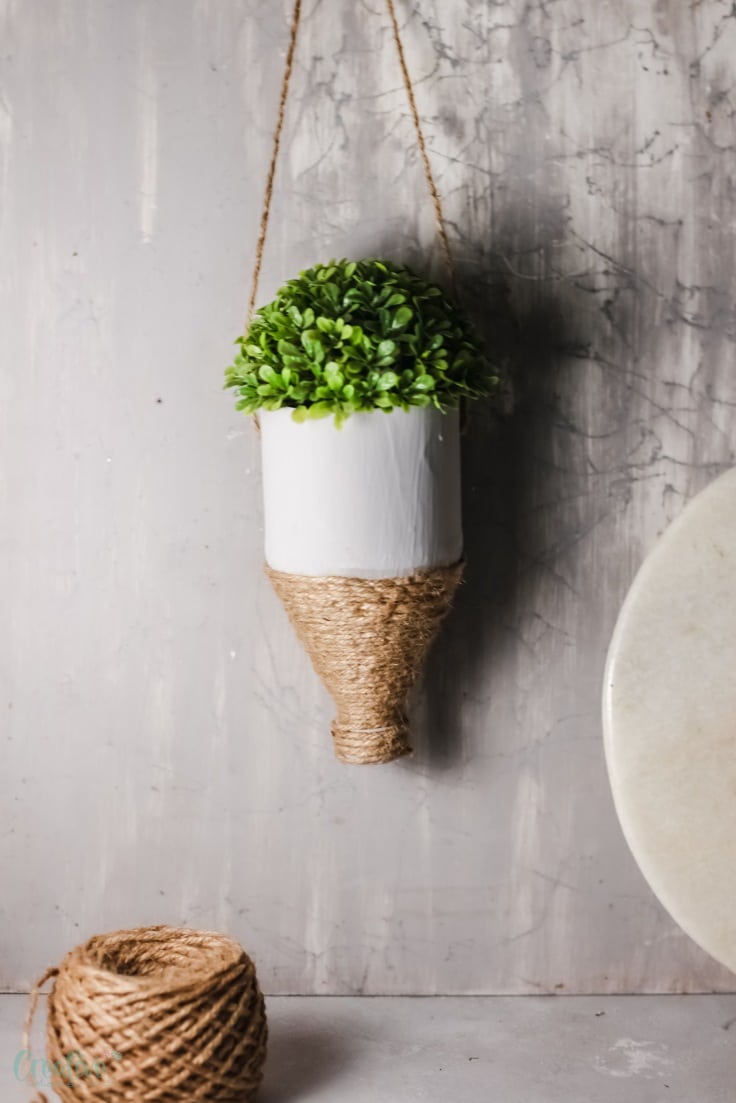
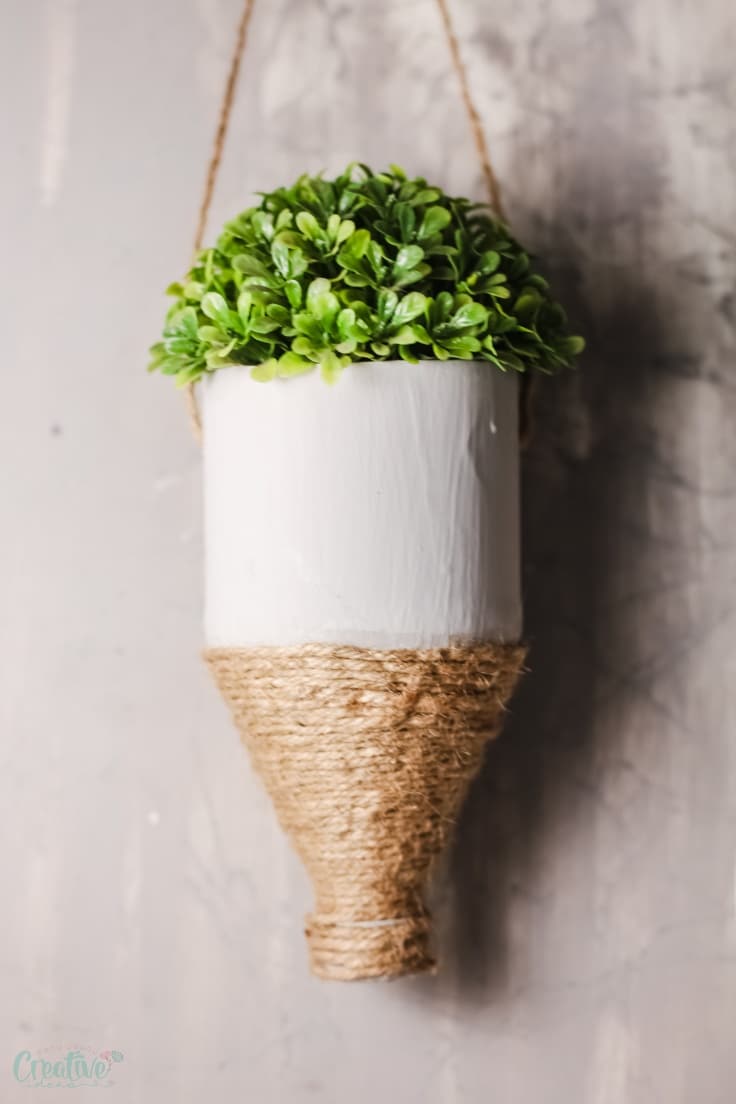
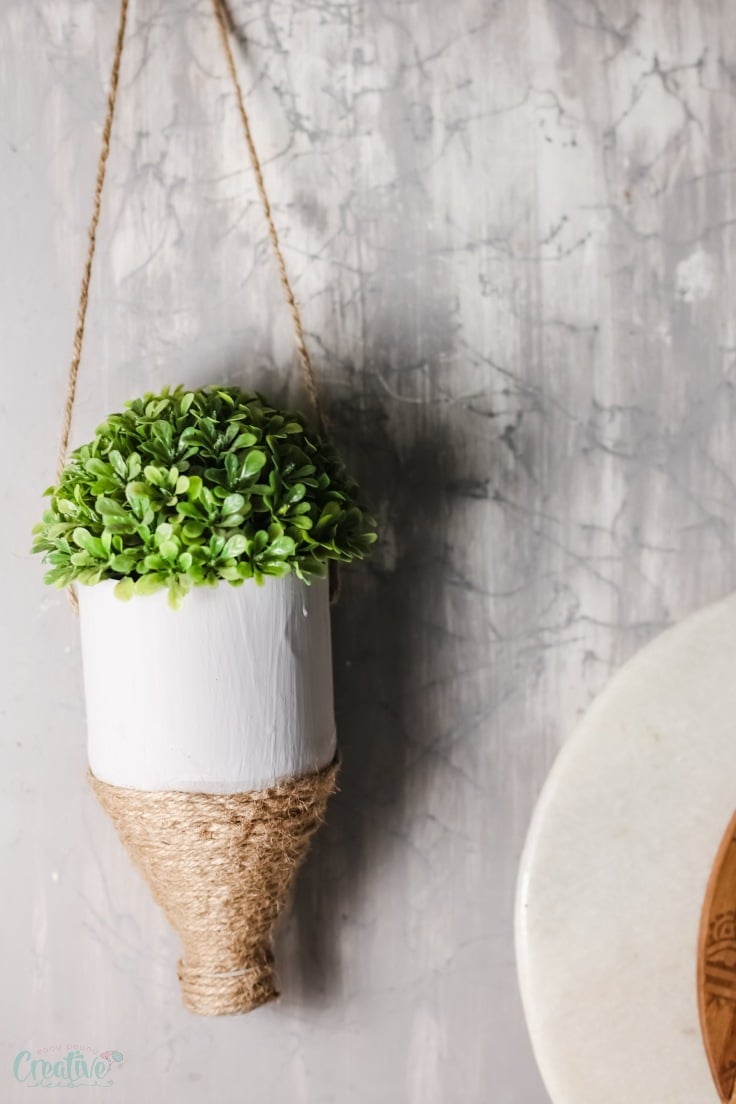
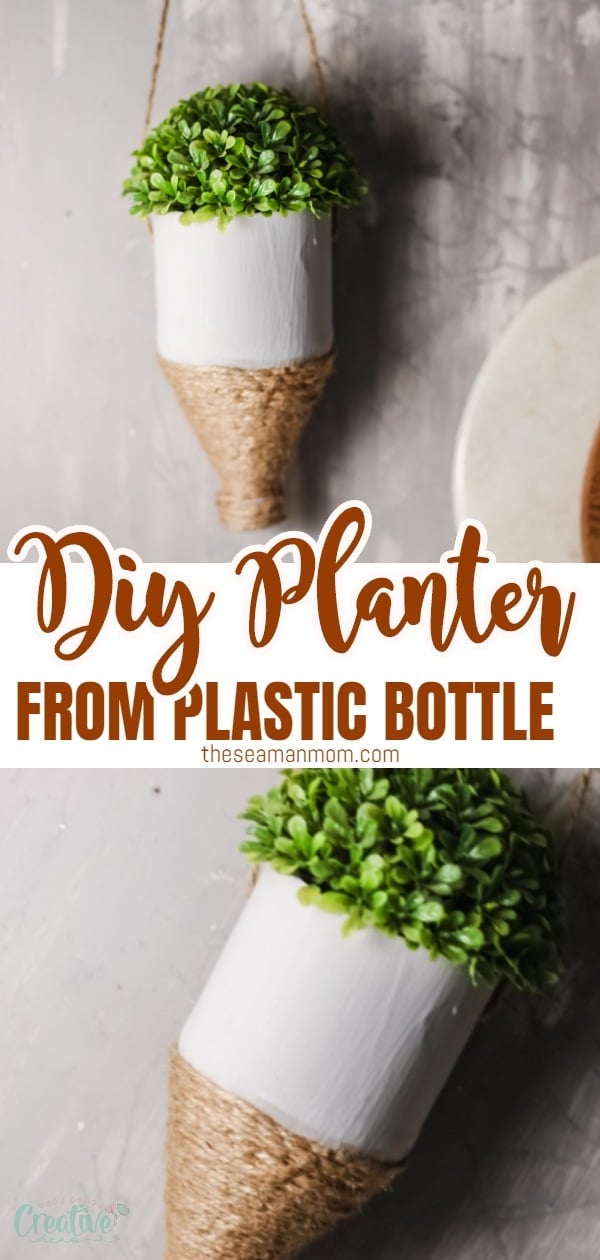
DIY hanging plastic bottle planter
This hanging plastic bottle planter is a great project to get kids into gardening and an amazing DIY to make during Spring! Great inexpensive way to create your own hanging plastic bottle garden!
Plastic bottle planter

There’s something about upcycling projects that make me really happy! First, they are super thrifty, second they are eco-friendly (we are preventing trash from getting to a landfill), and finally you don’t need to make a trip to your craft supply store to make them, what else can we ask for?
This plastic bottle planter is one of those projects that give me joy. A hanging bottle planter is an easy and affordable crafting project that’s also perfect for this season! Oh and it’s simple, meaning that little ones can also help to make them and learn the importance of recycling, upcycling and gardening.

More recycling projects you will love:
- DIY herb pot from recycled tin can
- Recycled tin can flower pots
- DIY phone holder from recycled toilet paper rolls
- Notebook from recycled cereal box
- Recycled succulent planter
- DIY aged terracotta pots
Oh and they work perfectly outdoors and indoors too! So you can make your very own kitchen herb garden or plant some decorative flowers in your porch or just place it in your home office with some beautiful succulents.
There are 2 different ways you can make a plastic bottle planter. Either use the bottom of it as the pot or use the upper part (the one with the lid) to make it. Both are beautiful but I actually prefer to use the cap part since it won’t look at all like a bottle! Seriously it’s just like a fancy plant hanger!
Water bottle planter

Materials:
- Plastic bottles
- Twine
- Paint
- A sharp knife or exacto knife
- Glue
Directions:
1. Wash and dry a plastic bottle. For this craft I used a soda bottle but even used shampoo bottles look great!
2. Cut the bottle in half. You can actually use both sides to create 2 different plant hangers.
3. Close the lid making sure it is tight. You can also use some hot glue to make sure it’s safe and secure.
4. Paint the bottle and lid and let it air dry so you can give it two coats both inside, and outside.
5. Once the bottle is completely dry, wrap some twine on the bottom half, starting with the lid. Secure it safely with glue.
6. With the help of a knife open 2 small holes. One on each side of the bottle. Thread a piece of twine through the holes and tie it.
And that’s it! Your plan bottle hanger is done and ready to be filled with your favorite plants and herbs!
Pin to save for later

Article may contain Amazon & affiliate links. As an Amazon Associate I earn from qualifying purchases at no additional cost to you.


ABOUT PETRO
Hi, I’m Petro, author and founder of Easy Peasy Creative Ideas. Sewist, crafter, avid DIY-er, foodie, photographer, homemaker and mommy to one. I’m an expert at coming up with quick, clever sewing tips, recycling crafts and simple, easy recipes! You can find my ideas featured in reputable publications such as Country Living, Good House Keeping, Yahoo News, WikiHow, Shutterfly, Parade, Brit & Co and more. Thanks for stopping by and hope you’ll stay for a while, get to know me better and come back another time. Stick around for real fun projects! Read more…