DIY shower melts
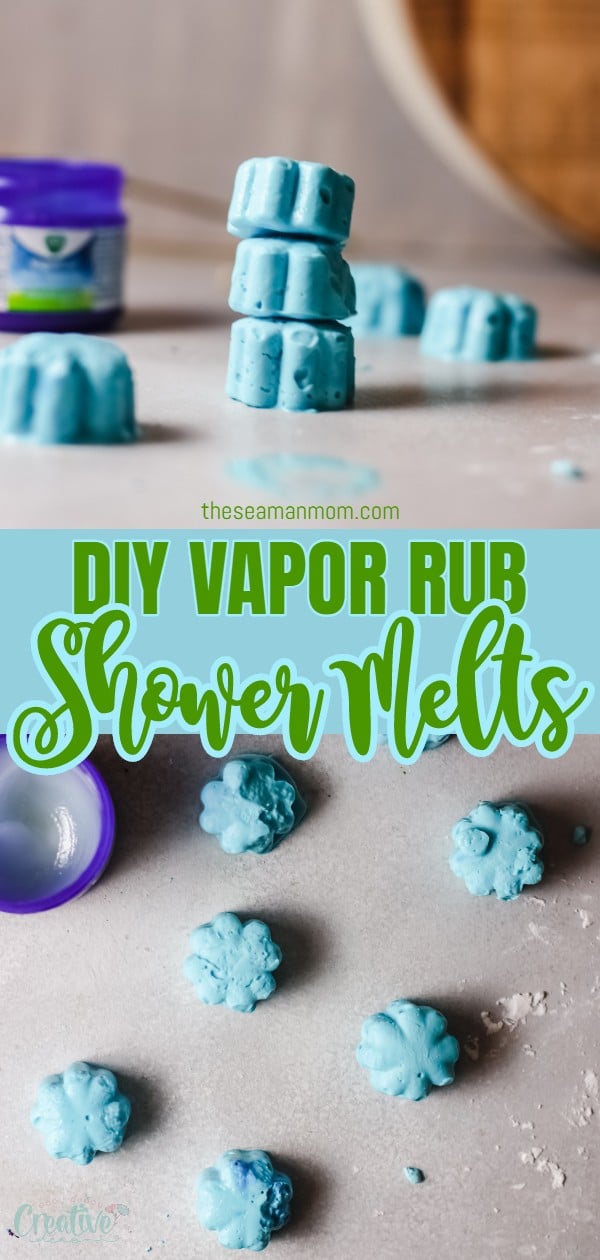
Relieve congestion with these simple but effective DIY shower melts! A super easy DIY that’s a total lifesaver for when you are feeling sick, with allergies or just wanting some relief from a stuffy nose.
DIY shower melts
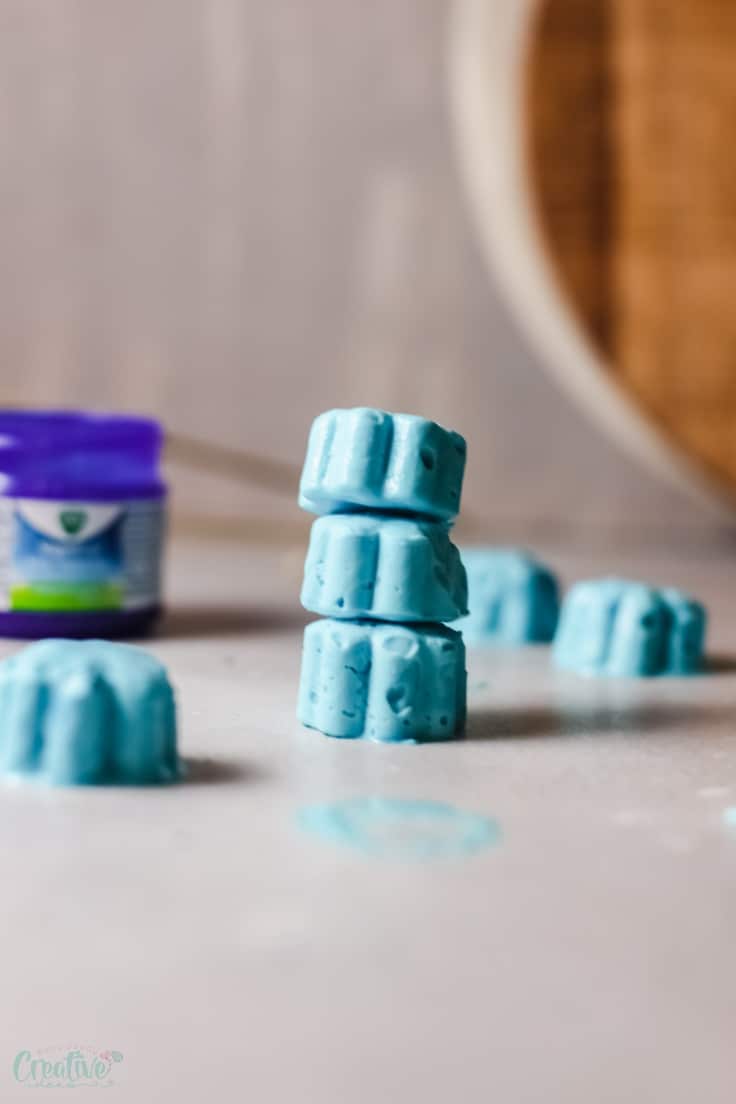
I’m pretty sure I’m not the only one that really hates feeling congested! When you can’t breathe properly even the slightest cold feels like a million times worst! I also really hate going to sleep congested, it takes me years to finally fall asleep and my sleep is interrupted so I wake up even more tired!
If you are like me when it comes to having a stuffy nose then you are totally going to love these shower soothers!
Similar posts you will love:
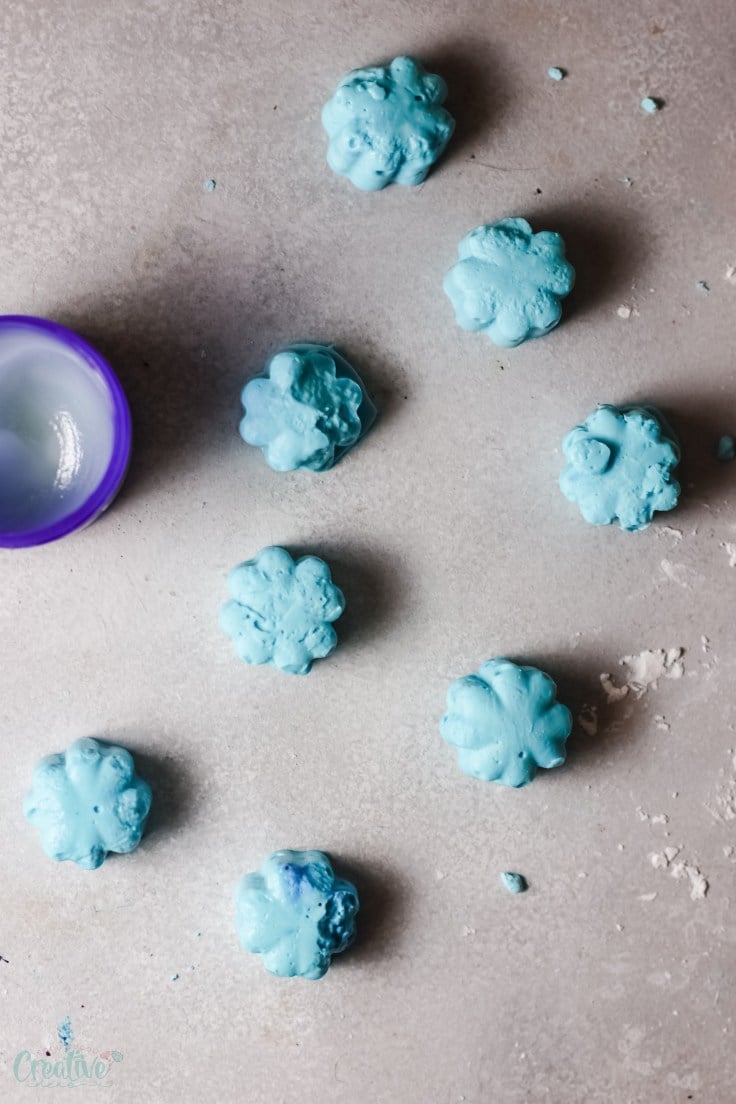
How do you use these shower tablets for colds?
Using a shower melt is one of the easiest things on the planet, which is honestly amazing when you are feeling under the weather and can’t care about doing anything that requires a bit of effort; just place one of the tablets on the floor of your shower. The hot water and steam will make them release all their healing scents really helping with your congestion.
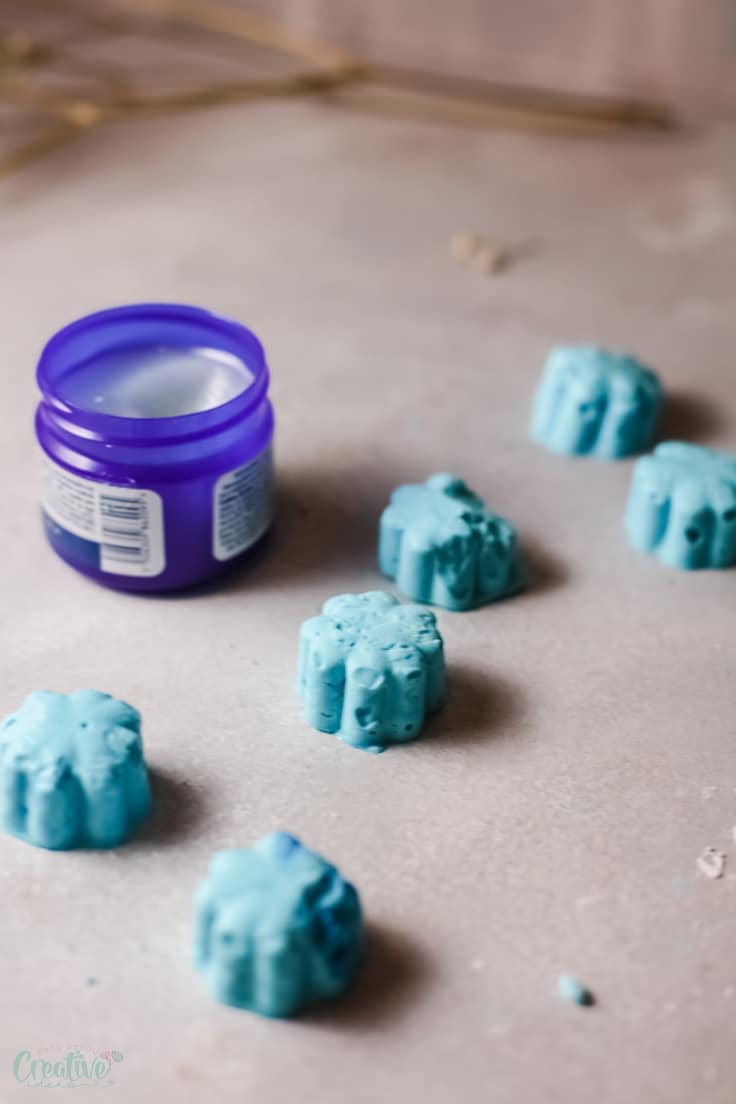
Will these DIY shower melts clog the shower?
Not at all! The vapor will flush easily through your drains. It’s like if you rubbed it all over your body and then took a shower (but without feeling all sticky).
They do however, make the floor somewhat slippery so that’s an important thing to know. I just place it right next to the drain in the corner of the shower to keep things safe.
Vapor rub shower melts
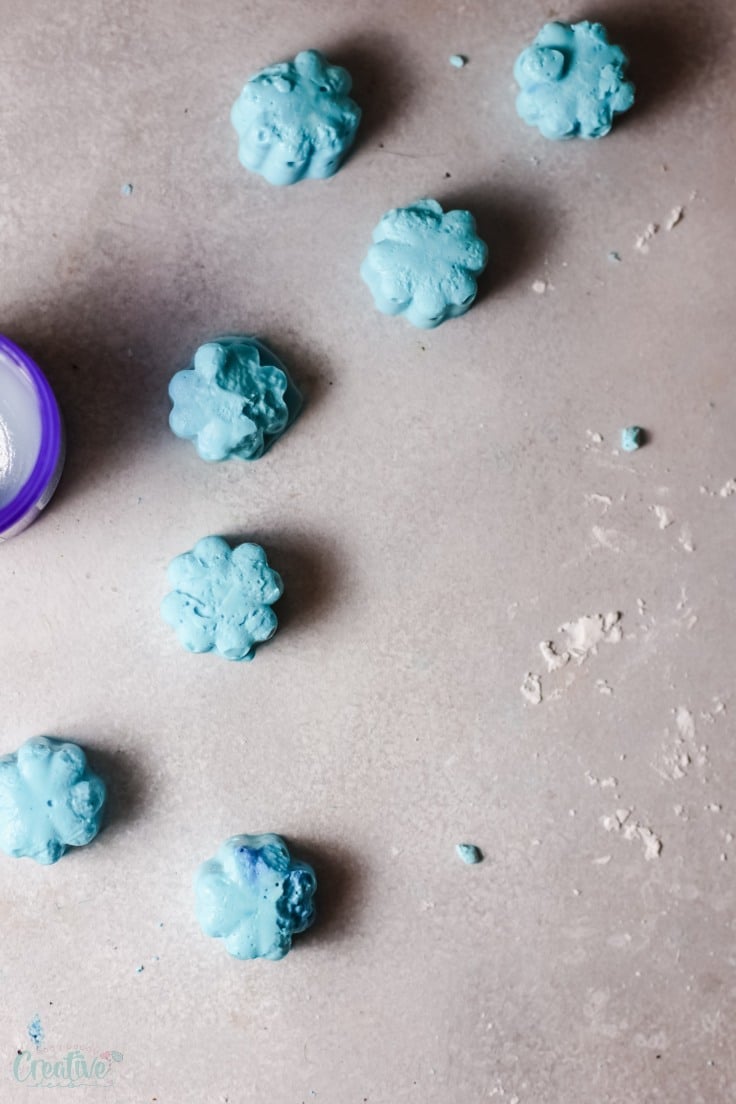
Supplies:
- 3 Tbsp vapor rub (or make your own with this tutorial)
- 1 cup cornstarch
- 5 Tbsp water (you may need 1 more of your mix is too dry)
- 3 drops food coloring (optional)
You can also throw some essential oils if you like. Lavender and eucalyptus are 2 great options.
Directions:
1. In a bowl combine vapor rub with food coloring and essential oils if using.
2. Add cornstarch and water and mix until everything is well incorporated. If it’s too dry add some more water, if it’s too runny add some more cornstarch.
3. Pour the mixture into the silicon molds and refrigerate until set.
4. Keep them in the freezer until ready to use.
Pin to save for later
Article may contain Amazon & affiliate links. As an Amazon Associate I earn from qualifying purchases at no additional cost to you.


ABOUT PETRO
Hi, I’m Petro, author and founder of Easy Peasy Creative Ideas. Sewist, crafter, avid DIY-er, foodie, photographer, homemaker and mommy to one. I’m an expert at coming up with quick, clever sewing tips, recycling crafts and simple, easy recipes! You can find my ideas featured in reputable publications such as Country Living, Good House Keeping, Yahoo News, WikiHow, Shutterfly, Parade, Brit & Co and more. Thanks for stopping by and hope you’ll stay for a while, get to know me better and come back another time. Stick around for real fun projects! Read more…