

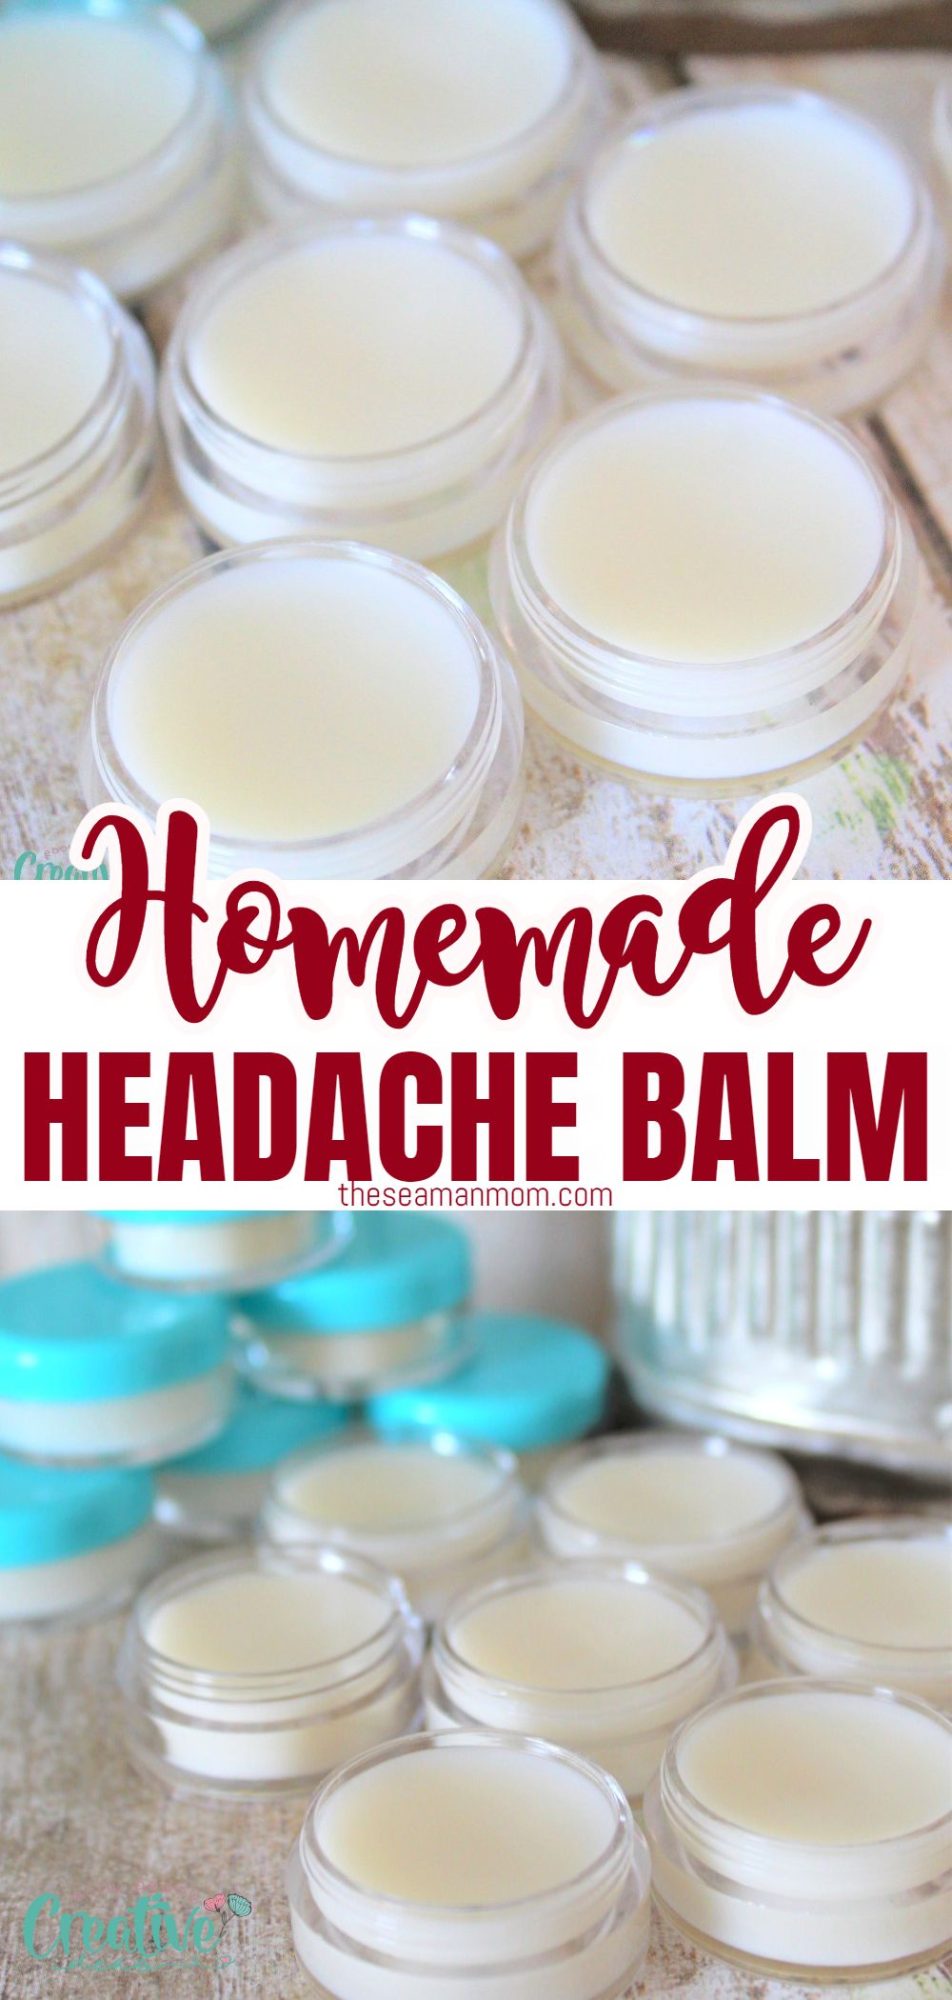
The best and easiest headache balm recipe
A headache can be unbearable. But sometimes all you need is a little touch of home remedies to relieve the pain. Here is the best and easiest headache balm recipe to get rid of a headache instantly.
Headache Balm
Most people carry some sort of headache relief in their medicine cabinets. But did you know that you can make your own headache balm at home, free of harmful preservatives, parabens and artificial colors? This balm is an amazing natural remedy and a great way to save money and relieve the pain caused by headaches.
Making your own balms is a great way to get added moisture as well as nourishing and more targeted health benefits into your body. Balms can stay on longer than using lotions or just essential oils and so they get to work longer for you.
This particular balm works well for relieving tension, tightness and aches from your body and induces relaxation. It is good for headache relief, especially if that is stemming from your neck or shoulders, and for just general muscle issues.
I use it a lot, at a first sign of headache or tension and find that putting it on whatever is nagging me right before bed, and then layering with essential oils on top of that too if needed, it really helps my blood flow and the issue be lessened. You can apply several times a day too. It takes just a small amount for a quick relief, since its nice and thick, so the tubs last longer than you may expect.
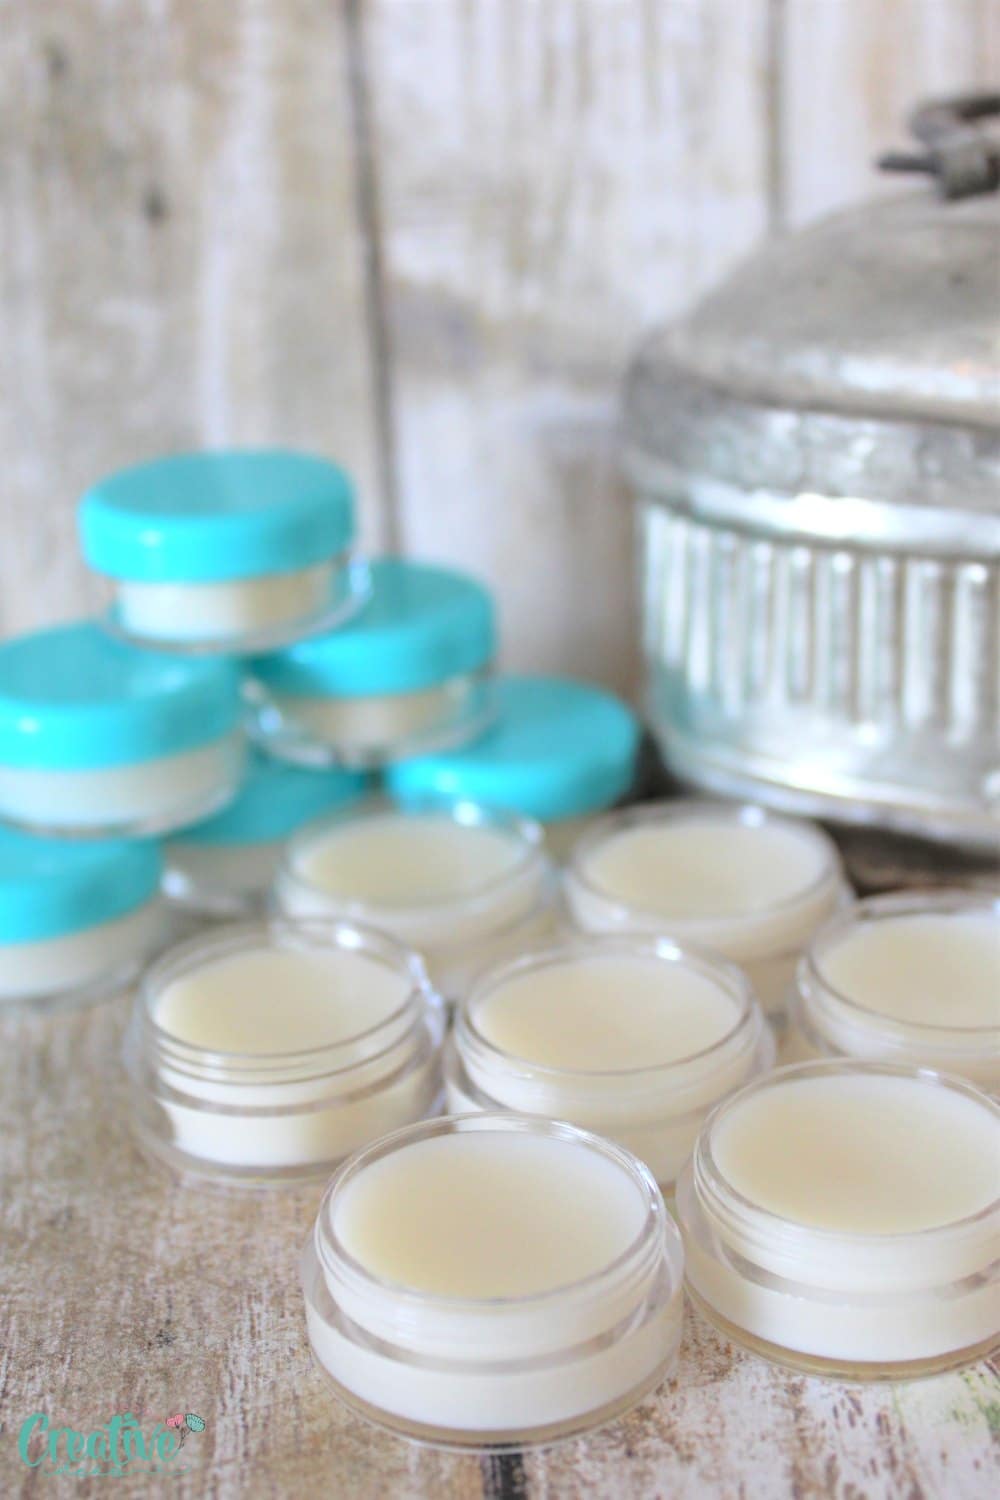
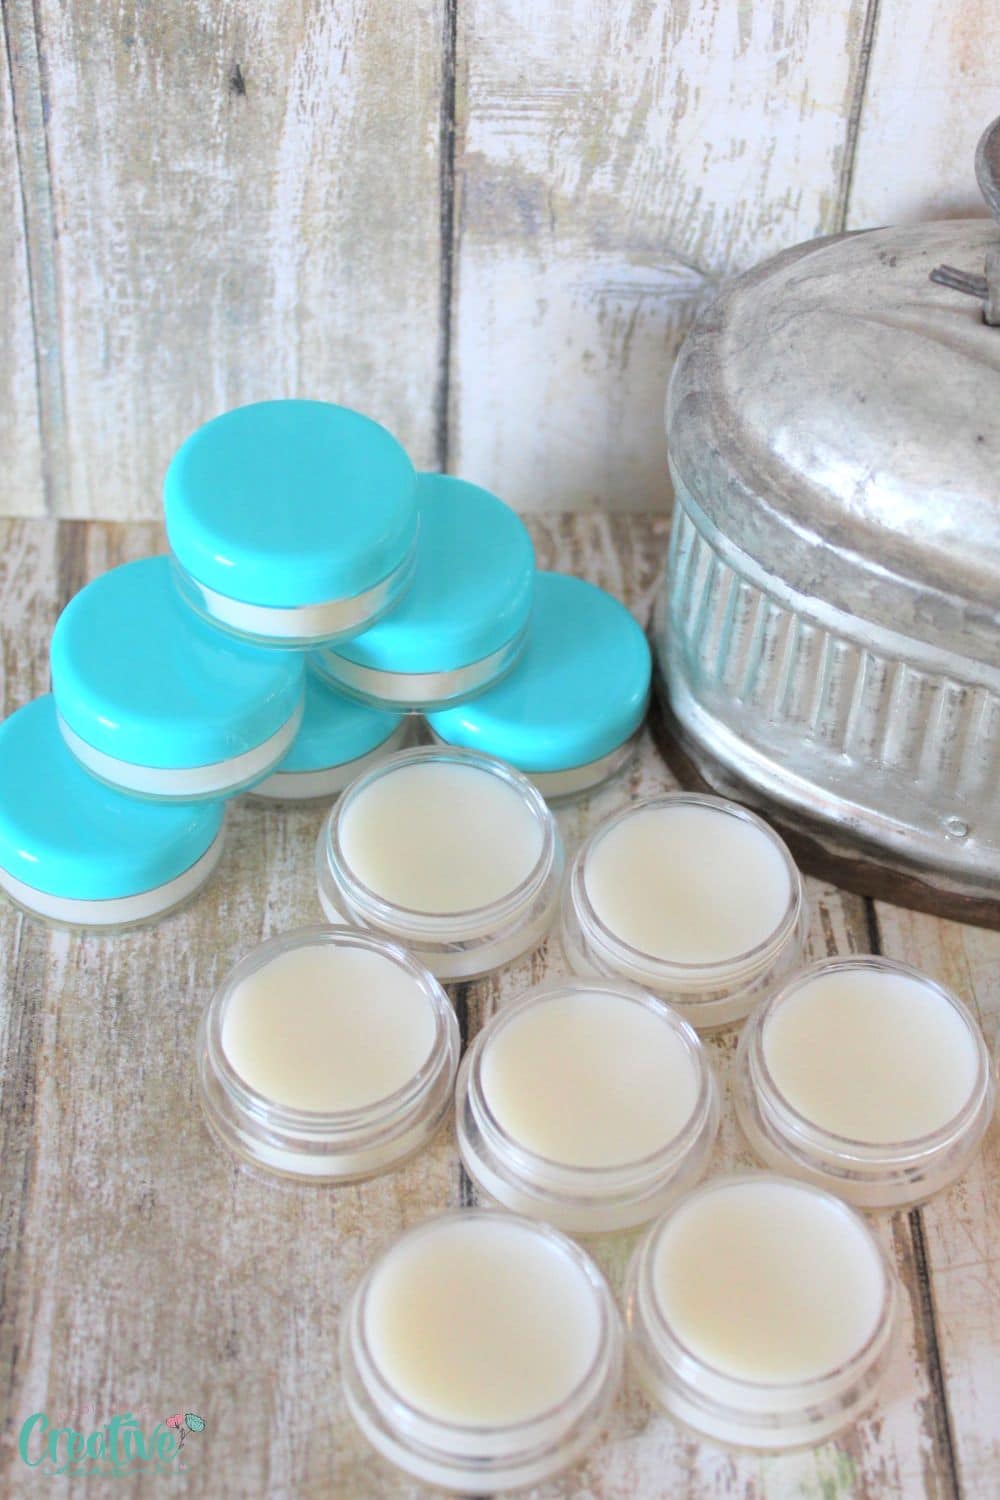
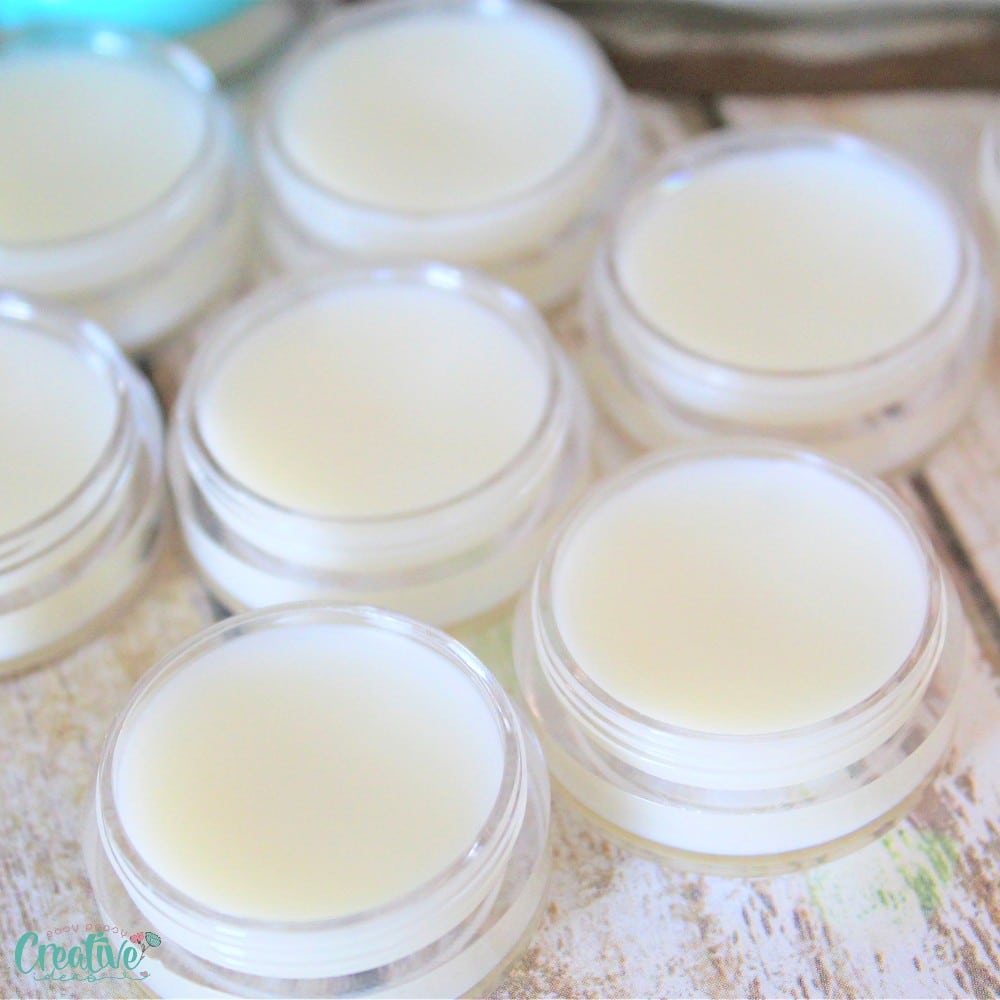
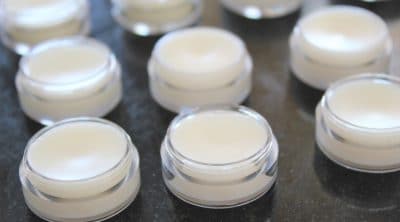
I used 1 oz. sized jars for this recipe and it makes 3 of them, but you could do one larger container or several smaller jars of course. I feel like the 1 oz. size lasts us well and I can also give them to people I know can use them.
Similar ideas you will love:
- DIY tinted lip balm
- Homemade toothpaste
- DIY citrus rose soap
- DIY shower melts
- Natural back pain relief cream
What essential oils to use for a headache relief balm?
The base ingredients of the balm all are wonderful for the skin. Beeswax, olive oil and coconut oil are all known to help keep the skin soft and moisturized, and they help with dry, cracked or itchy skin.
The essential oils added each have their own health benefits that they bring to the balm and they are what pulls it all together. Copaiba is the first oil used and it is a powerful oil that has been compared to CBD as far as its capabilities but without the ties to hemp. It helps loosen, as it is an anti-inflammatory oil, helps relieve aches, treats infections and helps to heal.
Marjoram is one oil I think goes under-used and it is a shame. It is a fantastic oil for many things, but in this case it helps relax muscles, is antispasmodic, antibacterial, antifungal and can help relieve aches, cramps and sprains. Its great for headaches and it is also a calming oil. Truly you could make a marjoram balm and use it constantly.
The last oil added to the recipe is lavender. Most people have lavender if they are oil users and it is great for anything to do with skin, but it also helps in this case to relieve stress, headaches and tension. It is a cleansing oil that is an astringent and antibacterial as well.
The copaiba and marjoram give long lasting relief, the lavender helps just about everything, and it all benefits your skin at the same time.
If you have sinus headache you could opt for adding eucalyptus or peppermint oil which will help open up the sinuses and relief the pressure in the area.
How does headache balm works?
As soon as you put this balm on your skin, the copaiba will help relax the muscles and relieve tension. Marjoram will work to relax the muscles and lavender is great for just about everything related to stress or headaches.
You can apply up to 3 times a day, especially if it is really nagging at you or there are other issues cropping up with it.
The essential oil blend in this balm will help to target the issue specifically and the beeswax, olive oil and coconut oil in it are all great for your skin.
Where to use this balm?
This DIY balm can be applied anywhere you have pain. It is great for headaches, tension headaches, mild migraine, neck tension, aching muscles and more.
You will want to apply it to the affected area and then massage it in. You can do this up to 3 times a day as needed.
Who should use headache balm?
Anyone who suffers from headaches, neck tension, muscle aches or other related issues can use this balm. It is gentle enough for those with sensitive skin and will help to provide relief from the issues you are experiencing.
The unique blend of essential oils used in it are all known for their abilities to help with these problems so you know it is effective.
Making your own headache balm is a great way to get relief from these discomforts and it is a great way to use up beeswax since you only need a small amount per container.
How to make homemade headache balm?
The headache balm recipe is very simple and only takes a few ingredients.
You will need:
3 x 1 oz. jars
2 oz beeswax, either chopped or the pastilles (vegan substitutes: Candelilla wax, carnauba wax or soy wax)
2 tbsp. coconut oil (substitute with cocoa butter)
1 tsp. extra virgin olive oil
22 drops copaiba essential oil
20 drops marjoram essential oil
16 drops lavender essential oil
If you are a Frankincense essential oils lover you could add a few drops of that too.
Directions:
Prepare the beeswax
- If your beeswax needs to be chopped up, go ahead and do that first before you do anything else. Chop it finely so it takes less time to melt down.
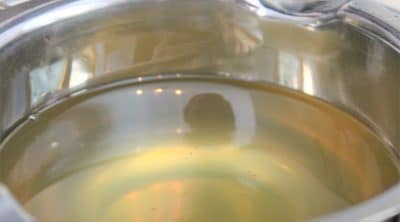
- You will need a double boiler to melt the beeswax. I have a nice light one that is just a top pot, so it is easy to store and you can use it with whatever sauce pan you’d like. Fill the bottom pot about ½ full so that the water comes up to the bottom of the top pot, but doesn’t go up too high, or it can boil over later.
- Place the top pot over the water and measure and add the beeswax to it. Place on medium-high heat. Beeswax takes a bit to get heated at first, like when you’re boiling water for pasta: watching it makes it take forever. Once it gets going though, the process goes pretty quickly.
- Check the beeswax and give it a stir and break it up some. You may need to do this a couple of times as its melting. It likes to clump together. The bottom will start to liquefy first. Once the water is starting to bubble, turn the oven to a low simmer. Beeswax can burn if left on too high of heat for too long, so its best once it starts to get nice and warm to let it stay on low.
Prepare the jars and ingredients
- As it is heating up there are a few things you can do to prep for the next few steps: Get the tubs ready to fill, removing lids and checking to be sure they are clean of any debris. Place them in a nice flat spot where they can stay and cool later.
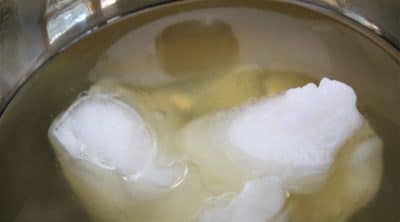
- You can also measure out and have the olive oil ready and the coconut oil if you like. The coconut oil may need a little warming to loosen it up for removal, and if so, just place it in the microwave for about a minute. That should liquefy it enough to be able to easily get it out of the container for the small amount you need.
Add the oils
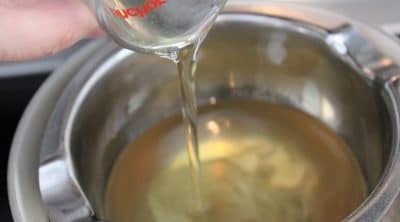
- Stir it every few minutes as its finishing the process, and once its clear, add in the olive oil. Stir that well and give it a minute or two to melt.
- Then repeat that for the coconut oil. You want the mixture to be all clear and liquefied before adding the essential oils.
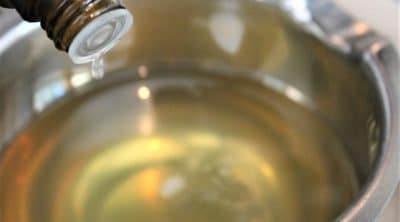
- Now you can add the essential oils in, one at a time, stirring as you go. All of these oils are a thinner consistency so add the drops carefully, so as not to over-do it.
Pour into containers
- Stir well and now you are ready to pour your balm into the tube or small jar. Leave the heat on the lowest setting while you pour in case you need to melt the balm a little again. I use two hands when pouring, so I can be very steady. Pour slowly into each tub until the balm comes to just below the top. If you want to make sure each tub has equal amounts you can leave a little more space and then go back and top off if you like.
- Store your homemade headache balm in a cool dry place.
Headache balm is one of those useful things to have around as it can be used for many different purposes with effective results. The ingredients are easy to come by and inexpensive as well as being natural and safe for everyone in your family.
Making homemade headache balm is fun and easy, especially if you use this recipe, incorporating organic beeswax with organic coconut oil infused with lavender, marjoram and copaiba essential oils. The result is a cost-effective, effective product that is also naturally safe! I hope you will find this balm to be very useful and you can see why the essential oils were specifically chosen for it.
I hope you enjoyed this recipe for headache balm. If you have any questions or feedback, please feel free to leave a comment below! Thanks again for reading and don’t forget to share the post with your friends if it was helpful!
Pin to save for later
Print the craft card
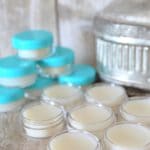
DIY Headache balm
Materials
- 2 oz beeswax
- 2 tbsp coconut oil
- 1 tsp extra virgin olive oil
- 22 drops copaiba essential oil
- 20 drops marjoram essential oil
- 16 drops lavender essential oil
Tools
- silicone spatula
Instructions
- Chop beeswax finely so it takes less time to melt down. You will need a double boiler to melt the beeswax.

- Add in the olive oil. Stir that well and give it a minute or two to melt.
- Then repeat for the coconut oil.
- Now you can add the oils in, one at a time, stirring as you go.
- Pour your balm into the tube or small jar. Store your homemade headache balm in a cool dry place.
Article may contain Amazon & affiliate links. As an Amazon Associate I earn from qualifying purchases at no additional cost to you.

Hi, can you use different essential oils as I haven’t got 2 of them, it’s the copaiba and marjoram oils, I have rosemary oil, frankincense oil, rosehip oil and lavender oil. Could I use any of these to substitute for the oils I haven’t got?
Hi Rachel. Copaiba and marjoram work better for me, but you can use rosemary & frankinsense, if you don’t have them.
Just curious mine turned out a little hard more like just the beewax. Any ideas to make more soft?
Amber, you could try adding a bit more olive oil.
This is a super cool DIY project and lov that you can make this yourself and that its all natural too :) Pinned this one for my Pinterest boards ;)
I have never used a headache balm before. This would be fun to make and would certainly be very useful.
I need to try this homemade headache balm recipe! Thanks for sharing this DIY recipe, very helpful 🙂
This sounds really handy to have. It’s great you can make your own.
This is really perfect for my husband I’m surely gonna try this This could be a really big help!
Wow! This is such a really amazing recipe! I’m surely gonna try this! My mom really need this!
This is so helpful. I usually have minor headaches and Ive been looking for some remedies.
This sounds really awesome to have on hand, thanks for sharing this recipe.
I am totally going to make this homemade headache balm recipe. Would be a great gift too!
These would make great gifts. Now to buy the ingredients
Can I use something besides coconut oil. I have problems with coconut products.
Hi, Gail. You can use cocoa butter instead if that works for you.