DIY vintage galvanized bucket
I don’t know about you but to me there’s something quite magical about rusty metal! But there are times when those reclaimed pieces are out of budget, or difficult to find! Here you’ll learn how to make a vintage galvanized bucket from new shiny metal bucket and then apply the method to any metal piece you like to infuse that wonderful patina!
Vintage galvanized bucket
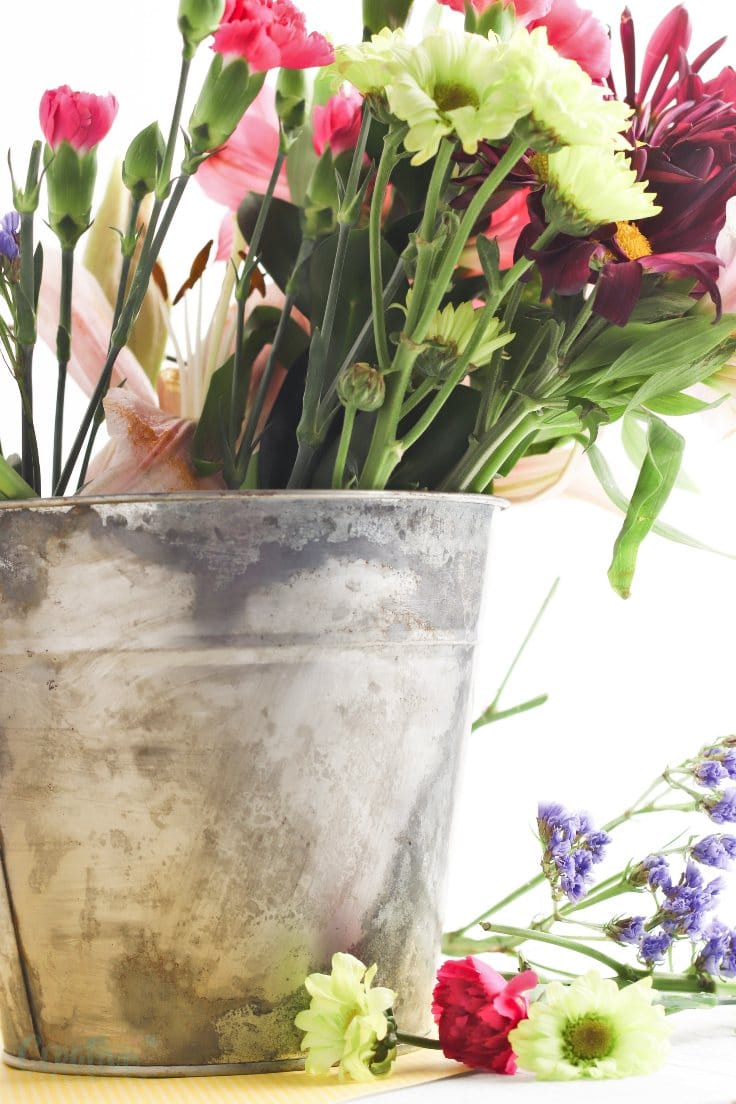
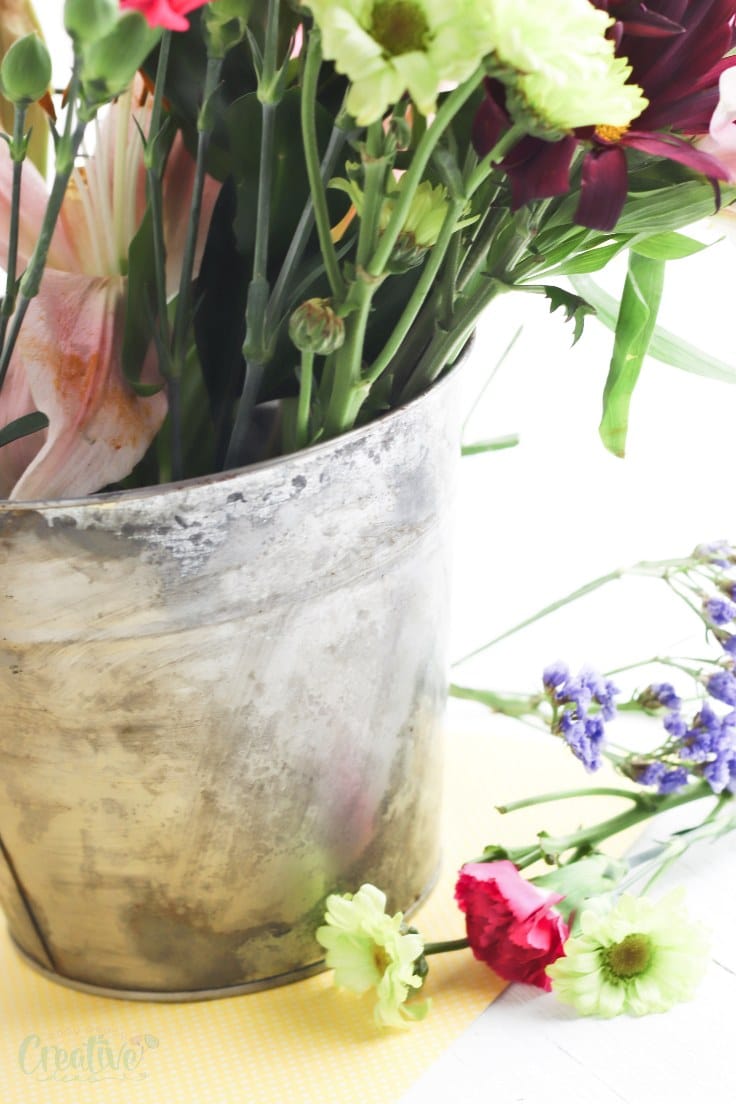
A vintage galvanized bucket is a great way to decorate your farmhouse home! There are so many ways to use metal buckets – from displaying your favorite flowers to hiding away clutter. But a new shiny metal bucket won’t fit in with the rest of your rustic decor. In this tutorial I’ll show you how to age galvanized metal and pretty quick!
More farmhouse ideas you will love:
- Herb pot from recycled tin can
- Whitewashed nightstand
- Rustic Valentine wreath
- Farmhouse centerpiece
- Jute table runner
- Twine decorated candles
- Rustic photo frame with twigs
And luckily, aging galvanized metal is so simple! In fact, you only need three simple supplies to turn your new bucket into an antiqued bucket in a matter of minutes.
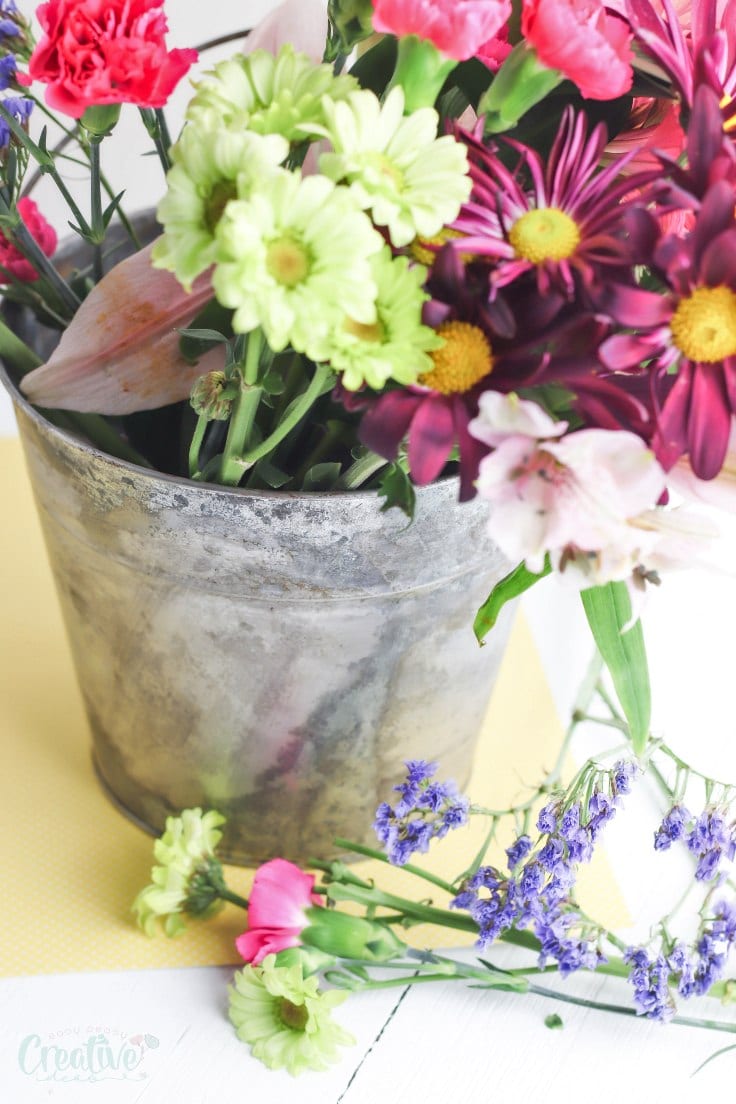
What do I need for rusting galvanized metal?
To turn your brand new, shiny bucket into a galvanized metal bucket, you’ll need three supplies:
- Sand paper
- Vinegar
- An old towel
That’s it! It is so easy to transform a new bucket into an old bucket using these three simple things. And once you learn this trick, you’ll never pay more for an antique bucket again!
Do I Have to Sand the Bucket?
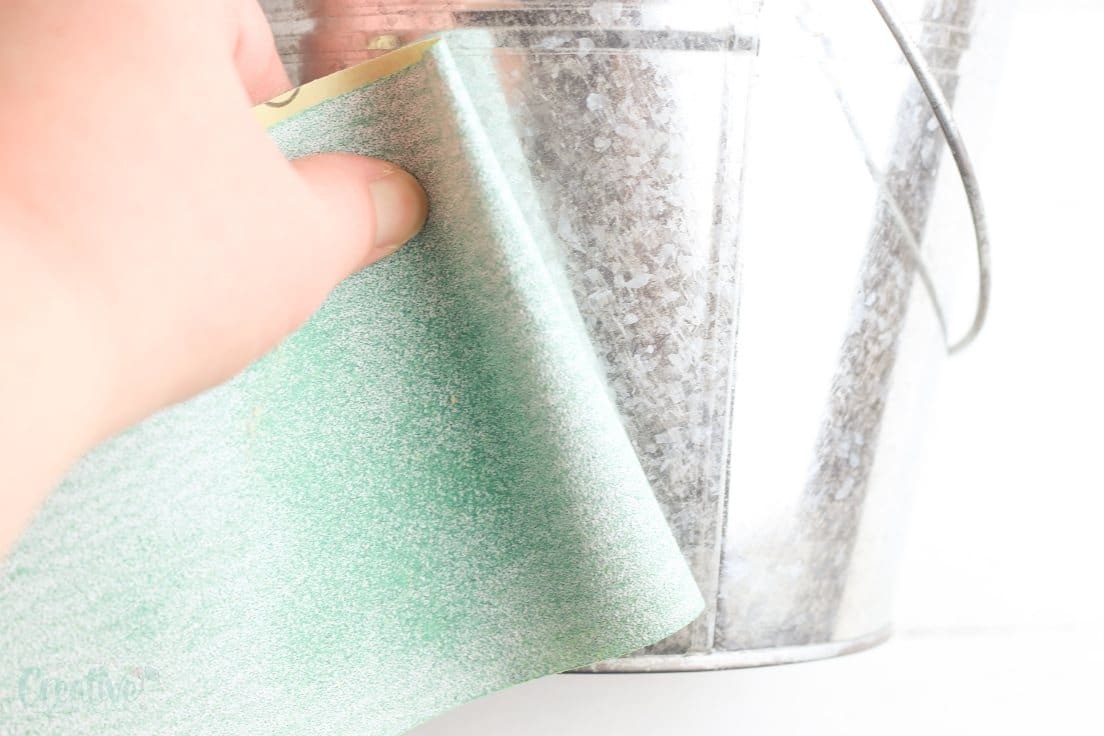
The most important step to creating a vintage galvanized bucket is sanding. You can’t skip this step! Most new metal buckets have a finish on them to protect the metal and make it look shiny. To make your bucket look aged, you’ll need to remove that finish. And the easiest way to do that is by sanding the bucket before you apply the vinegar.
To remove the shiny finish from the bucket, use a fine grit sand paper or sanding block and rub all over the bucket. The pattern or angle in which you sand doesn’t really matter. Just make sure to rub the sand paper all over the bucket to remove the finish from the entire surface. And if you want the inside of your bucket to look aged, too, don’t forget to sand there, as well.
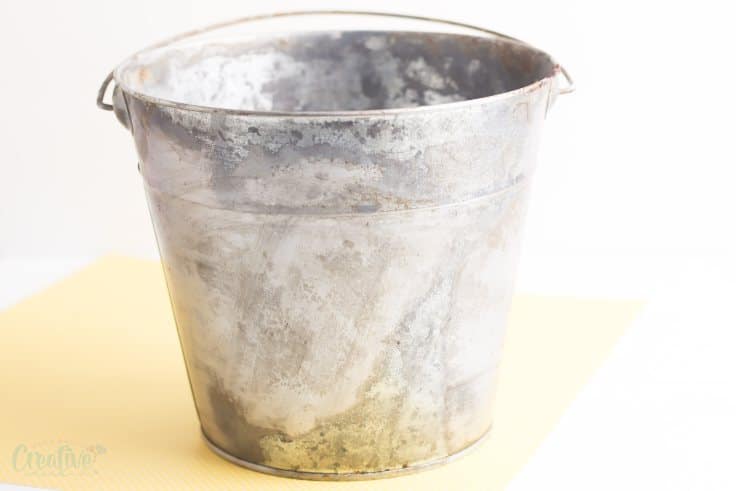
Tips for Aging a Metal Bucket
This easy trick is so simple to do that you can’t really mess it up. But I do have a few tips for you to make the entire process much easier.
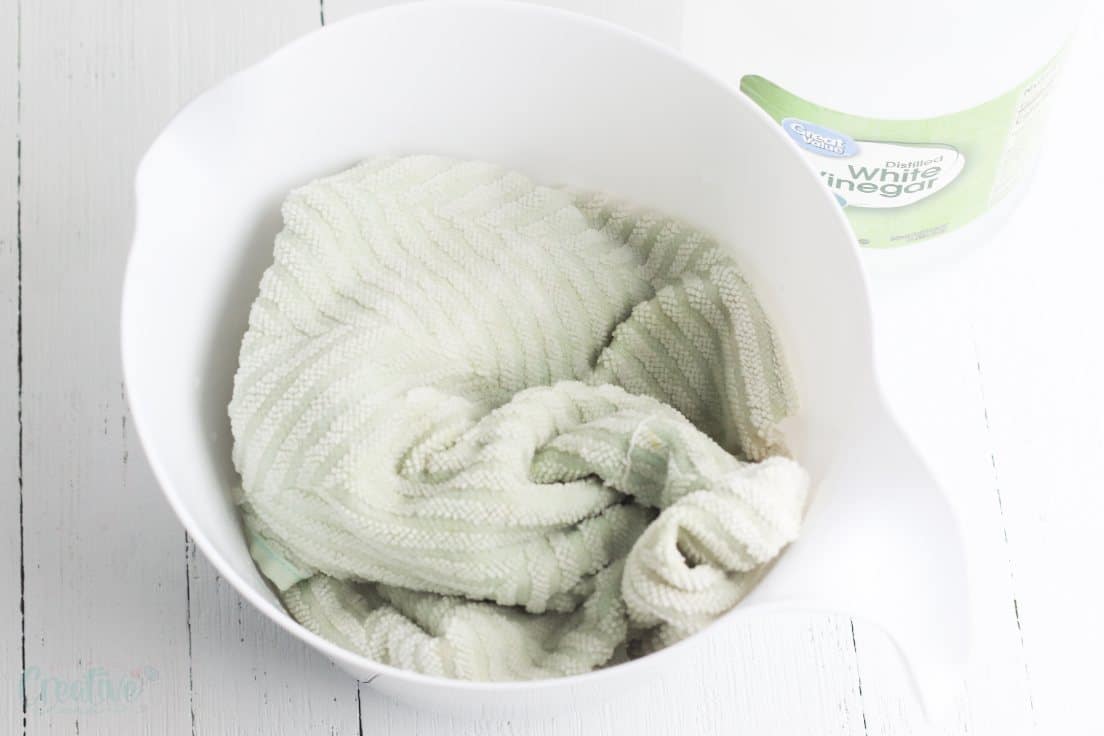
- Use an old towel. Since you’ll be aging your bucket using a towel, don’t use one that you like. Instead, grab an old towel that you don’t mind throwing away when you’re finished. As you age your bucket the finish will rub off onto the towel, which might stain it.
- Keep sanding until you’re satisfied. What’s great about this method of aging your bucket is that you can keep working until you like the look. If you notice a section of the bucket isn’t aging as well as others, grab your sand paper and rework the spot. Just be sure to wear gloves as you work to keep your hands from getting messy!
How to rust galvanized metal
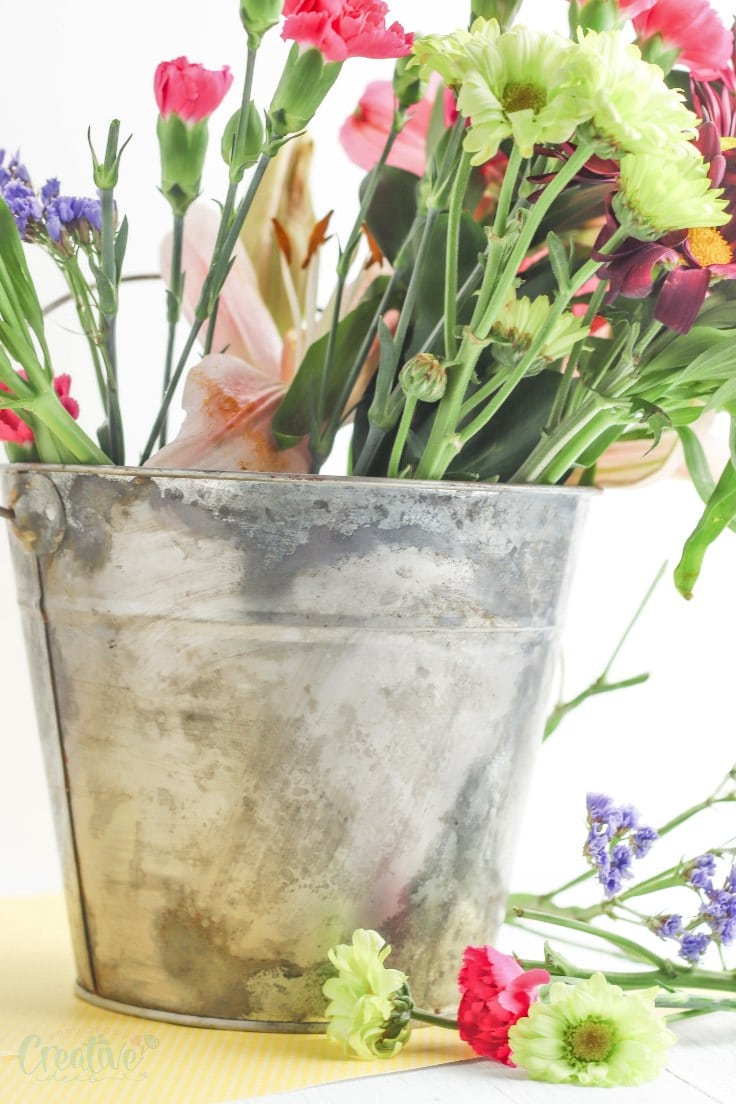
Supplies:
- Metal bucket
- Fine grit sand paper
- Vinegar
- Towel
Instructions:
1. Use the sandpaper to sand the bucket to remove the finish.
2. Soak a towel big enough to cover the entire bucket in vinegar. Wrap the towel around the bucket.
3. Soak the bucket for 10 to 15 minutes, then check on the progress. Continue sanding and soaking the bucket until you’re satisfied with the finish.

Pin to save for later
Article may contain Amazon & affiliate links. As an Amazon Associate I earn from qualifying purchases at no additional cost to you.


ABOUT PETRO
Hi, I’m Petro, author and founder of Easy Peasy Creative Ideas. Sewist, crafter, avid DIY-er, foodie, photographer, homemaker and mommy to one. I’m an expert at coming up with quick, clever sewing tips, recycling crafts and simple, easy recipes! You can find my ideas featured in reputable publications such as Country Living, Good House Keeping, Yahoo News, WikiHow, Shutterfly, Parade, Brit & Co and more. Thanks for stopping by and hope you’ll stay for a while, get to know me better and come back another time. Stick around for real fun projects! Read more…