DIY chick craft with foam dice
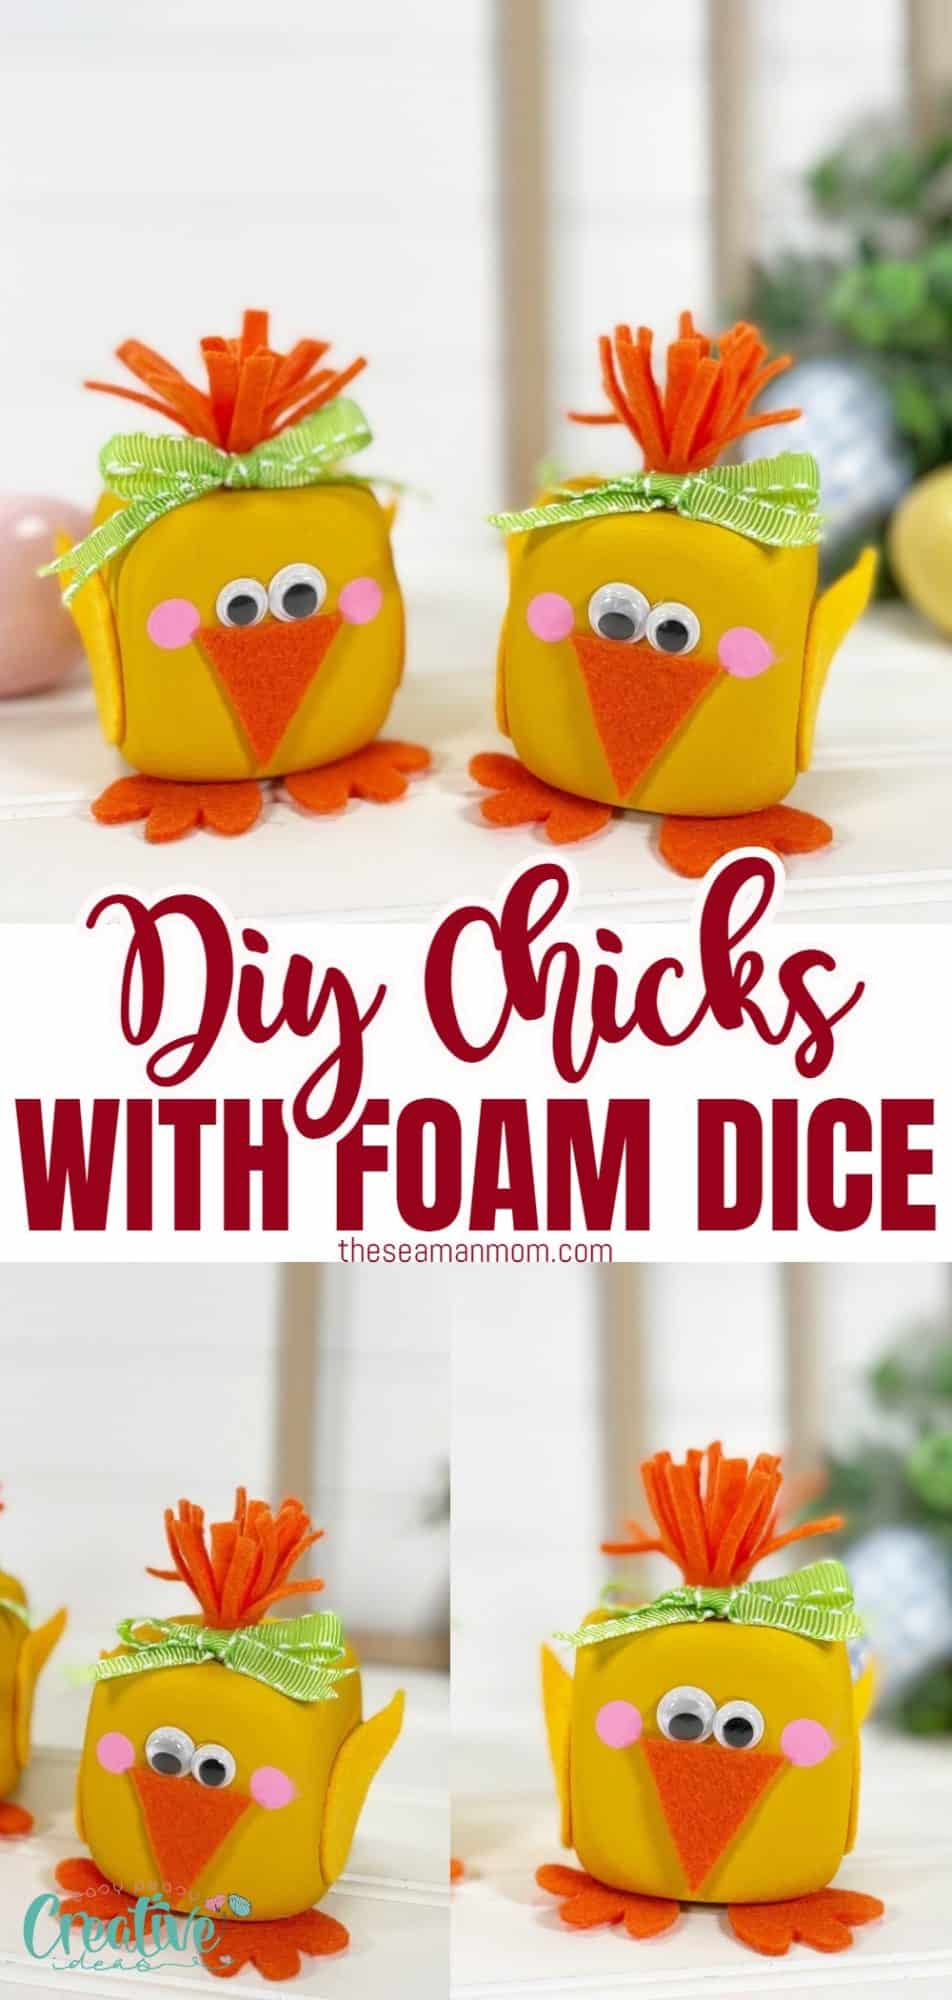
Gather your friends and family around to make the cutest chick craft this Easter! With a few supplies, you can create an adorable Easter chicks craft that will be perfect for home decor or gifts.
Chick craft with foam dice
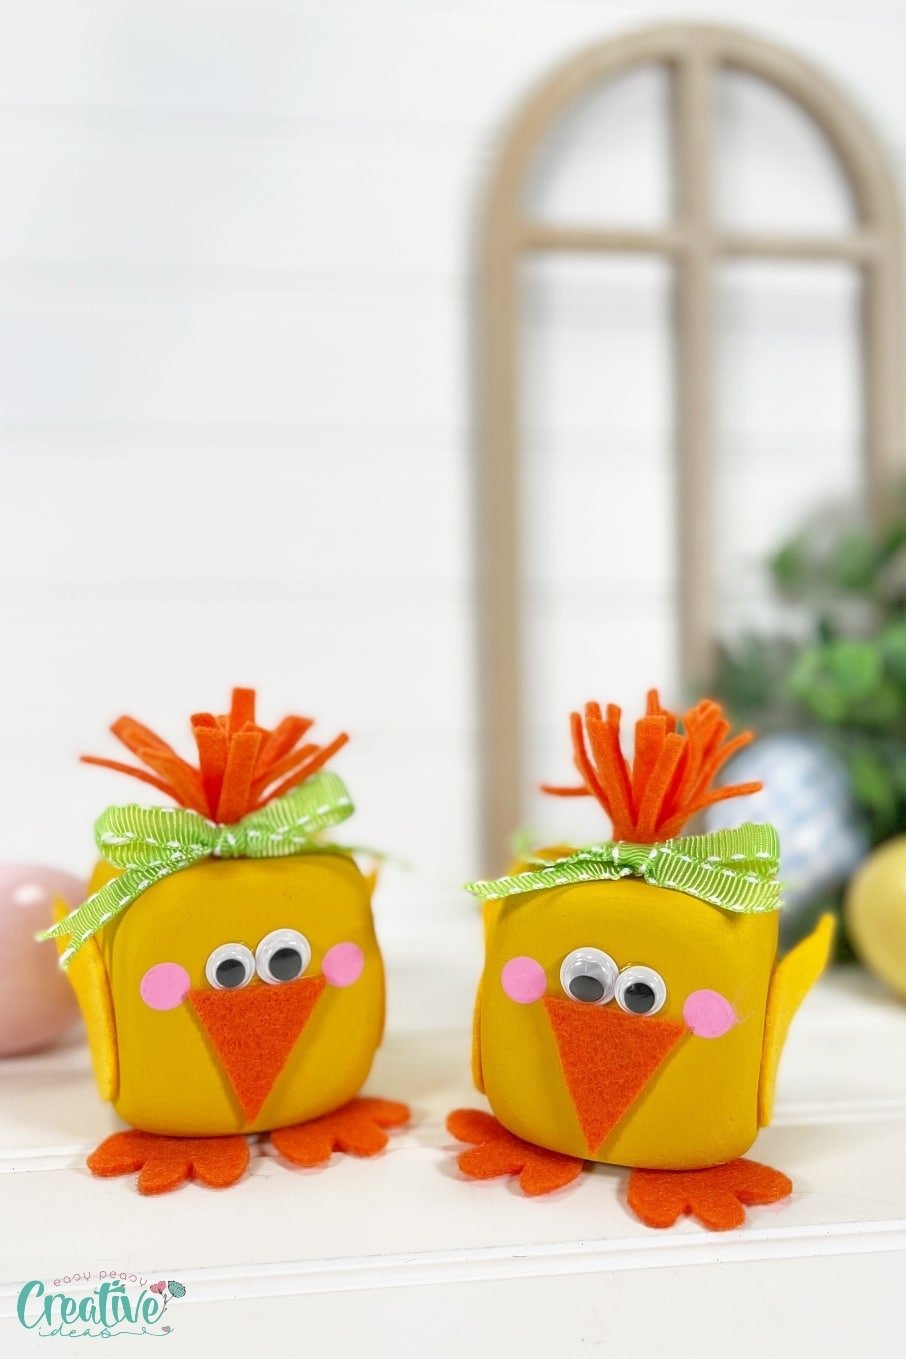
This chick craft is a great way to get creative and bring some cheer into your Easter decorations. Using foam dice, you can easily create cute little Easter chick decorations that are perfect for table centerpieces, classroom projects, or as gifts for friends and family. All you need is some paint, felt, and glue and your cute Easter chick will be ready in no time! If you love making Dollar Tree crafts, this easy and quick project is the perfect craft for you!
Can craft foam get wet?
Foam dice may seem like a delicate material, but they can actually be washed with water. As long as the paint is non-toxic and water-resistant, your chick craft will stay in great condition even if it gets wet.
Can you spray paint foam dice?
Yes! You can use any type of spray paint to create the chick craft. Just make sure that you spray in an even layer when covering foam dice with paint, don’t leave it in direct sunlight for too long and don’t forget to cover the area with newspaper or cardboard before spraying.
Tips for decorating the DIY Easter chicks
When it comes to painting the chick craft, you can use any type of paint that’s non-toxic and water-resistant. For a more realistic finish, try using acrylic paints and brushes.
If you want to add some extra details and texture to your chick craft, use sparkles or glitter for added color and sparkle.
Once you’re done painting the chick craft, let it dry fully before gluing the decorations. This will help ensure that your chick craft lasts longer.
You can also use pom-poms, a cute bow, ribbon, buttons, small yellow balloons or beads as chick accessories or add a few pieces of cotton ball as hair.
More Easter ideas you will love:
- Sheep craft with craft sticks
- Printable Bunny Basket
- Easter bunny cups
- DIY sock bunny
- Printable Easter egg holders
- Clay pot Easter bunny butts
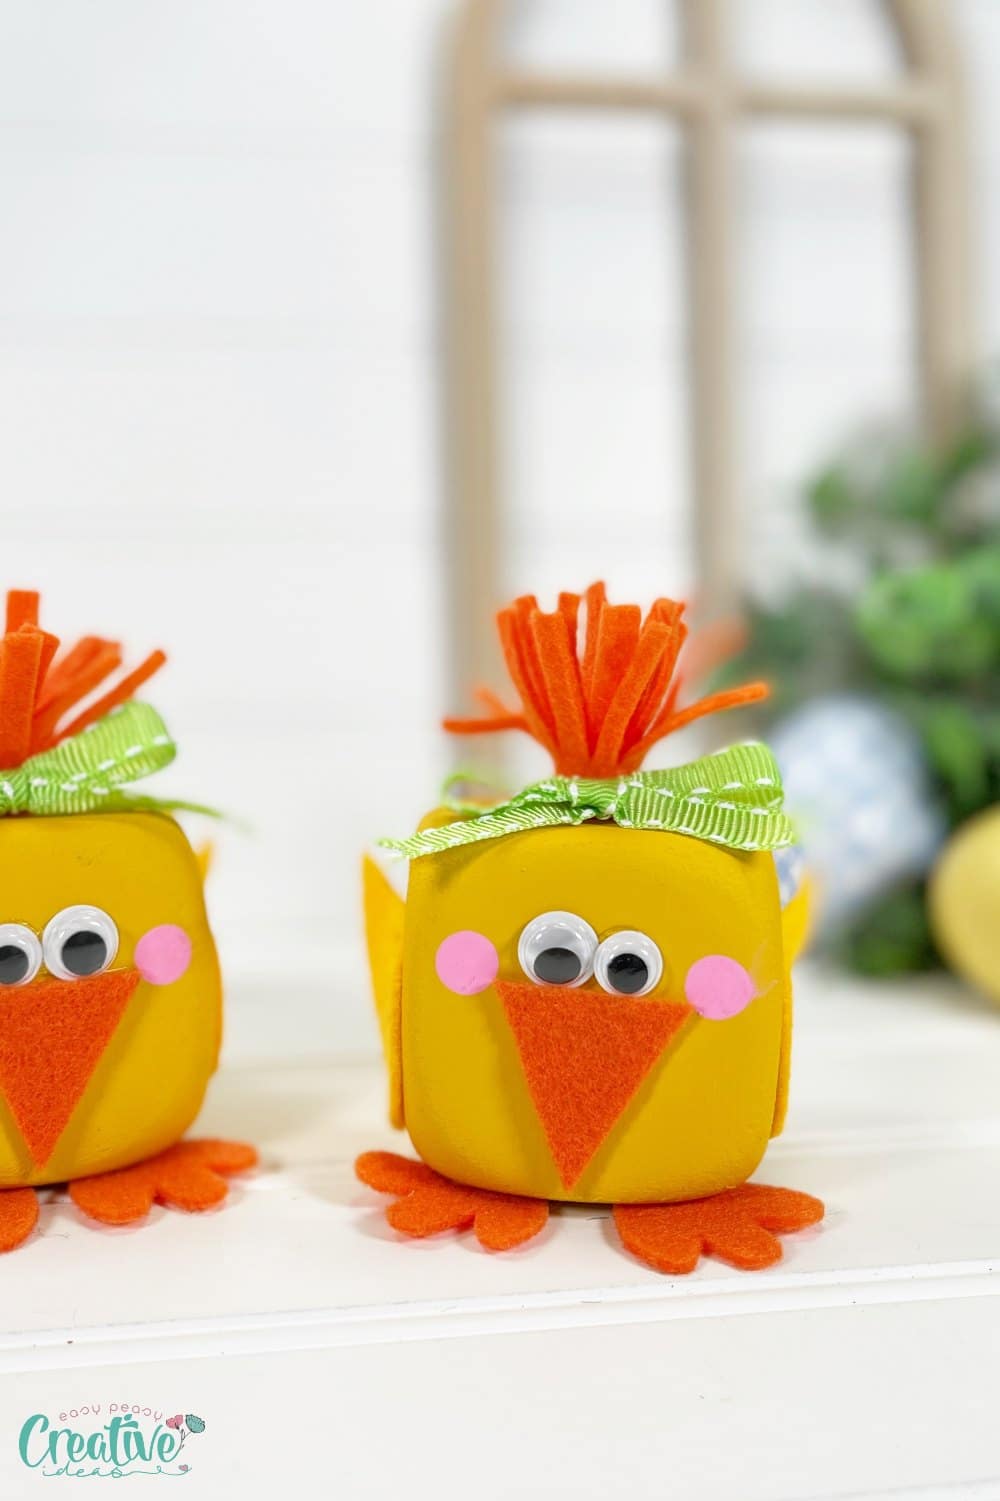
Creative ideas for chick craft decorations and gifts
Once you’ve finished your chick craft, you can use it to decorate your home or give it away as a gift.
You can make several chick crafts and turn them into bunting for home decorations or make small chick-shaped pendants for friends and family.
You can also make little chick cards with the chick craft as a fun and creative way to send your Easter wishes.
Other creative ways of using these chick crafts:
- Use them to top off Easter baskets
- Make chick magnets to use on the fridge
- Turn your chick crafts into party favors or decorate a classroom bulletin board.
How to use these chicks to make Easter-themed cards and crafts
The chick craft can be used to make a variety of Easter-themed cards and crafts. They can be used to decorate greeting cards or scrapbooks, or turn them into chick garland for an extra special touch. You can also arrange them into shapes that will form cute messages, such as ‘Happy Easter’.
You can also glue the chick crafts onto popsicle sticks to make chick puppets that you can use in classroom activities.
Finally, you can make chick-shaped magnets by attaching the chick craft to a magnet and use them as fridge decor or gifts for friends and family.
You can also make decorations for Easter baskets or add chick craft pieces to craft projects such as scrapbooks, photo frames, garlands, etc.
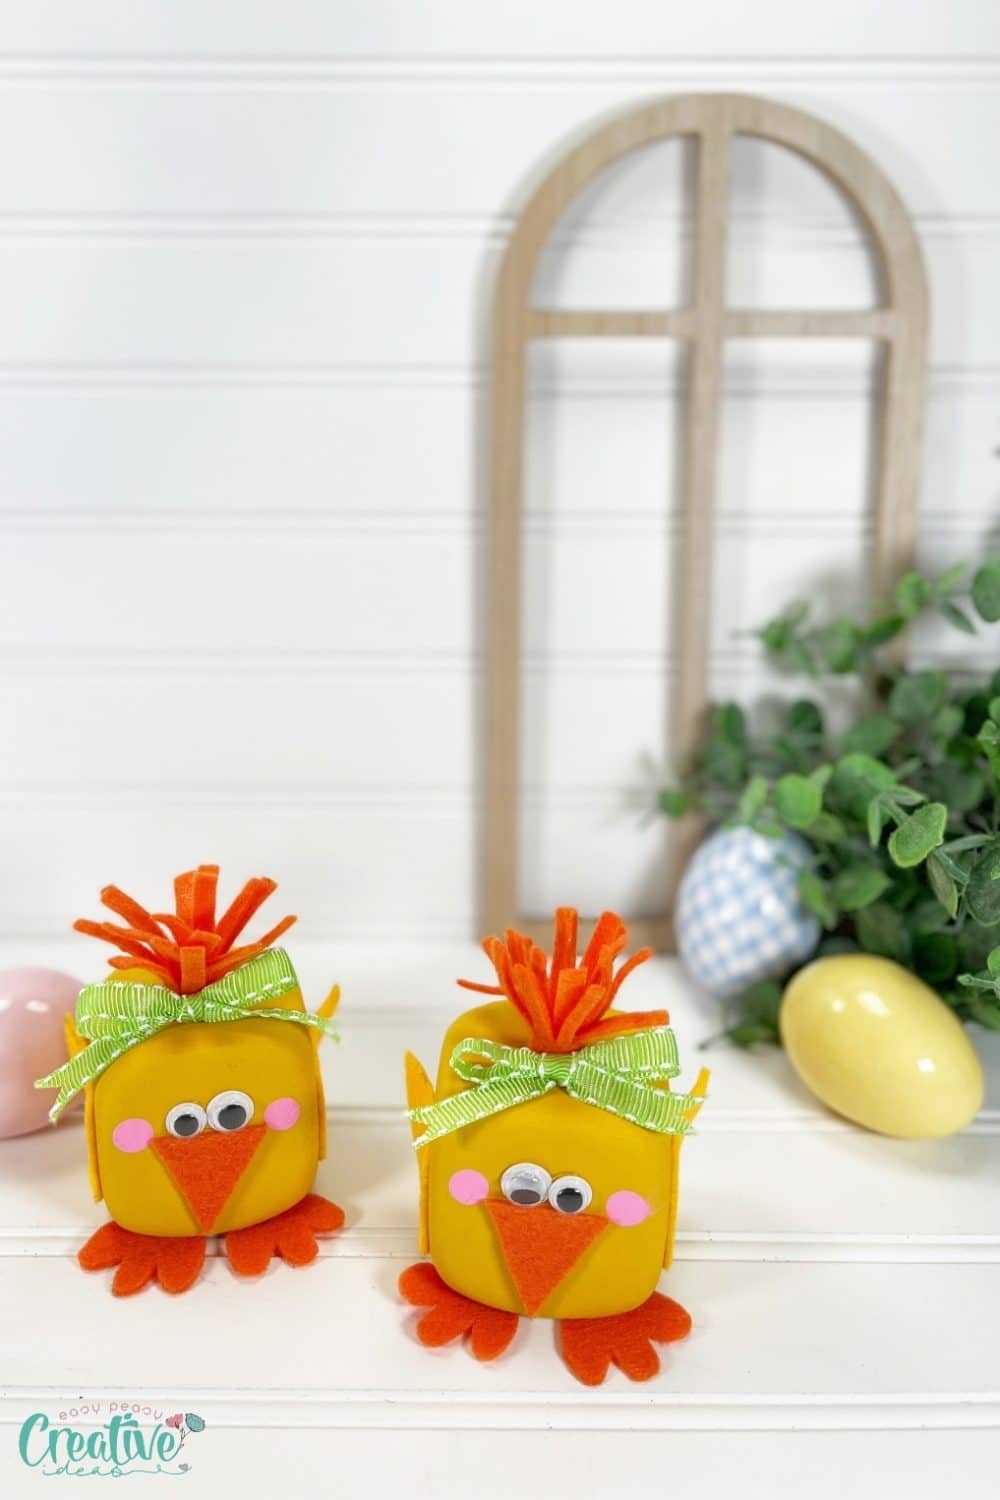
Ideas for group activities involving chick craft with foam dice
If you’re looking for some fun activities to do with your family and friends, chick craft with foam dice is a great option. Gather your group together and have everyone choose their own set of paints and decorations.
You can also make an Easter chick craft competition! Give each person in the group a box of foam dice, paints, and decorations, and have them make the most creative chick craft they can. Afterward, you can vote on which chick crafts are the best or give out prizes for creativity.
How long the chick craft will last?
With a few simple steps, your chick craft will look great for years to come. Make sure you use non-toxic paints and other materials like felt and ribbon so that you can enjoy your chick craft without worrying about it fading or falling apart.
Cleaning and caring for your Easter chicks
To keep your chick craft looking like new, gently wipe down the surface with a damp cloth every once in a while. Make sure to never scrub too harshly or use harsh cleaning agents that could damage the foam dice or decorations.
Keep the chicks away from direct sunlight, as it will eventually cause the paint to fade.
When not in use, store the chick craft in a cool and dry place. Make sure you layer them with newspaper or tissue paper to keep them safe and dust-free and don’t put anything heavy on top so they won’t be damaged.
Bring a smile to everyone’s face with these chick crafts with foam dice! They are unique and fun decorations that can be used to add some Easter cheer around the home. Pick fun and funky colors to create unique chicks to share with family and friends. A great craft project for tweens and teens to create on their own or with younger kids.
So grab your supplies, create some chick crafts today, and get ready to have a charming Easter!
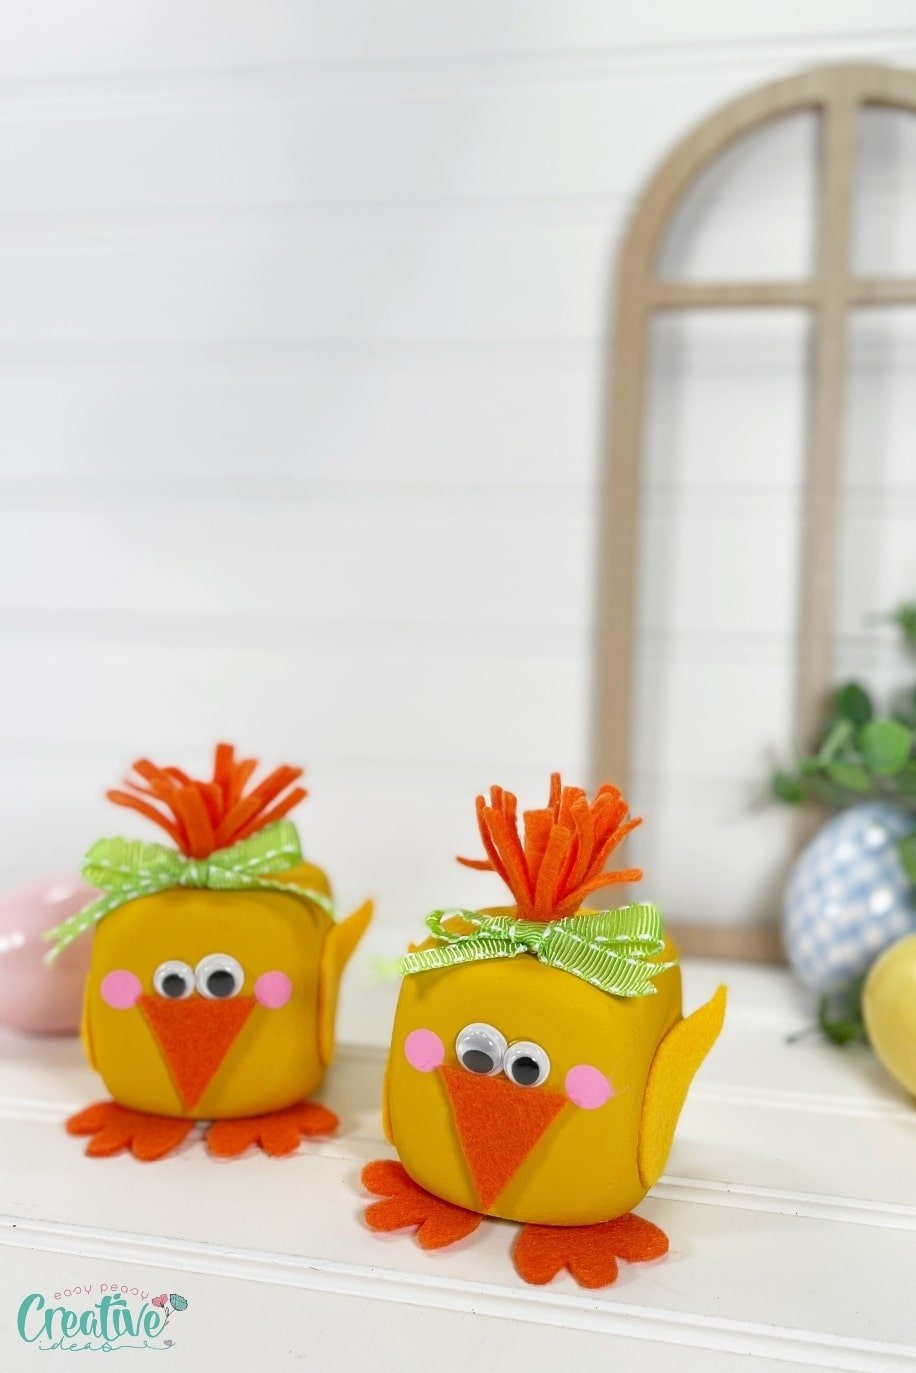
What you need to make chick crafts with foam dice
Making these dice chicks is a relatively easy process. All you need is a handful of supplies and a little bit of creativity.
- Dollar Tree Foam Dice
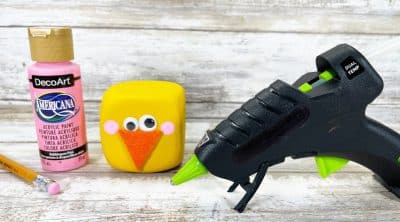
- Acrylic Craft Paint – Pink and Yellow paint
- Craft Felt Sheet – Orange, Yellow
- Wiggle Eyes – Dollar Store
- Ribbon or Twine – Dollar Store
- Paintbrush
- Hot Glue Gun and Glue Sticks – Dollar Store
- Scissors
- Pencil with a New Eraser
- Permanent Marker, Black
- Foam dice chick patterns
Step-by-step tutorial for making Easter chicks
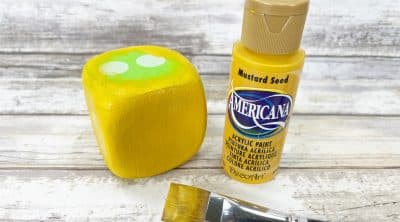
- Gather all supplies. This project requires two foam dice, so you will need one package of two foam dice. Basecoat the foam dice with yellow acrylic craft paint. Let dry and apply a second coat, if necessary. These foam dice required two coats of yellow acrylic paint.
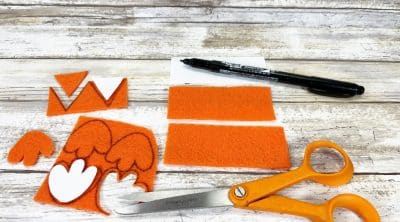
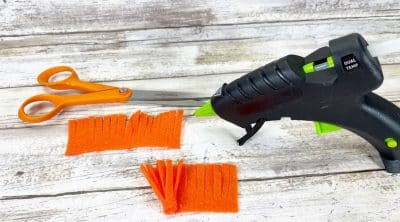
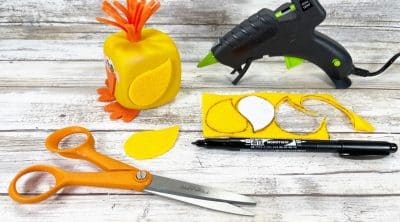
- Print the foam dice chick patterns, and then cut out with scissors. Trace the beak twice and the foot four times onto orange felt. Trace the head feather rectangle twice onto orange felt with a marker. Trace the wing pattern four times onto yellow felt. Cut out all patterns with scissors. Fringe the long edge of both head feather rectangles with scissors, making sure not to cut all the way through the felt. Roll the two fringed felt rectangles securing them with a glue gun and glue sticks.
- Glue on two wiggle eyes and the orange-felt beak to the Dollar Tree dice. To create cheeks, dip a new pencil eraser into pink acrylic craft paint and dot on either side of the beak.
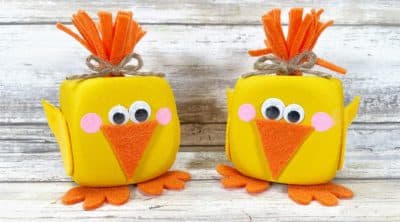
- Attach two orange felt feet to the bottom front left and right of each Chick with a glue gun and glue sticks. Glue the orange felt head feathers to the top center of each Chick.
- Attach one yellow felt wing to the right and left sides of each Chick with a glue gun and glue sticks.
- To finish, tie twine or ribbon in two small bows and glue to the front of the head feather of each chick.
Creating chick crafts with foam dice is a fun and easy project for kids of all ages. Whether it’s for Easter decorations or as thoughtful gifts, chick crafts are a sure way to bring smiles to everyone’s faces.
Pin to save for later
Print the craft card
Easter chick craft
Materials
- Foam Dice – Dollar Store
- Acrylic Craft Paint – Yellow Pink
- Craft Felt Sheet – Orange Yellow
- Wiggle Eyes – Dollar Store
- Ribbon or Twine – Dollar Store
- Pencil with a New Eraser
- Permanent Marker Black
Tools
- Glue Gun and Glue Sticks – Dollar Store
- scissors
Instructions
- Gather all supplies. This project requires two foam dice, so you will need one package of two foam dice. Basecoat the foam dice with yellow acrylic craft paint. Let dry and apply a second coat, if necessary. These foam dice required two coats of yellow acrylic paint.

- Print the FOAM DICE CHICK PATTERNS, and then cut out with scissors. Trace the beak twice and the foot four times onto orange felt. Trace the head feather rectangle twice onto orange felt with a marker. Trace the wing pattern four times onto yellow felt. Cut out all patterns with scissors.

- Fringe the long edge of both head feather rectangles with scissors, making sure not to cut all the way through the felt. Roll the two fringed felt rectangles securing with a glue gun and glue sticks.

- Glue on two wiggle eyes and the orange felt beak. To create cheeks, dip a new pencil eraser into pink acrylic craft paint and dot on either side of the beak.

- Attach two orange felt feet to the bottom front left and right of each Chick with a glue gun and glue sticks. Glue the orange felt head feathers to the top center of each Chick.
- Attach one yellow felt wing to the right and left sides of each Chick with a glue gun and glue sticks.

- To finish, tie twine or ribbon in two small bows and glue to the front of the head feather of each Chick.

Article may contain Amazon & affiliate links. As an Amazon Associate I earn from qualifying purchases at no additional cost to you.



ABOUT PETRO
Hi, I’m Petro, author and founder of Easy Peasy Creative Ideas. Sewist, crafter, avid DIY-er, foodie, photographer, homemaker and mommy to one. I’m an expert at coming up with quick, clever sewing tips, recycling crafts and simple, easy recipes! You can find my ideas featured in reputable publications such as Country Living, Good House Keeping, Yahoo News, WikiHow, Shutterfly, Parade, Brit & Co and more. Thanks for stopping by and hope you’ll stay for a while, get to know me better and come back another time. Stick around for real fun projects! Read more…