Easy DIY gnome ornaments
Creating a DIY gnome is a delightful craft project that combines creativity with simplicity. It’s an enjoyable way to infuse a bit of whimsy into your home décor, and it’s something the whole family can partake in.
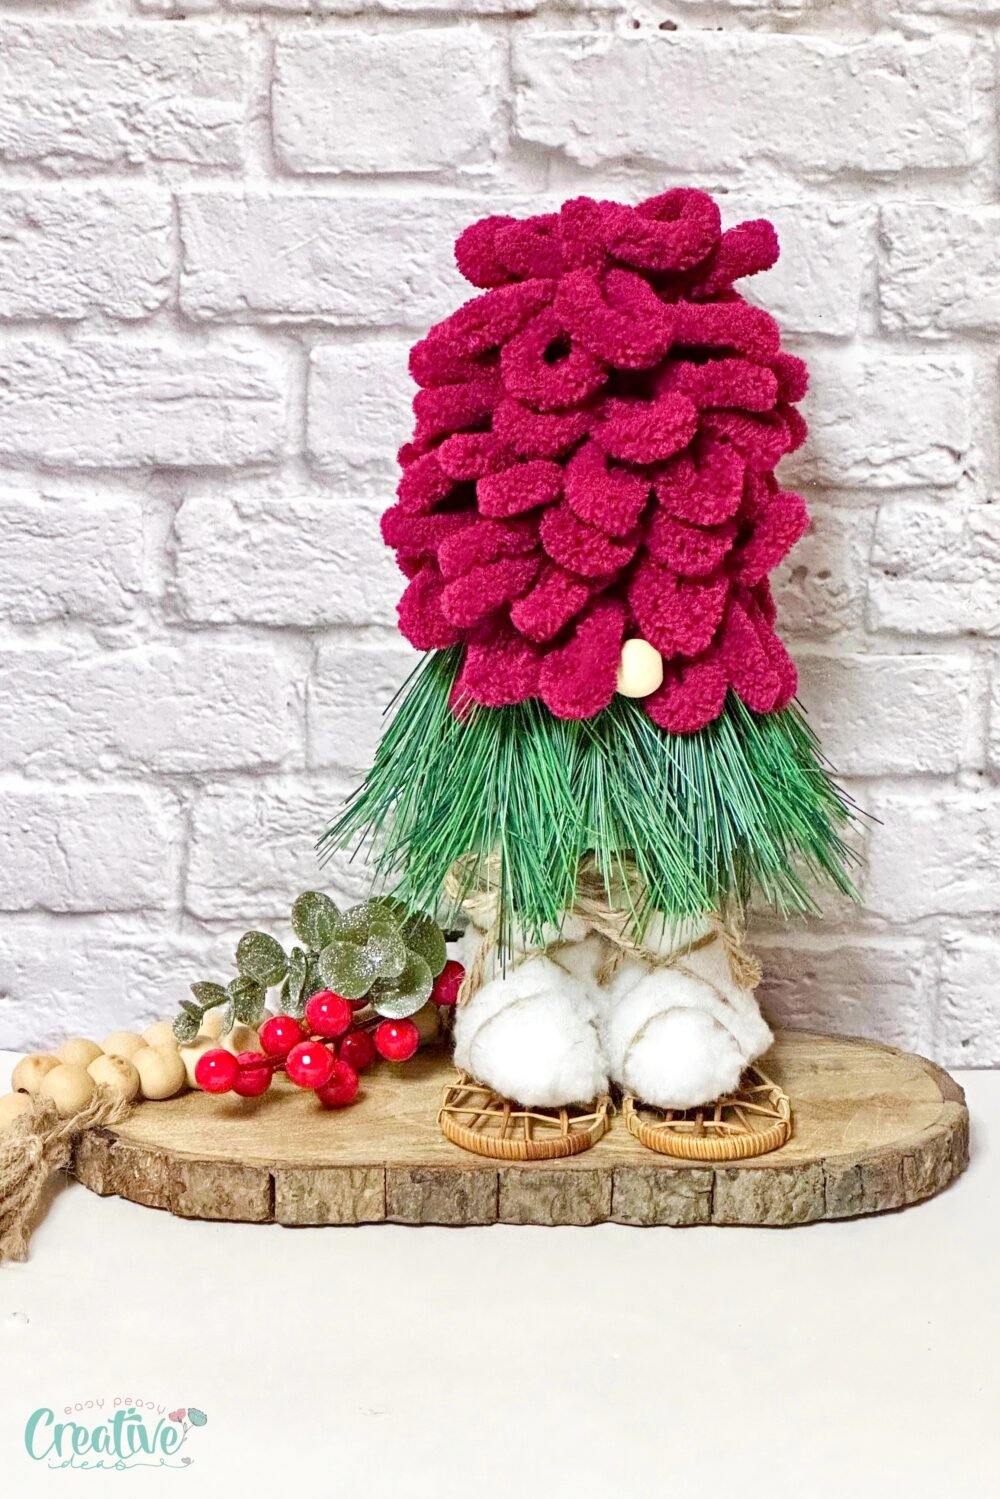
The DIY gnome project is perfect for crafters of all skill levels due to its straightforward nature and minimal materials requirement. Using a few readily available items, you can create a custom snowshoe gnome that rivals any store-bought version in charm and uniqueness. The process is flexible and forgiving, enabling you to experiment with colors and textures without needing a vast array of crafting tools or expertise.
The personalization options are endless, allowing you to create gnomes that fit any seasonal theme or personal style. Not only is this project rewarding, but it also offers a sense of accomplishment as you bring these charming figures to life.
How to make a DIY gnome
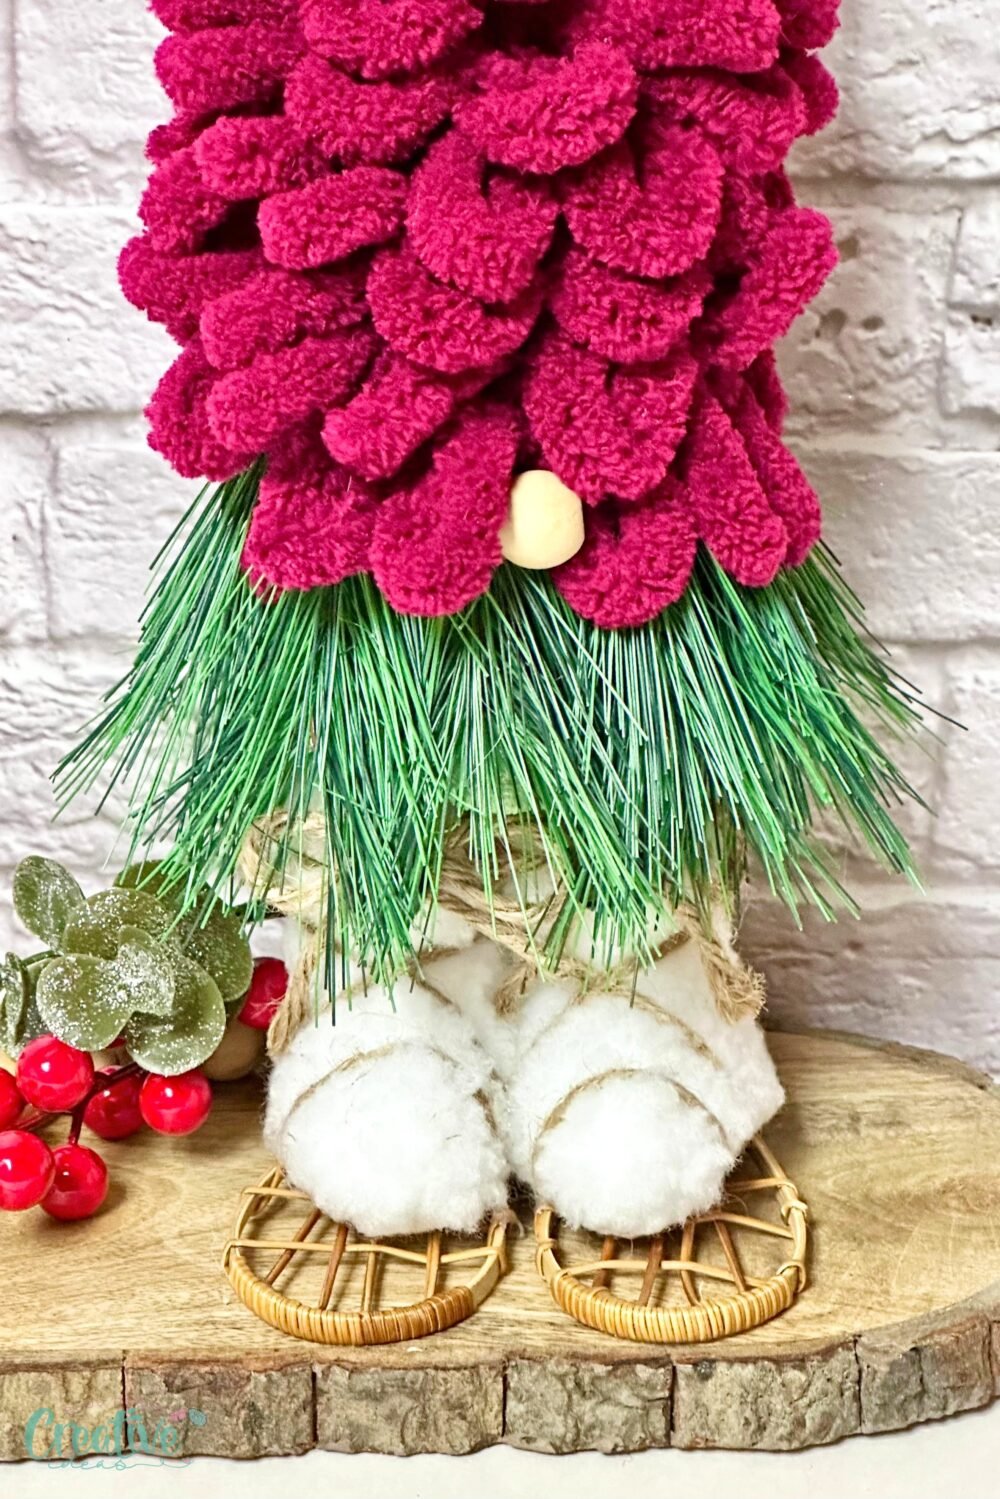
Materials
To begin making gnomes, you’ll need a few essential materials:
- 6 inch foam cone: Provides the sturdy base for the gnome’s body, ensuring it stands upright.
- Wooden bead: Serves as the gnome’s nose, adding a touch of character to the face.
- Loop Yarn in burgundy: Forms the long, luxurious beard which is a signature feature of any gnome.
- Snowshoe ornament: A unique accessory that can be added for seasonal flair, especially for winter-themed gnomes.
- Pine picks: Add a natural element to your design, perfect for blending with winter or forest themes.
Equipment
To put it all together, you’ll need some basic crafting tools:
- Hot glue gun and glue sticks: The primary tool for assembling your gnome, providing a strong hold to keep all elements in place.
- Scissors: Essential for cutting yarn and trimming any excess materials to size.
Step by step instructions
Preparations
Begin by gathering all your materials and setting up a designated crafting area. This keeps everything organized and ensures you have ample space to work comfortably. Preheat the hot glue gun to ensure it’s ready when needed.
Crafting
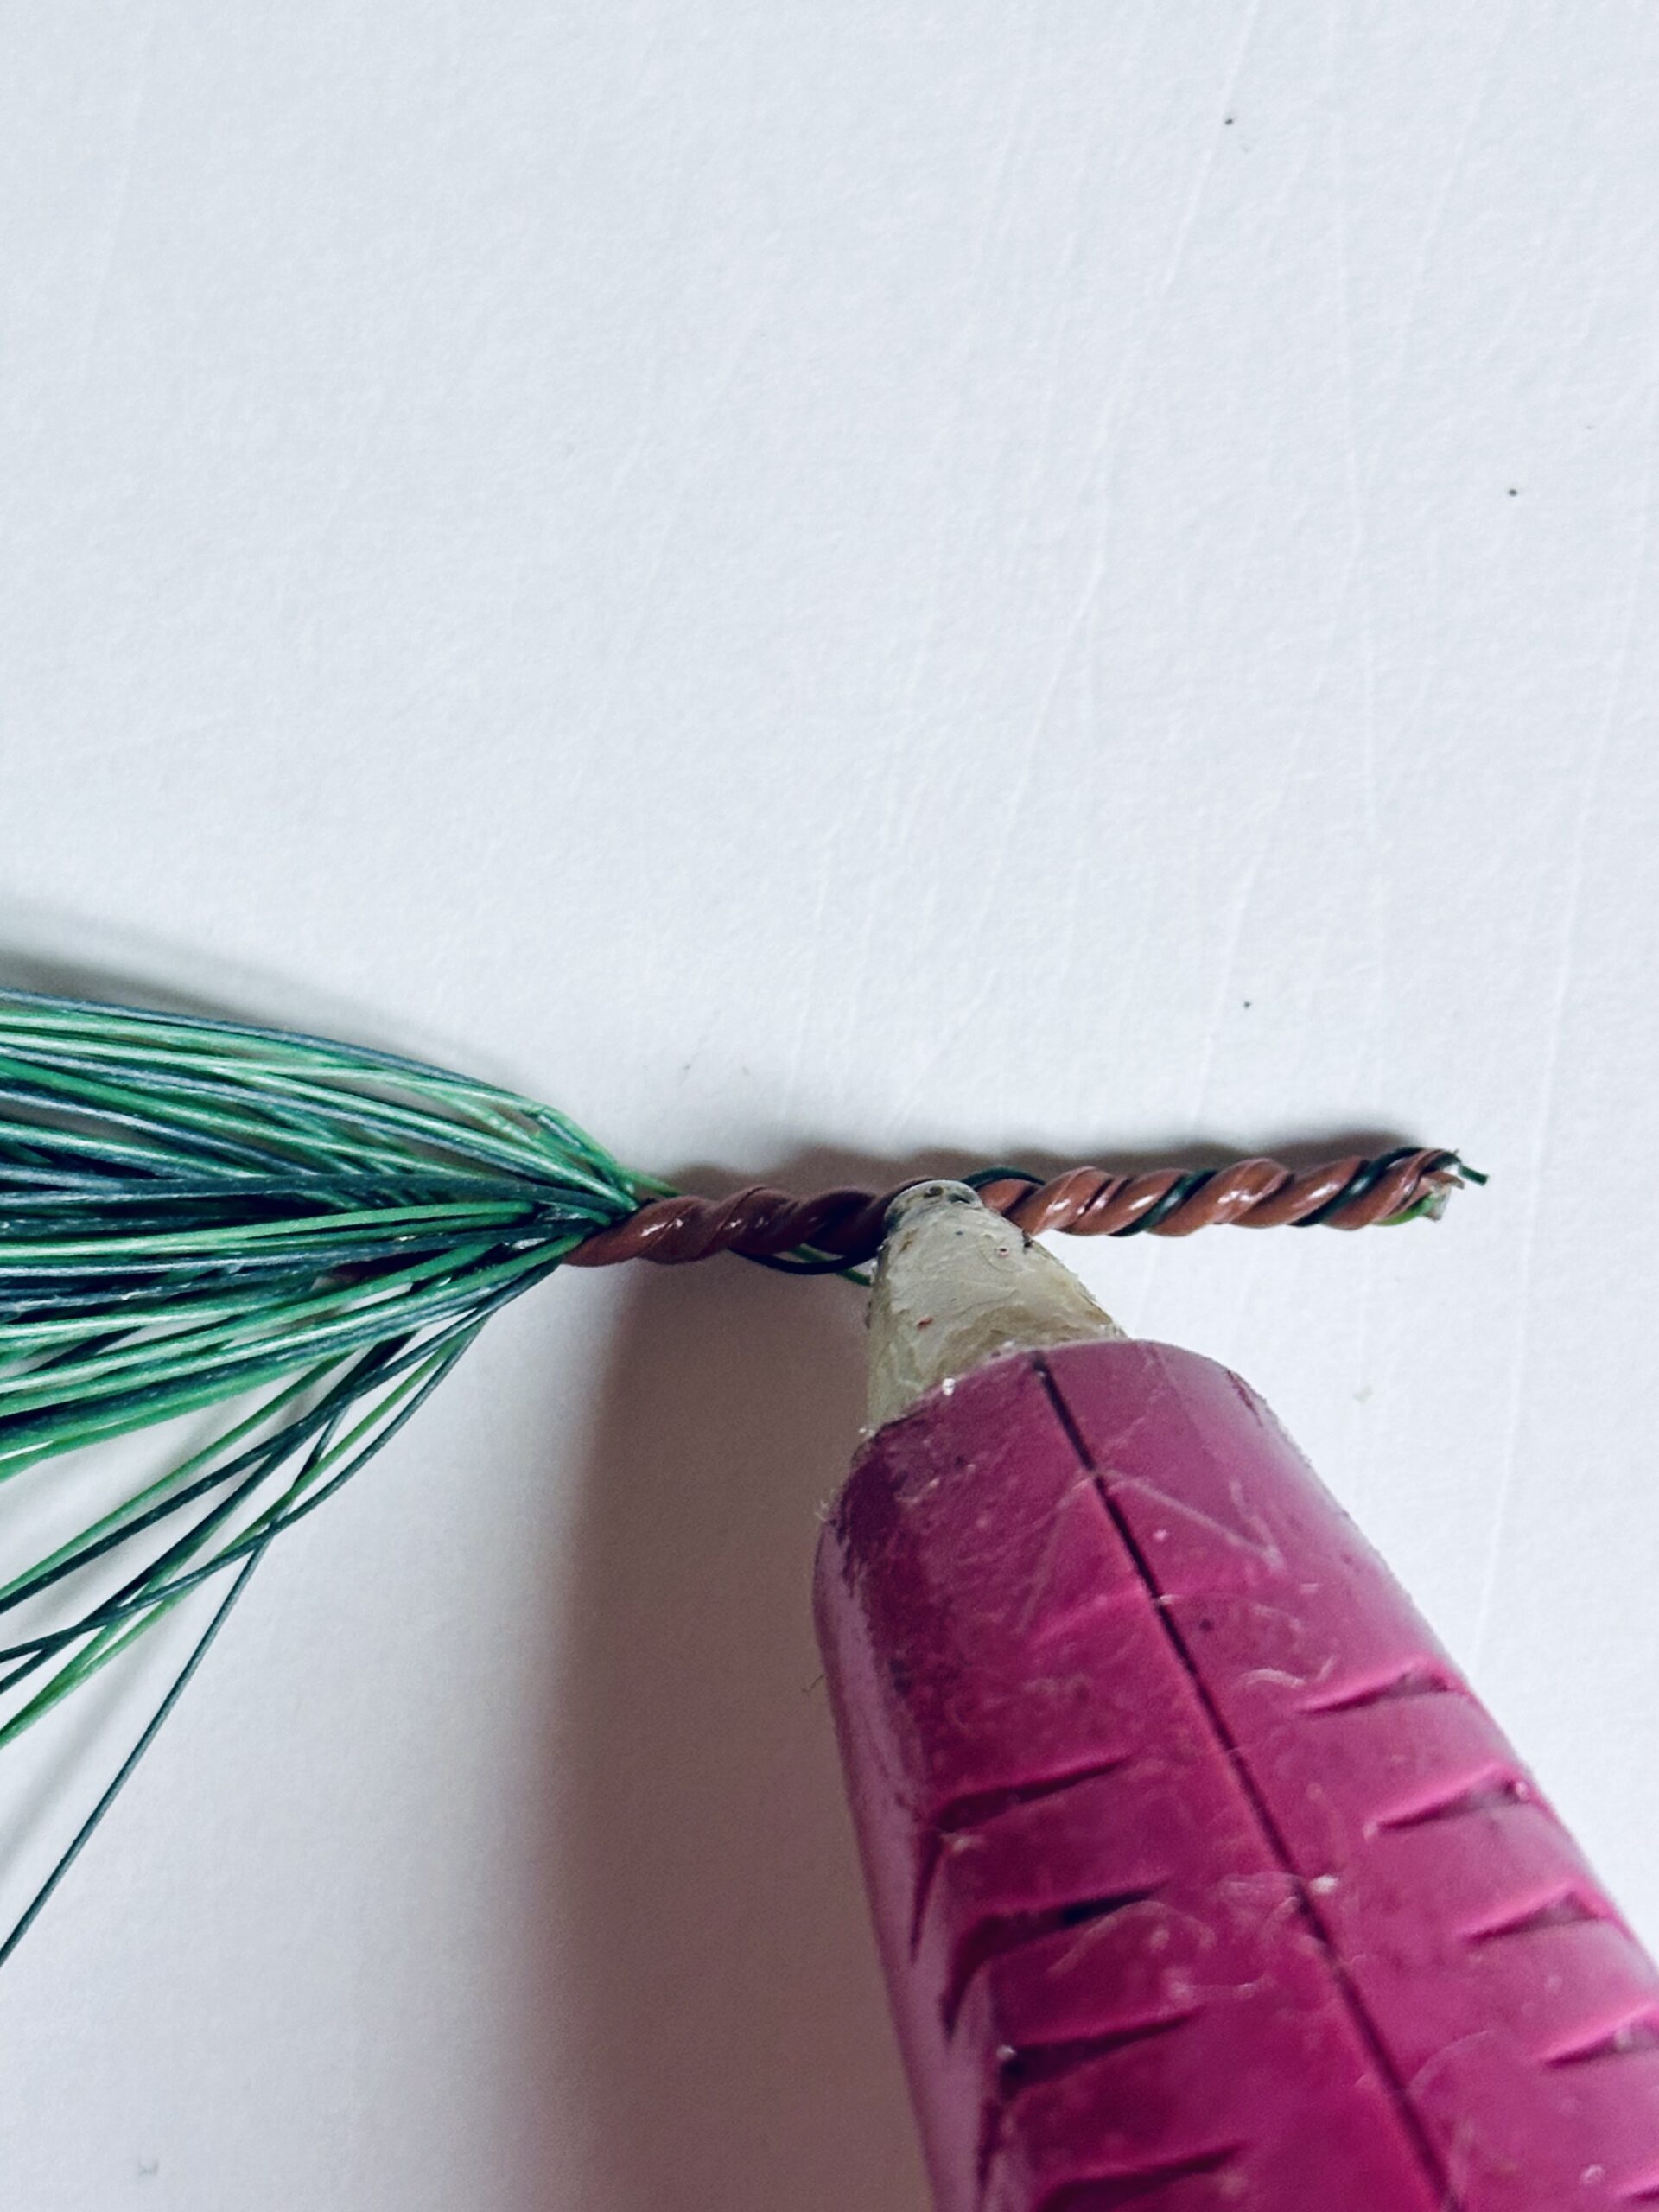
- Start by adding a line of hot glue to the stem of the pine pick. Press it firmly onto the foam cone. I made sure to have some of the pine over hanging the bottom so it covered the cone. Repeat this all the way around the cone.
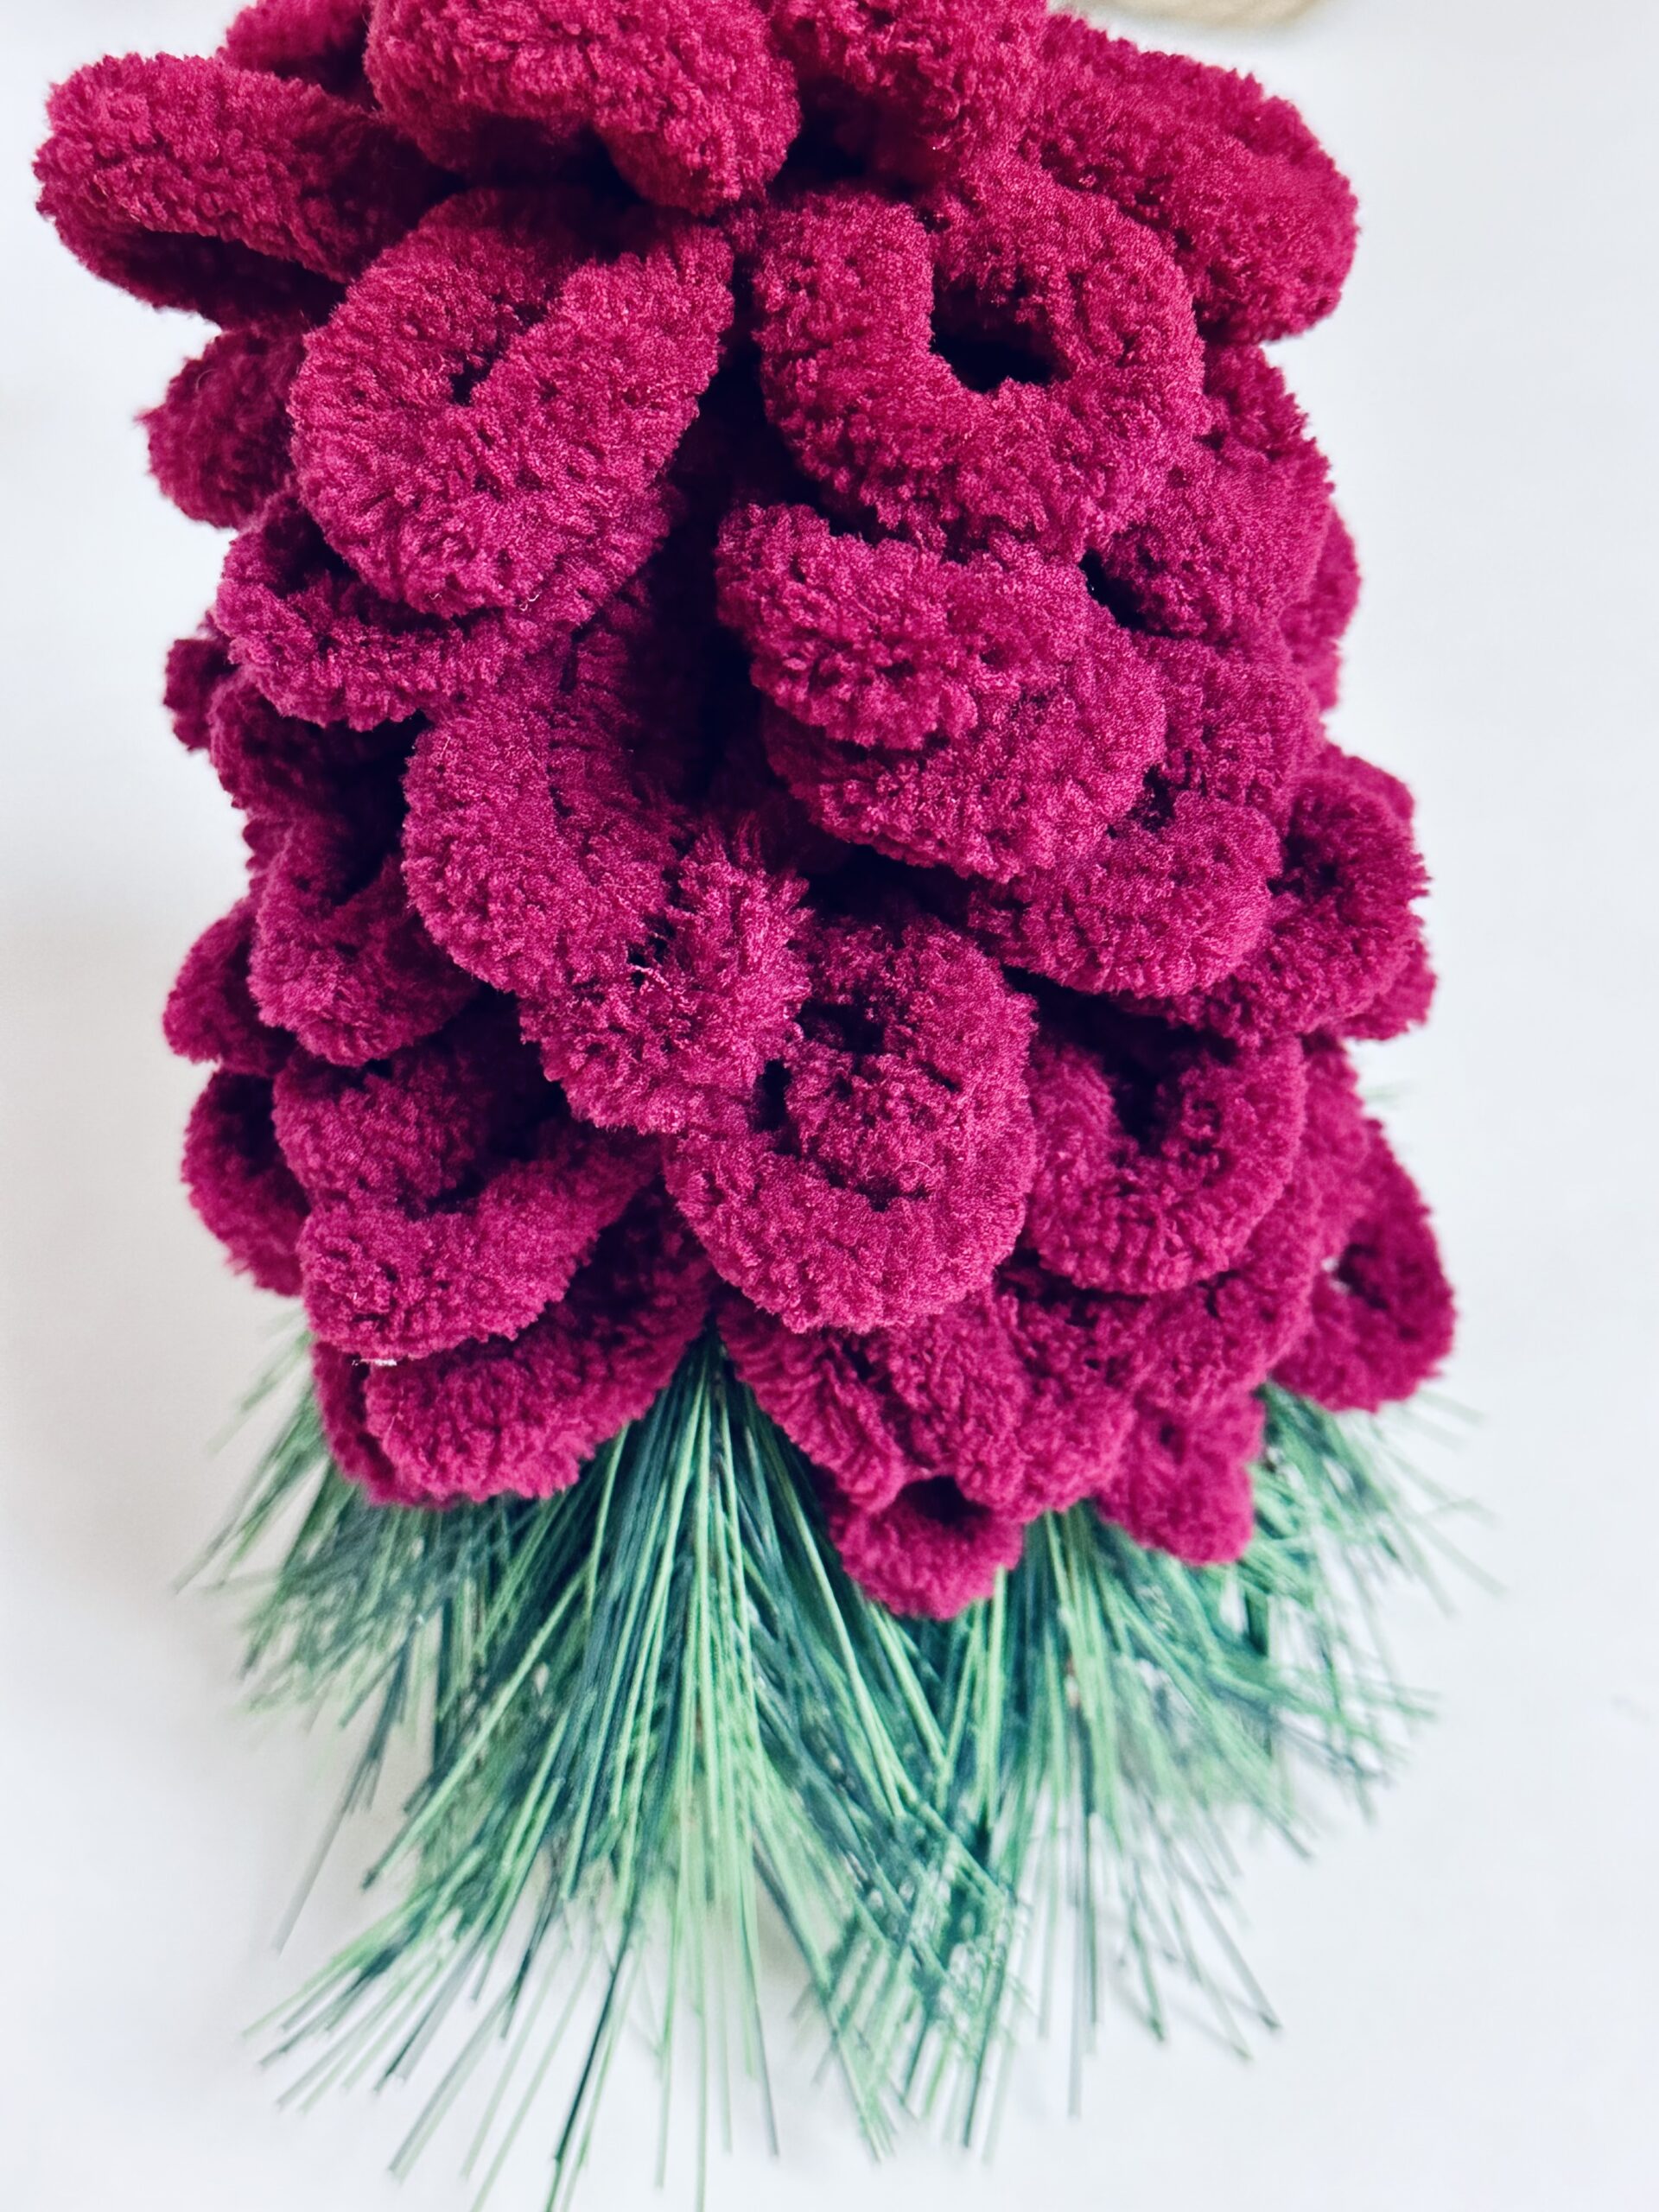
- Next add a line of hot glue around the foam cone and press the yarn firmly on top. Wrap the yarn around the entire rest of the cone and on to top section, trimming off the excess
- Add some hot glue to the top section of the snow shoes and press the cone firmly on top.
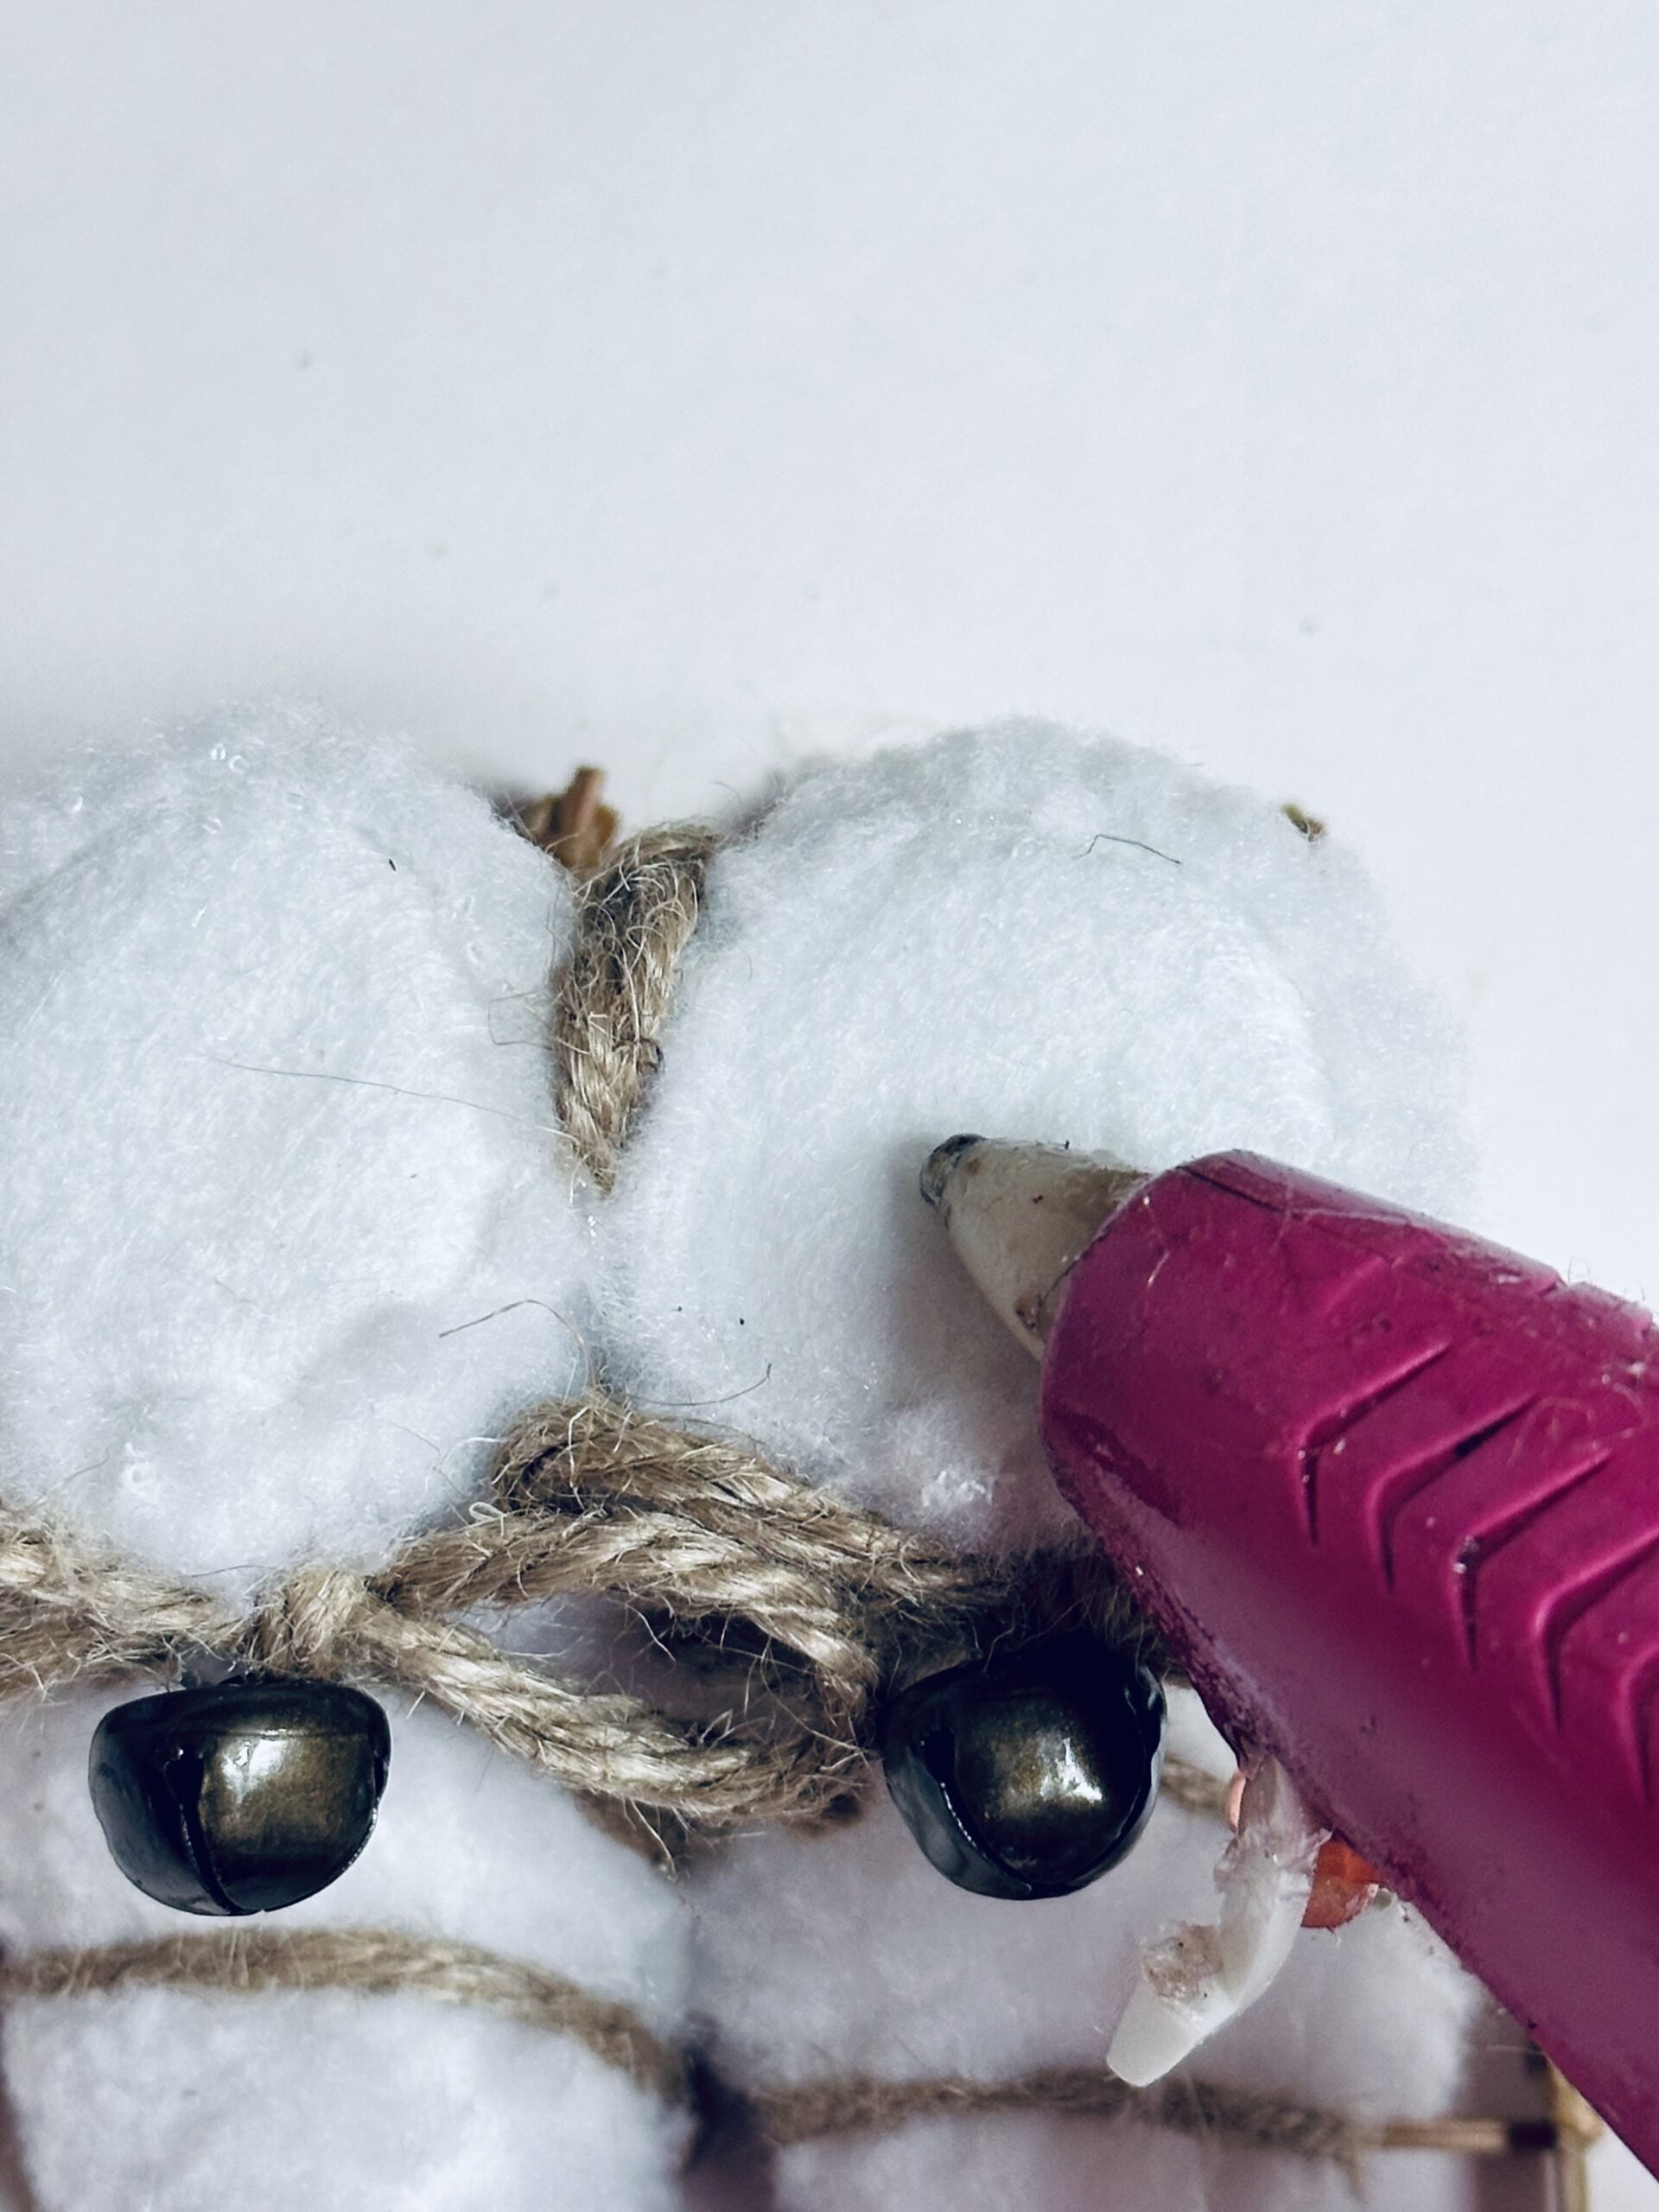
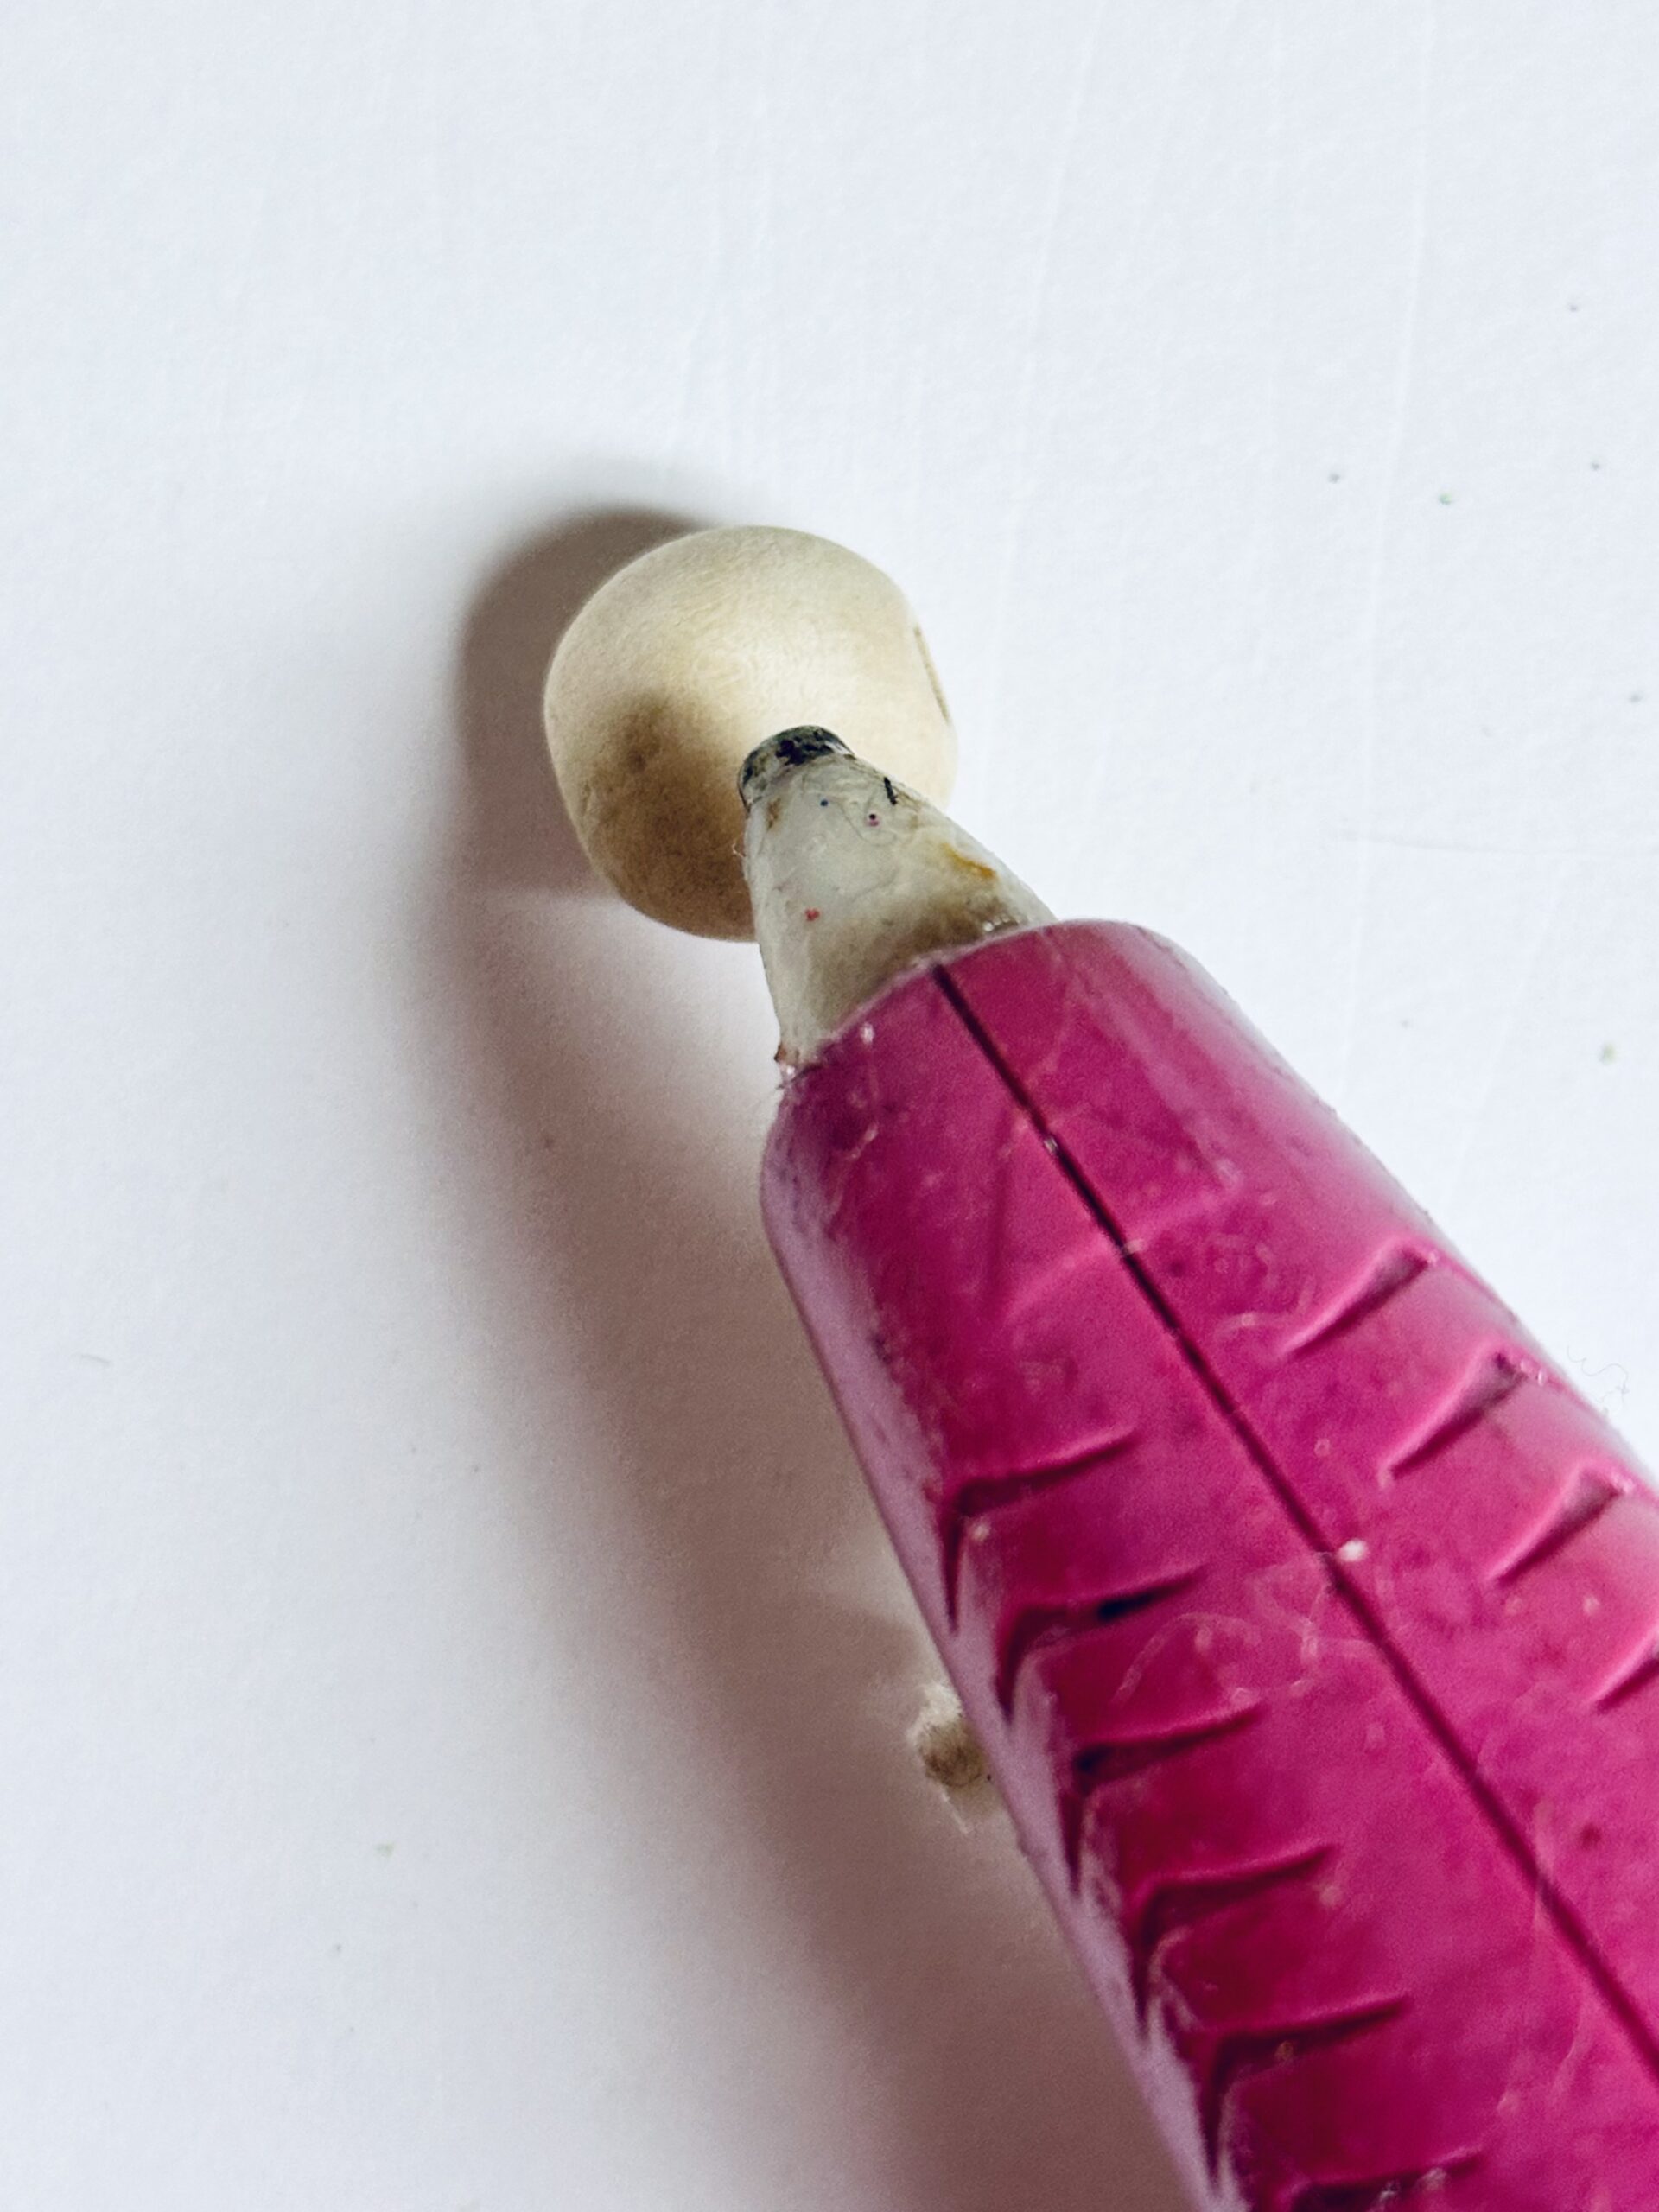
- Add a dab of hot glue to the wooden bead and add it for a nose
Tips
- Choose High-Quality Yarn: For a lush and full beard, selecting the right yarn is crucial. Opt for loop yarn with a rich texture, as it will enhance the visual appeal of your gnome.
- Secure the Base First: When starting, make sure to affix the foam cone securely to the work surface using a small amount of glue. This will provide stability as you add the other elements.
- Layering for Depth: When attaching yarn and pine picks, consider layering them to create depth and dimension. This will give your gnome a more lifelike appearance.
Craft variations
- Festive Christmas Gnome: Use a red and white color scheme and add mini ornaments or holly berries for a festive touch.
- Garden Gnome: Use bright green yarn for the beard and add a miniature shovel or gardening tool as an accessory.
- Halloween Witch Gnome: Incorporate black and purple colors, and use a witch hat instead of a wooden bead for the nose to create a spooky twist on the traditional gnome.
Frequently Asked Questions
Can I use different sizes for the foam cone?
Sure! Feel free to experiment with different cone sizes to create a range of gnome sizes. Just remember that you might need to adjust the amount of materials accordingly.
Is there an alternative to using a hot glue gun?
Yes, you can use strong craft adhesives as a substitute, though a hot glue gun provides a quicker and stronger bond, which is essential for more intricate designs.
Can kids help with making gnomes?
Certainly! While adult supervision is recommended when using tools like hot glue guns and scissors, pre-cutting materials and assembly can be a fun and educational activity for children.
How can I make my gnome recyclable or eco-friendly?
Consider using natural or recycled materials, such as reclaimed wood beads and natural fibers for the beard, to make your gnome crafting as sustainable as possible.
More Christmas crafts you’ll enjoy
- Handmade Christmas bells
- Clothespins Christmas star ornaments
- DIY Christmas lanterns
- Wooden spools Christmas ornaments
The beauty of these DIY gnomes lies in their customizability. Whether you’re creating a single centerpiece or a collection for your entire home, scaling is simple—just adjust the quantity of materials based on your desired outcome.
Happy crafting!
DIY gnome ornaments
Materials
- 6 inch foam cone
- Bernat Alize Loop Yarn- color is burgundy
- Snowshow ornament
- Pine picks
- Wooden Bead
Tools
- Hot Glue Gun/ glue sticks
- scissors
Instructions
- Start by adding a line of hot glue to the stem of the pine pick. Press it firmly onto the foam cone. I made sure to have some of the pine over hanging the bottom so it covered the cone. Repeat this all the way around the cone.

- Next add a line of hot glue around the foam cone and press the yarn firmly on top. Wrap the yarn around the entire rest of the cone and on to top section, trimming off the excess

- Add some hotglue to the top section of the snow shoes and press the cone firmly on top.

- Add a dab of hot glue to the wooden bead and add it for a nose

Article may contain Amazon & affiliate links. As an Amazon Associate I earn from qualifying purchases at no additional cost to you.



ABOUT PETRO
Hi, I’m Petro, author and founder of Easy Peasy Creative Ideas. Sewist, crafter, avid DIY-er, foodie, photographer, homemaker and mommy to one. I’m an expert at coming up with quick, clever sewing tips, recycling crafts and simple, easy recipes! You can find my ideas featured in reputable publications such as Country Living, Good House Keeping, Yahoo News, WikiHow, Shutterfly, Parade, Brit & Co and more. Thanks for stopping by and hope you’ll stay for a while, get to know me better and come back another time. Stick around for real fun projects! Read more…