Clothespin Christmas star ornaments
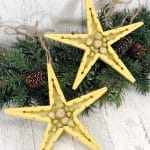
Looking for creative Christmas decorations that are both festive and functional? Look no further than these Christmas star ornaments made with clothespins!
Christmas star ornaments with clothespins
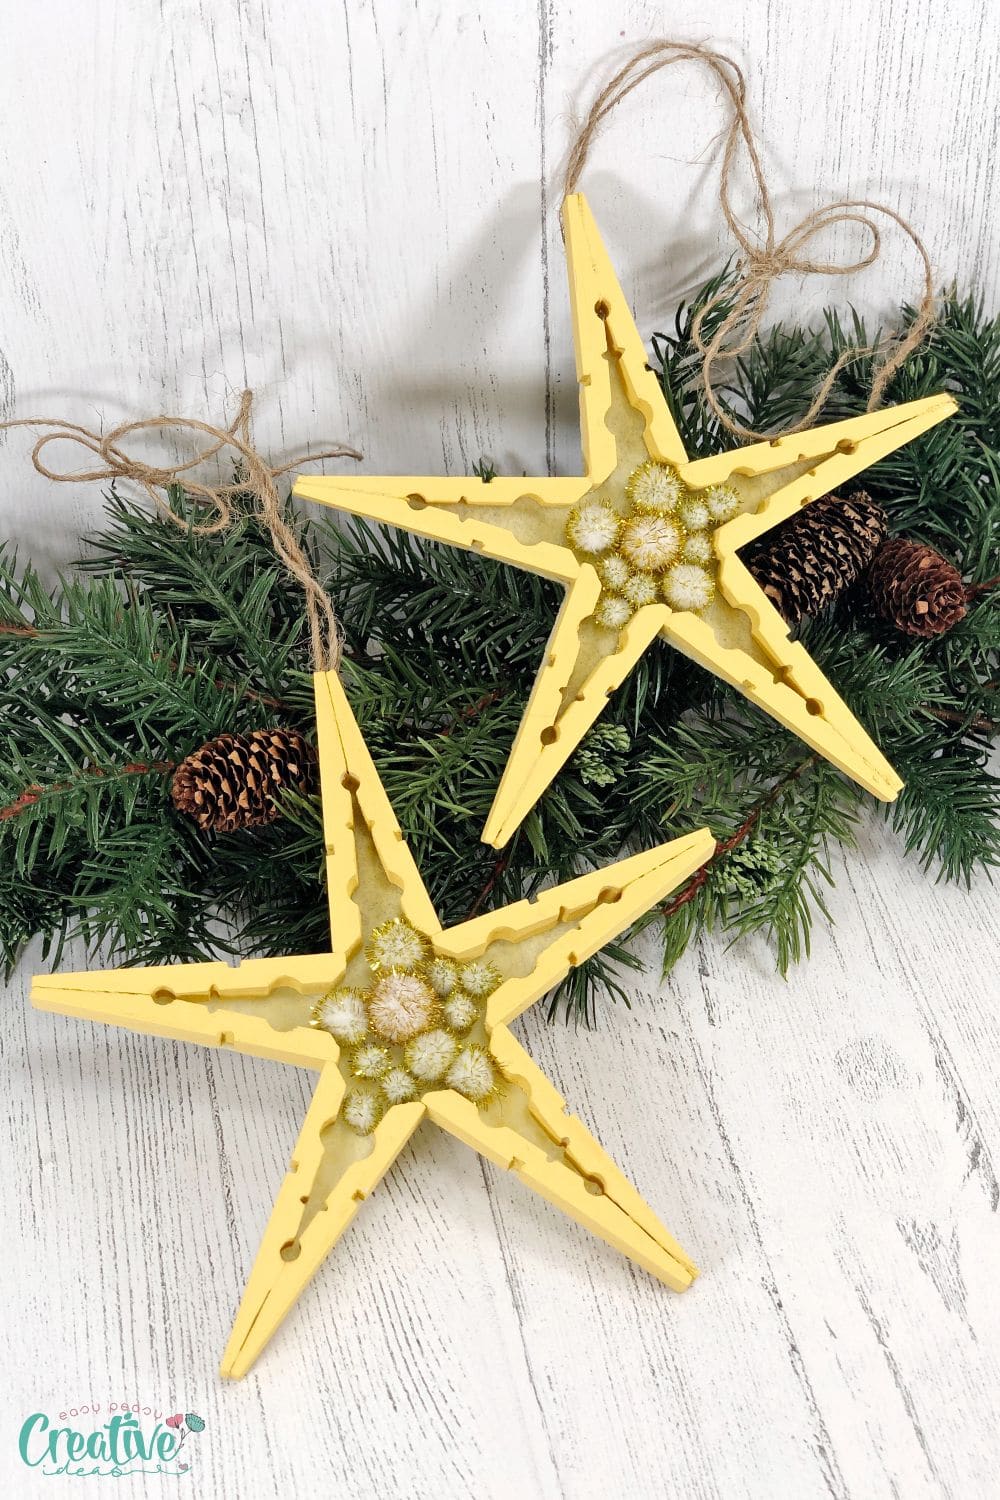
In the spirit of the holiday season, many people love to create decorations that add a touch of festive cheer to their homes. Some of the most popular decorations are the clothespin Christmas star ornaments, which are simple and easy to make, yet also beautiful and eye-catching.
These simple yet stylish Christmas star ornaments are a great way to add some extra sparkle to your tree this holiday season. Whether you’re a beginner crafter or an experienced DIYer, these star-shaped clothespin ornaments are sure to be a hit with friends and family alike.
Clothespin decorations are a quick, easy, and budget-friendly way to spruce up your Christmas tree this year. From bright colors to simple patterns, the possibilities are endless when it comes to decorating these charming Christmas star ornaments. So go ahead and get creative – your handmade ornaments are the perfect addition to your home décor and sure to be the highlight of your holiday decorations!
Other Christmas Ornament Projects to Try:
- Cinnamon stick ornaments
- Paper Christmas trees
- Wire snowman ornament
- Mini mittens ornaments
- Clothespin ballerina ornaments
- Wooden spool Christmas ornaments
- Elf moving glove craft
What are clothespin Christmas star ornaments, and why are they so popular?
Clothespin Christmas star ornaments are popular decorations during the holiday season. These ornaments are made by attaching wooden clothespins in a star shape and then decorating them with paint, glitter, or other embellishments. The popularity of these ornaments is largely due to their simplicity and flexibility. They can be customized in a variety of different ways and used to adorn trees, wreaths, garlands, and other festive displays.
Additionally, this fun Christmas craft is generally quite affordable and easy to make, which means that more people can enjoy them. All in all, clothespin Christmas star ornaments have become an essential part of the holiday season for many people across the world.
Whether you’re looking for some quick and stylish décor for your home or a fun activity to do with friends and family, this versatile holiday craft is sure to come in handy!
How long does it take to make a clothespin Christmas star ornament?
Making a clothespin christmas star ornament is a simple but fun process that can be done in just a few quick steps. It typically takes around 30-40 minutes to make a clothespin Christmas star ornament.
Tips for choosing the right clothespin size and type
When shopping for clothespins, it’s important to choose the right size and type. For example, if you’re looking for small christmas star ornaments, you might want to consider using mini or micro clothespins. These smaller pins are perfect for crafting delicate decorations like star ornaments, as they are lightweight and easy to work with.
Additionally, there is a variety of different materials available, such as wood, plastic, and resin. Each material has its own benefits and drawbacks, so it’s important to assess your particular needs before making a purchase.
To get started on your Christmas star ornaments today, be sure to explore all of the options available and choose the right size and type of clothespin for the job!
Tips for drying and sealing your finished product
Whether you’re looking to make Christmas star ornaments with natural materials, like wood or twigs, or are working with a more traditional construction material like clothespins, there are a few key tips to keep in mind when drying and sealing your finished stars.
- First, it’s important to give your final product plenty of time to dry thoroughly before you begin to seal them. Different materials will require different amounts of time, so be sure to check the specific instructions for your chosen medium.
- Once your Christmas star ornaments are dry, make sure that they are completely free of dust and dirt before sealing them. This can usually be accomplished by wiping the ornament down with a clean cloth or brush.
- When sealing star ornaments made from clothespins, choose a clear lacquer that allows the vibrant colors of the clothing pegs to shine through. A protective coating will ensure that the stars last for many winters to come!
Can you make a clothespin star without using glue?
While many tutorials (including this one) require the use of glue to keep the clothespin pieces together, it’s actually possible to make these festive ornaments without any glue at all. By simply connecting the pins with twine and adding other embellishments such as sequins, beads, and ribbon, you can create Christmas star ornaments that truly shine.
What are some common problems with clothespin star ornaments?
While Christmas star ornaments made with clothespins are generally quite easy and straightforward to make, there are a few common problems that can arise. For example, it’s important to ensure that your glue is completely dry before decorating the stars further, as any residual glue can cause the ornaments to stick together and become misshapen.
Another common issue with clothespin Christmas star ornaments is that they can be easily damaged, especially when hung by their strings. Therefore, it’s important to take care when storing, displaying, and handing your finished stars so that they last for many holiday seasons to come!
Additionally, you may find that certain materials are more difficult to work with than others. For instance, clothespin ornaments made with wood tend to be heavier than those made using plastic or resin pins. On the other hand, plastic Christmas star ornaments may be more fragile than those made with wood. As such, it’s important to assess your individual needs and preferences before choosing a material for your Christmas star ornaments.
Regardless of any potential setbacks, though, making clothespin Christmas star ornaments is a great way to get into the festive spirit!
How to Decorate Christmas Star Ornaments
Once your Christmas star ornaments are fully dry and sealed, there are a variety of ways to decorate them. For example, you may choose to paint the stars using traditional Christmas colors like red and green or opt for more bold, vibrant shades such as turquoise and purple.
You can also add embellishments to your Christmas star ornaments, such as sequins, beads, ribbon, rhinestones, clear glitter, buttons, colorful mini pom poms and more. Additionally, you can personalize your star ornament by adding a message or greeting with an alphabet sticker or stencil.
How do you store clothespin star ornaments?
When storing your homemade ornaments with clothespins, it’s important to take special care to keep them free from dust and other debris. One of the best ways to do this is by keeping your ornaments in an airtight container, such as a plastic bag or box.
Additionally, you may choose to lightly spray your Christmas star ornaments with a protective sealant, which will help keep them looking their best for many holiday seasons to come.
How to help kids get involved in making Christmas star ornaments
If you want to involve kids in the process of making Christmas star ornaments, there are a few ways to do so. For example, you can purchase clothespins in a variety of fun colors and allow younger children to decorate them however they like.
Alternatively, older kids may enjoy getting involved in the creation process itself by helping with tasks such as gluing, painting, and adding embellishments.
Additionally, you can encourage your kids to come up with their own Christmas star ornament designs or choose from a variety of pre-made templates online.
Tips for Displaying Christmas Star Ornaments
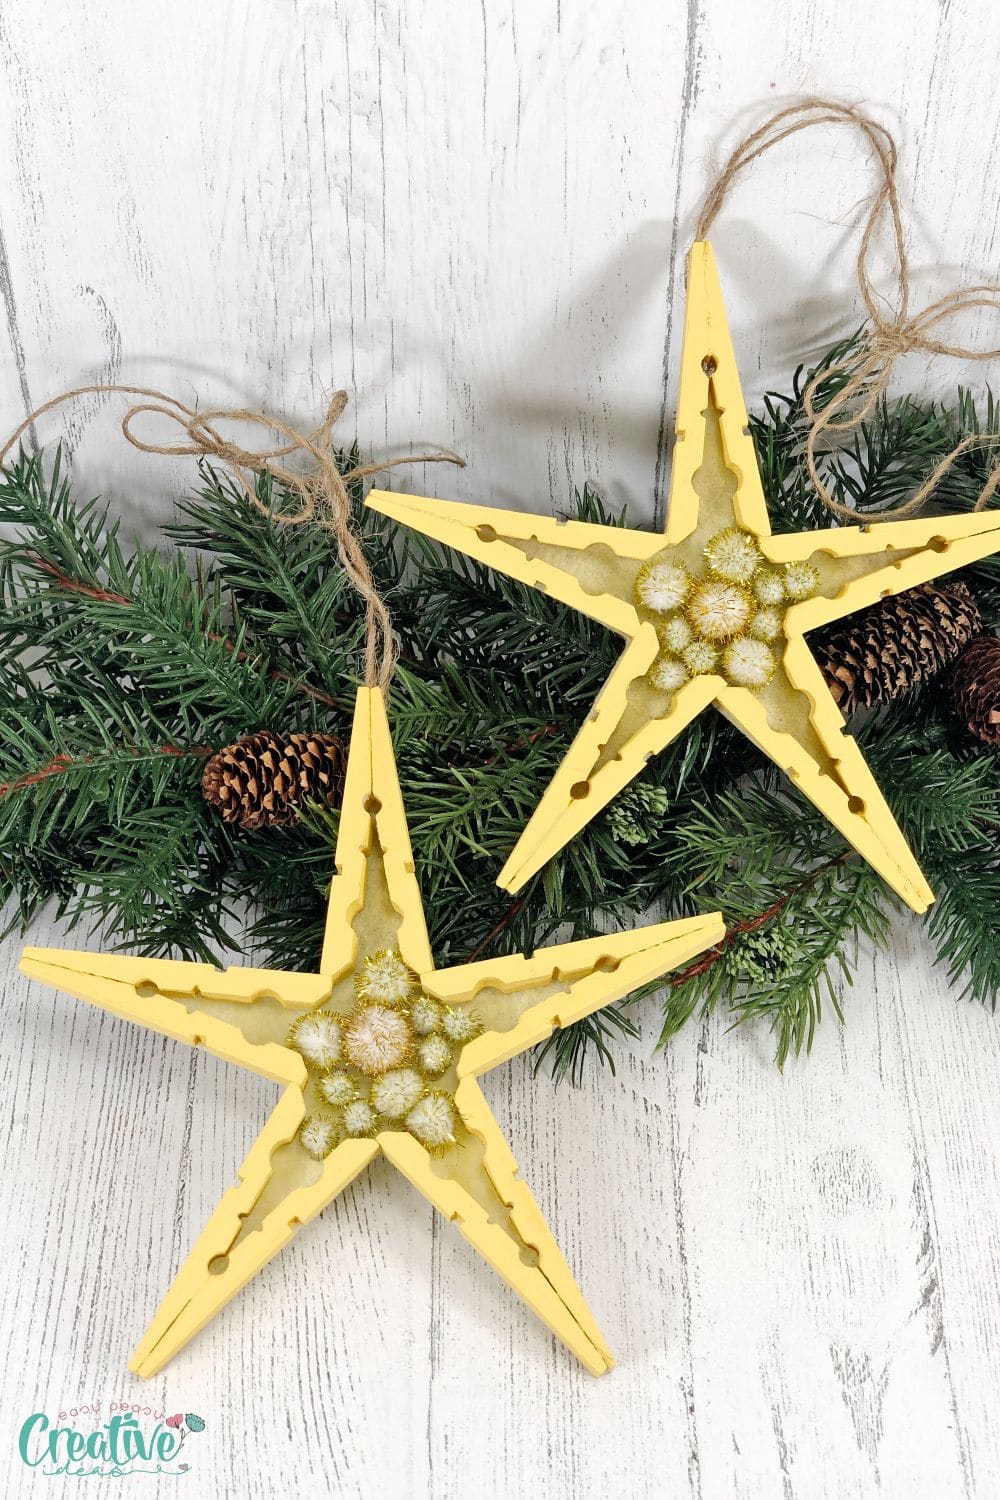
When displaying Christmas star ornaments, it’s important to find a spot that will show off their beauty and shimmer while also keeping them safe from damage.
One option is to hang Christmas star ornaments at different heights throughout your Christmas tree, which can create a truly eye-catching display.
Alternatively, you may wish to group Christmas star ornaments together on a tabletop Christmas tree for an elegant, minimalist look.
Other ways to display these ornaments include hanging them to the top of the tree, lining your windowsills and mantel with them, or simply placing them on a bookshelf or other surface for a more understated look.
Whatever your preferences, Christmas star ornaments are the perfect way to add festive flair and elegance to any home this holiday season!
What do you need to create these Christmas star ornaments?
In order to create these Christmas crafts, you will need a variety of materials and supplies, including:
- Clothespins
- Paint (light yellow or white craft paint)
- Craft felt
- Natural Jute Twine or baker’s twine
- Hot Glue Gun and Glue Sticks
- Marker
- Paintbrush
- Scissors
- Optional – A protective sealant, such as polyurethane spray or clear acrylic sealer
- An airtight container or bag for storing your Christmas star ornaments once they are finished
With these materials on hand, you can create beautiful Christmas star ornaments to hang on your Christmas tree or display in other festive locations within your home!
How to make a star out of clothespins
STEP ONE
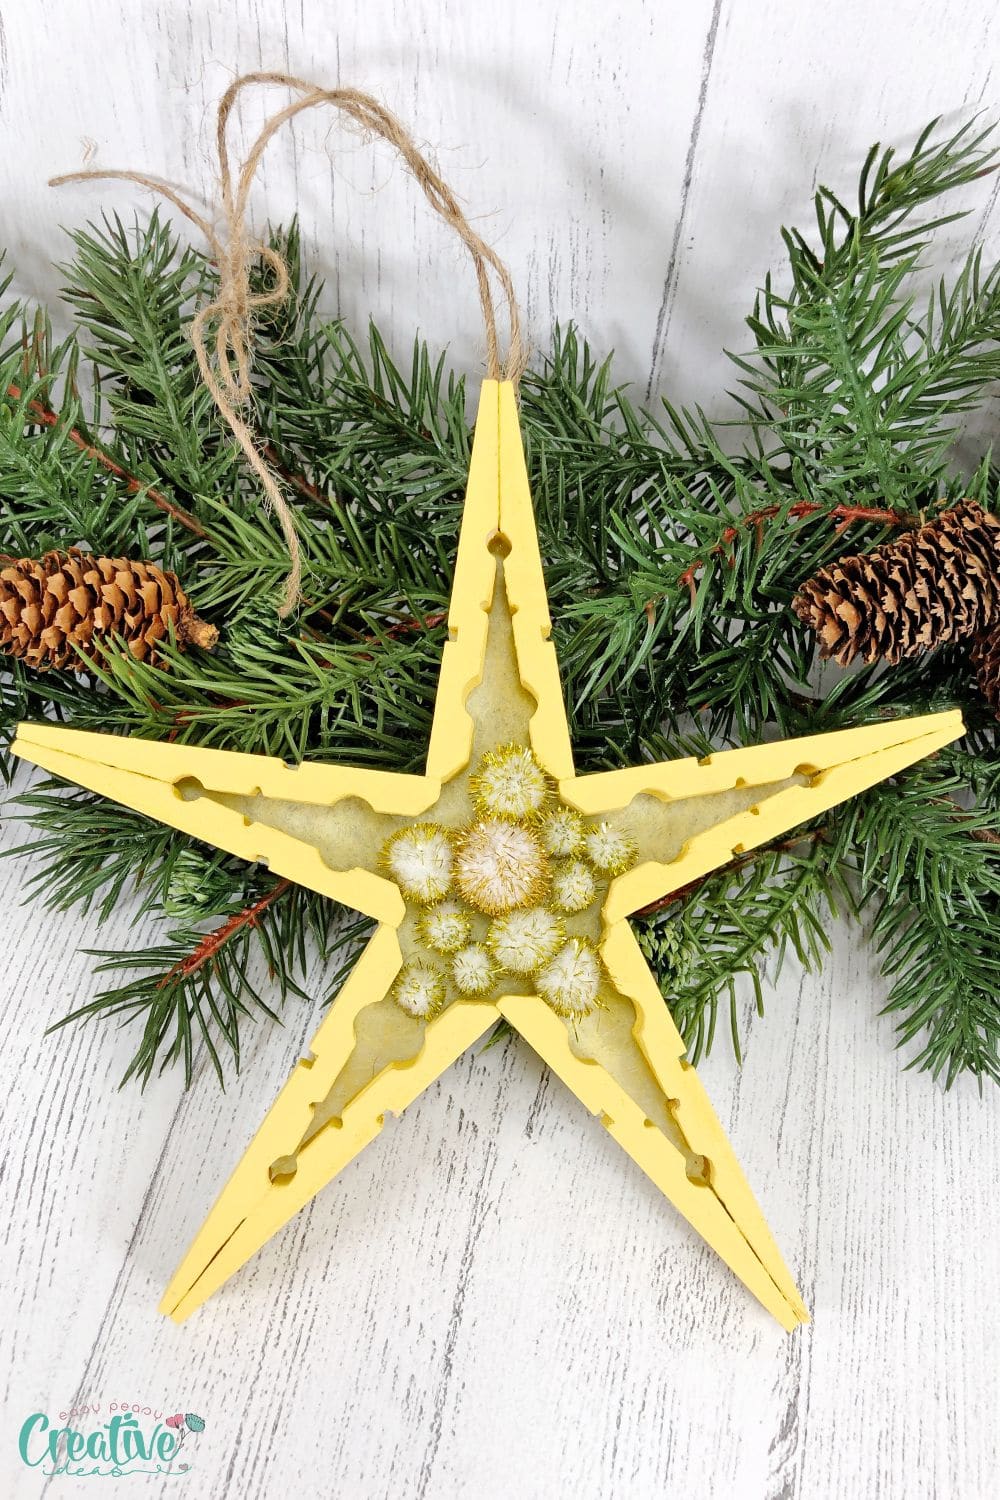
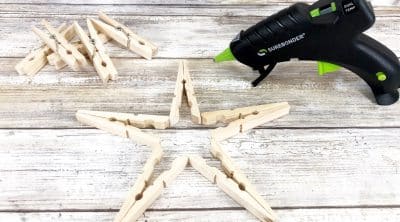
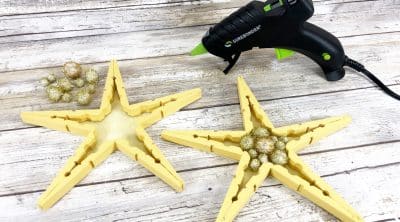
Gather all supplies. Remove the metal spring from the wooden clothespins. Line up five clothespins in a V shape on your work surface, to create a star shape. Attach the wooden clothespin pieces together with a glue gun and glue sticks, using the photo as a template.
TIP: You can use liquid craft glue for this project, but you will have to wait for it to dry.
STEP TWO
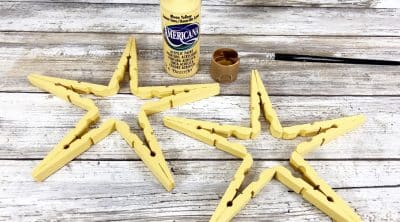
Paint the front and all sides of the clothespin star with light yellow acrylic craft paint. Set aside to dry. Add a second coat if needed.
STEP THREE
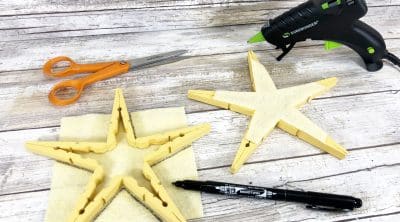
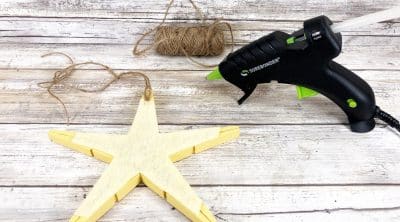
Place star onto light yellow craft felt and trace the outline with a marker. Carefully cut out star from felt, cutting inside the traced lines for a clean, finished project. Trace each star separately because the shapes will vary slightly. Glue felt to the back of the star ornament.
STEP FOUR
Attach a variety of gold tinsel pom poms into the center of each star with a glue gun and glue sticks.
STEP FIVE
To finish the Clothespin Christmas Star craft, cut a 24” length of natural jute twine, tie it in a 6” loop with a knot, and finish with a bow.
Attach the loop and bow to the top of the back of the clothespin star ornament with a glue gun and glue sticks.
These easy-to-create rustic Christmas ornaments are perfect for adding a touch of festive flair to your home this holiday season. Whether you choose to display them on your Christmas tree or in other locations around your home, these charming ornaments are sure to be a hit with both kids and adults alike. Get started on this great craft today and let me know how it turns out!
Pin to save for later
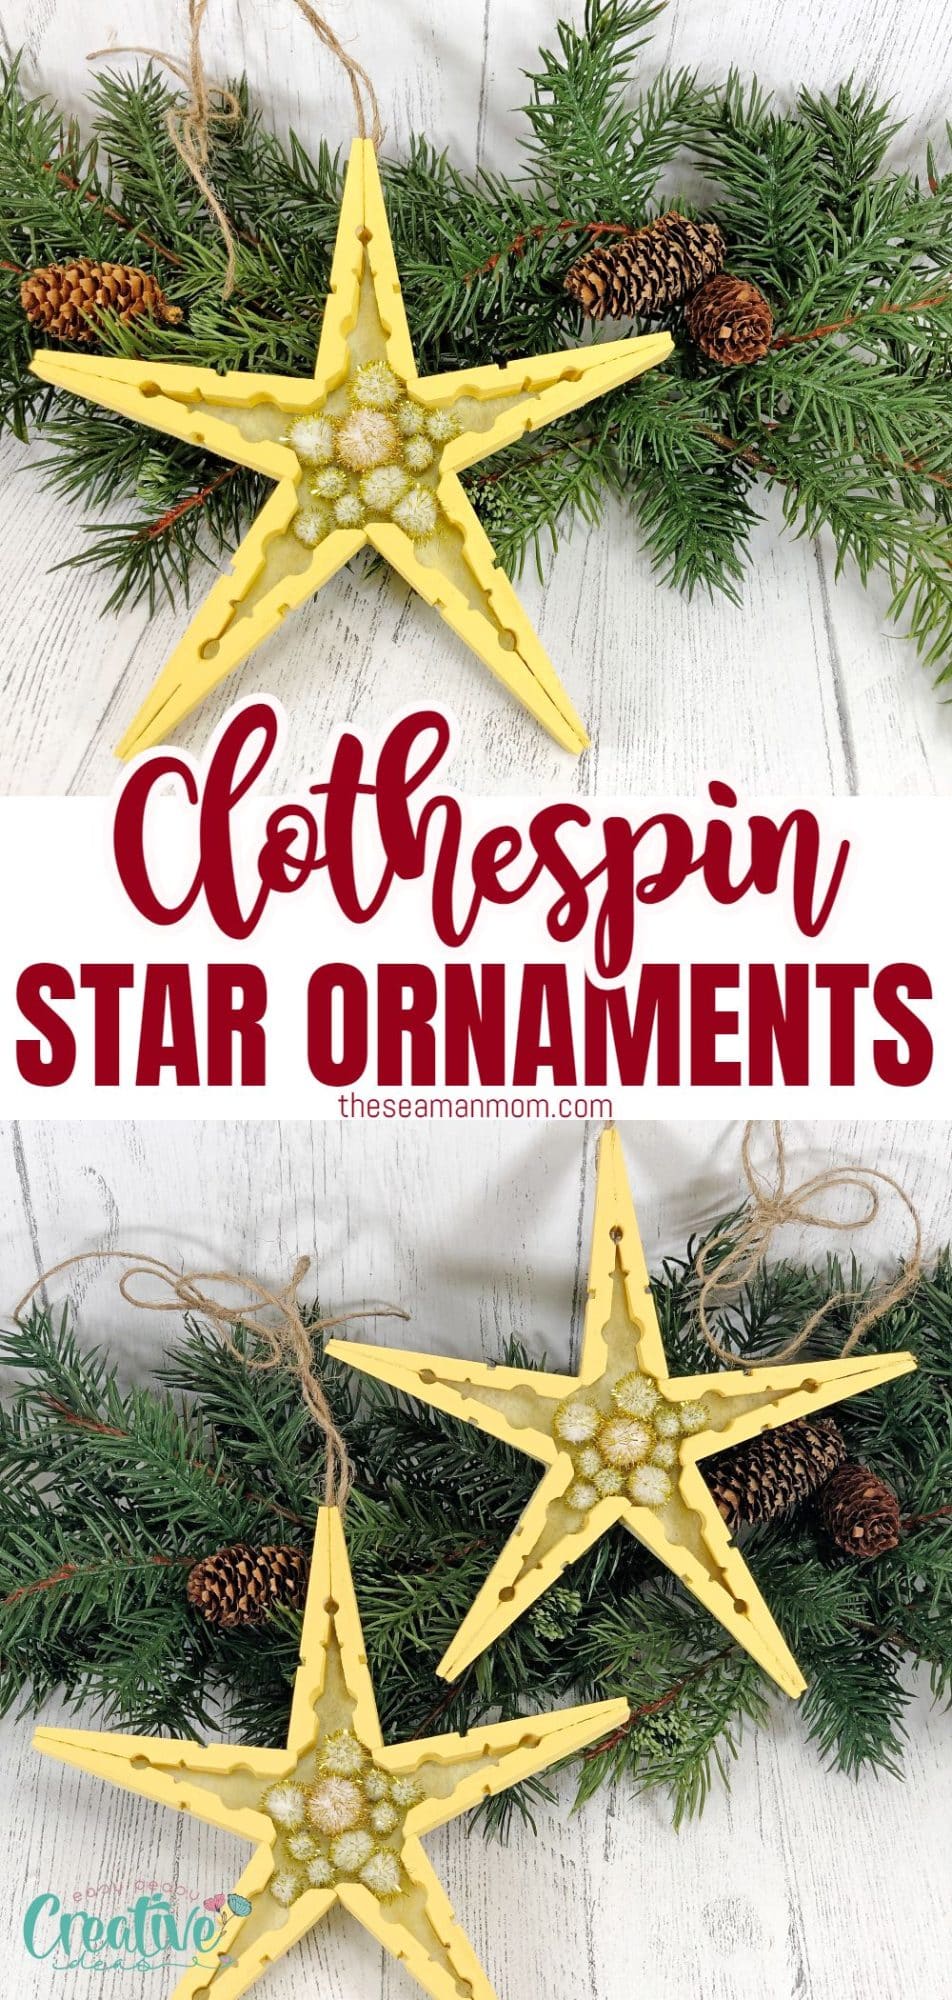
Print the craft card
Clothespin Christmas star ornaments
Materials
- Clothespins Wooden Spring-Style
- Acrylic Craft Paint Light Yellow
- Pom Poms Gold Tinsel
- Craft Felt Light Yellow
- Natural Jute Twine
Tools
- Glue Gun and Glue Sticks
- scissors
Instructions
- Gather all supplies. Remove the metal spring from the wooden clothespins. Line up five clothespins in a V shape on your work surface, to create a star shape. Attach the wooden clothespin pieces together with a glue gun and glue sticks, using the photo as a template.

- Paint the front and all sides of the clothespin star with light yellow acrylic craft paint. Set aside to dry.

- Place star onto light yellow craft felt and trace the outline with a marker. Carefully cut out star from felt, cutting inside the traced lines for a clean, finished project. Trace each star separately because the shapes will vary slightly. Glue felt to the back of the star ornament.

- Attach a variety of gold tinsel pom poms into the center of each star with a glue gun and glue sticks.

- To finish the Clothespin Christmas Star craft, cut a 24” length of natural jute twine, tie it in a 6” loop with a knot, and finish with a bow. Attach the loop and bow to the top of the back of the clothespin star ornament with a glue gun and glue sticks.

Article may contain Amazon & affiliate links. As an Amazon Associate I earn from qualifying purchases at no additional cost to you.


ABOUT PETRO
Hi, I’m Petro, author and founder of Easy Peasy Creative Ideas. Sewist, crafter, avid DIY-er, foodie, photographer, homemaker and mommy to one. I’m an expert at coming up with quick, clever sewing tips, recycling crafts and simple, easy recipes! You can find my ideas featured in reputable publications such as Country Living, Good House Keeping, Yahoo News, WikiHow, Shutterfly, Parade, Brit & Co and more. Thanks for stopping by and hope you’ll stay for a while, get to know me better and come back another time. Stick around for real fun projects! Read more…