FELT SUCCULENT craft with PDF template
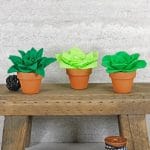
Make your own felt succulent plants for your home! These make great housewarming gifts, and you don’t need to water them! Read through to see what supplies you’ll need and how to make your own DIY succulent planters. Cute, inexpensive, and fun to make, this succulent craft is a great project for crafters of every skill level.
Felt succulent plants with PDF template
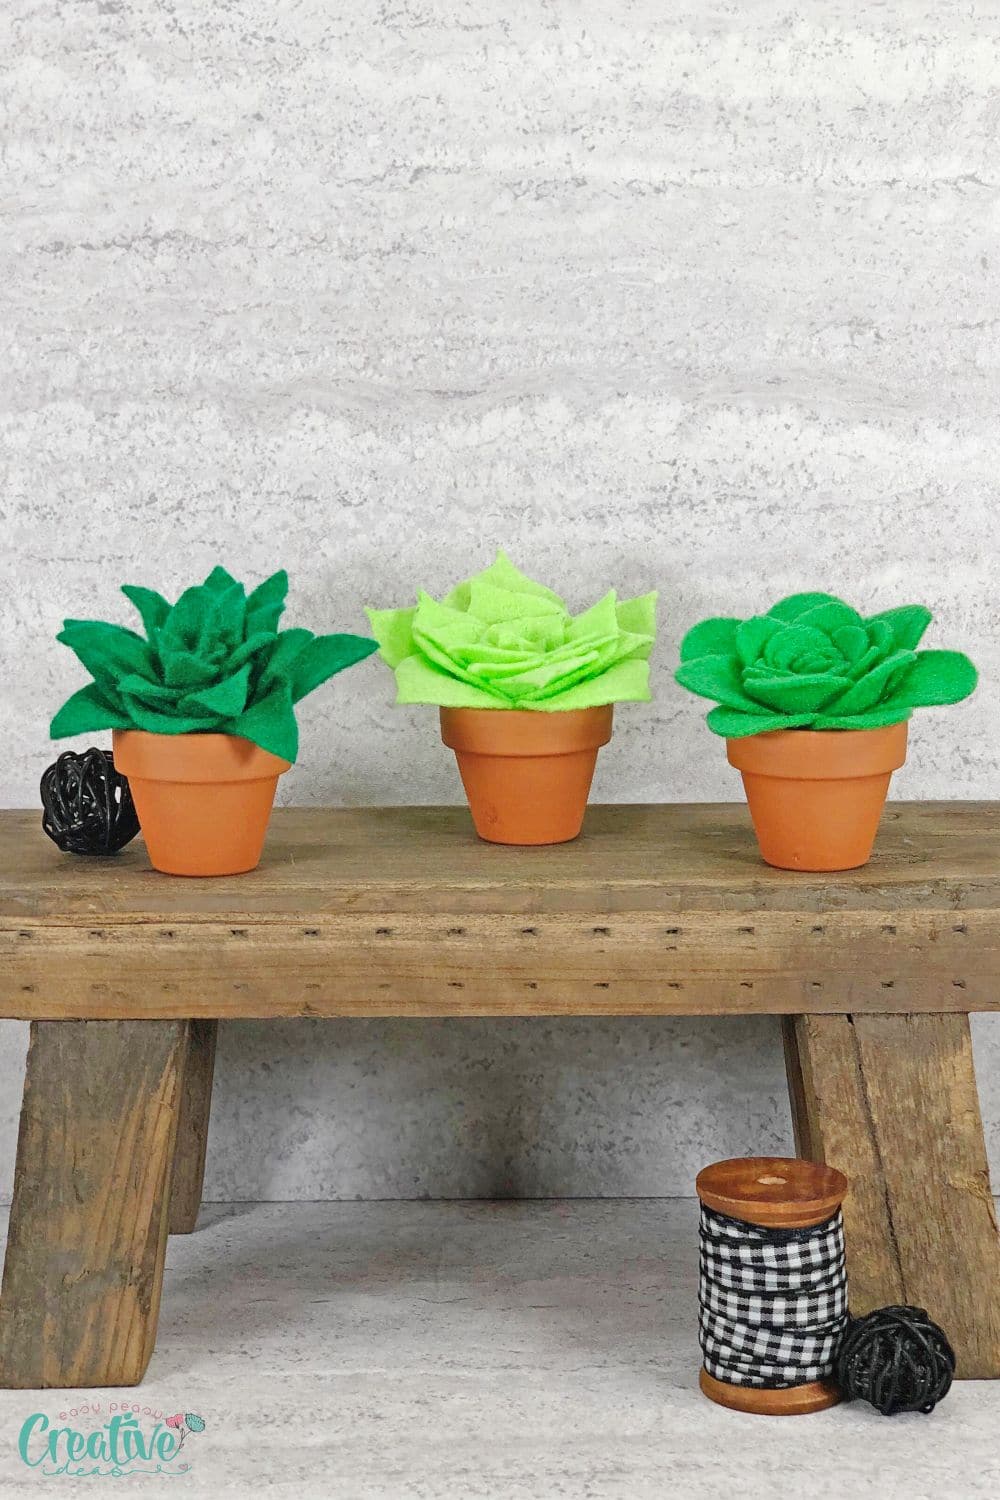
Whether you can’t keep a plant alive or just want a no-maintenance option for decorating your home, felt succulent plants are a great choice. And since they’re so simple to make, you can whip up a set of mini succulents for every room in your home! All you need are a few craft supplies and a few minutes of your time to make these adorable felt plants.
Other plant crafts you will love:
- DIY plastic bottle flower vase
- Easy crepe paper flowers
- Pinecone flowers craft
- Recycled succulent planter box
- DIY aloe vera plant
Felt Succulent Craft Supplies
You only need five craft supplies to make your own greenery at home, no special craft kit or skills required! To put this felt succulent craft together, you’ll need:
- Felt. The key to making the perfect succulents is sturdy felt. My favorite felt for this craft is Kunin classic felt craft sheets or Arteza felt sheets. They’re perfect for creating the leaves of your succulents and come in a variety of great greens, like neon green, apple green, and pirate green.
- Mini terracotta pots. To give your felt succulents a more realistic look, place them in mini pots after you put them together. You can find mini pots perfect for your mini succulents at the dollar store.
- Hot glue gun. Make sure the petals and leaves of your succulents stay together with the help of your hot glue gun. In general you won’t need a generous amount of glue, just a few small lines of glue and a few drops. So it’s best to use a small hot glue gun.
- Felt succulent pattern and marker. To create the petals for each of your succulent plants, get my printable pattern. Use the marker to trace the pattern on your felt, then cut each piece out with a pair of sharp scissors. Quick note: the templates come in a PDF file not as SVG files.
Free Felt Succulent Template
The key to making amazing DIY felt succulents is using a pattern to create the leaves. Once you print out the pattern for each succulent variety, cut out the shapes on the page. If you plan on making several different felt succulents, trace the pattern on a piece of chipboard, then cut it out. Use the chipboard over and over again to trace several leaves for your succulents.
After you have your felt succulent pattern ready, simply trace the leaf pattern on each of your felt sheets using a marker. Cut out the leaves, then glue them together using the instructions on each pattern sheet. Finish by “planting” your succulents in the mini terra cotta pots.
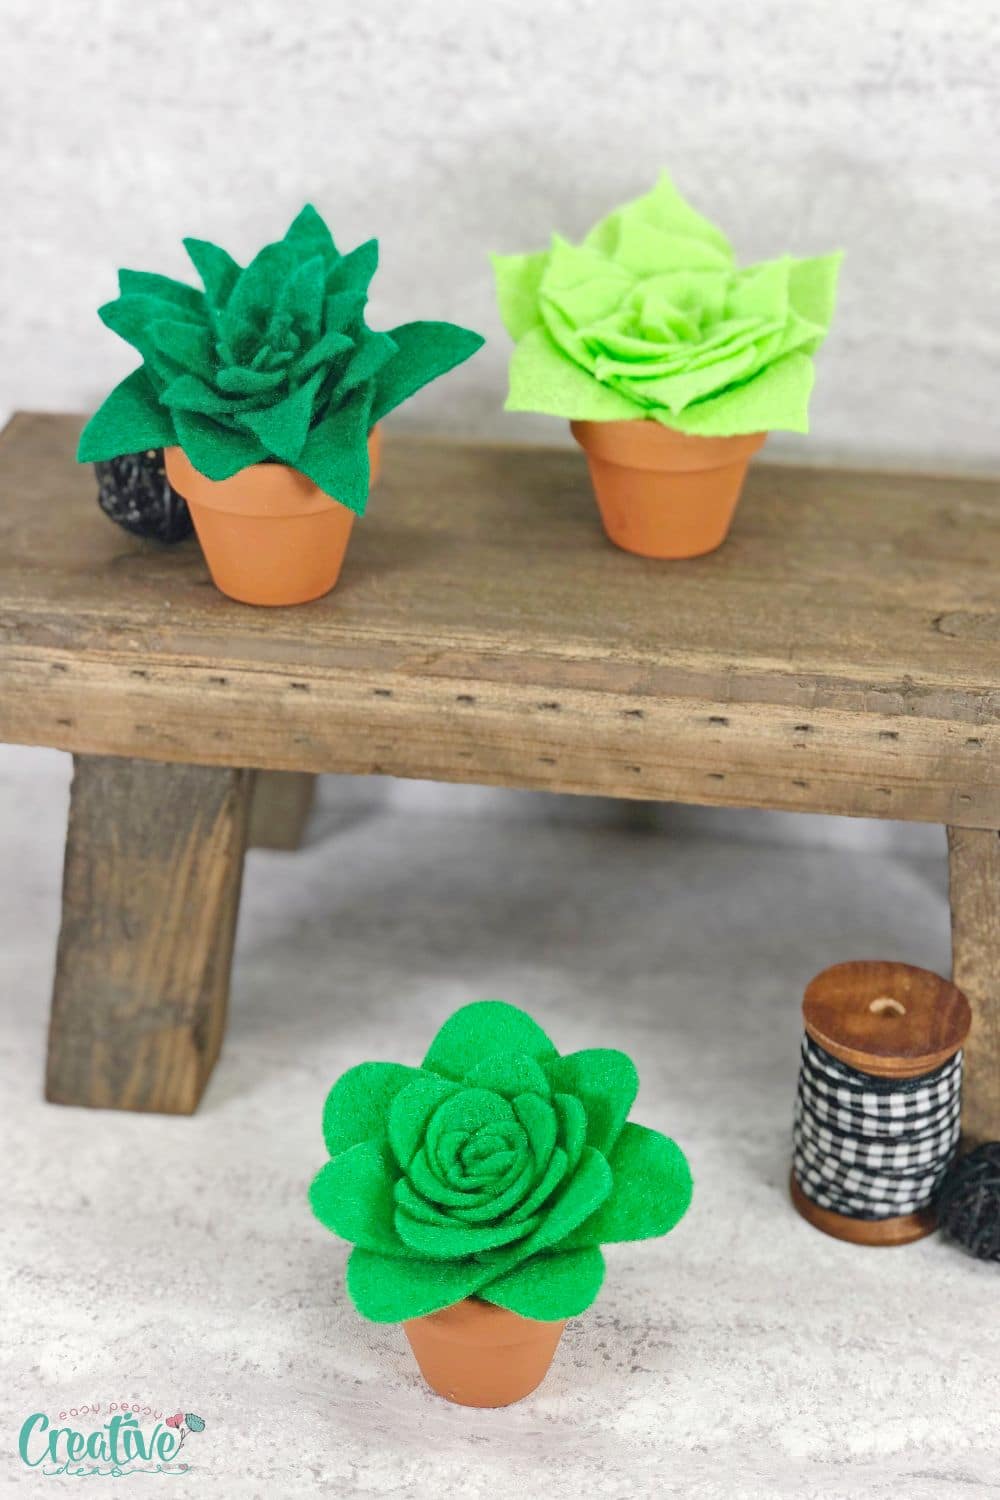
DIY Felt Succulents
You can make these felt succulents in around 30 minutes! And they look so amazing, no one would ever guess you spent just a half an hour putting them together. With these easy tips, you can whip up several felt flowers in no time:
Sharp fabric scissors are key
Since felt is a thick material, a sharp pair of scissors is essential to getting clean lines as you’re cutting the succulent shapes. Make sure the scissors you’re using are designed to cut fabric to ensure your felt plants look perfect when you’re finished making them.
Decorate the edges
Since most succulents aren’t one solid color, you can give your felt plants a more realistic look by decorating the edges of each petal. Use a black, brown, or red permanent marker to tint the edges of your succulent petals by rubbing the marker around each edge after you cut it out. Continue adding color until you’re satisfied with the design, then glue your petals in place. Or grab a paintbrush and quickly paint the edges in a lighter or darker shade.
Grab your tweezers
If you find it difficult to put the smaller petals in place with your fingers, try using tweezers instead. Use your tweezers to pick up the small petals, place a small dot of hot glue in the spot where it goes, then press the petal in place while holding the tweezers in your hand.
Use a Styrofoam ball to hold the succulents in the pot
Since your succulents are small, you may need something to hold them in the terra cotta pots. Place a small Styrofoam ball in the bottom of each pot. Add some hot glue to the top of the ball, then press the succulent in place to secure it.
Add a stem
If you would rather create a bouquet of succulents instead of placing them in pots, try making a stem for each mini plant. Use a sucker stick to make the stem, gluing the succulent to the top of the stick. Wrap the stick with floral tape to give it a more realistic look. After that, you can bunch your mini succulents together in a bouquet. Use ribbon or twine (or a mix) and tie into a knot to keep your pretty succulents together.
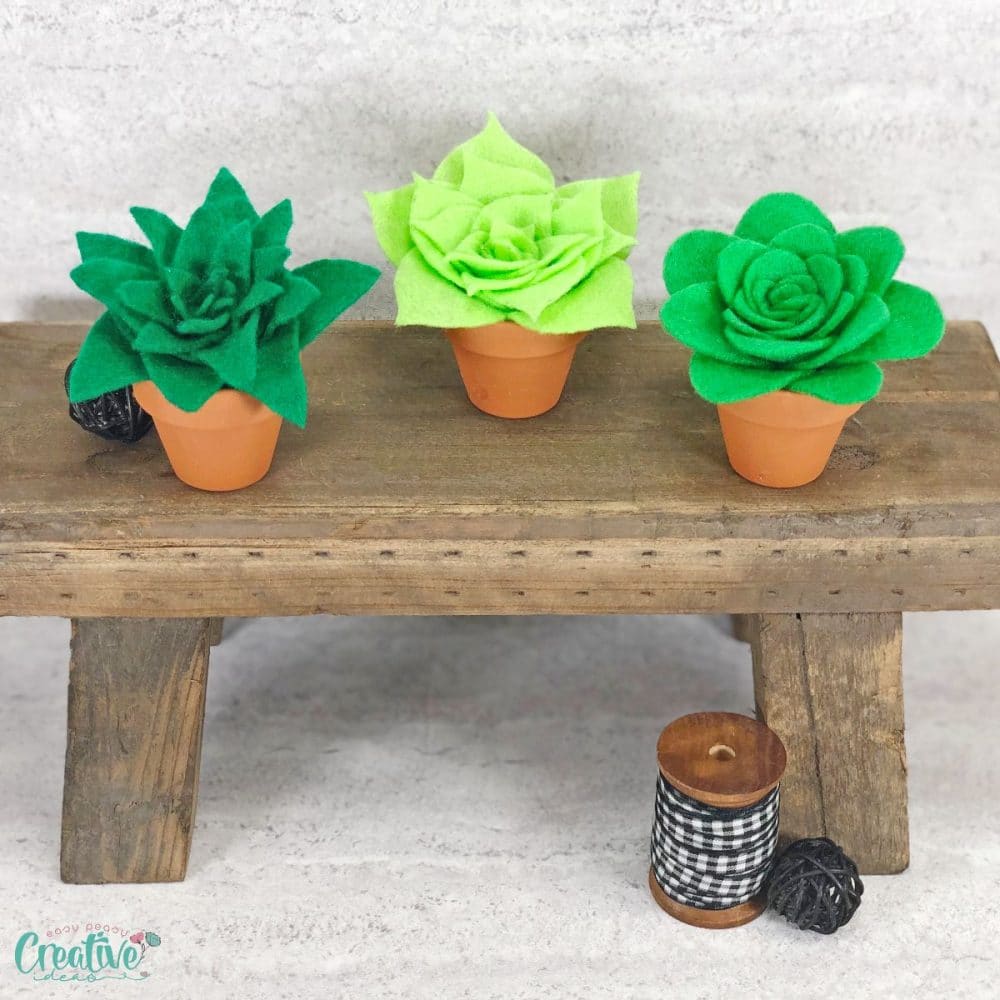
How to make a felt succulent
STEP ONE
Gather all supplies. Remove labels from flowerpots and felt sheets. Get the template, print and cut out FELT SUCCULENT PATTERNS. If making more than one set, trace onto chipboard and cut out with scissors.
STEP TWO
Trace each set of succulent shapes onto one of the colors of felt with a permanent marker according to the instructions on the pattern sheet.
STEP THREE
To begin creating the center of the plant, start by placing a small line of hot glue in the center of a small petal. Fold the petal in half, at an angle, and pinch to secure. Add a small amount of glue (a few dots of hot glue would be enough) to the folded edge and roll to create the center of the succulent.
STEP FOUR
Place a short line of glue in the center of the rest of the petals for the smaller succulents. Fold the petals in half, at an angle, and pinch to secure. Add a couple dots of glue along the folded edge and layer onto the center of the succulent.
STEP FIVE
Continue to glue the rest of the medium leaves and large leaves succulent petals in half, at an angle. Add the folded succulent petals to the base in a spiral/circular pattern. Follow the petal counts on the pattern sheet for each of the three succulents. Plant in mini terra cotta flowerpots.
If you want to secure the succulents even more, add a couple of rubber bands to the flat bottom edge of the plants or tie with a strand of yarn. Stick the end of the strands under the plant before “potting”.
How to Use Felt Succulents
Once you have these fun faux plants made, you’re going to want to use them in every room! If you’re looking for ways to decorate with your felt succulents, try these ideas:
- Put them on your tiered tray. These mini succulents are perfect for adding a pop of color to your tiered tray. Add them with the rest of your farmhouse décor to create a unique vignette that’s perfect for any season.
- Give them as gifts. These adorable mini succulents make perfect gifts! Make a set for each of your loved ones to give them as DIY Christmas presents for the holidays.
- Decorate your window sill. Your felt succulents may not need sunlight to grow, but they’ll still look amazing in your window. Dress up your window sill with your potted faux plants to add a pop of color to any room.
- Make a wreath for your front door for an adorable spring décor. Cover the whole wreath in felt succulent plants or decorate just the front side and keep the back side of the wreath succulent free if you don’t have enough plants.
Trace, cut and assemble these quick and easy succulents in just about 30 minutes. Your family and friends will never know how quick and easy these trendy succulents were to create!
Pin to save for later
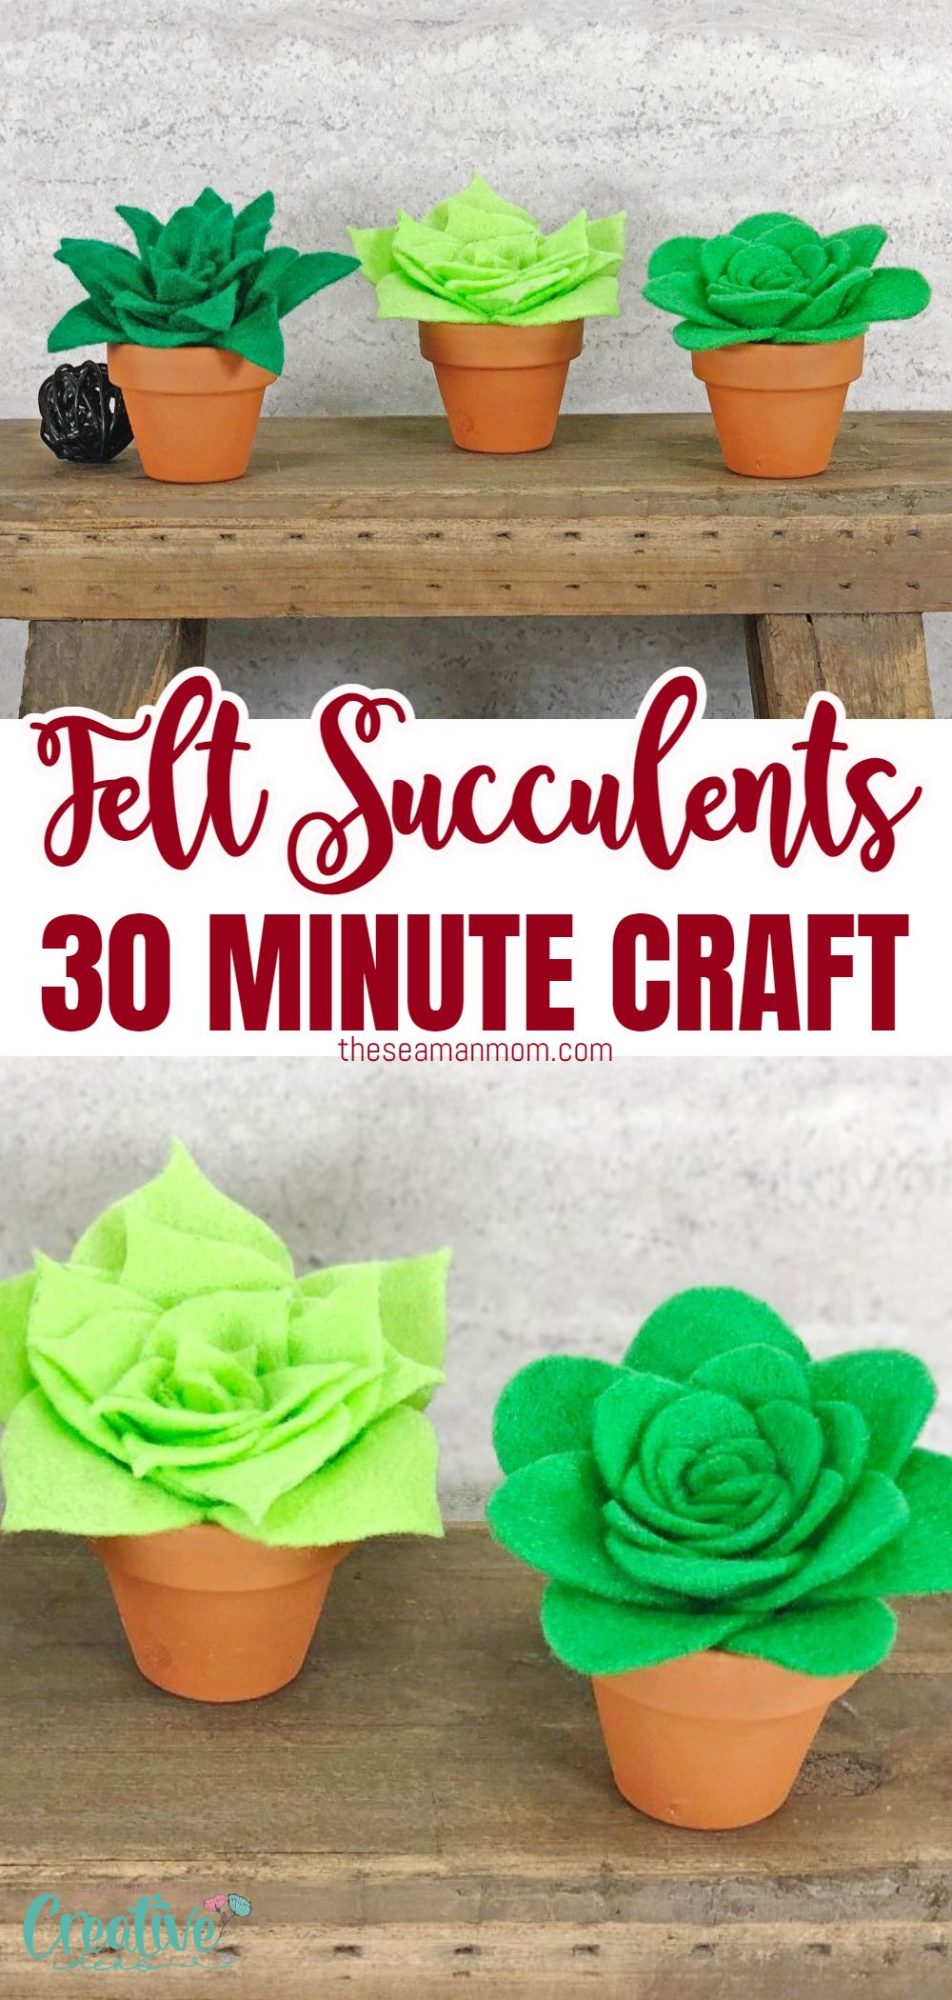
Print the craft card
Felt succulent craft
Materials
- 3 sheets Kunin Classic Felt Craft Neon Green, Apple Green, Pirate Green
- 3 Mini Terra Cotta Flowerpots 2” in diameter
- 1 Black Marker
- Felt succulent pattern
Tools
- glue gun
- scissors
Instructions
- Gather all supplies. Remove labels from flowerpots and felt sheets. Download, print and cut out FELT SUCCULENT PATTERNS. If making more than one set, trace onto chipboard and cut out with scissors.
- Trace each set of succulent shapes onto one of the colors of felt with a permanent marker according to the instructions on the pattern sheet.
- Place a small line of hot glue in the center of one of the smallest succulent petals. Fold the petal in half, at an angle, and pinch to secure. Add a few dots of hot glue to the folded edge and roll to create the center of the succulent.
- Place a small line of hot glue in the center of the rest of the smallest succulent petals. Fold the petals in half, at an angle, and pinch to secure. Add a few dots of hot glue along the folded edge and layer onto the center of the succulent.
- Continue to glue the rest of the medium and large succulent petals in half, at an angle. Add the folded succulent petals to the base in a circular pattern. Follow the petal counts on the pattern sheet for each of the three succulents. Plant in mini terra cotta flowerpots.
Article may contain Amazon & affiliate links. As an Amazon Associate I earn from qualifying purchases at no additional cost to you.



I can’t find the pdf for the pattern.
Betty, it’s linked in the craft card, down the bottom of the tutorial
Thanks. Even though we live in the Southwest, I kill cactus. So this is a welcome way to add color around our home. Now I can put to use some of the needles I’ve bought for felting.
I’m glad you liked this idea, Gregory! Thanks for your lovely comment!
I love your ideas!!! You always come up with some really interesting ideas!!!