Gluten free coconut flour pancakes
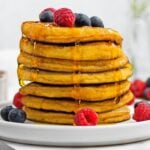
Start your day with fluffy, delicious gluten free coconut flour pancakes! Made with wholesome ingredients, these pancakes are packed with fiber, flavor, and just the right touch of sweetness. They’re quick and easy to whip up, making them a perfect breakfast option for anyone following a gluten-free diet.
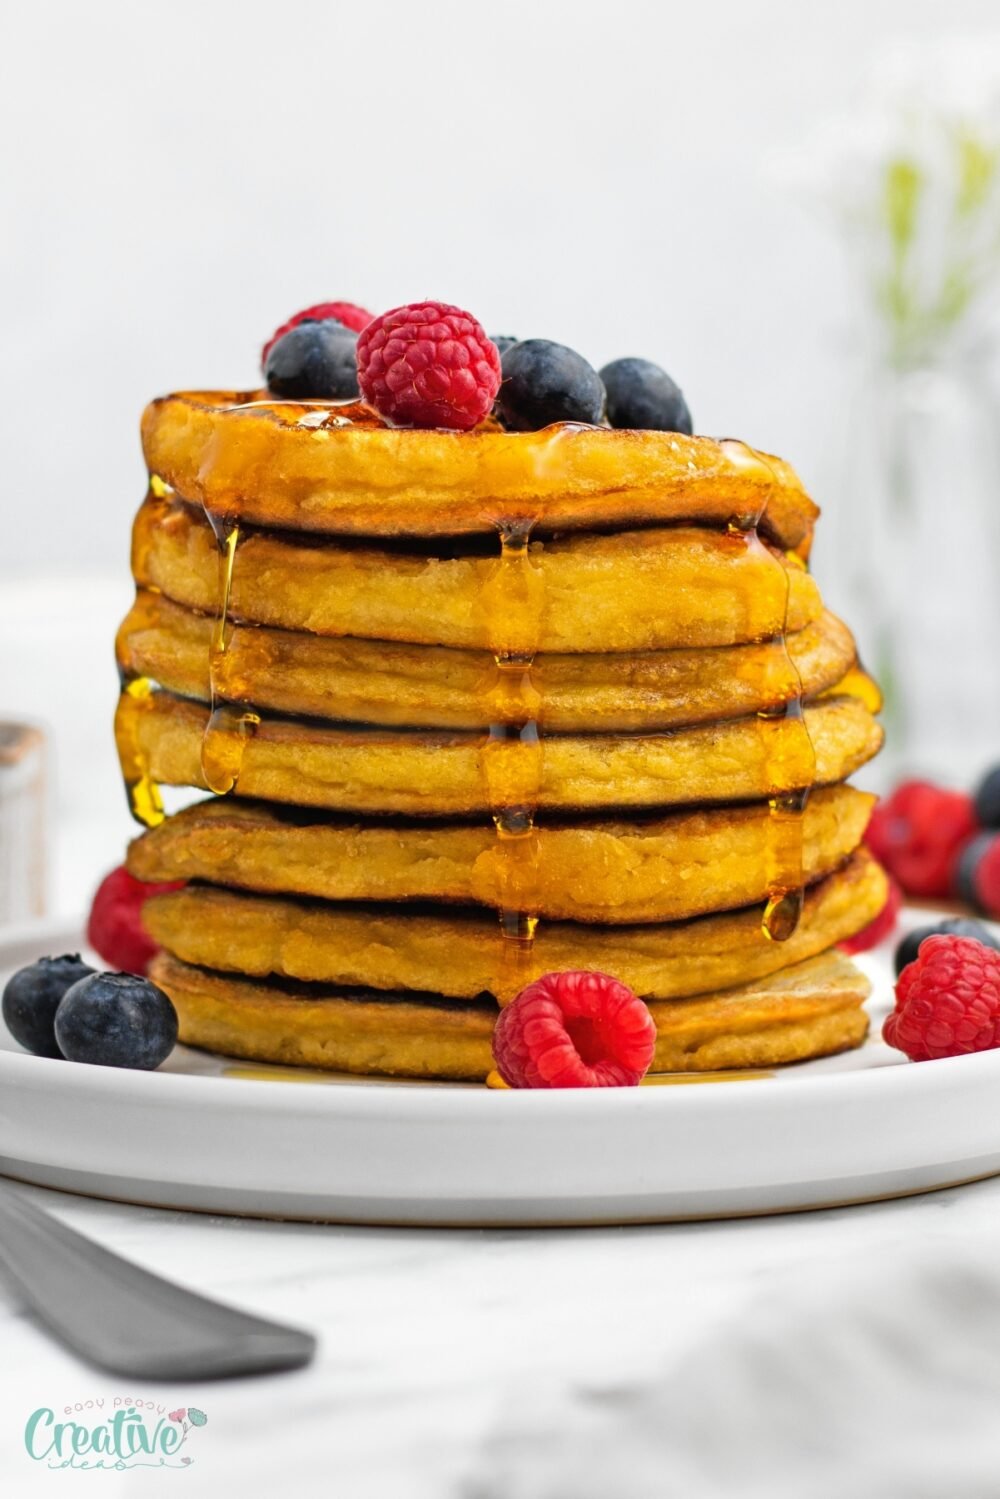
There’s nothing quite like a stack of fluffy, gluten free coconut flour pancakes to brighten up your morning. Packed with fiber and flavor, these pancakes are a fantastic choice for anyone looking to enjoy a delicious breakfast while sticking to a gluten free diet.
Whether you’re new to cooking with coconut flour or a seasoned home chef, this recipe is simple, satisfying, and sure to become a family favorite. These gluten free coconut flour pancakes are a personal favorite because they strike the perfect balance between taste and nutrition.
The coconut flour adds a subtle sweetness and a dose of healthy fiber, making these pancakes not just filling but also incredibly wholesome. Top them with fresh fruit, a drizzle of maple syrup, or your favorite nut butter for a satisfying and nutritious start to the morning!
How to make gluten free coconut flour pancakes
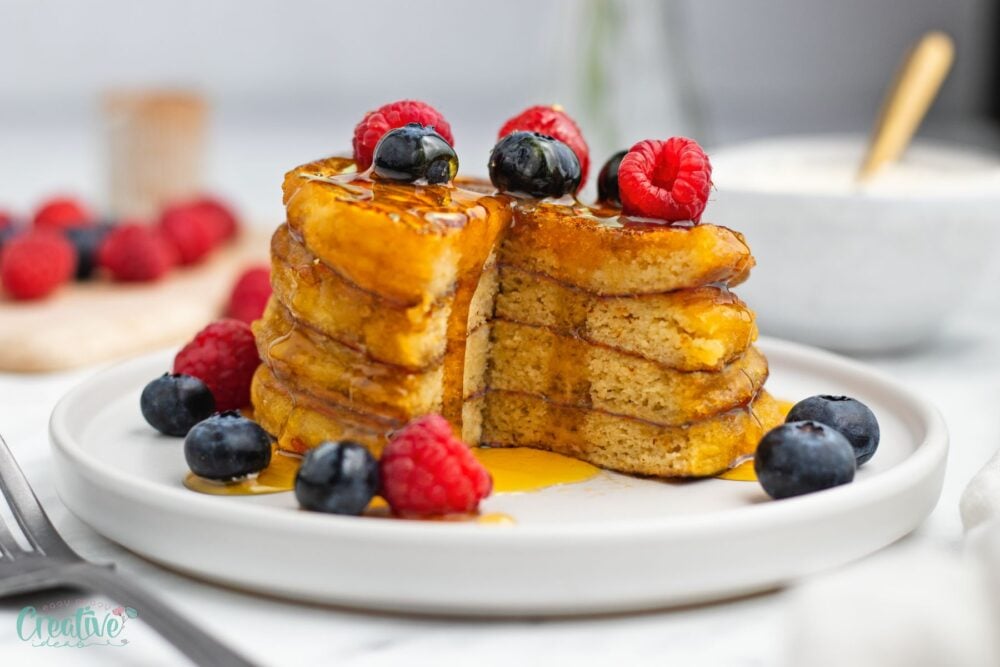
Ingredients
To make these gluten free pancakes, you’ll need a few simple and wholesome ingredients:
- Eggs: Provide structure and help bind all the ingredients together. They’re essential for the fluffy and light texture.
- Coconut Flour: The star of the recipe, coconut flour is naturally gluten free and rich in fiber, lending a unique taste and texture to the pancakes.
- Baking Powder & Baking Soda: These leavening agents ensure your pancakes rise beautifully and achieve a light texture.
- Salt: A small pinch of salt enhances the flavors and balances out the sweetness.
- Coconut Oil (Melted): Adds richness and a touch of coconut flavor, complementing the flour perfectly.
- Honey: A natural sweetener that gives these pancakes a delicate hint of sweetness.
- Vanilla Extract: Enhances the overall flavor profile and adds a warm, comforting aroma.
- Soy Milk (or other milk of choice): Helps create a smooth batter with the right consistency. Feel free to use almond milk, oat milk, or regular dairy milk.
Equipment
Having the right tools on hand will make the process smooth and enjoyable:
- Mixing Bowl: A large bowl for combining your ingredients and preparing the batter.
- Whisk: Creates a smooth, lump-free batter by evenly combining the wet and dry ingredients.
- Frying Pan: A non-stick frying pan is ideal for evenly cooking the pancakes without sticking.
- Spoon: Perfect for portioning out the batter into the frying pan.
- Spatula: Essential for flipping your pancakes without breaking them.
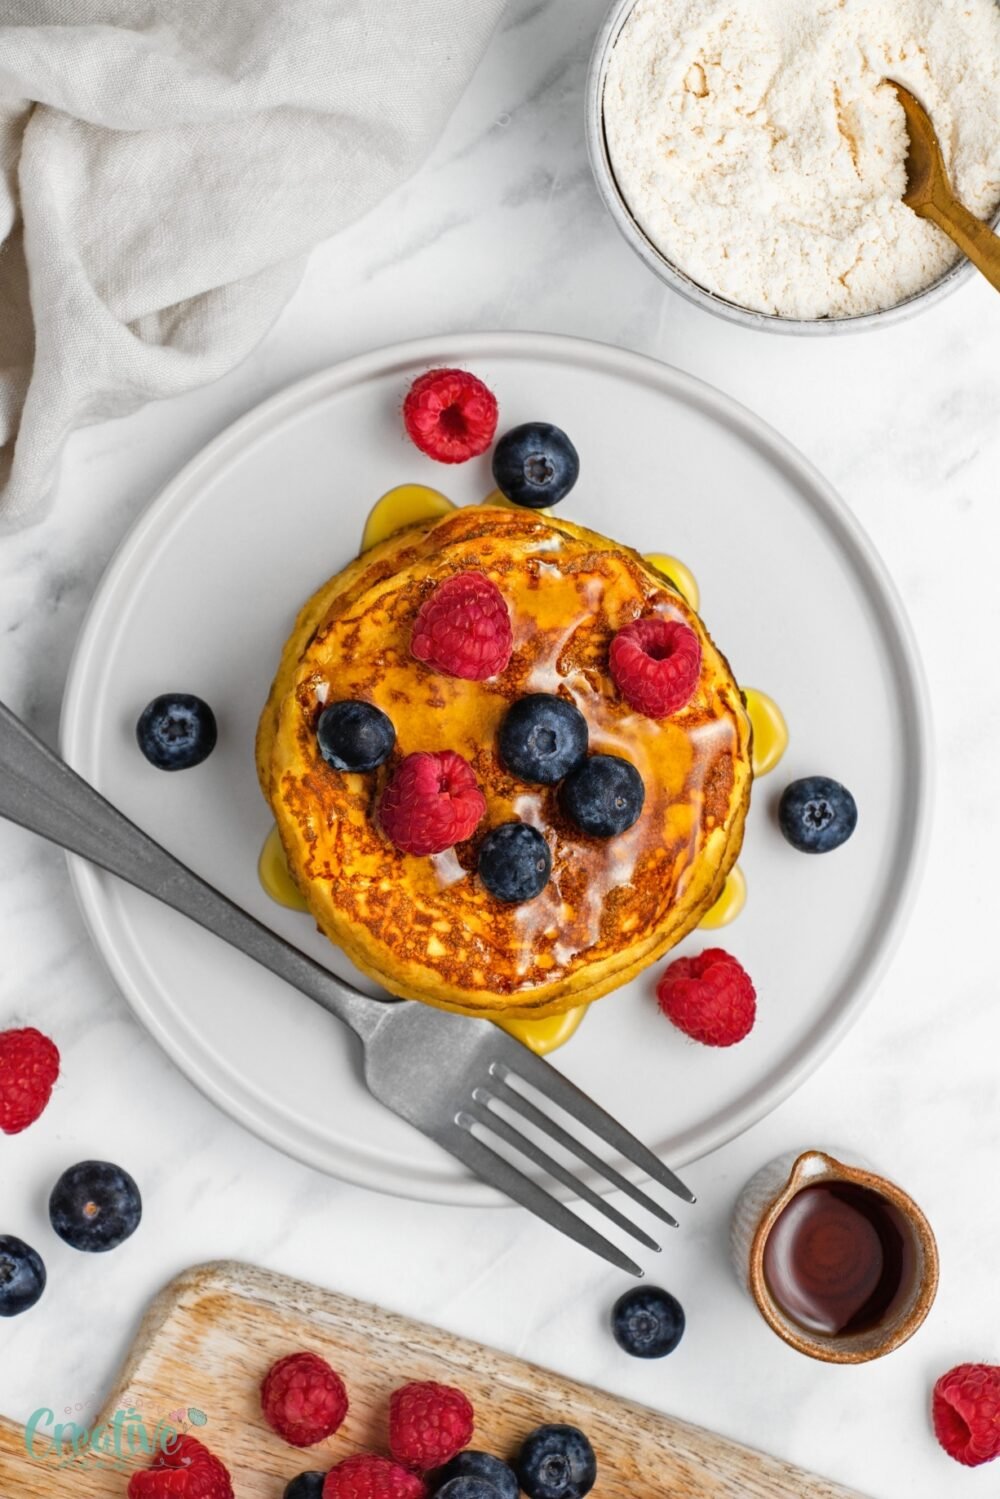
Instructions to make the coconut flour pancakes
Preparations
Before starting, ensure all your ingredients are measured and ready to go. This will help the process flow smoothly and prevent any missing components. Preheat your pan as you prepare the batter so it’s ready to use as soon as you finish mixing.
Cooking
Cooking these pancakes requires a bit of patience, as coconut flour has a different consistency than traditional wheat flour. Use a medium-low heat setting to ensure the pancakes cook evenly without burning. Keep an eye on the bubbles forming to know when it’s time to flip.
- Crack the eggs into a large mixing bowl and beat them well until smooth.
- Add the coconut flour, baking powder, baking soda, salt, melted coconut oil, honey, vanilla extract, and your milk of choice into the bowl.
- Whisk everything together until thoroughly combined and the batter is smooth.
- Heat a large frying pan over a medium-low setting, adding a little oil or butter to prevent sticking.
- Spoon approximately 3 tablespoons of batter into the pan for each pancake. Cook for about 4 minutes, or until bubbles start to form on the top and the underside is lightly browned.
- Flip the pancake carefully using a spatula, and cook for another 4 minutes on the other side.
- Repeat with the remaining batter. You can cook multiple pancakes at once if your frying pan allows.
Tips for best results
- Always sift your coconut flour before mixing to avoid lumps and ensure a smooth batter.
- If the batter feels too thick, add a little extra milk, one tablespoon at a time, to achieve the right consistency.
- Give the batter a few minutes to rest before cooking—this allows the coconut flour to fully absorb the liquid, resulting in a perfect texture.
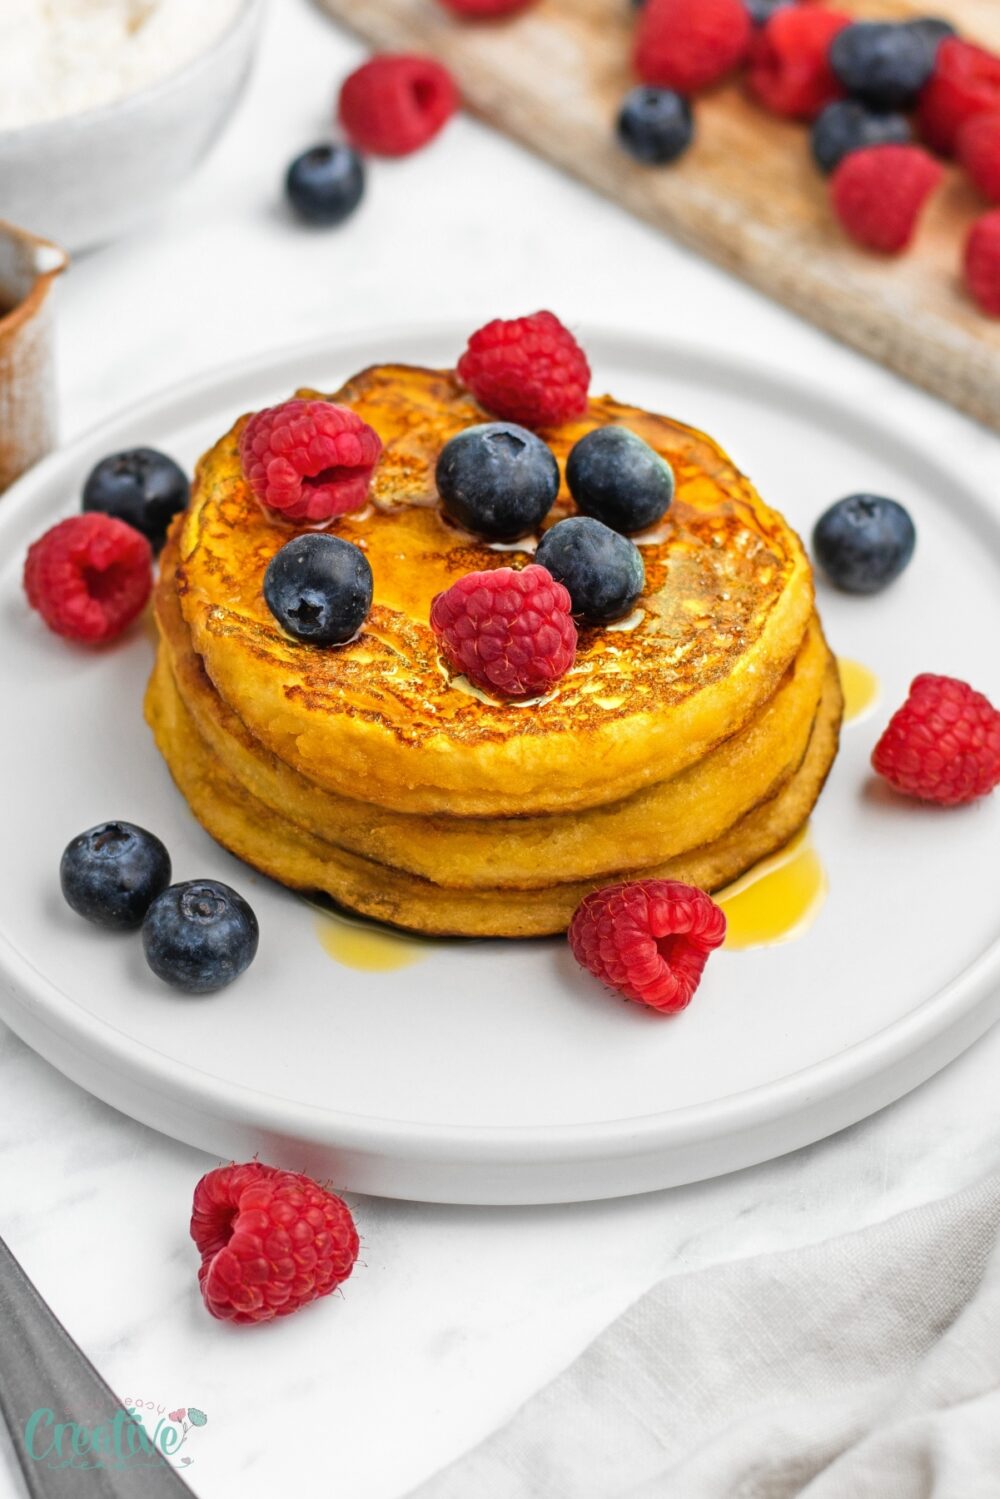
Recipe Variations
- Chocolate Chip: Add a handful of chocolate chips to the batter for a decadent twist on traditional pancakes.
- Blueberry: Fold in fresh or frozen blueberries before cooking for a burst of fruity flavor in every bite.
- Lemon Poppyseed: Mix in lemon zest and poppyseeds to create zesty, fragrant pancakes that are perfect for spring.
- Banana Nut: Mash up a ripe banana and add it to the batter for deliciously moist and flavorful pancakes. Sprinkle with chopped nuts on top for added crunch.
What to serve with
These gluten free coconut flour pancakes pair wonderfully with a variety of toppings and sides to customize your breakfast experience. Here are a few serving suggestions to elevate your pancakes:
- Fresh Fruit: Top with a medley of sliced bananas, strawberries, blueberries, or raspberries for a vibrant and refreshing touch.
- Maple Syrup: Drizzle warm maple syrup over the pancakes for a classic and indulgent flavor combination.
- Nut Butters: Spread almond butter, peanut butter, or cashew butter on top for added richness and protein.
- Whipped Cream: Add a dollop of whipped cream for a light and creamy topping that complements the coconut flavor beautifully.
- Yogurt: Greek yogurt or coconut yogurt pairs well, adding a tangy contrast and a creamy consistency.
- Shredded Coconut: Sprinkle with unsweetened shredded coconut for extra texture and a boost of coconut flavor.
- Crispy Bacon or Sausage: For a savory-sweet balance, serve alongside crispy bacon or breakfast sausages.
Storing and reheating
- Refrigeration: Store any leftover pancakes in an airtight container in the refrigerator for up to 3 days. Reheat in the toaster, microwave or on the stovetop until warmed through.
- Freezing: If you have extra pancakes, freeze them in a single layer on a sheet pan for 1 hour before transferring to a freezer-safe bag or container. They can be stored in the freezer for up to 3 months. Transfer to the fridge the night before serving. Reheat in the toaster or oven for best results.
Frequently asked questions
Q: Can I make these pancakes without eggs?
A: Unfortunately, these pancakes require the binding properties of eggs and cannot be made without them.
Q: Can I substitute the coconut oil for another type of oil?
A: Yes, you can use any oil that has a neutral flavor, such as vegetable or canola oil. However, keep in mind that this will change the overall flavor profile of the pancakes.
Q: Can I use all-purpose flour instead of coconut flour?
A: Coconut flour has a different consistency than traditional flours and cannot be substituted 1-to-1 for all-purpose flour. You will need to adjust the amount used and potentially add more liquid ingredients to achieve the right consistency.
More breakfast recipes you will enjoy
- Air fryer breakfast potatoes
- Spicy ham and cheese sandwich
- Strawberry parfait with cottage cheese
- Turkish eggs
- Sausage bread casserole
- Lemon Greek yogurt pancakes
With these tips and options, you can enjoy your gluten free coconut flour pancakes anytime, whether freshly made or prepared in advance! Enjoy with your favorite toppings and savor the delicious taste and texture of these unique and nutritious pancakes. Happy cooking!
Gluten free coconut flour pancakes
Ingredients
- 5 large eggs
- ½ cup coconut flour
- 1 tsp baking powder
- ½ tsp baking soda
- A pinch of salt
- 2 tablespoons coconut oil melted
- ¼ cup honey
- 1 tsp vanilla extract
- 1/2 cup soy milk or other milk of choice
Equipment
- frying pan
Instructions
- Crack the eggs into a large mixing bowl and beat well.
- Add all remaining ingredients and whisk to combine.
- Add a little oil or butter to a large frying pan and heat on a medium-low setting.
- Spoon approx. 3 tbsp of the batter into the pan and cook for about 4 minutes, until lightly browned on the bottom and when bubbles are starting to appear on the top. Flip and cook for another 4 minutes on the other side.
- Repeat with the remaining pancake batter. You should be able to fit multiple pancakes in the pan at once.
Nutrition
Article may contain Amazon & affiliate links. As an Amazon Associate I earn from qualifying purchases at no additional cost to you.


ABOUT PETRO
Hi, I’m Petro, author and founder of Easy Peasy Creative Ideas. Sewist, crafter, avid DIY-er, foodie, photographer, homemaker and mommy to one. I’m an expert at coming up with quick, clever sewing tips, recycling crafts and simple, easy recipes! You can find my ideas featured in reputable publications such as Country Living, Good House Keeping, Yahoo News, WikiHow, Shutterfly, Parade, Brit & Co and more. Thanks for stopping by and hope you’ll stay for a while, get to know me better and come back another time. Stick around for real fun projects! Read more…