

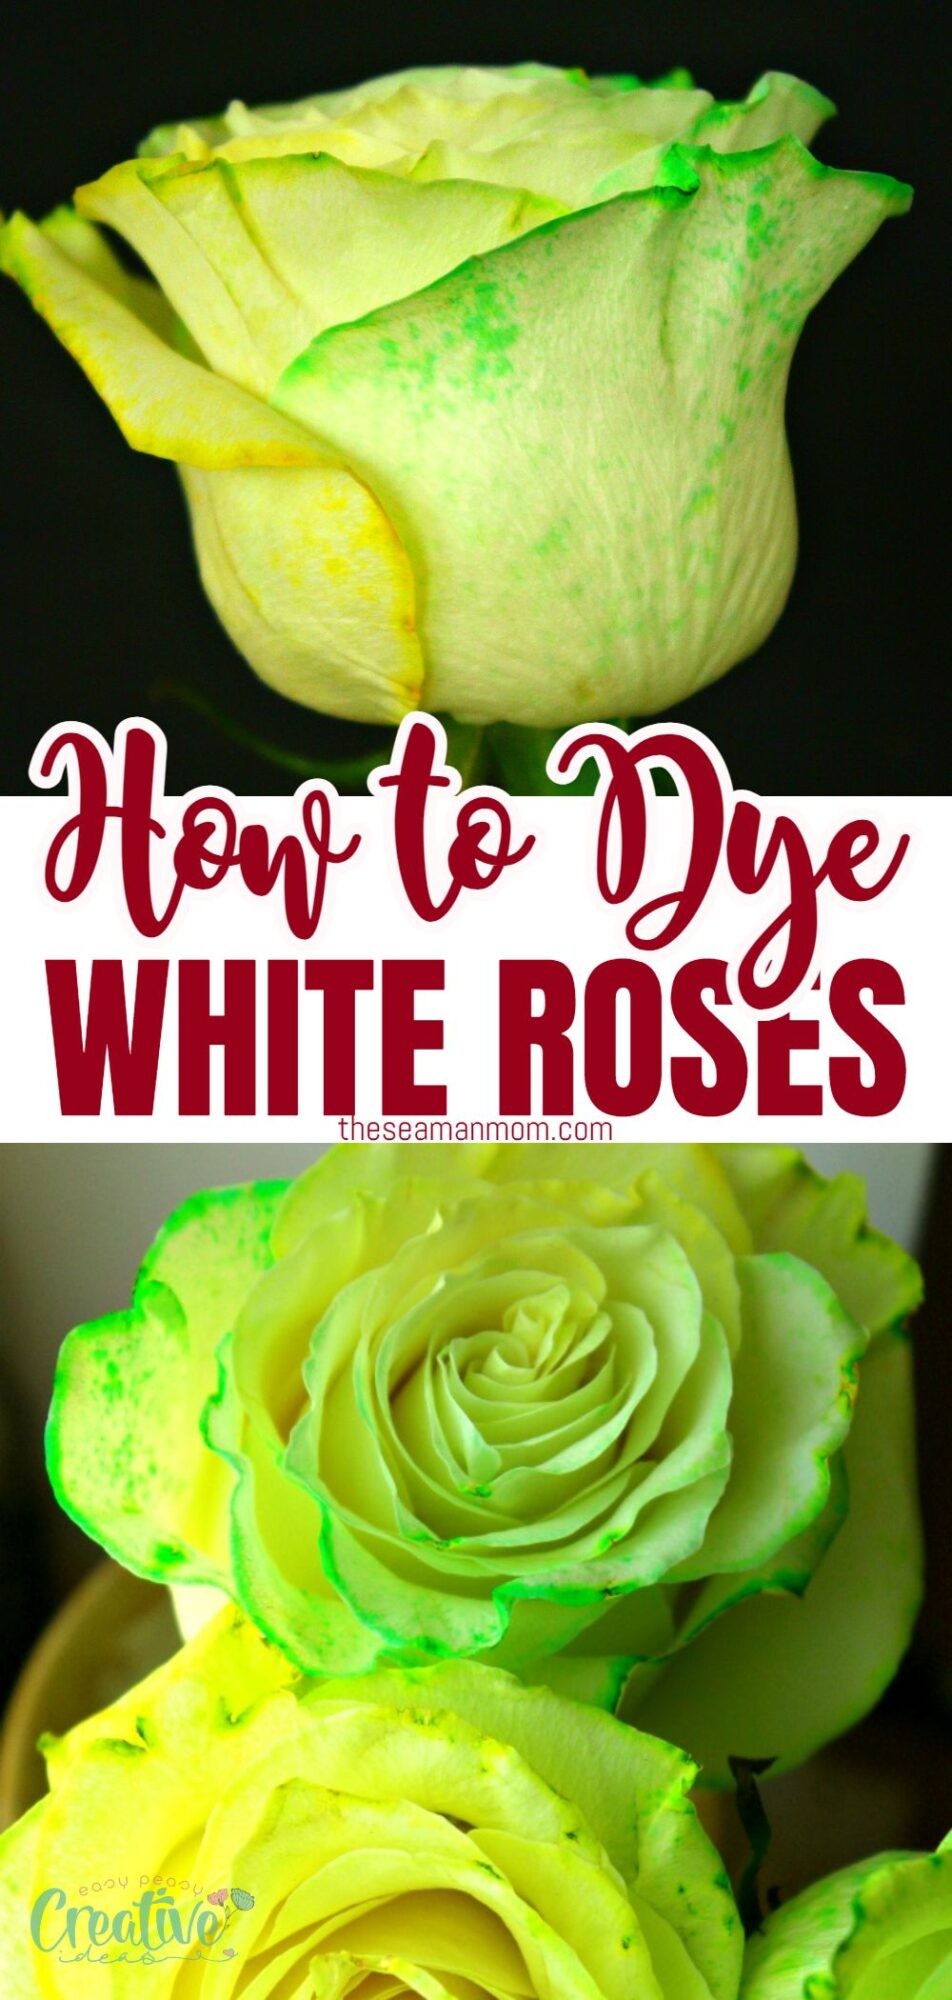
How to dye roses with food coloring
Discover how to dye roses for stunning home décor or the perfect gift with this easy tutorial, using simple techniques. Follow this step-by-step tutorial to bring a touch of charm and beauty to your surroundings.
Learn how to dye roses effortlessly and create stunning, vibrant blooms right in the comfort of your home using simple household items. This step-by-step tutorial will guide you through the easy peasy process of transforming ordinary roses into uniquely dyed masterpieces. Whether you want to add a pop of color to your home décor or craft a heartfelt gift, this creative project is sure to delight your senses and bring a touch of beauty into your space.
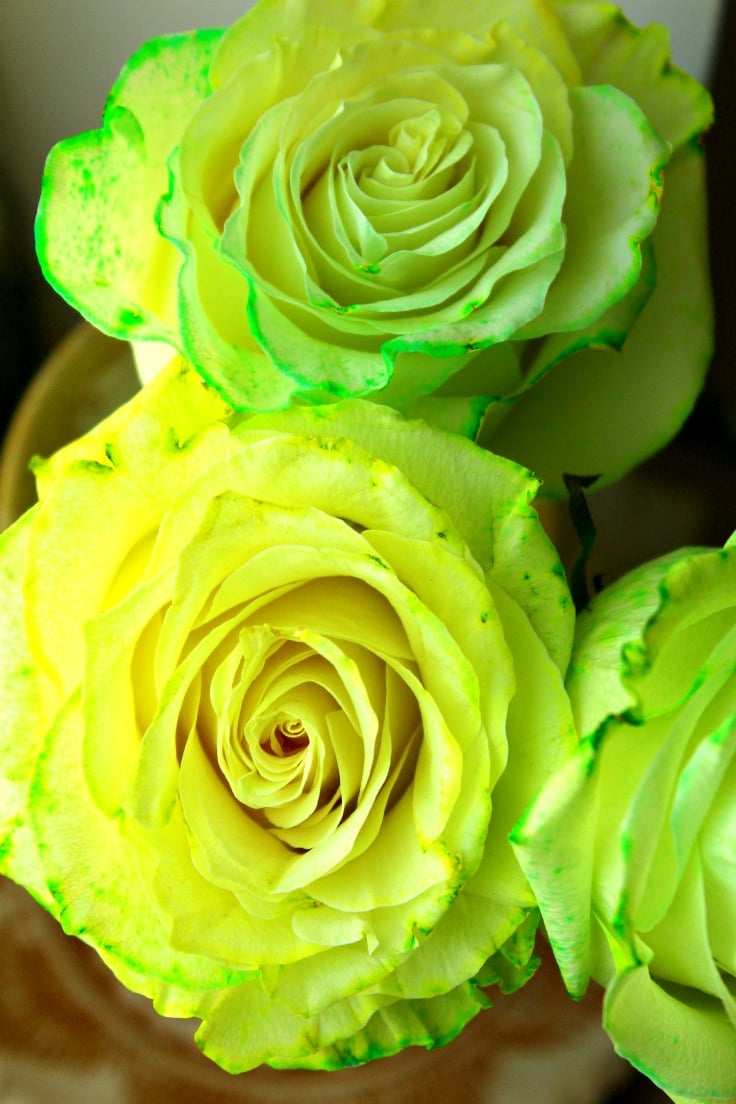
Multi colored roses can add a dramatic impact to a flower arrangement so if you’re thinking about gifting roses or have a wedding bouquet in mind, you might wanna consider dyeing them in all sorts of colors. You can easily create the color of your choice by following this simple tutorial on how to dye roses. Use this tutorial for other flowers too but keep in mind that woody stems, like roses, take longer to absorb and uptake the dye than green-stemmed flowers.
How to Dye Roses
Materials:
- White roses (or very lightly colored ones).
- Razor knife
- self healing mat or thick cardboard
- Food coloring (the quality and intensity will have a great impact on the intensity of color in the dyed roses)
- Narrow and sturdy water cups or glasses
- Water
- rubber gloves
- tape – optional
Directions:
- Take your roses and pick some of the leaves off.
- Trim each stem to about 10″ long. Using a razor knife cut at an angle of about 45 degrees to help absorption.
- Using the razor knife, split the stem open in 3″ long sections, if you plan to get rainbow roses. For single colored ones, no need to split the stem. Split into maximum 4; too many cuts will weaken the stem. Careful not to snap the stem. If you do, just cut the stem at a 45 degree angle and dye it one color
- Pour water in your water cups then add food coloring.
- Position the cups next to each other. This will limit the amount of space you need to stretch the stems over.
- Pick up a rose and place each section of the stem into one different cup if you’re aiming for rainbow roses.
- If using the method for more roses, tape the stems together so the flowers are more stable
- Allow the roses to sit for a minimum of 4 hours (for pastel colors or tinted petals) and several days for vibrant colors. Petals have small veins that will be dyed darker than the rest of the flower. If you want to prevent this, you can leave your rose in its dye up to two times longer than suggested above.
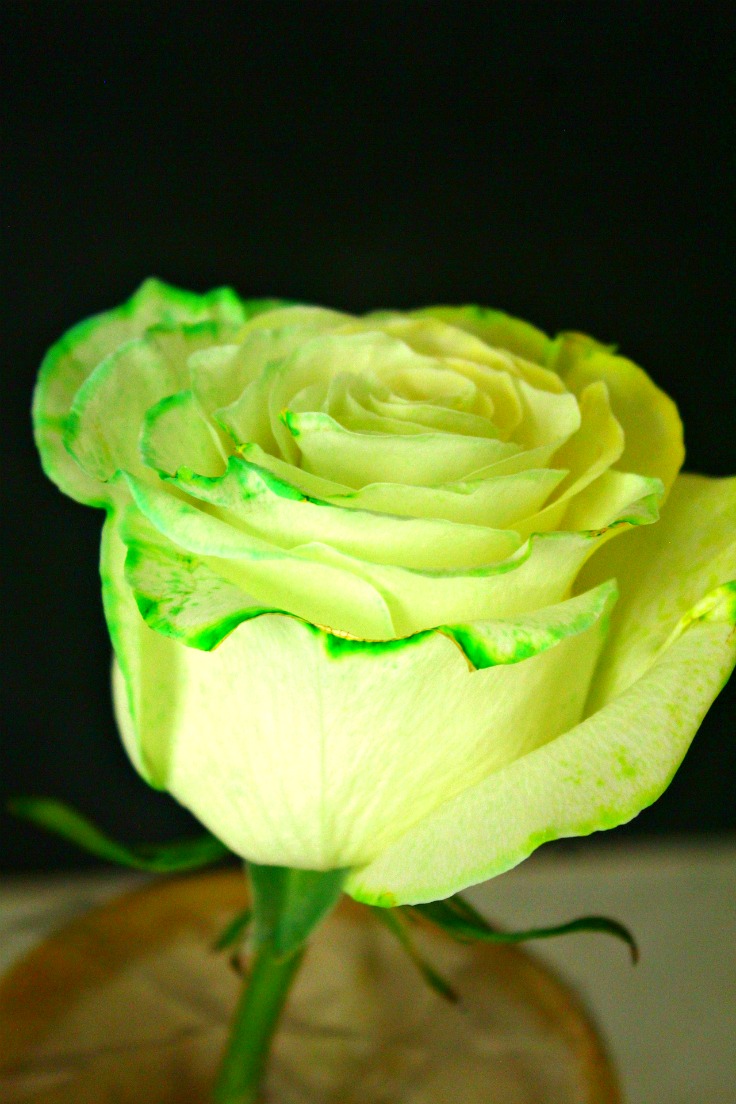
I only wanted to add a little touch of color to my roses, I was aiming for a more delicate, romantic color so I kept them in colored water for 4 hours but keep in mind for brighter colors you may need to leave them in for several days. So be patient! Also make sure the roses you use are fresh cut and I advise using white roses as they take on the dye better.
Tips
- The longer the roses sit in the dye, the more saturated the color will be.
- For deeper colors, adjust the water/food coloring ratio by using more food coloring and less water.
- Use warm water to help open up the pores of the rose petals and absorb more dye.
- Experiment with different food coloring ratios to create unique shades.
Variations
- For an added personal touch, consider blending colors to match specific themes or occasions. For example, mixing red and white food coloring can produce lovely shades of pink, perfect for Valentine’s Day or a romantic gesture. Similarly, combining blue and red can yield vibrant purples, suitable for creating a striking visual impact at parties or events. Always start with a few drops of food coloring, gradually adding more until the desired hue is achieved. Remember, the beauty of DIY projects lies in experimentation and personalization, making each creation uniquely yours.
- Instead of using food coloring, you can also experiment with natural dyes like beet juice or turmeric. These options may have different outcomes and require more time to achieve the desired color, but they add a fun twist to the traditional method.
- To create an Ombre effect, use varying concentrations of dye in different cups and dip separate sections of the rose stem into each cup. This creates a beautiful gradient effect and adds depth to the color.
Frequently asked questions
How long does it take for the roses to fully absorb the dye?
This depends on the intensity of color desired and can take anywhere from 4 hours to several days.
Can I use this method for any type of flower?
While this method works best for woody stemmed flowers like roses, you can also try it with other types of flowers. However, keep in mind that the absorption process may vary and the results may not be as vibrant.
Can I mix different colors to create a unique shade?
Absolutely! Experiment with different ratios and combinations to achieve your desired color.
Dyeing roses is a simple yet creative way to add a pop of color and personalize your surroundings. With these simple tips and variations, you can easily transform ordinary roses into stunning works of art. Not only are they perfect for home décor or gifts, but also as centerpieces at special occasions like weddings, birthdays, or anniversaries. So get creative and start dyeing your own roses today!

How to dye roses
Materials
- White roses
- Food coloring
- Water
Tools
- Razor knife
- self healing mat or thick cardboard
- water cups or glasses - Narrow and sturdy
- rubber gloves
- tape optional
Instructions
- Take your roses and pick some of the leaves off.
- Trim each stem to about 10" long. Using a razor knife cut at an angle of about 45 degrees to help absorption.
- Using the razor knife, split the stem open in 3" long sections, if you plan to get rainbow roses. For single colored ones, no need to split the stem. Split into maximum 4; too many cuts will weaken the stem. Careful not to snap the stem. If you do, just cut the stem at a 45 degree angle and dye it one color
- Pour water in your water cups then add food coloring.
- Position the cups next to each other. This will limit the amount of space you need to stretch the stems over.
- Pick up a rose and place each section of the stem into one different cup if you're aiming for rainbow roses.
- If using the method for more roses, tape the stems together so the flowers are more stable
- Allow the roses to sit for a minimum of 4 hours (for pastel colors or tinted petals) and several days for vibrant colors. Petals have small veins that will be dyed darker than the rest of the flower. If you want to prevent this, you can leave your rose in its dye up to two times longer than suggested above.
Video
More home décor ideas you will enjoy
Article may contain Amazon & affiliate links. As an Amazon Associate I earn from qualifying purchases at no additional cost to you.

How long do the real roses last after dying them? And should the dying take place in the refrigerator to keep them from dying themselves?
Hi Bonnie. I didn’t dye them in the fridge and they lasted just as long as regular roses.