

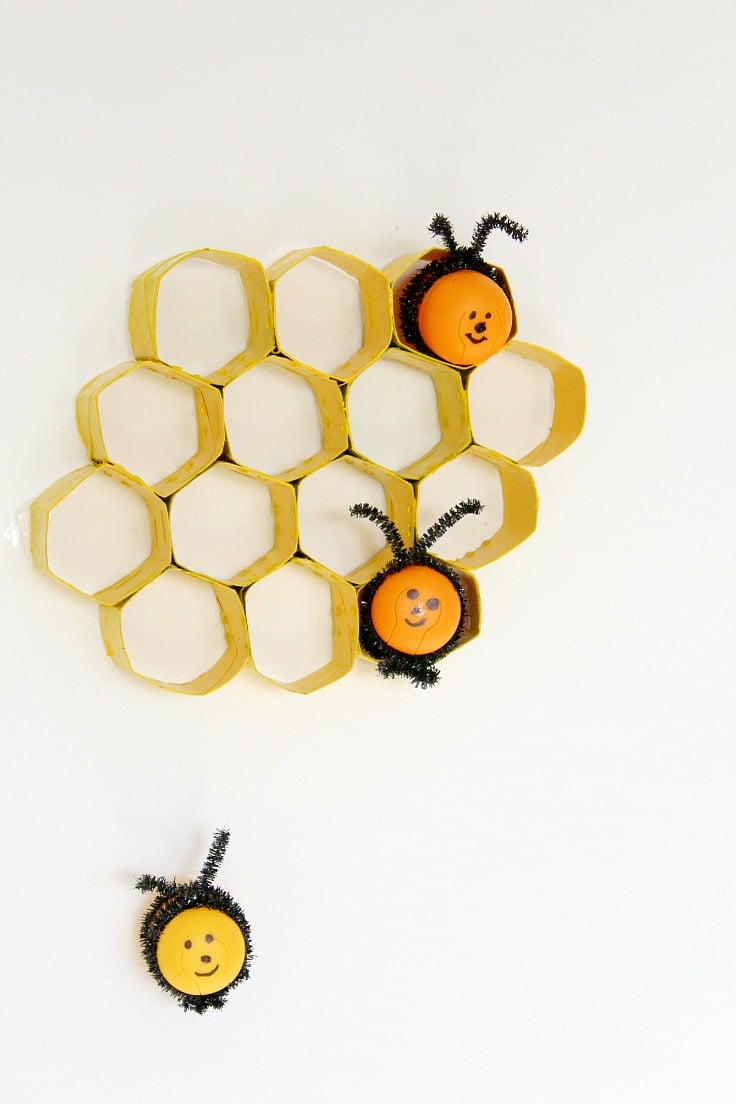
Unlocking the Buzz: Adorable Honeycomb Craft!
Looking for a fun and easy honeycomb craft to make with your kids? This easy DIY honeycomb made with paper rolls is a super cute way to add some charm to an empty wall in their bedroom!
This honeycomb craft is a creative decoration idea, perfect not only for kids’ bedrooms but also for bathrooms and even living rooms if you love handmade décor. This simple honeycomb decoration is a fantastic way to recycle empty paper rolls while having fun with your kids.
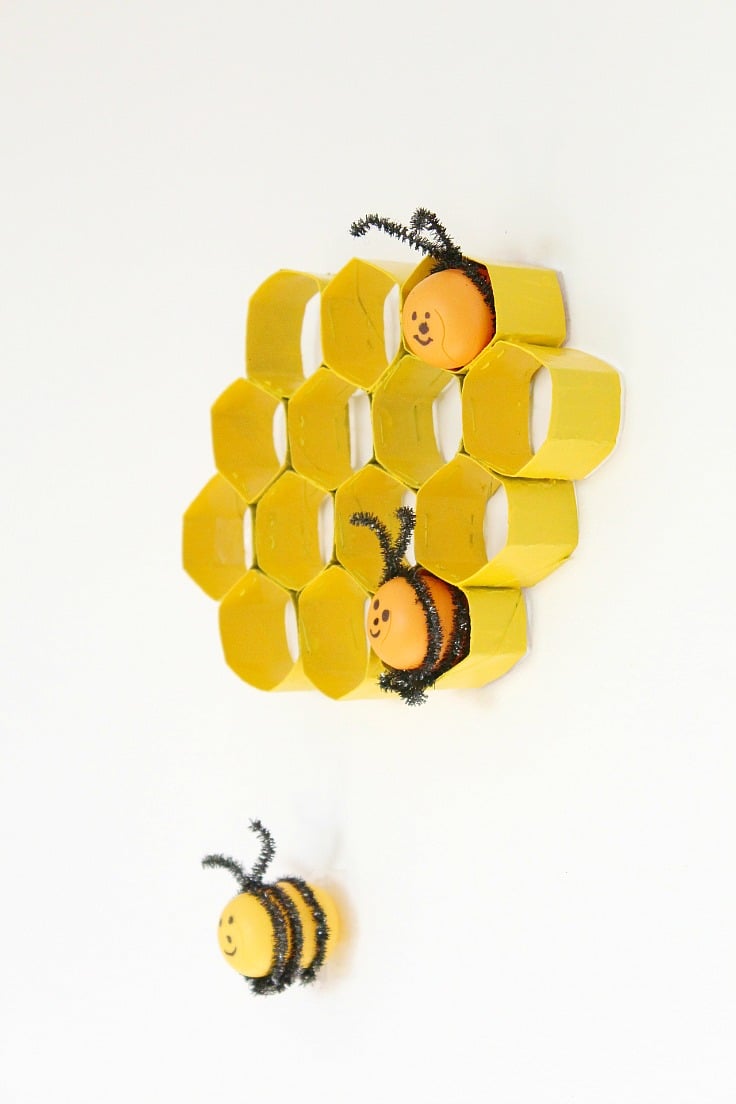
Lately, my daughter and I have been having so much fun together, finding creative ways to repurpose items we’d normally toss away. Just look at these adorable bees we crafted from empty Kinder eggs, or these playful dinosaur eggs. It’s been such a joy spending quality time together, turning simple moments into lasting memories!
How to make honeycomb craft

Materials:
- Used Toilet Paper Rolls – Don’t toss those empty toilet paper rolls! They’re the base for this project and will form the structure of your honeycomb.
- Yellow Acrylic Paint – Bring your honeycomb to life with a vibrant yellow hue. Use a high-quality paint like this one to ensure excellent coverage and a glossy finish.
- Paint Brush – A good paintbrush is essential for even application. Choose something like this brush for precise strokes and smooth results.
- Liquid Glue – To hold the honeycomb structure together, you’ll need strong, fast-drying glue. This liquid glue works perfectly for this craft.
- Staples and Stapler (Optional) – If you want to make your honeycomb extra sturdy, staples can help strengthen the structure. This step is optional, but it’s great for long-lasting crafts.
- Scotch Tape – Use tape to temporarily hold sections in place while the glue dries. It’s a handy tool to keep things aligned during the process.
Instructions to make the honeycomb craft:
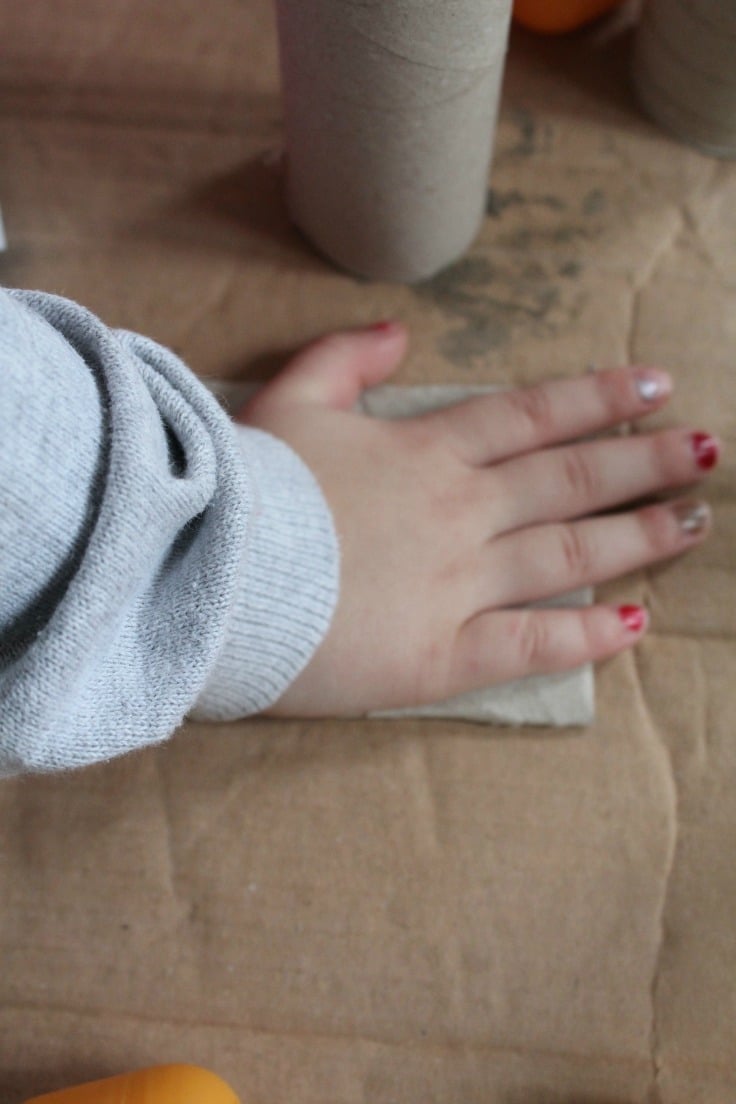
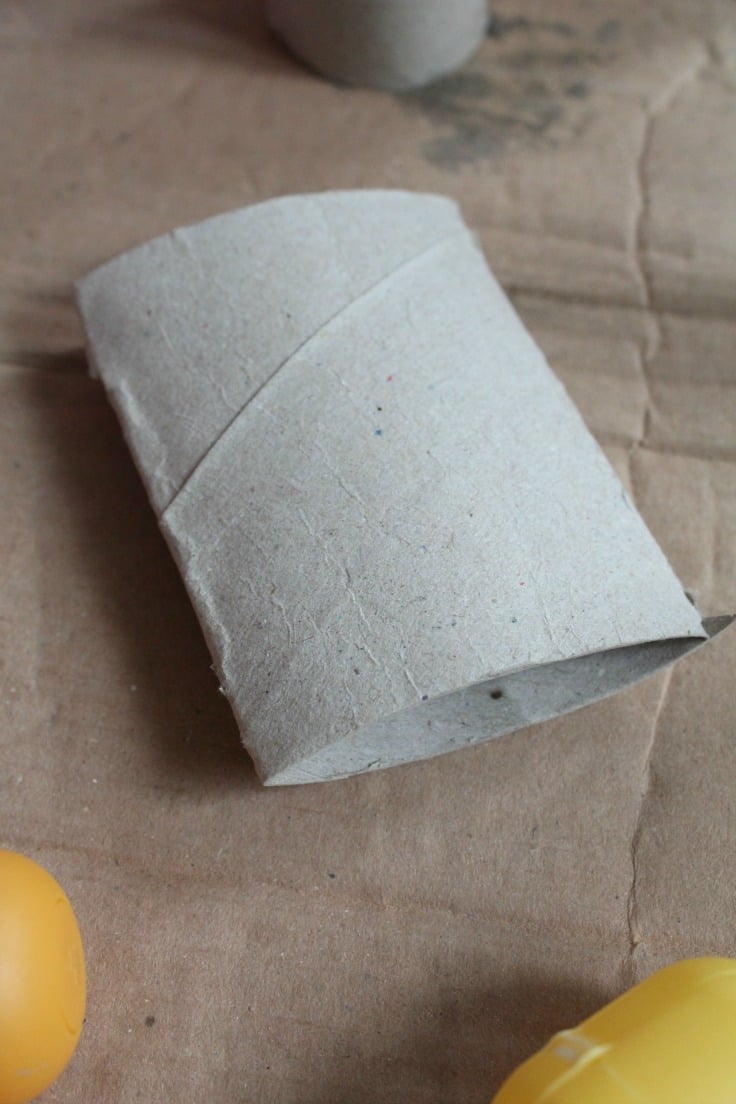
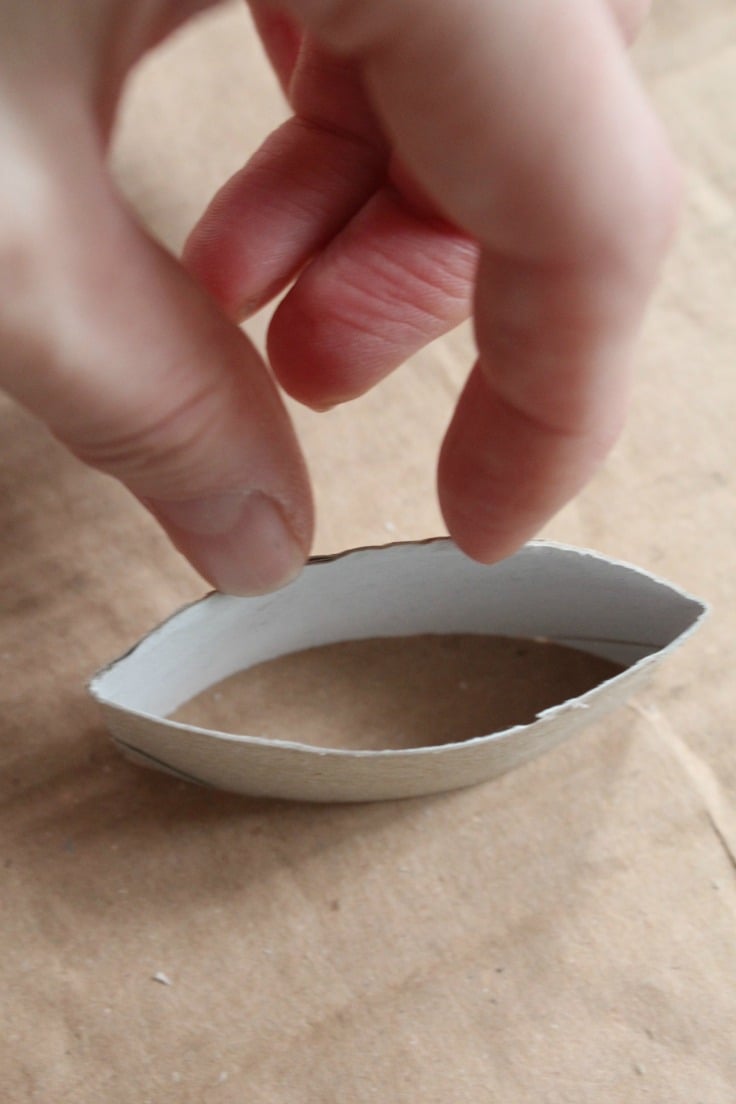
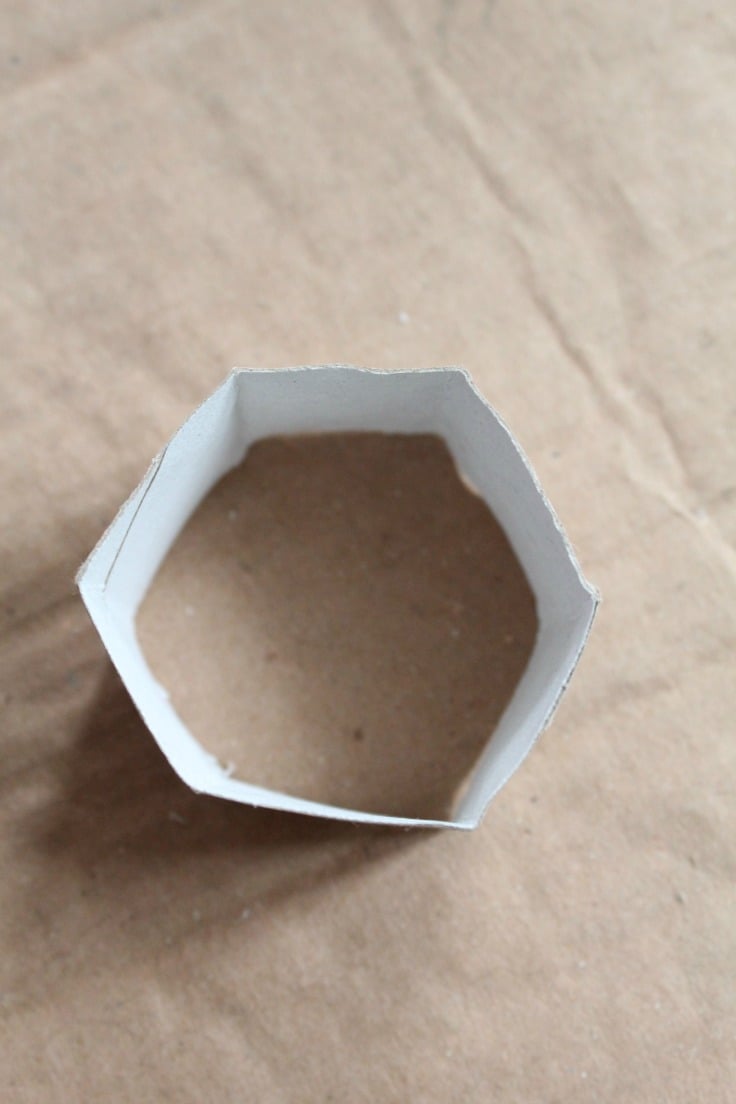
To create a honeycomb craft, start by using five toilet paper rolls, or more if you want a larger design. Flatten each roll and cut it into three sections. Then, measure each section, divide it into three equal parts, and mark the points. Press at each mark to shape the sections into hexagons.
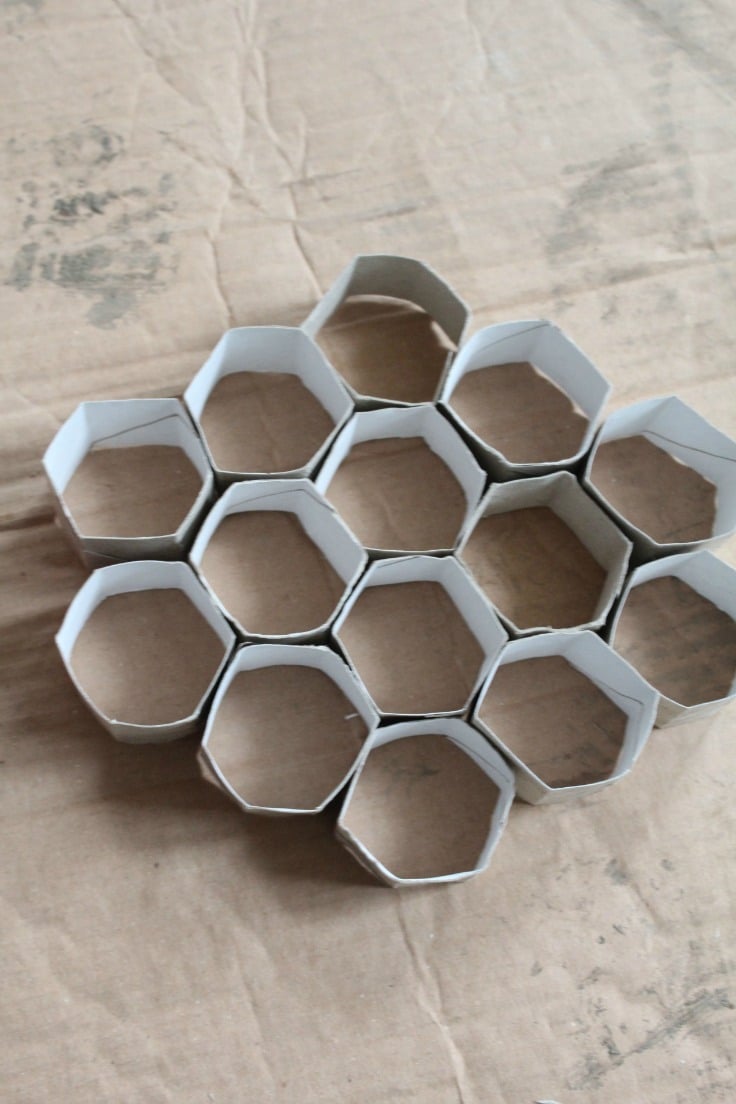
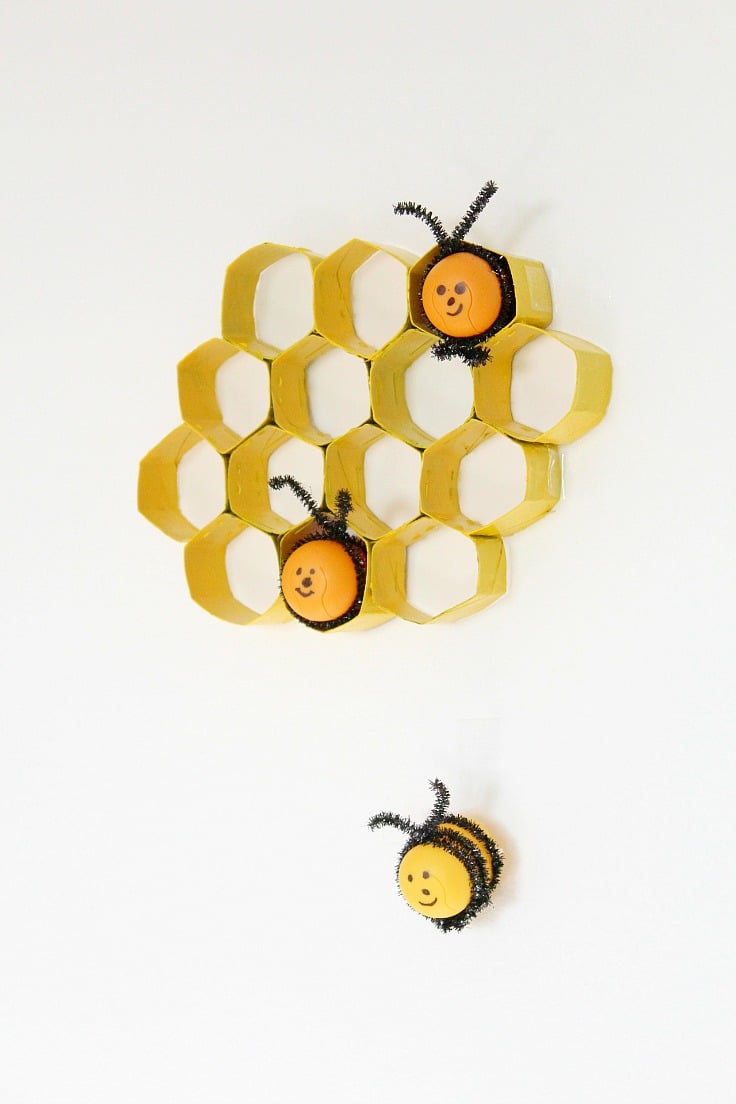
Once you have your hexagons, glue them together to form the honeycomb shape. For extra sturdiness, you can staple the hexagons together. Paint the finished honeycomb with yellow acrylic paint, applying several coats until you achieve the desired color.

Allow it to fully dry before displaying it on a wall using scotch tape.
Tips and Tricks
- Experiment with different colors for a fun twist on the classic honeycomb design.
- Add glitter or sequins to your paint for some extra sparkle.
- Use a hot glue gun for a stronger hold when assembling your honeycomb.
- Create multiple honeycombs in different sizes and hang them together for a dynamic wall display.
- Try using recycled paper or materials for an eco-friendly version of this craft.
Craft variations
- Instead of using paper, try creating a honeycomb out of fabric or felt for a different texture.
- Use metallic or patterned paper for a more luxurious look.
- Hang smaller honeycombs from a string to create a unique garland.
- Add LED lights inside the honeycomb for a glowing effect.
More creative idea you will enjoy:
Frequently asked questions
Do I need any special tools or equipment for this craft?
No, all you need is paper, scissors, and glue.
How long does it take to complete this craft?
It depends on the size and number of honeycombs you want to make. On average, it takes about 1 hour to make one honeycomb.
What if I have leftover paper scraps after making the honeycombs?
You can save them for future crafts or use them to create smaller honeycombs for decorations. You can also recycle the paper scraps if you don’t have any use for them.
Storing the honeycomb craft
To store the honeycombs, carefully wrap them in tissue paper or bubble wrap for protection and place them stacked in a box. Make sure to keep them in a cool, dry place to avoid any damage.
The honeycomb craft is a fun and creative DIY project that can be enjoyed by craft enthusiasts of all skill levels. Not only is it a budget-friendly option, but it also promotes sustainable and eco-friendly practices. So why not give this craft a try and see where your creativity takes you? Happy crafting!
Honeycomb craft with paper rolls
Materials
- Used Toilet Paper Rolls
- Yellow Acrylic Paint
- Liquid Glue
- Scotch Tape
Tools
- Paint brush
- Staples and Stapler
Instructions
- To create a honeycomb craft, start by using five toilet paper rolls, or more if you want a larger design. Flatten each roll

- Then cut it into three sections.

- Then, measure each section, divide it into three equal parts, and mark the points.
- Press at each mark to shape the sections into hexagons.
- Once you have your hexagons, glue them together to form the honeycomb shape. For extra sturdiness, you can staple the hexagons together.
- Paint the finished honeycomb with yellow acrylic paint, applying several coats until you achieve the desired color. Allow it to fully dry before displaying it on a wall using scotch tape.
Article may contain Amazon & affiliate links. As an Amazon Associate I earn from qualifying purchases at no additional cost to you.

Hi, I love the bee and honeycomb craft projects, however, I can not find or see how the yellow container is part of the Kinder Egg Shells. The link took me to a site where I could purchase the item but the exterior is egg shaped and it shows the inside as being filled with pudding and chocolate or something to dip the contents out of the container. I could not find the round container you showed in the instructions.Can you help me find the correct container? I do not have children or grandchildren to get the item for and as a diabetic would be a waste to buy one only to find out I have the wrong item.
Hi Peggy. I’m happy you liked my idea and decided to give it a try. Unfortunately those kind of eggs are no banned in US, they come in a different design and don’t include the shell. I was able to locate some shells in Amazon UK here https://amzn.to/3bAAHOK
This is so cute. What did you use for the bees?
Oh I see they are probably Kinder Surprise eggs, I can’t get those in the US. But I think yellow yarn pom-poms would also work :)
Yes, unfortunately they are banned in the US now.