Fun Straw Frame Decorating Idea
Learn how to decorate and personalize your own photo frame with this super easy straw frame craft! Incredibly fun and great activity to complete with the kiddos!
How To Decorate A Photo Frame
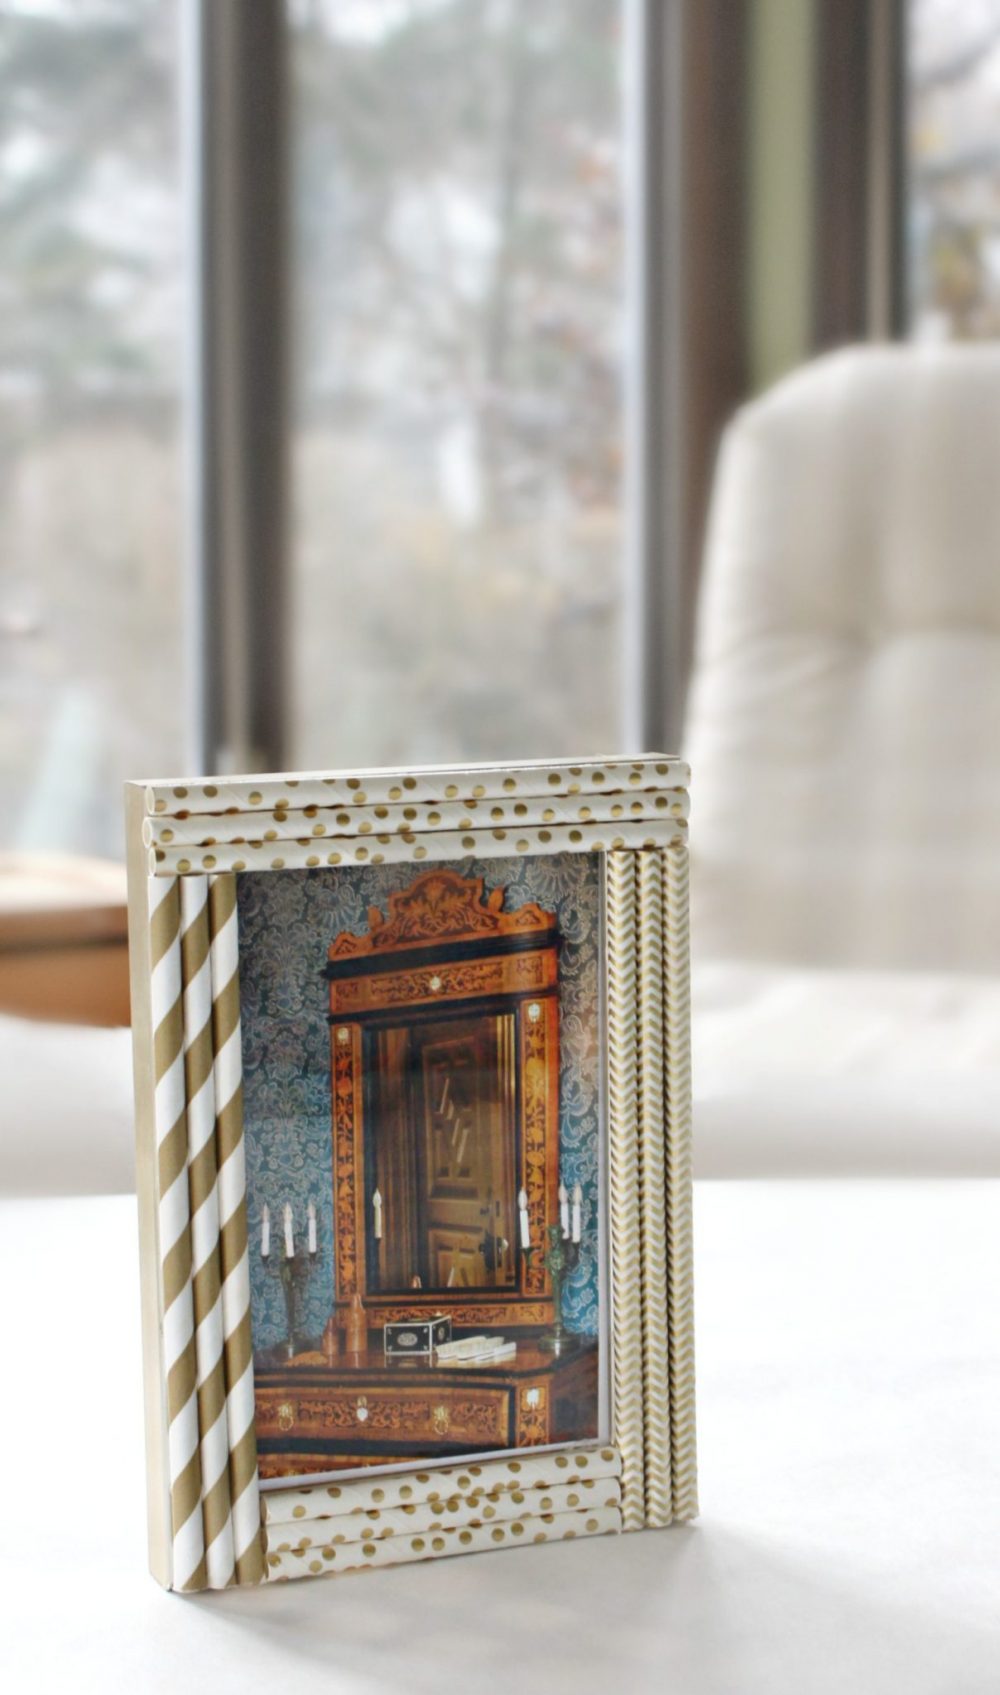
Do you have an ugly frame just laying around somewhere in the house? You can easily bring it back to life with this simple but adorable straw frame project!
Personally I’m not a big fan of the generic store bought frames. I like to add a little touch of my own personality to my home decor, photo frames included. I even go as far as making my own photo frame. Don’t believe me? Check this out! You’ll love it! You’ll definitely want to make your own frame too!
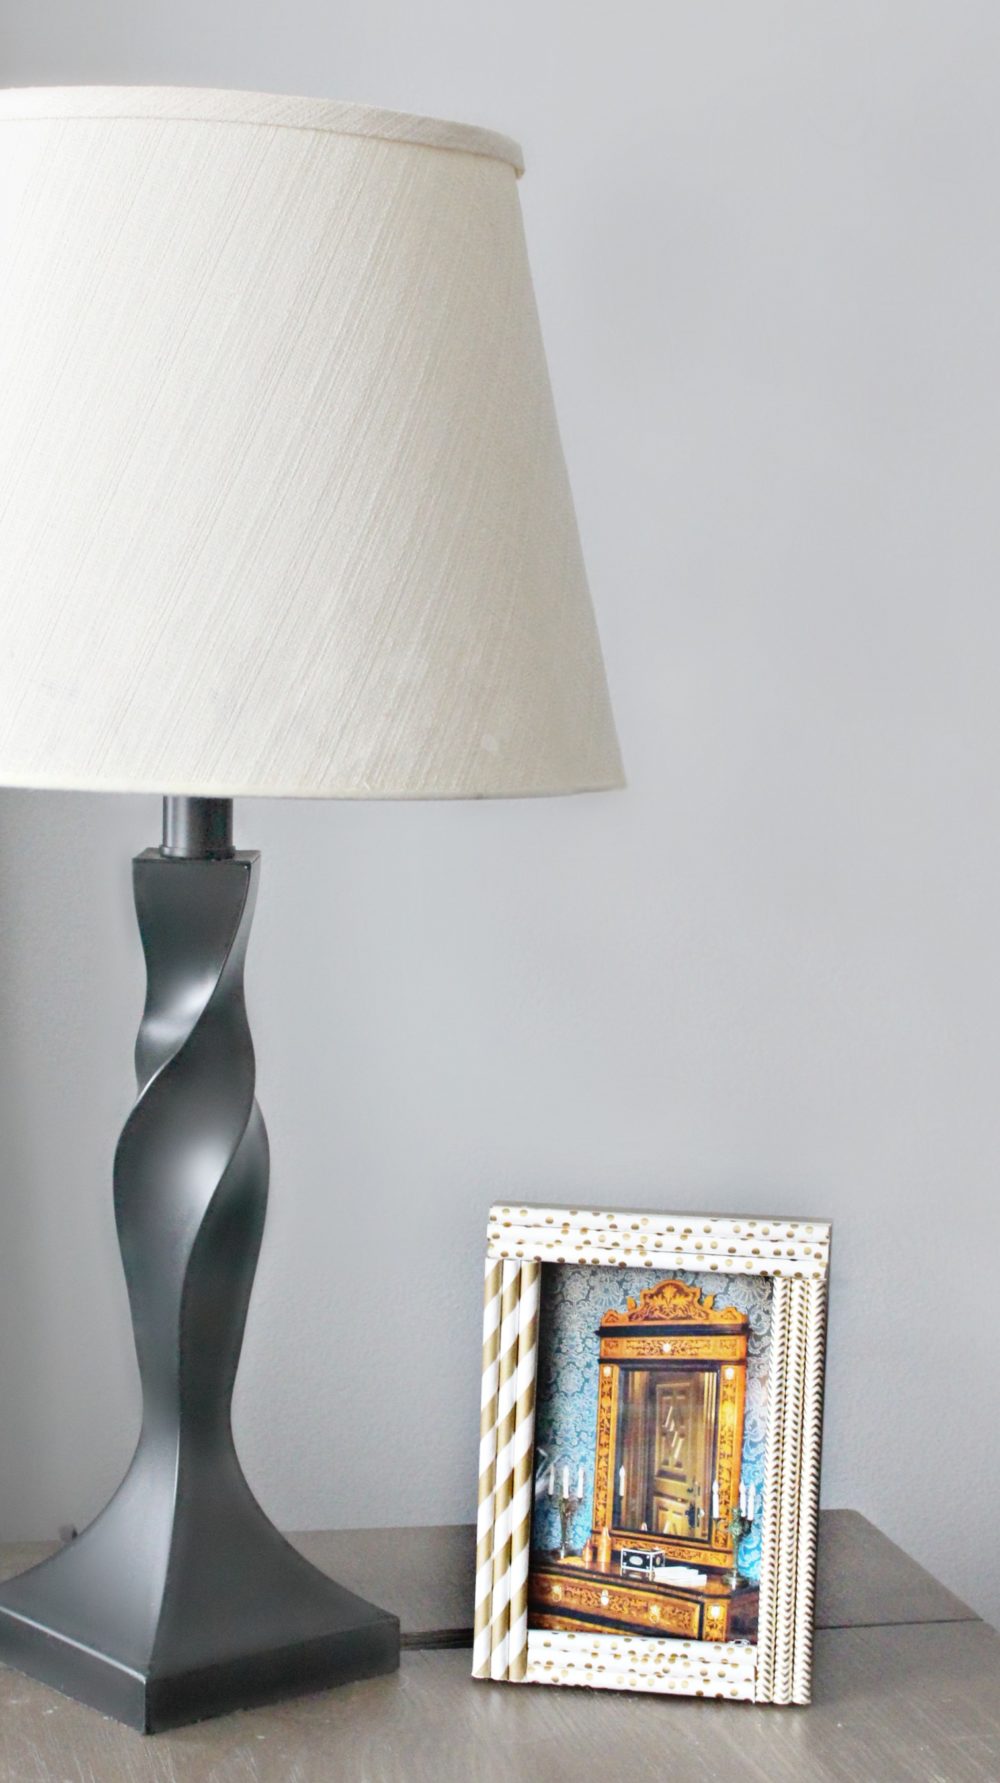
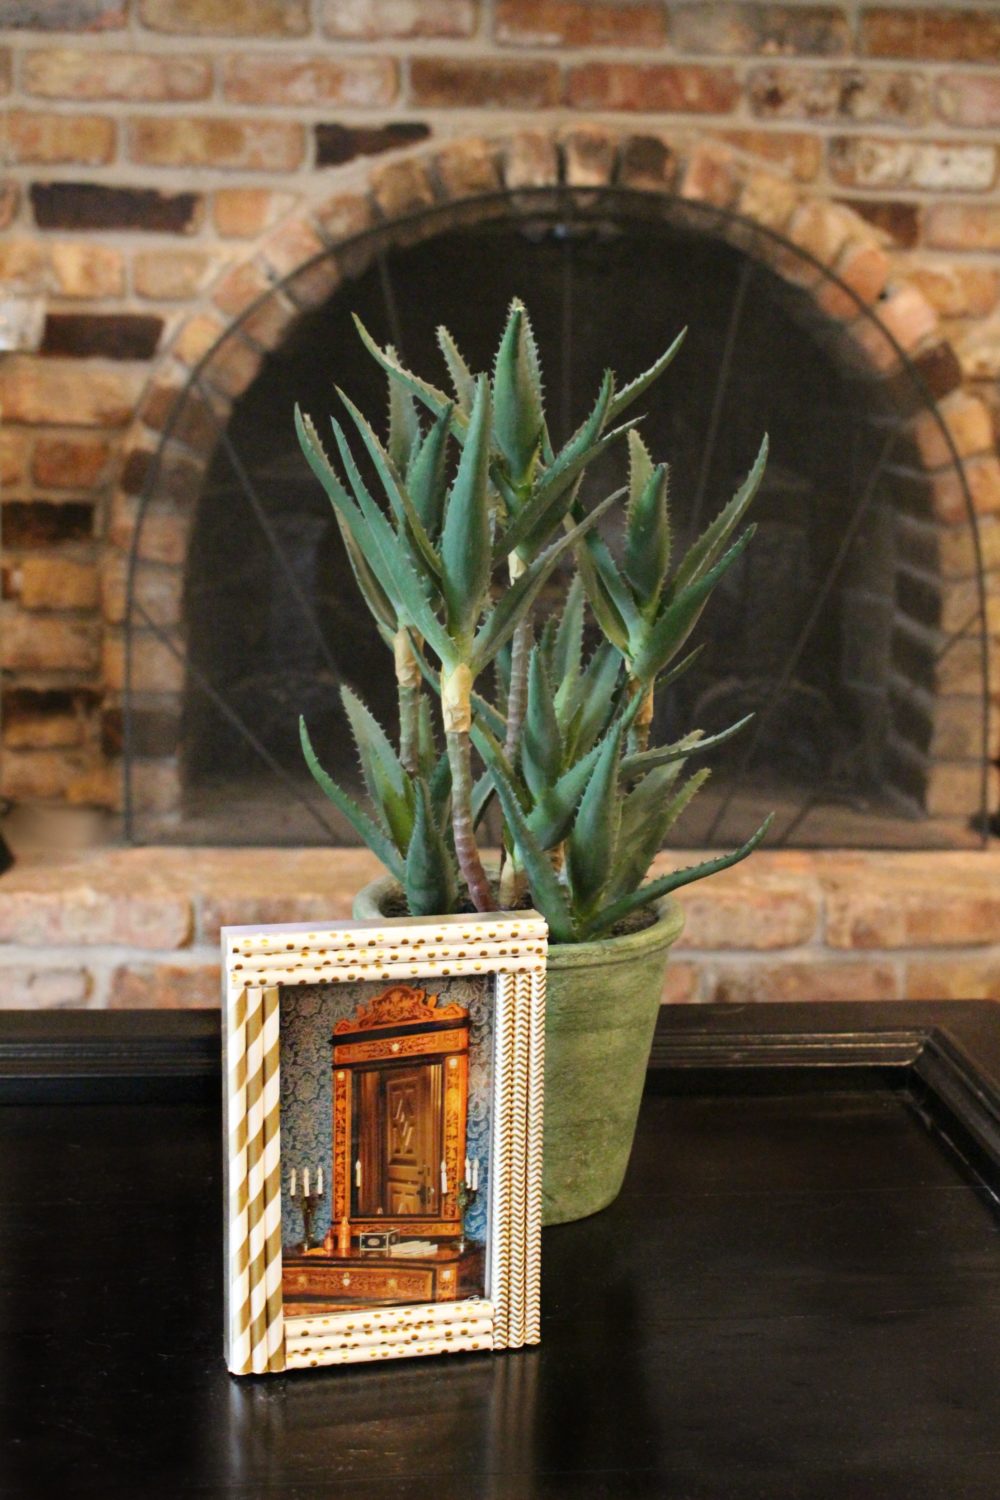
This straw frame project is super quick, super affordable, insanely easy and great craft for entertaining the kids too! A lovely opportunity to help them express their creativity! This easy photo frame will bring new life to any boring photo frame and will look amazing in any home decor, because you get to make it just the way you want/need/love it!
Straw Frame
Materials:
- A frame that has the measurements of 3 ½” x 5 ½” for the photo and a ¾ inch frame around the outside. The frame should be flat. (I used one from the dollar store!)
- Gold and white patterned straws (polka dots, zig zags and wide stripes.) – or any pattern & color you love
- Glue gun
- Scissors
Directions:
- Remove the cardboard, paper and glass from the frame and set everything but the frame aside.
- Use the glue gun to apply 3 polka dot straws to the top of the frame. The left ends of the straw should line up with the left top edge of the frame.
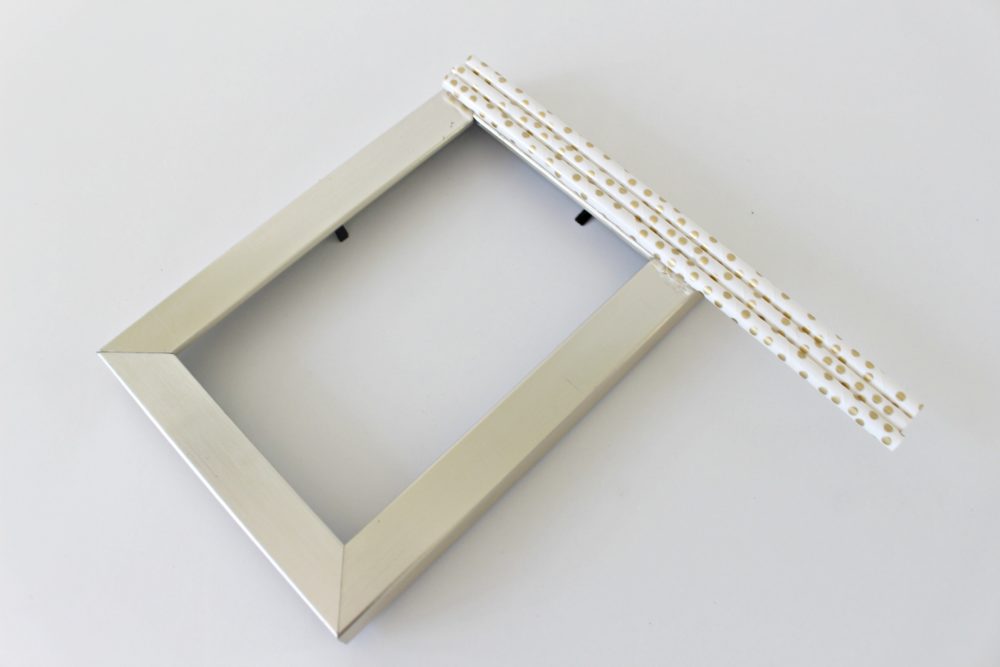
- Use the scissors to cut the straws even with the right side of the frame. (5” long) Save the extra pieces of straw to use in step 6.
- Line up the zig zag straws on the right side of the frame under the polka dot straws. Secure these into place with the glue gun.
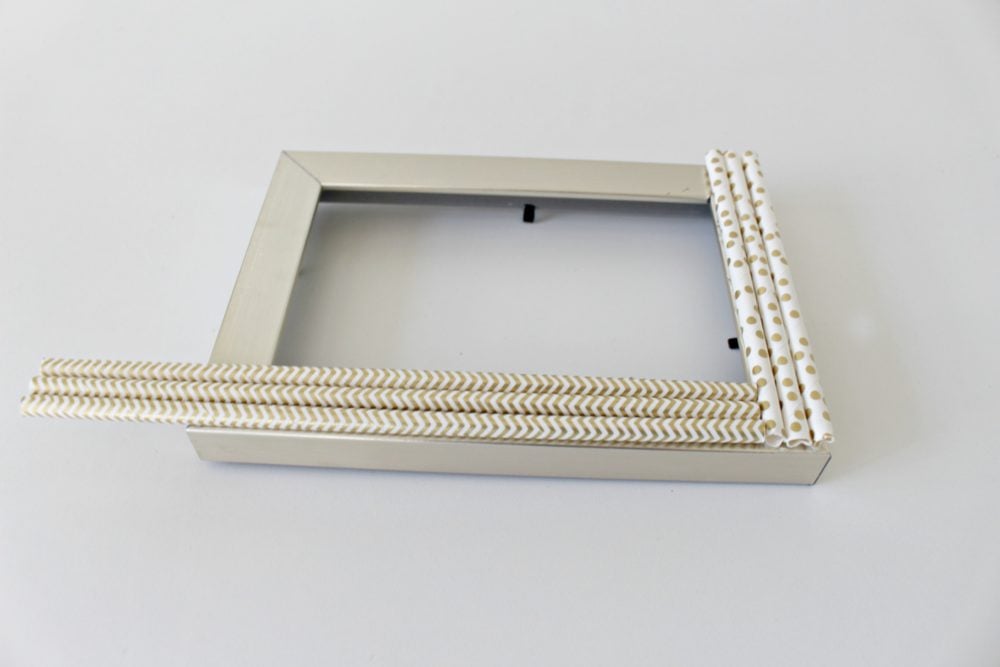
- Use the scissors to snip the zig zag straws in line with the bottom, right side. (6 inches long)
- Glue the wide striped straws to the left side of the frame and snip to fit the frame.
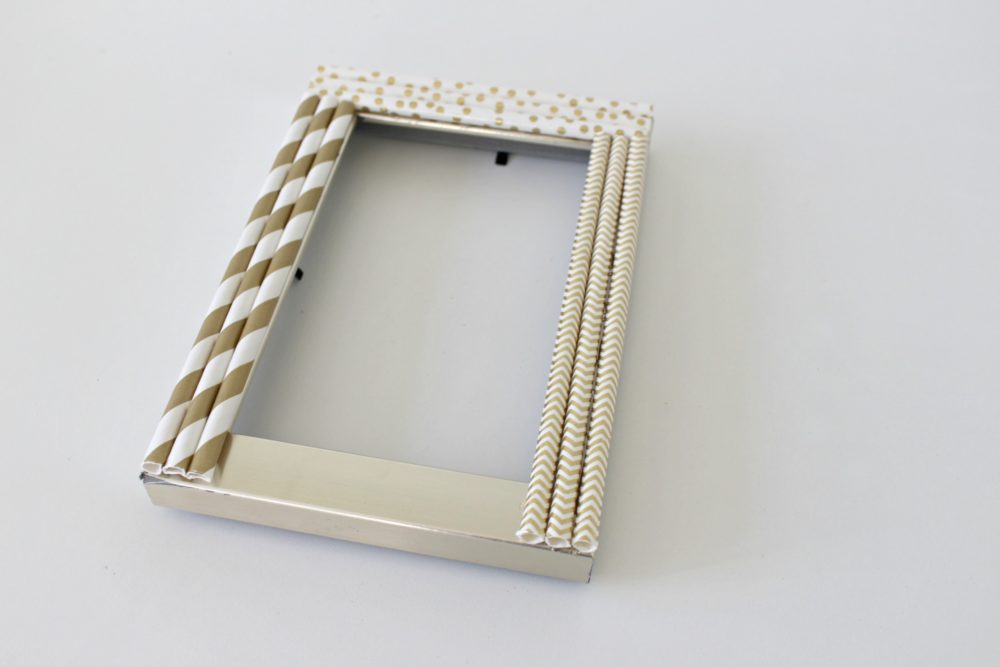
- Take the polka dot straw pieces and cut them to be 3 ½” long. Glue them to the bottom of the frame.
- Add the glass, your photo and the cardboard backing.
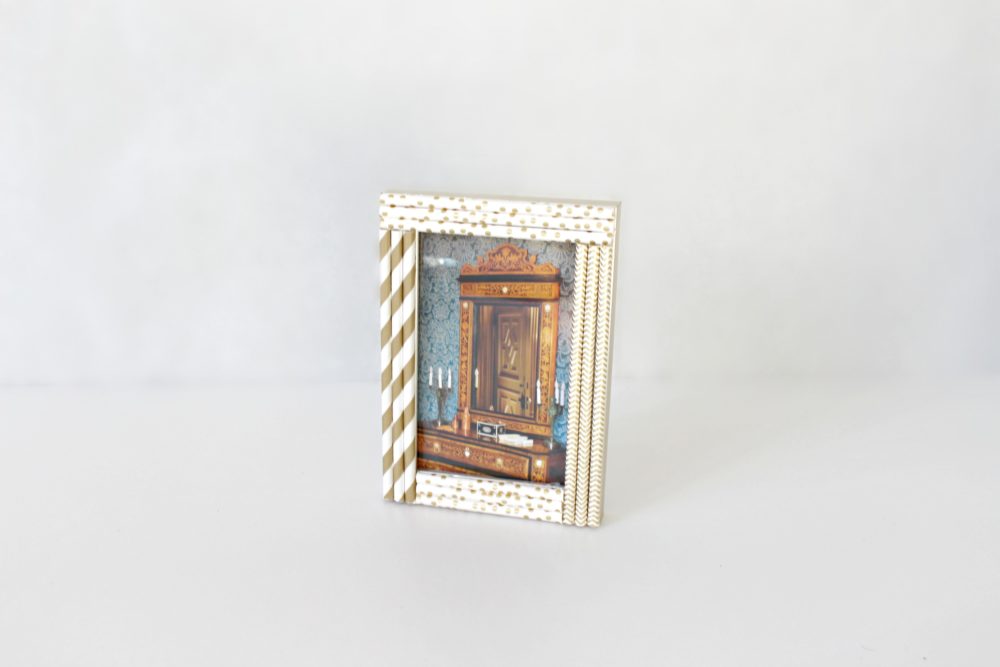
- Enjoy your straw frame!


Most popular craft
Article may contain Amazon & affiliate links. As an Amazon Associate I earn from qualifying purchases at no additional cost to you.


ABOUT PETRO
Hi, I’m Petro, author and founder of Easy Peasy Creative Ideas. Sewist, crafter, avid DIY-er, foodie, photographer, homemaker and mommy to one. I’m an expert at coming up with quick, clever sewing tips, recycling crafts and simple, easy recipes! You can find my ideas featured in reputable publications such as Country Living, Good House Keeping, Yahoo News, WikiHow, Shutterfly, Parade, Brit & Co and more. Thanks for stopping by and hope you’ll stay for a while, get to know me better and come back another time. Stick around for real fun projects! Read more…