Chocolate Tiramisu Cake Recipe
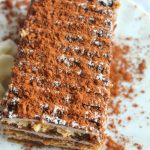
Looking for a cake that is easy to make and ideal for celebrations? Try this scrumptious Chocolate Tiramisu Cake!
Chocolate Tiramisu Cake
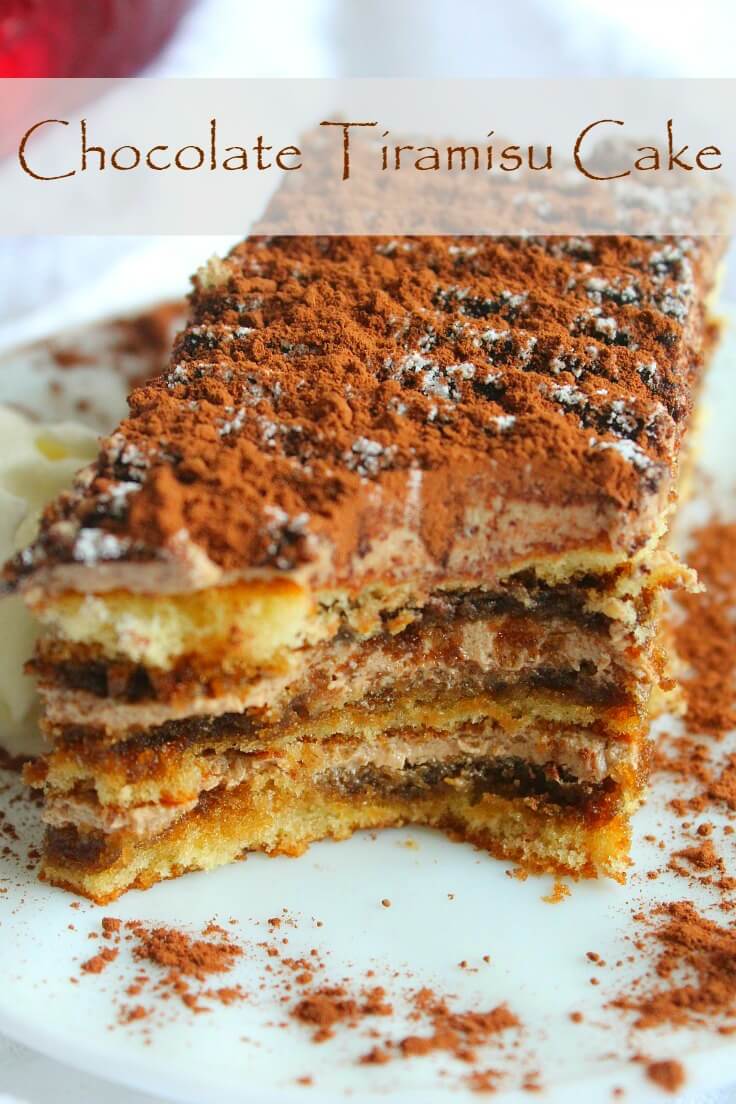
This delicious chocolate tiramisu cake is a twist on the classic and well known Italian tiramisu, more flavorful, creamy, rich and with a thicker texture thanks to the chocolate addition. And who doesn’t love chocolate?
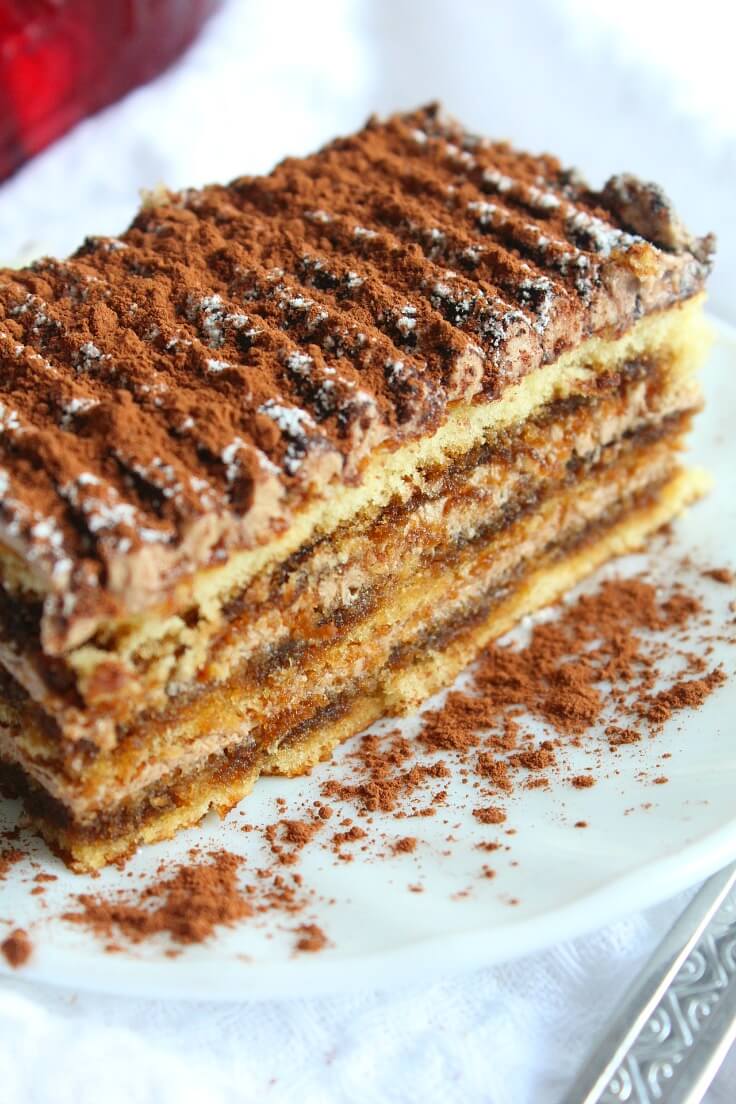
The chocolate tiramisu cake is not only simple to make but is impressive looking too, making it perfect for special celebrations such as Christmas, weddings or birthdays! This version is made with a sponge cake base instead of the classic lady fingers which makes it easier and quicker to put the cake together (I don’t know about you but I have a hard time keeping those lady fingers together, nice and tight).
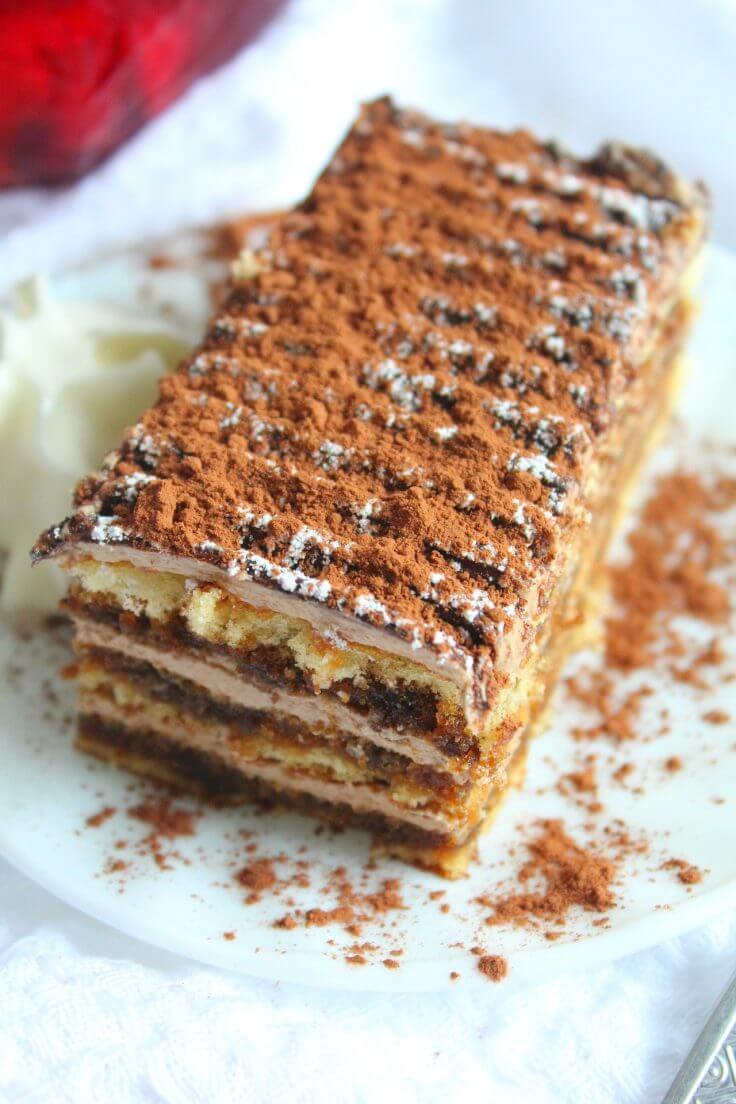
This chocolate tiramisu cake looks so elegant and can be decorated and adapted in all kinds of ways but I think this version is the best you can get, the perfect blend of chocolate, mascarpone cheese and coffee. An ideal indulgence for all chocolate and coffee lovers!
Chocolate Tiramisu Cake Recipe
Ingredients:
For the sponge cake:
- softened butter, for greasing
- 4 large eggs
- 3½ oz = 100 g sugar
- 3½ oz = 100 g self-raising flour
- 1 tbsp instant coffee granules
- 5½ oz = 150 ml boiling water
- 3½ oz = 100 ml brandy (optional; use 3 tsp rum extract for a non alcoholic version)
For the filling:
- 6 egg yolks
- 7 tbsp icing sugar plus additionl 3 for the whipped cream
- 1 cup heavy whipping cream
- 7 oz = 500 g mascarpone cheese
- 1 tsp cocoa
- 2 oz = 50 g melted chocolate
For decoration:
- cocoa powder
You will also need:
[amazon-related-products keywords=”product suggestions keywords”]
Directions:
- Preheat oven to 350 F = 180 C.
- Grease a Swiss roll pan with butter and line with baking paper.
- For the sponge, place the eggs and sugar in a large bowl and, using an electric hand-held mixer, mix together for about five minutes, or until the mixture is white and thick.
- Sift over the flour and fold in gently using a spatula, taking care not to over mix.
- Pour the mixture into the prepared pan and level the surface.
- Bake for 20 minutes, or until golden-brown and springy to the touch.
- Cool in pan for five minutes then turn out onto a wire rack and leave to cool completely.
- When the sponge is cold, carefully slice the cake in half horizontally, so you have two thin sponges of equal depth, then cut each of the sponges in half so you’ll have 4 layers of sponge (one of mine broke and I only got to use 3)
- Dissolve the coffee in the boiling water and add the brandy or the rum extract for a non alcoholic version. Set aside to cool.
- Make the whipped cream. Using a hand mixer on high speed, mix heavy cream with 3 tbsp icing sugar until stiff peaks form. Do not over beat.
- Mix the other egg yolks with 7 tbsp icing sugar, using a hand mixer. You should get a creamy, white mixture.
- Add mascarpone cheese, bit by bit, util fully incorporated.
- Add 1 tsp cocoa powder and melted chocolate and incorporate using a hand mixer on medium speed.
- Fold in whipped cream, a little at a time, using a spatula.
- Keep the filling in the fridge if not using immediately.
- Line the cake pan again with baking paper, leaving some excess on the sides for lifting the cake later.
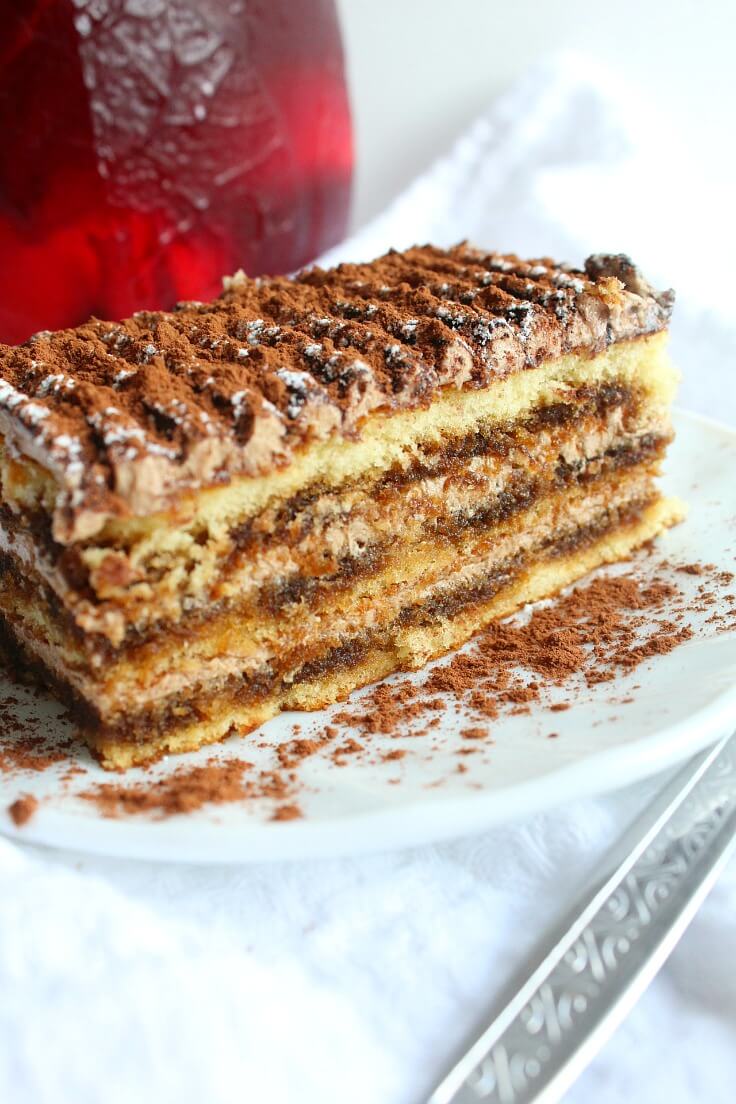
- Place one layer of the sponge cake in the cake pan. Spoon over some of the coffee mixture then spread one quarter of the mascarpone frosting over the soaked sponge.
- Repeat for the other layers.
- Chill in the fridge for 1-2 hours then dust with cocoa powder.
Chocolate Tiramisu Cake Recipe
Ingredients
For the sponge cake:
- softened butter for greasing
- 4 large eggs
- 3½ oz = 100 g sugar
- 3½ oz = 100 g self-raising flour
- 1 tbsp instant coffee granules
- 5½ oz = 150 ml boiling water
- 3½ oz = 100 ml brandy optional; use 3 tsp rum extract for a non alcoholic version
For the filling:
- 6 egg yolks
- 7 tbsp icing sugar plus additionl 3 for the whipped cream
- 1 cup heavy whipping cream
- 7 oz = 500 g mascarpone cheese
- 1 tsp cocoa
- 2 oz = 50 g melted chocolate
For decoration:
- cocoa powder
You will also need:
- 14 "x10" = 35x25 cm Swiss roll pan
- large mixing bowl
- electric hand mixer
- spatula
- baking paper
Instructions
- Preheat oven to 350 F = 180 C.
- Grease a Swiss roll pan with butter and line with baking paper.
- For the sponge, place the eggs and sugar in a large bowl and, using an electric hand-held mixer, mix together for about five minutes, or until the mixture is white and thick.
- Sift over the flour and fold in gently using a spatula, taking care not to over mix.
- Pour the mixture into the prepared pan and level the surface.
- Bake for 20 minutes, or until golden-brown and springy to the touch.
- Cool in pan for five minutes then turn out onto a wire rack and leave to cool completely.
- When the sponge is cold, carefully slice the cake in half horizontally, so you have two thin sponges of equal depth, then cut each of the sponges in half so you'll have 4 layers of sponge (one of mine broke and I only got to use 3)
- Dissolve the coffee in the boiling water and add the brandy or the rum extract for a non alcoholic version. Set aside to cool.
- Make the whipped cream. Using a hand mixer on high speed, mix heavy cream with 3 tbsp icing sugar until stiff peaks form. Do not over beat.
- Mix the other egg yolks with 7 tbsp icing sugar, using a hand mixer. You should get a creamy, white mixture.
- Add mascarpone cheese, bit by bit, util fully incorporated.
- Add 1 tsp cocoa powder and melted chocolate and incorporate using a hand mixer on medium speed.
- Fold in whipped cream, a little at a time, using a spatula.
- Keep the filling in the fridge if not using immediately.
- Line the cake pan again with baking paper, leaving some excess on the sides for lifting the cake later.
- Place one layer of the sponge cake in the cake pan. Spoon over some of the coffee mixture then spread one quarter of the mascarpone frosting over the soaked sponge.
- Repeat for the other layers.
- Chill in the fridge for 1-2 hours then dust with cocoa powder.
Strawberry Swiss roll
Pumpkin cake with lemon cheese frosting
No bake peach cheesecake
Article may contain Amazon & affiliate links. As an Amazon Associate I earn from qualifying purchases at no additional cost to you.





Why don’t you guy put the Recipe in U.S measurements instead using ML measurements?
This looks delicious, but I wish the measurements were in standard cups, teaspoons, tablespoons, etc. It would be much easier than having to convert the measurements in the recipe. If you don’t do it correctly, it’s not going to turn out right. Is there any way you could post the recipe with standard measurements? It would be much easier. Thank you.
Sorry, in my previous question it should have stated “does it EASILY come off the parchment paper to be transferred to a cake platter?
Thanks, Pam S
Pam, you will serve individual portions on a cake pan & those are easy to transfer using a cake spatula. If you want the entire cake on a cake stand you need to make it smaller so you can safely transfer it from the pan to the cake stand once set, by pulling the baking paper.
So, as I understand it, the cake is finished off on the original sheet pan on top of baking paper… Is this parchment paper? Then, if you want to serve it on a nice cake plate, does it usually come off the parchment paper to be transferred? Thank you, Pam S
This site will not let me print this Chocolate Tiramisu recipe, which is irritating!!
Hi Marian. Thanks for your interest in my recipe. Not sure what went wrong for you but if you go to the recipe card and press the Print button you should have no issues. I just tried it now and it works fine.
I had no problem printing this recipe. I only have issues with the site I am getting it from. Not able to use the 2 sided option or else it will lock me out.
Hi Donna. Thanks for rating this recipe! Not sure what you mean by using the 2 sided option though.
I want the recipe
It’s in the article above, Carolyn.