Bee Craft With Kinder Eggs & Chenille Pipes
Looking for a fun way to decorate your kids’ bedroom? Teach young children to make adorable DIY bees with this bee craft using old Kinder egg shells!
DIY Bees
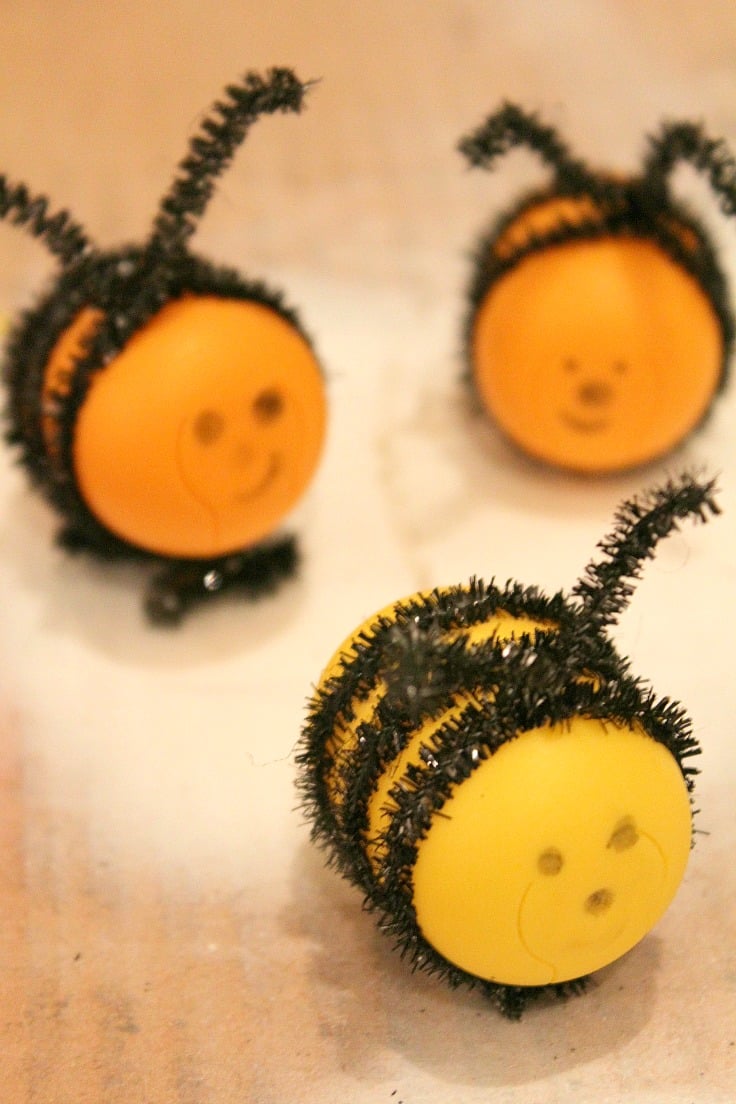
I am so excited to share this bee craft with you! I just needed a fun way to spend some quality time with my daughter and I thought it’s going to be a blah! project not worth sharing here. But then when I saw these cute little bees I thought this would make a great bee craft for kids that shouldn’t stop here! So we made a honeycomb too, which you can find here now. This cute honey bee craft needed a cute home and so we provided! Together they look absolutely adorable, on our white walls! The room is suddenly happier, cute and such an inviting place!
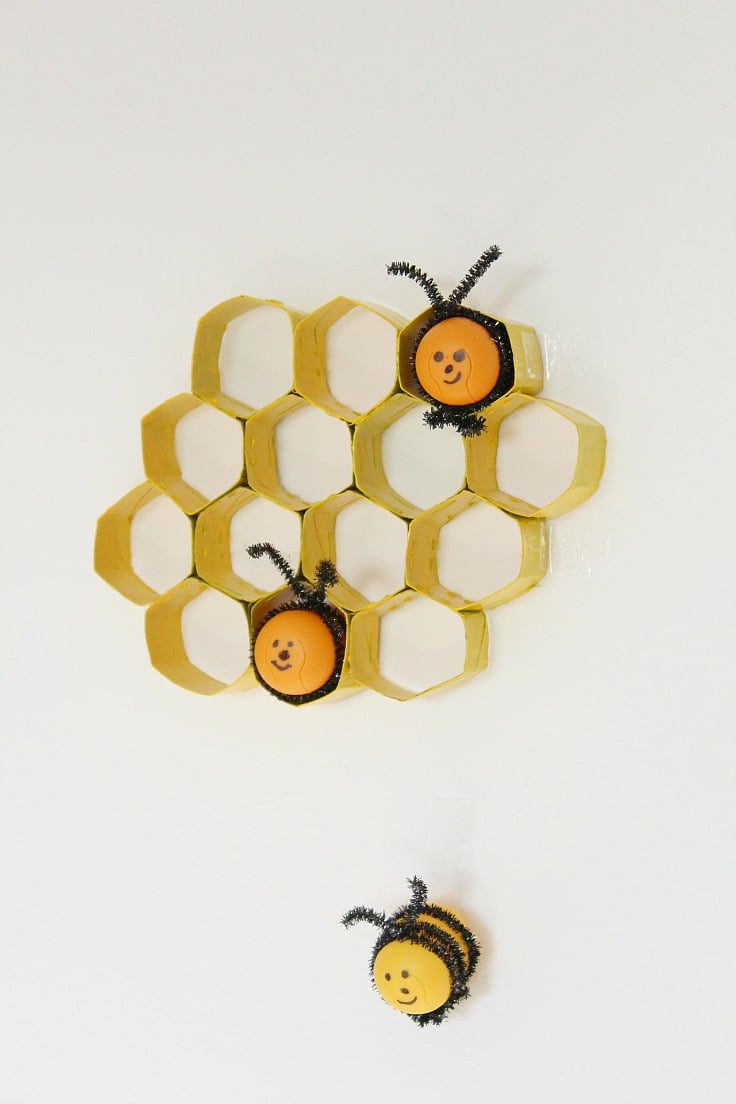
This bee craft is such a great way to use up Kinder eggs that you have no use for once the chocolate is gone (if you live outside US, as they’ve been discontinued). A great recycled project, using simple supplies that you most likely have around the house! Also a cute way to add more interest and a fun touch to a kids room.
We’ve made this on a rainy day so the photos are a bit dark and blury, apologies for that. But guys, the fun we had!! Amazing! Wanna see how to make a bee in just a few minutes? Here’s the tutorial.
Bee Craft

Materials:
- Kinder eggs shells
- Black chenille stems (I used silver and painted them black)
- Glue
- Black marker
- Cutting pliers
Directions:
- Decide where you want the first black ring to fall on the bee’s body. Trace some glue and wrap the chenille around the body (a glue gun would work better but I did this with my daughter and didn’t want any hot glue around her). Leave a small area loose on the bottom so you can form the legs then twist the ends together on the top.
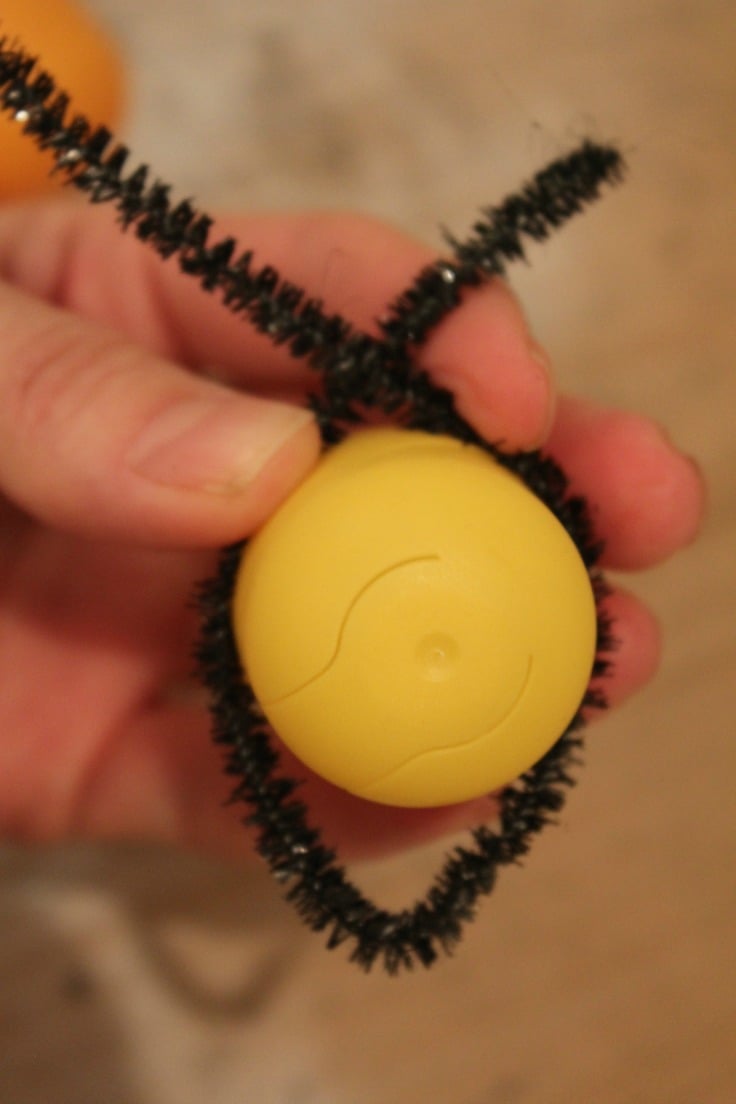
- Make a loop at the bottom.
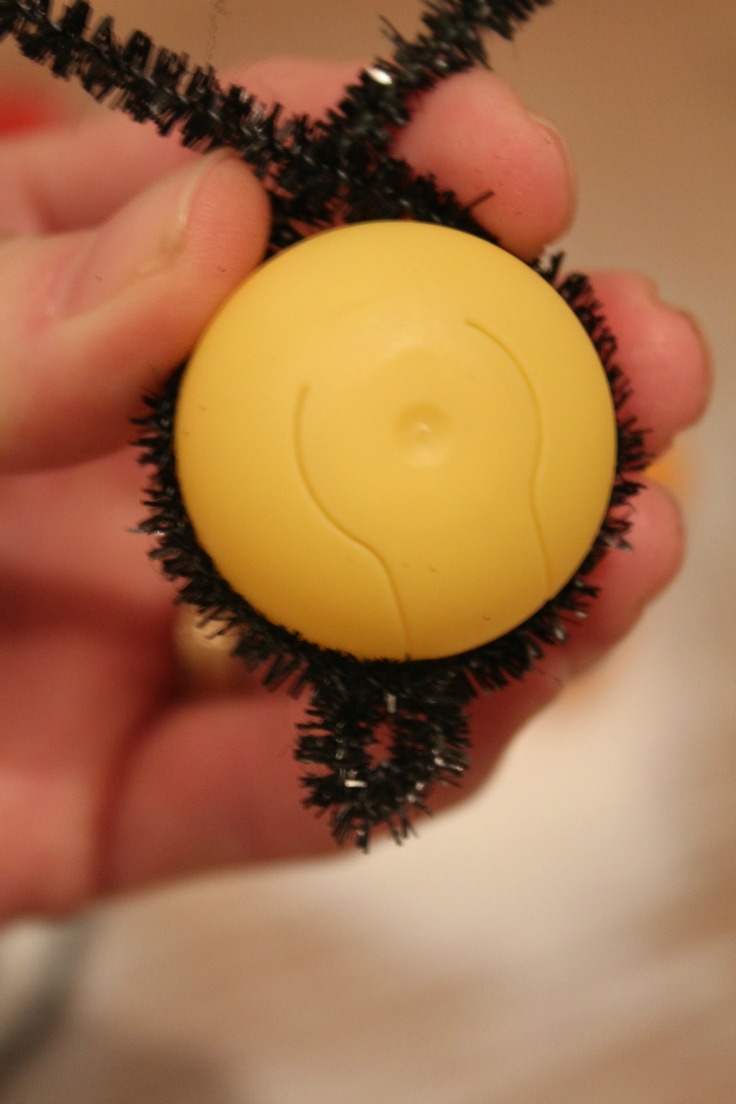
- Split and press the loop in the middle with a thin object (I used a knife so be careful if using that tool too) to separate the loop in half and form the legs.
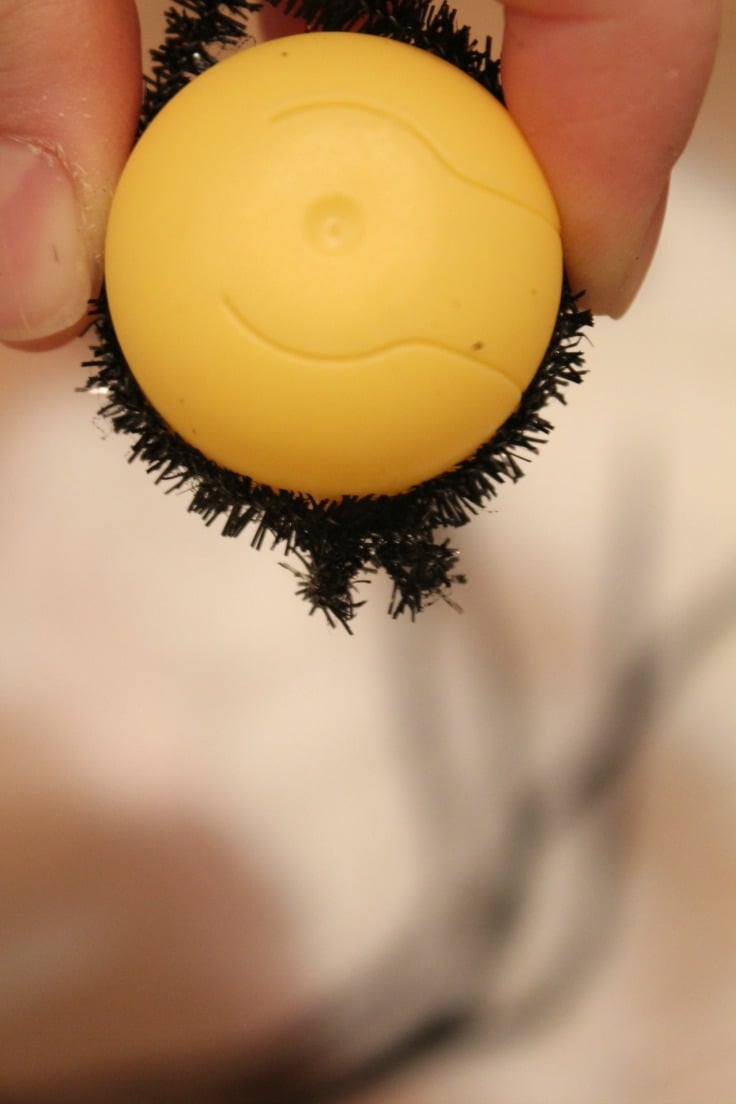
- Cut the extra chenille stems and slightly bend the antennae at the top.
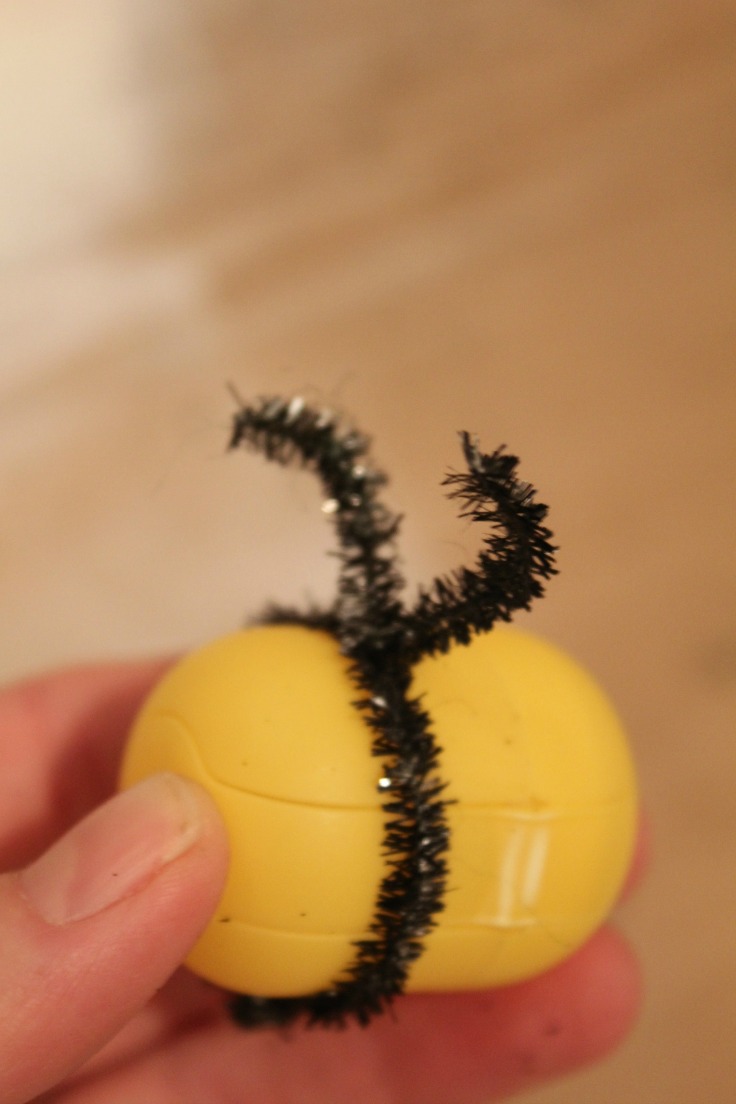
- Repeat the steps for the other rings (I made 3) skipping the antennae part.
- Draw eyes, nose and mouth on your bee, using a permanent marker.
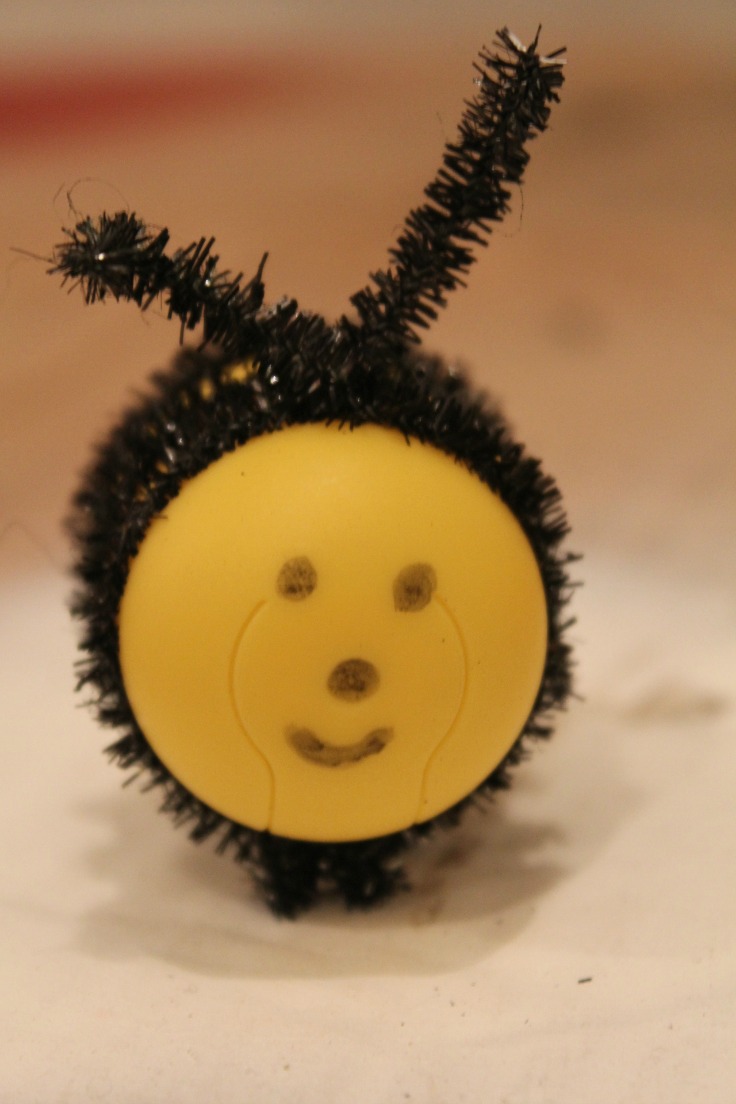
- And you’re done! Now time to make that cute honeycomb above!
Need more crafts for kids? Check these out!
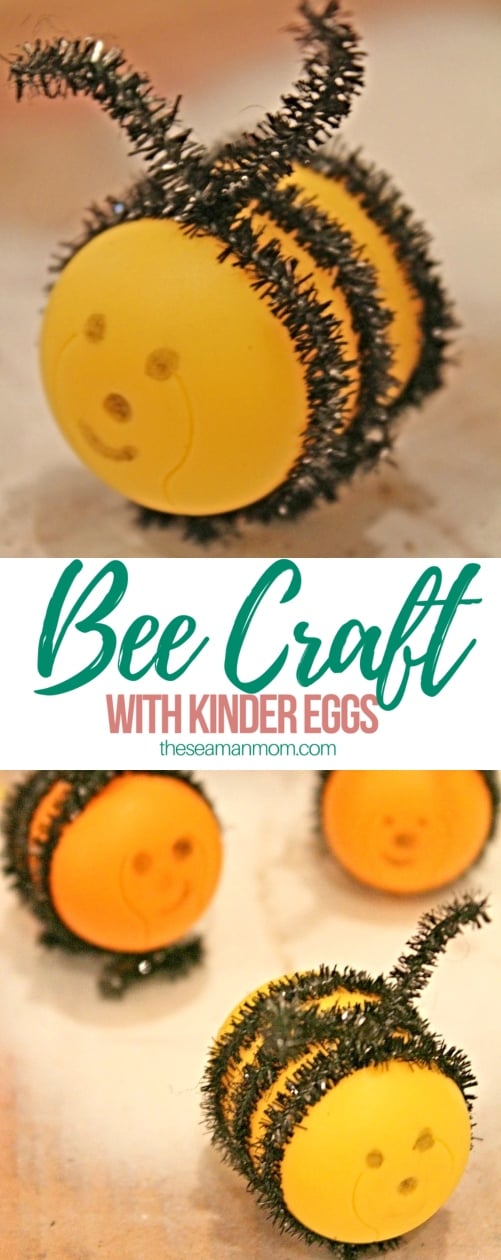
Pin to save for later
GET MORE INSPIRATION HERE >> FOLLOW ME ON PINTEREST
Similar posts you might like
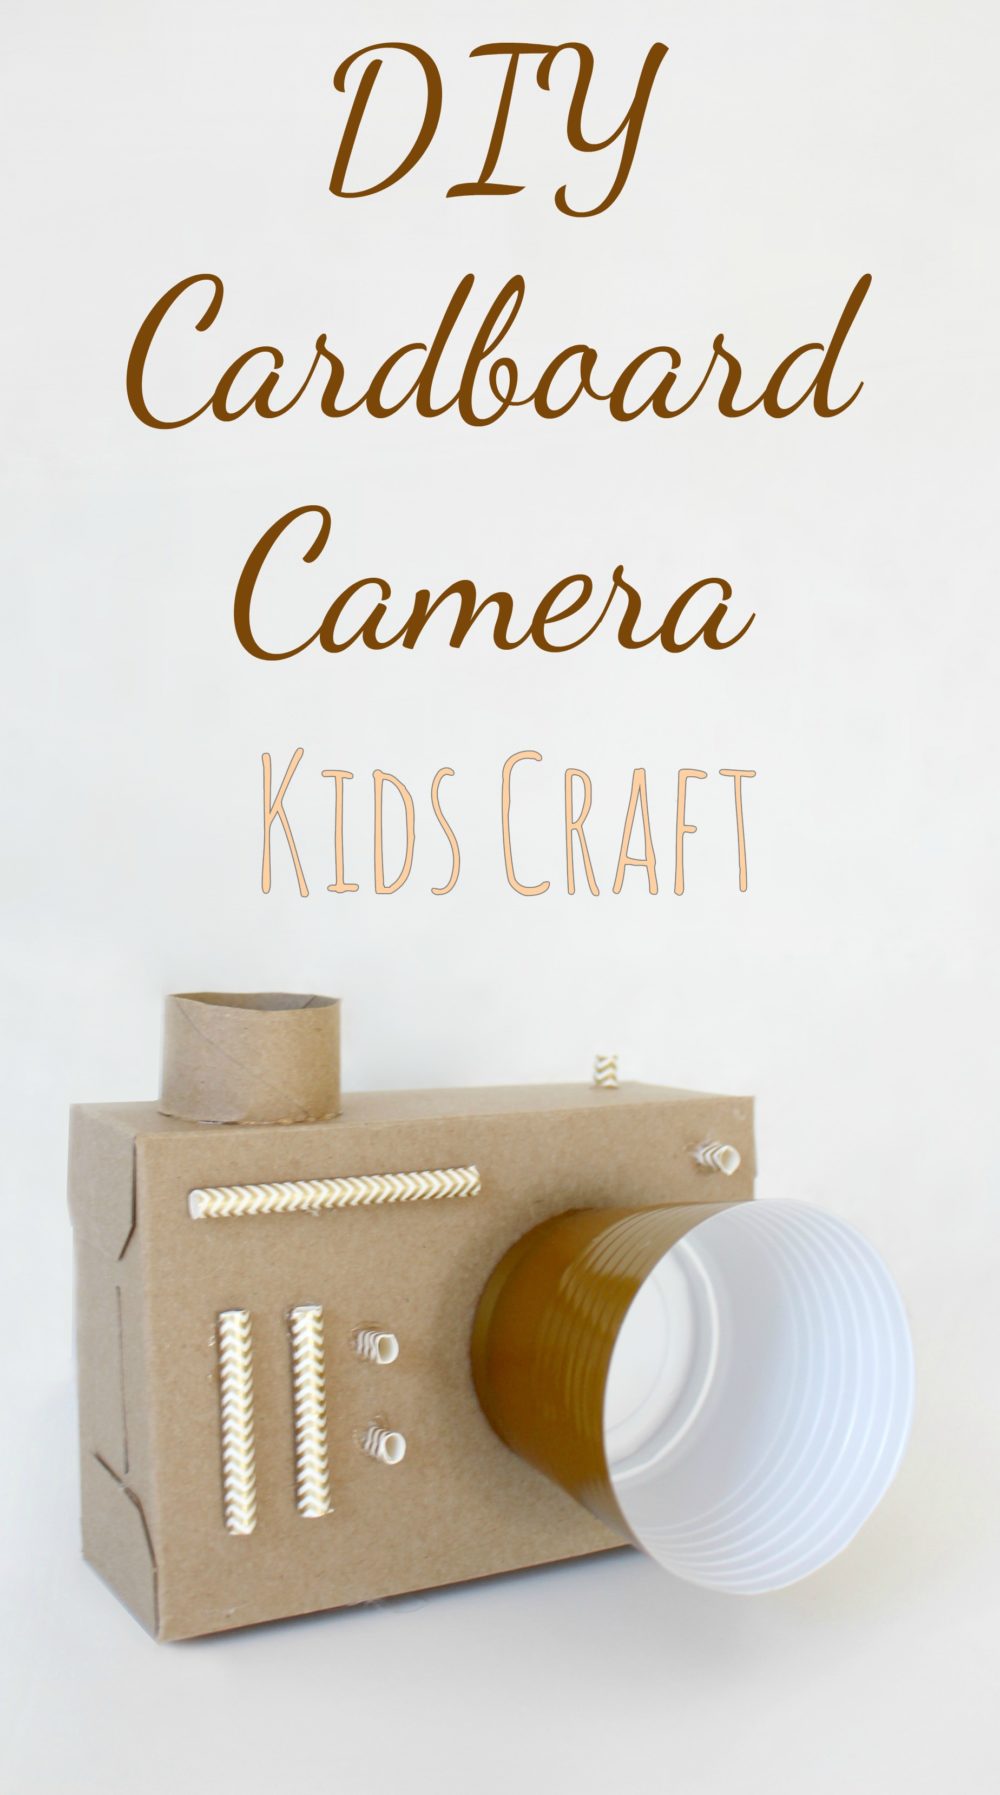
Upcycled camera craft for kids
Most popular craft
Article may contain Amazon & affiliate links. As an Amazon Associate I earn from qualifying purchases at no additional cost to you.


ABOUT PETRO
Hi, I’m Petro, author and founder of Easy Peasy Creative Ideas. Sewist, crafter, avid DIY-er, foodie, photographer, homemaker and mommy to one. I’m an expert at coming up with quick, clever sewing tips, recycling crafts and simple, easy recipes! You can find my ideas featured in reputable publications such as Country Living, Good House Keeping, Yahoo News, WikiHow, Shutterfly, Parade, Brit & Co and more. Thanks for stopping by and hope you’ll stay for a while, get to know me better and come back another time. Stick around for real fun projects! Read more…