DIY herb pot from recycled tin can
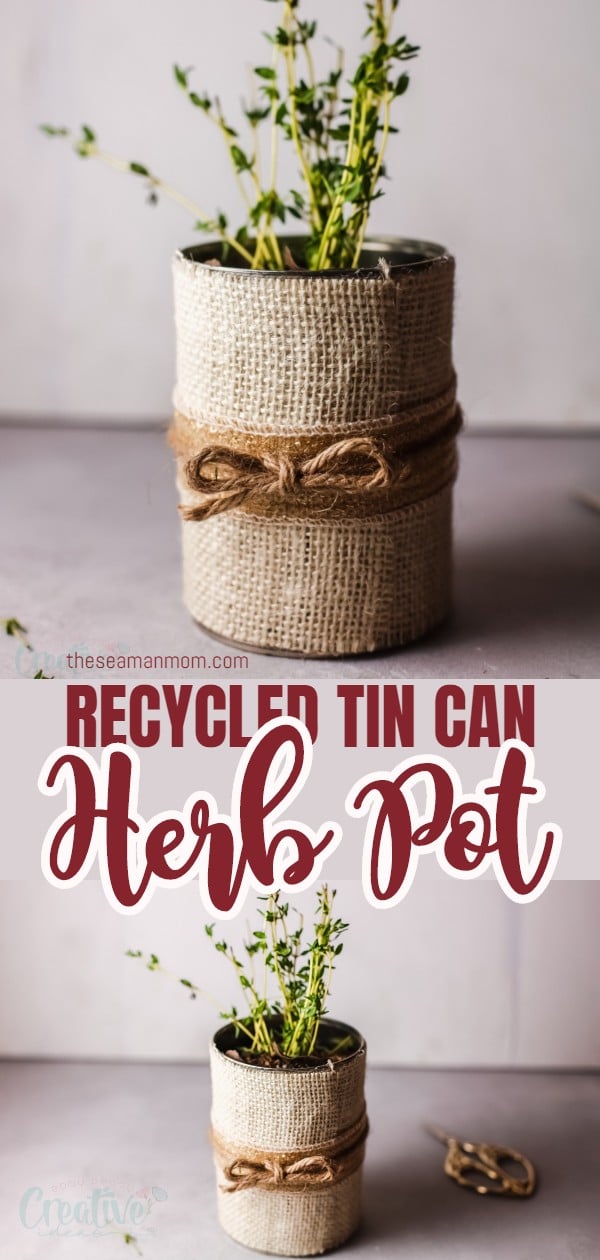
This DIY herb pot is a thrifty and eco-friendly way to make planters! You only need a can, some burlap, ribbon and glue to create a beautiful and rustic planter in no time. Give your plants a little new home this season with a simple, recycled herb container!
DIY herb pot
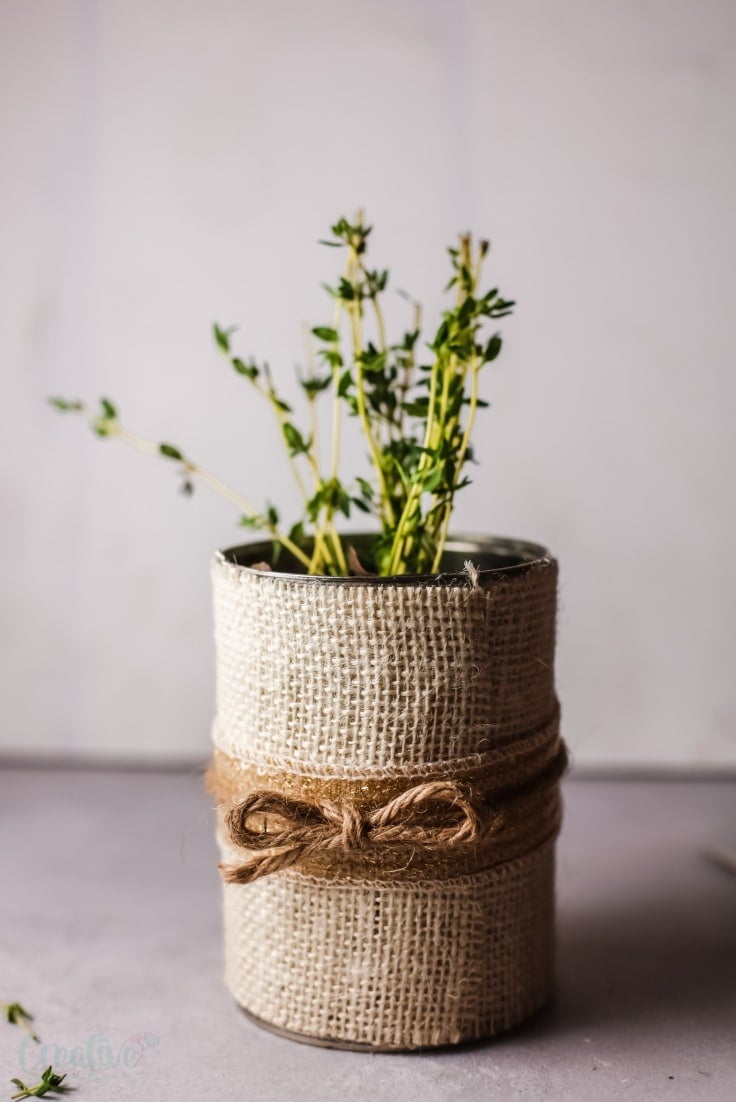
Cultivating your own herbs in a cute DIY herb pot is a super easy way to add more flavor and color to your meals! Indoor herb pots also look beautiful sitting in your kitchen windowsill and make beautiful centerpieces for parties.
This DIY herb planter is a beautiful way to house all those herbs while giving your home a rustic, farmhouse vibe while giving a second life to something that would be considered trash. I mean, this is pretty much a win-win situation we have here!
Similar ideas you will love:
- Hanging plastic bottle planter
- Tin can flower pots
- DIY flower pot with pom poms
- Rustic twig flower pot
- Aged terracotta pots
- Peat planters flower pots
- DIY vintage galvanized bucket
- Recycled flower vase from plastic bottle
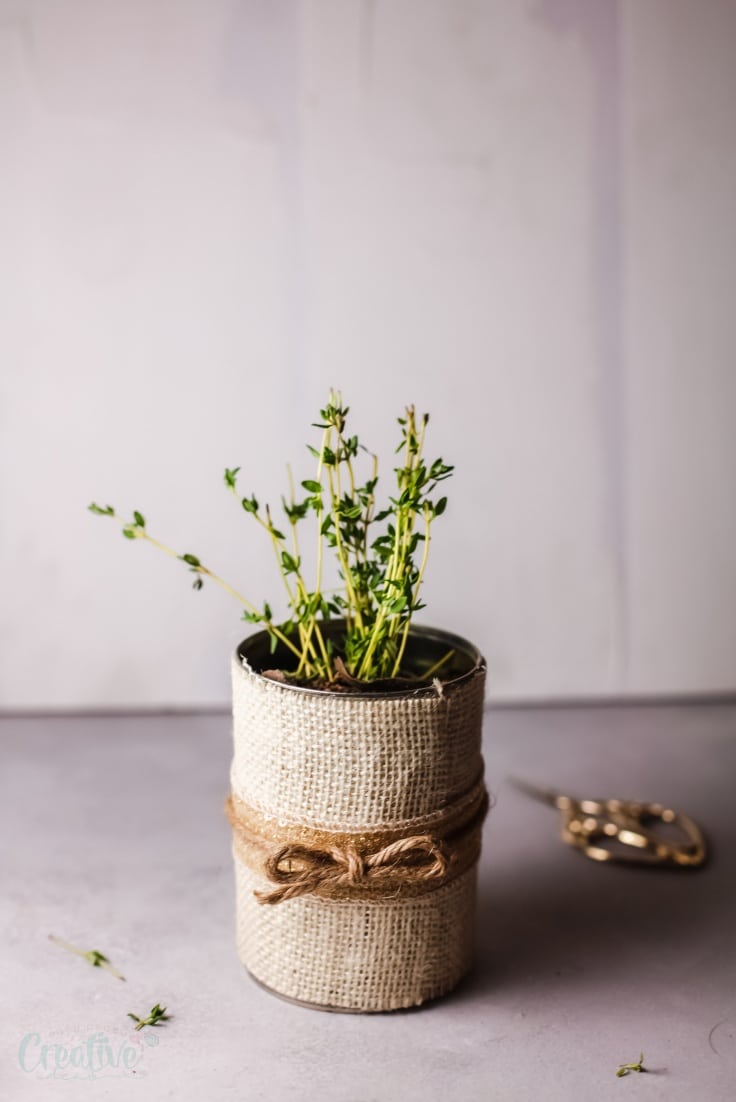
What materials your need to make a tin can planter?
- Can. This is going to be the actual pot so pick one that’s sturdy. I love to use the cans from canned vegetables and soups because they have the perfect size. Be careful when opening it because you want to leave the edges as polished as possible. If your edges are a bit rough you can use some sandpaper to smooth it out.
- A piece of burlap or fabric. We are going to use it to cover the can so use a fabric you love. To keep the farmhouse vibe Iwas going after I used some burlap.
- Ribbons and twine: This is to give your recycled can herb pot some flair so play with what you already have on hand or the styles you love. I used a ribbon that has tiny little sequins on it and I’m obsessed with how it gives the planter so much light!
- Glue or hot glue. So the fabric will hold up.
Recycled herb planter
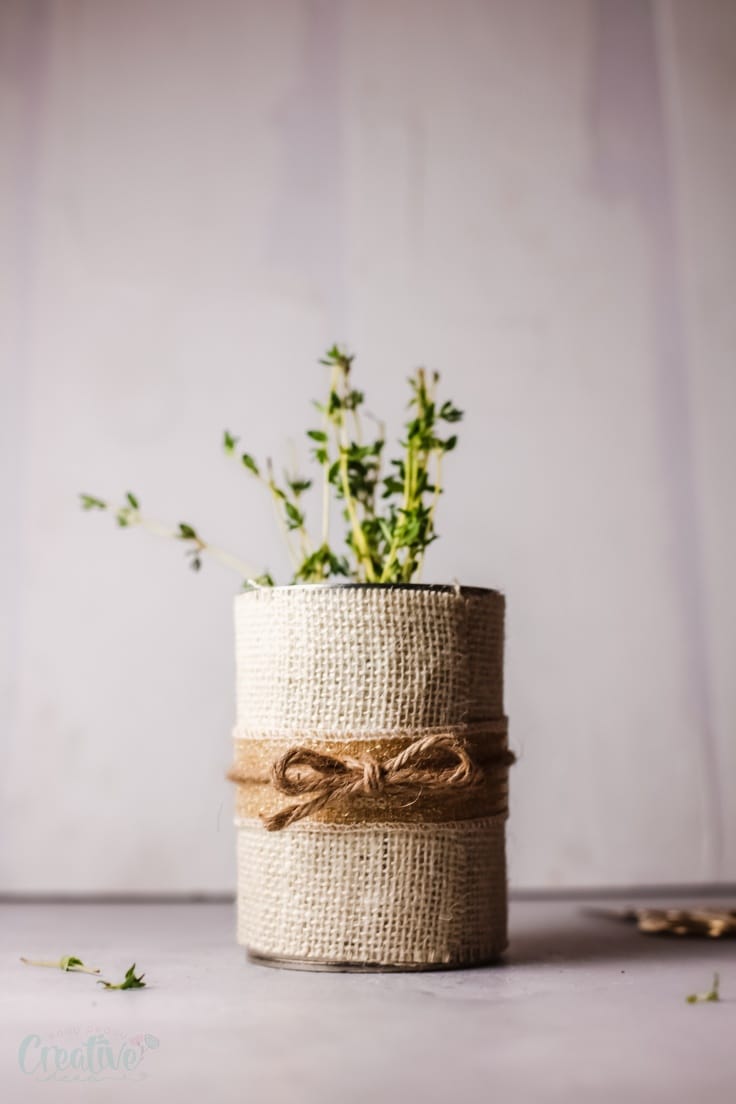
Now that you have all the materials is time to start making the planter.
1. Wash and dry the can so it’s super clean.
2. Cut the fabric to fit the can.
3. Add a small dot of glue in the back and glue the fabric to the can.
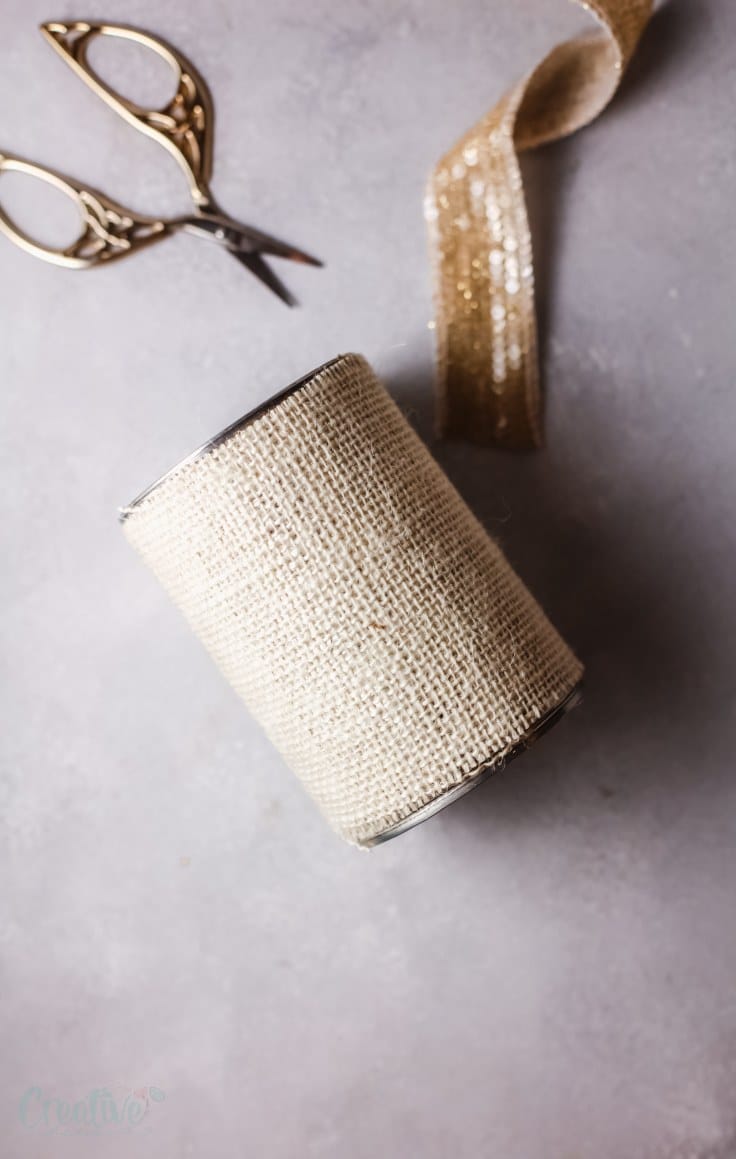
4. Glue some ribbon.
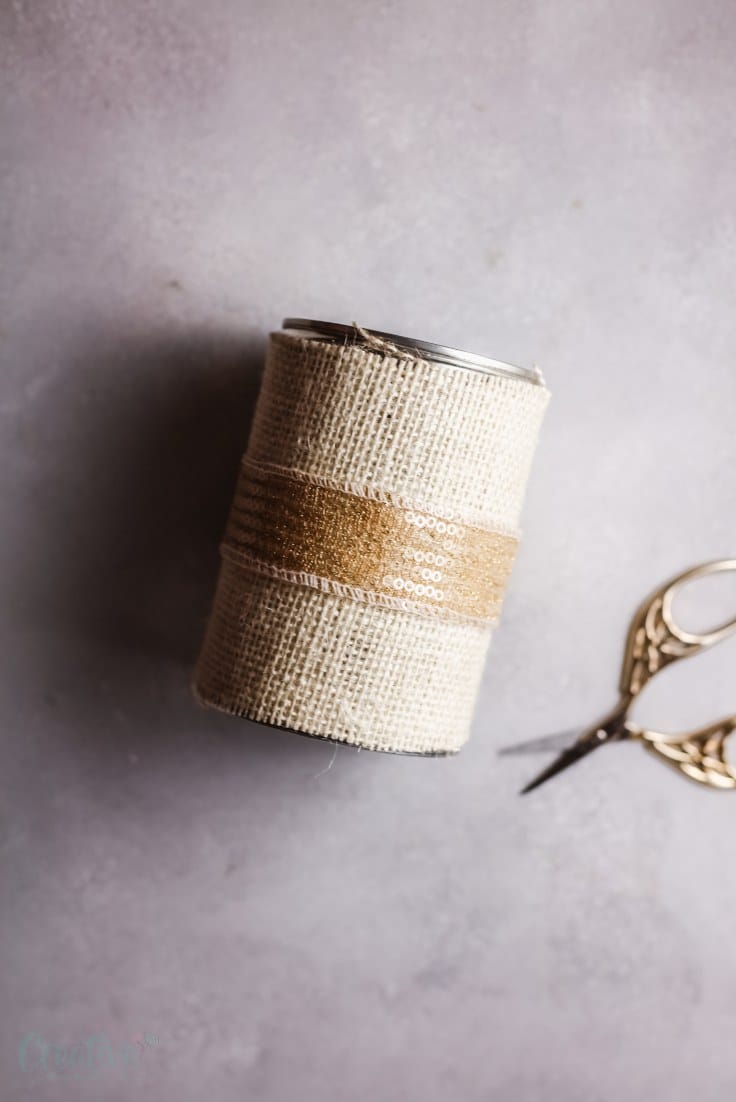
5. Tie twine around the can.
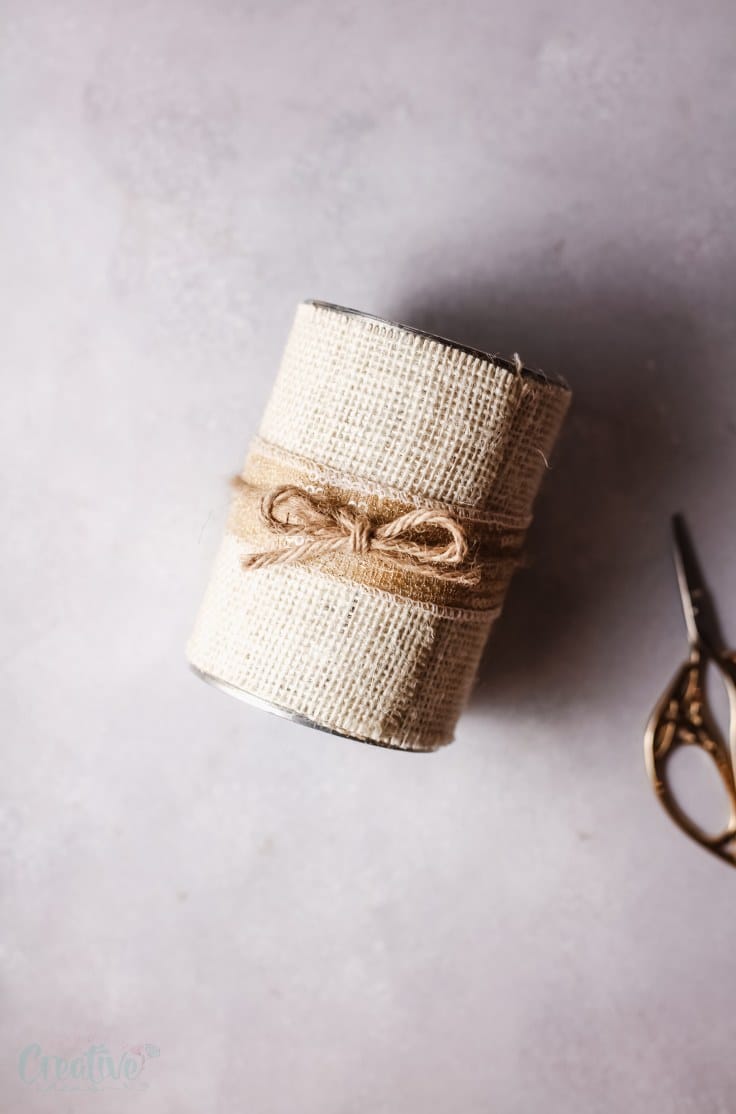
6. Fill it with soil and your plants and place it in your windowsill.
Make a bunch of planters for your different herbs and flowers and they will brighten up your kitchen!
Pin to save for later
Article may contain Amazon & affiliate links. As an Amazon Associate I earn from qualifying purchases at no additional cost to you.


ABOUT PETRO
Hi, I’m Petro, author and founder of Easy Peasy Creative Ideas. Sewist, crafter, avid DIY-er, foodie, photographer, homemaker and mommy to one. I’m an expert at coming up with quick, clever sewing tips, recycling crafts and simple, easy recipes! You can find my ideas featured in reputable publications such as Country Living, Good House Keeping, Yahoo News, WikiHow, Shutterfly, Parade, Brit & Co and more. Thanks for stopping by and hope you’ll stay for a while, get to know me better and come back another time. Stick around for real fun projects! Read more…