

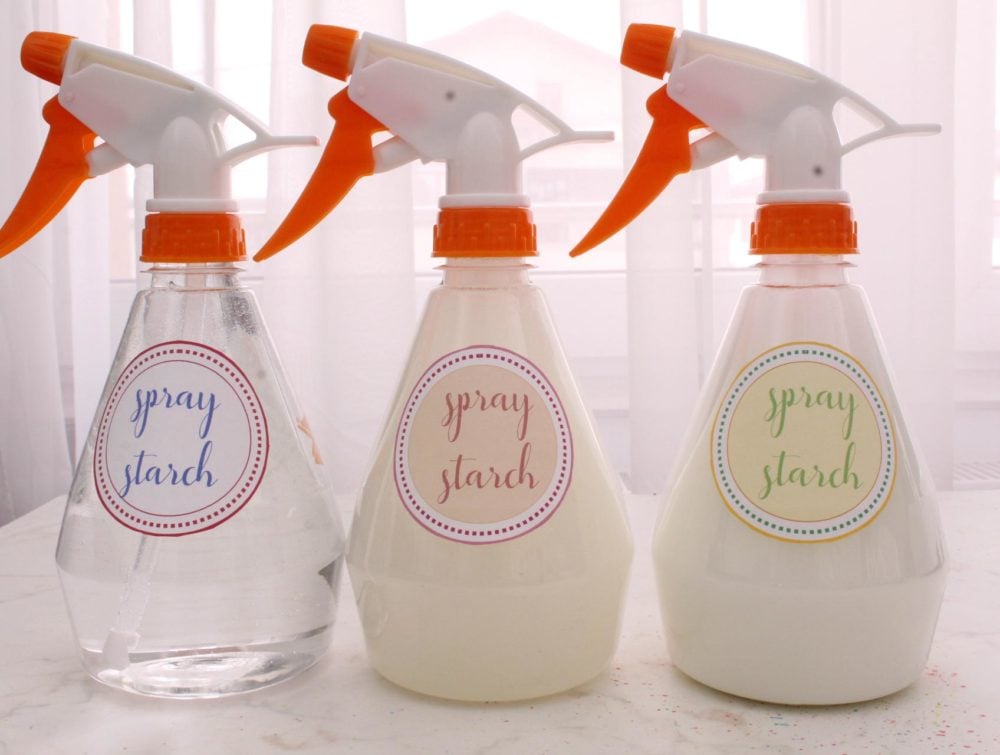
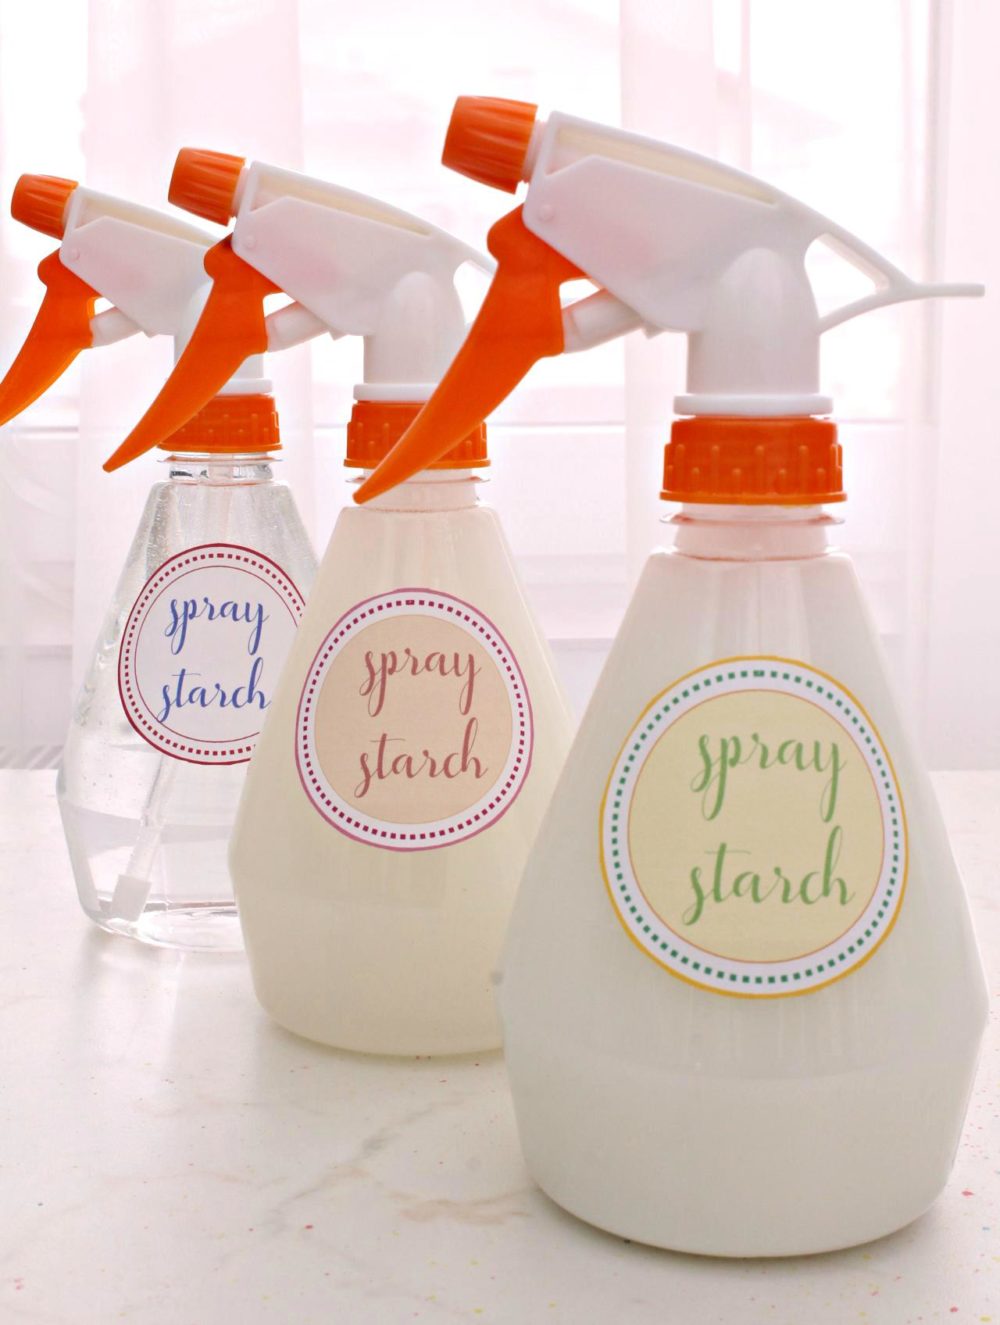
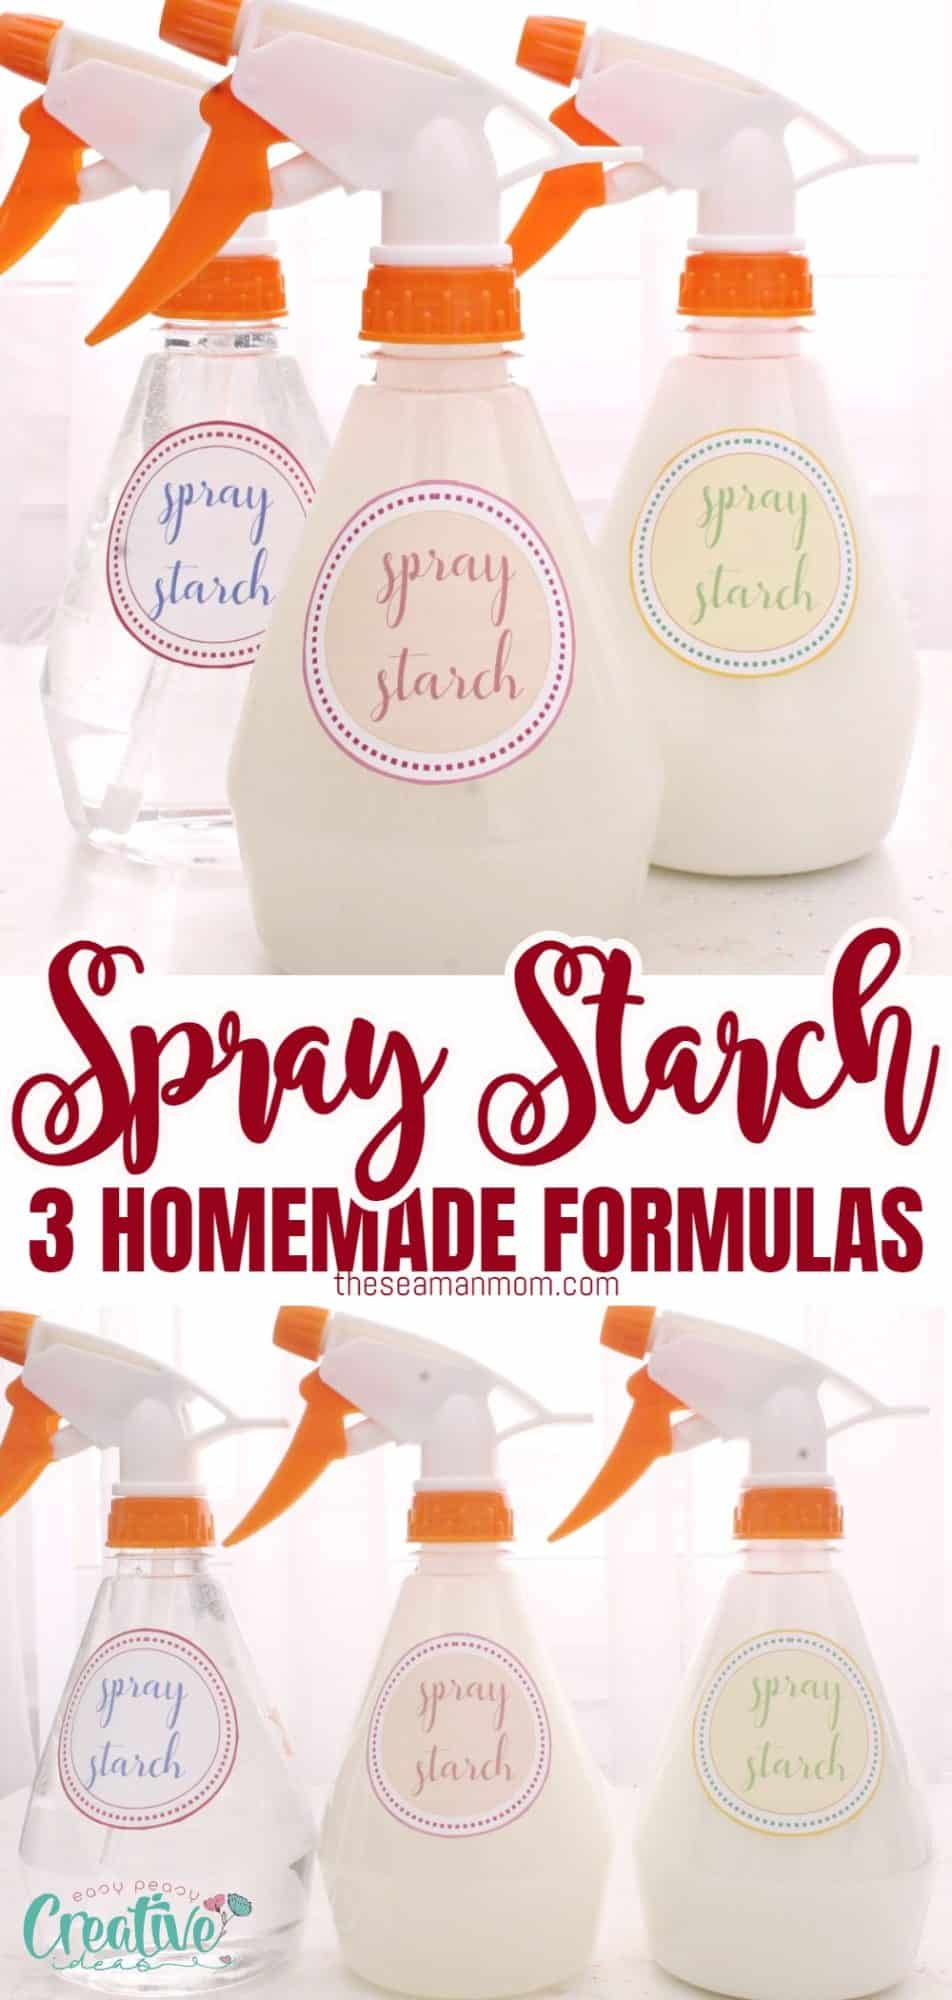
DIY Spray Starch – 3 Homemade Formulas
Say goodbye to those stubborn wrinkles and welcome flawlessly pressed garments into your life with this simple and effective DIY spray starch! Your clothes will look crisp and fresh, ready to impress with a professional touch. Give it a try and change your ironing game effortlessly!
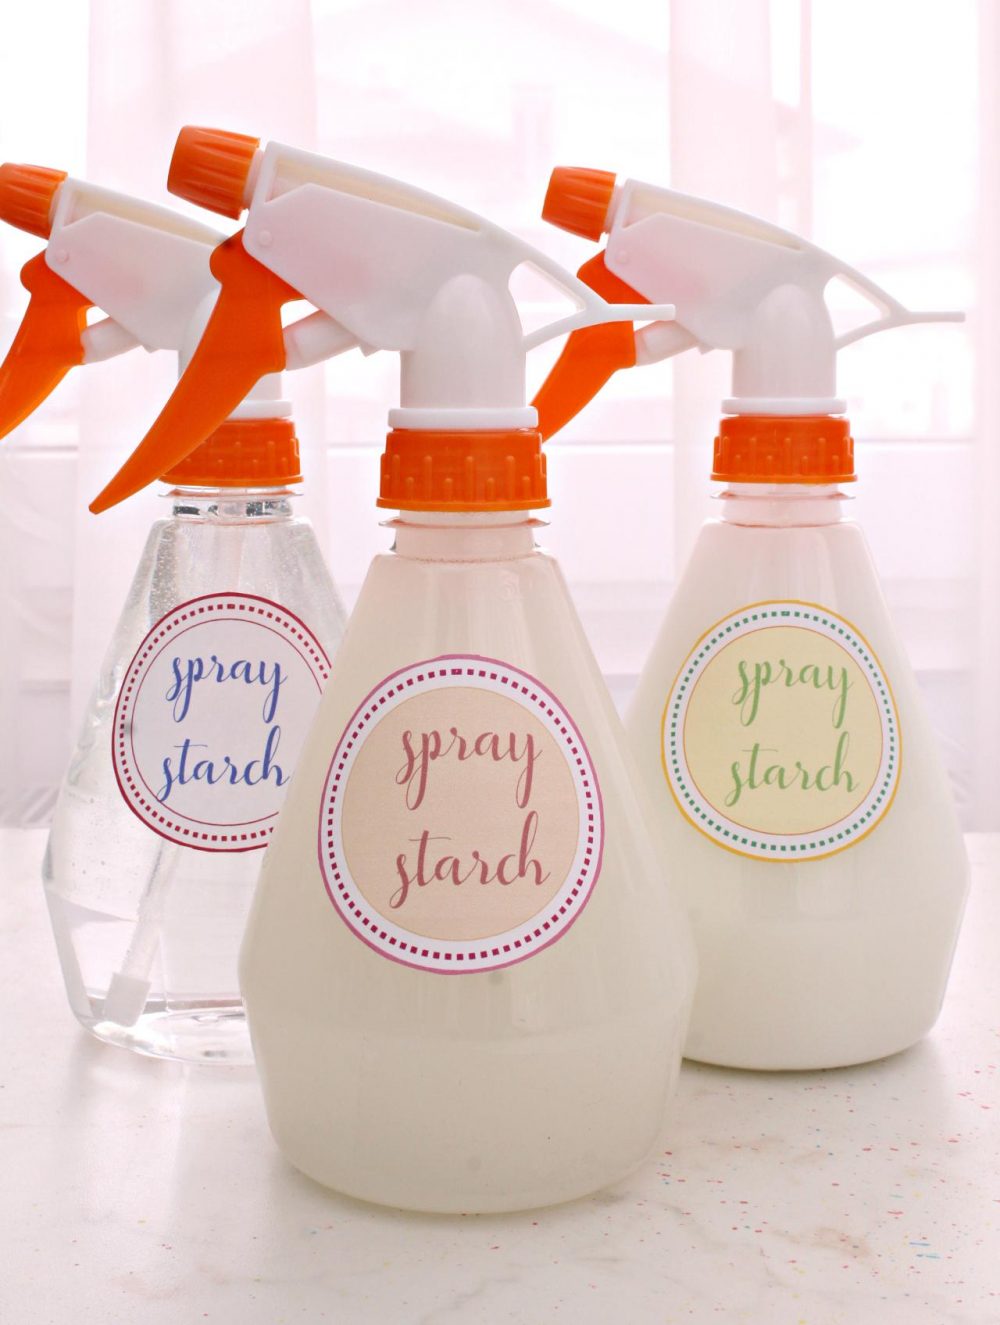
This awesome DIY spray starch works wonders for ironing, and you can whip it up in a flash using simple ingredients you likely have in your pantry! Say goodbye to wrinkles as this simple ironing spray leaves your clothes perfectly crisp.
I can’t ever imagine pressing without my liquid spray starch! It’s amazing at taming my fabric before and especially during a sewing project. And it’s super awesome on knits, particularly on those stubborn curly edges. If you sew with knits you know what a pain those type of knits are! But just a little bit of this spray can make all the difference!
Another great use for this DIY spray starch is to add body to fabric, particularly good for bags and laptop or tablet covers. If you use cotton in your craft or sewing projects, you know that after pre-washing, it loses its stiffness and this DIY spray starch is great at restoring that much needed stiffness since it make it much more easy to work with the fabric.
How to make DIY Spray Starch
Ingredients
To make this simple spray starch you’ll need:
- powdered cornstarch
- distilled water
- cheap vodka
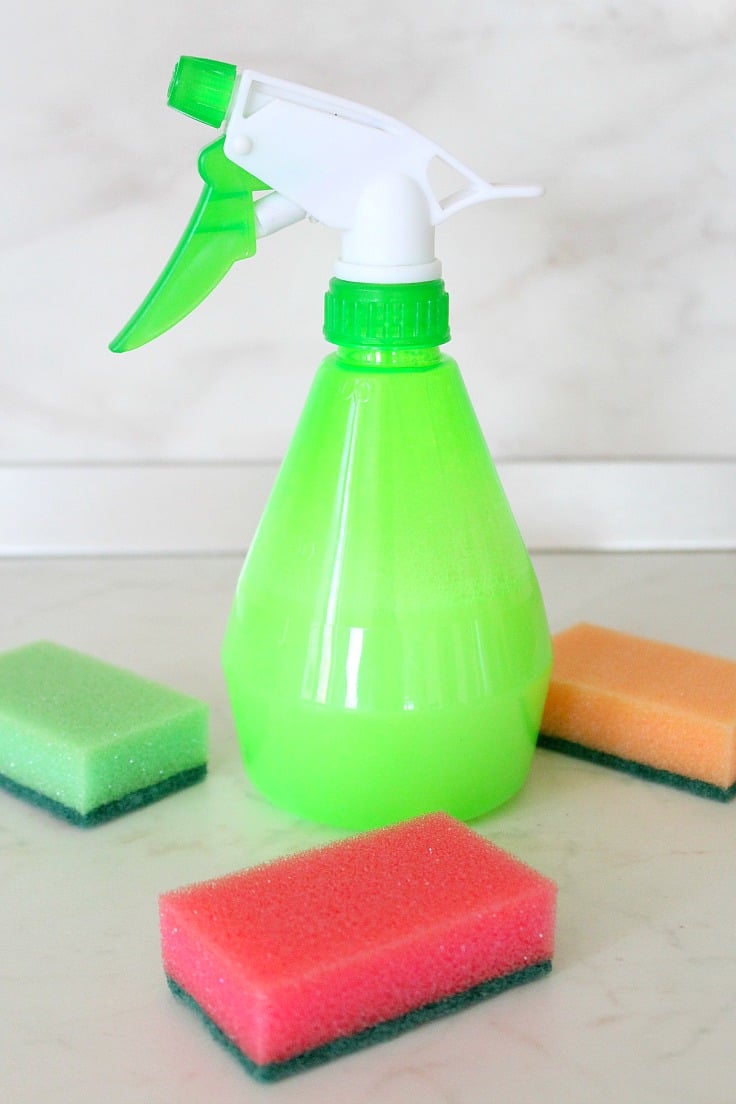
- spray bottle
You’ll also need a saucepan to “cook” the ingredients and labels to label your bottles (get my printables here).
Substitutes for spray starch
If you don’t have the time or the ingredients to make your own spray starch, there are a few alternatives that can provide similar results.
One option is to use cornstarch mixed with water in a spray bottle, although this may not work as well on heavier fabrics.
Another alternative is using white vinegar mixed with water in a spray bottle, which can help remove wrinkles and add a bit of stiffness to the fabric. Just be sure to test on a small, inconspicuous area first in case it reacts badly with your fabric.
Other alternative options include using a light hairspray or using a damp cloth or napkin and ironing over it to add moisture and stiffness to the fabric. Each method may have different results depending on the type of fabric you are working with, so experiment to find what works best for you.
Instructions
I found three methods for preparing my own spray starch. For a heavier formula use an additional tablespoon of cornstarch.
1. Method #1
- Mix 1 1/2 tablespoon corn starch with 2 cups of distilled water until all lumps are dissolved.
- Fill a glass spray bottle.
- The only inconvenience about this version is that it keeps settling so you need to shake the bottle before each spritz.
2. Method #2
- Mix 3 oz vodka with 1 1/2 tbsp cornstarch and 24 oz distilled water and blend well
- Pour your homemade starch spray into an empty spray bottle.
- I found this fabric starch the lightest of all so this is great if you don’t need a lot of stiffness in your fabric.
3. Method #3
- Mix 1 1/2 tbsp cornstarch with 2 1/2 cups distilled water. Mix well until no lumps are left.
- Transfer the cornstarch mixture to a small saucepan and bring to a boil. Simmer for 1 minute, stirring continuously, then cool.
- Once completely cooled, pour into a spray bottle and use.
- The heated version is the best in my experience. It stays suspended so no need for shaking and gives the perfect stiffness to my fabrics and clothes.
Tips for the perfect DIY spray starch
- Use distilled water for best results
- Add a few drops of essential oils for a refreshing scent
- Experiment with different ratios of cornstarch and water to find your preferred level of stiffness
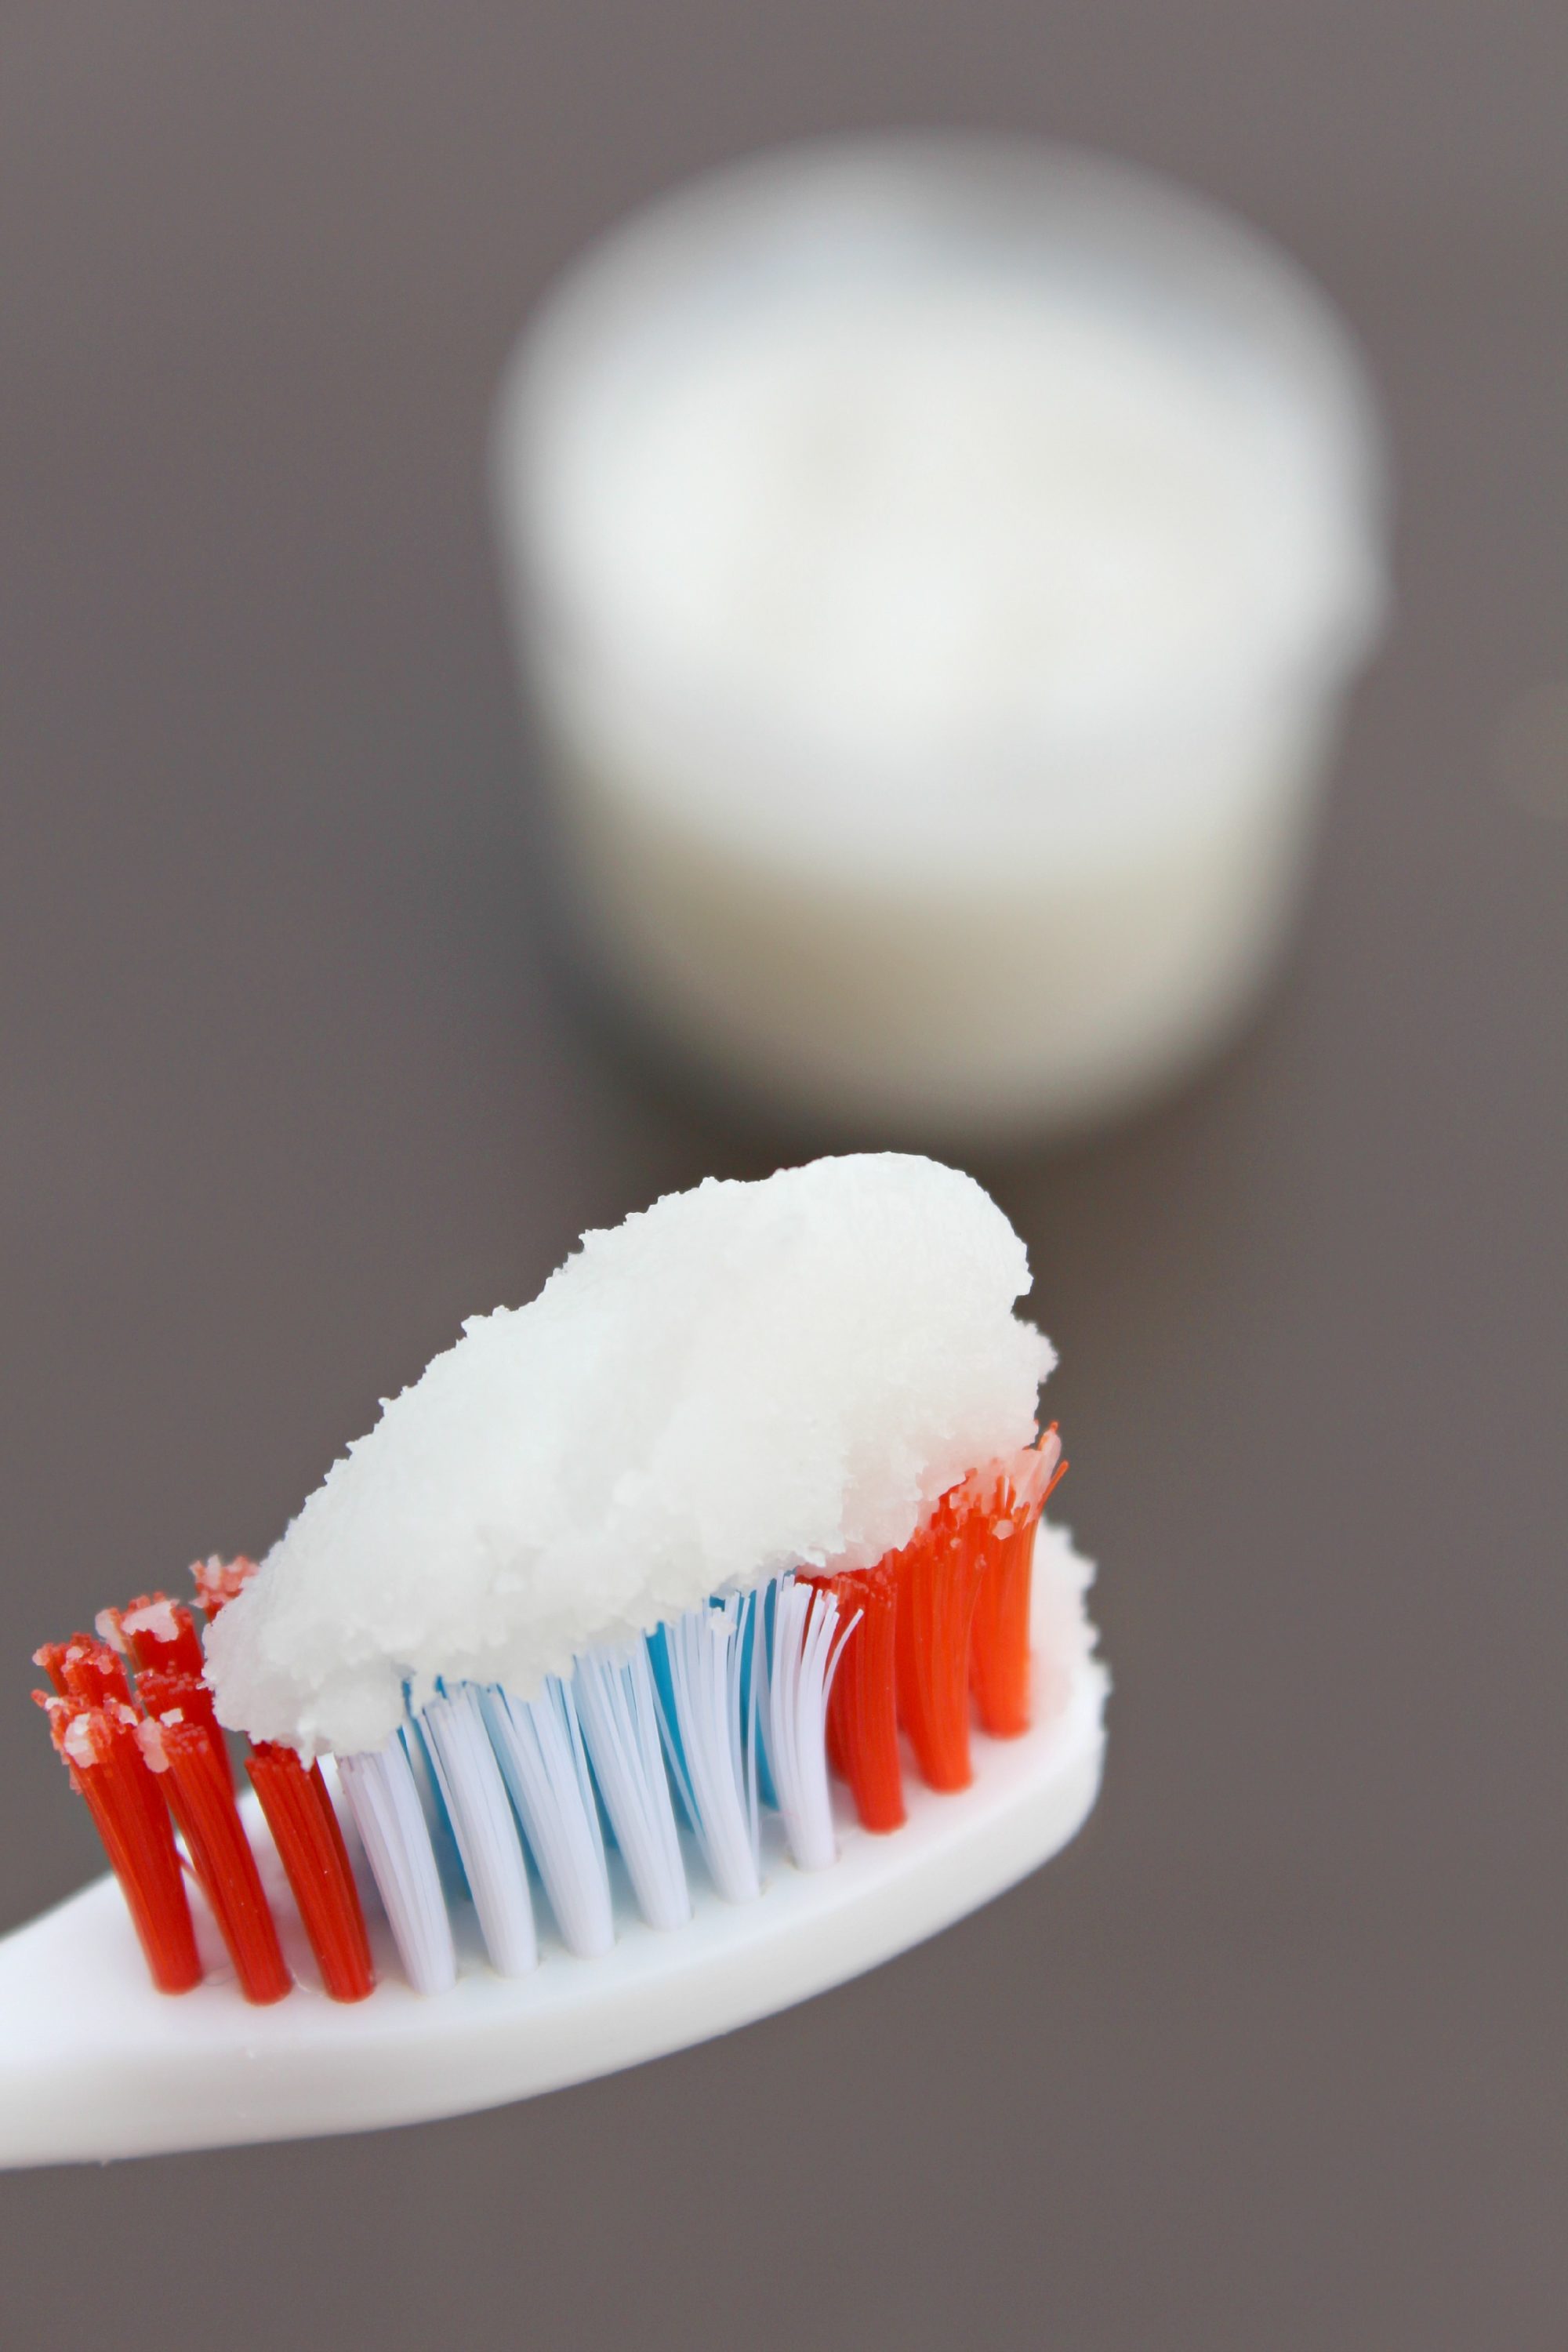
- Make sure you spray this right before you press the fabric, section by section. Leaving this DIY spray starch dry on your fabric without ironing it, might leave starch stains.
- Wait a few seconds before ironing to allow the starch to penetrate the fibers.
- Shake the bottle well before each use
- Starch works best on natural fibers such as cotton and linen. Test a small area on synthetic or delicate fabrics before fully applying. But keep in mind the crispness will be moderate.
- Clean any starch residue from the cold plate of your iron with white vinegar and a clean cloth.
Frequently asked questions
Is spray starch necessary?
Most of the times, not really! But let me tell you, it makes ironing so much easier! It keeps your fabric from moving around and helps to create crisp folds and seams. Plus it gives a professional look to your finished garment or project.
How do you make heavy duty spray starch?
For a heavy duty spray starch, you can adjust the recipe by increasing the amount of cornstarch and decreasing the amount of water. This will create a thicker solution that will provide more stiffness to your fabric.
If you want fragrance, you can also add a few drops of essential oils for a pleasant scent (I love lavender and lemon, especially for bed linen) or vinegar for added wrinkle-fighting power. Just be sure to shake well before each use to evenly distribute the ingredients.
Does homemade spray starch go bad?
Homemade spray starch can go bad if it is left sitting for an extended period of time, so make sure to use it within a few days or a week or make smaller batches as needed. Any discoloration or strange smell may indicate that it has gone bad and should be discarded.
I included a formula with vodka to increase the life span of your DIY spray starch. It won’t go bad as quick, it will last for about a month longer when kept in a cool, dry place.
Do you let starch dry before ironing?
Yes, it is important to let the starch dry a before ironing (not completely though; damp laundry is easier to iron when sprayed with starch). This will allow the starch to fully penetrate and stiffen the fabric, resulting in better creases and a smoother finish.
Also, if you try to iron while the starch is still wet, it may cause staining or uneven stiffness on the fabric. So be patient and let the spray starch dry almost completely before ironing.
Can I use boiling water instead of distilled water?
Yes, boiling water can be used as a substitute for distilled water in this recipe. Boiling the tap water will help remove any impurities and make it safer to use on your fabric. However, if you are using the vodka formula, make sure to let the boiled water cool down before adding it to the mixture.
There are a few methods for making your own DIY spray starch but I think only one of them give you the best spray starch, with minimal effort. I’ll highlight them all below; choose whichever one suits you best.
How to store homemade spray starch?
You can store your homemade spray starch in a clean, labeled spray bottle or container. Make sure it is tightly closed and stored in a cool, dry place away from direct sunlight. If using the vodka mixture, make sure to use a dark colored spray bottle or container to prevent light exposure that can affect its potency.
For longer storage, keep the bottle in the fridge.
Dispose of your spray starch if you see any mold or if the solution becomes darkened or discolored.
How often to make spray starch
Well, as many times as needed! No need to worry about running out! This wonderful DIY spray starch is super easy to make you can whip it up anytime.
Whether you’re tackling the weekly laundry pile or preparing outfits for a special occasion, whip up a batch, and you’re good to go for a couple of. Make sure you make small batches at a time, your DIY spray starch might go bad if you don’t use it very often. Just remember to give your spray bottle a gentle shake before each use to keep the mixture perfectly blended.
More articles you will love:
If you decide to explore any or all of these suggestions, I encourage you to give them a try and then kindly share your thoughts and experiences with me. Your feedback is valuable, and I’m genuinely interested in hearing how each option worked out best for you!

DIY Spray Starch For Ironing
Materials
- powdered cornstarch
- distilled water
- optional - vodka
Tools
Instructions
Method #1
- Mix 1 1/2 tbsp cornstarch with 2 cups of distilled water until all lumps are dissolved.
- Fill a glass spray bottle.
- The only inconvenience about this version is that it keeps settling so you need to shake the bottle before each spritz.
Method #2
- Mix 3 oz vodka with 1 1/2 tbsp cornstarch and 24 oz distilled water and blend well
- Pour into a spray bottle
- I found this version the lightest of all so this is great if you don't need a lot of stiffness in your fabric.
Method #3
- Mix 1 1/2 tbsp cornstarch with 2 1/2 cups distilled water. Mix well until no lumps are left.
- Transfer to a saucepan and bring to a boil. Simmer for 2 minutes then cool.
- Once completely cooled, pour into a spray bottle and use.
- The heated version is the best in my experience. It stays suspended so no need for shaking and gives the perfect stiffness to my fabrics and clothes.
Article may contain Amazon & affiliate links. As an Amazon Associate I earn from qualifying purchases at no additional cost to you.

Interesting about adding alcohol (rubbing alcohol or isopropyl alcohol) to the spray starch. It should slightly increase the spray’s penetration into the fabric due to the alcohol’s solvent properties. Also, it should somewhat speed up the drying of sprayed on starch. This is because it forms a low boiling azeotrope (mixture) with water that evaporates faster than the water alone. The azeotrope only contains about 28% water so the amount of water involved will depend on the starting strength of the alcohol and how much is added. It’s a math thing.
I have tried ecco friendly deodorants using backing soda. Over time, they ate holes in the arm pits of my undershirts. Specific to baking soda types.
I’m ready to make spray starch by the third recipe. It will be used for stiffening bookmarks. How much more cornstarch and less of water can I use? The crocheted angels and crosses are white and dry on a styrofoam board.
Hi, your second recipe using vodka or alcohol does not include the amount of starch to use that I can see ?
And can you use alcohol in the third recipe which you boil/simmer ?
Hi, Al. It’s still 1 1/2 tbsp cornstarch, thanks for bringing this to my attention! For the 3rd recipe, there’s no point in adding alcohol as it will evaporate with boiling/simmering. You can add it afterwards if you wish but it will dilute the spray if you’re using my measurements (you can double the measurements then when the solution is cool, add alcohol). It’s purpose is to preserve the solution and help it last longer.
Hi Petro, thank you for the recipe! I’ve used the water/corn starch recipe several times and it works great. It does spoil quickly because I use filtered water instead of distilled, so distilled water is on my shopping list. Question about the vodka – what purpose does this serve? Does it prolong the shelf life? Thank you :)
I’m making method 3 as I type this and I’m curious if it is shelf stable or if it will spoil after a few weeks like I’ve read elsewhere?
Hi Karen. I make small amounts at a time & mine won’t last more than a couple of uses so I’m not 100% sure. But I doubt any of these are shelf stable as they don’t have any preservatives.