Elf moving glove craft
Have fun with this magical elf moving glove craft — a delightful “Elf on a Shelf” project that brings creativity and holiday cheer to life! This engaging activity is perfect for families and crafters alike, providing an opportunity to bond while exploring their artistic skills. The elf glove, adorned with festive colors and imaginative designs, adds a whimsical touch to your holiday décor.
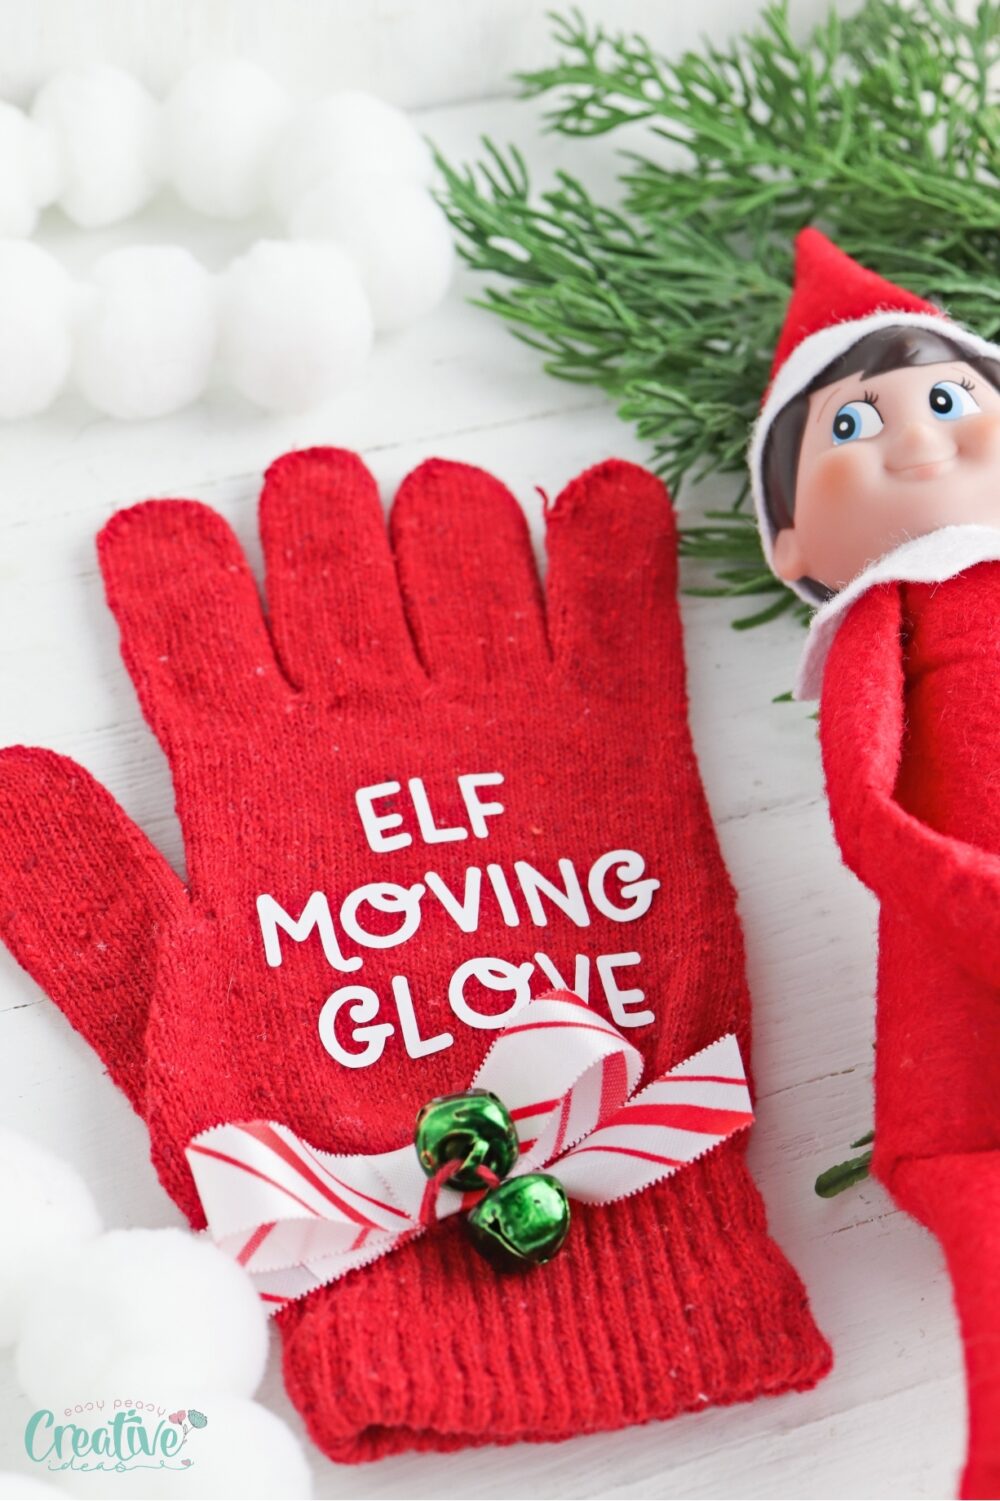
Whether you’re looking to entertain the kids or simply enjoy a creative afternoon, this elf moving glove project promises to fill your home with joy and festive spirit throughout the season. As the holiday season approaches, families are eagerly anticipating the arrival of their festive visitors: the cheeky elves. To enhance this delightful tradition, crafting an “elf moving glove” offers a perfect blend of creativity and enjoyment. This exciting project not only revolutionizes your “Elf on the Shelf” experience but also provides an opportunity to spend quality time engaging in meaningful crafting.
How to make Elf moving glove
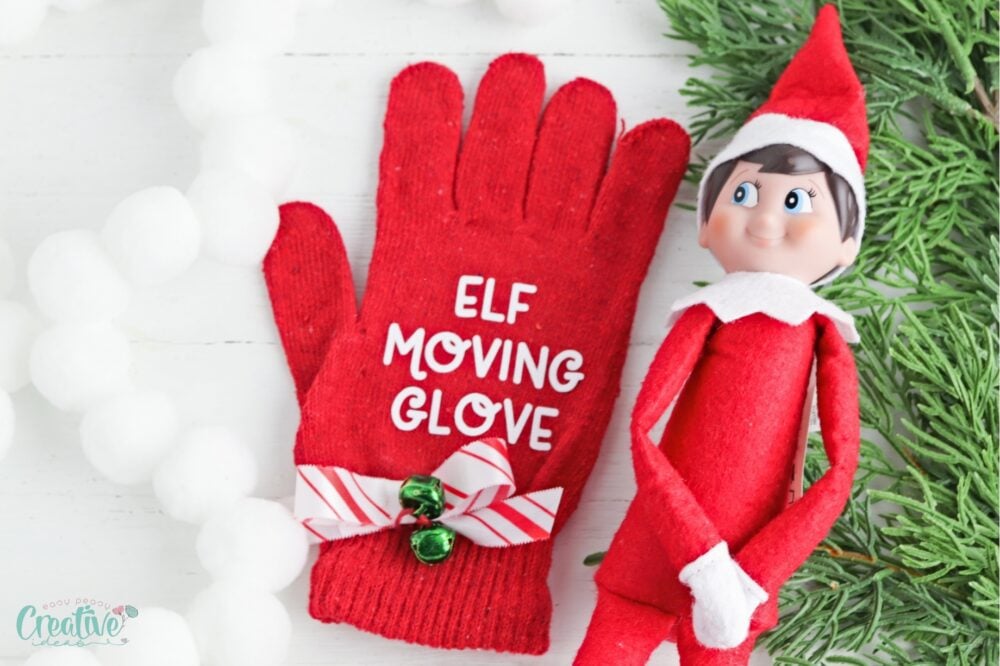
List of materials
- Glove: The foundation of our craft, providing a cozy and functional space for the design.
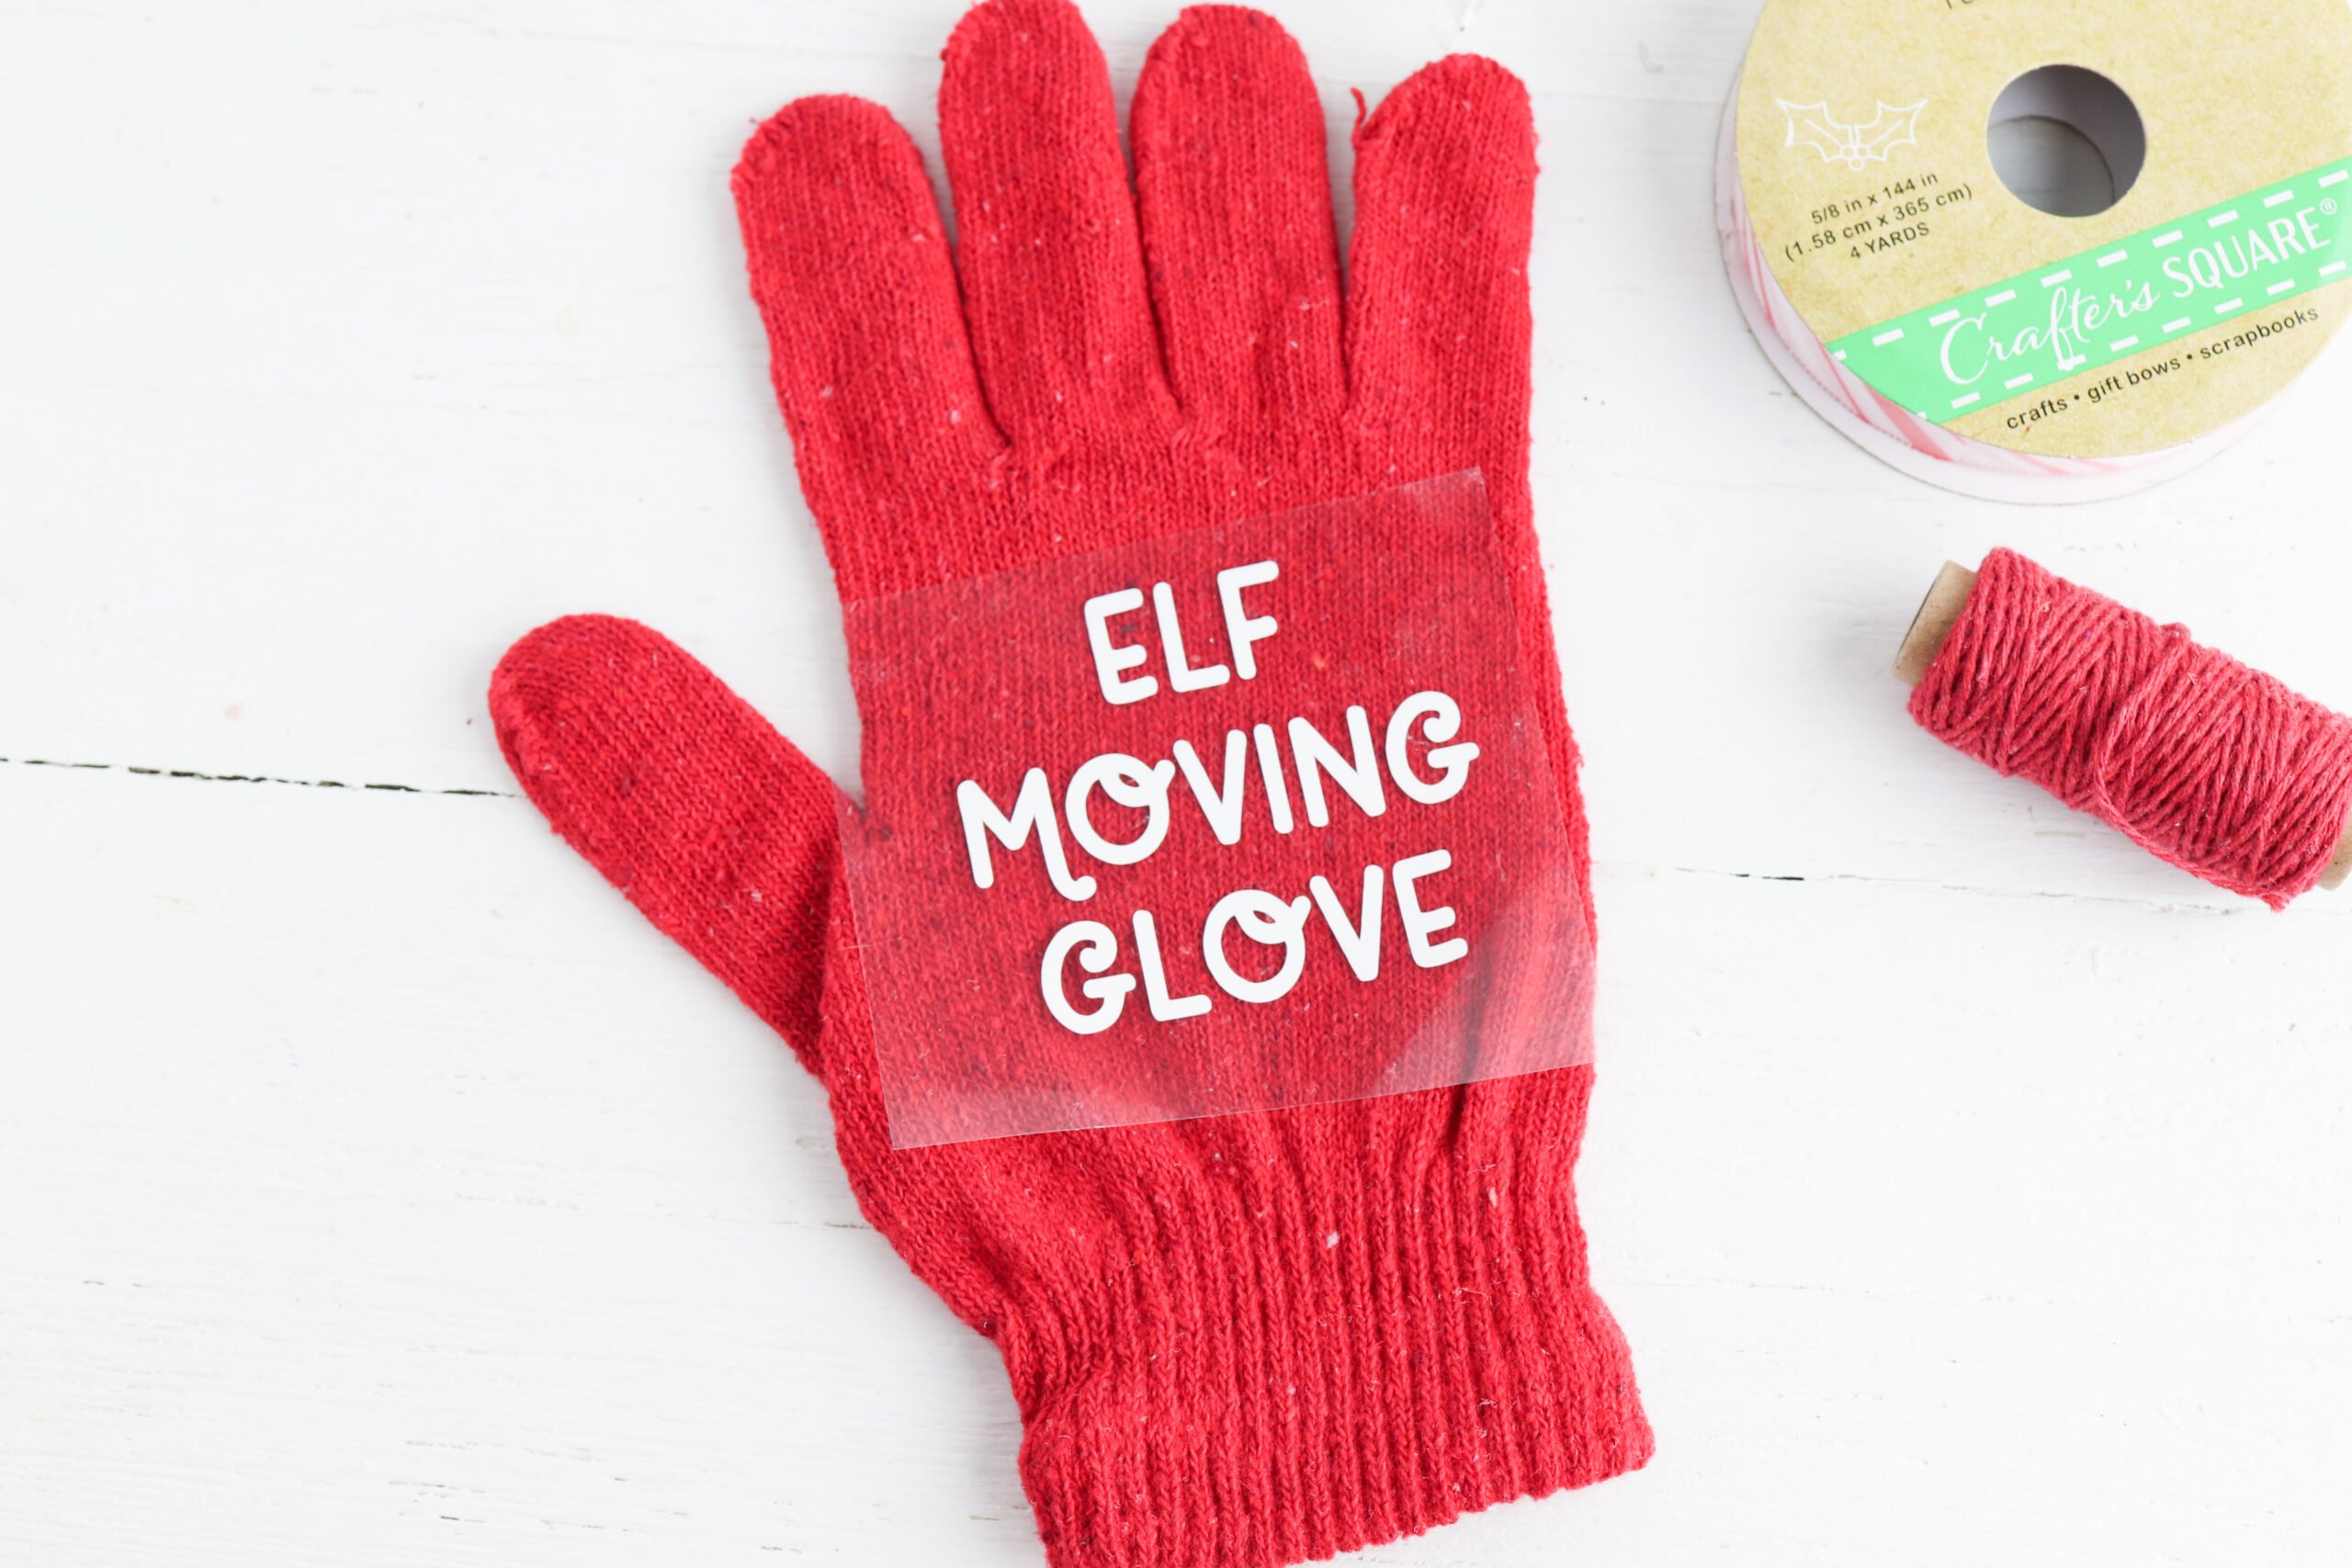
- White heat transfer vinyl: Essential for creating durable, eye-catching designs that stand out.
- SVG File: This digital design file simplifies the crafting process by providing a clear blueprint for the project.
- Ribbon: Adds a decorative finish that complements the glove’s aesthetic.
- Bells: These tiny embellishments infuse a musical element into the craft.
- Twine: Used to attach the bells, adding flexibility and a rustic charm.
Equipment
- Hot Glue Gun: A reliable tool for securing embellishments.
- Hot Glue Sticks: Ensure a strong, adhesive grip essential for the longevity of the decorative components.
Step by step instructions
- Start by downloading the SVG file and uploading the design into Design Space.
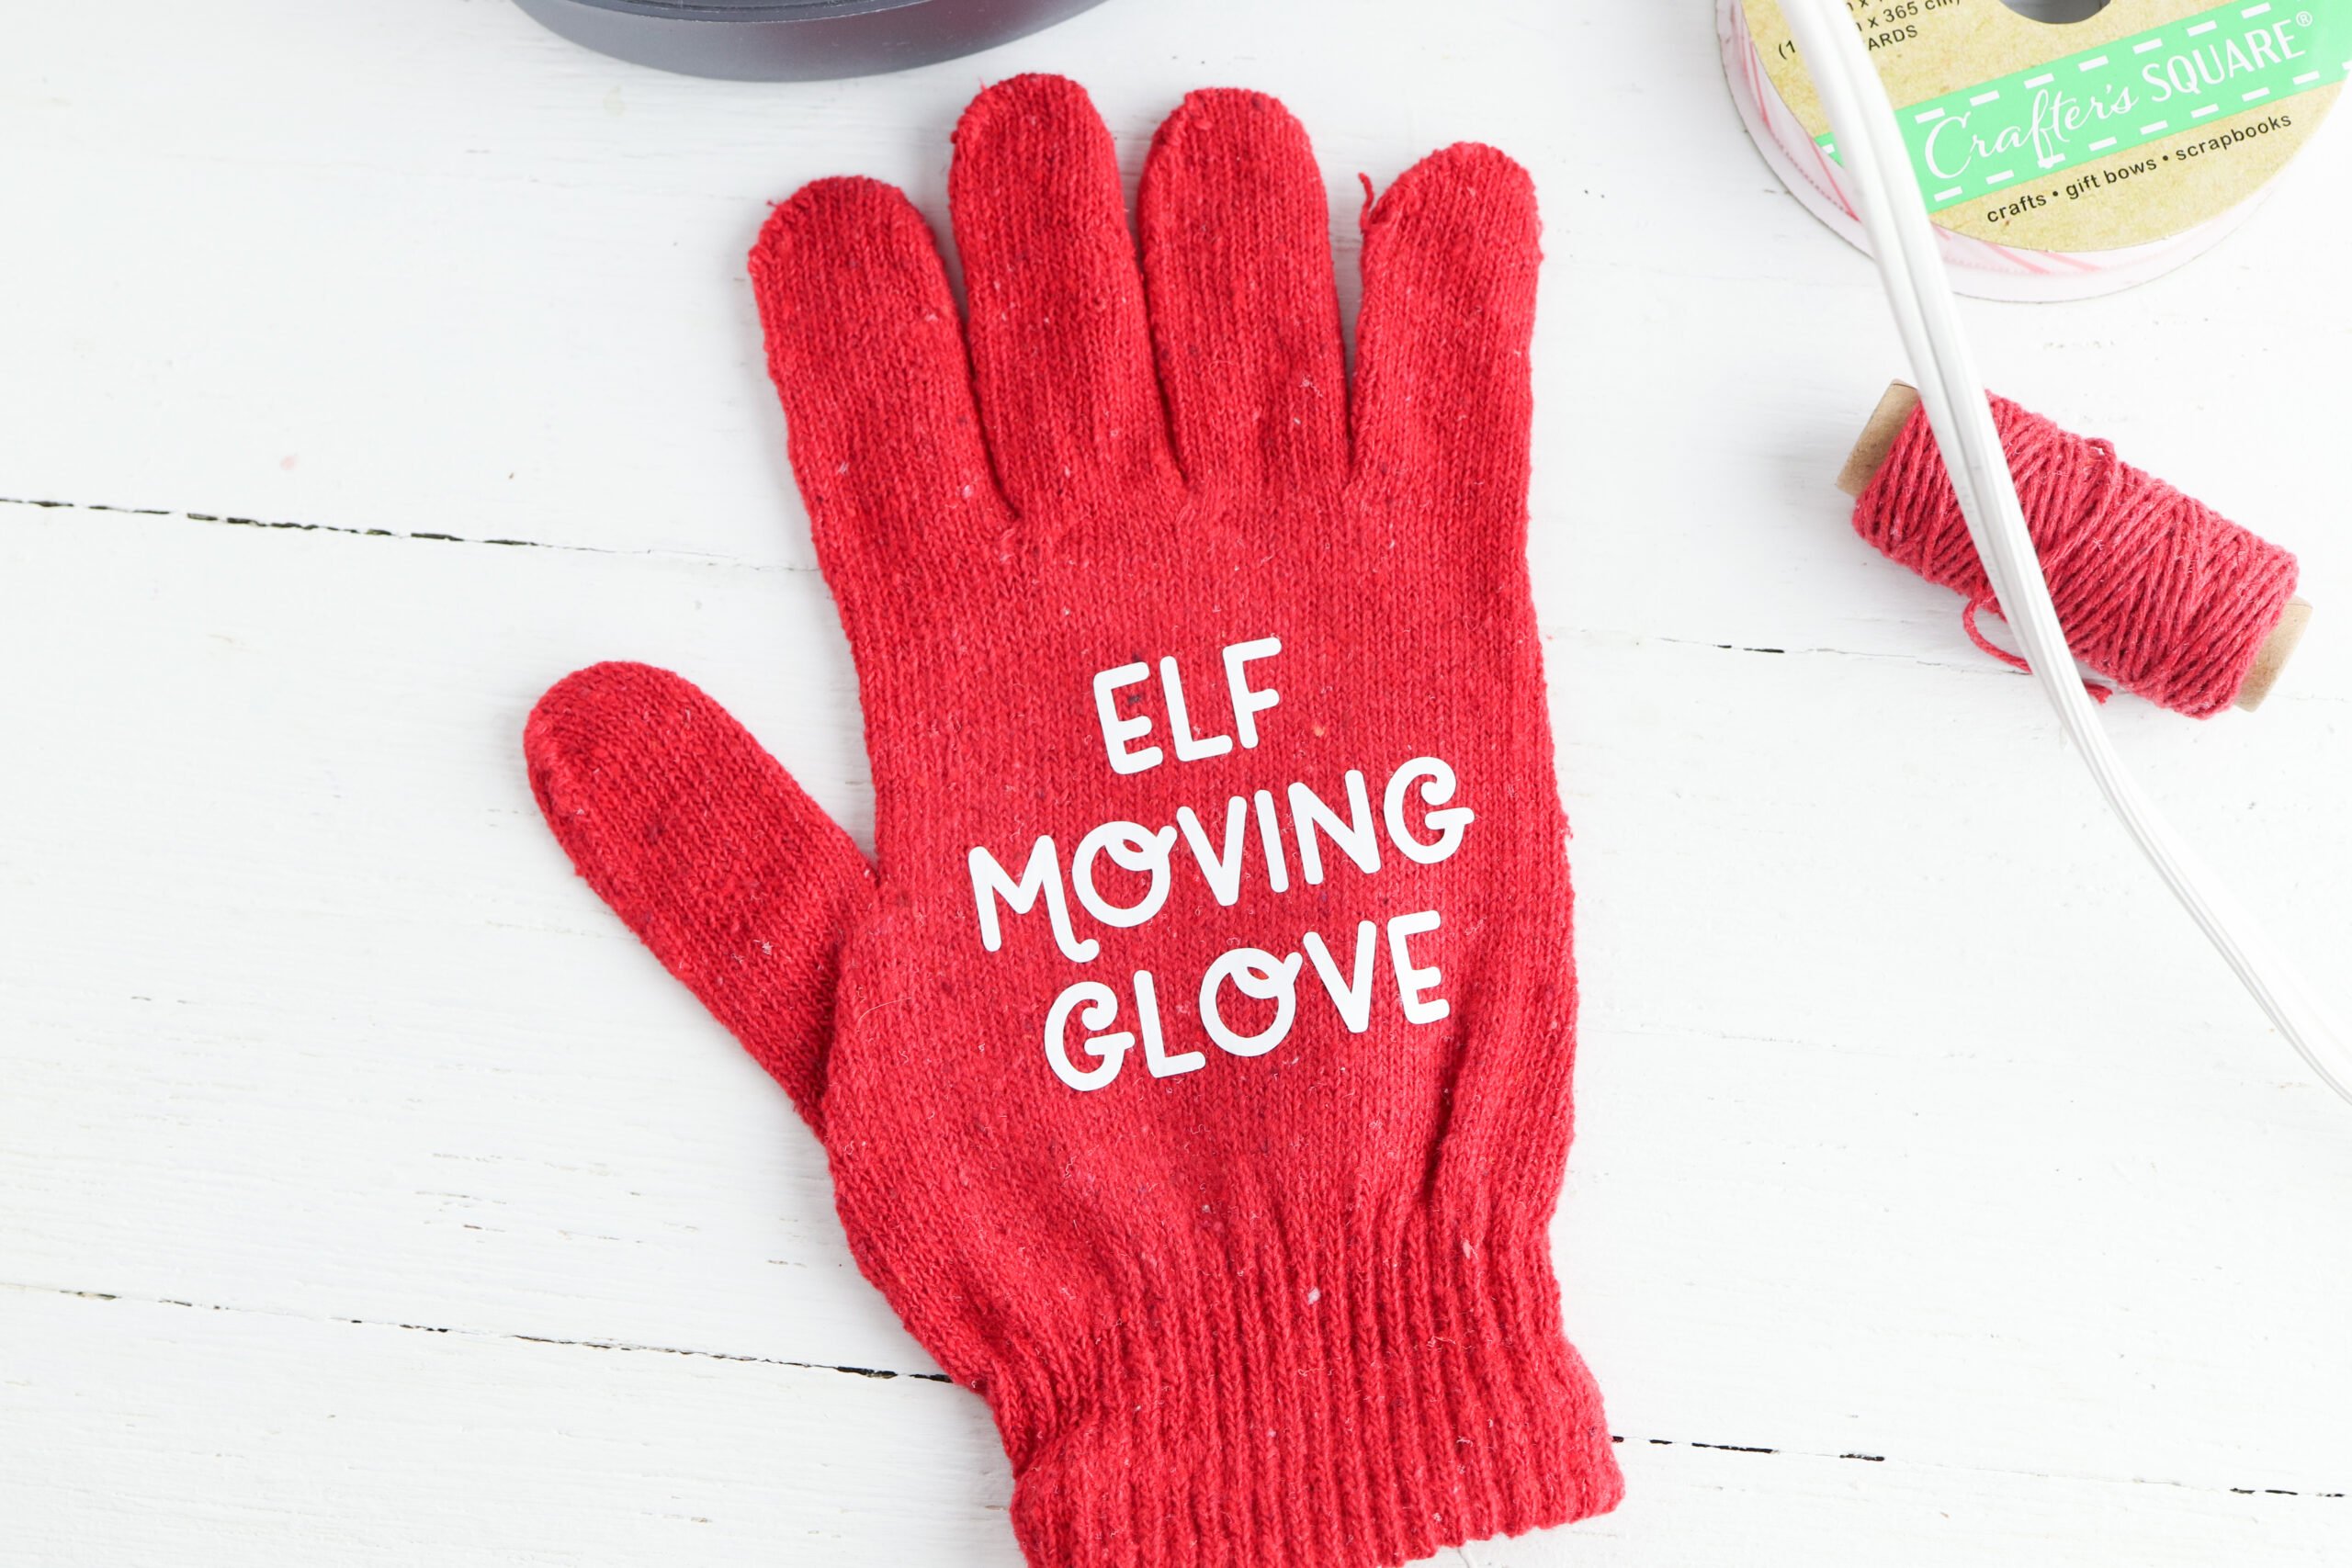
- Measure the front of your glove, then resize the text to fit seamlessly.
- Select all the letters and weld them to ensure cohesiveness.
- Hit the “Make It” button, adjust your machine to cut iron-on vinyl, and mirror the design in Design Space.
- Cut the design on vinyl by placing the shiny side down on the cutting mat. Use a weeding tool to eliminate excess vinyl surrounding the text.
- Finally, transfer the design onto the glove using an iron or Easy Press Mini.
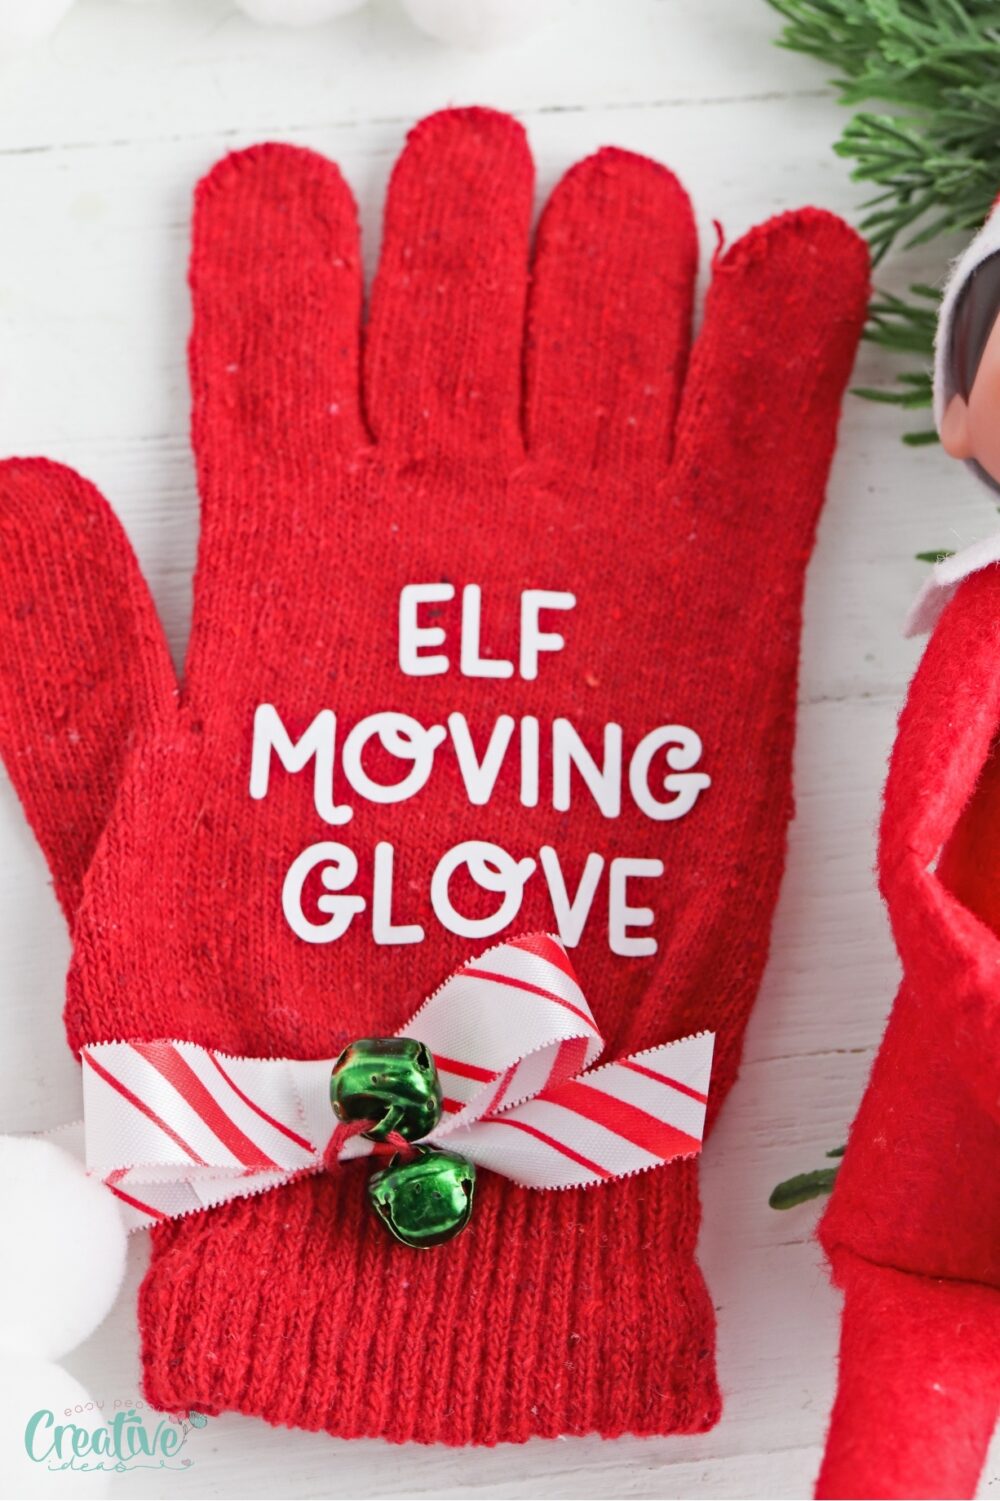
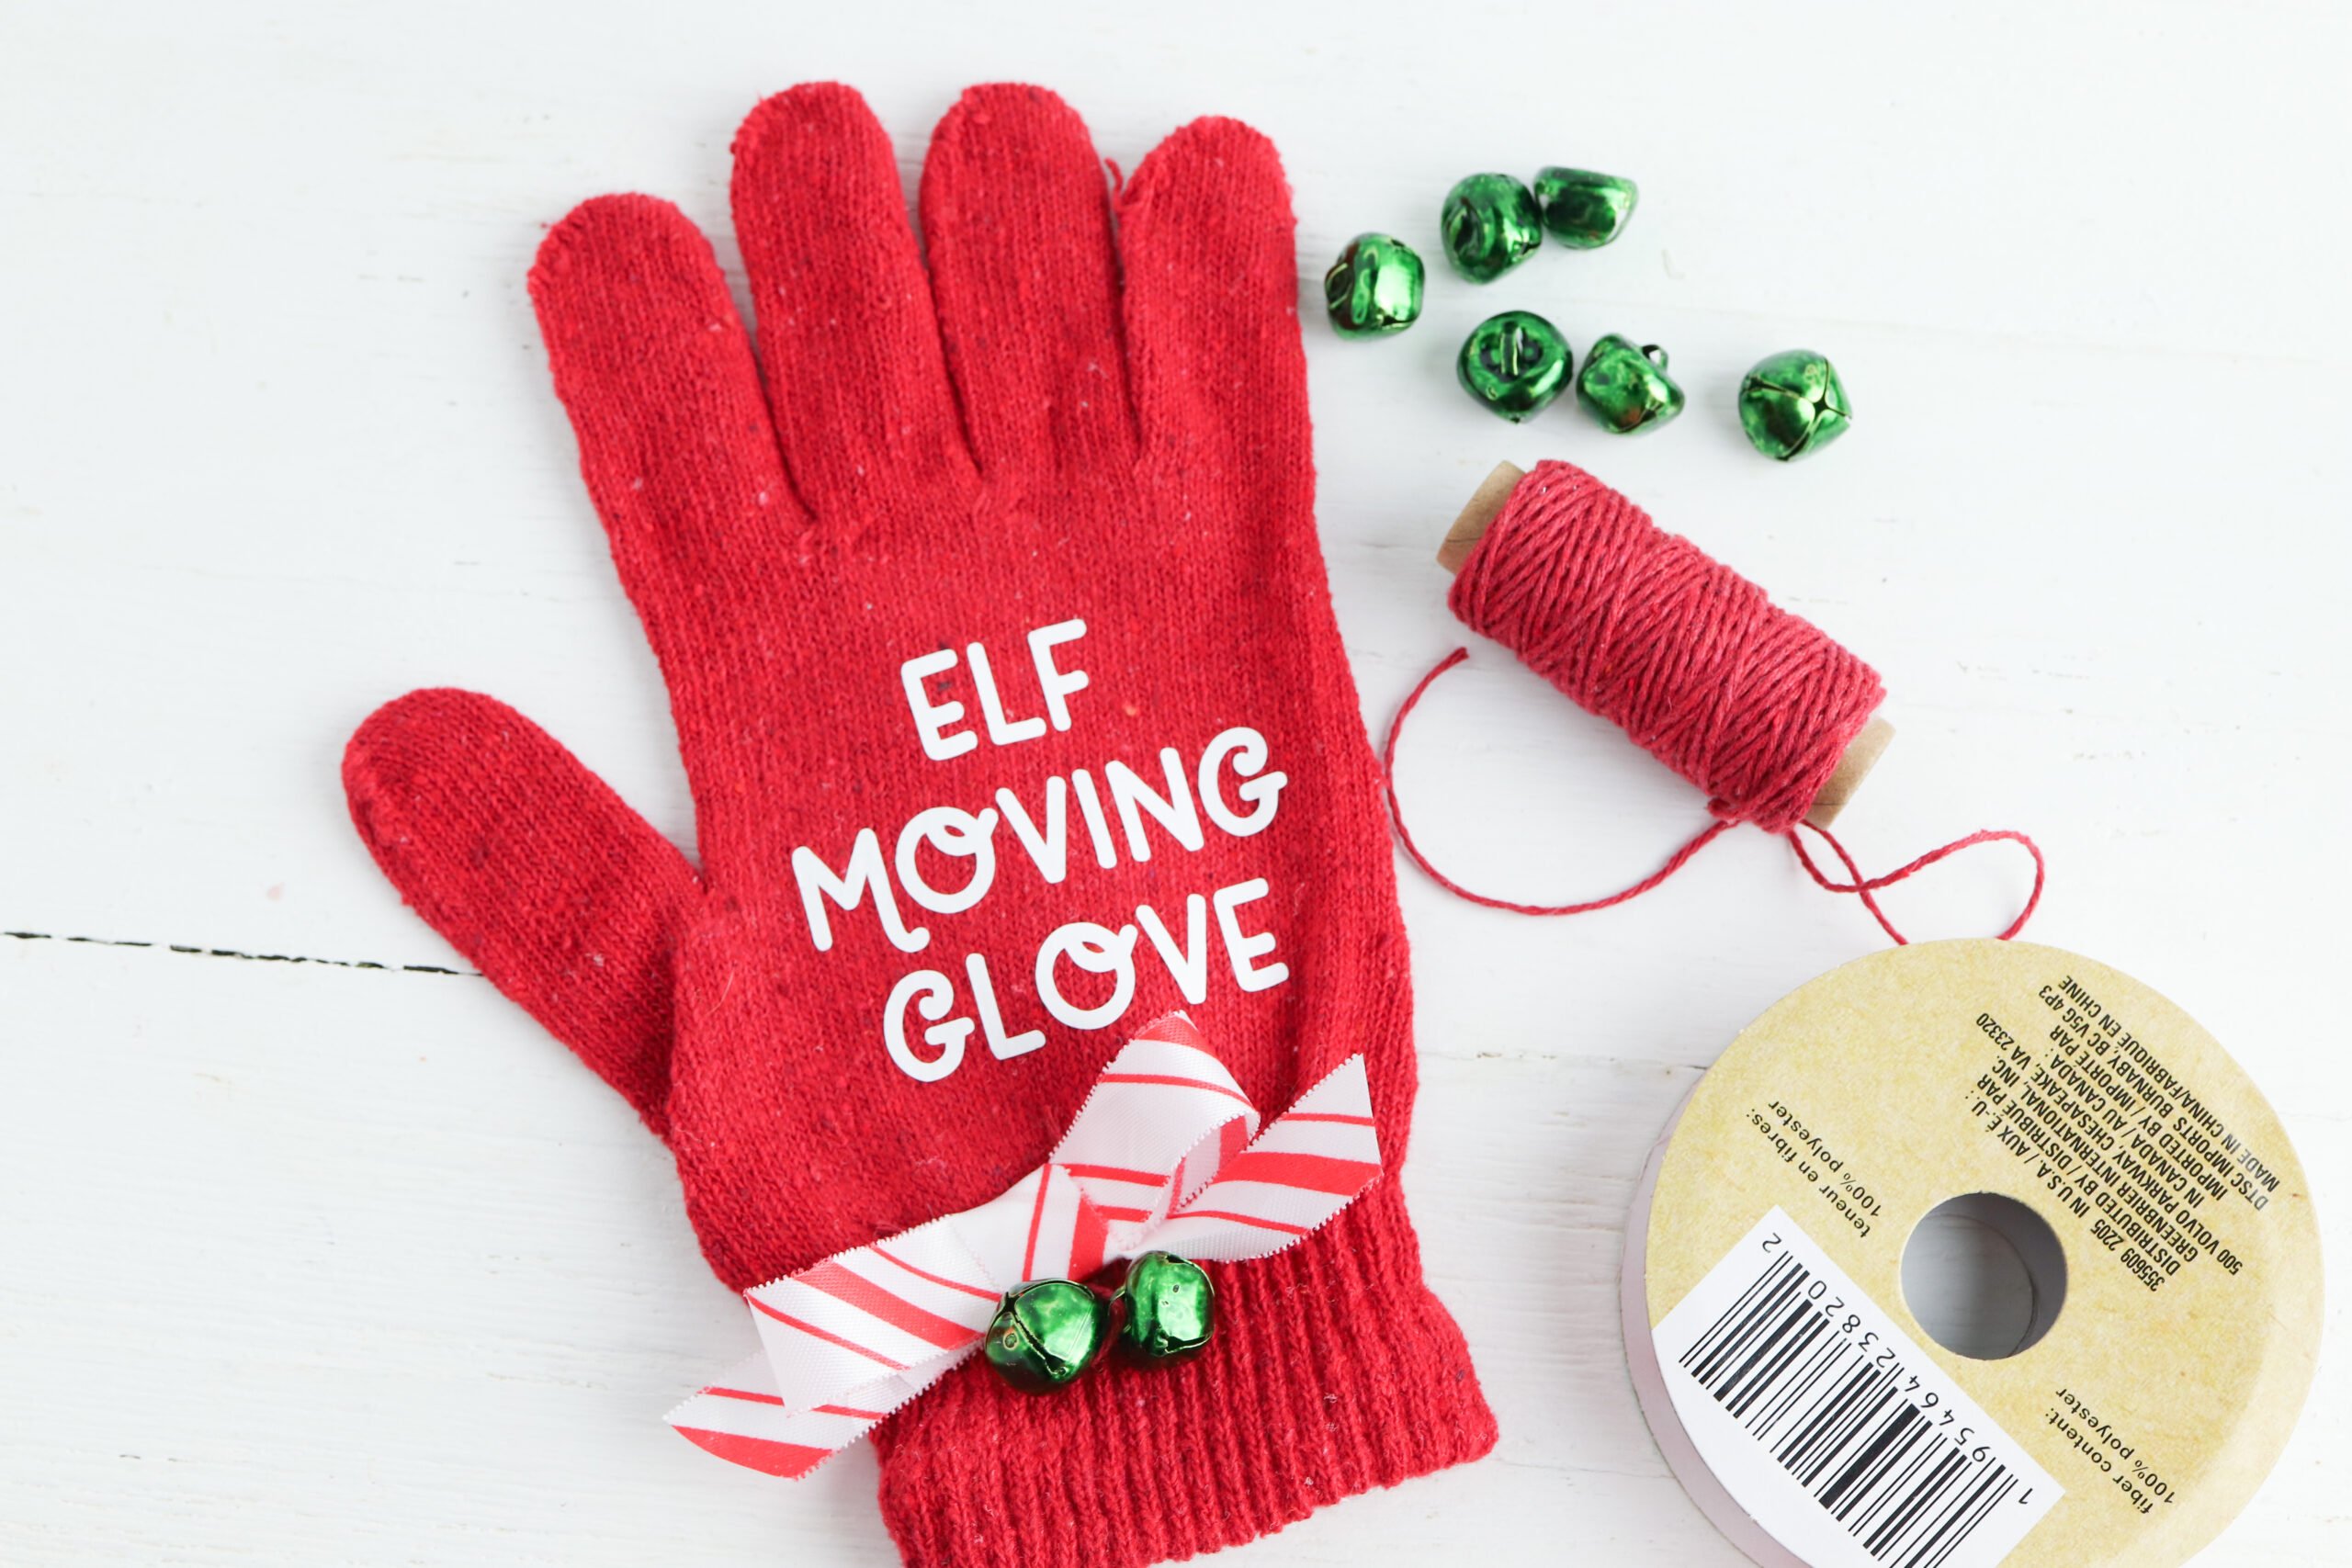
- For added flair, tie a ribbon bow, thread two bells onto the twine, and use hot glue to affix these to the glove, completing the craft with a touch of festive charm.
Tips
- When cutting the vinyl, ensure the correct settings are used to prevent accidental tearing or incomplete cuts.
- Consider testing your iron’s temperature on a scrap piece of vinyl to refine the transfer process to perfection.
- Reinforce the bells and twine with a dab of extra glue for added durability, ensuring they withstand the playful activities of your holiday celebrations.
Craft Variations
- Personalized Names: Add each family member’s name to the gloves for a personalized touch.
- Colorful Themes: Use different colored gloves and vinyl to match your holiday theme.
- Additional Embellishments: Incorporate sequins or small fabric flowers for extra sparkle.
- Interactive Elements: Attach small pockets to hold tiny notes or treats from the elf.
Frequently Asked Questions
- Can I use different colors of vinyl?
Yes, using varied colors can help you tailor the glove to match your holiday décor.
- Is a hot glue gun necessary?
Although it provides the best hold, fabric glue can be an alternative for adhering softer materials.
- How do I ensure the vinyl sticks properly?
Make sure to apply ample heat evenly across the vinyl, and allow the design to cool before removing the backing.
More Christmas ideas you’ll enjoy
- Clothespins Christmas star ornaments
- Christmas star wreath
- Elf on a shelf printables
- Christmas centerpiece from tin cans
- Paper rolls Christmas tree
Elf moving glove is such a fun and creative way to add some holiday magic to your home. It’s a fantastic project for families, friends, or anyone looking to bring some extra joy to the season. So get your crafting supplies ready and have fun creating this delightful Elf on the Shelf addition! Happy holidays!
Elf moving glove
Tools
- hot glue sticks
- Iron
Instructions
- Download the SVG file and upload the design into Design Space.

- Measure the front of your glove and resize the text to fit the space.

- Select all the letters in the text and weld them together.

- Hit the Make It button. Set the machine to cut iron on vinyl and mirror the design in Design Space.

- Load the vinyl on the cutting mat with the shiny side down and cut the design. Use your weeding tool to remove the excess vinyl from around the text.

- Use an iron or Easy Press Mini to transfer the design to the front of the glove.

- Tie a bow with the ribbon and thread two bells onto a piece of twine. Glue the twine to the gloves then cover the ends of the twine with the bow.

Video
Article may contain Amazon & affiliate links. As an Amazon Associate I earn from qualifying purchases at no additional cost to you.


ABOUT PETRO
Hi, I’m Petro, author and founder of Easy Peasy Creative Ideas. Sewist, crafter, avid DIY-er, foodie, photographer, homemaker and mommy to one. I’m an expert at coming up with quick, clever sewing tips, recycling crafts and simple, easy recipes! You can find my ideas featured in reputable publications such as Country Living, Good House Keeping, Yahoo News, WikiHow, Shutterfly, Parade, Brit & Co and more. Thanks for stopping by and hope you’ll stay for a while, get to know me better and come back another time. Stick around for real fun projects! Read more…