

DIY Christmas centerpieces from tin cans
Give your table a festive touch with these beautiful DIY Christmas centerpieces! If you love hosting a Christmas party but plan on staying on budget, then you must make these tin can centerpieces!
Christmas centerpiece ideas

Reusing materials for crafts is a great way to save a little money and help the planet! And one of the best reusable materials for crafting are tin cans. There are so many amazing ways to reuse cans – from organizing your desk to creating unique lanterns. With this simple holiday craft, we’re going to turn plain soup cans into a beautiful DIY Christmas centerpiece for your holiday dinner table.
So if you’ve been looking for recycled Christmas decor that is quick to make, super easy and affordable, these are your best bet!
Other Christmas ideas you will love:
- Christmas wine bottle decor idea
- 10 Beautiful Christmas wreaths
- Fabric covered plywood Christmas tree
- Jar luminaries Christmas decor
- Christmas tree napkin folding
- DIY wire snowman
- Scarf Christmas wreath
- Tinsel garland wreath

Why Use Soup Cans?
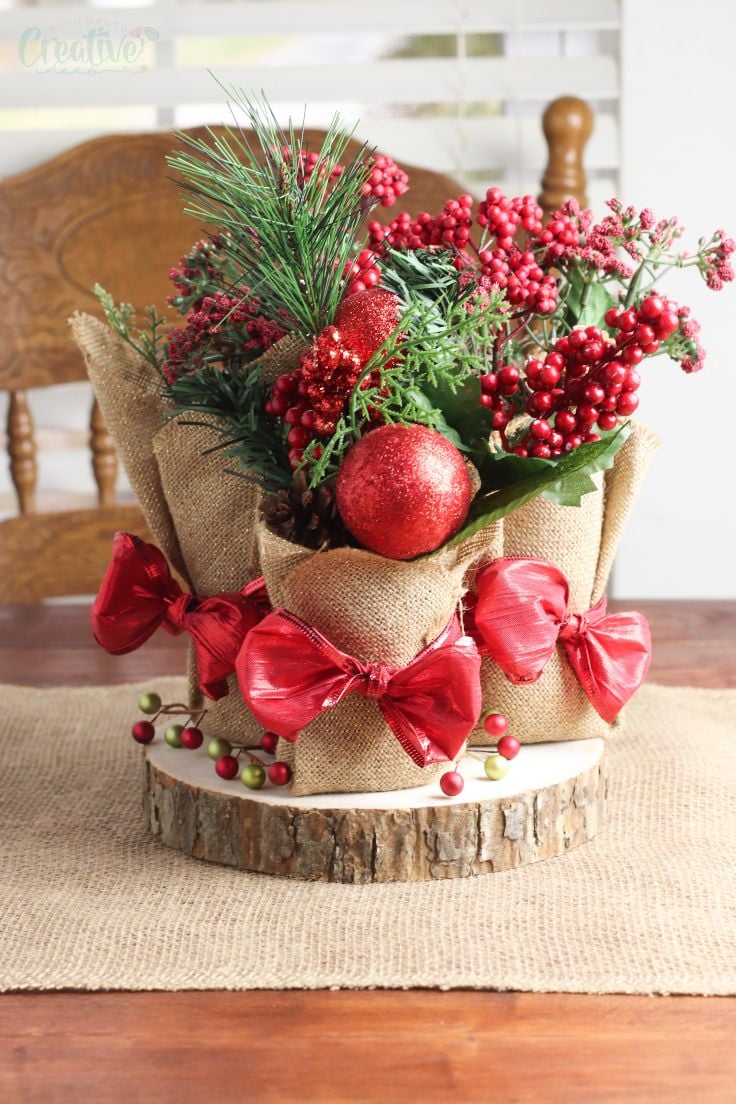
In addition to being thrifty and green, using soup cans for your cheap Christmas centerpieces is also convenient. You probably already have a ton of tin cans in your pantry right now. And they’re the perfect size to hold a beautiful holiday arrangement. But you don’t have to use only soup cans. Any size tin can would work well for this craft. In fact, I used two different sized tin cans to create my centerpiece – two larger vegetable cans in the back and a smaller soup can in the front.
If you don’t have old tin cans at home or don’t plan on using any canned vegetables or soups to cook this week, don’t worry! This simple Christmas centerpiece can also be made using small vases, jars, or cups. Just follow the instructions below using the cup, jar, or vase in place of the tin can.
How to Prepare Your Tin Cans
These easy DIY Christmas centerpieces don’t require much preparation before you begin, but there are a couple of things you should do to your cans before you start putting your centerpiece together. First, make sure all the vegetables, soup, or sauce that was inside of the can has been completely removed. Then, carefully remove the label from the outside of the can. To easily remove the can’s label, look for the seam on the side of the can and rip from there.
After the label has been removed, you’ll probably have some glue residue and paper pieces still stuck to the can. Remove as much of the tiny pieces of paper as you can, but don’t worry about the glue. These cans will be covered with burlap, so a little bit of glue on the side of the can won’t hurt!
When the label has been completely removed, clean the inside and outside of the can with warm water and dish soap. Make sure all the food residue has been completely cleaned from inside the can to prevent mold and mildew from growing inside your centerpiece. Finish by drying your can completely with a towel.
DIY Christmas Centerpieces
Supplies:
- Clean tin cans
- Squares of burlap cut to fit around the cans
- Red ribbon
- Christmas picks
- Berry picks
- Large wood slice
- Hot glue gun
Instructions:
- Place the tin cans on the burlap squares.

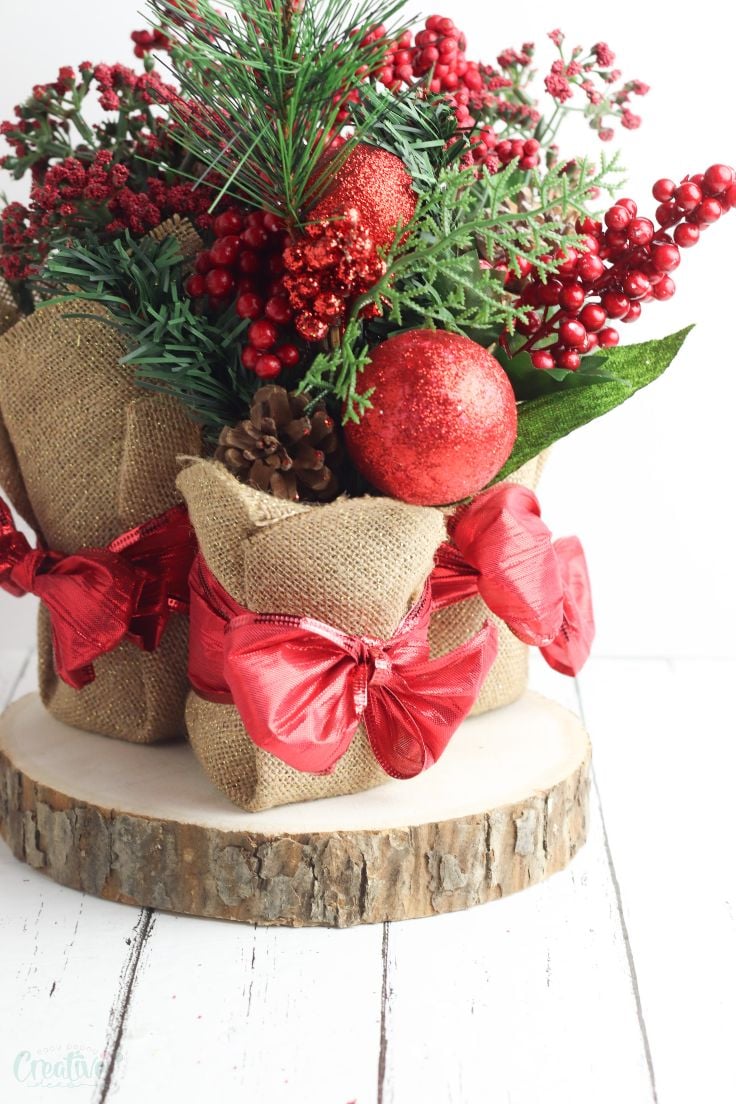
- Wrap the burlap around each can, securing in place with hot glue as you wrap.
- Tie a bow around the front of each can using red ribbon.

- Fill the cans with Christmas floral picks and red berry picks.

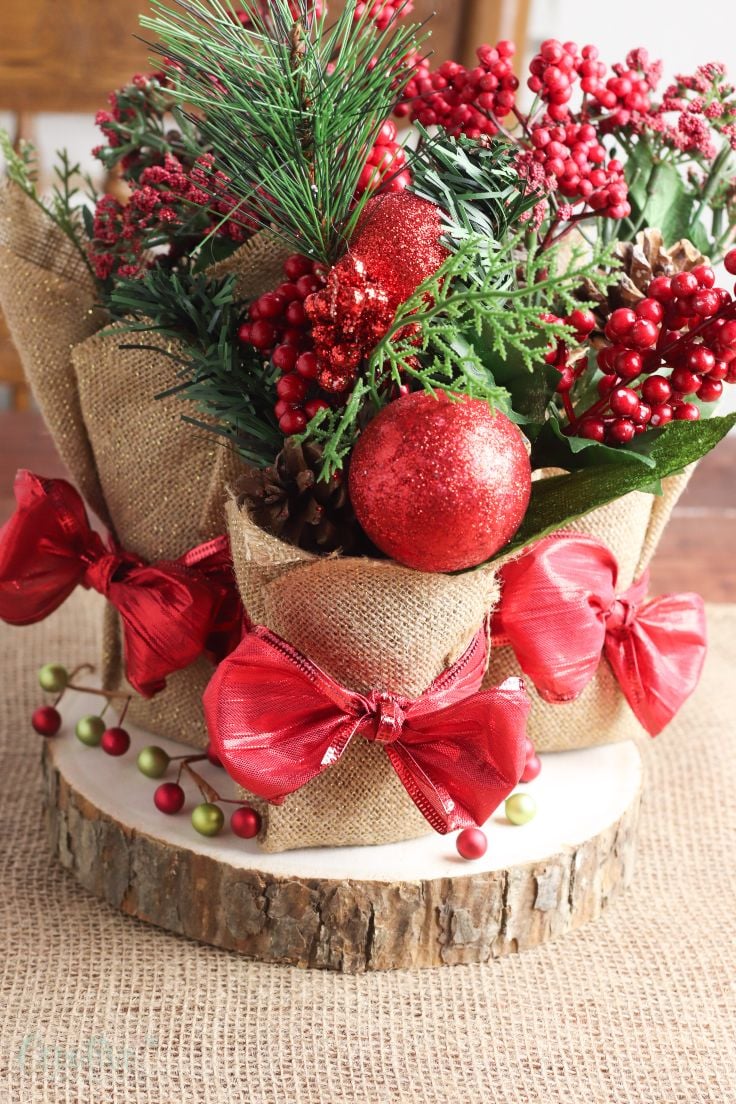
- Place the filled cans on top of the large wood slice.
- Decorate the slice with more berry picks.
Pin to save for later

Article may contain Amazon & affiliate links. As an Amazon Associate I earn from qualifying purchases at no additional cost to you.
ABOUT PETRO
Hi, I’m Petro, author and founder of Easy Peasy Creative Ideas. Sewist, crafter, avid DIY-er, foodie, photographer, homemaker and mommy to one. I’m an expert at coming up with quick, clever sewing tips, recycling crafts and simple, easy recipes! You can find my ideas featured in reputable publications such as Country Living, Good House Keeping, Yahoo News, WikiHow, Shutterfly, Parade, Brit & Co and more. Thanks for stopping by and hope you’ll stay for a while, get to know me better and come back another time. Stick around for real fun projects! Read more…