

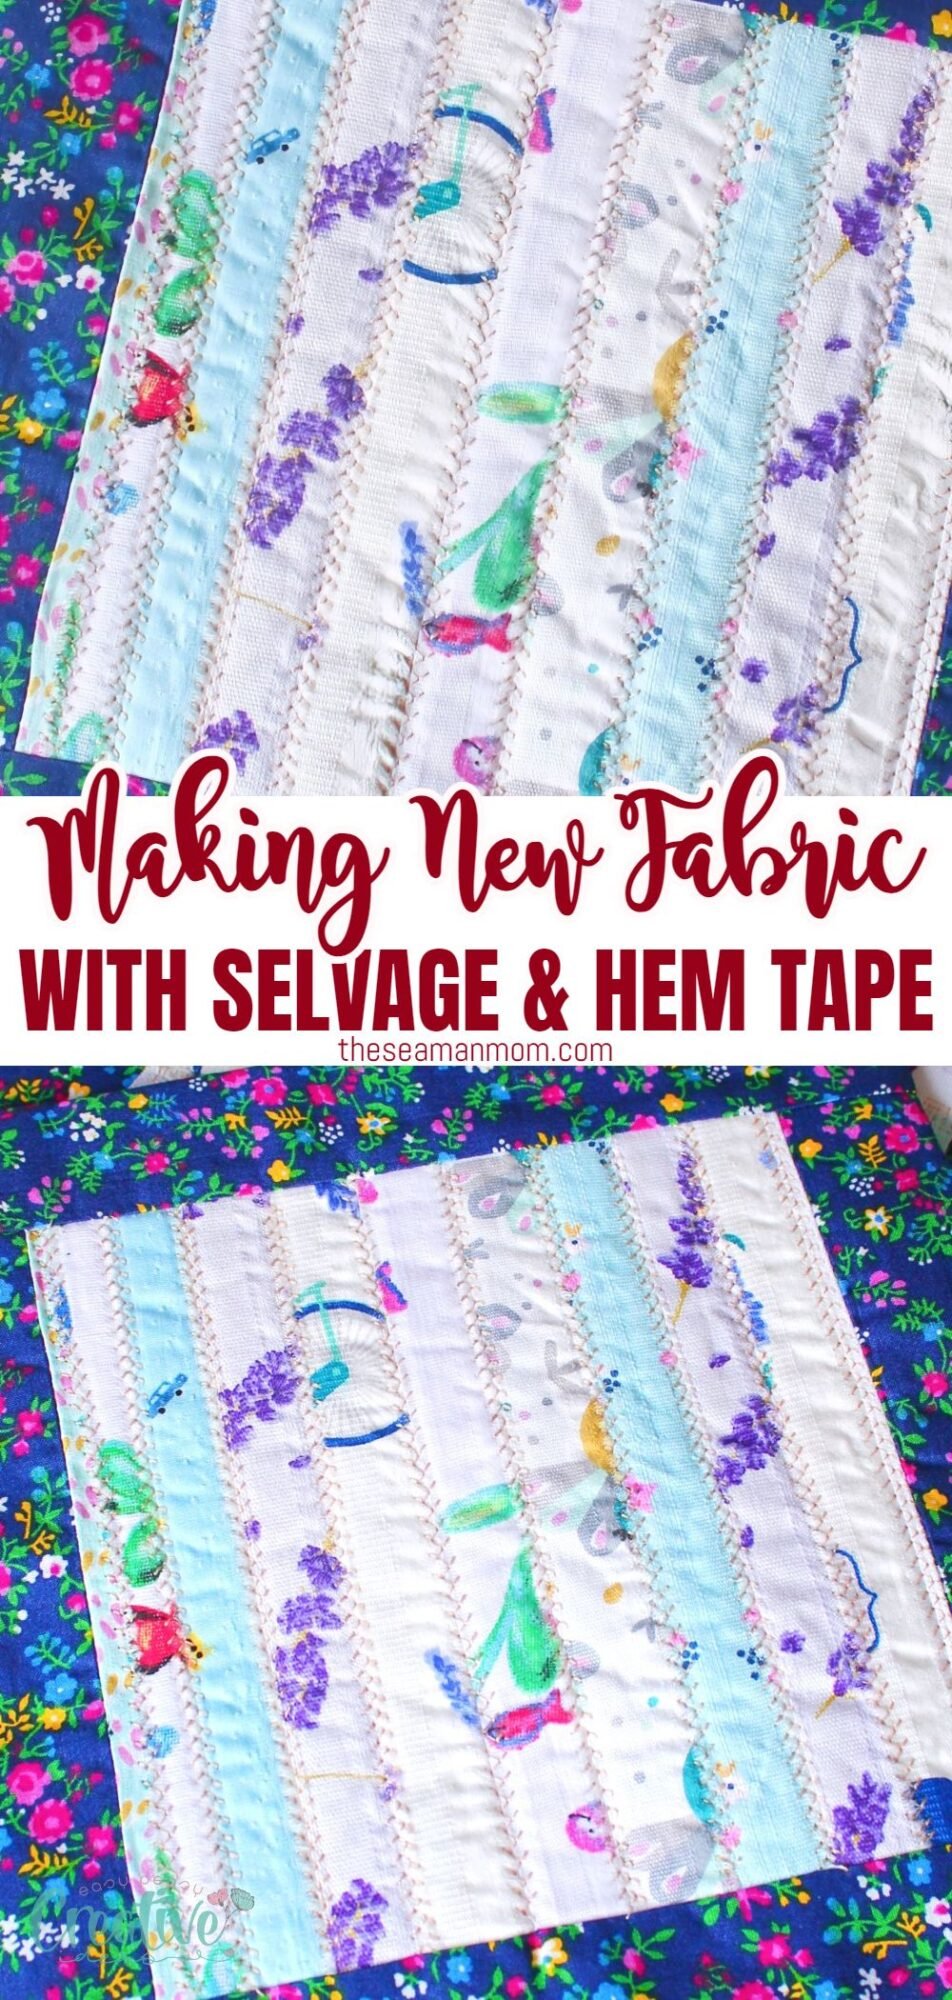
How to make fabric with selvage and hemming tape
Learn how to make fabric with selvages and hemming tape and turn fabric scraps into beautiful and unique pieces! Explore the world of fabric upcycling and unleash your creativity by creating stunning fabric pieces that showcase your individual style and sustainability efforts.
Learning how to make fabric with selvage is a great way to reduce waste and create one-of-a-kind pieces. In this simple tutorial we’ll discover the process, materials, and helpful tips needed for making your own new fabric using selvages and hem tape. This eco-friendly and fun project is perfect for all levels of sewing enthusiasts, and a great opportunity to save on fabric while turning your stash of fabric scraps into something beautiful and useful.
As a sewing enthusiast, I love discovering new ways to create unique and sustainable pieces while putting my fabric scraps to a good use. Making selvage fabric with hem tape is one of my favorite techniques because it allows me to reduce waste and turn scraps into beautiful and useful fabrics for my projects. And the process is quick and easy, not to mention quite mindless. Perfect for those days when I don’t have enough time for sewing an actual project or those when I don’t feel like putting my brain to work too much. So, let’s get to work!
How to make fabric with selvage and hemming tape
Materials
- Selvage strips from various fabrics
- Hemming tape
Substitutes
- If selvage strips are in short supply, you can use fabric scraps of similar weight, size and width.
- Fusible interfacing can substitute for hemming tape for added stability as I did in my previous tutorial.
Equipment
- Iron
- Ironing board
- Cutting mat
- Rotary cutter
- Quilting ruler
How to make the new fabric
Preparations
- Gather a collection of selvage strips in the same color tone. Or consider mixing colors and patterns for a vibrant effect.
- Remove any loose threads and trim the large frays.
- Press each strip well on both sides.
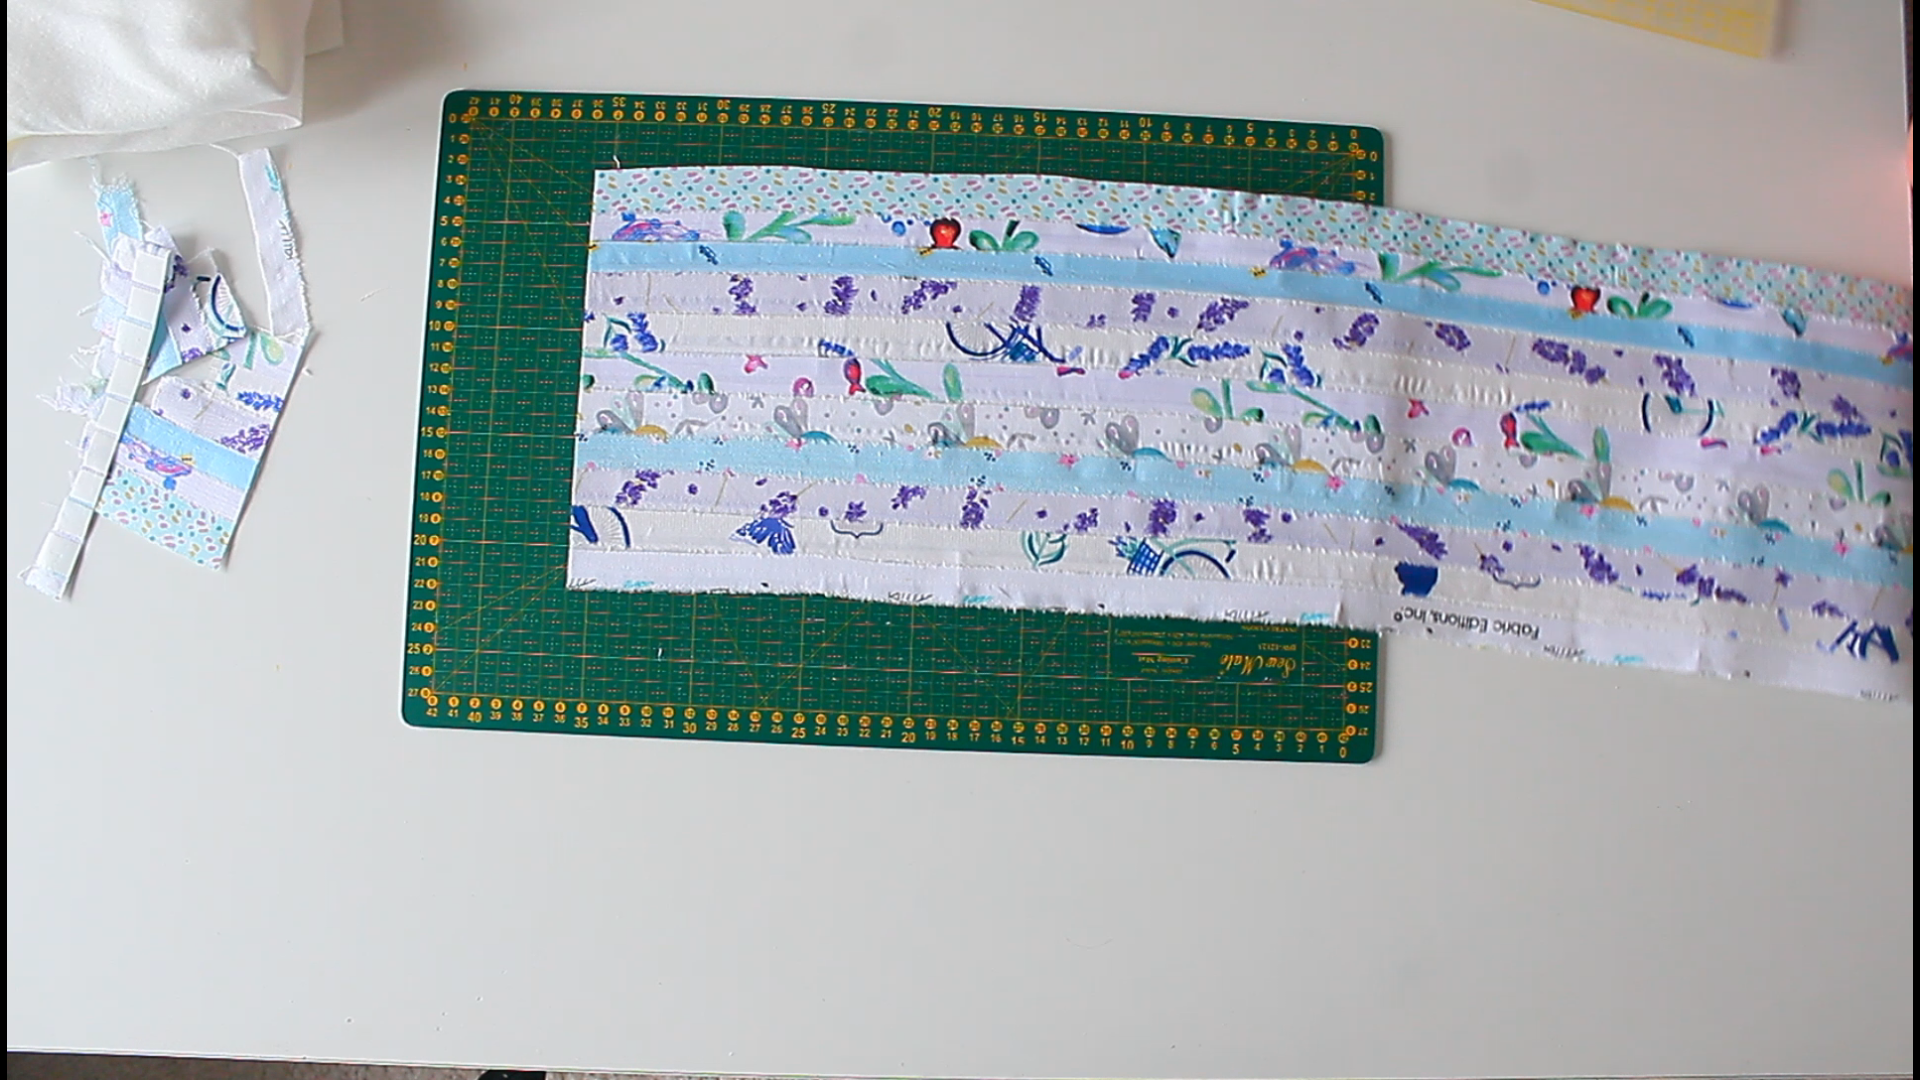
Making the new fabric
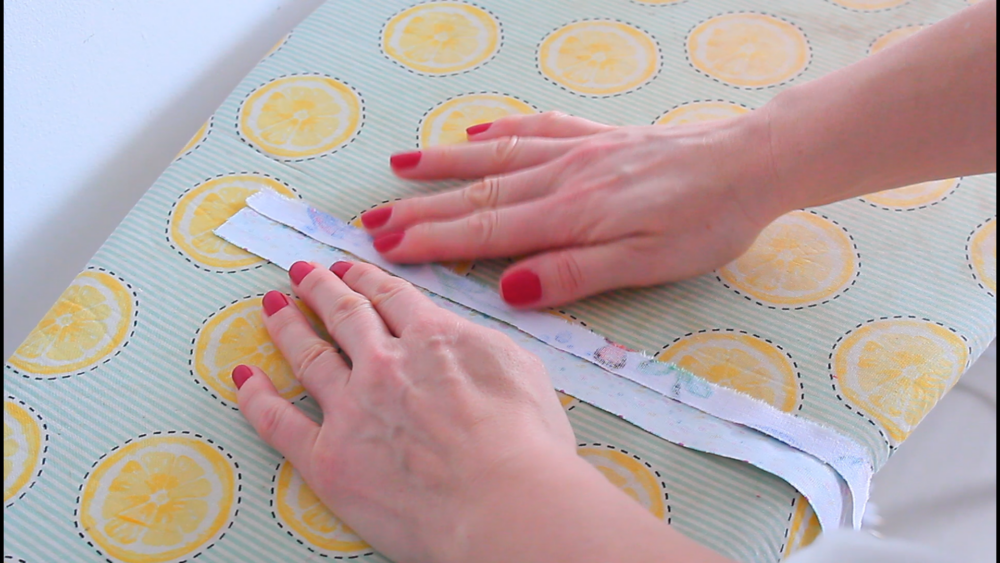
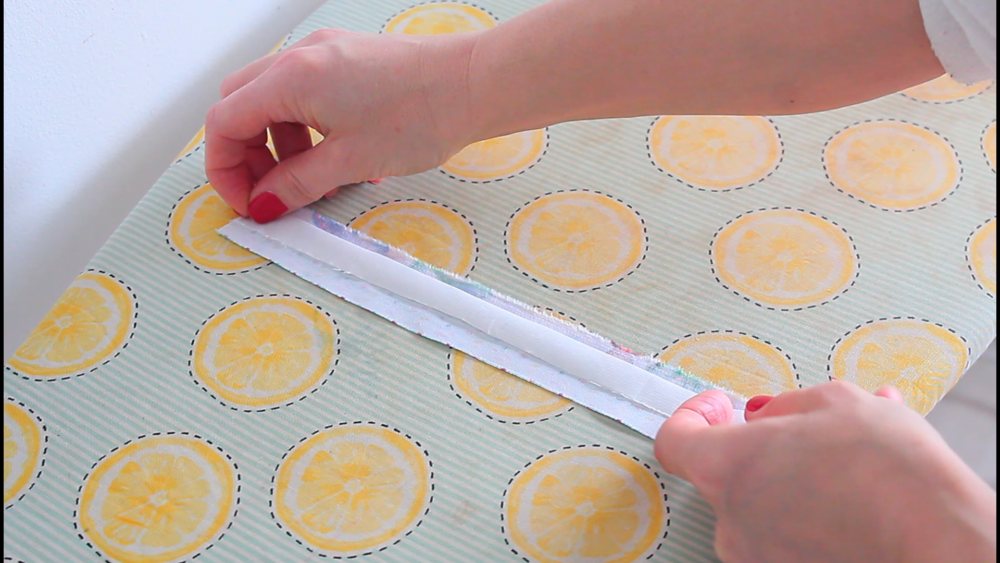
- Arrange two of your selvage strips on the ironing board with the wrong sides up.
- Butt the long edges together as neatly as possible. It helps to place the entire length of the strips on the ironing surface.
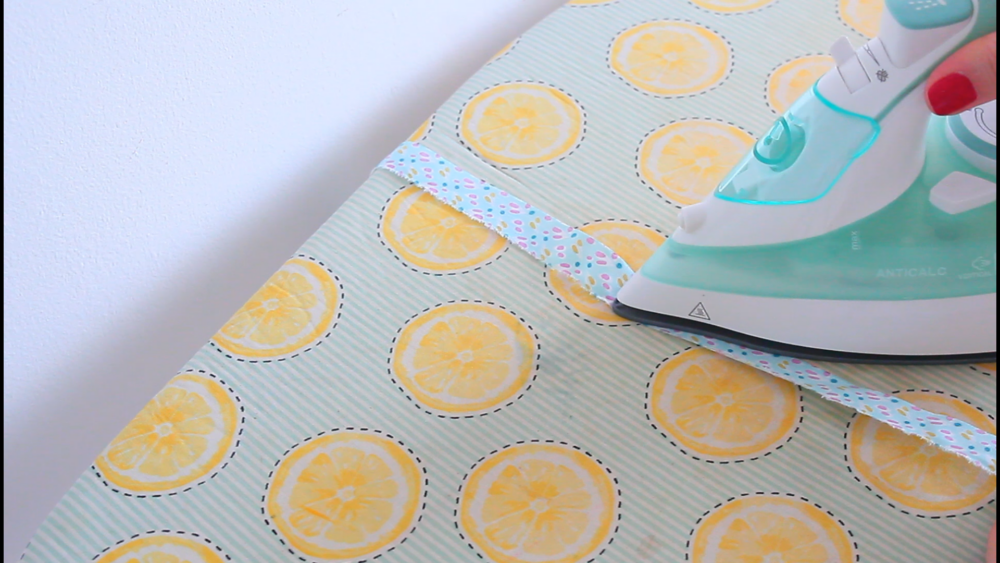
- Add hemming tape right in the middle, over the joining edge of the strips.
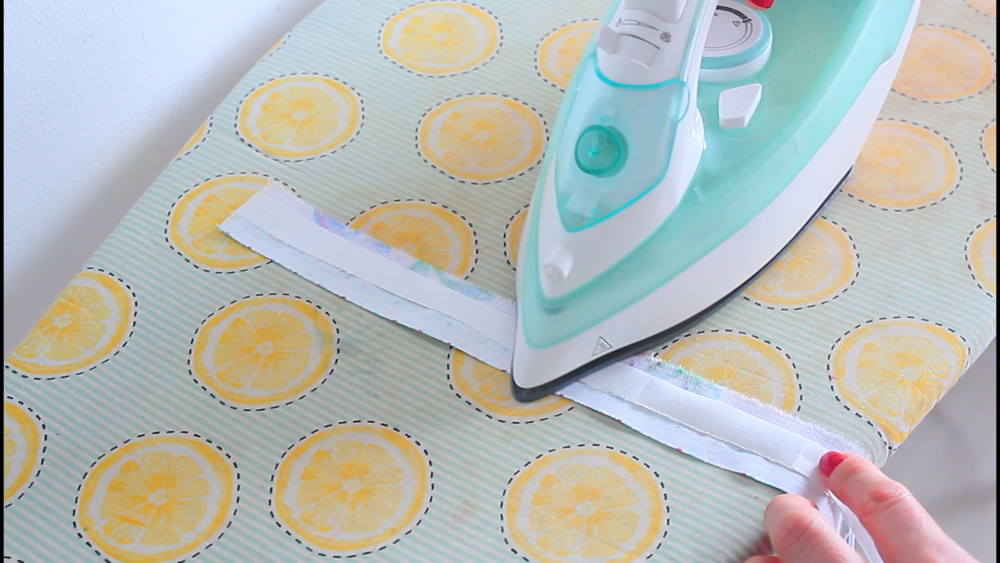
- Secure the strips in place with hemming tape by ironing the tape onto the strips.
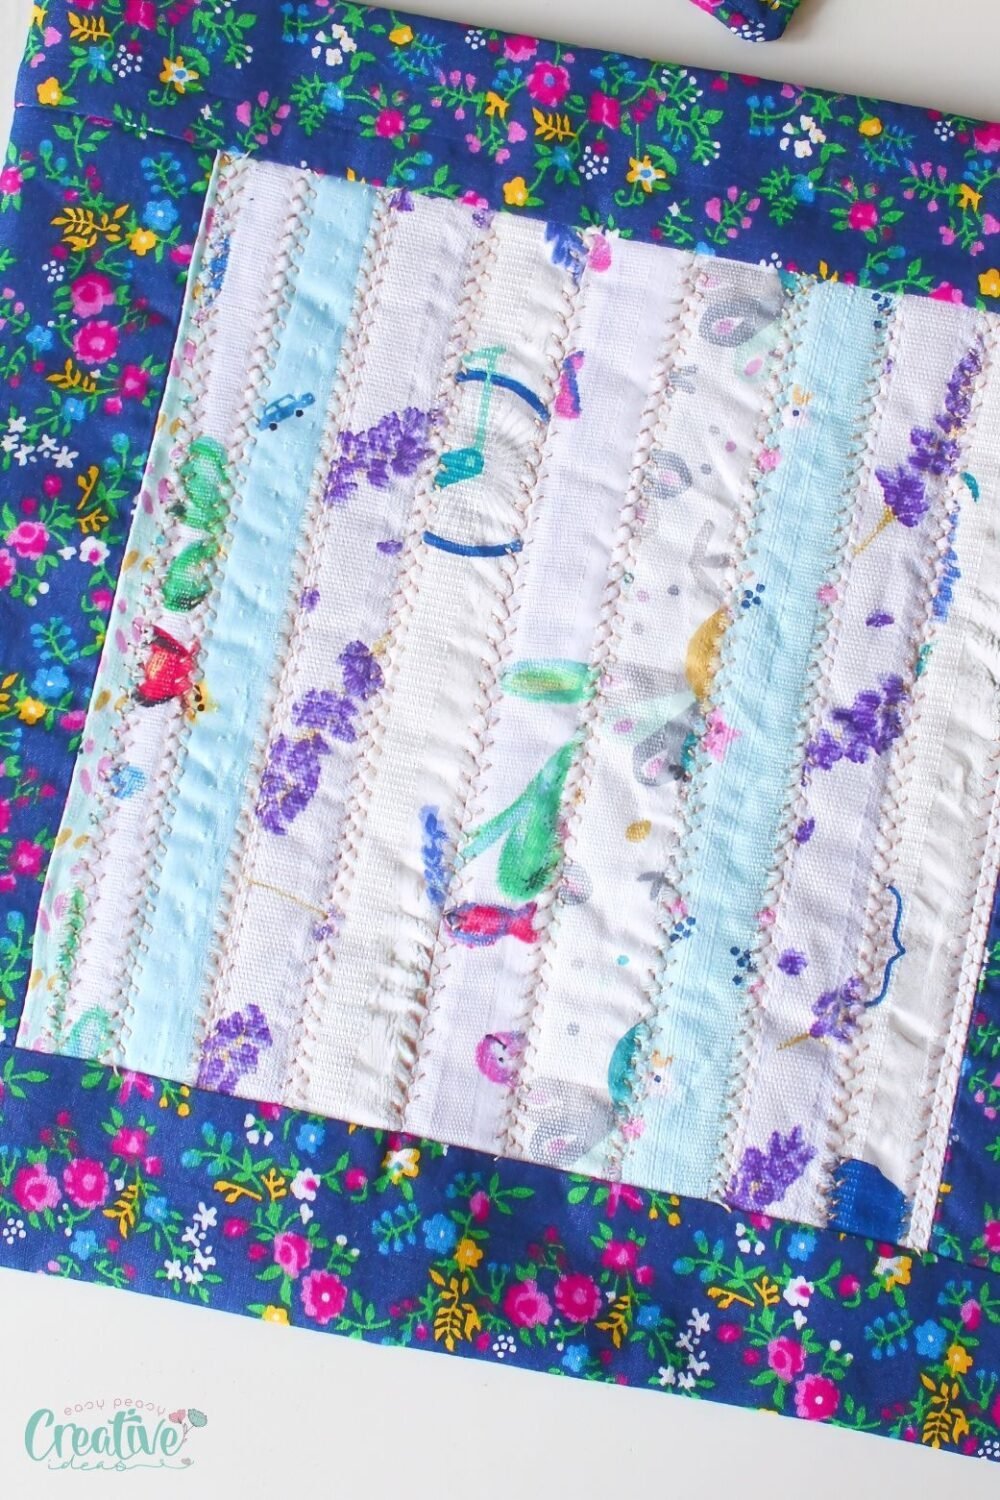
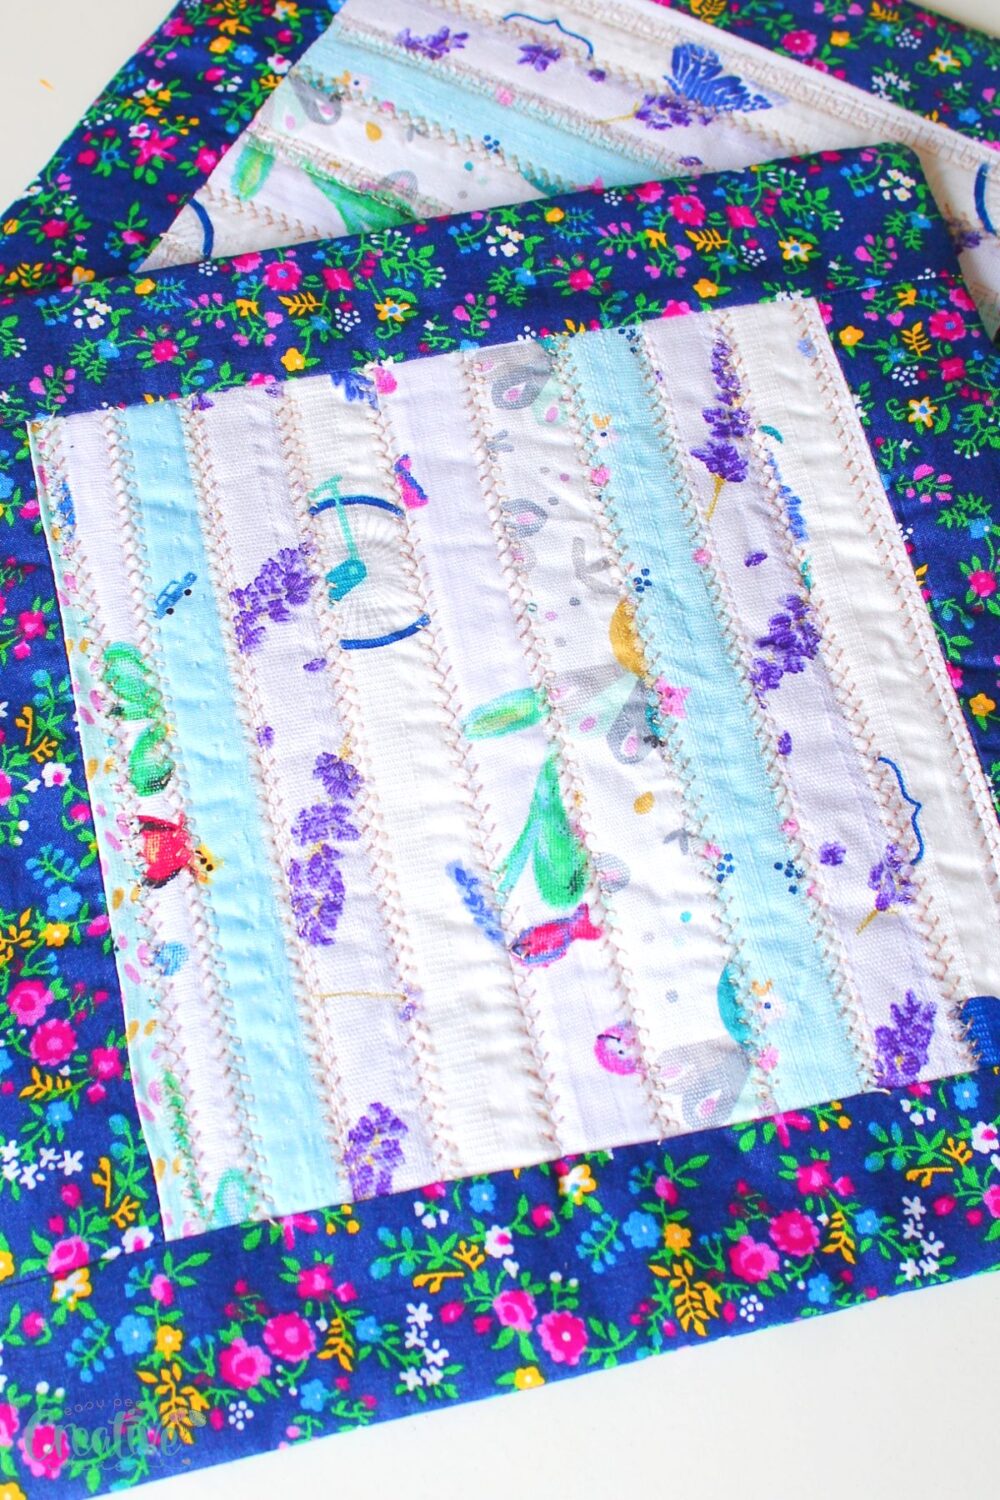
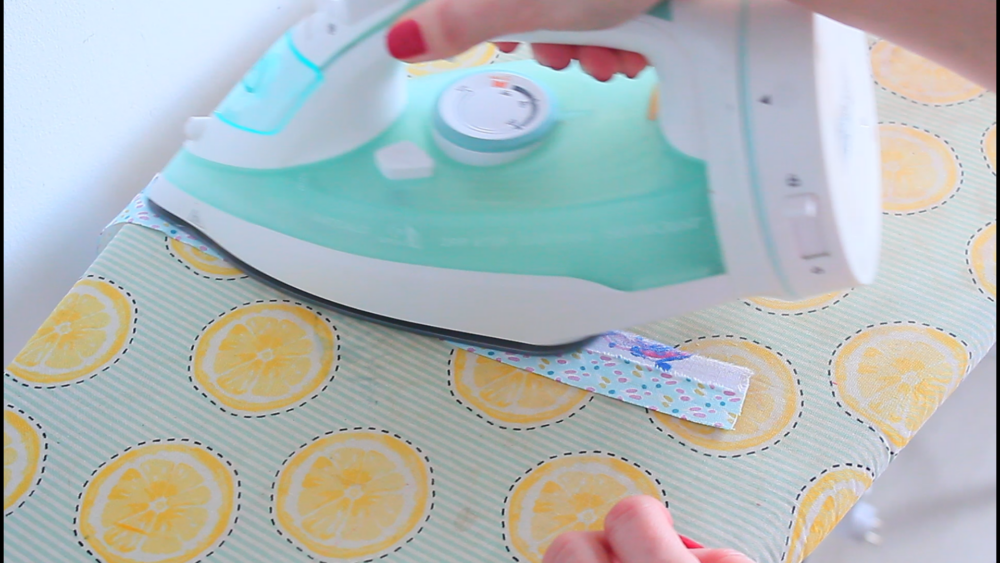
- Turn the strips to the right side and press, smoothing out any wrinkles and puckers. That’s why is important to butt the strips well so the iron doesn’t touch any adhesive through the “butt gap” (lol), when the strips are turned right side up. It’s ok if you see a bit of fraying, it will be completely covered whenever you choose to sew the joins with a decorative stitch, in future projects.
- Add another selvage strip and repeat the process.
- Repeat until you’re finished butting and joining all the strips with hemming tape.
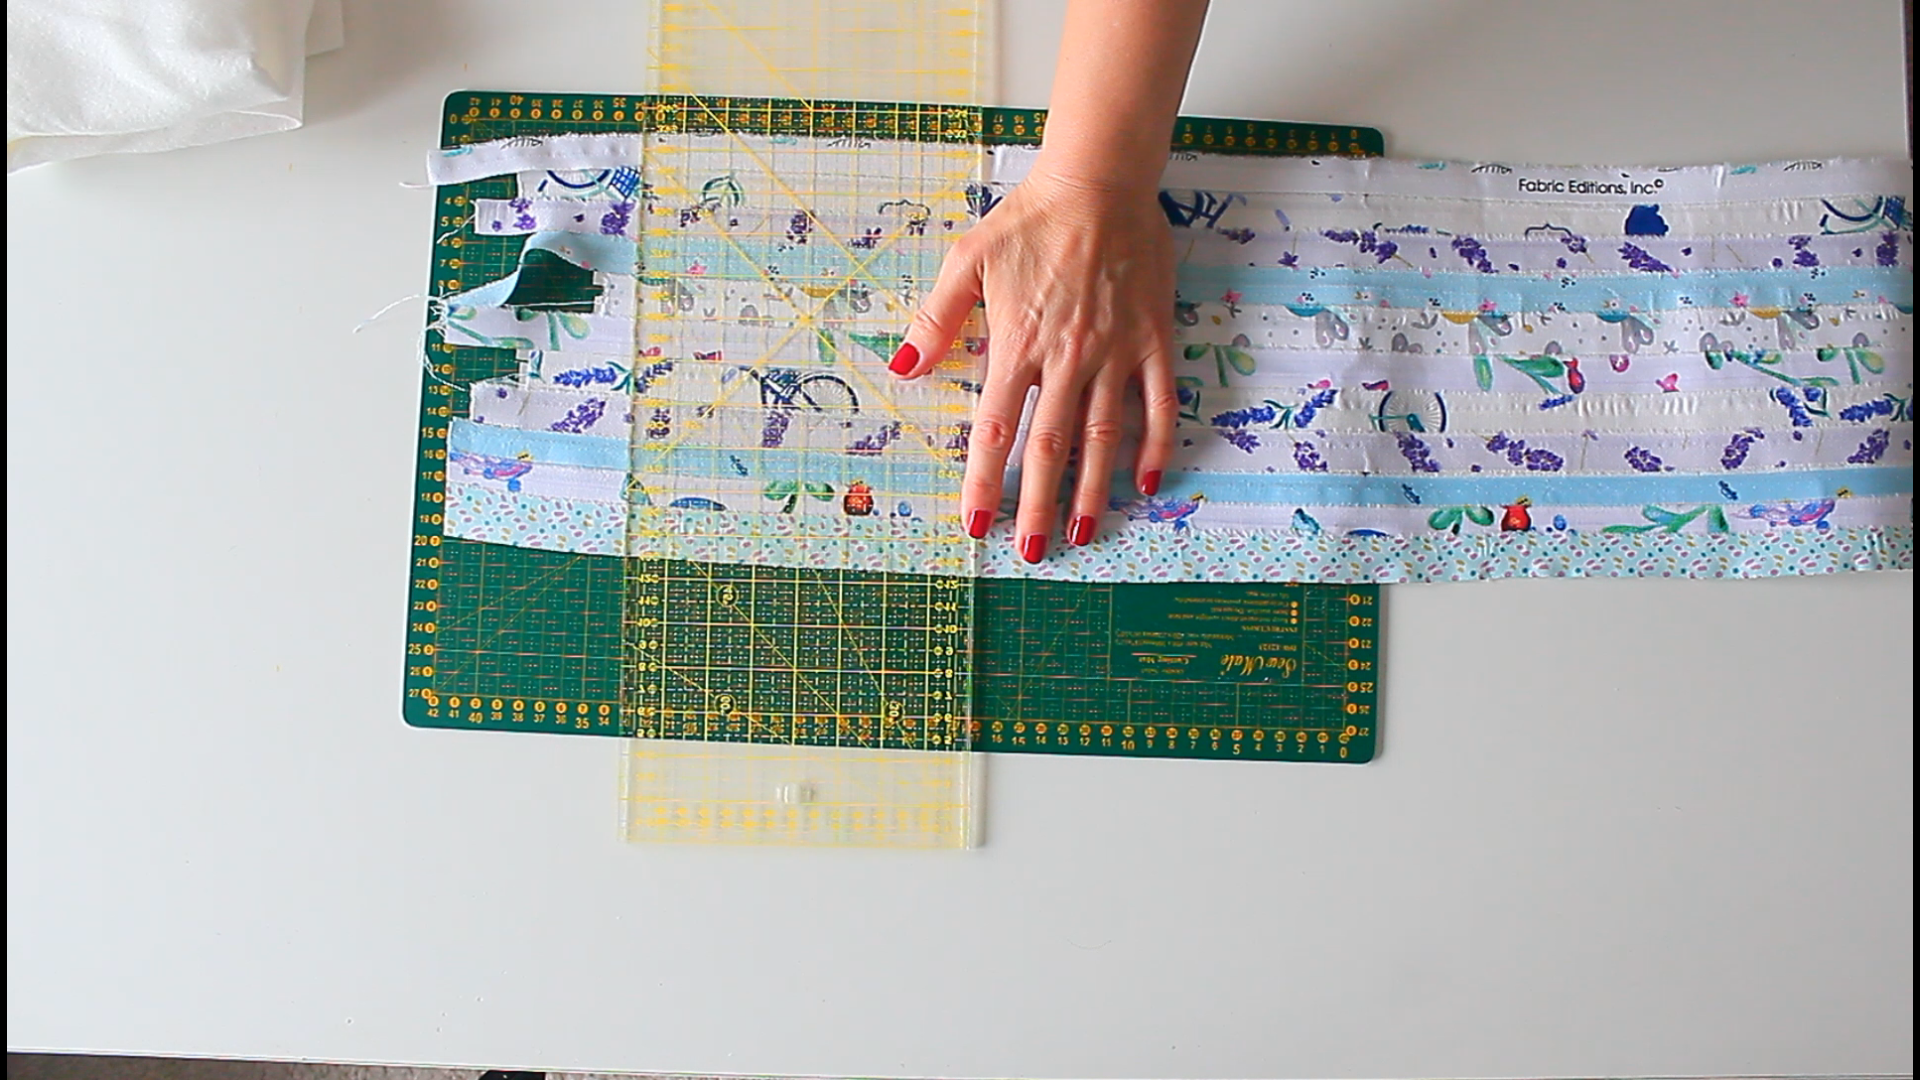
- Trim the ends of your new fabric.
Tips for using the new fabric
- Keep the backing paper of the hemming tape on until you’re ready to use the new selvage fabric in a project. Remove it just before stitching the joins with decorative stitching.
- If using the new fabric in a quilting project, remove the backing paper, add the cotton batting and press with the iron to fuse onto the selvages. Then quilt with your favorite quilting method.
- Experiment with different stitch types and colors for added texture and visual interest. A zigzag stitch, for example, can provide extra security and flair.
Project variations
- If you have scraps of hemming tape you can use those instead of a whole tape. Just make sure you work in small sections.
- Use this method for other kind of scraps, including in patchwork projects.
- Use selvage strips in various widths to create a unique striped fabric.
Frequently Asked Questions
Can I use any fabric for selvage?
Yes! However, cotton and quilting fabrics tend to have more robust selvages. Plus they’re easier to sew in projects.
How do I prevent the new fabric from puckering?
Using hemming tape to create your new fabric panel will create a solid backing to the selvages, making them stiffer and easier to sew. So no puckering should occur when sewing the joins with a decorative or zig zag stitch. Plus if you’re using the new fabric in a quilting project, adding cotton batting to the back of the fabric will provide even more stability.
More sewing projects you’ll enjoy
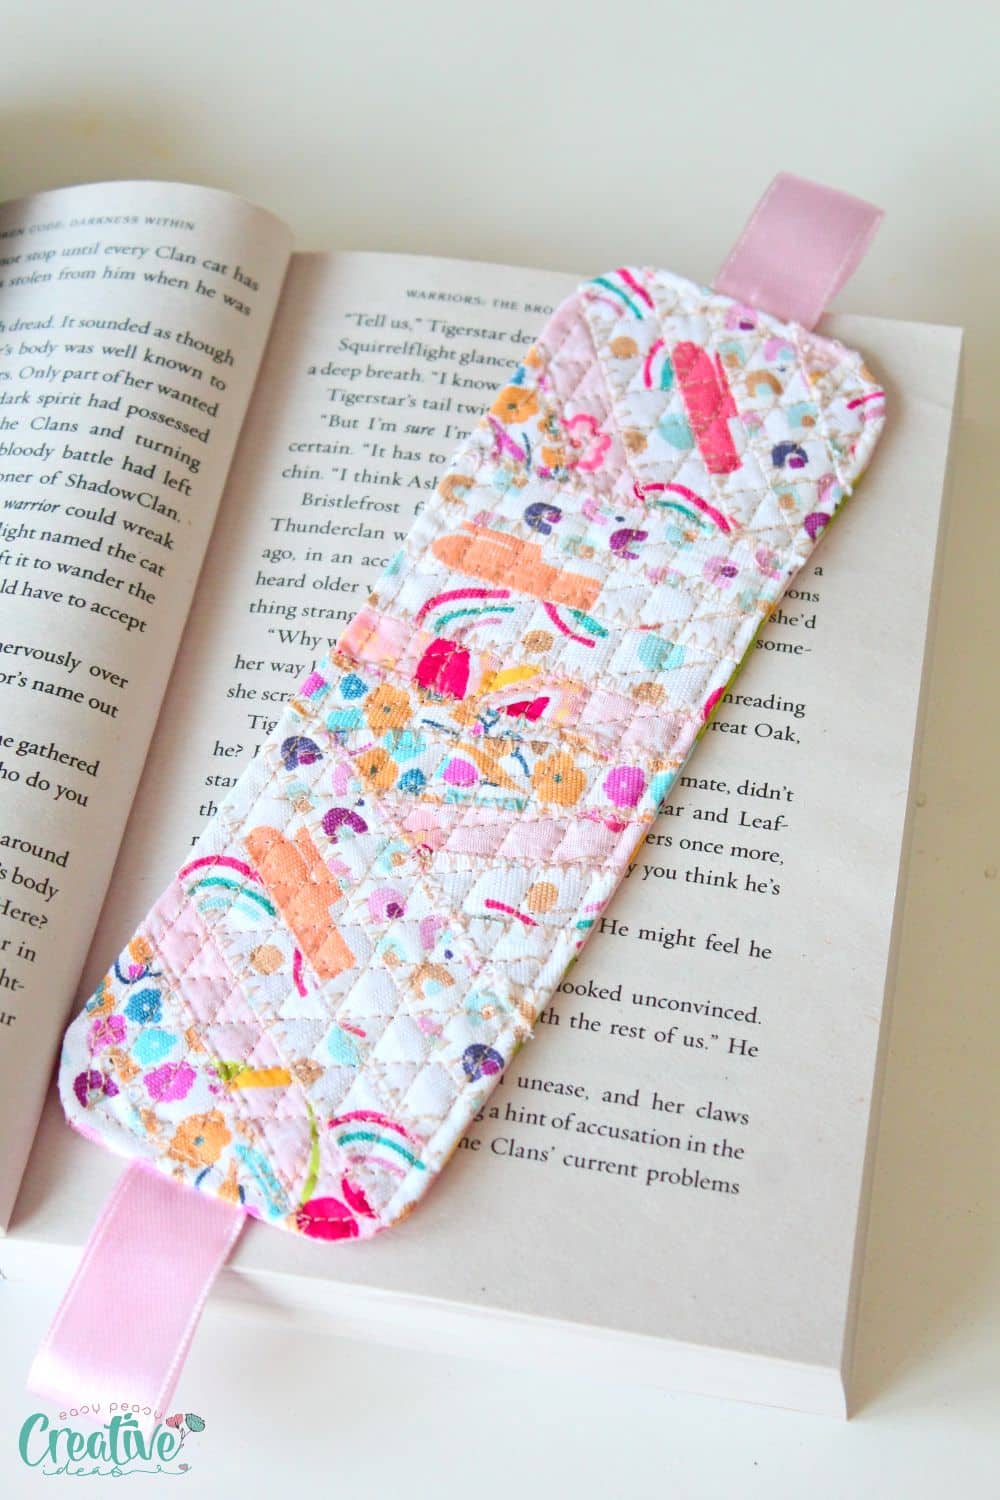
- Selvage fabric bookmarks
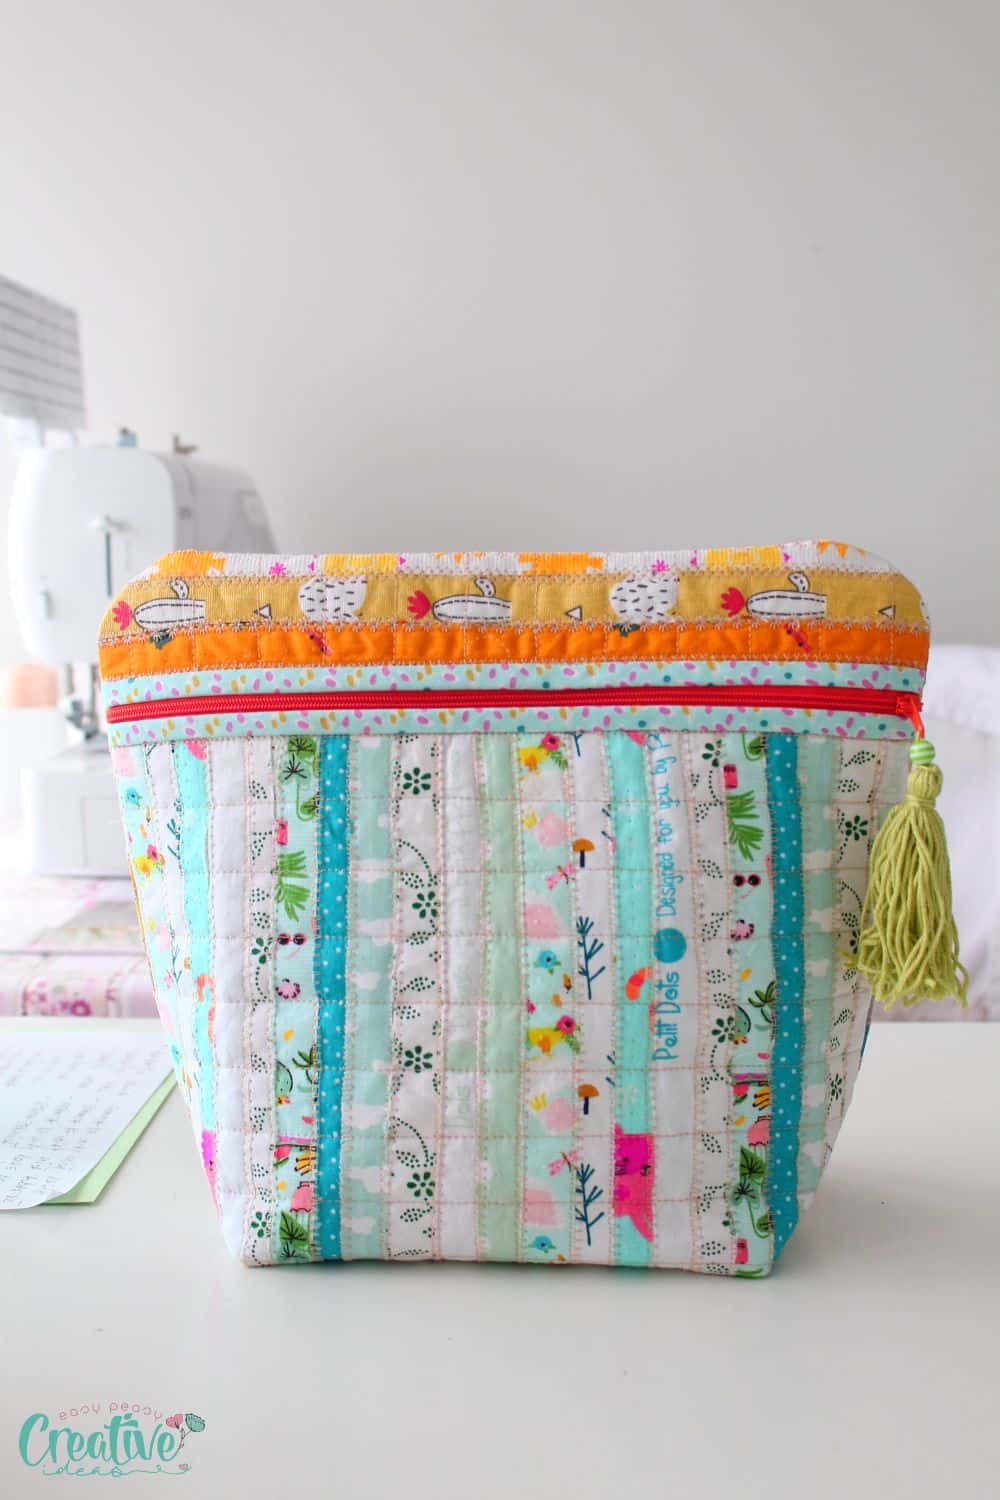
- Quilted toiletry bag with selvage fabric
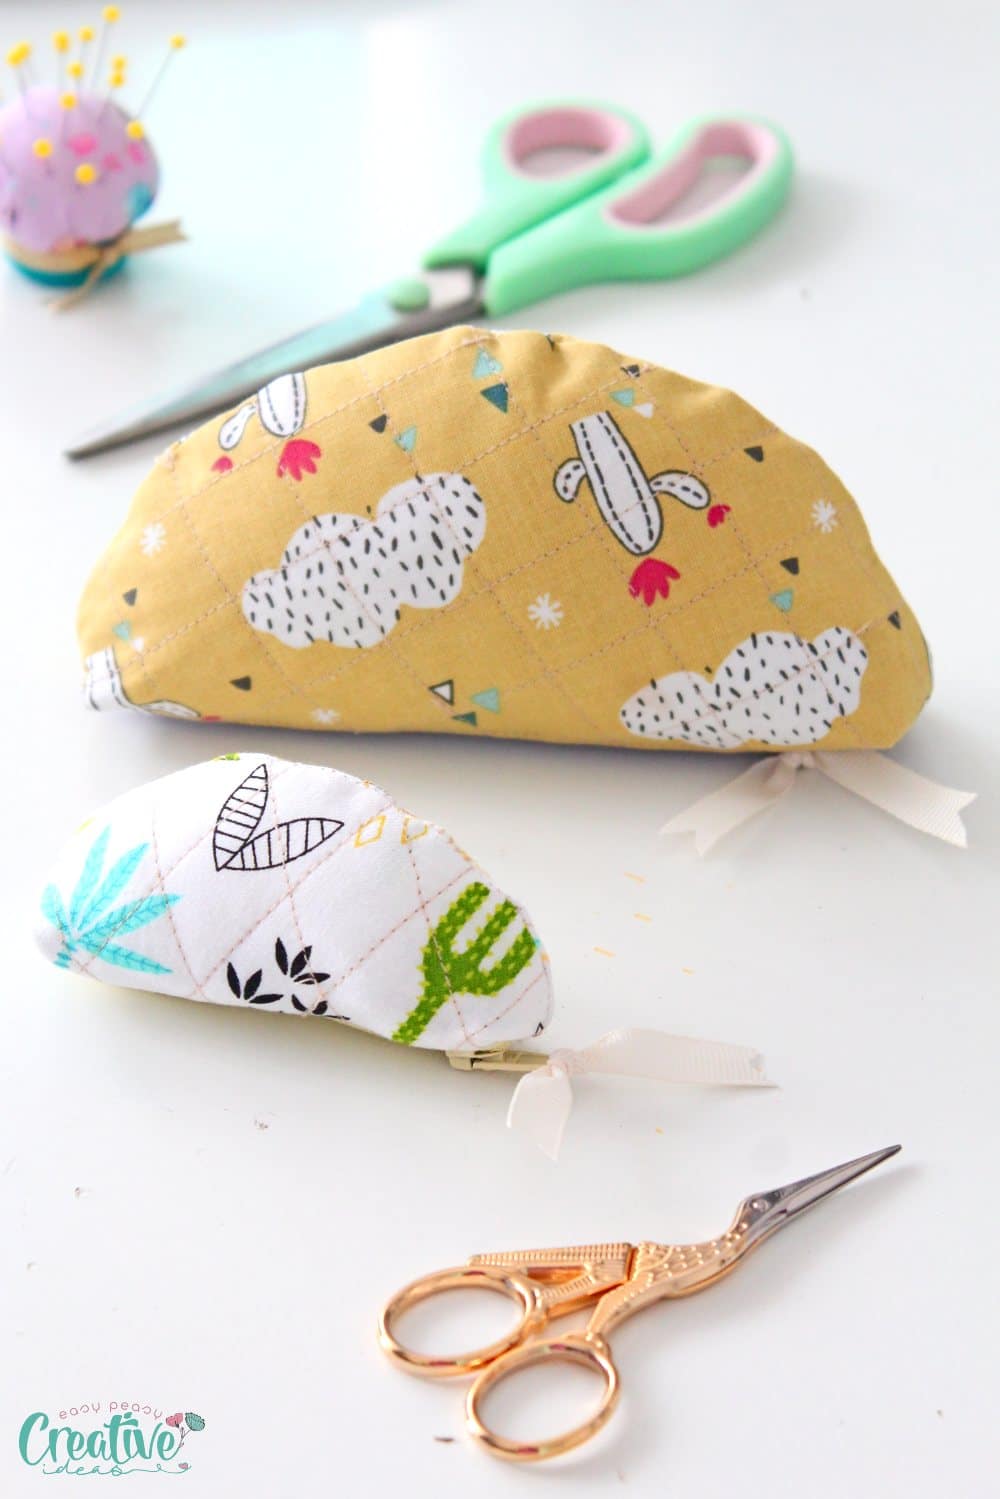
- Scrappy quilted small coin purse
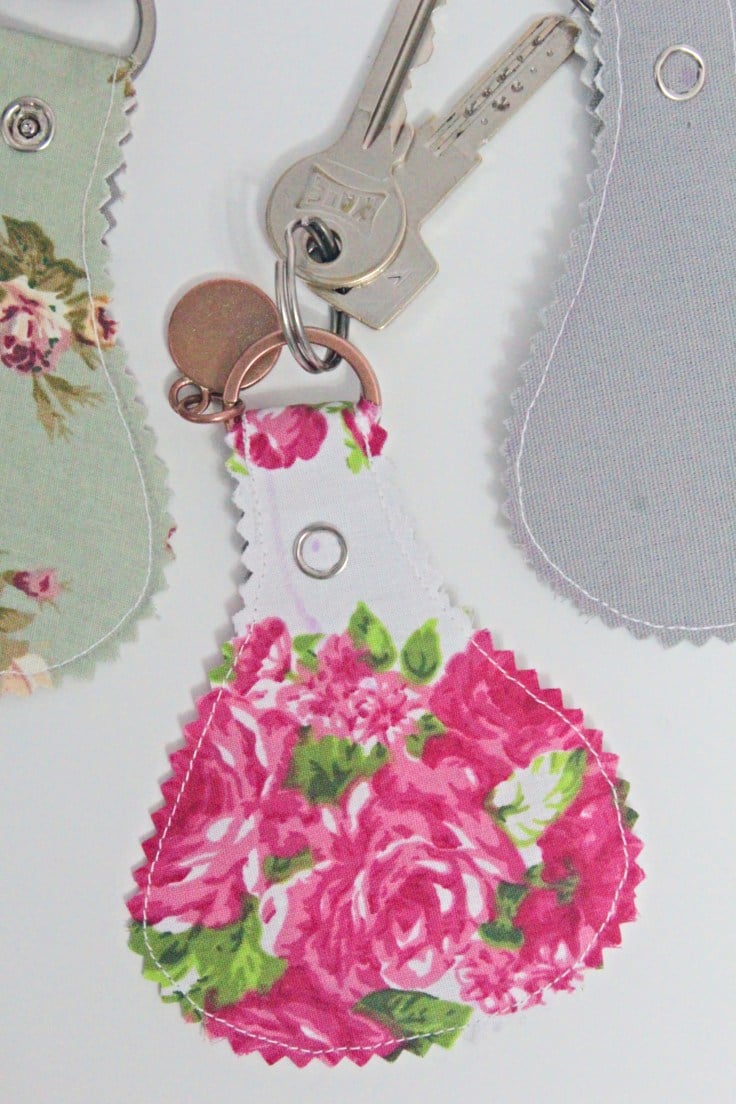
- Fabric keychains with scrap fabric
Size and how to scale
Adjusting the size of your selvage fabric panel is pretty straightforward. Simply add or remove selvage strips to meet the dimensions of your intended project, keeping in mind the purpose and the overall balance of colors and patterns.
Get creative and start making your own fabric with selvage today and let me know what you created with your selvages in the comments below. Stay tuned for my next tutorial where I show you how I used this new selvage fabric I just made.
And for more sewing tips, tricks, and project ideas, don’t forget to sign up for my newsletter. Happy sewing!

How to make fabric with selvage
Materials
- Selvage strips from various fabrics
- Hemming tape
Tools
- Iron
- Ironing Board
Instructions
- Gather a collection of selvage strips. Consider mixing colors and patterns for a vibrant effect.
- Remove any threads and trim extra large frays.
- Press each strip well on both sides.
- Arrange two of your selvage strips on the ironing board with the wrong sides up.
- Butt the long edges together as neatly as possible.
- Add hemming tape to the joining edge.
- Secure the strips in place with hemming tape by ironing the tape onto the strips.
- Add another selvage strip and repeat the process.
- Repeat until you're finished butting and joining all the strips with hemming tape.
- Trim the ends of your new fabric.
Video
Article may contain Amazon & affiliate links. As an Amazon Associate I earn from qualifying purchases at no additional cost to you.
ABOUT PETRO
Hi, I’m Petro, author and founder of Easy Peasy Creative Ideas. Sewist, crafter, avid DIY-er, foodie, photographer, homemaker and mommy to one. I’m an expert at coming up with quick, clever sewing tips, recycling crafts and simple, easy recipes! You can find my ideas featured in reputable publications such as Country Living, Good House Keeping, Yahoo News, WikiHow, Shutterfly, Parade, Brit & Co and more. Thanks for stopping by and hope you’ll stay for a while, get to know me better and come back another time. Stick around for real fun projects! Read more…