

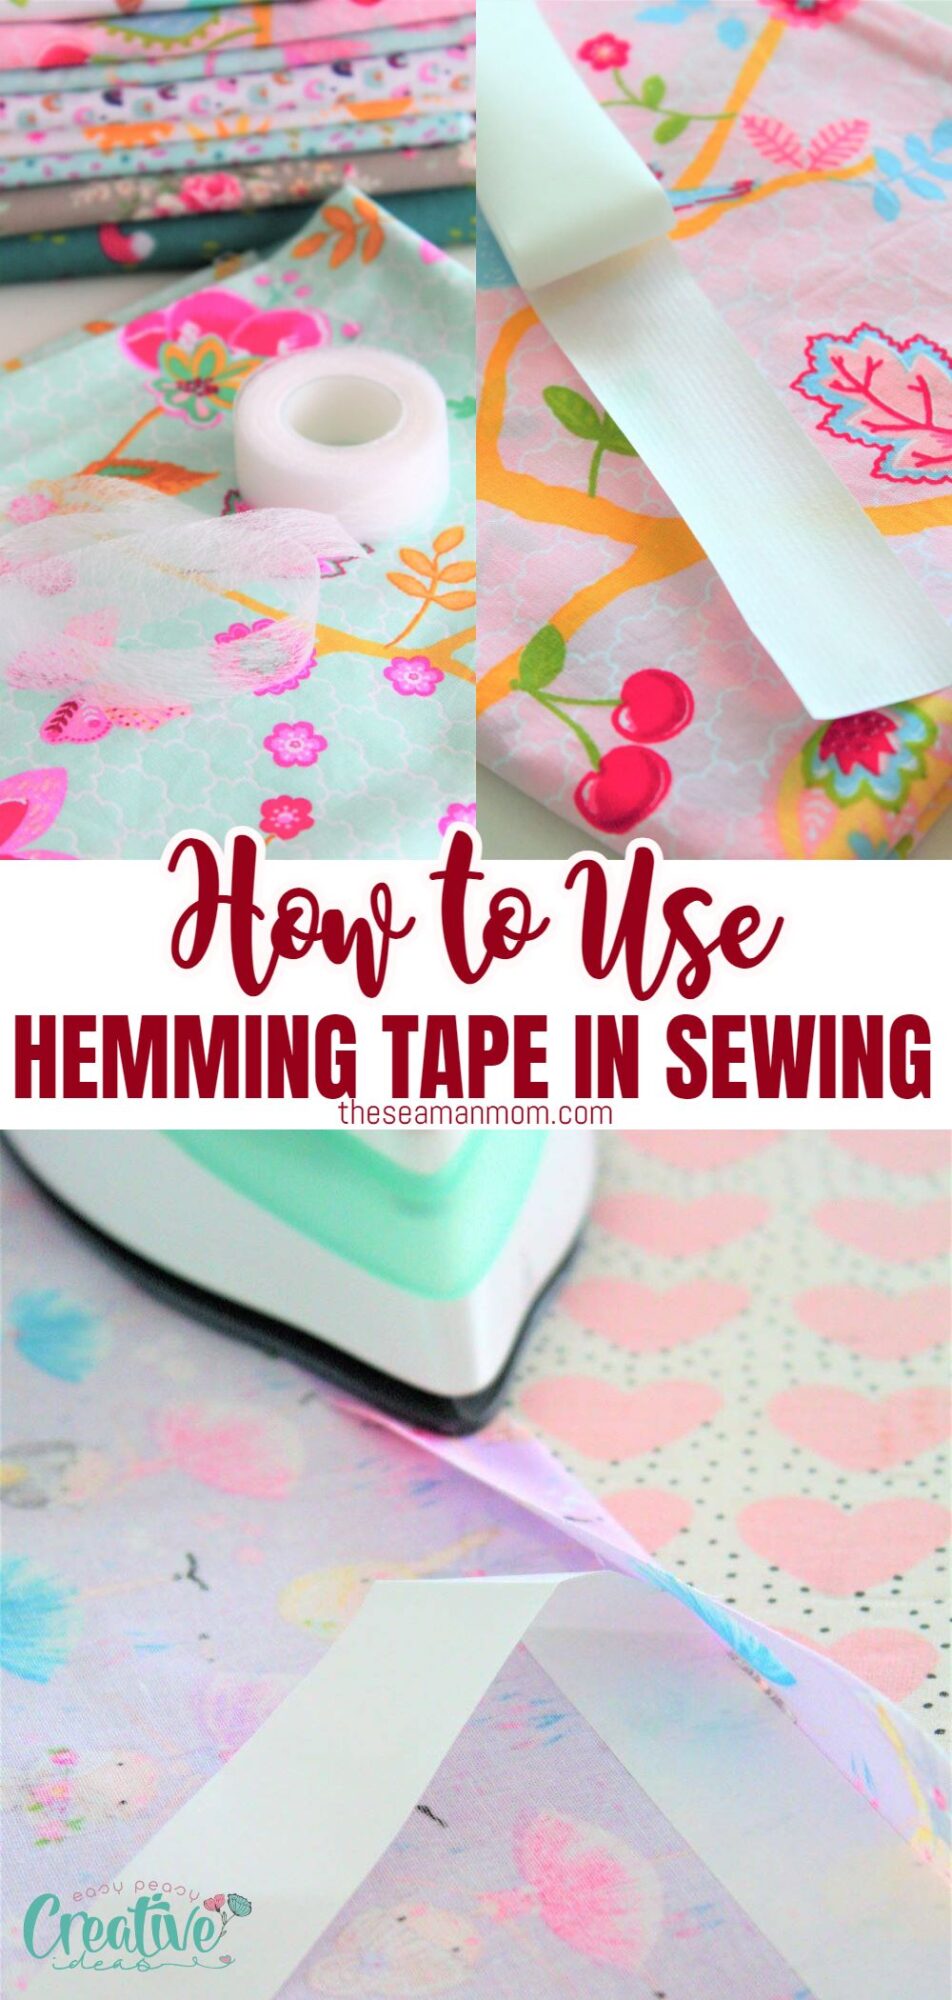
How to use hemming tape in sewing
Follow this guide to learn how to use hemming tape and achieve the perfect hem effortlessly every time! Hemming tape is a convenient alternative to sewing for hemming clothes and much more. It’s a quick and easy method that doesn’t require any special skills.
Learning how to use hemming tape is a game changer for any sewing enthusiasts! Hemming tape is a fantastic tool for achieving a professional-looking finish on your clothes without having to sew.
Whether you’re new to sewing or simply looking for a faster and easier method, hemming tape is the solution you’ve been searching for. In this guide, I’ll walk you through the steps of using hemming tape and share some tips and tricks to help you achieve seamless clothing alterations with ease.
Read on for more details about this modern invention, from the available types of hemming tape to application instructions and some tips to make the neatest and most beautiful hems.
How to use hemming tape
Before getting into the details about using the hemming tape in sewing, first we need to understand a few things about the types of hemming and the differences between them. If you’re familiar with hemming tape, you can just jump to the craft card.
Types of hemming tape
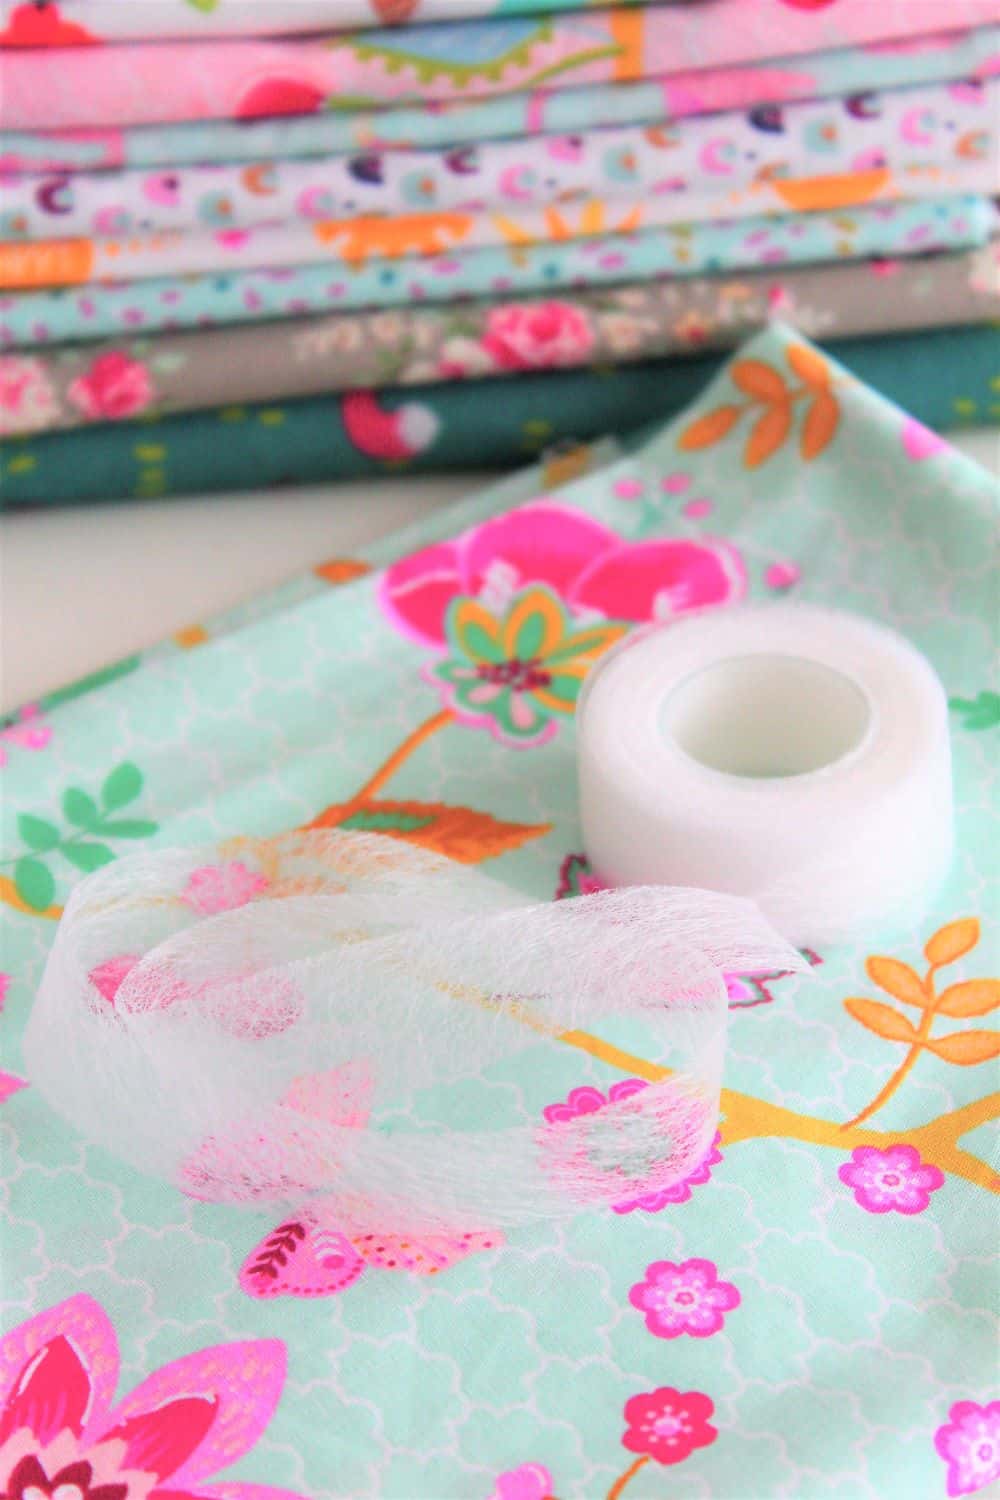
There are two main categories of hemming tape, and they usually come in a few different colors, to help you disguise them in your finished project:
- Iron-on hemming tape – This is the most popular type of hemming tape. It has adhesive on both sides, which is activated through heat. When applied correctly it creates a smooth hem and binds it together neatly. The best and easiest way of applying it is to use a regular iron.
- Pressure-pressed hemming tape – Also called “Peel n Stick”, this is a very easy to use hemming tape. Basically, you only need to press it down without using any heat.
How to apply hemming tape to a sewing project
When using hemming tape, each type has its own application method, each with its steps. Some steps may be similar, like preparing the fabric. Read on to see how to apply it.
Iron-on
- Wash the fabric – you want to do this for several reasons. The most important two are that newly bought fabric would shrink after the first wash, and the second is to remove any residue that may weaken the glue. Avoid fabric softener for this, as its chemical structure reacts to the adhesive and weakens the bond;
- Choose a flat, smooth surface to work on. It will avoid crumpling and twisting of the tape;
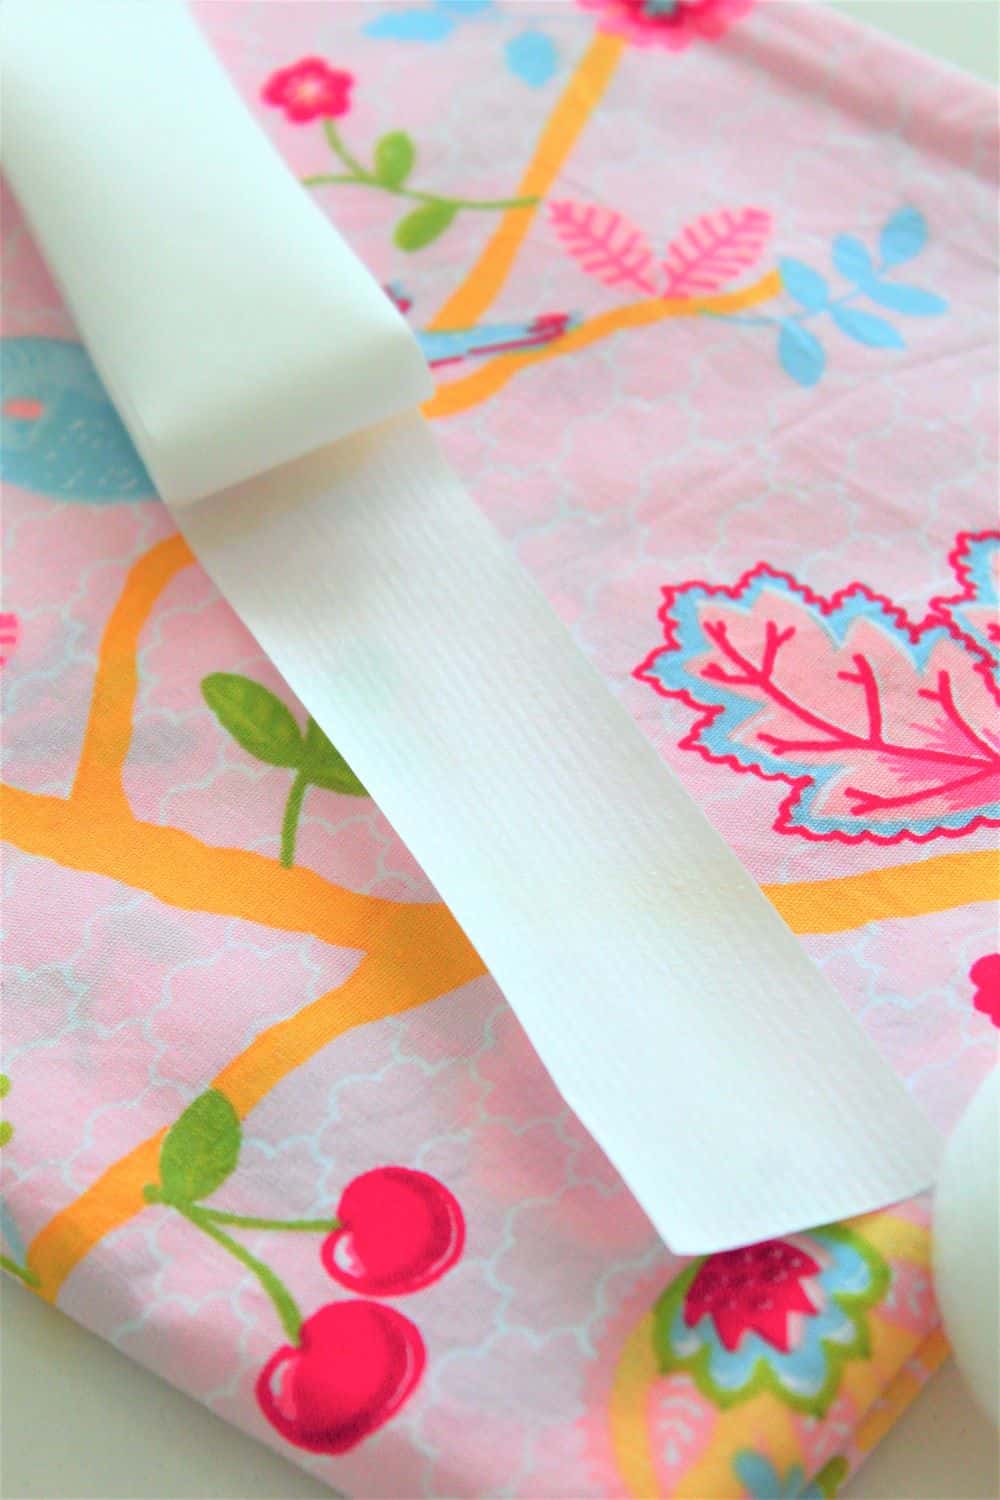
- Gently unroll the tape to keep it straight and avoid twisting it;
- Measure the hem length to determine how much tape you need;
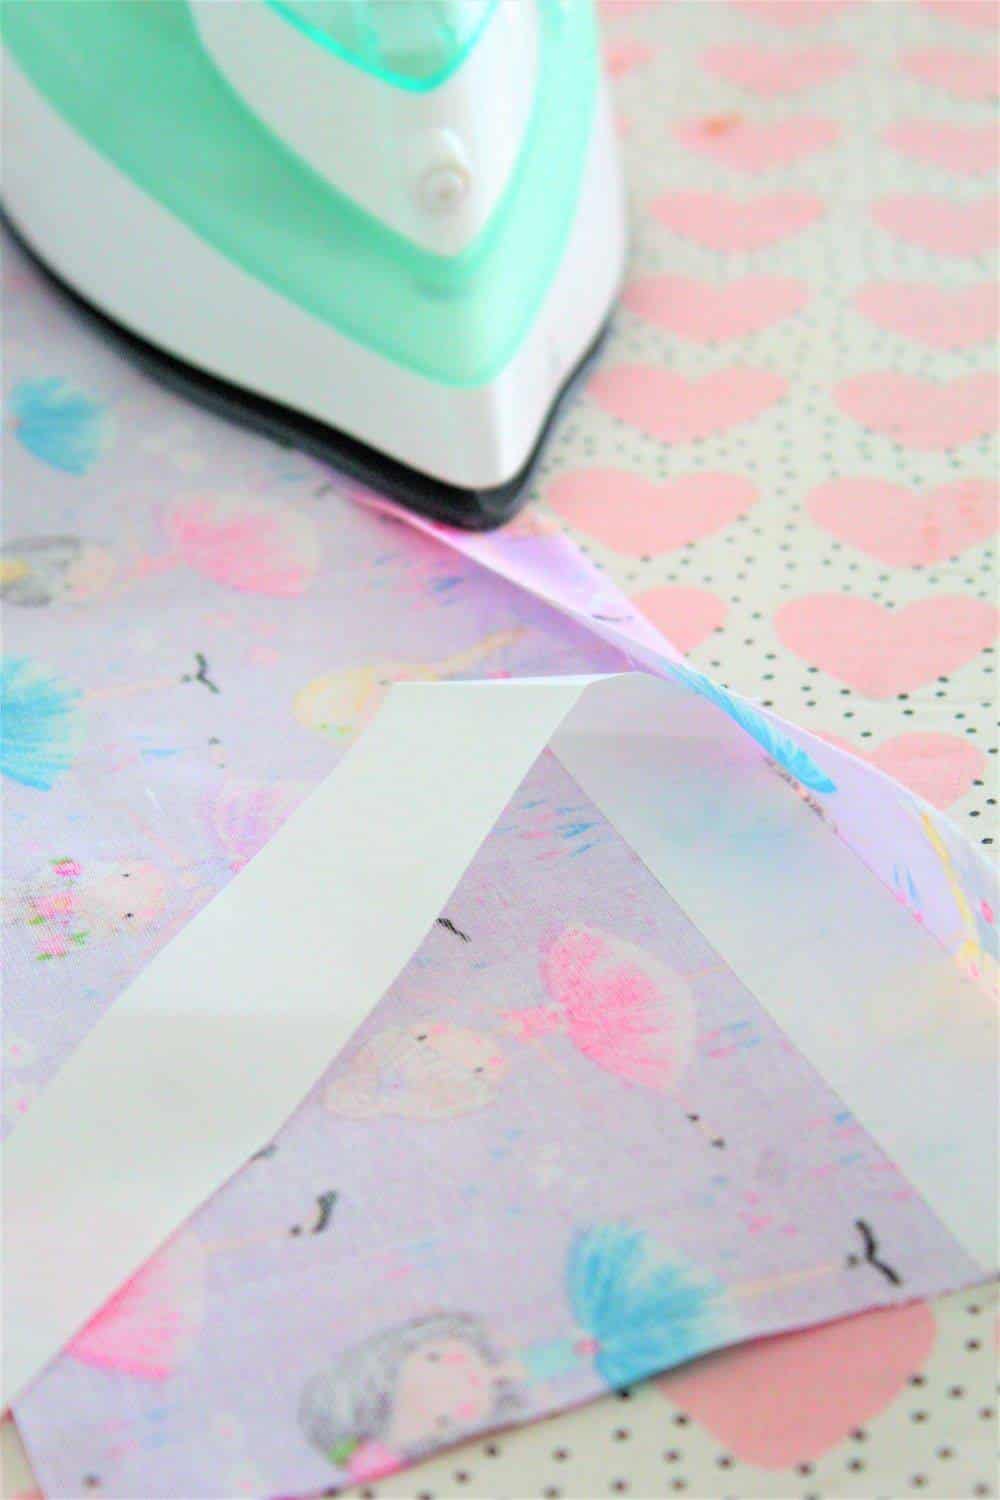
- Apply the tape between the two hem surfaces, right along the folding line (in this tutorial I demonstrate another way you can use hemming tape)
- Begin ironing. Press gently for a few moments and release. For a short hem, slowly run the iron in a single slide along the hem. For longer hems, work in sections and check the tape placement;
- Finish up the edge: you can leave it as it is, as hemming tape usually “seals” the raw edges and creates a nice finish. If you want to sew it, though, you can do it in any way you like.
Pressure-pressed
- Clean up the hem: remove any dirt and debris in the hem to allow the tape to stick properly. You can also wash the fabric and allow it to dry before hemming;
- Measure the hem length;
- Unroll the tape slowly;
- Apply the tape to the wrong side of the fabric, between the two hem sides;
- Start from one side and press the fabric at a medium pace until reaching the other side;
- Leave the hem as it is to allow the tape to set.
How to use hemming tape on various fabrics
- Knit fabrics – Hemming tape gives stability and firmness to a hem sewn on knit fabrics. You can use it the same way as you would on woven fabrics to avoid puckering, especially when sewing a zig-zag stitch. I used hem tape for this half circle skirt to stabilize the hem and make it easier to sew without distorting the fabric. When using hem tape for this type of fabrics, use an up and down motion with your iron instead of back and forth, to avoid stretching the fabric.
- Polyester – You can safely use iron-on tape on polyester and polyester blends, as long as you can iron them. Make sure you use the correct temperature on your iron. Too hot may damage the fabric and create wrinkles, if not even melt it completely.
- Denim – Jeans can be hemmed with double sided fusible tape. For this fabric, use thicker, heavyweight tape to be sure it has enough adhesive to hold it together.
- Chiffon – For this super-thin and delicate fabric, always choose thin tape and use a pressing cloth to avoid any burns or damage.
- Curtains – You can also use tape on curtains or other home décor projects, with excellent results. Choose your tape depending on the fabric’s heaviness. For sheer curtains, use lightweight tape. For heavier drapes, use thicker tape.
Tips and tricks
- Fusible hem tape is not suitable for very elastic, waterproof, raised weave or rough fabrics, basically fabrics that can’t be ironed.
- Before using the tape on the actual piece, practice on a scrap piece first. The tape is easy to use, but it’s always best to adjust the tape placement and iron temperature;
- Use a pressing cloth to avoid damaging delicate fabrics;
- Hem tape will melt and stick to your iron and it’s very difficult, if not impossible to remove, so don’t leave it exposed;
- When working on a large hem, work in sections to make sure your hem is smooth and even;
- Iron both sides of the hem to allow the tape to stick properly, and always make sure there are no tucks or wrinkles.
More sewing tips you will love:
- How to adjust the presser foot pressure
- How to make your own hem gauge
- Sewing needle types with size chart
- How to shirr fabric
- Types of buttons: a comprehensive guide
- Patching sewing like a pro
- A comprehensive guide to different types of dresses
- How to join bias binding
What is hemming tape actually?
Hemming tape is a textile adhesive tape, usually double-sided, used in the hem area to create invisible hems, for a quick repair of the hem when needle and thread are not available, or to join two pieces of fabric without sewing. Hem tape is also used for garment repair, to seal a small tear, to patch small holes in fabric, to prevent a seam allowance from fraying or to apply an embellishment such as applique or embroidery.
It is available in different widths, colors, and lengths, to adapt to the needs of each hem, and can be found in most craft/sewing supplies stores. The most common widths are 3/8″, 1/2″, and 5/8″. For dark colored fabrics use tape in dark colors while for light fabrics transparent tape is the best solution.
Hemming tape is also known as hem tape, hem adhesive, hem fusing tape, iron-on hemming tape, fusible tape, fabric fusing tape, instant hem tape, no sew hem tape or hemline tape.
The hemming tape is applied to the wrong side of the fabric and then pressed onto the right side so that the two adhesive sides adhere to both fabric pieces. The hemming tape is almost invisible when applied correctly and can be a great alternative to hand or machine sewing, especially on delicate or hard-to-sew fabrics.
Is hemming tape better than sewing?
Whether you need to finish up a textile project or to adjust an existing hem, you may usually think of sewing. Sewing a hem can be tricky and require a little experience to get it right. However, there are modern solutions to this everlasting problem, and one of them is the hemming tape.
Hemming tape is super quick and easy to use, helping you save a lot of time and hard work. You might still need to experiment a bit to learn how to apply it well, but I guarantee you it’s worth the effort.
Hemming tape usually allows you to finish a raw edge without sewing or just help you make a neater stitch on a tricky fabric.
What is hemming tape made of?
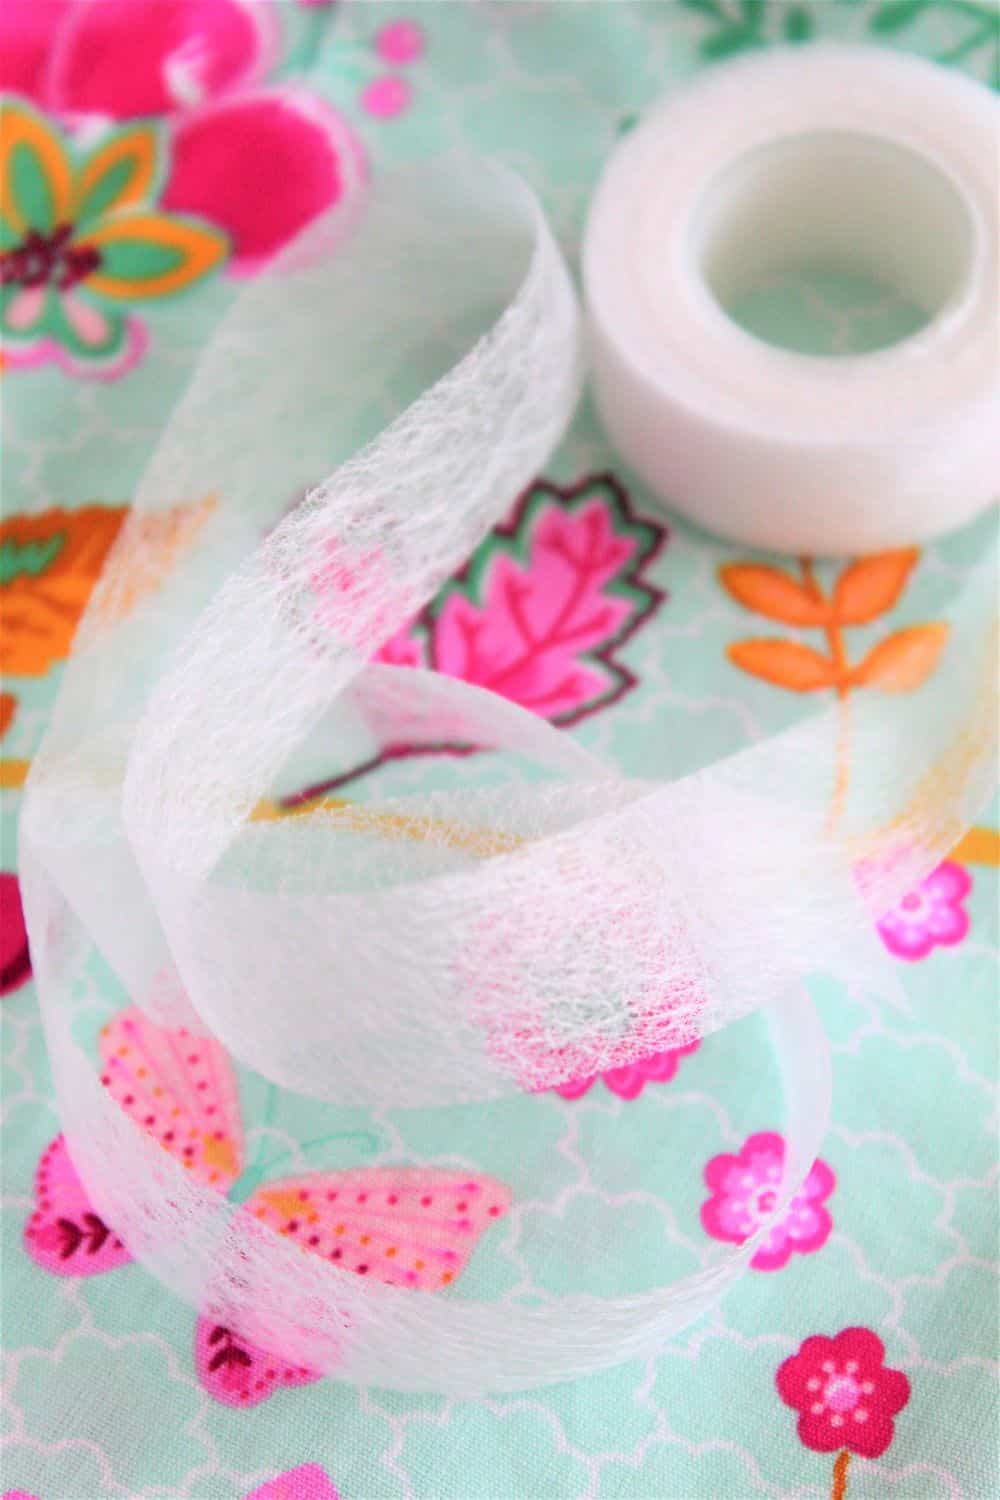
The hemming tape is usually made of two different materials: a textile adhesive and a fabric or paper backing that is very thin and quite flexible. Some double sided tapes such as wonder web have no fabric or paper attached (just like in the photo above). I prefer the paper backed tapes. While applying them is done in two steps, they are easier and less messy to apply to fabric. And they also allow room for small mistakes.
The textile adhesive is what makes the hemming tape stick to the fabric. It’s usually made of acrylic or rubber and it’s available in different widths, colors, and strengths.
The fabric backing is what gives the hemming tape its flexibility. It’s usually made of cloth, paper, or film.
What is the best hemming tape?
The best hemming tape is the one that works better with your fabric type and project. If you’re working with delicate fabrics, the iron-on hemming tape might be a good option since it will hold the hem in place without damaging the fabric.
If you want a no-sew solution for hemming or joining two pieces of fabric, the pressure-pressed hemming tape is probably your best bet.
In any situation you need to consider the fabric weight and use hemming tape that is recommended for that type of fabric.
Is hemming tape permanent?
This tape is a temporary solution and it’s not meant to be a permanent fix. It may last for a few good washes but it will eventually come off. That’s why it’s not recommended to use the tape on items that need to withstand a lot of wear and tear, like pants or skirts (fine for hems but not a permanent solution even for those).
I like to use it when hemming these items just as a step prior to sewing the hems with a hand needle or the sewing machine. It helps me create an even, clean hem prior to sewing it.
Can fabric tape be removed?
Yes, fabric tape can be removed but it might leave some residue behind, depending on the type of adhesive used. If you need to remove hemming tape from your fabric, start by warming up the tape with your iron, followed by peeling it off gently and then using a lint roller or adhesive remover to get rid of any residue.
Does hem tape work on all fabrics?
No, hemming tape doesn’t work on all fabrics. It works best on natural fibers like cotton, linen, and wool. It can also be used on some synthetic fibers like polyester and nylon. Hem tape doesn’t work on slippery fabrics like silk or satin, on suede, leather or on fabrics with a nap, like velvet. I also had troubles getting the tape to work on flannel.
How do you fix hem tape?
If hemming tape is not applied correctly, it will come off easily. The best way to repair it is to remove the hemming tape completely and start over. Make sure to clean the area where you’re going to apply the hemming tape and follow the instructions on the package.
What if I make a mistake?
Mistakes can be corrected, and the glue removed, but not quite completely. Although you can partially remove some of the glue, there will still be some residue left. This is why it’s super important to be as careful as possible.
Hem tape falling apart or not staying glued is not something usual, this means that either the tape is not suitable for the fabric (for example, a too lightweight tape used on a heavy fabric), the tape was not a good quality one, the fabric was not clean enough, the iron was not hot enough, or was not applied correctly. Keep these in mind when applying a hem tape.
Can I wash hem tape?
Yes. Even though not permanent, hem tape is designed to be a sewing replacement, so it can withstand a lot of washes. Check the instructions on the box for the correct temperature. If none is available, 104-122 degrees should be fine; avoid washing the tape in very high temperatures.
How long does the tape last?
Iron-on and pressure-pressed hemming tape are designed to replace stitching for a while so a good hem tape might live even longer than the garment itself.
It’s easy to see why many sewers love this tape: it’s a lot easier to apply and less time-consuming than actually sewing on a hem. It can also be applied to many fabric types, so it’s very versatile. It does take a little practice to get it right, but once you learn how to use it correctly, you’ll be grateful you did.
I do hope this guide helped shed some light on the use of hemming tape and encouraged you to start using it more often. You can spend your spare time with your loved ones or working on another project you love. Let me know what are your favorite projects to use this tape on!
How to use hemming tape
Materials
- hemming tape
- fabric
Tools
- pressing iron
- Ironing Board
Instructions
- Wash the fabric – you want to do this for several reasons. The most important two are that newly bought fabric would shrink after the first wash, and the second is to remove any residue that may weaken the glue. Avoid fabric softener for this, as its chemical structure reacts to the adhesive and weakens the bond;
- Choose a flat, smooth surface to work on. It will avoid crumpling and twisting of the tape;
- Gently unroll the tape to keep it straight and avoid twisting it;
- Measure the hem length to determine how much tape you need;
- Apply the tape between the two hem surfaces, right along the folding line;
- Begin ironing. Press gently for a few moments and release. For a short hem, slowly run the iron in a single slide along the hem. For longer hems, work in sections and check the tape placement;
- Finish up the edge: you can leave it as it is, as hemming tape usually "seals" the raw edges and creates a nice finish. If you want to sew it, though, you can do it in any way you like.
Most popular sewing projects:


Article may contain Amazon & affiliate links. As an Amazon Associate I earn from qualifying purchases at no additional cost to you.
ABOUT PETRO
Hi, I’m Petro, author and founder of Easy Peasy Creative Ideas. Sewist, crafter, avid DIY-er, foodie, photographer, homemaker and mommy to one. I’m an expert at coming up with quick, clever sewing tips, recycling crafts and simple, easy recipes! You can find my ideas featured in reputable publications such as Country Living, Good House Keeping, Yahoo News, WikiHow, Shutterfly, Parade, Brit & Co and more. Thanks for stopping by and hope you’ll stay for a while, get to know me better and come back another time. Stick around for real fun projects! Read more…