

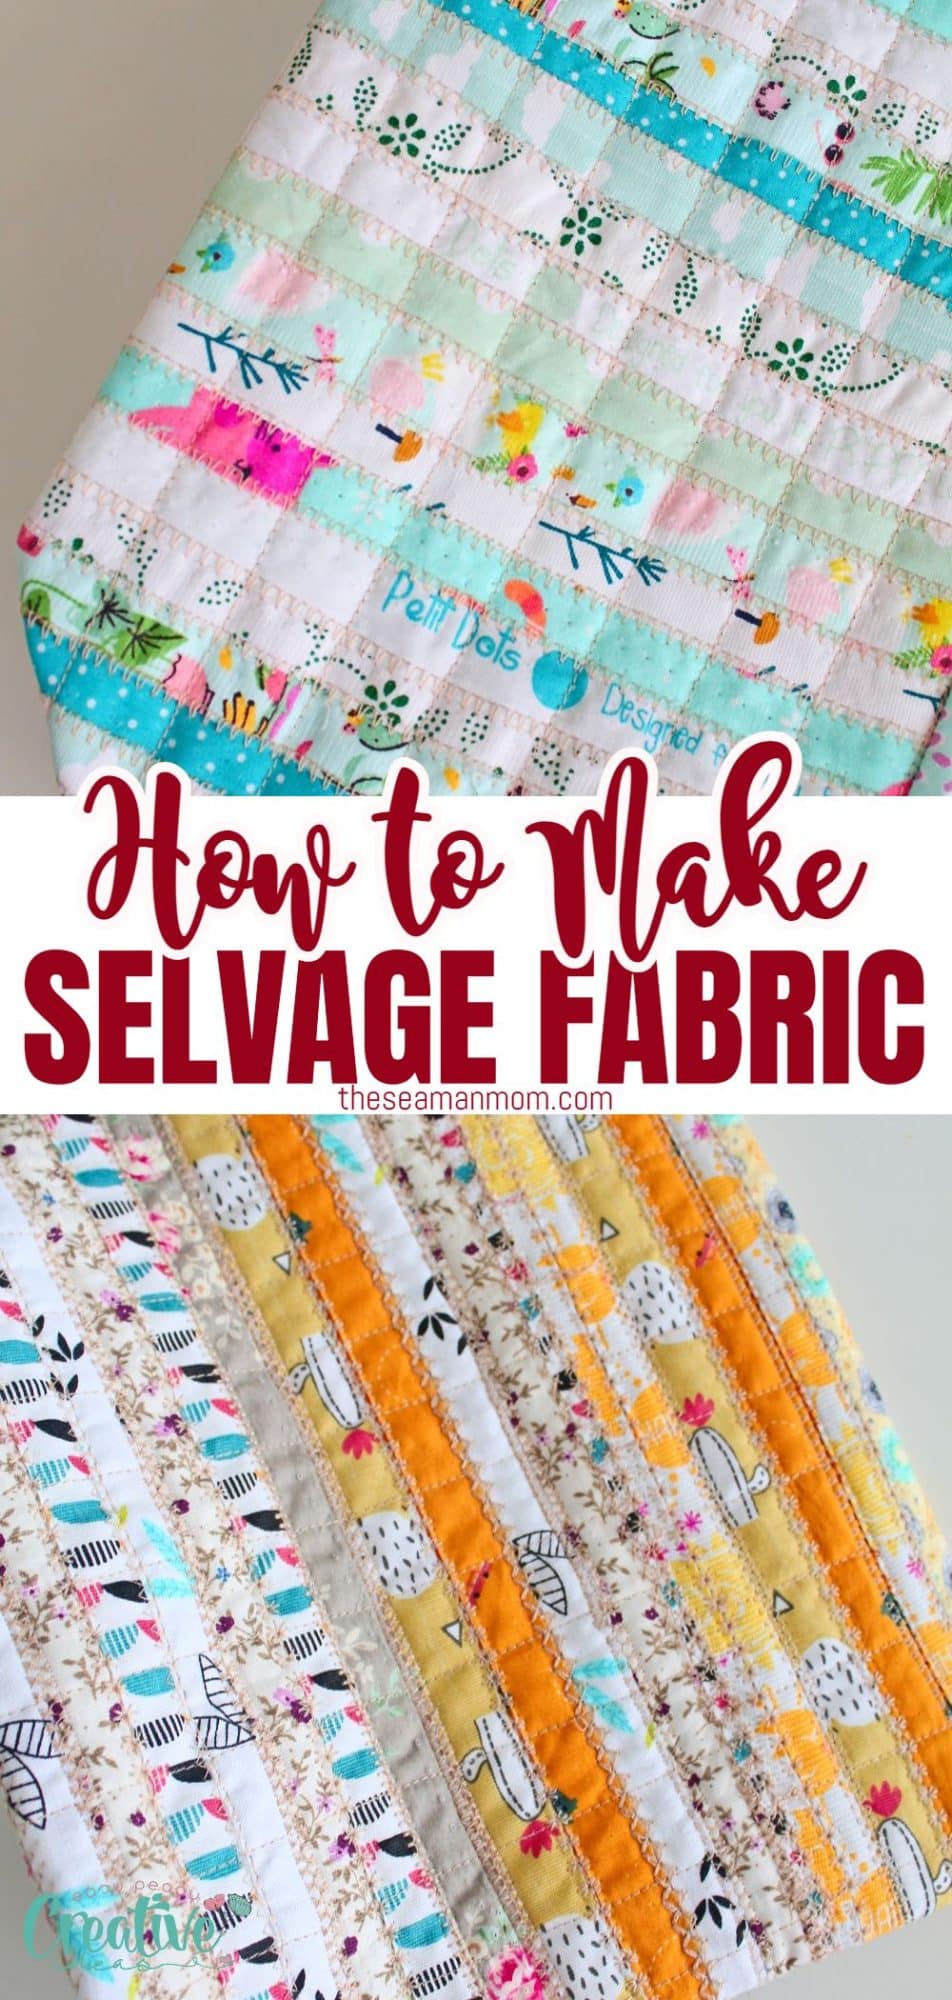
How to make selvage fabric
Are you looking for a creative way to make use of your selvage fabric scraps? With this tutorial, you can finally turn those leftover pieces into beautiful new fabric! By following the simple steps outlined below, you’ll be able to create brand-new fabric from your existing selvage pieces. Whether you’re making garments, accessories, or home décor items, you can use this tutorial to transform your selvage fabric into something new and unique.
Sewing with selvage fabric is a great way to add unique styles, fun shapes and textures to your projects! With this tutorial, you’ll learn how to create new fabric from the edges of fabrics. This technique lets you expand the possibilities of any project by creating interesting patterns, color combinations, and shapes in your finished pieces. Once you’ve mastered how to make selvage fabric, you’ll have a whole world of new possibilities at your fingertips. So get ready to start creating and unleash the power of selvage fabric in your next project!
This article has been converted to a PDF file, available to purchase HERE! However this tutorial is free to read on the website.
Sewing with selvage is an easy and fun way to add personality to any project. With this tutorial, you will learn how to make selvage fabric from any fabric with straight edges. I’ll show you step by step how to create a unique piece of fabric from the sides of your fabrics so you’ll never throw those scraps away. You’ll be able to combine colors and patterns in ways you never thought possible – giving your projects an original look that no one else can recreate!
But first, what is selvage?
Selvage is the edge of fabric that has been woven or finished so that it will not unravel. It’s typically found along the edges of most fabrics and it’s usually in the color theme of the fabric.
Now let’s move onto learning how to create new fabric from selvage! In the tutorial below I will offer instructions for two methods of sewing selvage strips together:
- With zig zag or decorative stitches
- With double sided fusible fleece.
So let’s get started and start creating!
How to make selvage fabric
What supplies do I need for this project?
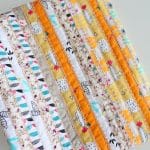
- selvage strips
- a strip of fabric
- double sided fusible fleece
- rotary cutter
- cutting mat
- sewing machine
- matching thread
- iron with steam setting
How to make selvage fabric?
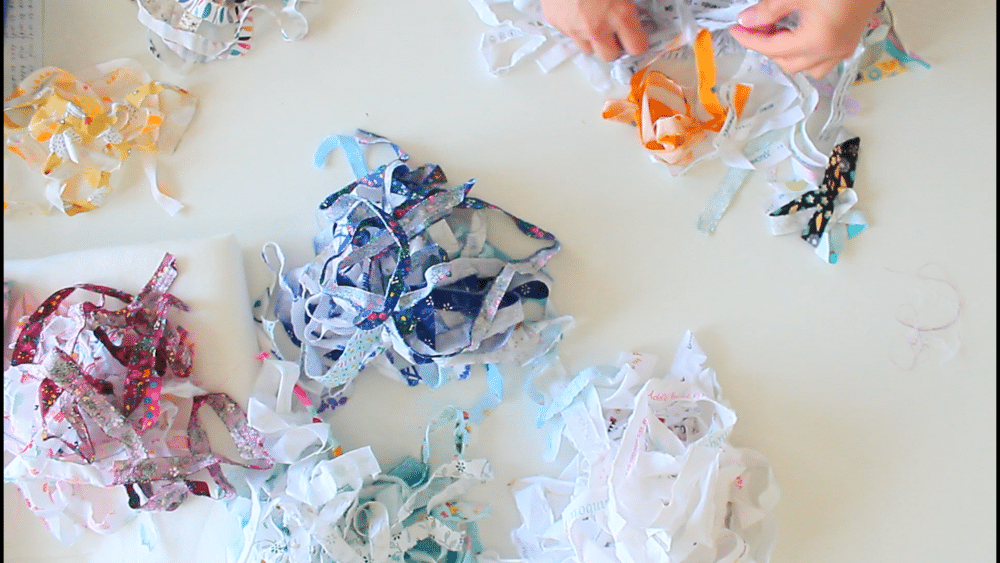
- Start by cutting your selvages with your preferred method as listed above.
- Separate them into piles by color and/or pattern.
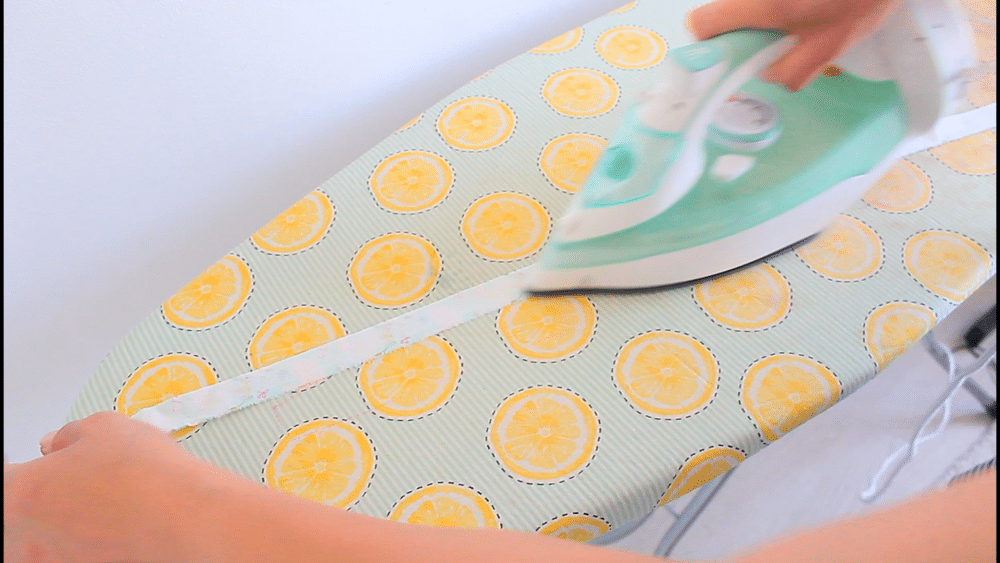
- Press all strips well on both sides with the iron on steam.
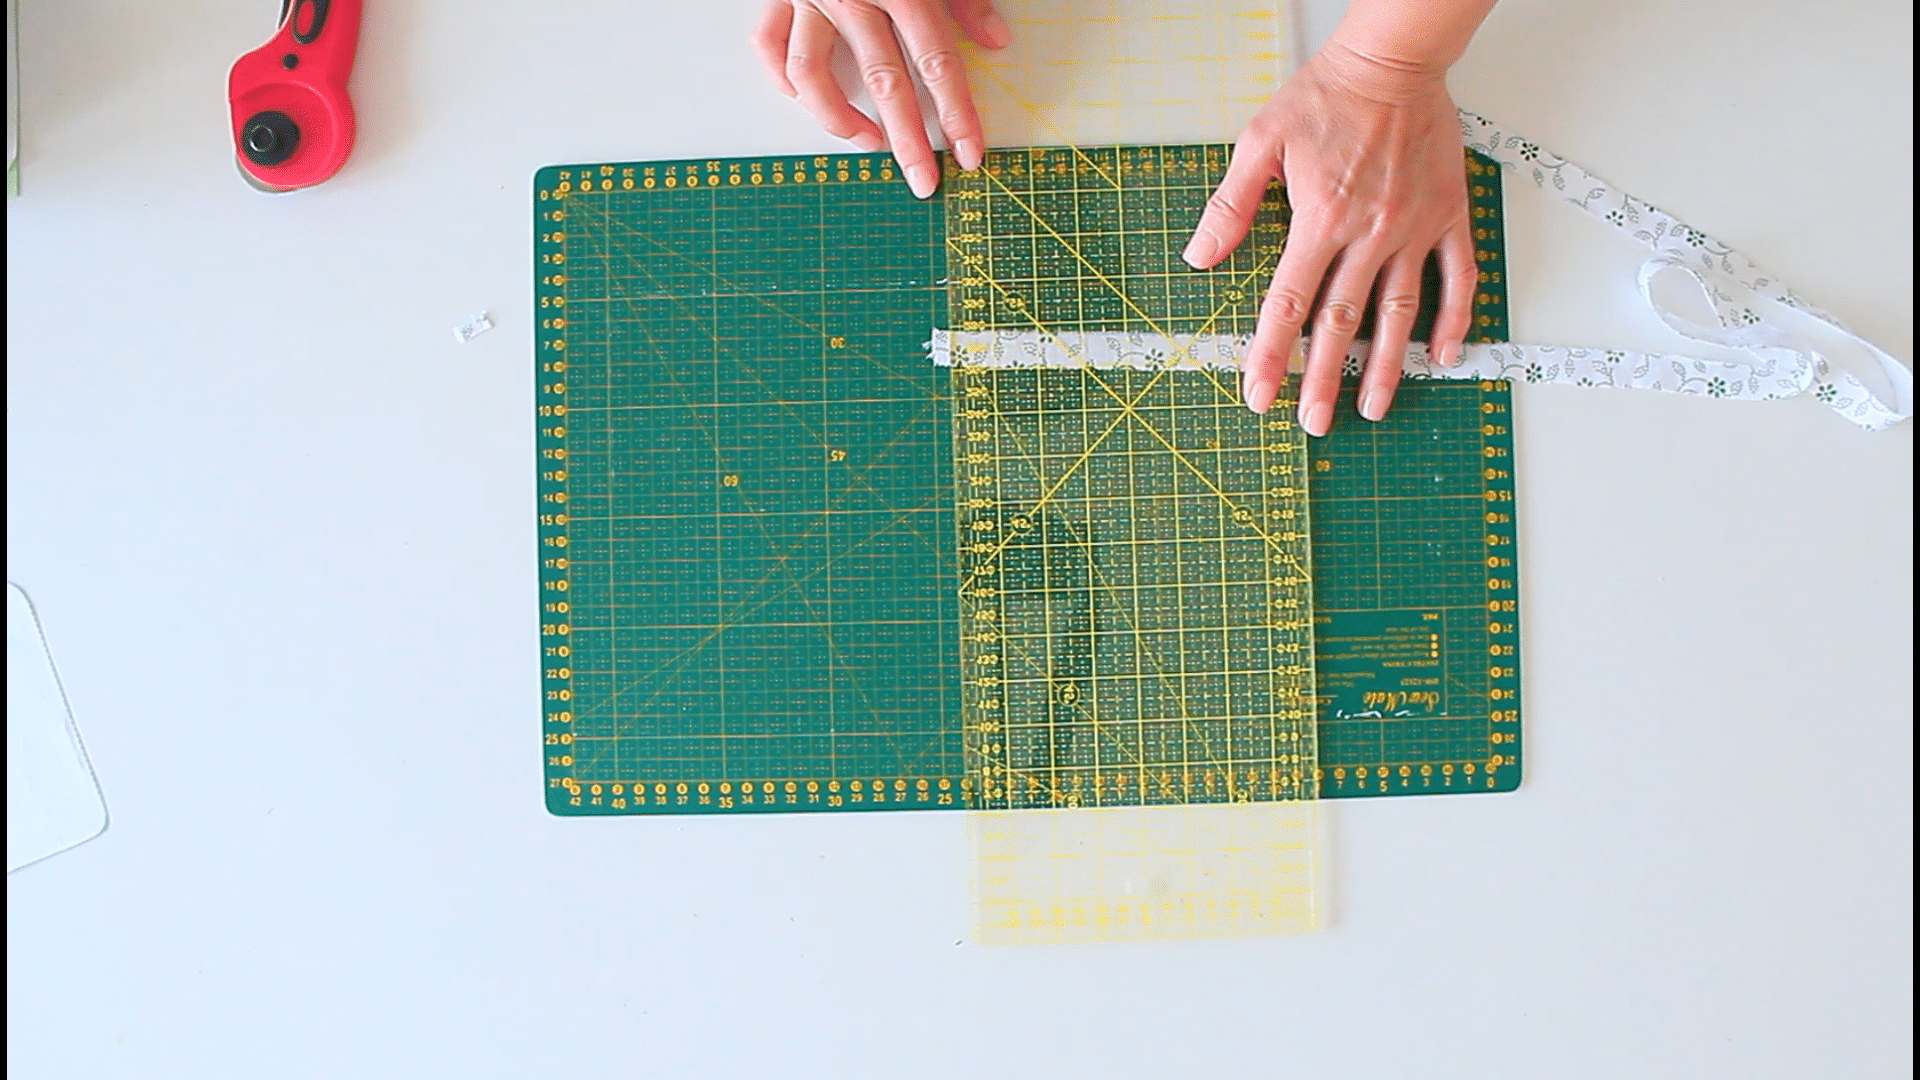
- Trim the raw ends and any frays that might be present.
For method #1
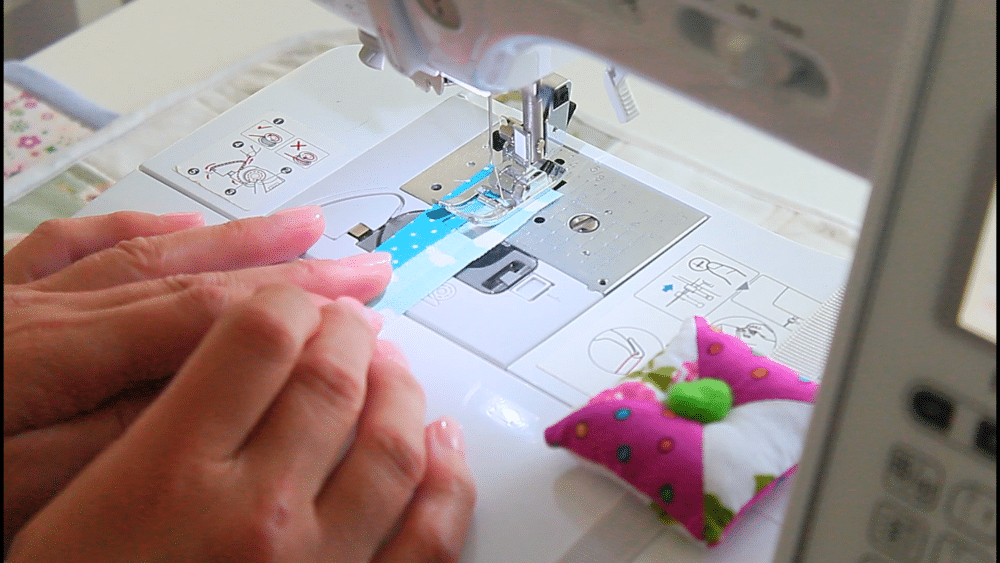
- Set your sewing machine to a zig zag stitch or a decorative stitch of your choice.
- Place two strips of selvage on the plate of your sewing machine, side by side. Make sure the needle catches both strips when sewing.
- Sew the strips together.
- Continue adding the next rows in the same manner.
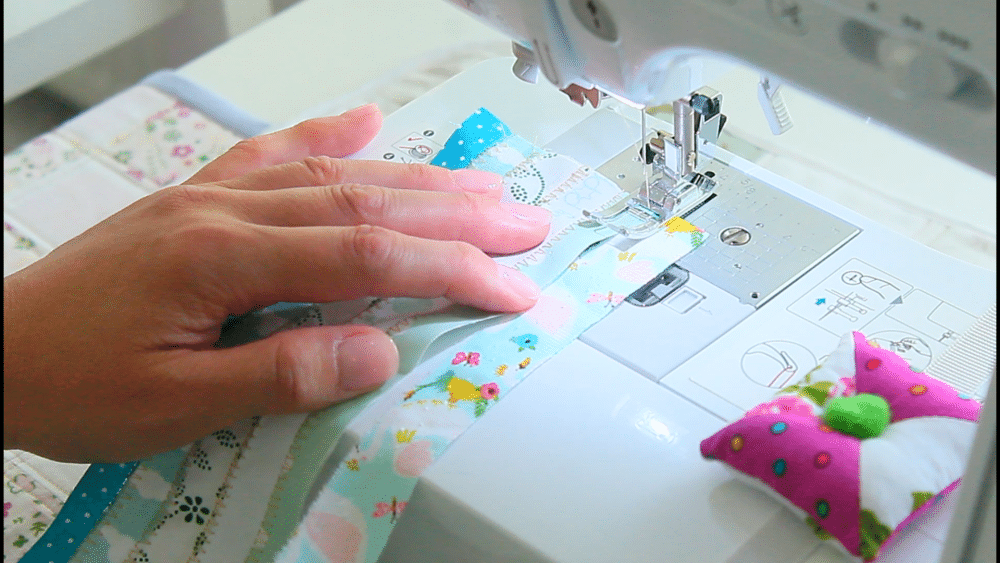
- When finished sewing all strips, trim the uneven strips (they might not be all of the same size). You can add these to the new fabric if they’re long enough.
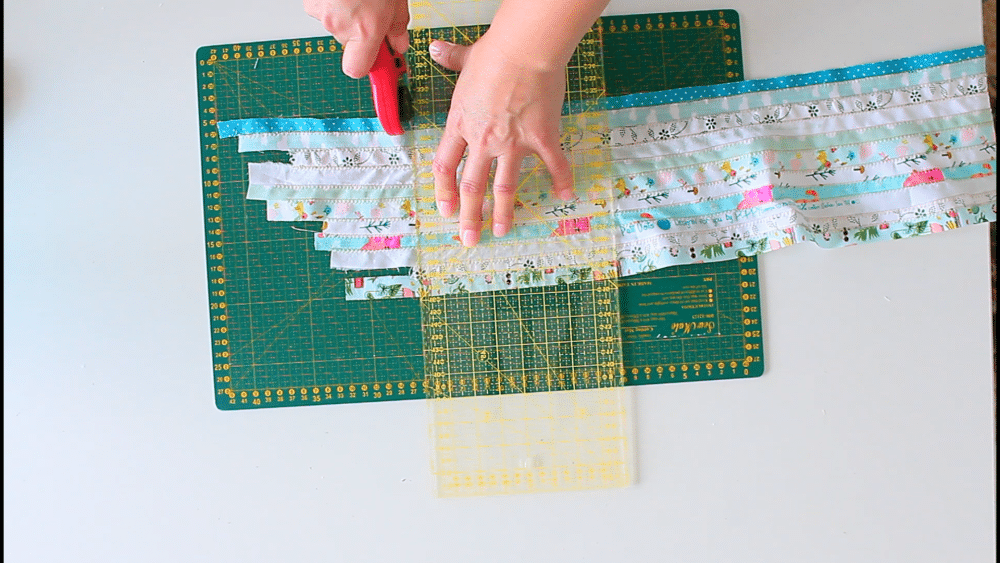
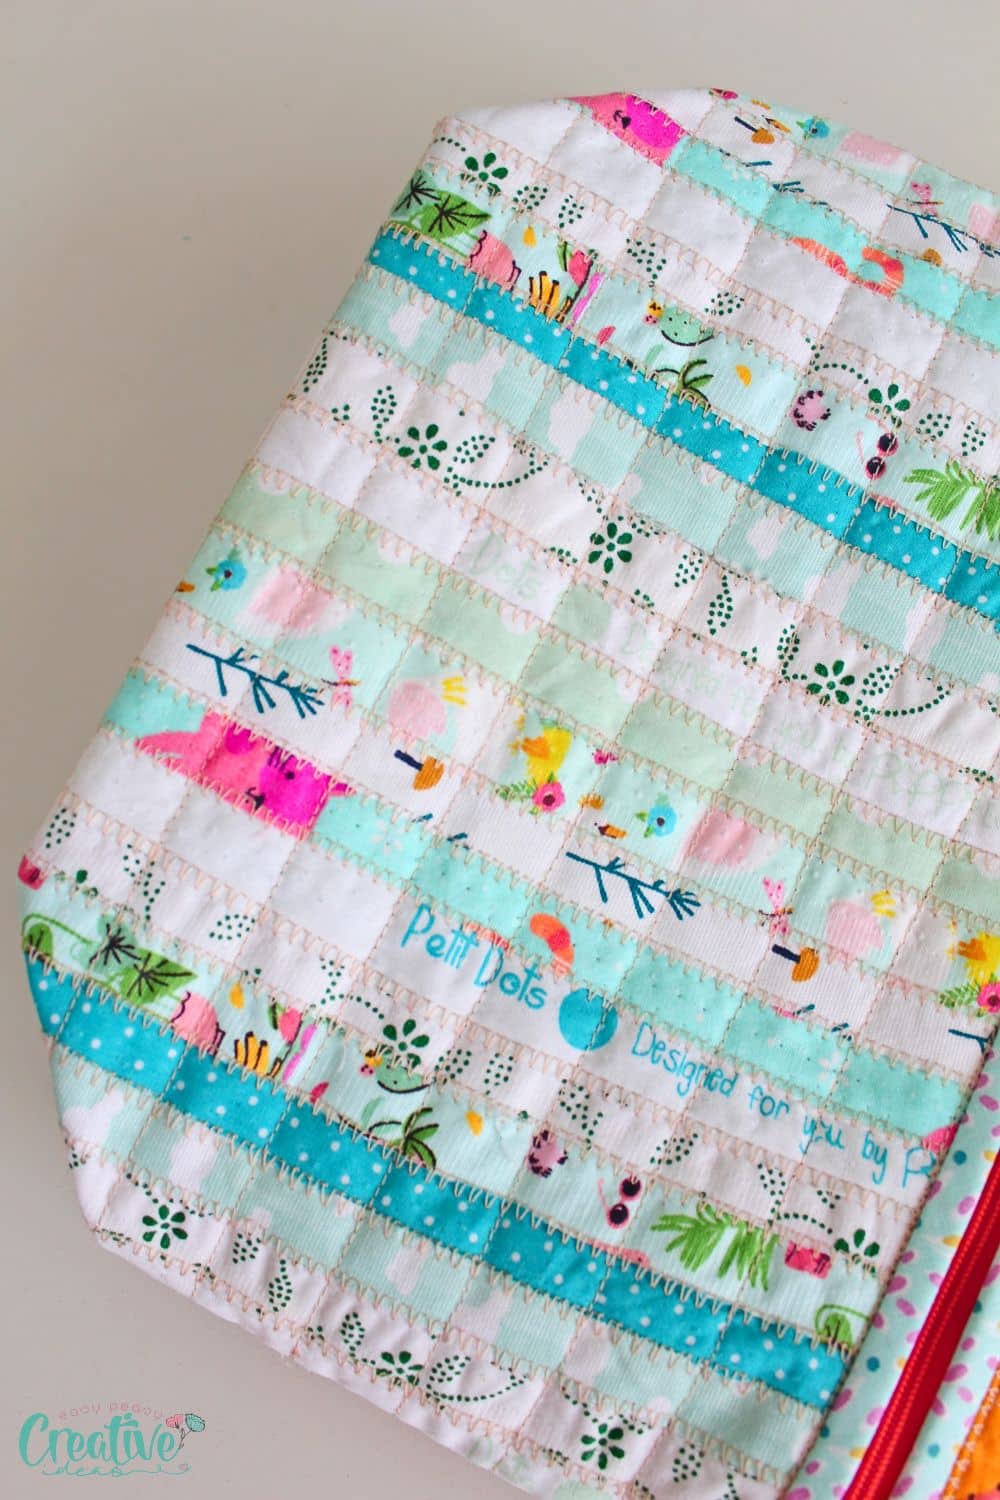
- Press the fabric well and use in a new project.
For method #2
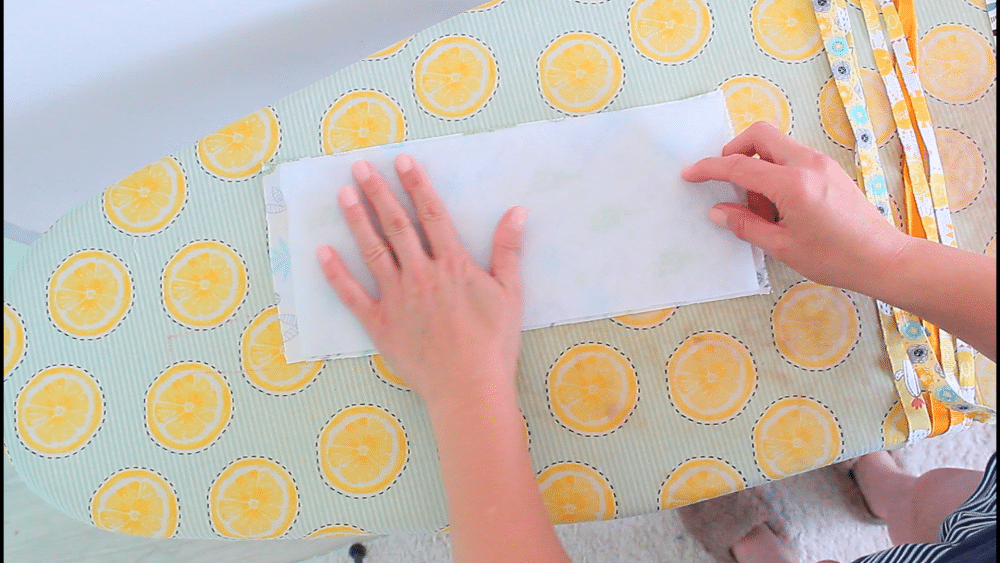
- Press the strip of fabric well and turn it wrong side up.
- Place the double sided fusible fleece over the fabric.
- Top the fleece with the selvage strips, side by side.
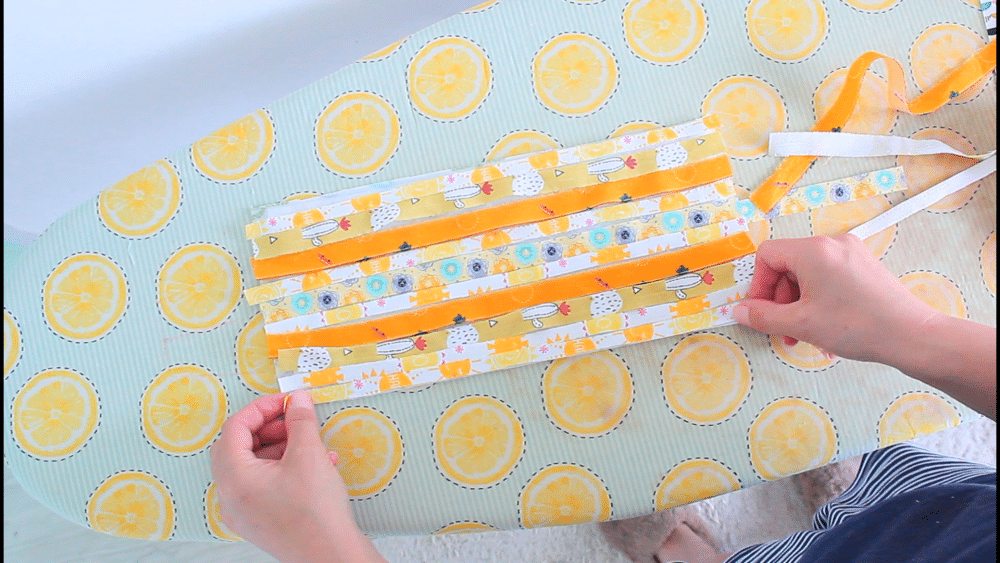
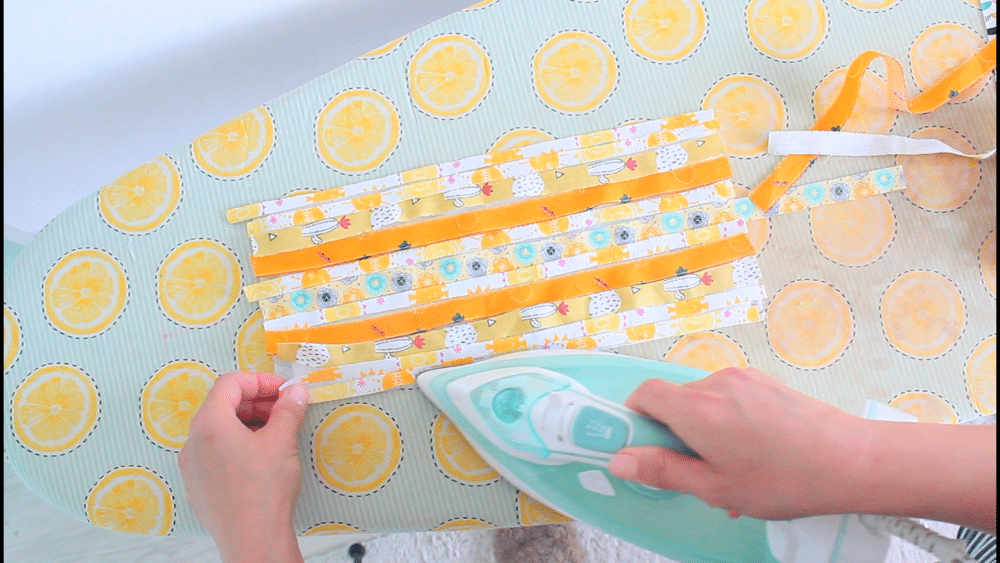
- Start fusing the selvages to the fabric one by one until all strips are attached to the fabric.
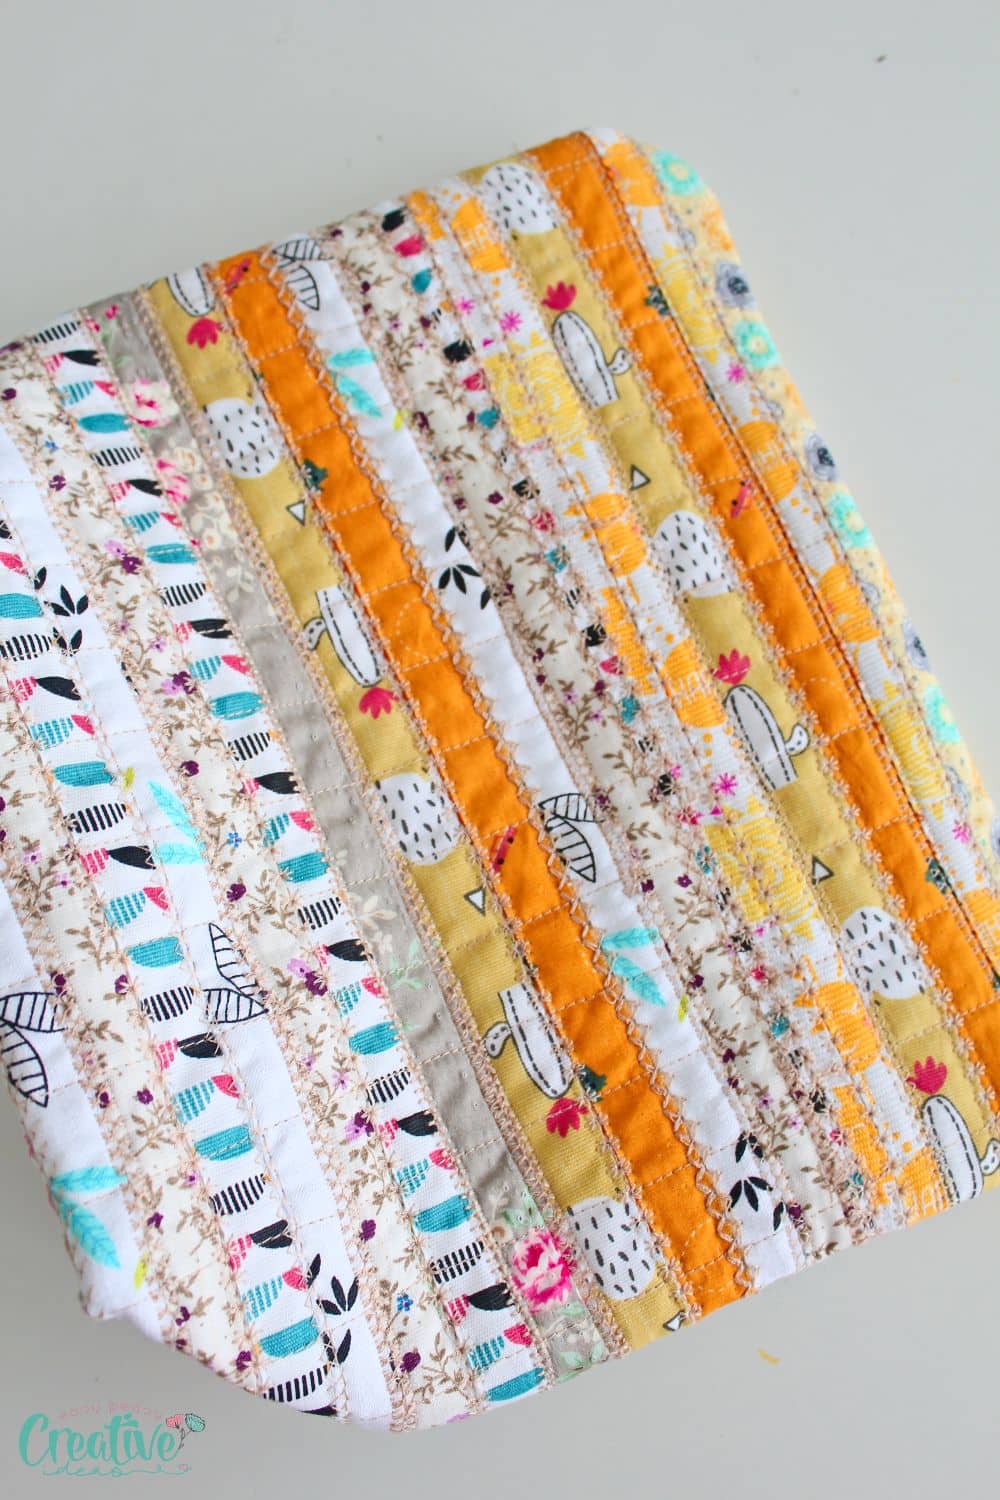
- You can add a zig zag or a decorative stitch to the edges where selvages meet or you can quilt the entire panel with your favorite quilting method. I advise free motion quilting as it will catch more of the selvages, create a more interesting panel and gives the strips more stability.
- Press the entire piece well with steam setting on your iron.
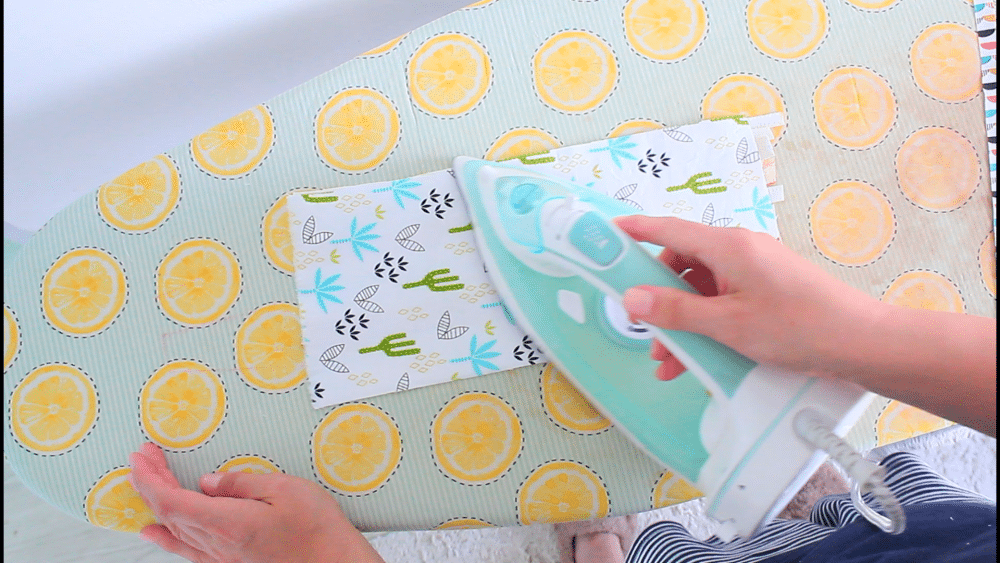
And that’s it! You now have your very own selvage fabric ready to be used in your next project.
Frequently asked questions
Where does the term selvage come from?
The term selvage is derived from self-edge, which indicates that the fabric is woven in such a way that the edges will not unravel.
How do you identify selvage?
Selvage can easily be identified by looking at the edges of the fabric, as it is usually finished in a slightly different color or pattern than the rest of the fabric. It will typically look like a small band along one (or both) sides of the fabric and it has a different texture and feel to it.
Is it selvage or selvedge?
The terms selvage and selvedge fabric are two different spellings of the same word – so it’s up to you which one to use! Selvage is mostly used in US English while selvedge is commonly used in British English and Europe.
Salvage is another spelling of the same word sharing the exact meaning of the two above.
Why cut off selvage?
Because the selvage is a lot thicker than the fabric it comes with, you need to remove it before using the fabric in a sewing project. Plus the selvage often has some printing on it, which can be distracting and unappealing to your project. The printing is usually on the wrong side of the fabric and refers to the fabric companies that manufactured it, the name of the fabric line and other details such as the weight, width and length of the fabric, fiber content and some color dots.
This extra fabric from the edge can create bulk and make your seams uneven. It is also a good idea to remove any excess threads that may have been woven into the fabric along the edges.
How do you cut selvage?
Cutting the selvage is a matter of personal preference. There are three methods for cutting selvage: ripping, scissors, and rotary cutter.
- Up until recently I used to rip the selvage from my fabrics along the length of the edge. This is the fastest method but results in a lot of fraying and fabric waste. To use this method find the warp and the weft threads of the fabric and rip the selvage off along the length.
- The method I now use is cutting it off with scissors. This is a slower but much cleaner way of getting rid of selvage. Make sure to mark the edges of your fabric where you want to cut and then carefully trim away the excess fabric from the sides. Another method is to find the weft and the warp threads of the fabric, pull the thread that is the closest to the selvage band and cut along the empty line left by the pulled threads.
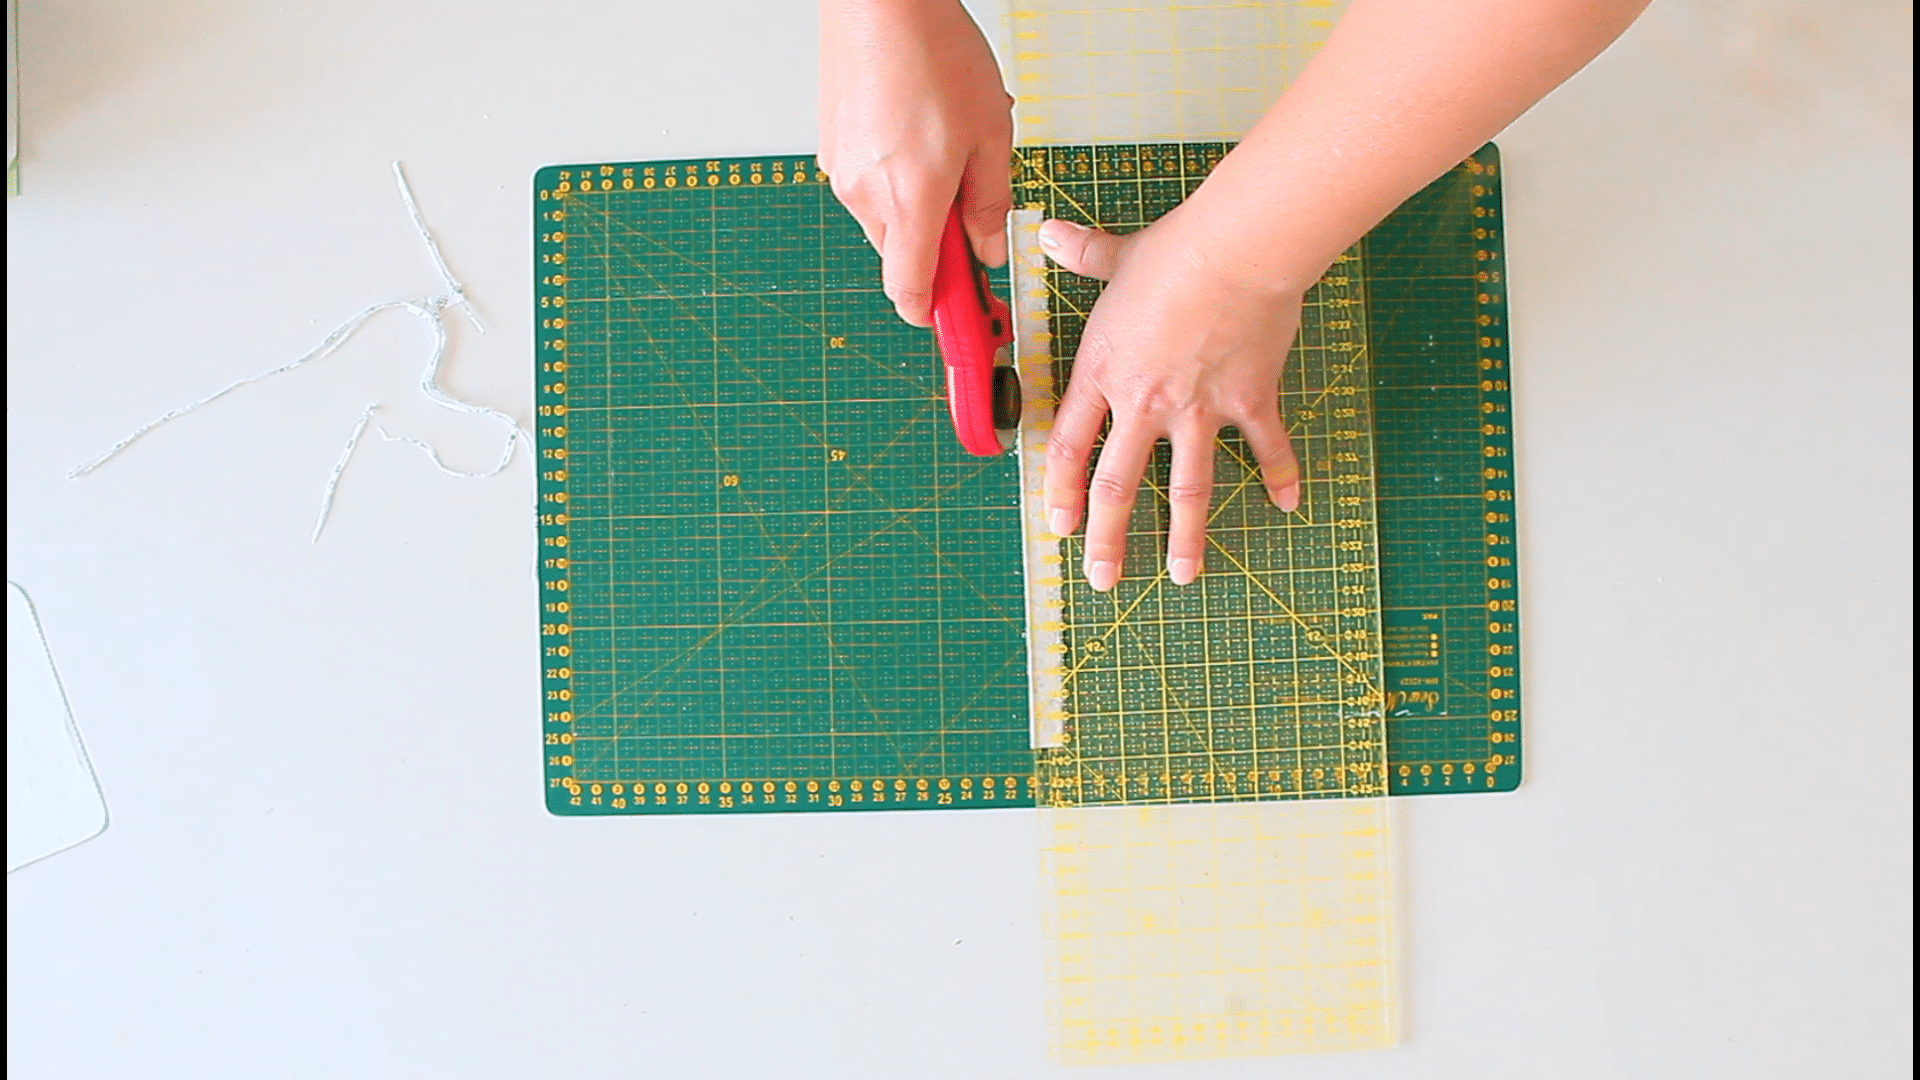
- The third method for cutting selvage involves a rotary cutter and a cutting mat. This is the most accurate way to remove selvage and it gives you precise, clean edges. All you need to do is mark your fabric with a ruler or a quilting square and cut along the lines using the rotary cutter. It takes a bit of work and time but results in the cleanest edges, allowing you to make the most out of your selvages.
What can I do with selvage edges?
Once you’ve cut off the selvage, there are a number of creative ways to use it in selvedge projects! Here are just some of the things you can do with the selvage edge of the fabric:
- Make a border on pillows and quilts
- Create unique quilt patterns and patchwork designs
- Add trims and embellishments to garments
- Sew together strips of selvage to create a larger piece of fabric
- Create fabric flowers and rosettes
- Make unique pin cushions
- Patchwork rugs and floor mats
How do you sew selvages together?
There is a large variety of ways you can attach selvage strips together. The most common one if through a simple zig zag stitch as most machines accommodate this kind of stitch.
Other ways to attach selvages include using a machine applique stitch or other decorative stitches. These will not only keep your strips together nicely but will add so much interest to your project.
You can also use interfacing or fusible fleece to join the strips and if you’re working on a project that involves quilting, double sided fusible fleece is a great option to fuse all fabrics together quickly.
Need more easy sewing ideas?
- How to sew a serged rolled hem
- The best affordable online fabric stores
- Tips for sewing canvas fabric
- 12 Types of seams for finishing raw edges
- Selvage bookmarks sewing tutorial
Thank you for reading and I hope you found this tutorial helpful in learning how to create fabric from selvage. For more tutorials on sewing and quilting don’t forget to check out my website and sign up to my newsletter so I can send you new tutorials and updates straight to your inbox. Happy sewing!
How to make selvage fabric
Materials
- selvage strips
- a strip of fabric
- double sided fusible fleece
- matching thread
Tools
- iron with steam setting
Instructions
- Start by cutting your selvages with your preferred method as listed above.
- Separate them into piles by color and/or pattern.
- Press all strips well on both sides with the iron on steam.
- Trim the raw ends and any frays that might be present.
- For method #1
- Set your sewing machine to a zig zag stitch or a decorative stitch of your choice.
- Place two strips of selvage on the plate of your sewing machine, side by side. Make sure the needle catches both strips when sewing.
- Sew the strips together.
- Continue adding the next rows in the same manner.
- When finished sewing all strips, trim the uneven strips (they might not be all of the same size). You can add these to the new fabric if they're long enough.
- Press the fabric well and use in a new project.
- For method #2
- Press the strip of fabric well and turn it wrong side up.
- Place the double sided fusible fleece over the fabric.
- Top the fleece with the selvage strips, side by side.
- Start fusing the selvages to the fabric one by one until all strips are attached to the fabric.
- You can add a zig zag or a decorative stitch to the edges where selvages meet or you can quilt the entire panel with your favorite quilting method. I advise free motion quilting as it will catch more of the selvages, create a more interesting panel and gives the strips more stability.
- Press the entire piece well with steam setting on your iron.
Video
Most popular sewing projects:


- Tips for sewing a round hem
- Corded bag handles
- Flutter sleeve dress pattern
- How to laminate cotton fabric
Article may contain Amazon & affiliate links. As an Amazon Associate I earn from qualifying purchases at no additional cost to you.

Great article on selvages – Thank you !