Super useful storage labels to keep you organized and tidy
Everyone wants a clean and organized house and now it’s even easier to stay on track! Grab my blank storage labels today to start getting your home organized in no time!
Storage Labels

If you’re staring at a mess right now, you’re probably wondering where to start. My favorite way to whip my house into shape and keep it looking great when I’m done is with storage labels. Simply sort your mess into baskets and bins and add a label to help you remember where everything is. I love using these as kitchen pantry labels where most of the mess happens!
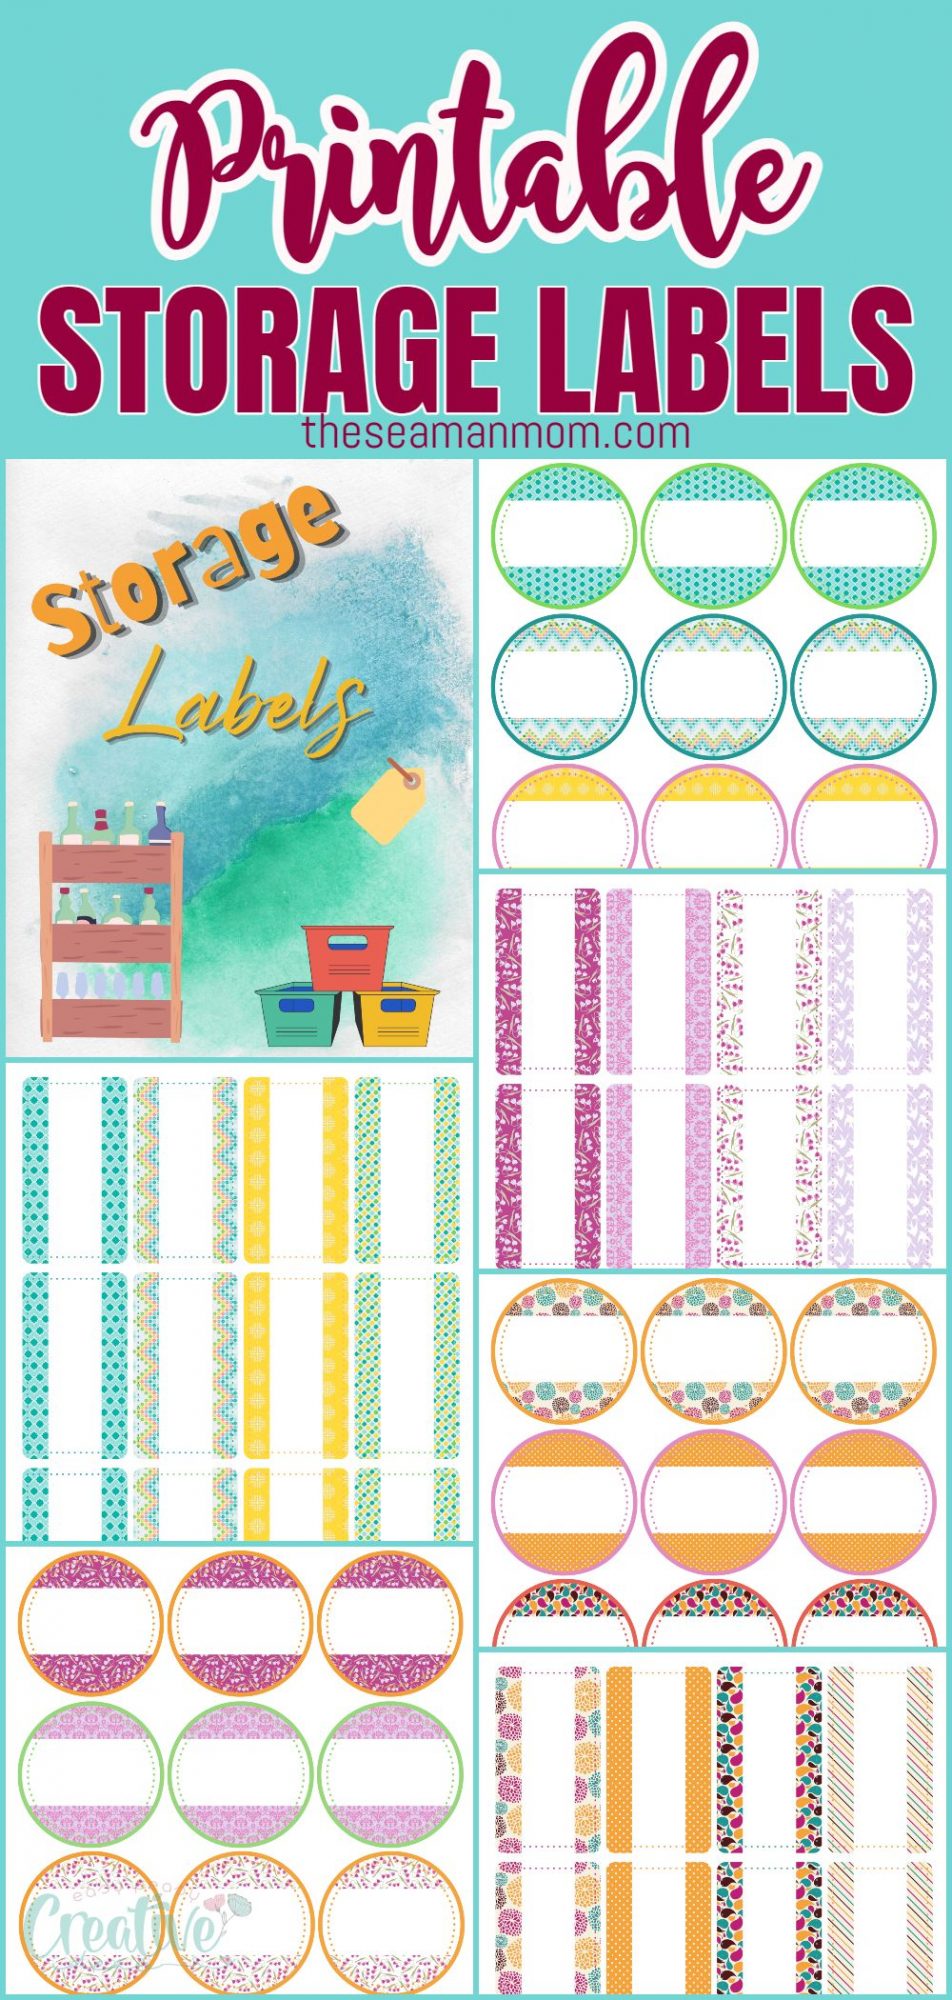
Making your own labels couldn’t be easier when you grab my files! These handy printable storage labels come in two different styles: round and rectangular. Pick the style that works best for your storage bin based on its shape and size. The round labels work well as storage box labels for smaller bins and large jars. And the rectangular labels are perfect for larger baskets and bins.
Where to Use these Printable Storage Labels
Using labels is one of the best ways to stay organized! That means you can use storage labels anywhere you want to get organized! There are so many great uses for labels, from organizing your pantry to getting your garage in shape. Try using your printable storage tags in these spots in your house:
- Bedroom closets. Label boxes inside your closet so you know exactly what’s in them. Whether you’re storing away seasonal clothing or extra shoes, stickers for your boxes and bins would come in handy.
- Toys. Sorting and organizing your kid’s toys would be much easier if each bin was labeled. Placing words or pictures on the stickers can make it easier for your kids to put away their toys after they’re finished playing because they’ll know exactly where to put each item.
- Mudroom. Get your home’s entryway organized with the help of printable tags for baskets and bins. Create a basket for each family member or sort everyday items, like hats and gloves, in baskets near the doorway for easy organizing.
- Bathroom. Make sure your bathroom cabinets and closets stay organized with the help of storage bins with labels. Sort out your beauty products, hair care supplies, and medicine into bins, then label each basket so you know what’s inside.
Don’t miss these printables too!
- Inventory list for pantry & freezer
- Complete deep cleaning checklist
- The best road trip planner
- Printable luggage tags
- Office. Keep important papers and office supplies sorted in an organized fashion with the help of stickers in your home office.
- Craft room. With the help of labels, you can finally get all your craft supplies sorted and organized. Use tags to help you find exactly what you’re looking for every time you start a new craft project.
- Pantry. Storing food in airtight containers is a great way to keep it fresh in between uses. But without labels, you’ll never remember what’s inside each container. Print out your stickers and add them to each container so you never have to guess what ingredients you have on hand again.
- Garage. Keeping your garage organized is a big task. Sort through everything in your garage and place it in large bins, then put a label on the outside so you know what’s inside every box
- Classroom. If you’re a teacher, you know how important labels can be! Keep your classroom neat and organized with the help of colorful tags on all your boxes and storage containers throughout the classroom.
How to Make Storage Labels
Once you have your blank storage labels downloaded to your computer/laptop/mobile device, you can print them and turn them into labels in four different ways:
Sticker sheets.
Use sticker paper to turn your storage labels into storage stickers. Print out the designs on sticker paper, then cut out each label and write the name of the items inside the storage container. After that, all you have to do is stick the sticker on the front of the box or jar.
Laminated paper with writing.
To ensure your labels don’t rip after several uses, laminating them is a great idea. Print the labels on plain paper, then fill out each label with the items stored inside each box or bin. Use your laminator to laminate each page, then cut out the labels around each border. Your laminated labels can then be glued or taped to your storage containers. Or punch a hole in the corner of the label and tie it on a box with a piece of ribbon.
Laminated blank labels.
Another great way to use your laminator with the printable labels is to laminate the blank labels. Simply print the labels on plain paper and laminate each page. Cut out each label around the border and attach it to your storage container. Use a dry erase marker to write the contents of the bin on the label. This method is perfect for boxes that don’t contain the same items over time, allowing you to use the same label and simply erase and rewrite the content name on the front.
Cardstock.
Having a laminator is a great option when making your own storage labels, but it’s not absolutely necessary. Instead of laminating your labels, you can print them on white cardstock. Write the name of the items stored inside your container, then place the label on the front of the container. Use a large piece of clear packing tape to attach the label to the container to fix it in place quickly and easily.
Ready to turn yourself into an organizational queen/king? Grab my awesome storage labels, available here!
Pin to save for later

Article may contain Amazon & affiliate links. As an Amazon Associate I earn from qualifying purchases at no additional cost to you.


ABOUT PETRO
Hi, I’m Petro, author and founder of Easy Peasy Creative Ideas. Sewist, crafter, avid DIY-er, foodie, photographer, homemaker and mommy to one. I’m an expert at coming up with quick, clever sewing tips, recycling crafts and simple, easy recipes! You can find my ideas featured in reputable publications such as Country Living, Good House Keeping, Yahoo News, WikiHow, Shutterfly, Parade, Brit & Co and more. Thanks for stopping by and hope you’ll stay for a while, get to know me better and come back another time. Stick around for real fun projects! Read more…