

Scallop neck t-shirt tutorial
Learn how to enhance your wardrobe with this easy scallop neck t-shirt tutorial. Transform any ordinary t-shirt into a chic fashion statement with this easy step-by-step guide. Perfect for DIY enthusiasts!
With this scallop neck t-shirt tutorial, you can give new life to an old t-shirt by adding a stylish and simple scallop neckline. Whether you’re a seasoned seamstress or a complete beginner, this guide will walk you through the entire process, making it simple and enjoyable. Refashioning old clothing has never been more popular or more accessible!
The scallop neck t-shirt tutorial is perfect for those looking to refresh their wardrobe without spending money. The scalloped edge adds a charming, feminine touch to any t-shirt, making it a versatile piece that can be dressed up or down. Plus, it’s a fun and creative way to practice your sewing skills!
How to make a scallop neck t-shirt
Materials you need
To begin this project, you’ll need a few key materials:
- Fabric scraps: Use these to create the scalloped edge. Choose a fabric that complements the color and texture of your t-shirt.
- Heat-n Bond Lite: This iron-on adhesive will help secure your scallops before sewing.
- T-shirt: Select an existing t-shirt you’d like to refashion.
- Matching thread: Ensure the thread color matches the chosen fabric for a seamless finish.
Substitutes
If you don’t have all the materials listed above, don’t worry! Here are some substitutes you can use:
- Fabric glue can replace Heat-n Bond Lite, although sewing will provide a more durable finish.
- Fusible interfacing can be used if Heat-n Bond Lite is unavailable.
Equipment
Gather the following equipment to successfully complete your scallop neck t-shirt refashion:
- Circle to trace pattern: Use a stencil or a small circular object to trace your scallop pattern. Mine was 2″ in diameter.
- Sewing machine: Essential for stitching the scallops neatly.
- Scissors: Regular sewing scissors will be needed to cut fabric.
- Craft scissors: Use these to cut the Heat-n Bond.
- Pinking shears: These help prevent fraying edges on your fabric scraps in addition to Heat N Bond.
Instructions to make the scallop neck
For photo and video details see the craft card below.
Preparations
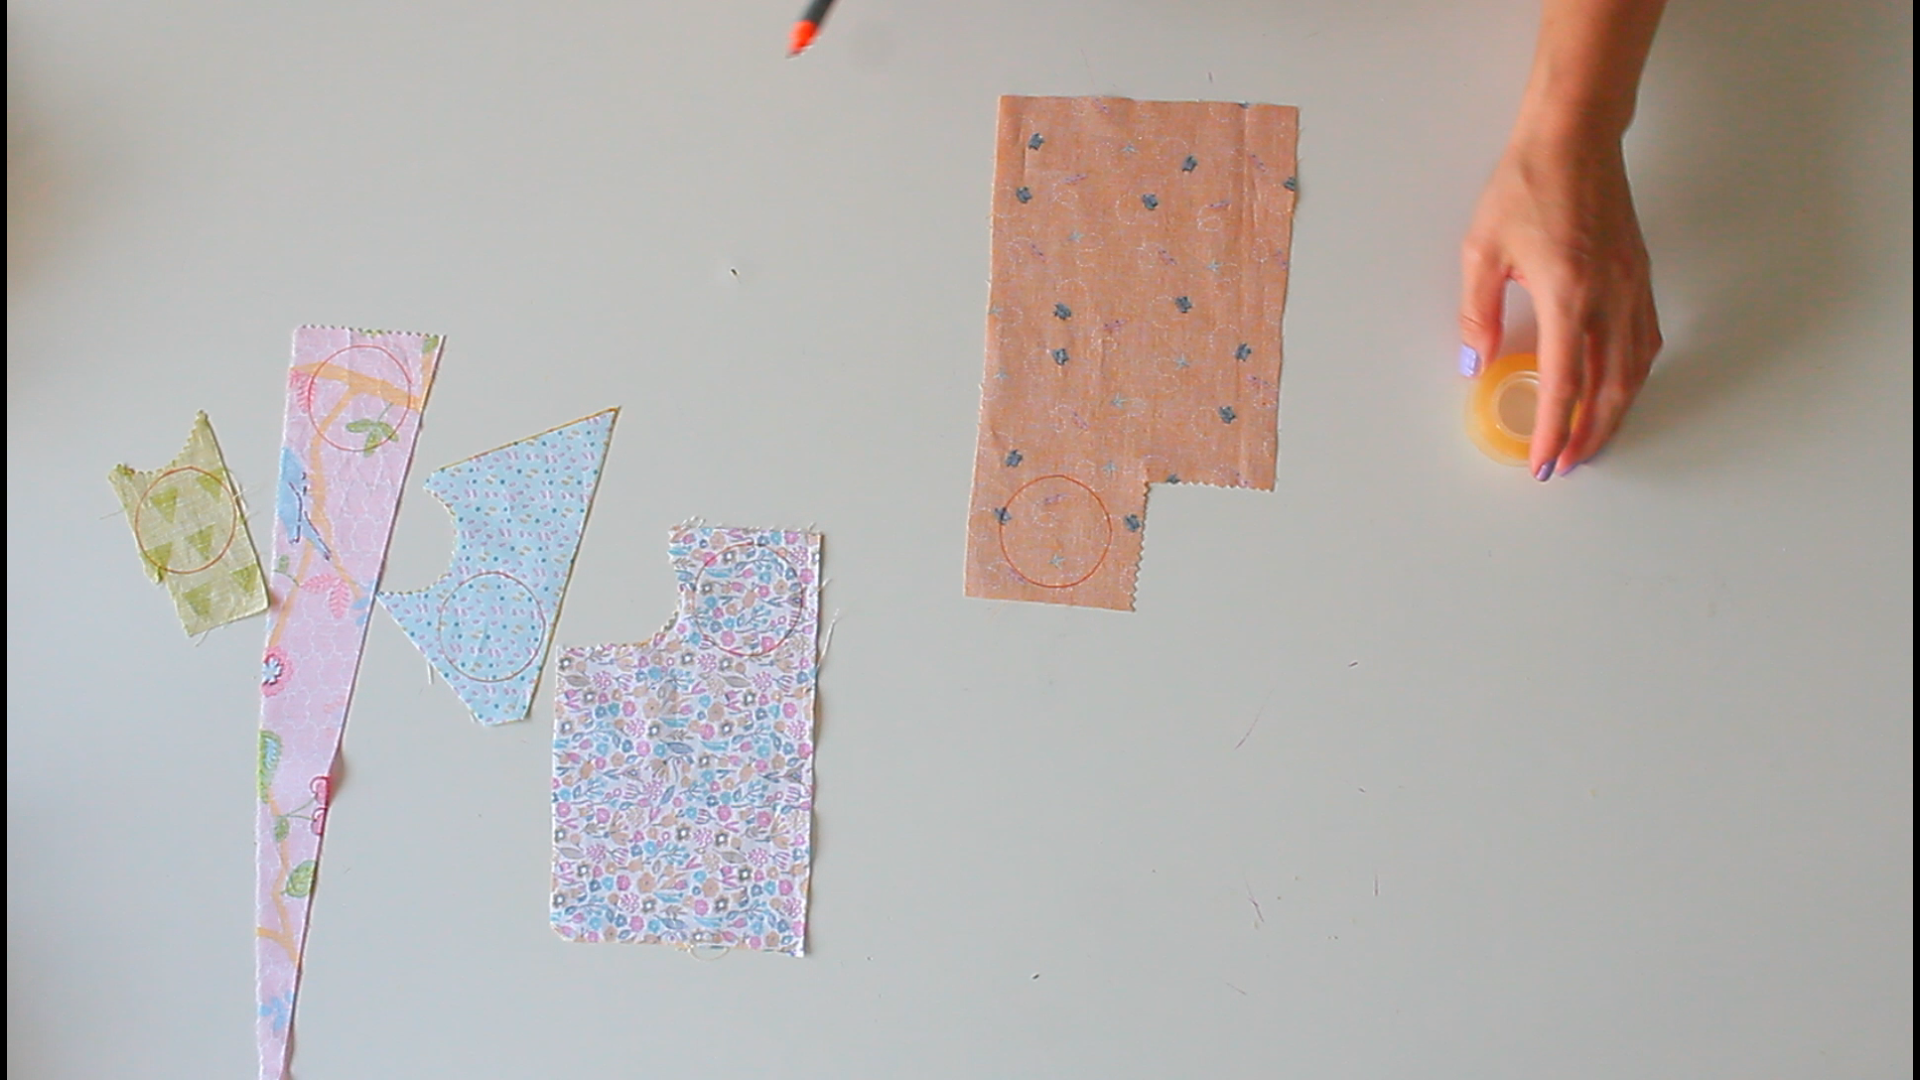
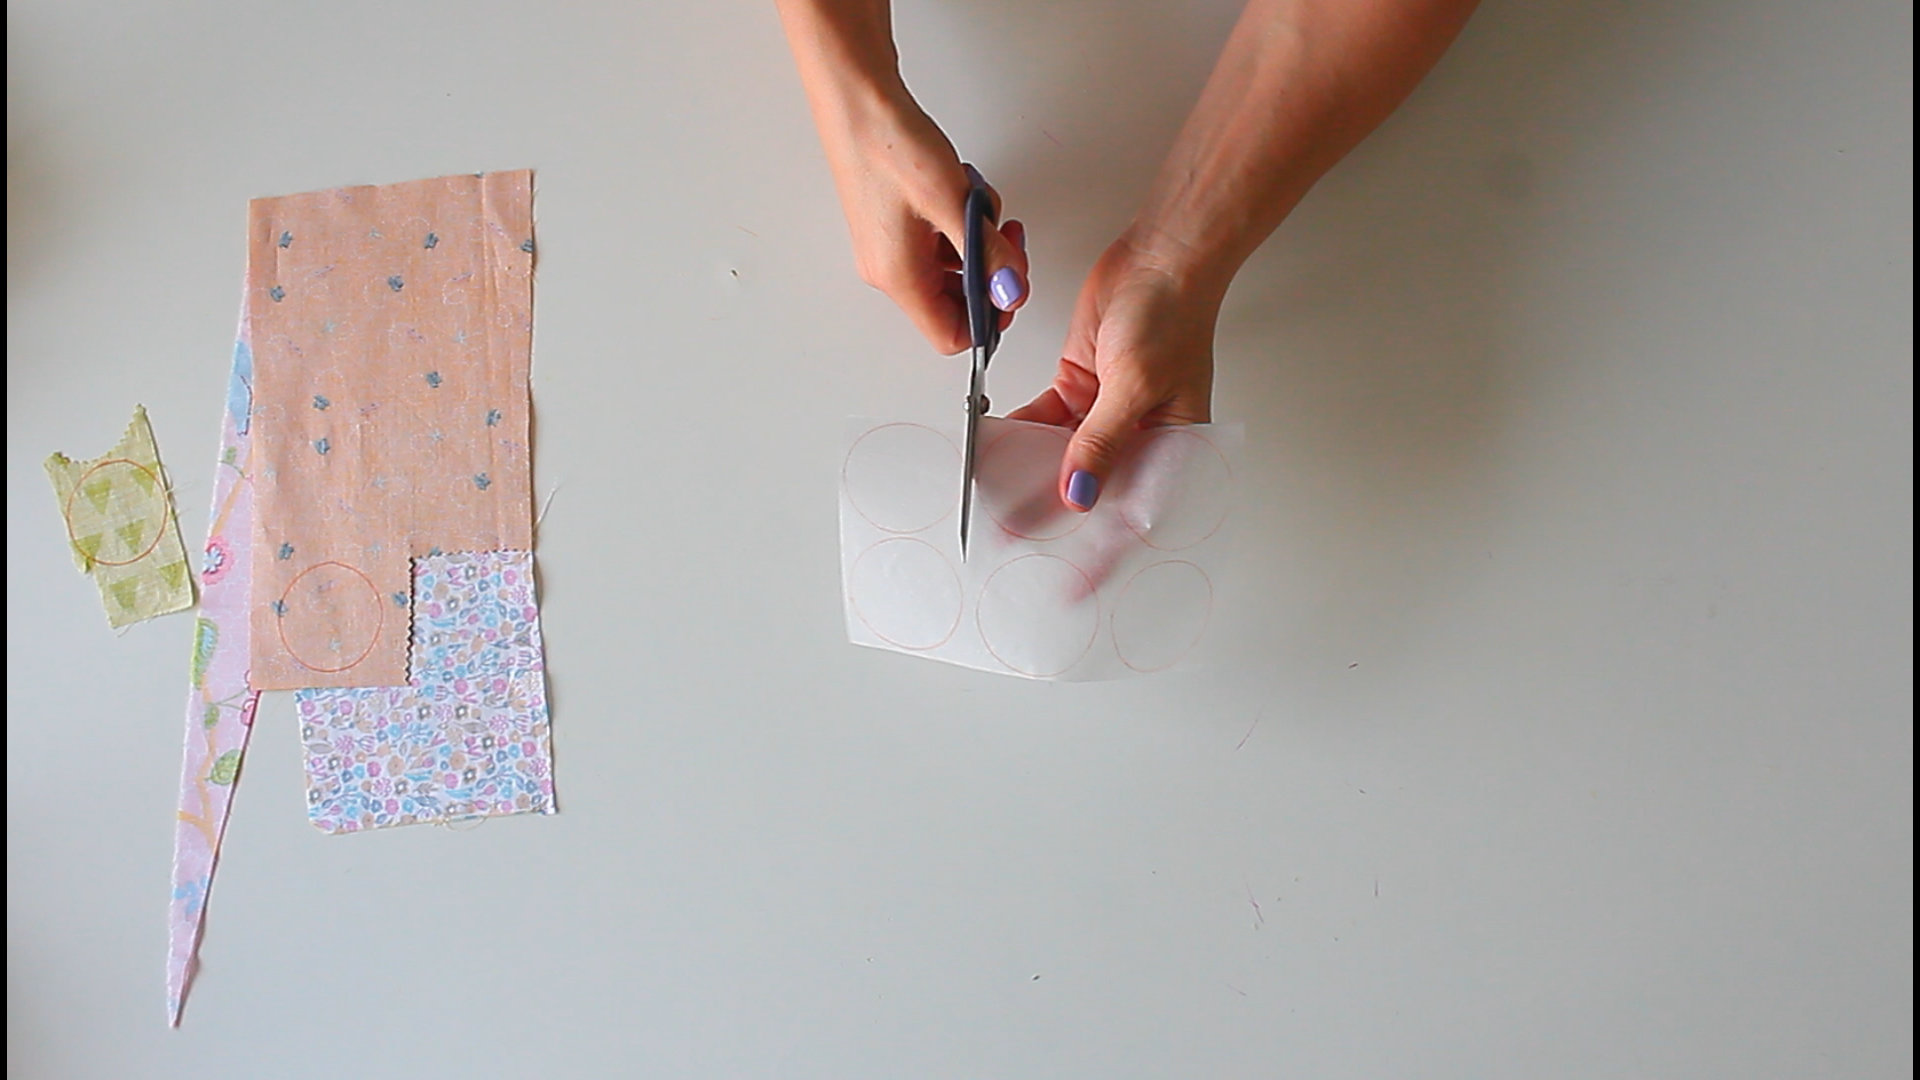
- Use a small circular object to trace the scallop pattern onto your fabric scraps and the Heat N Bond.
- Carefully cut the Heat N Bond along the traced lines using your craft scissors.
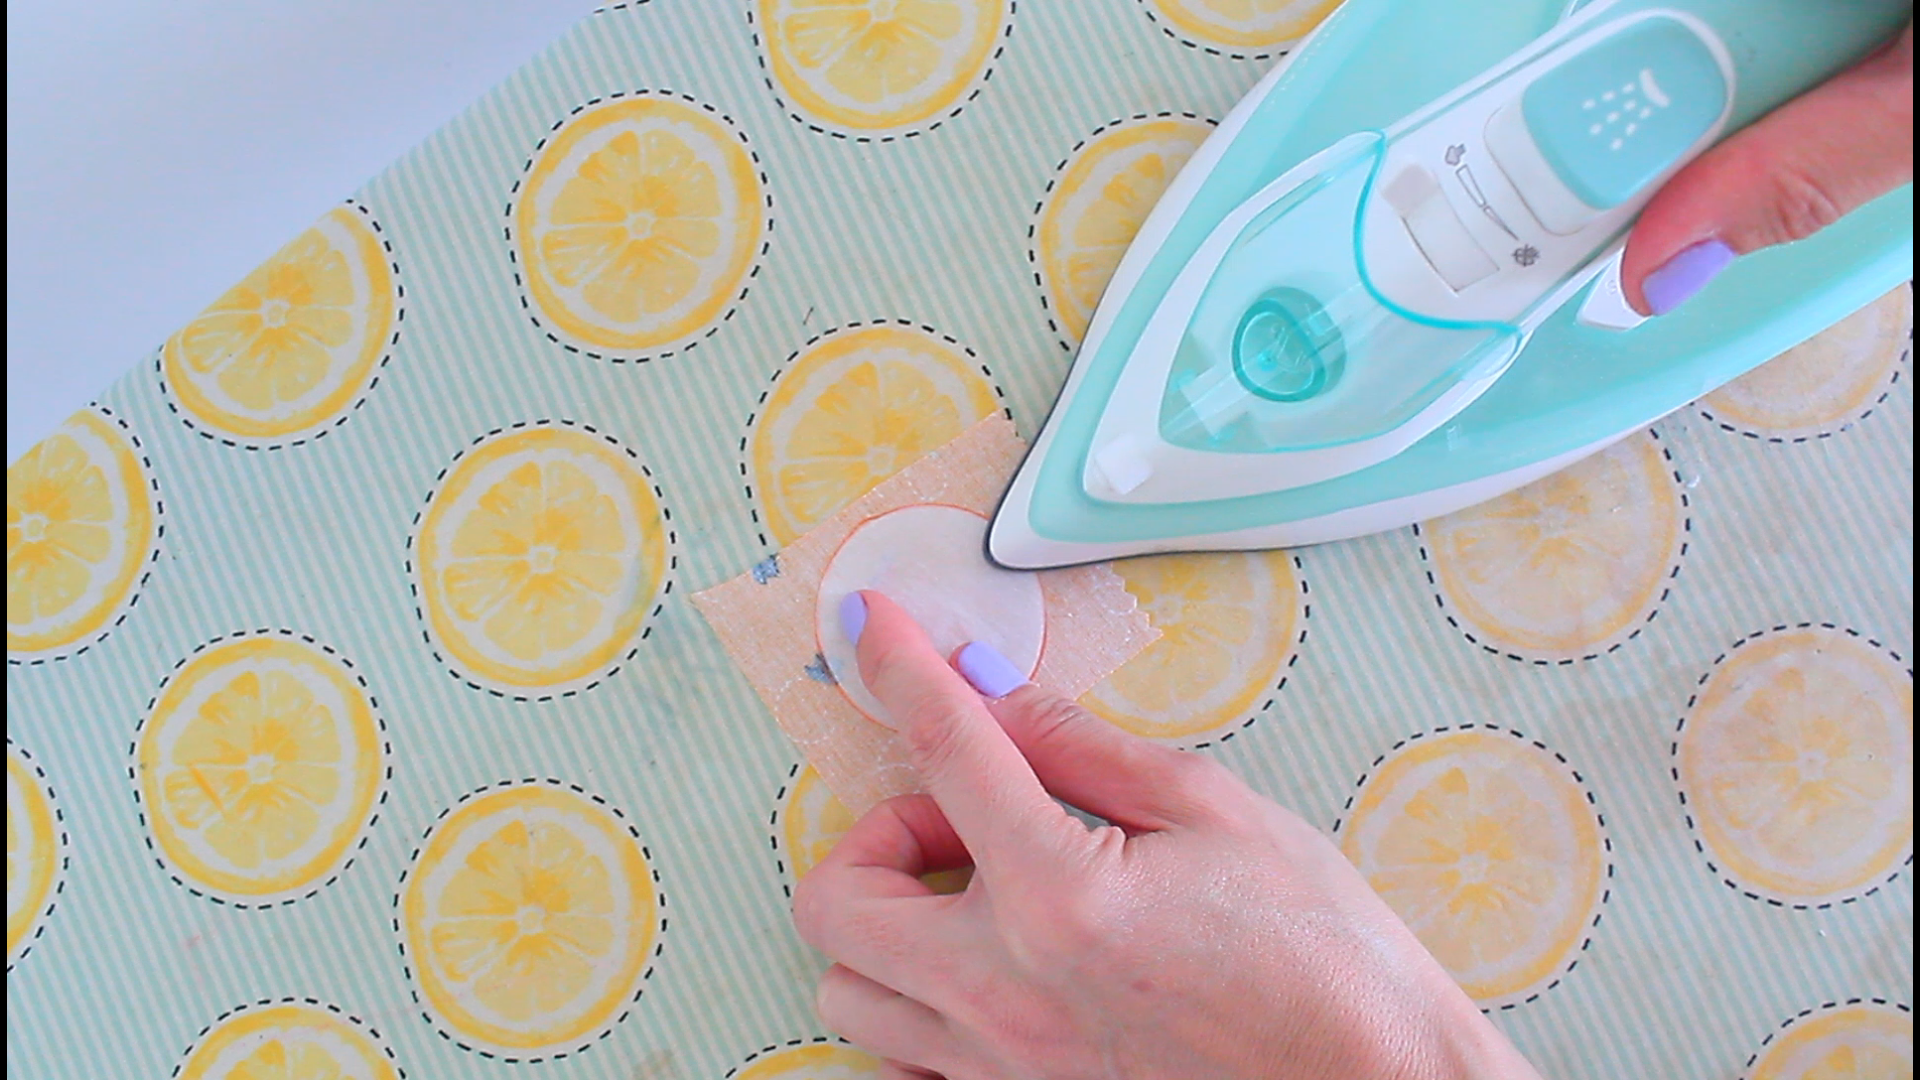
- Fuse onto the circles traced onto fabric.
- Remove the backing paper.
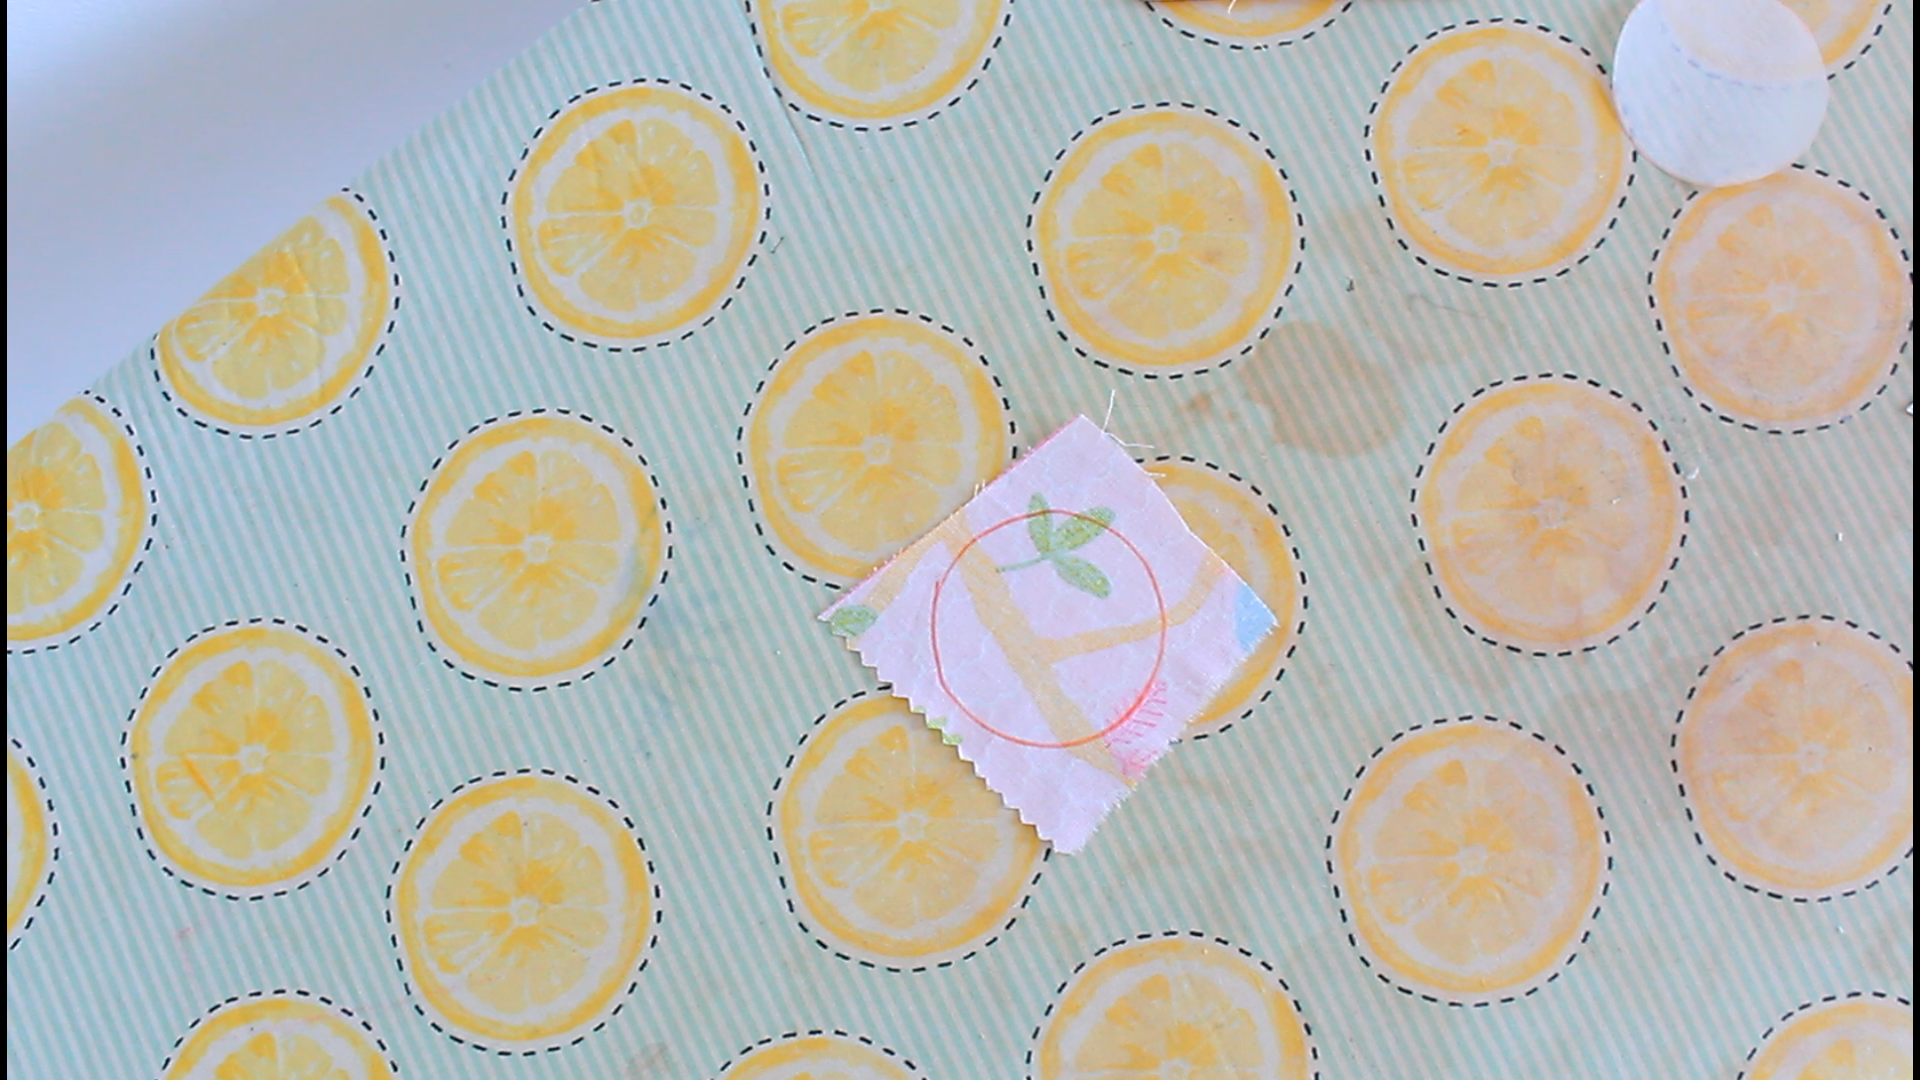
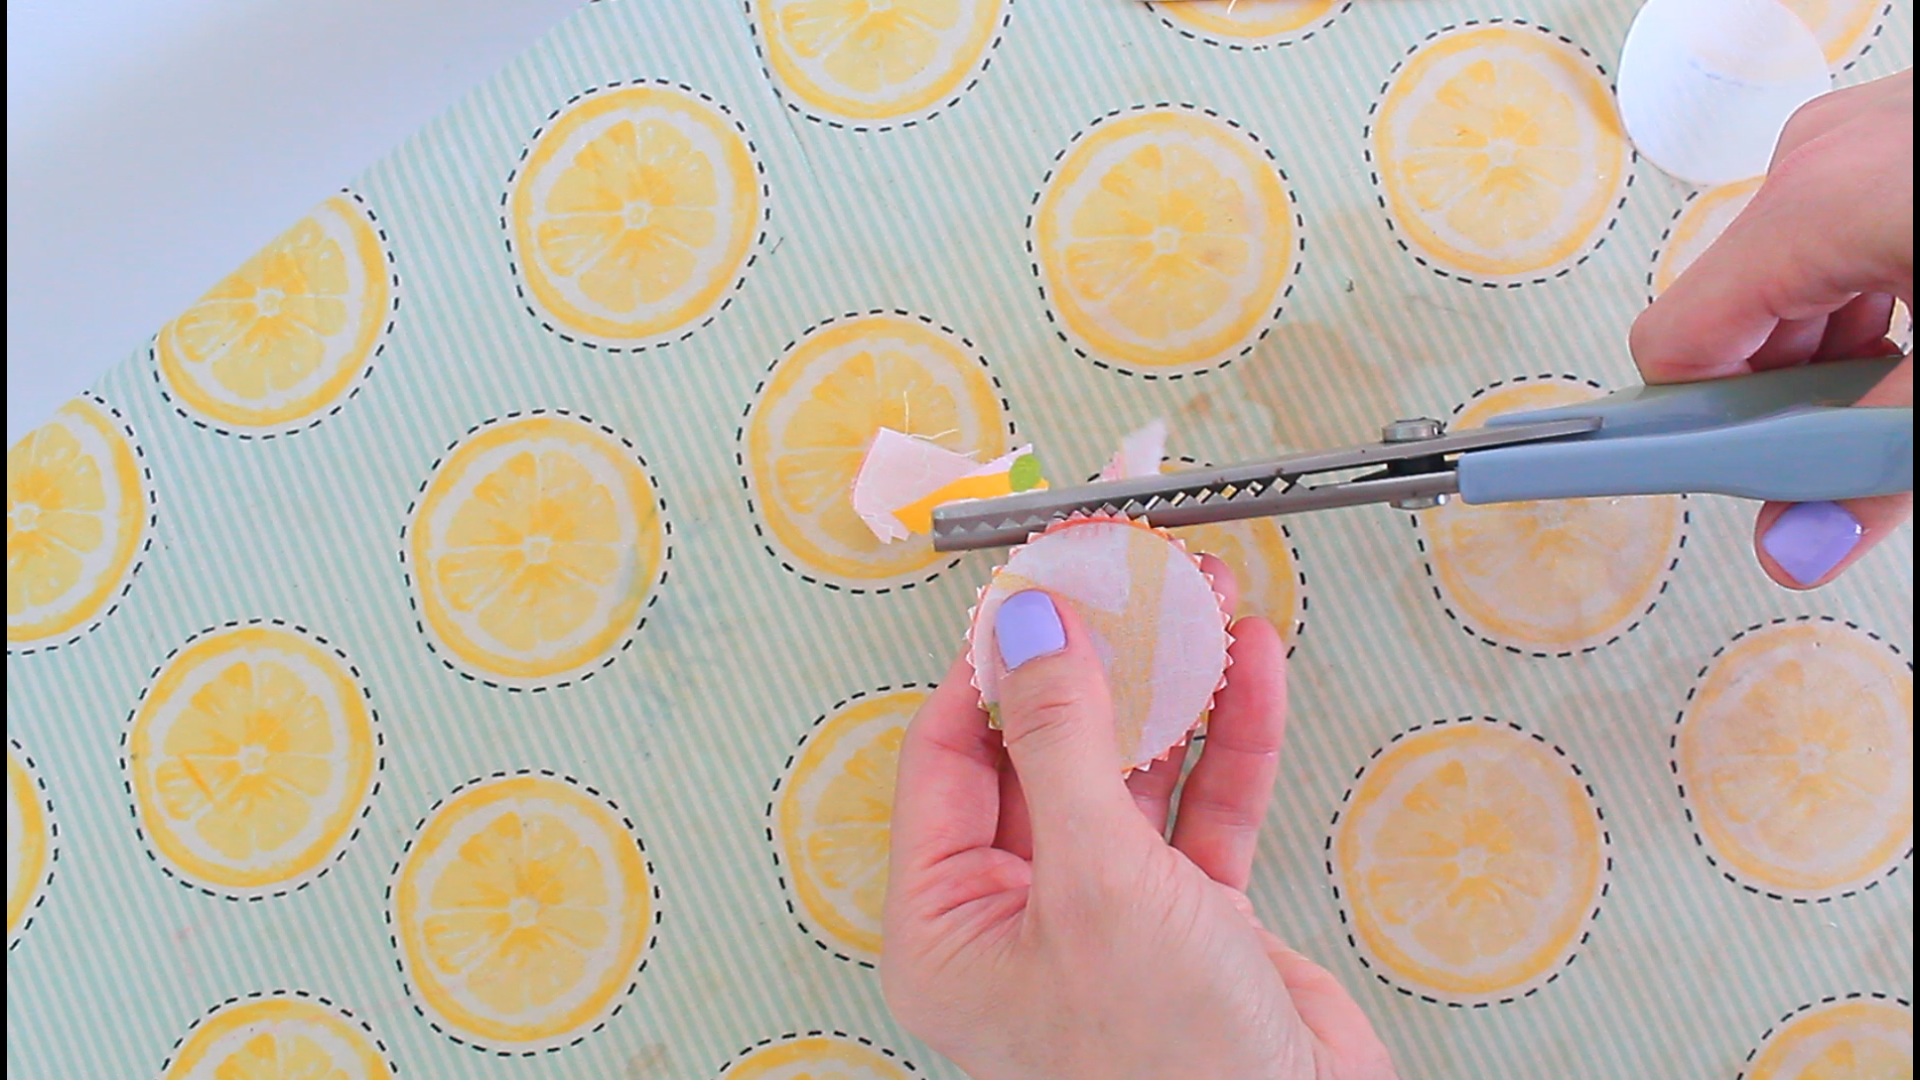
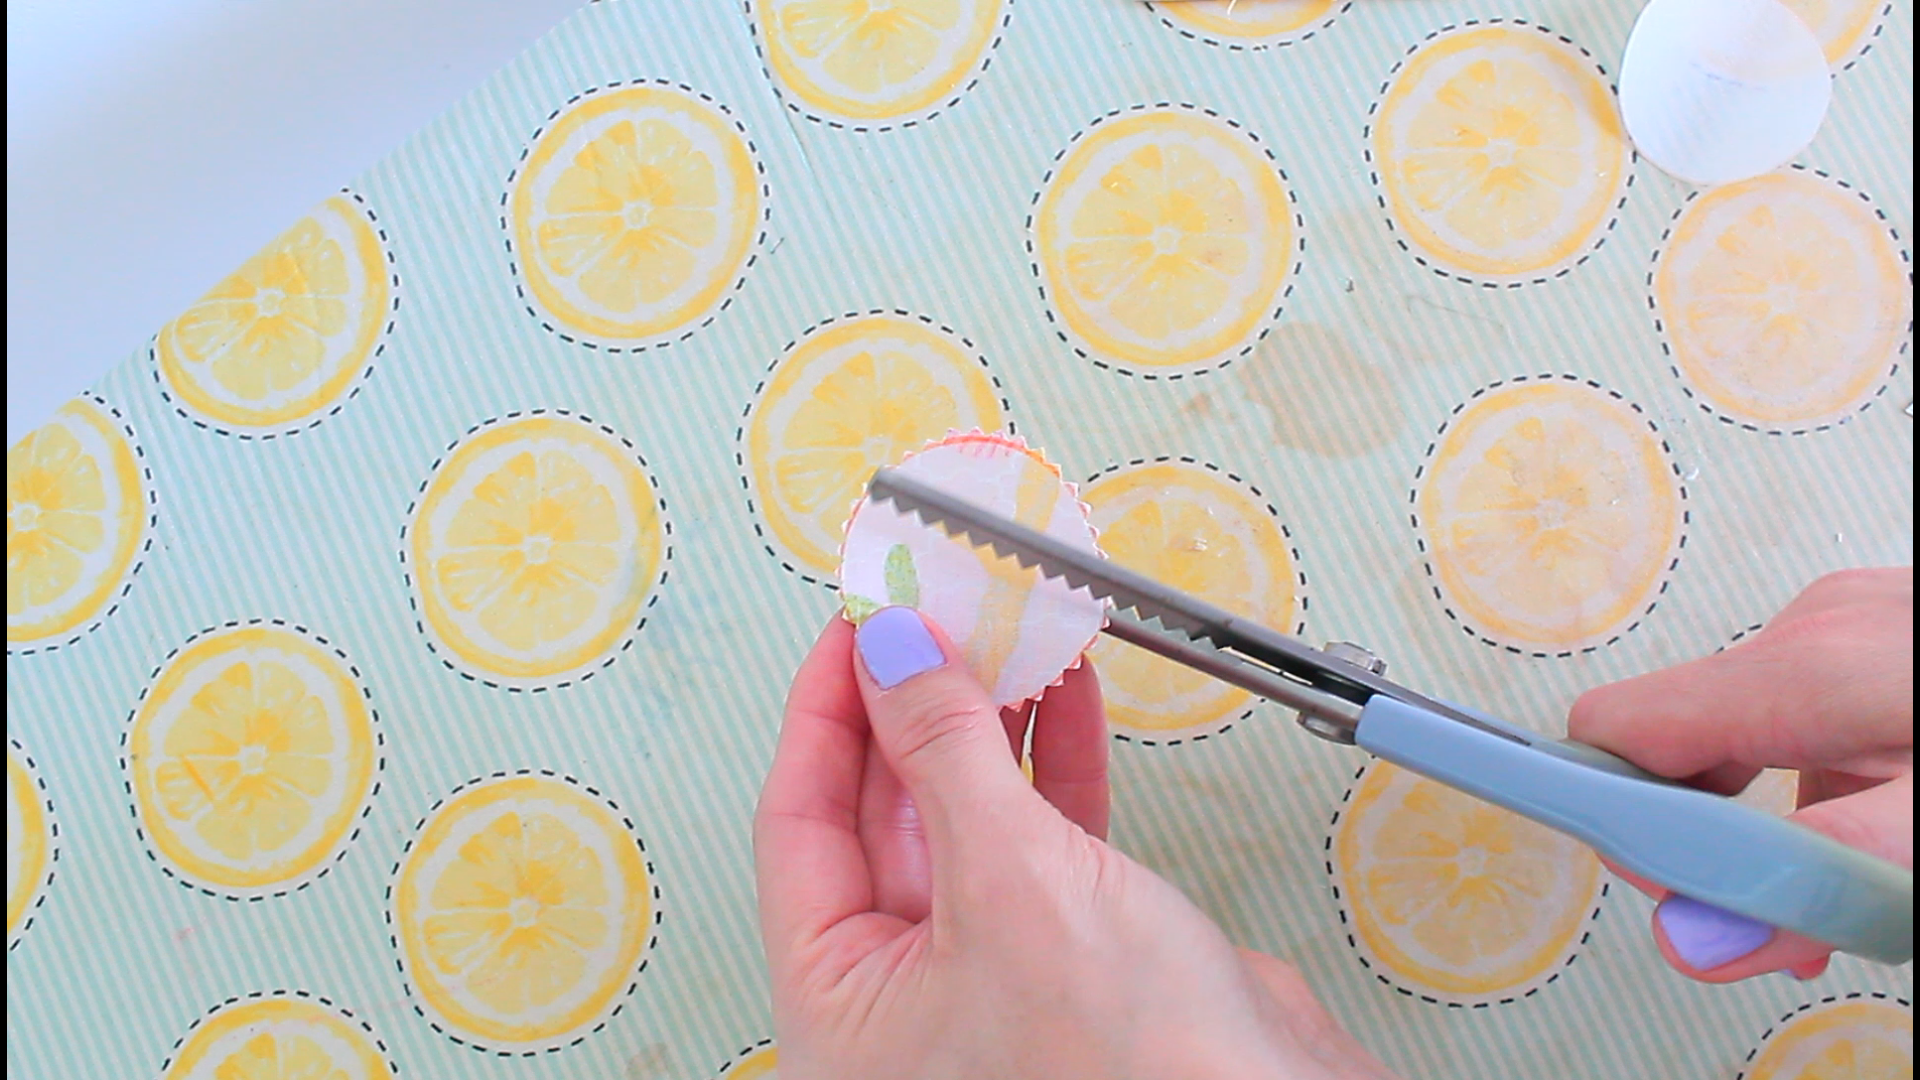
- Cut out the fabric circles using your pinking shears.
- Fold the circles in half and cut along the fold line.
Sewing
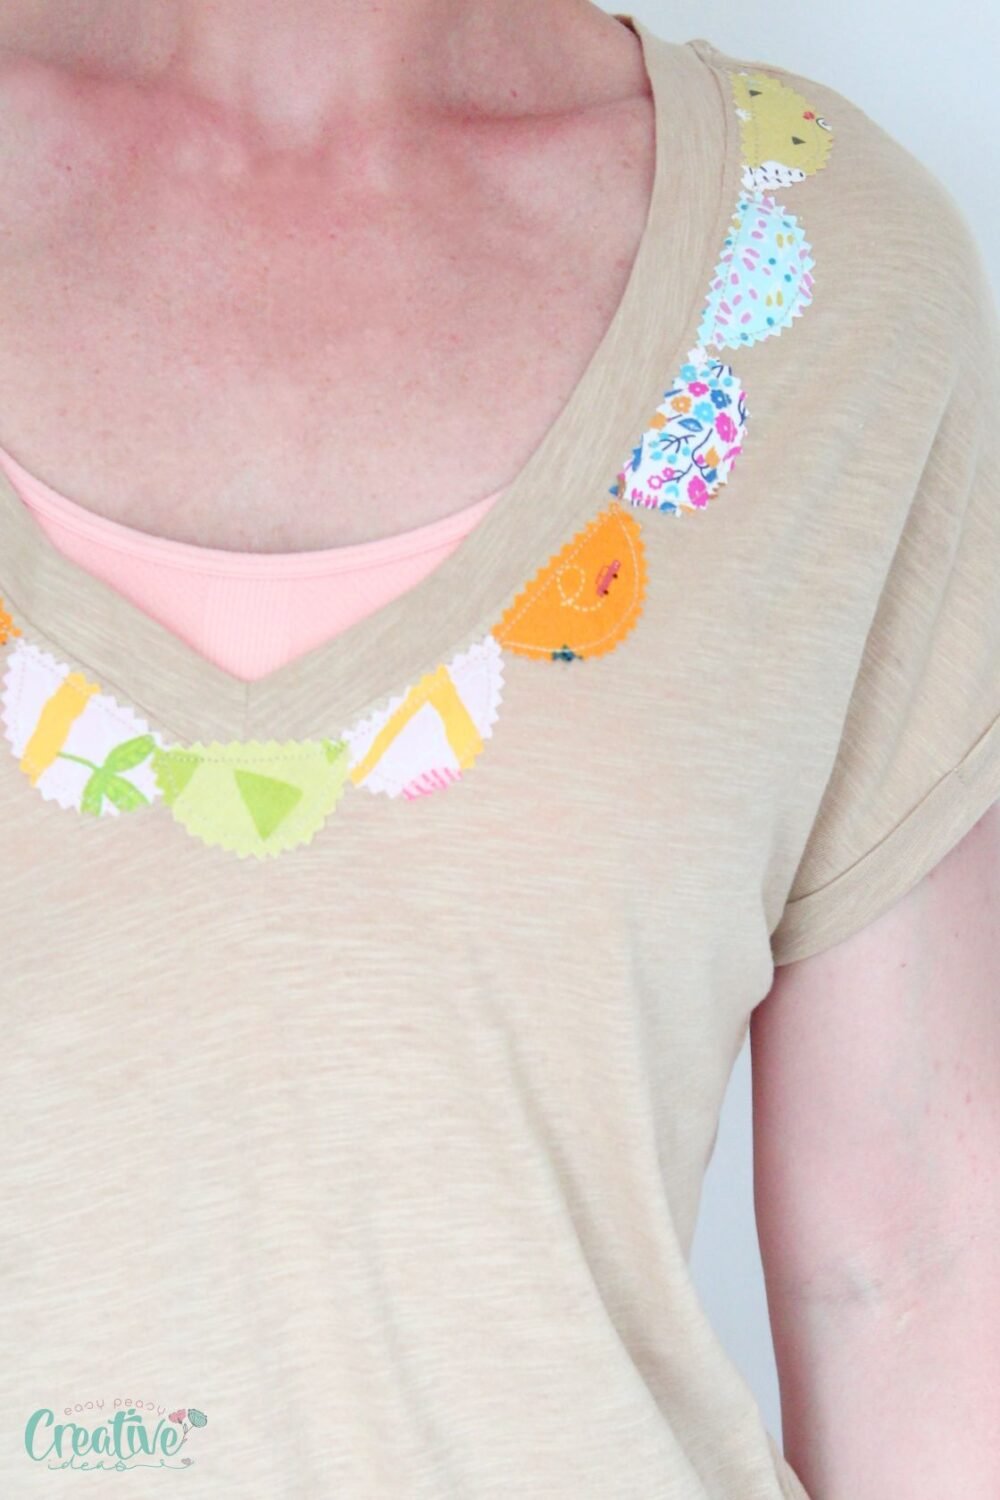
- Arrange the scallops to the neckline and move them around until you are happy with the layout. You can start in the middle on the neckline or at the shoulders.
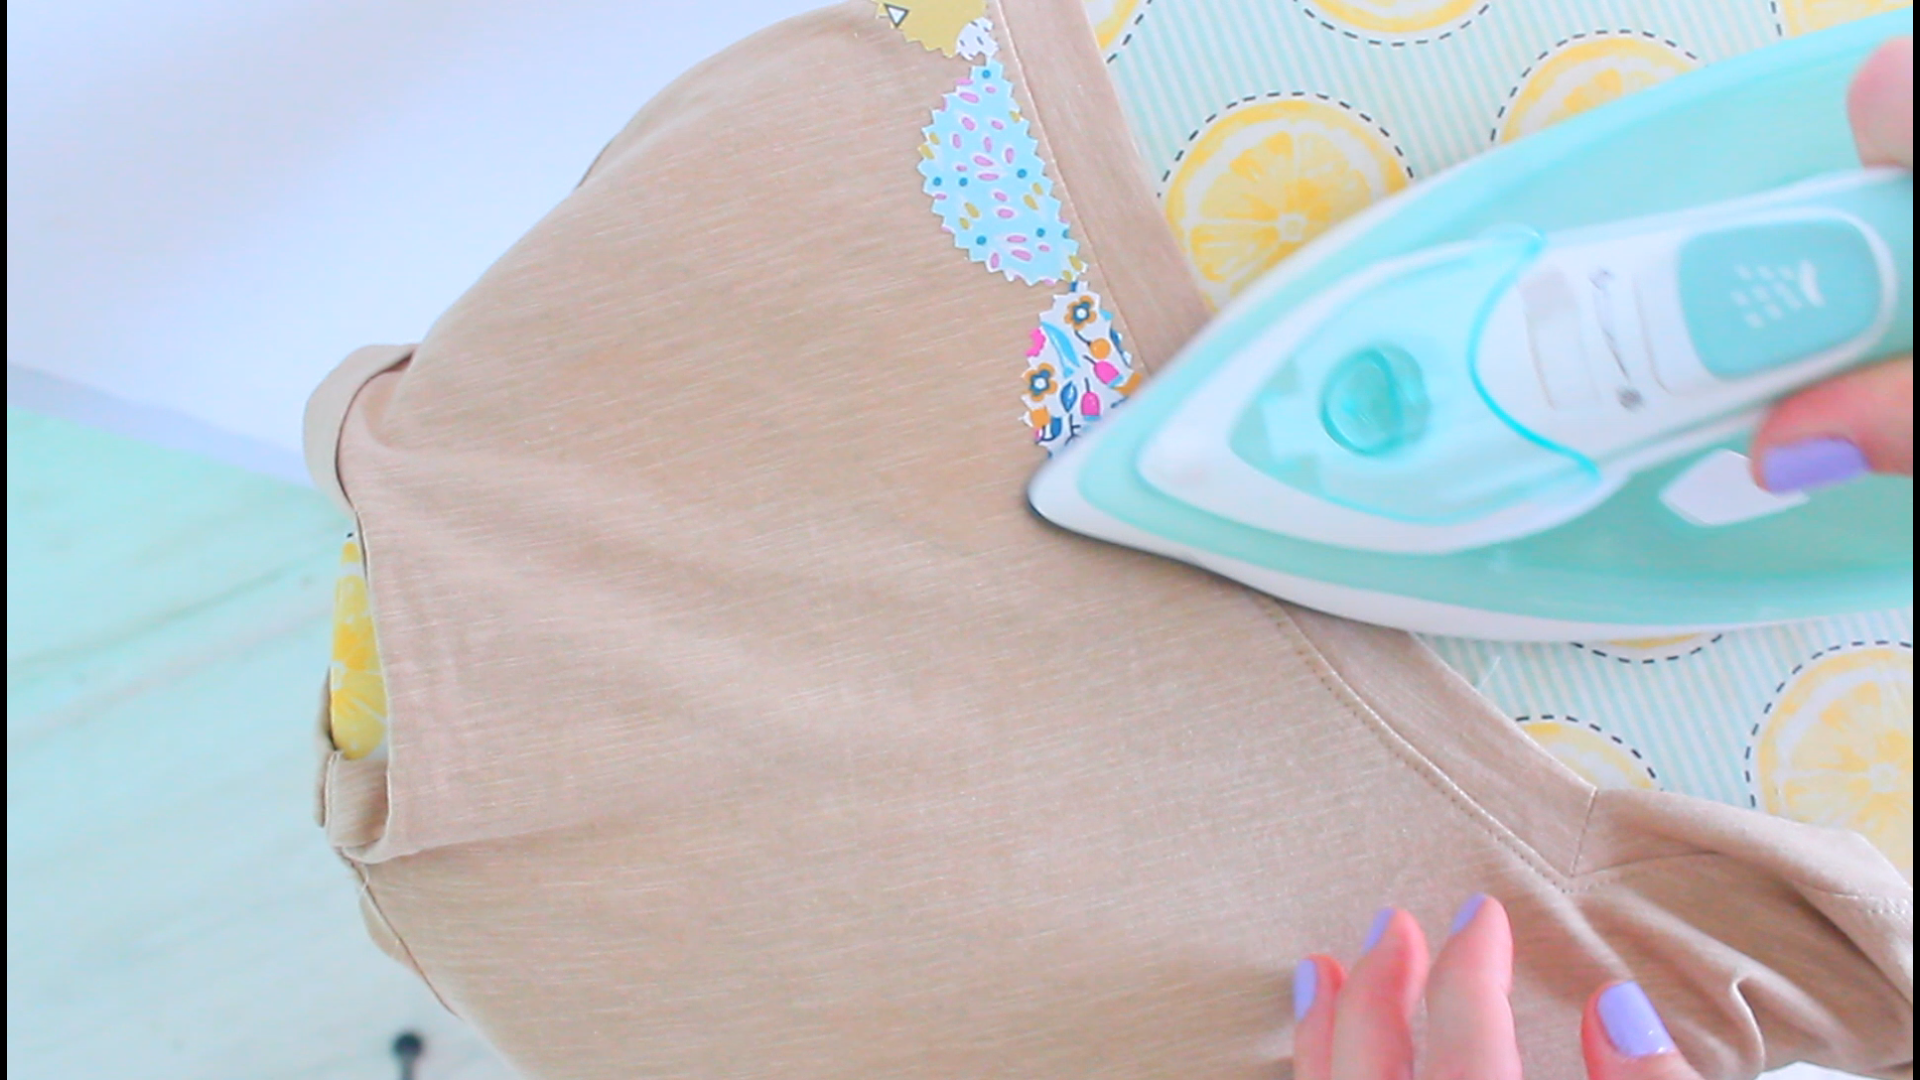
- Once you are satisfied with the scallop placement, start ironing them onto your t-shirt.
- Let cool for a few minutes before sewing to ensure that they are securely attached.
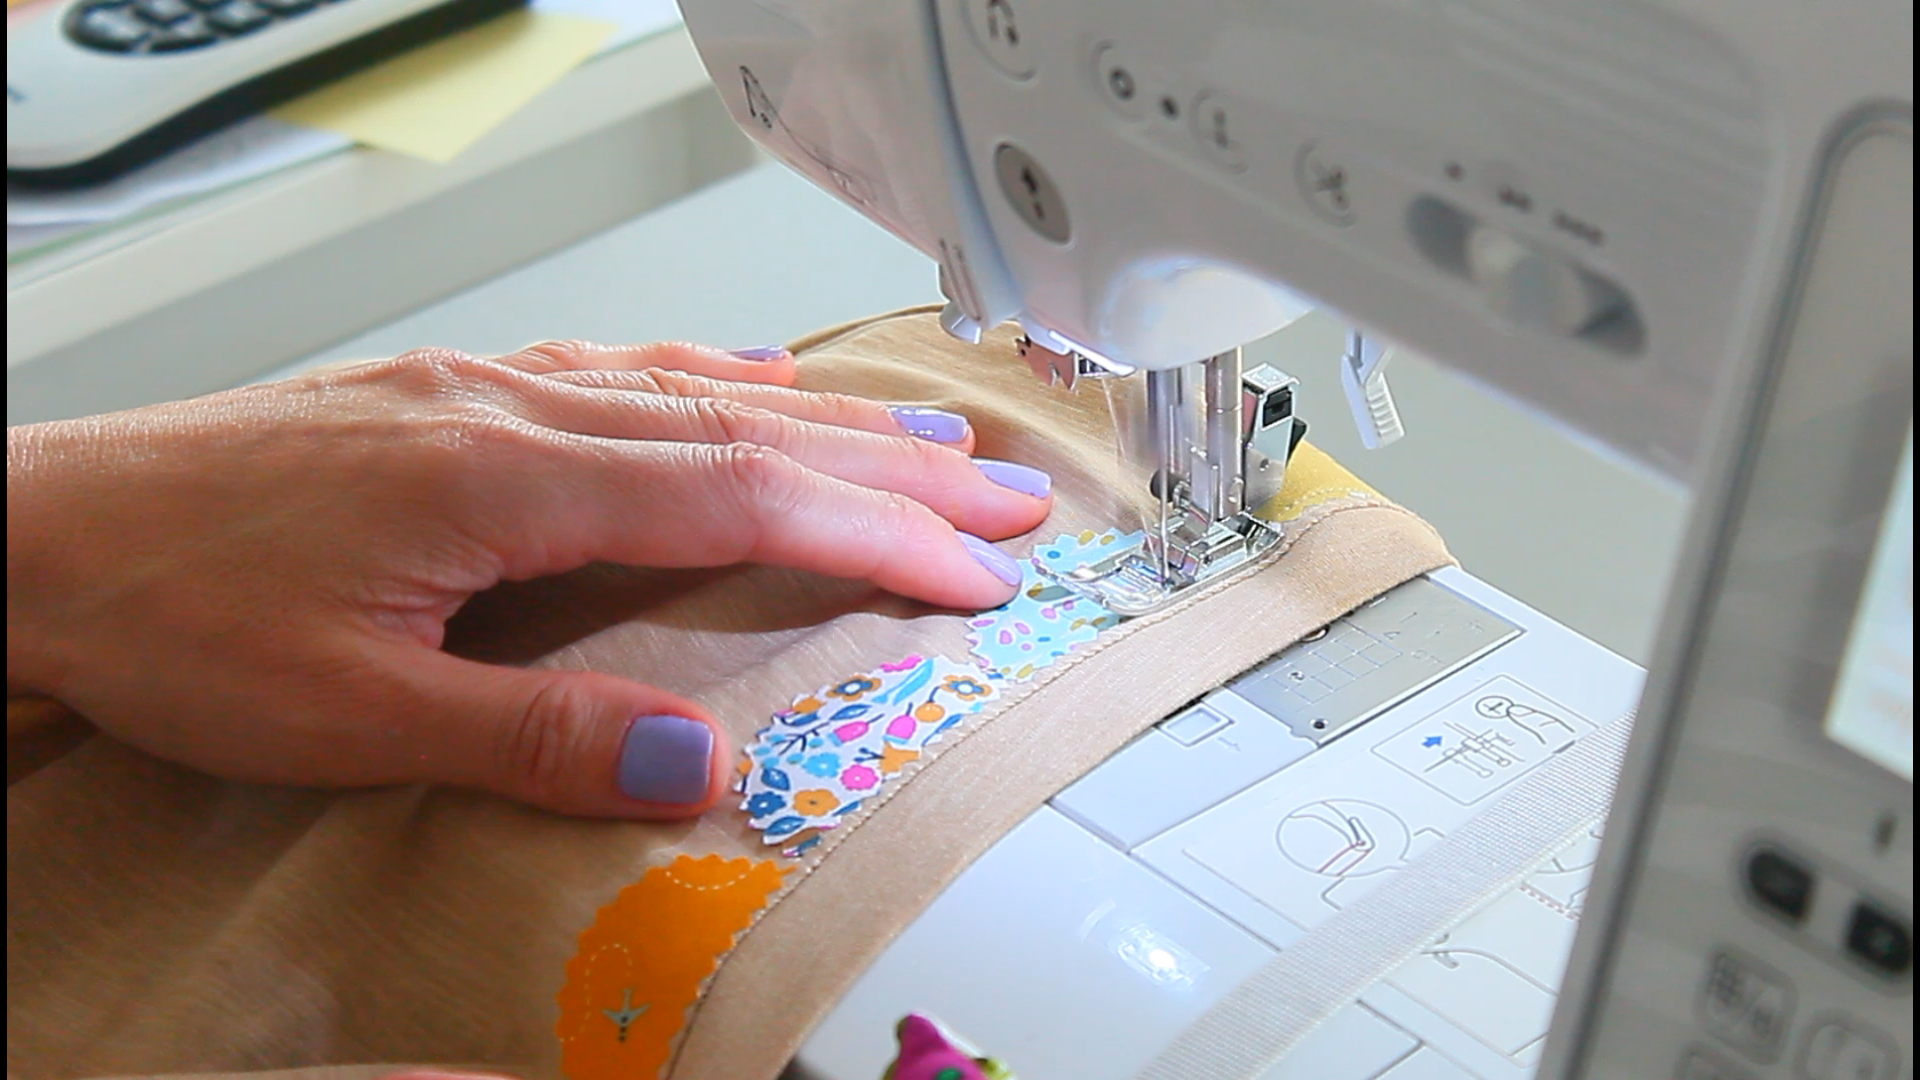
- Using a matching thread color, carefully sew around each scallop, leaving a 1/8 inch seam allowance.
- Backstitch at the beginning and end to secure the stitches.
- Trim any excess thread or fabric scraps. If you start in the middle of the neckline you might need to trim the end scallops to fit.
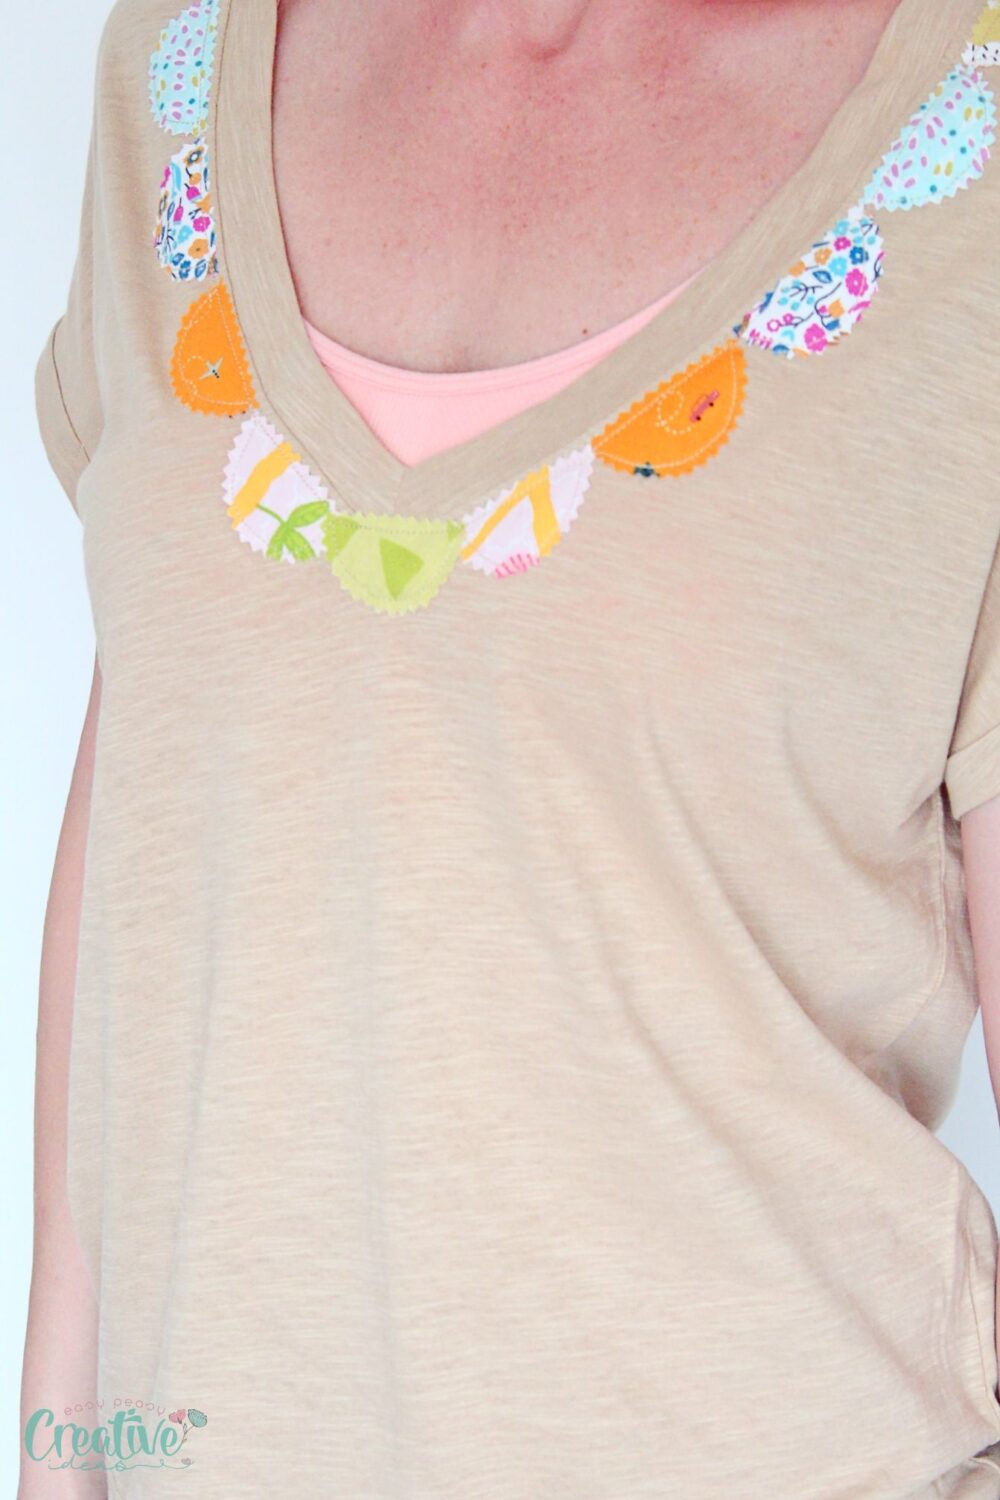
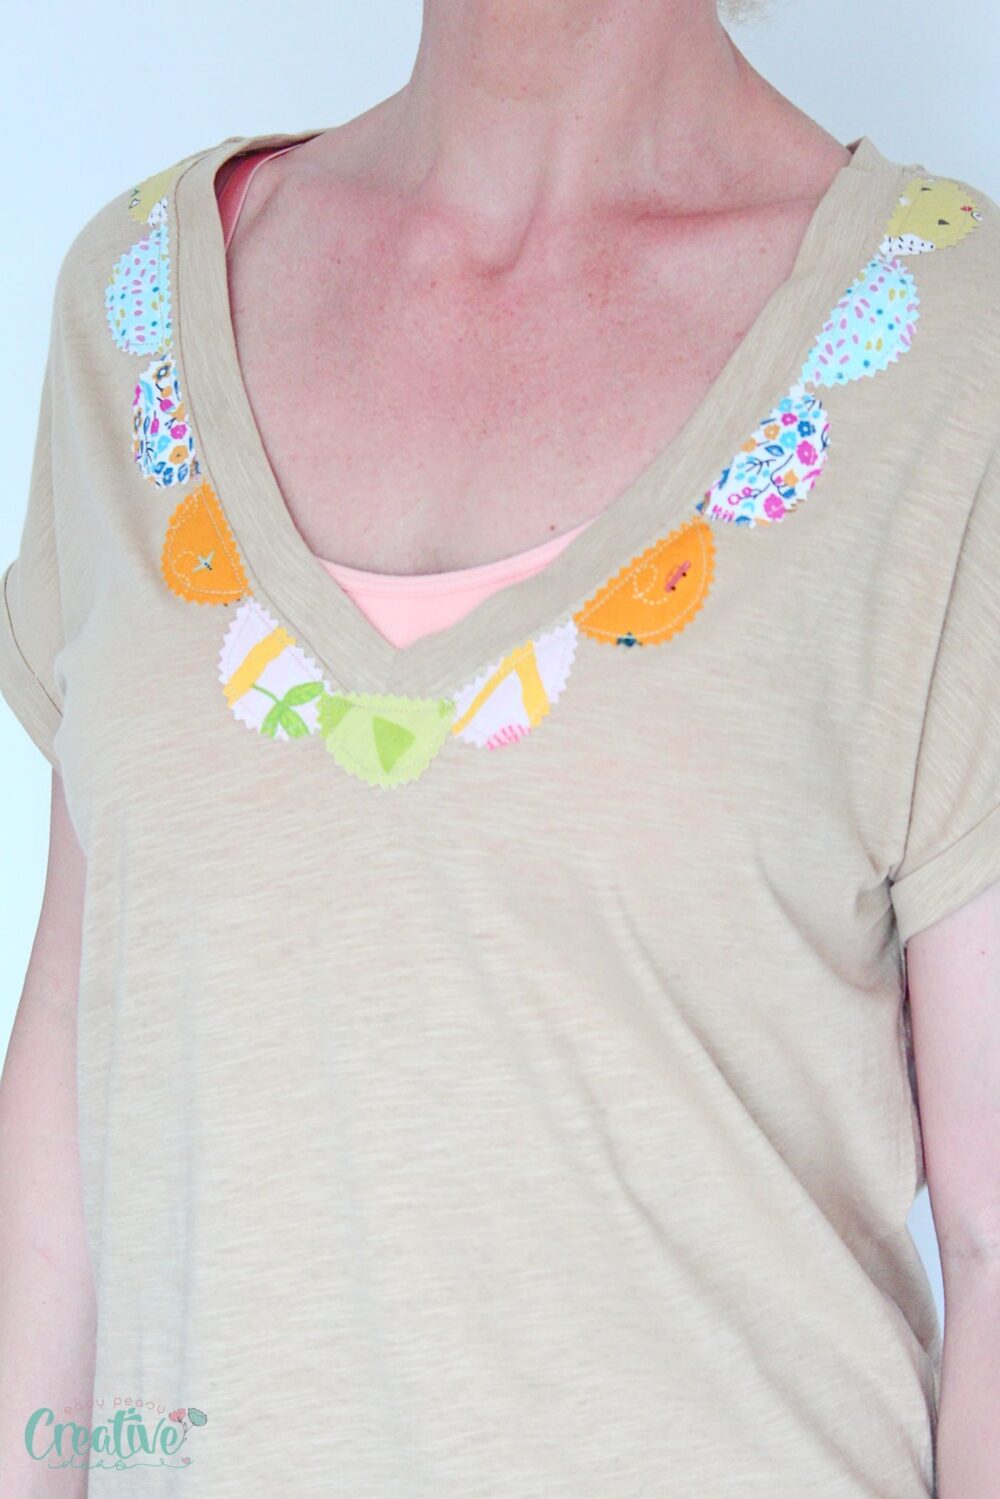
- And you’re done! Try on your newly transformed scallop neck t-shirt and enjoy!
Tips
- For a polished finish, always pre-wash and iron your t-shirt and fabric scraps.
- Practice tracing and cutting the scallops on a scrap piece of fabric first to perfect the size and spacing.
- You might find that using a zigzag stitch when sewing the scallops provides extra flexibility and prevents puckering.
Sewing Project Variations
- Scallop Hem T-Shirt: Apply the scallop technique to the hem of the t-shirt instead of the neckline for a different look.
- Double Scallop Edge: Create a double layer of scallops for a more intricate design.
- Contrasting Fabrics: Use a contrasting fabric for the scallops to make them stand out more prominently.
- Embellished Scallops: Add beads or embroidery to the scallops for an extra touch of flair.
Frequently Asked Questions
Can I use a different kind of fabric for the scallops?
Yes, as long as it’s lightweight and can be easily sewn onto the t-shirt.
How do I ensure the scallops are evenly spaced?
Mark the placement of each scallop on your t-shirt with fabric chalk or pins before cutting and sewing.
Can I sew the scallops by hand instead?
While it’s possible, using a sewing machine will provide a cleaner and more durable finish.
What if I don’t have Heat-n Bond Lite?
Fabric glue or fusible interfacing can be used as an alternative to temporarily hold the scallops in place before sewing.
More Sewing Projects You’ll Enjoy
- Gathered top camisole with flounce hem
- Easy sew apron from a pillowcase
- Half circle skirt for women
- Easy pillowcase dress for women
- How to add a pocket to a t-shirt
- How to add a fringe to a pair of jeans
The possibilities are endless when it comes to giving new life to old clothing. With just a little creativity and some basic sewing skills, you can elevate your wardrobe and stand out with one-of-a-kind pieces. I hope you enjoyed this tutorial and are inspired to create your very own unique piece. Happy sewing!

Scallop neck t-shirt tutorial
Materials
- Fabric scraps
- Heat-n Bond Lite
- T-shirt
- Matching thread
Tools
- Circle to trace pattern
- scissors
Instructions
- Use a small circular object to trace the scallop pattern onto your fabric scraps and the Heat N Bond.

- Carefully cut the Heat N Bond along the traced lines using your craft scissors.
- Fuse onto the circles traced onto fabric.
- Remove the backing paper.
- Cut out the fabric circles using your pinking shears.
- Fold the circles in half and cut along the fold line.
- Arrange the scallops to the neckline and move them around until you are happy with the layout. You can start in the middle on the neckline or at the shoulders. Once you are satisfied with the scallop placement, start ironing them onto your t-shirt.
- Using a matching thread color, carefully sew around each scallop, leaving a 1/8 inch seam allowance.
Video
Article may contain Amazon & affiliate links. As an Amazon Associate I earn from qualifying purchases at no additional cost to you.
ABOUT PETRO
Hi, I’m Petro, author and founder of Easy Peasy Creative Ideas. Sewist, crafter, avid DIY-er, foodie, photographer, homemaker and mommy to one. I’m an expert at coming up with quick, clever sewing tips, recycling crafts and simple, easy recipes! You can find my ideas featured in reputable publications such as Country Living, Good House Keeping, Yahoo News, WikiHow, Shutterfly, Parade, Brit & Co and more. Thanks for stopping by and hope you’ll stay for a while, get to know me better and come back another time. Stick around for real fun projects! Read more…