

Gathered top camisole pattern with flounce hem
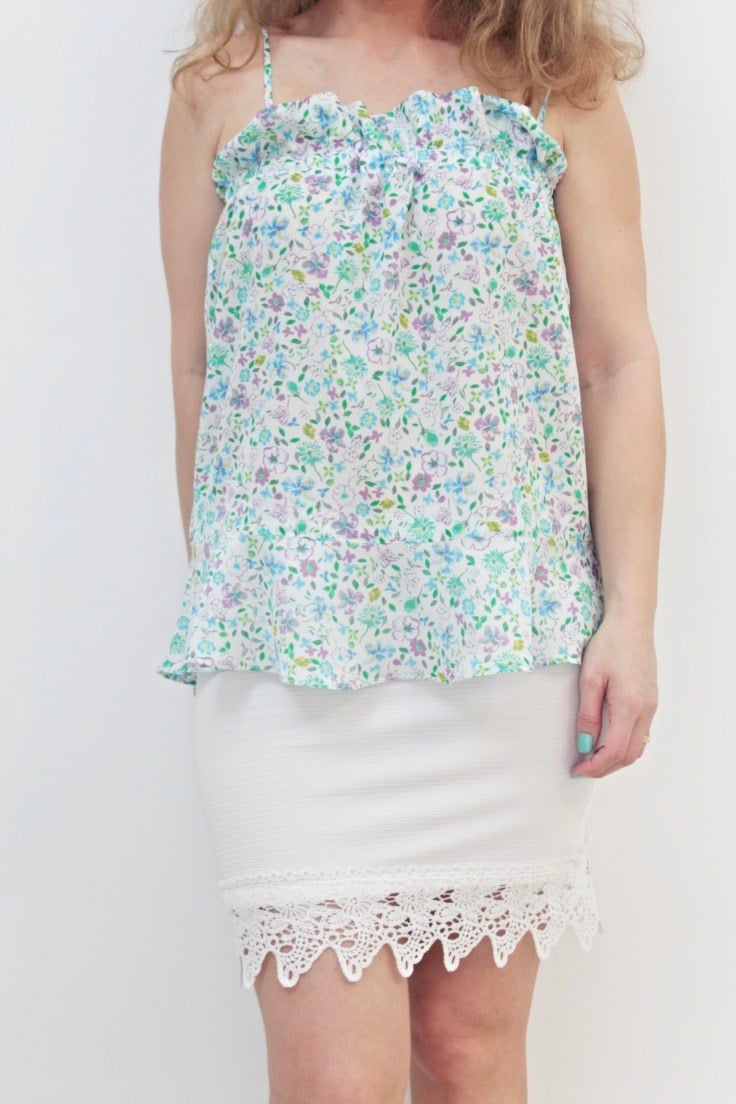
If you’re looking for inspiration for a charming gathered camisole, this camisole pattern with a flounce hem is not only irresistibly cute but also easy and quick to create! It may look complicated, but my camisole pattern creates a simple, fuss-free blouse ready in about half an hour! Wear it alone or with a cardigan on cool spring or summer nights. Feeling confident? Skip the spaghetti straps and wear it as a strapless top.
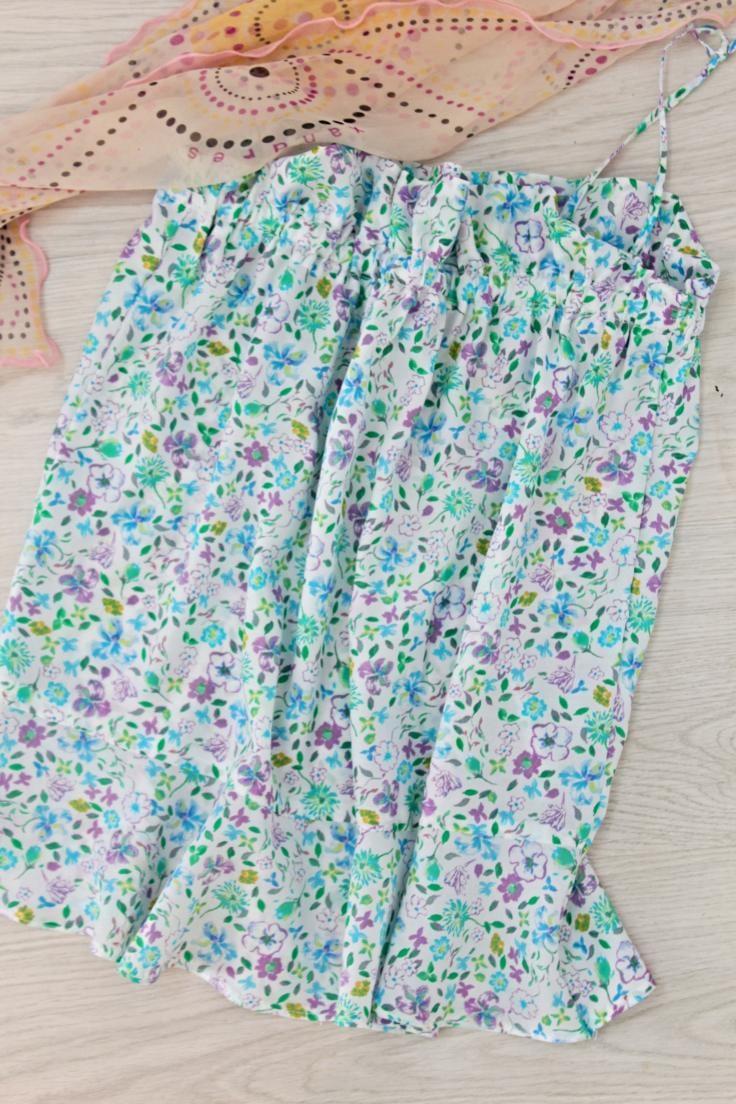
This camisole pattern emerged from an impromptu half-hour project that wasn’t planned at all (without the pattern making which might take another 1/2 hour). I spotted a camisole in a shop window, and the next day, I found myself creating my own pattern. The shop’s camisole was quite basic, featuring an A-line shape and regular straps. However, my mind immediately envisioned a gathered top, a flounced hem, and spaghetti straps—because I adore cute details on my clothes! And what’s cuter than a romantic ruffle, pretty gathers, and teeny, tiny straps?
In a world of simple, boring camisoles, that are often worn as a layering piece under cardigans, the gathered top helps this cami truly stand out! The flouncy hem adds up to the cuteness and makes the camisole pattern a lot more interesting. You will definitely want to wear this cami as a stand alone piece of garment, worn with a simple skirt and simple shoes so it won’t overshadow this gorgeous top!
How to sew a camisole pattern
Materials:
- camisole and flounce pattern available in size 10 here
- lightweight fabric
- elastic
- seamstress shears
- pins
- safety pin
- yardstick
- fabric marker
- matching thread
- serger
- sewing machine
- pressing iron
Instructions
Making the pattern
- If you are a size 10 you can use my pattern for the cami and the flounce. If you are a different size or simply don’t want to go the easy way, here’s how to make your own pattern in just a few easy steps.
- Decide how long you want the camisole (flounce excluded) and measure from just above the chest to the bottom of the cami. Add 4″ at the top and 1″ allowance at the bottom. This will the the length of your camisole pattern.
- Measure around your body, where you decided to make the bottom of your camisole (flounce excluded), divide in half and add 1″ allowance. This will be the width of the bottom of your camisole. Allow for some room when measuring, you don’t want your camisole too tight.
- Measure around your body above the chest, divide in half and add 6″. This will be the width of the top of your camisole. Also allow for a little room when measuring, don’t get too tight with the measuring tape.
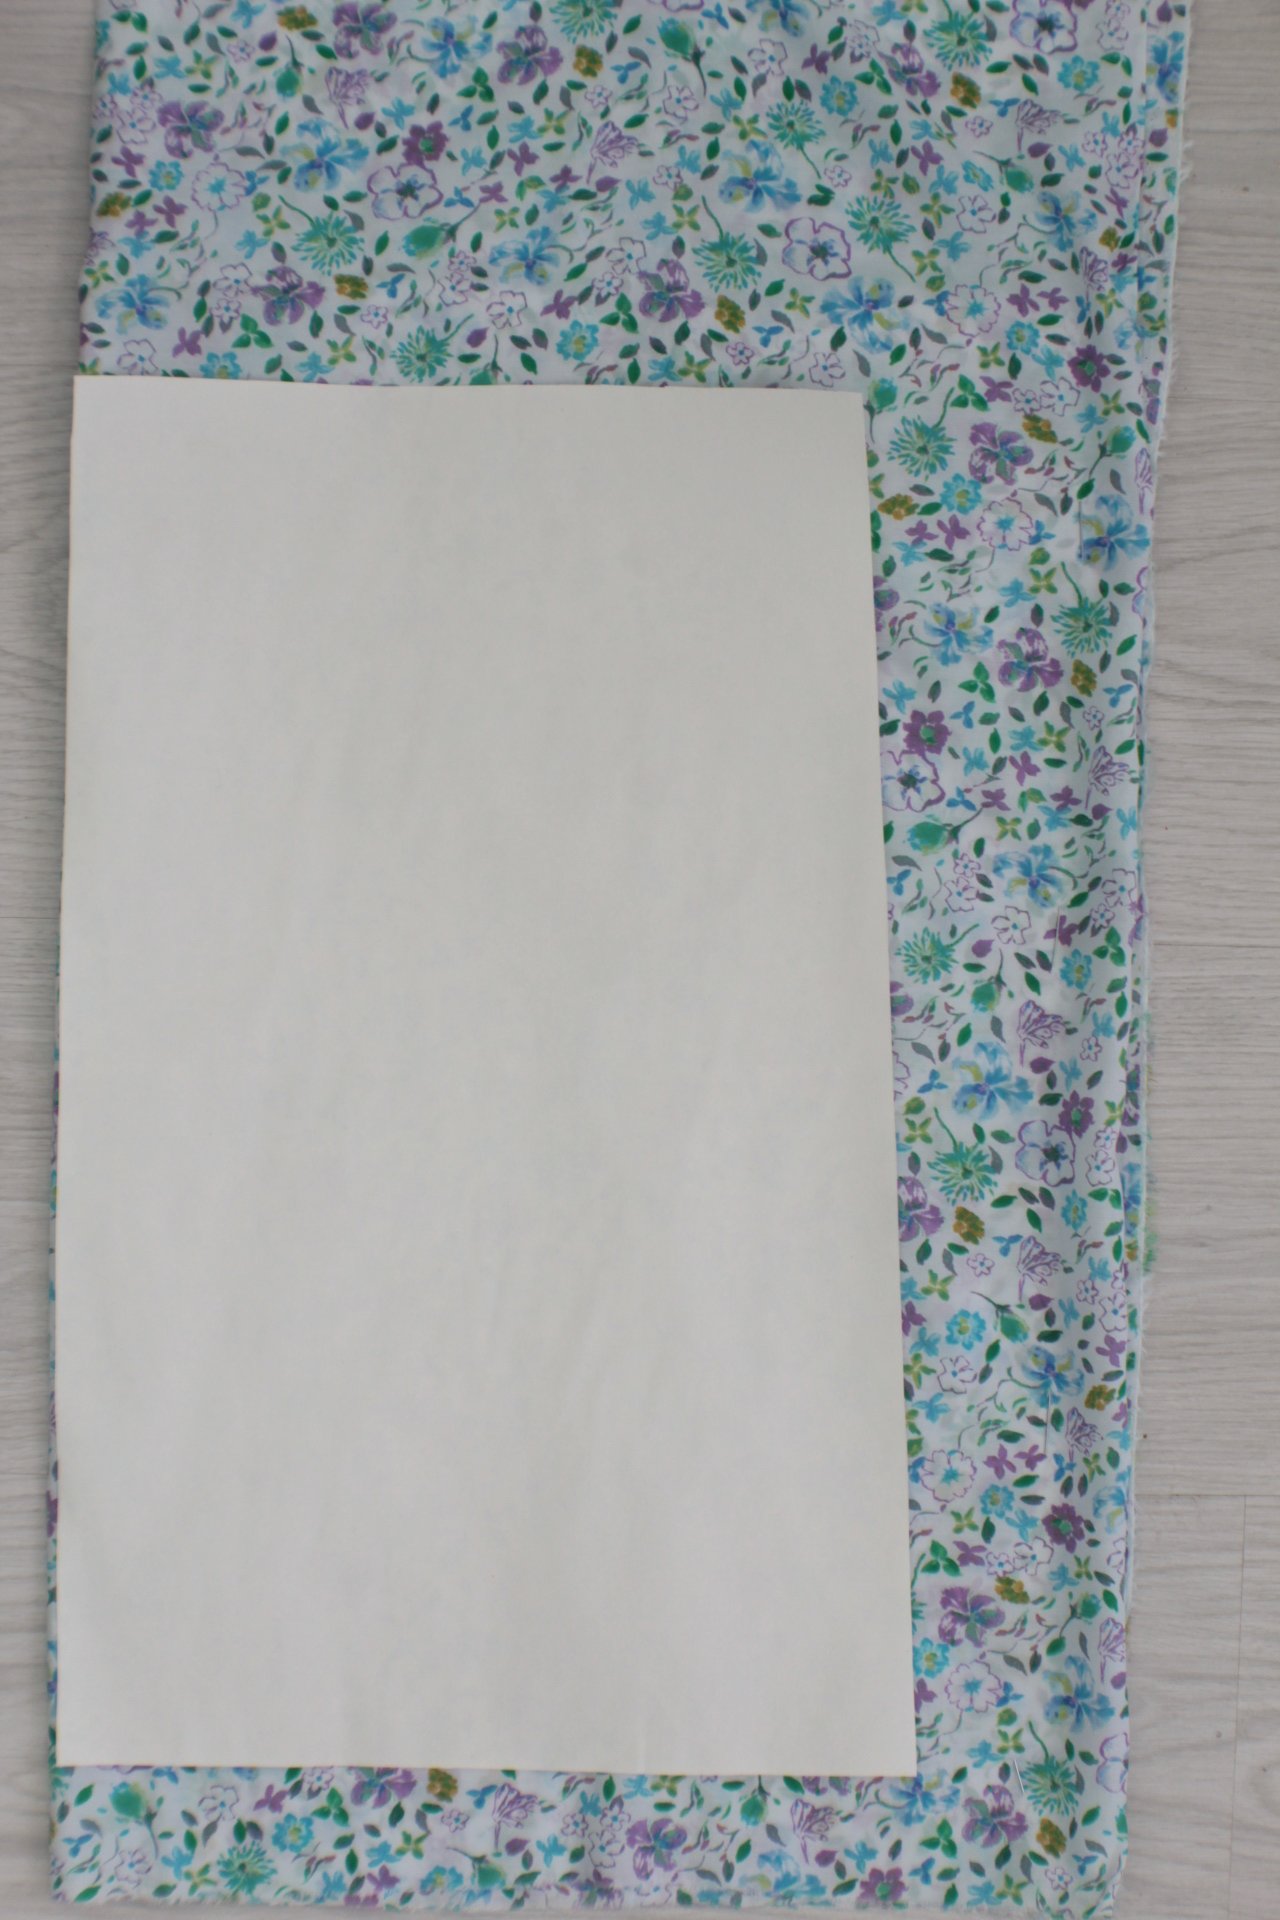
- Draw the pattern using these measurements and you need to get a trapezoid with a top that is wider than the bottom. If you want a lot of gathering at the top of your camisole you need to increase the size of the trapezoid at the top.
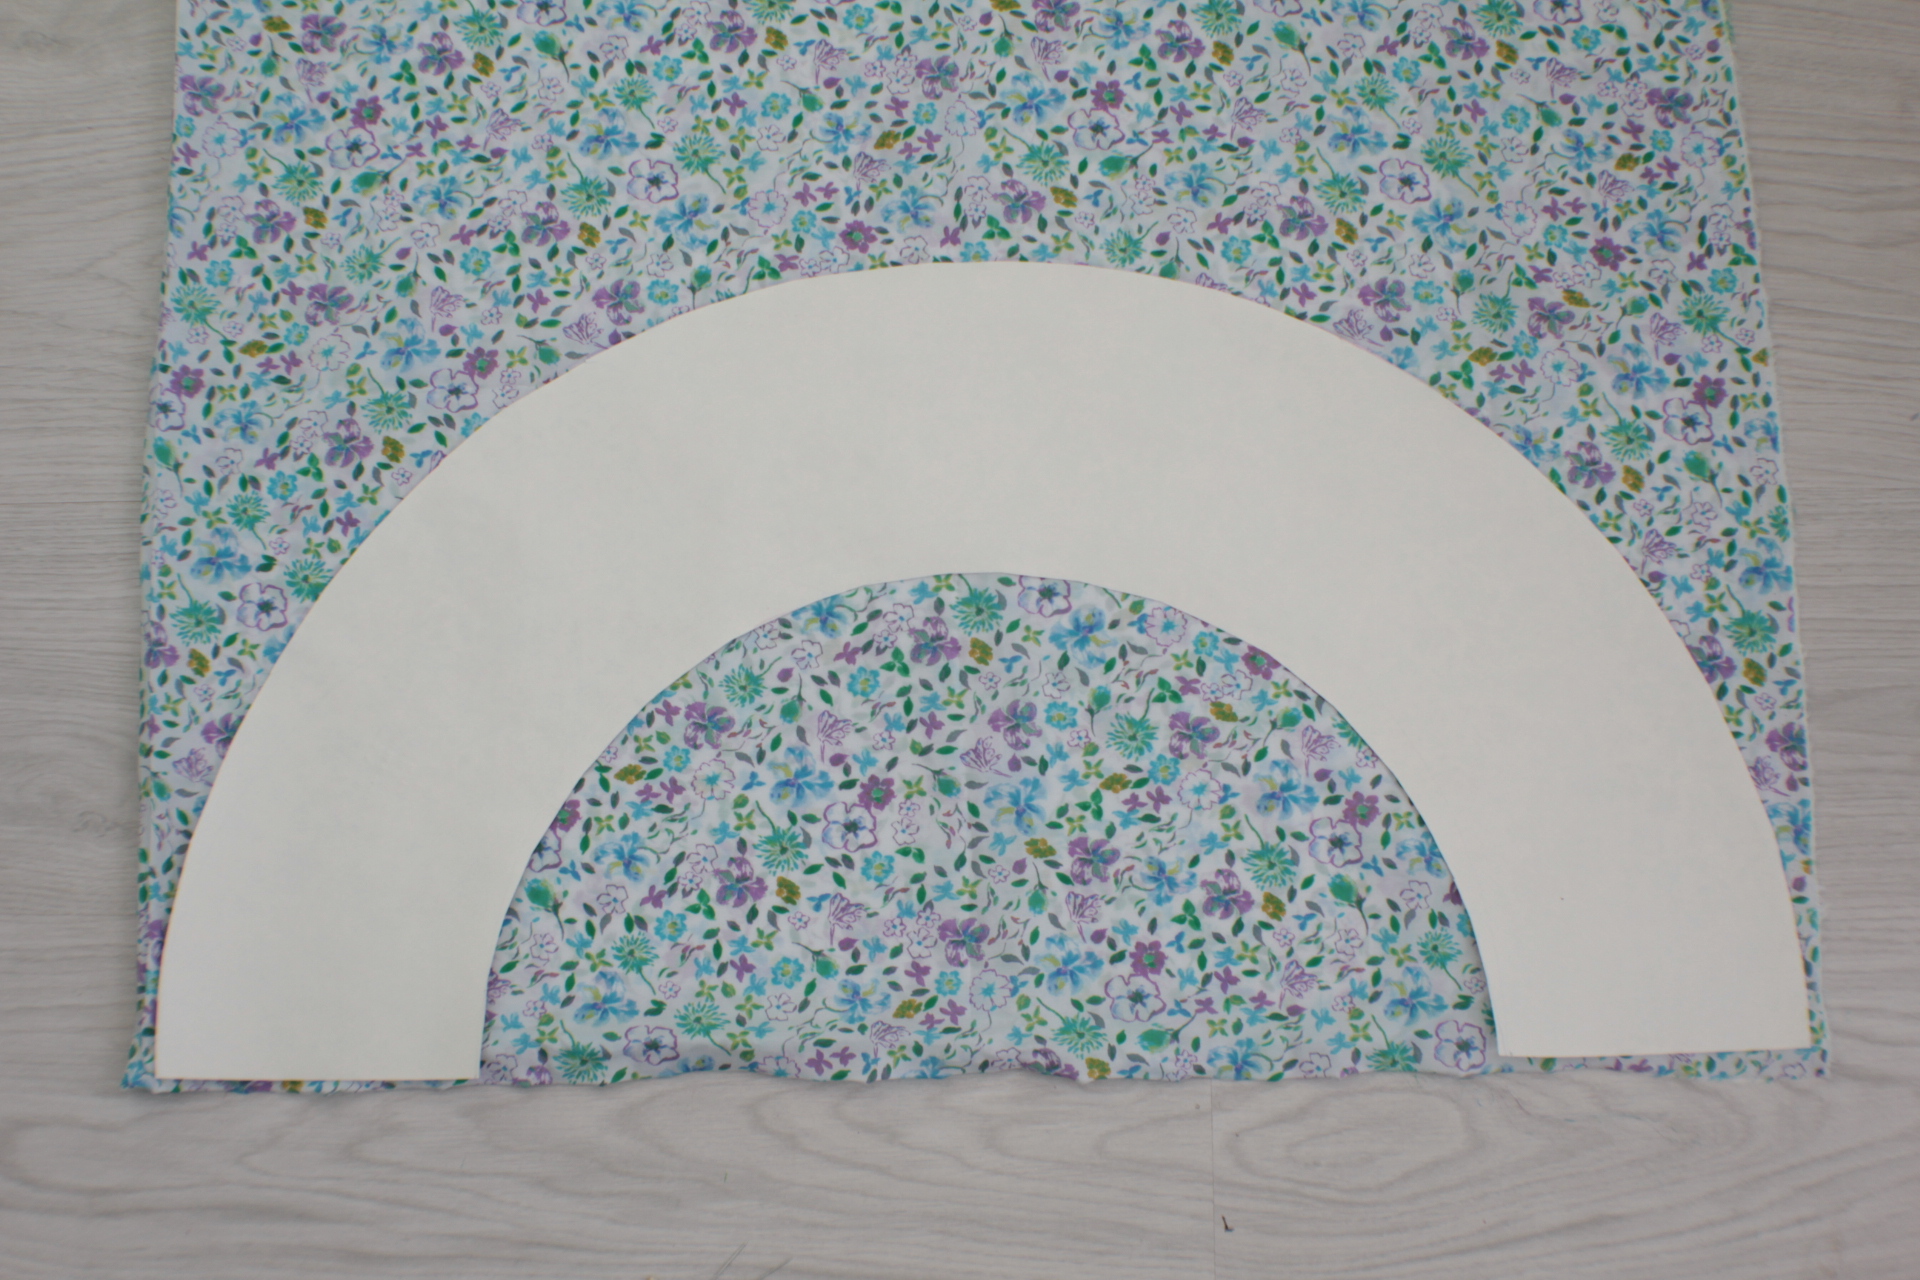
- Decide how wide you want the flounce and do the flounce pattern following this tutorial.
Preparing the fabrics
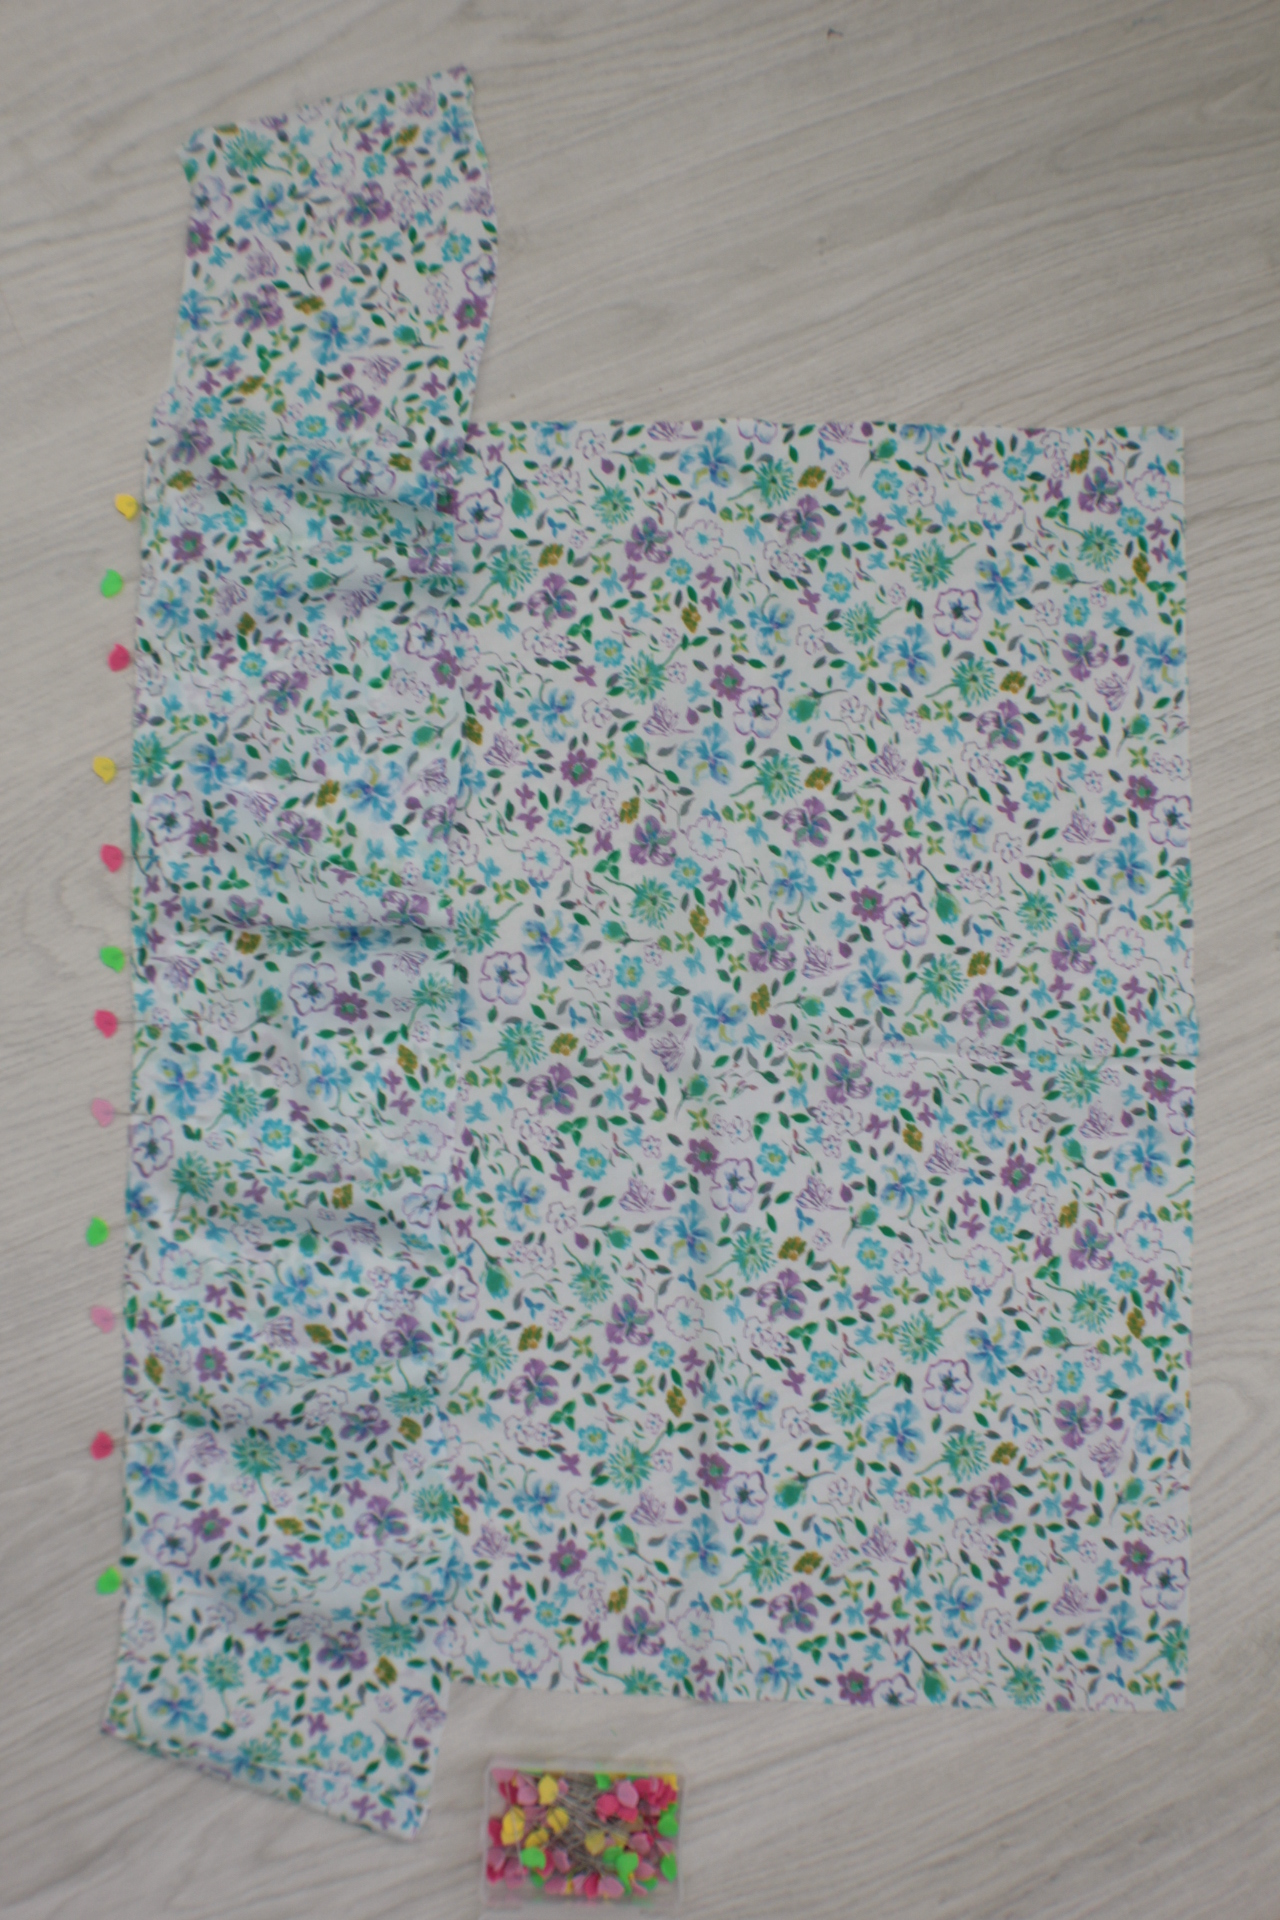
- Cut the fabrics using the patterns you just made above.
- You need two pieces for the camisole (front and back) and two pieces for the flounce.
- Measure from your chest up to the back to decide on the length of your straps and cut four fabric strips that match these measurements and are at least 2″ wide.
Making the camisole pieces
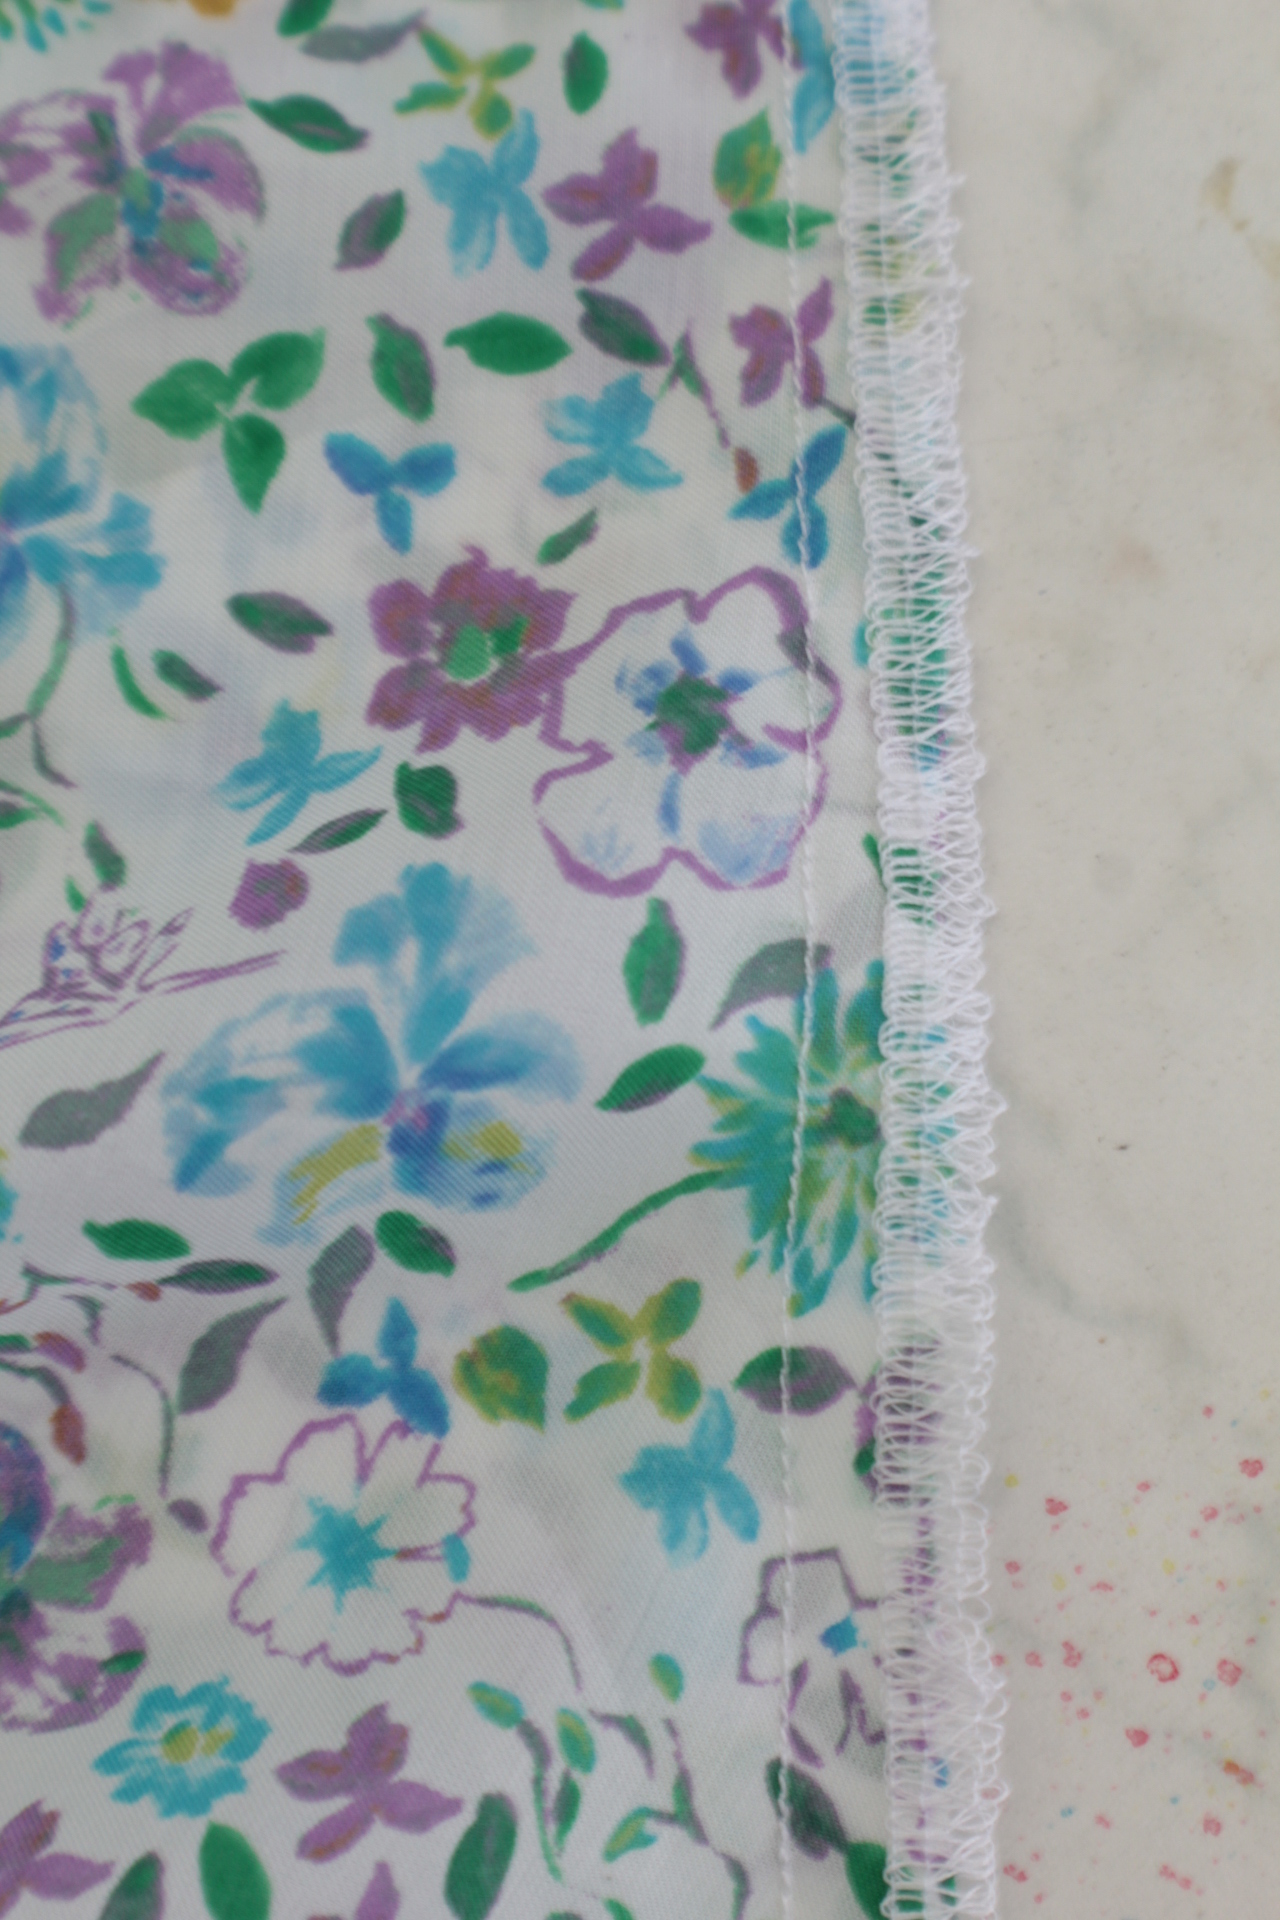
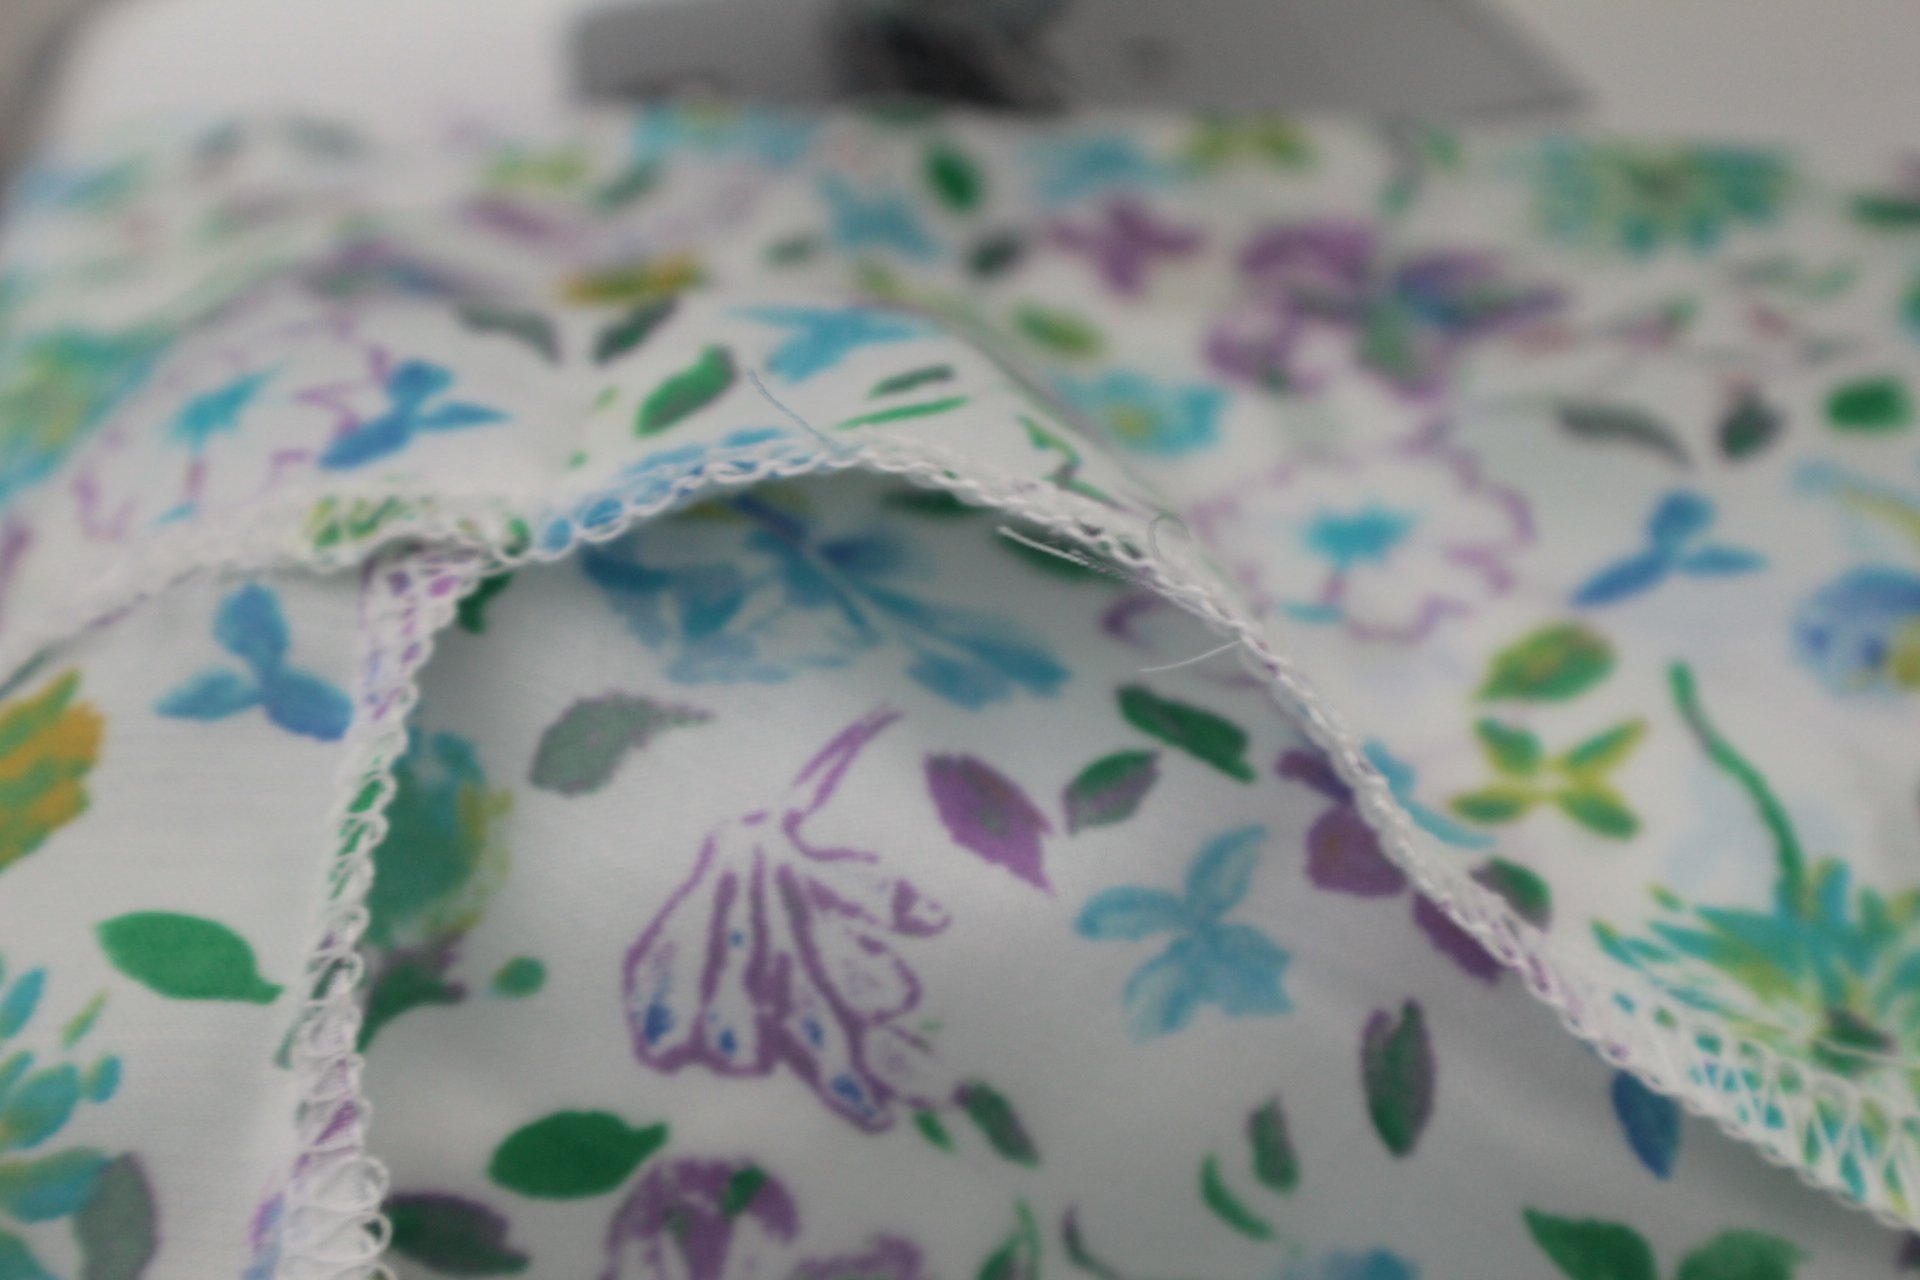
- Get one piece of flounce and hem using this tutorial or use a roller foot to make a rolled hem as indicated in this tutorial. The idea is to make a tiny hem as this type of hems work best on lightweight fabrics and darling garments like this.
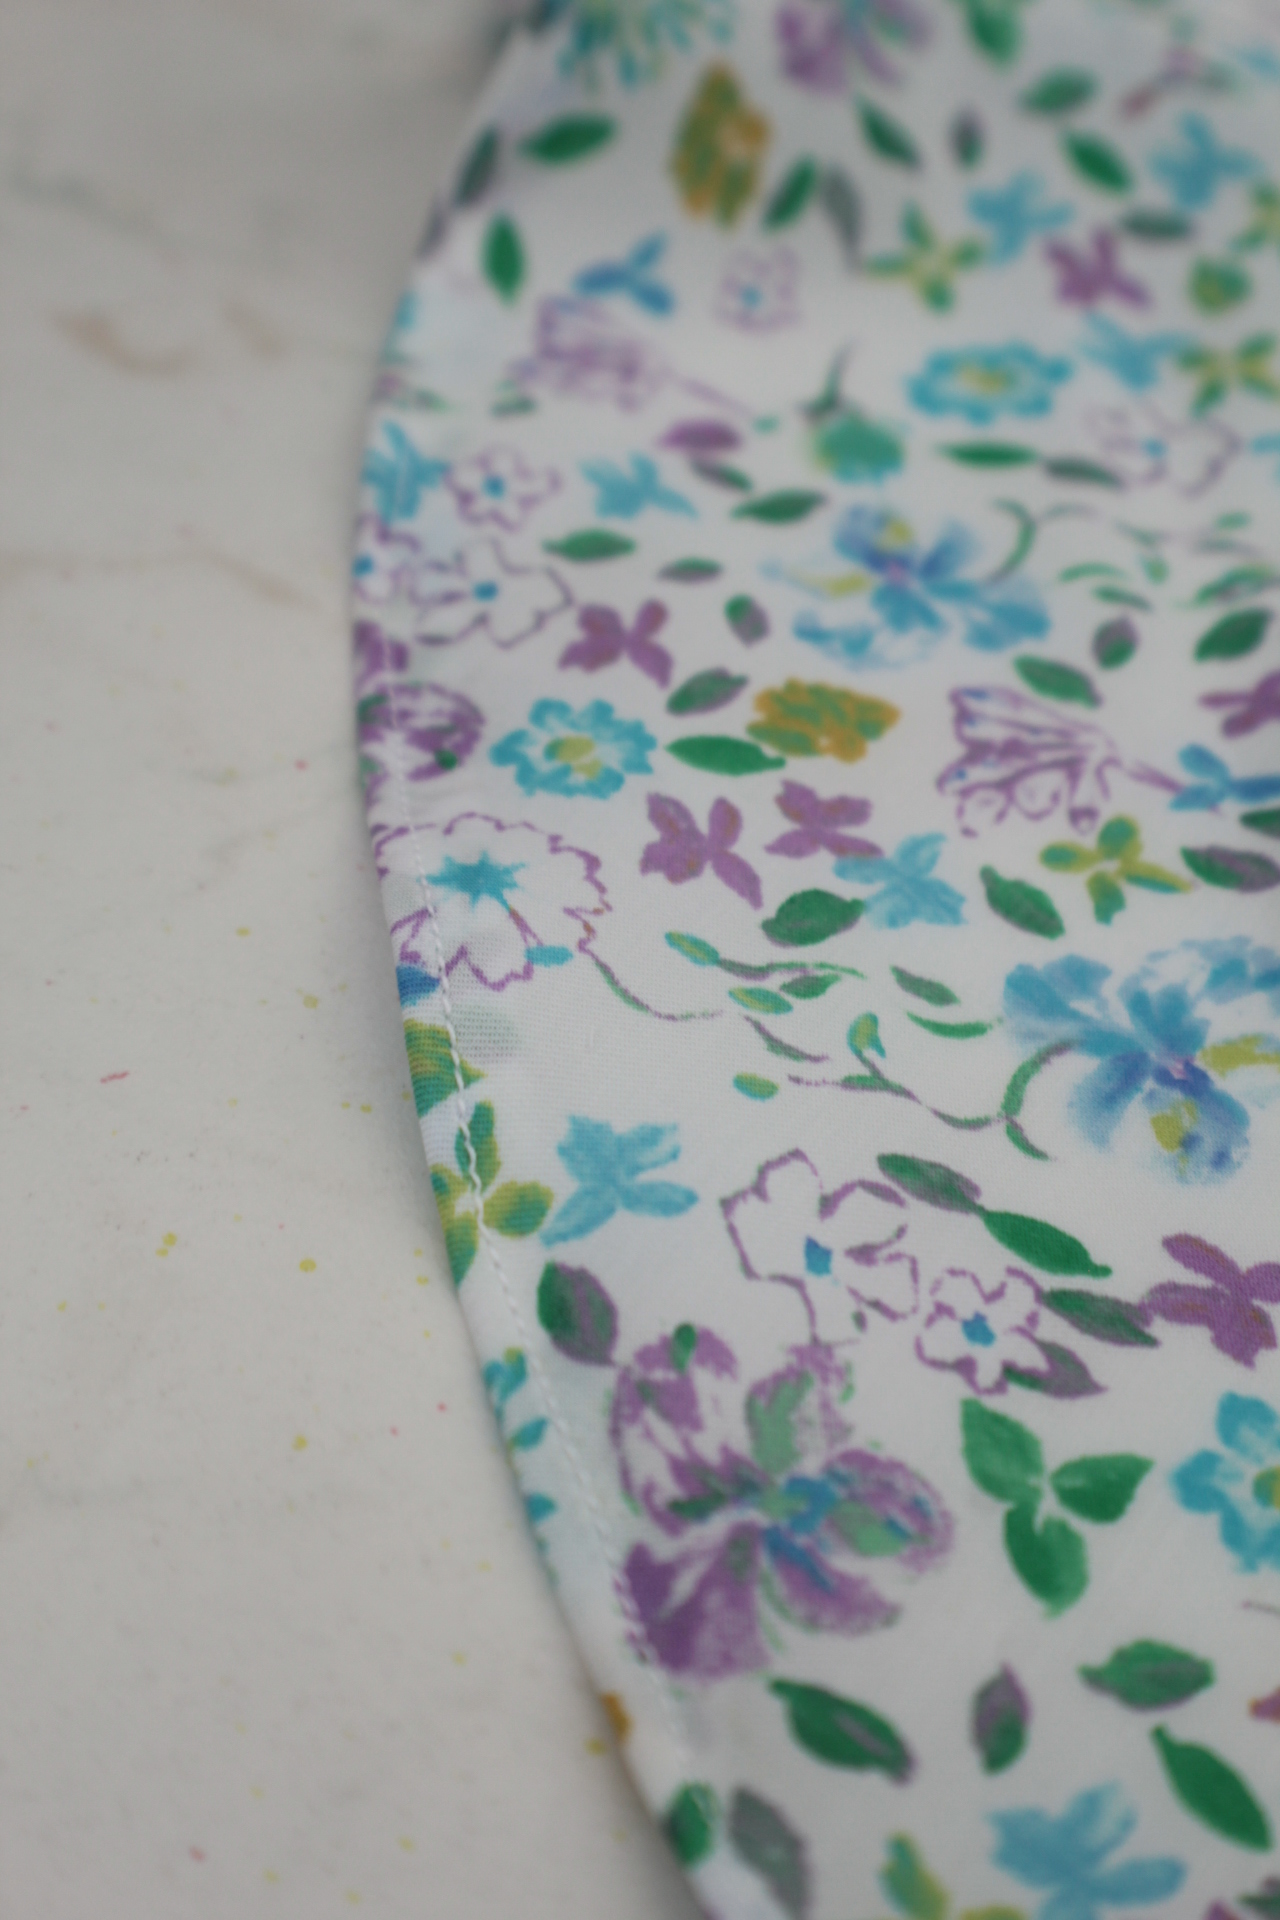
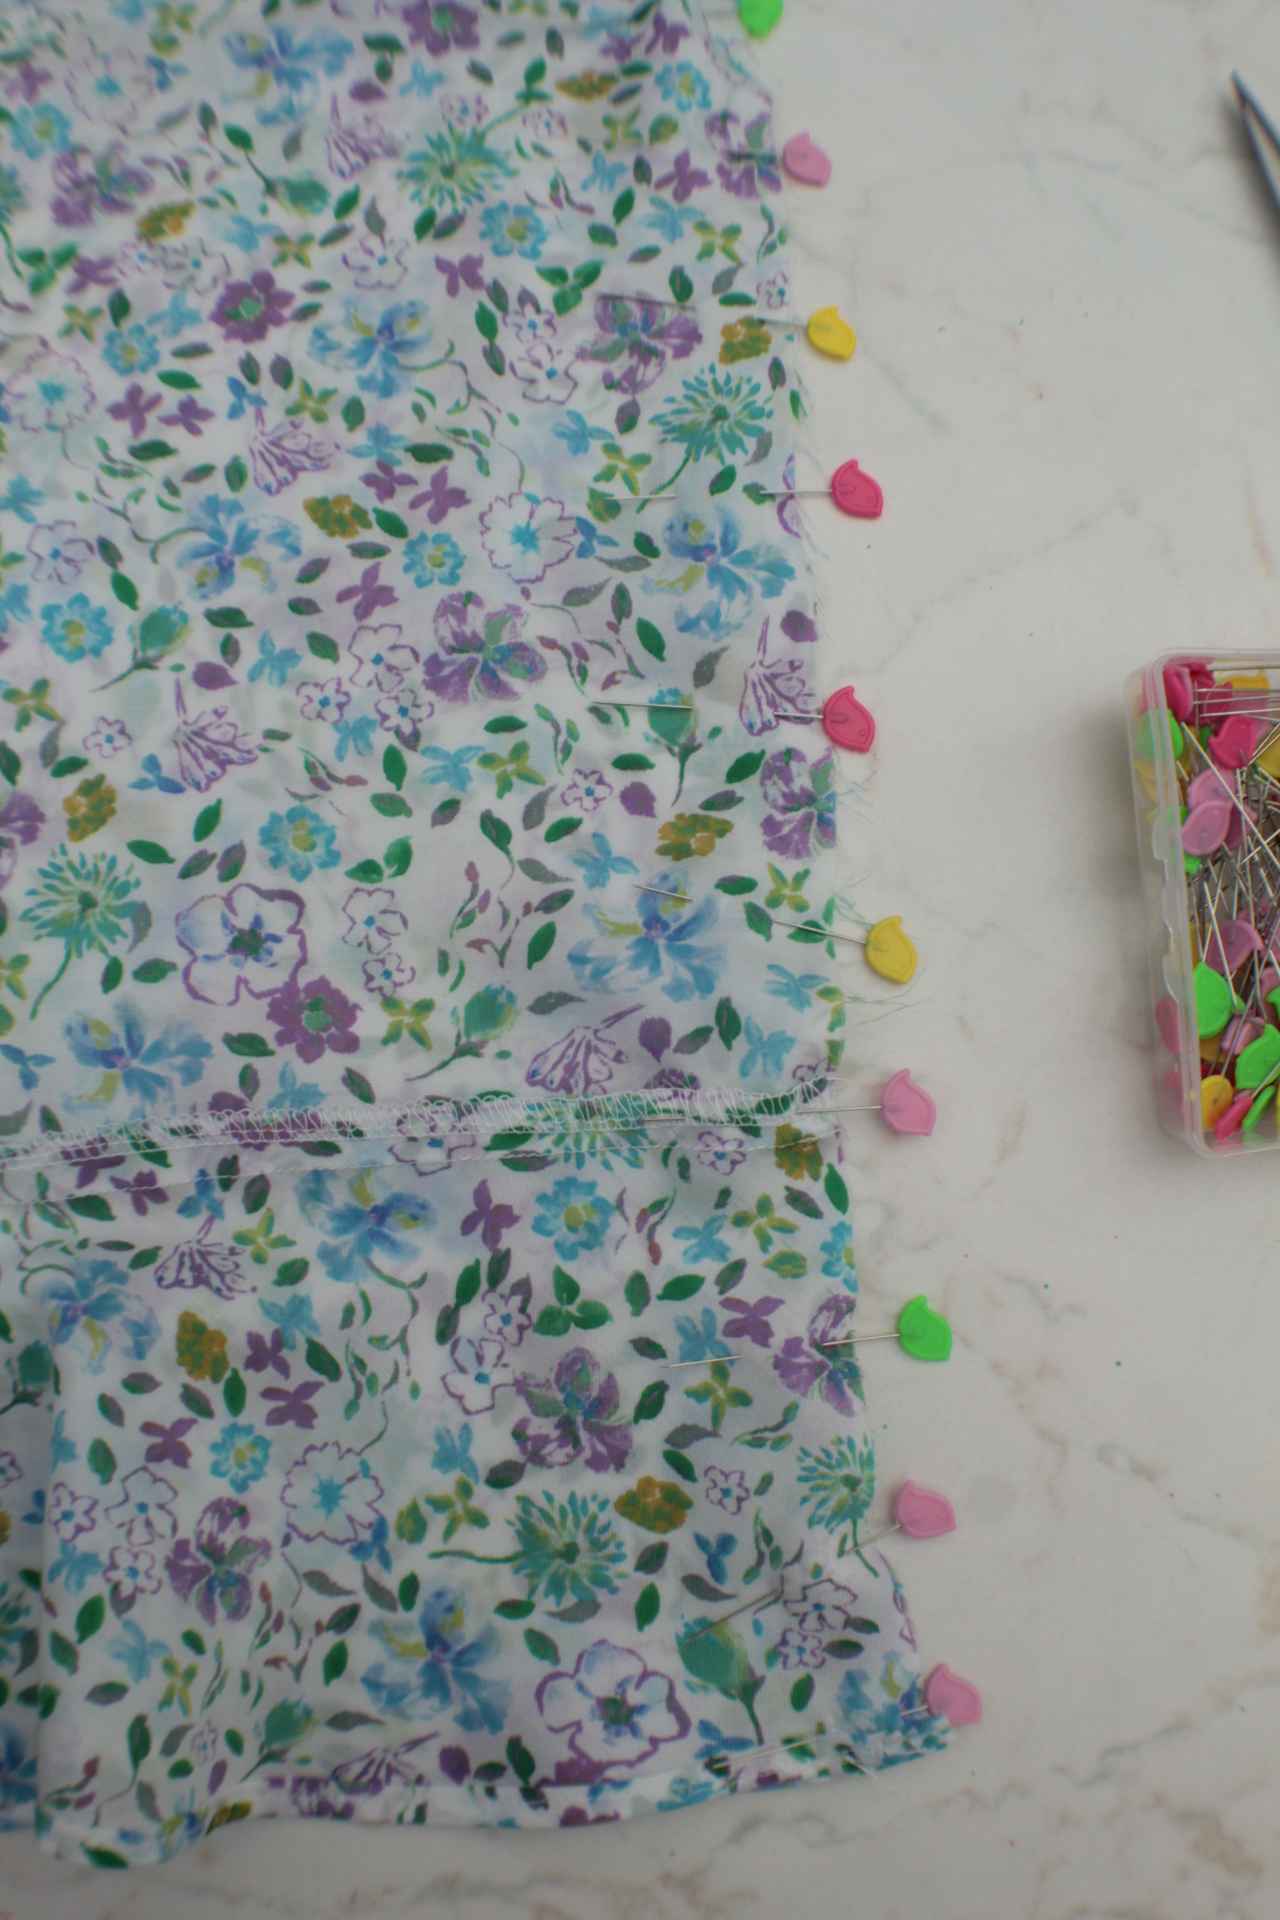
- Place one camisole piece on the table, right side up and top with the hemmed flounce, wrong side up. The raw edge of the flounce should align with the raw bottom of the camisole piece. In this image my flounce is larger than the camisole as I wanted to have plenty of room to work without risking to run into a shorter flounce when putting the pieces together. I trimmed the flounce after attaching it to the blouse.
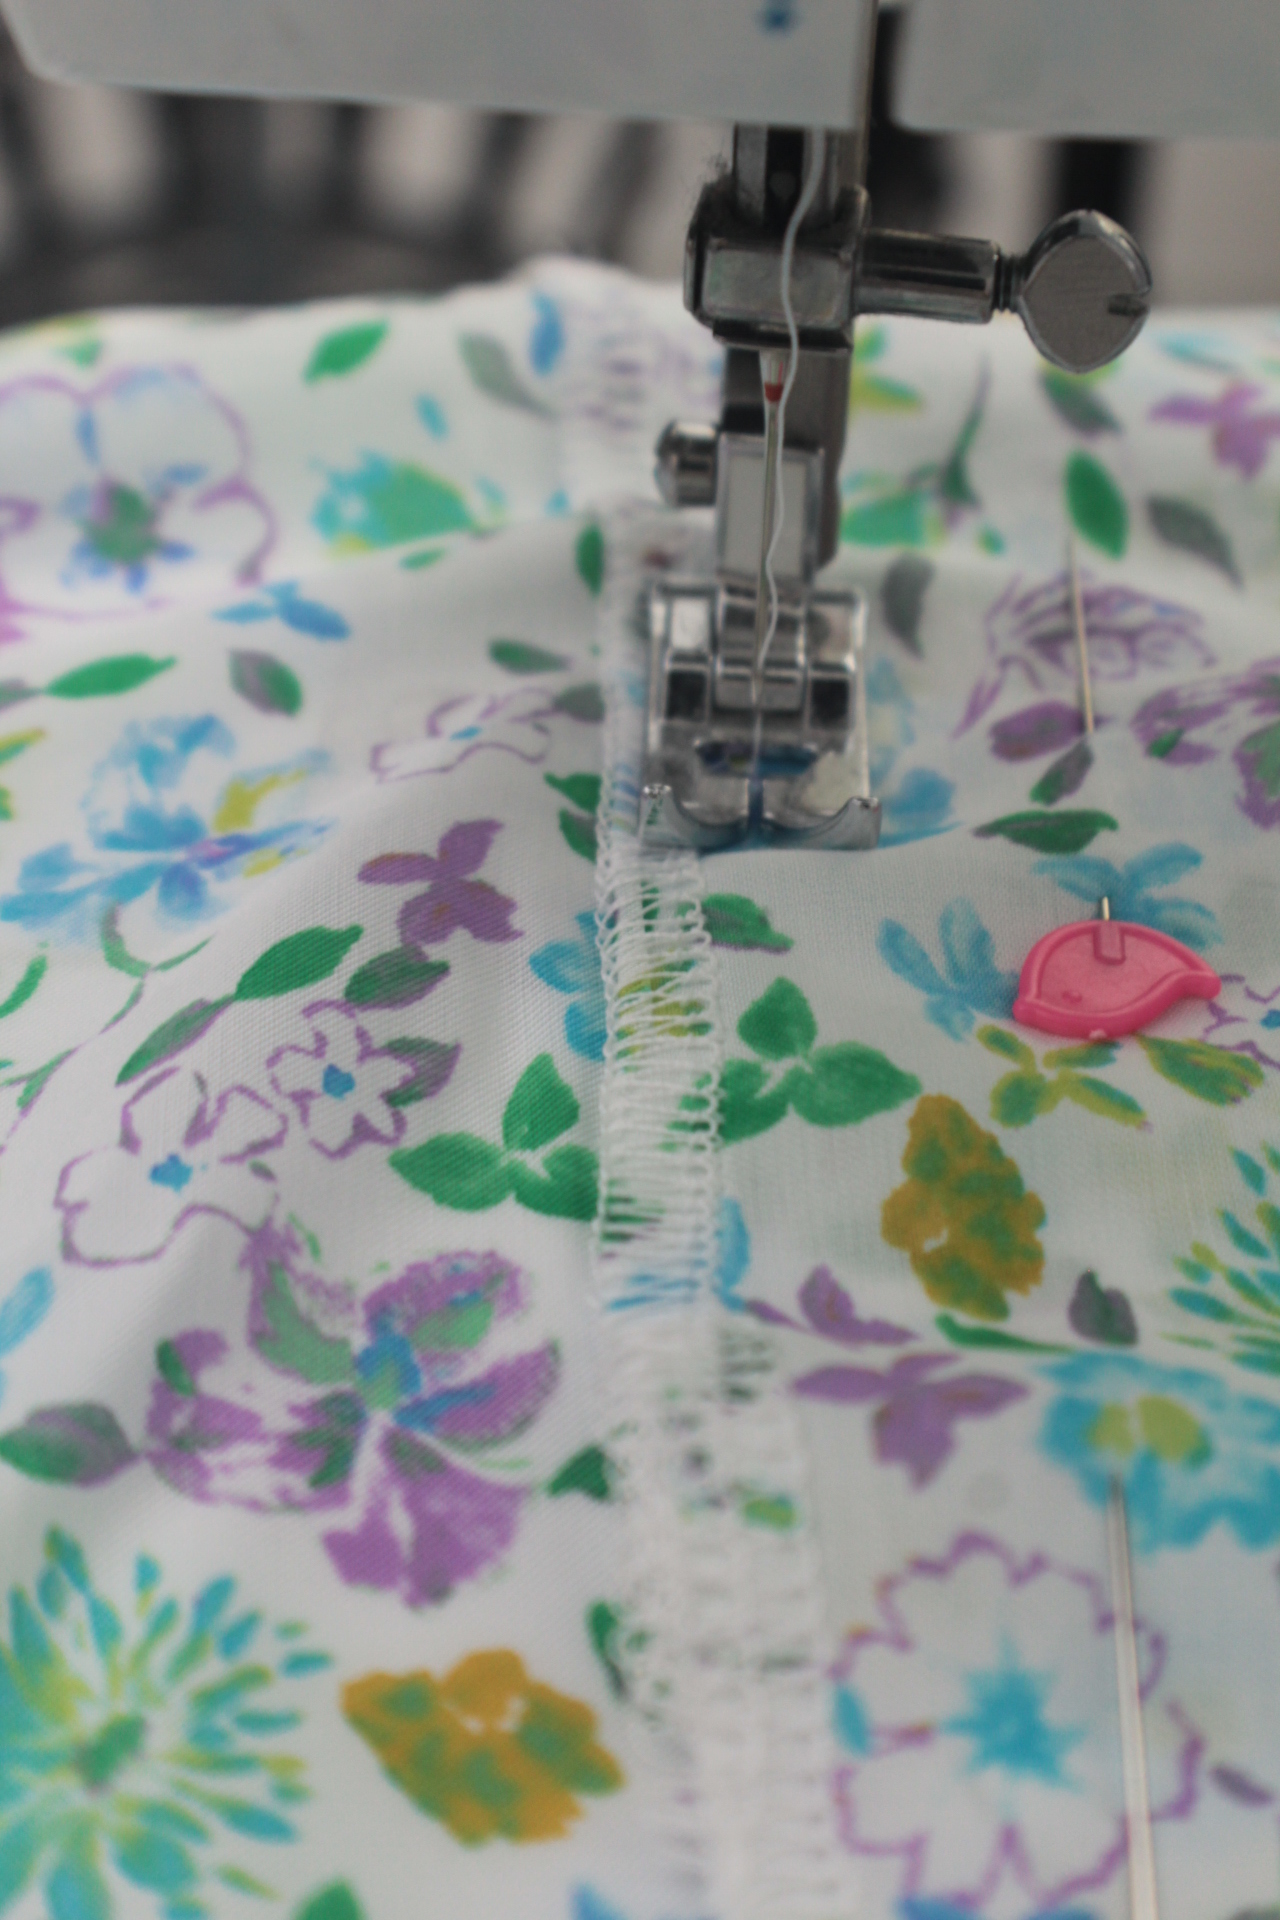
- Pin these two, sew with 1/2″ allowance and serge or finish the seam with a zig zag stitch.
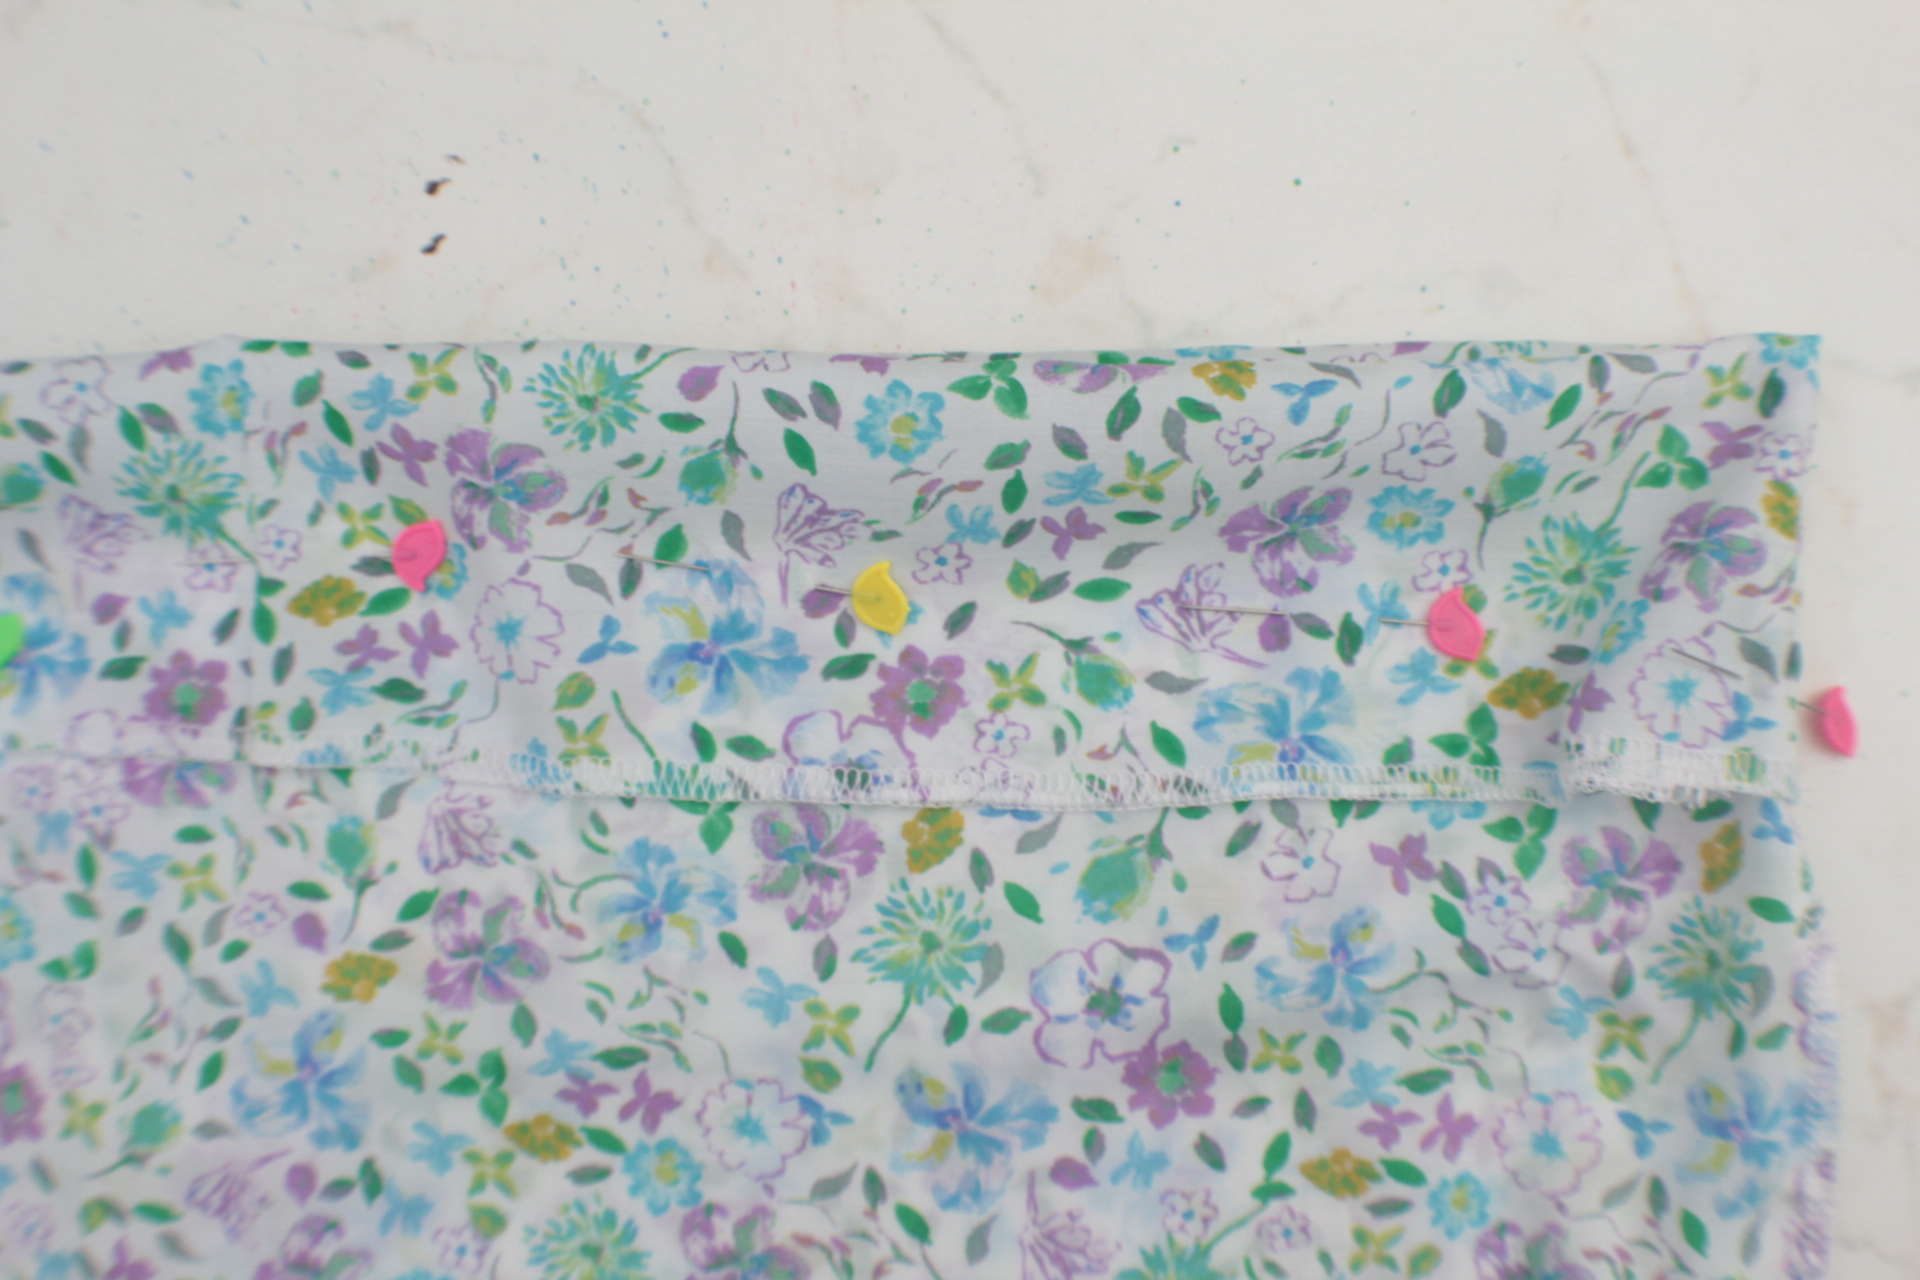
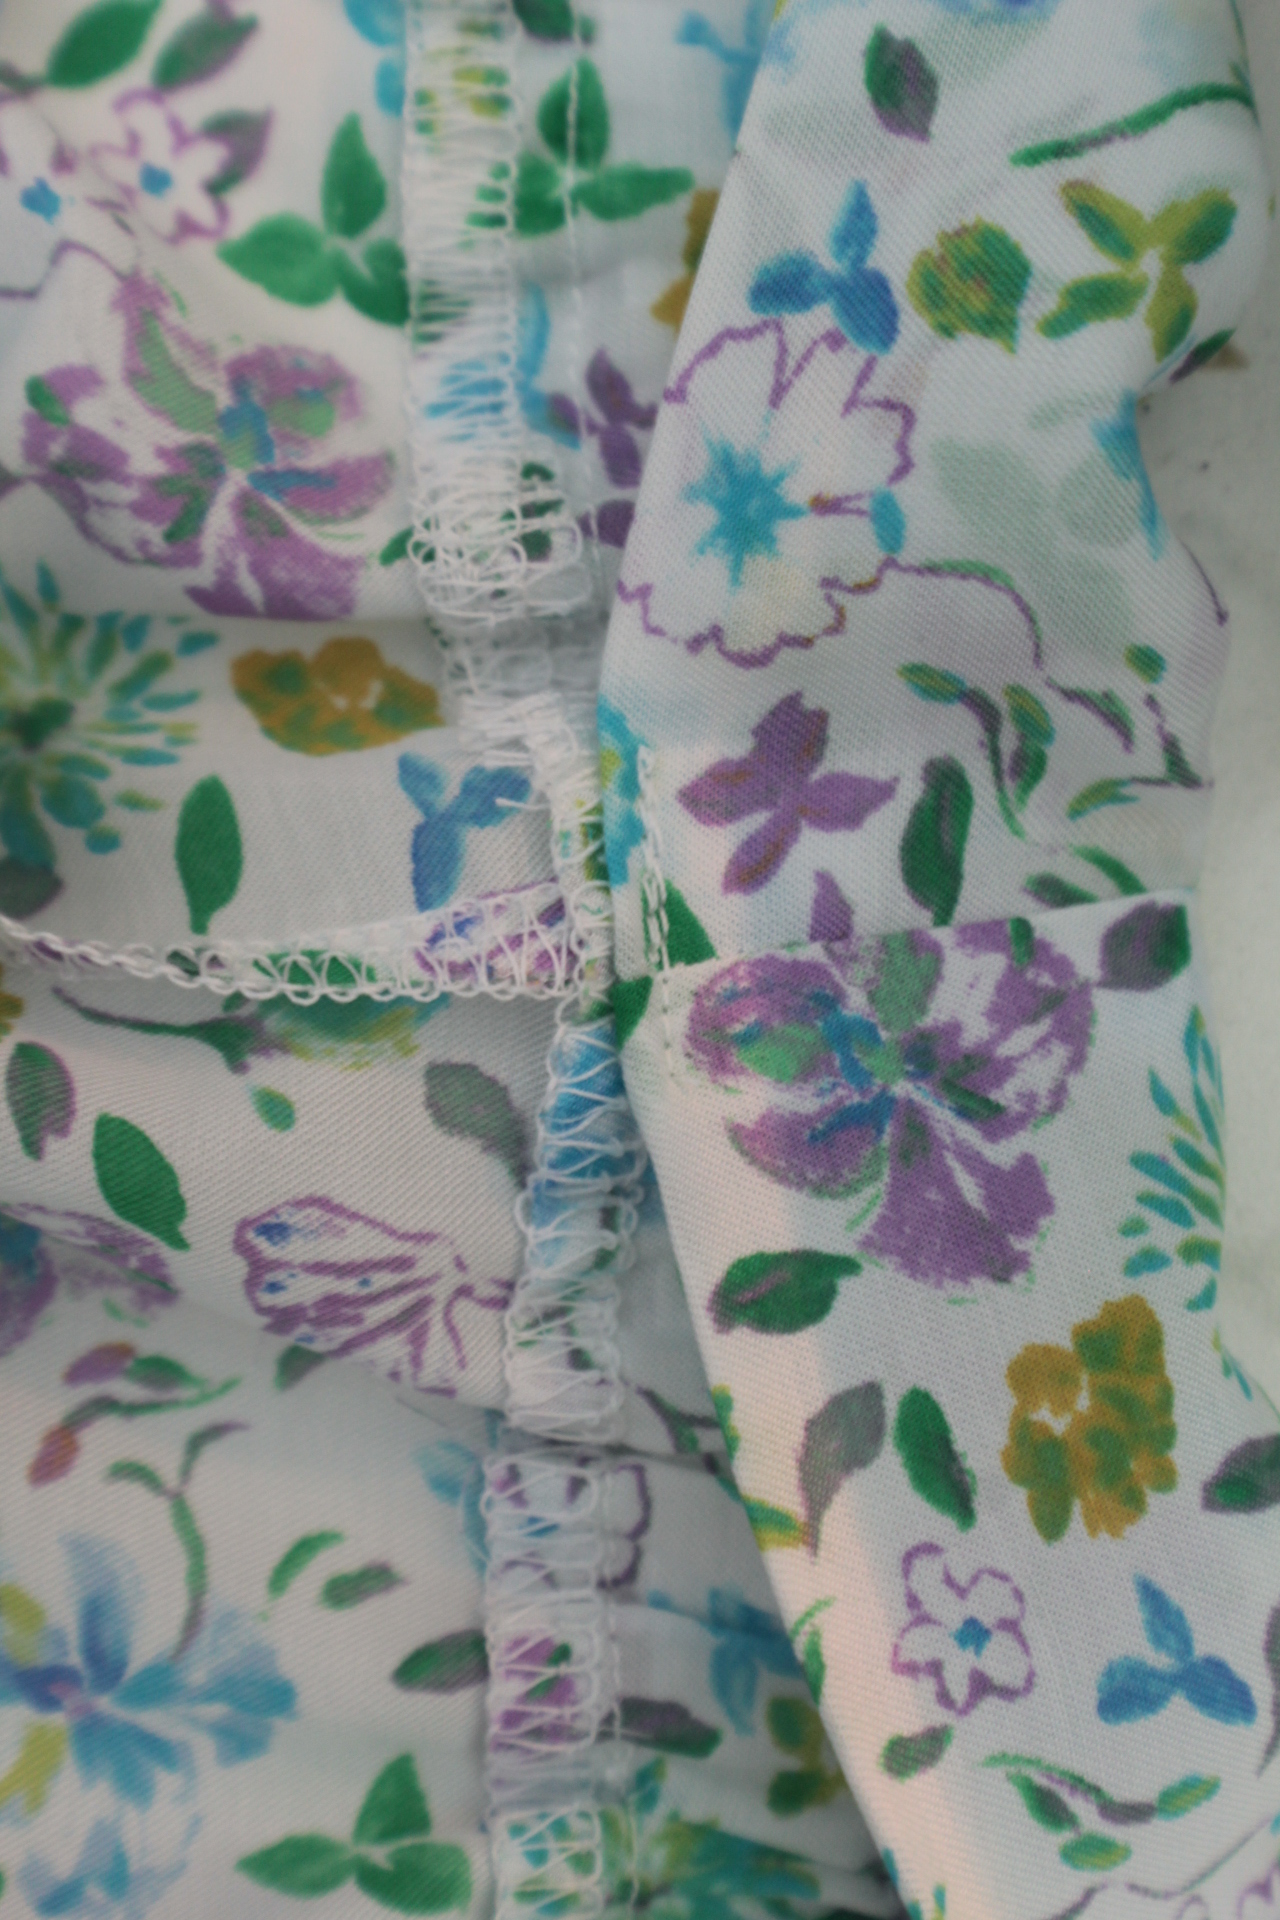
- Fold the flounce down pushing the seam up and press well.
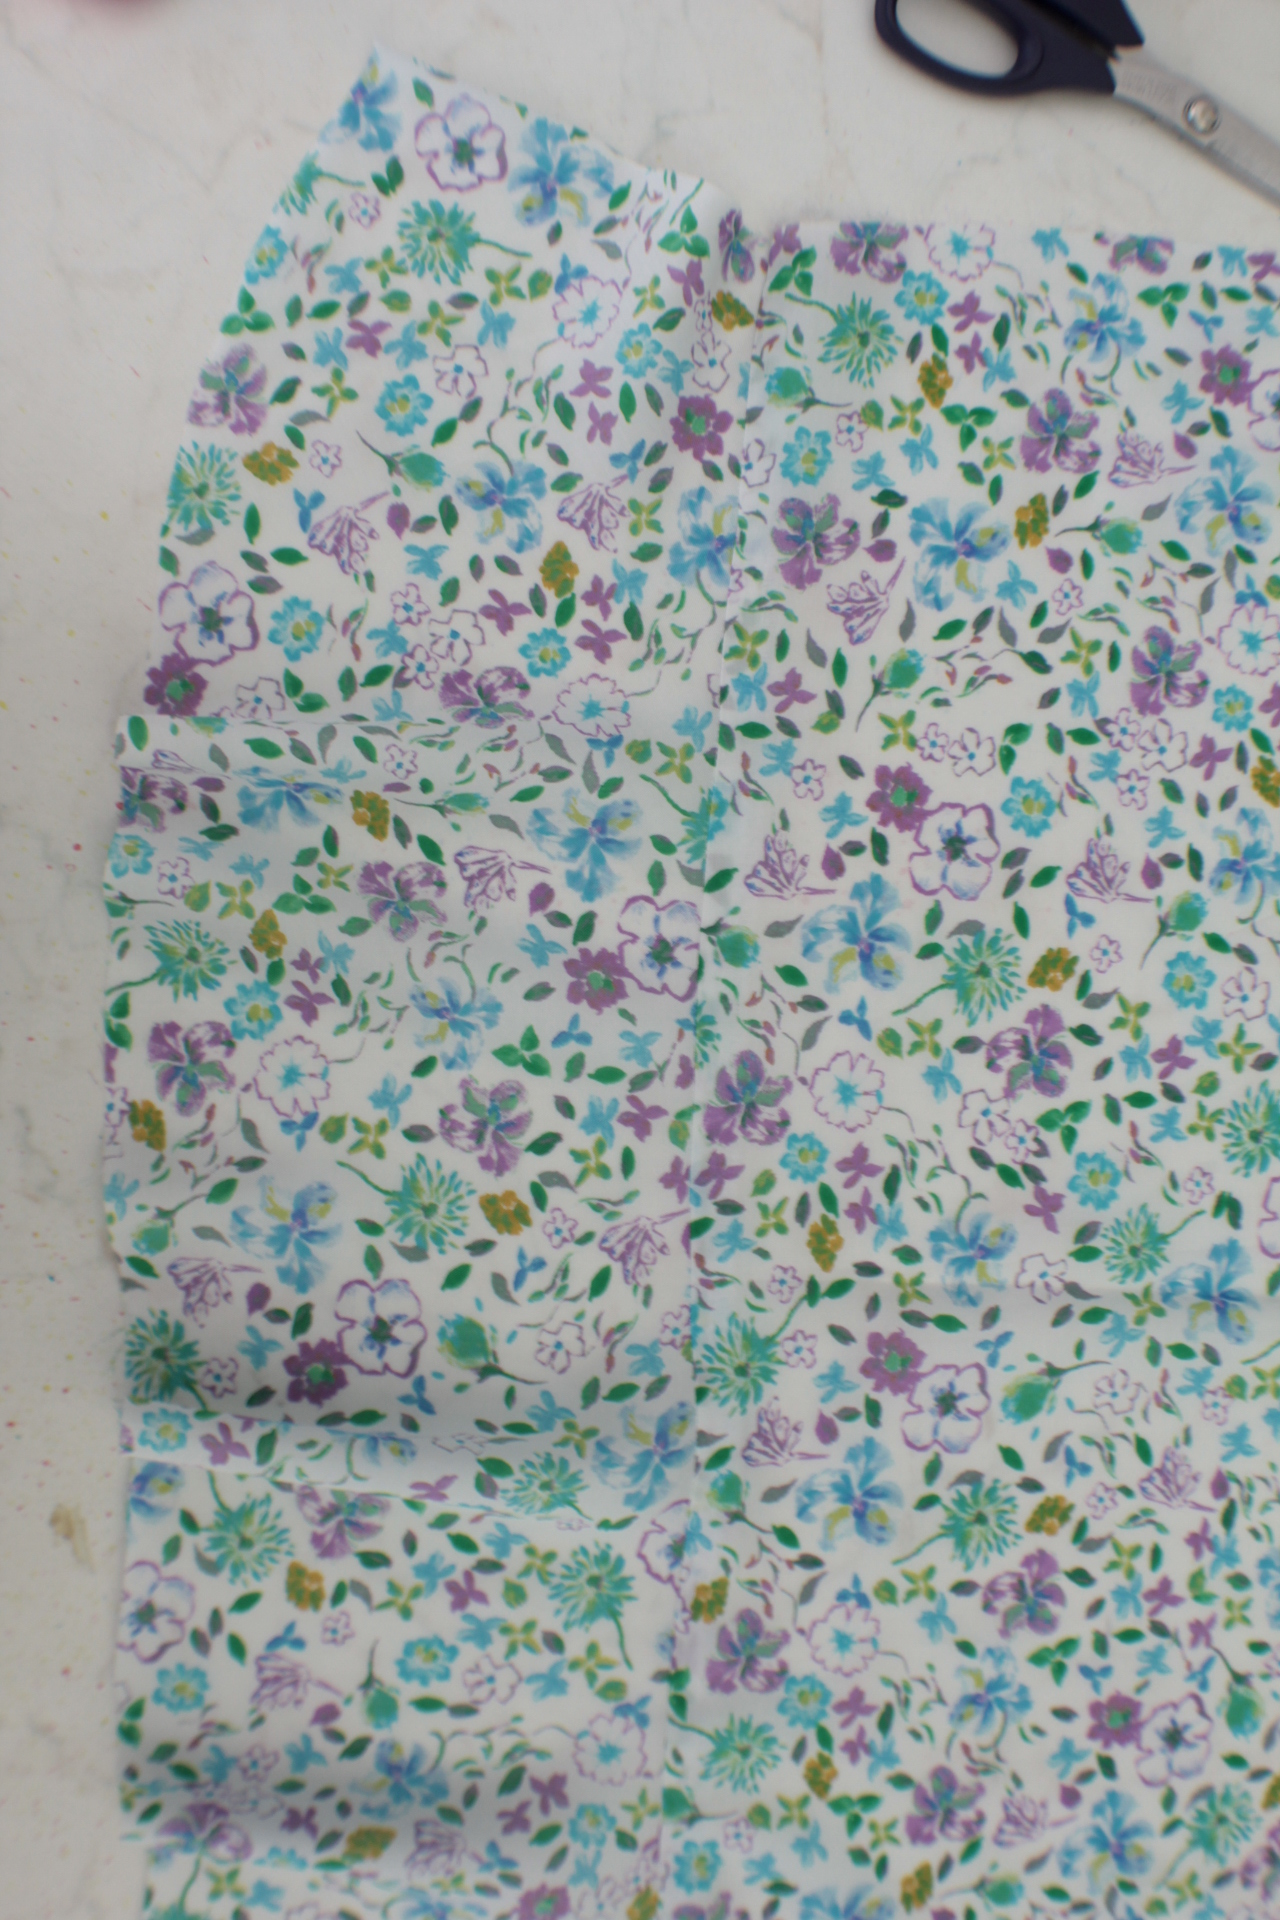
- Repeat for the back piece of the camisole and the second flounce.
Attaching the camisole pieces together
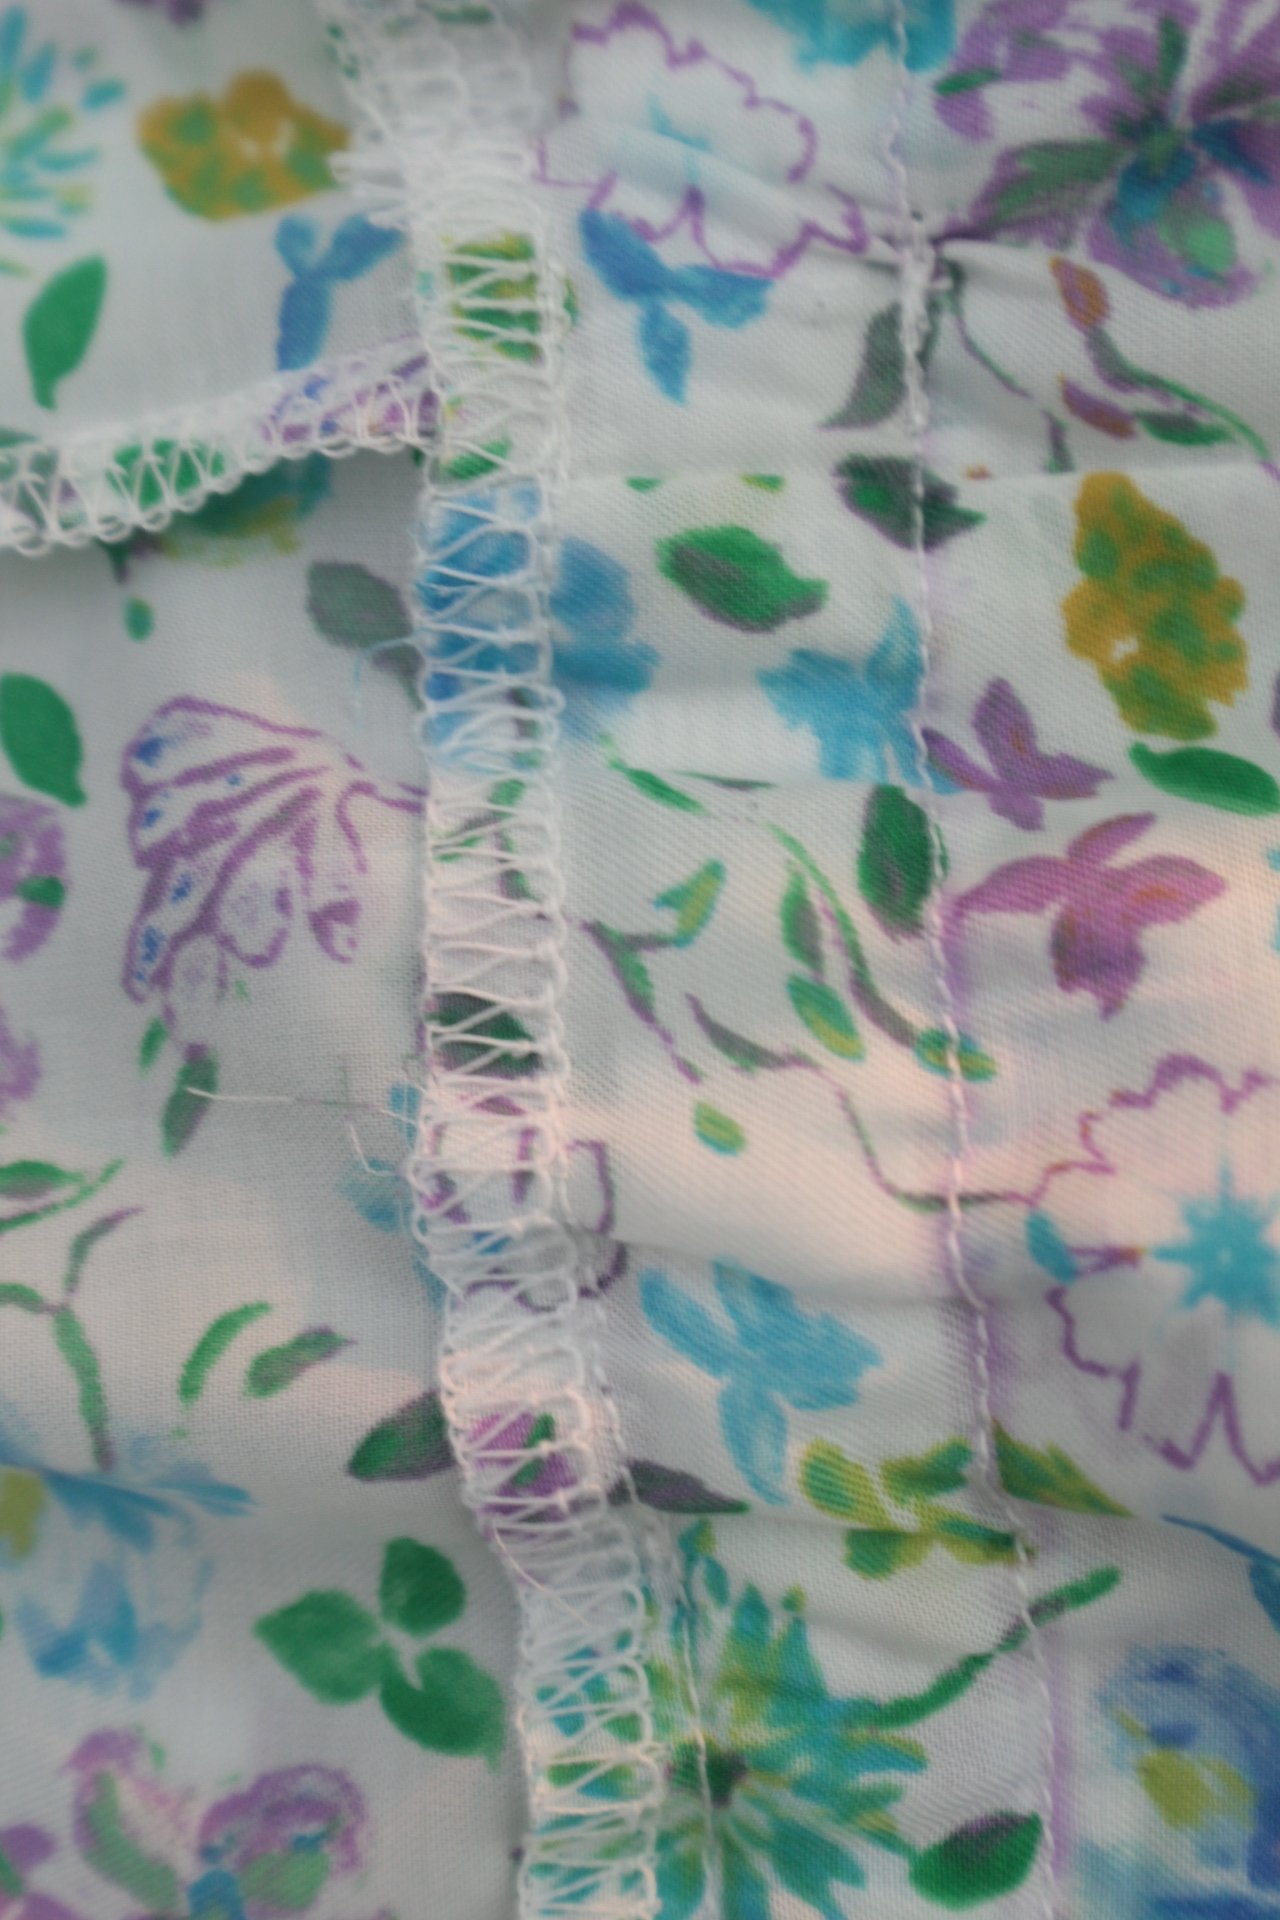
- Place the two cami pieces right sides together, pin the sides and sew with 1/2″ allowance.
- Make sure the seams in the flounces match.
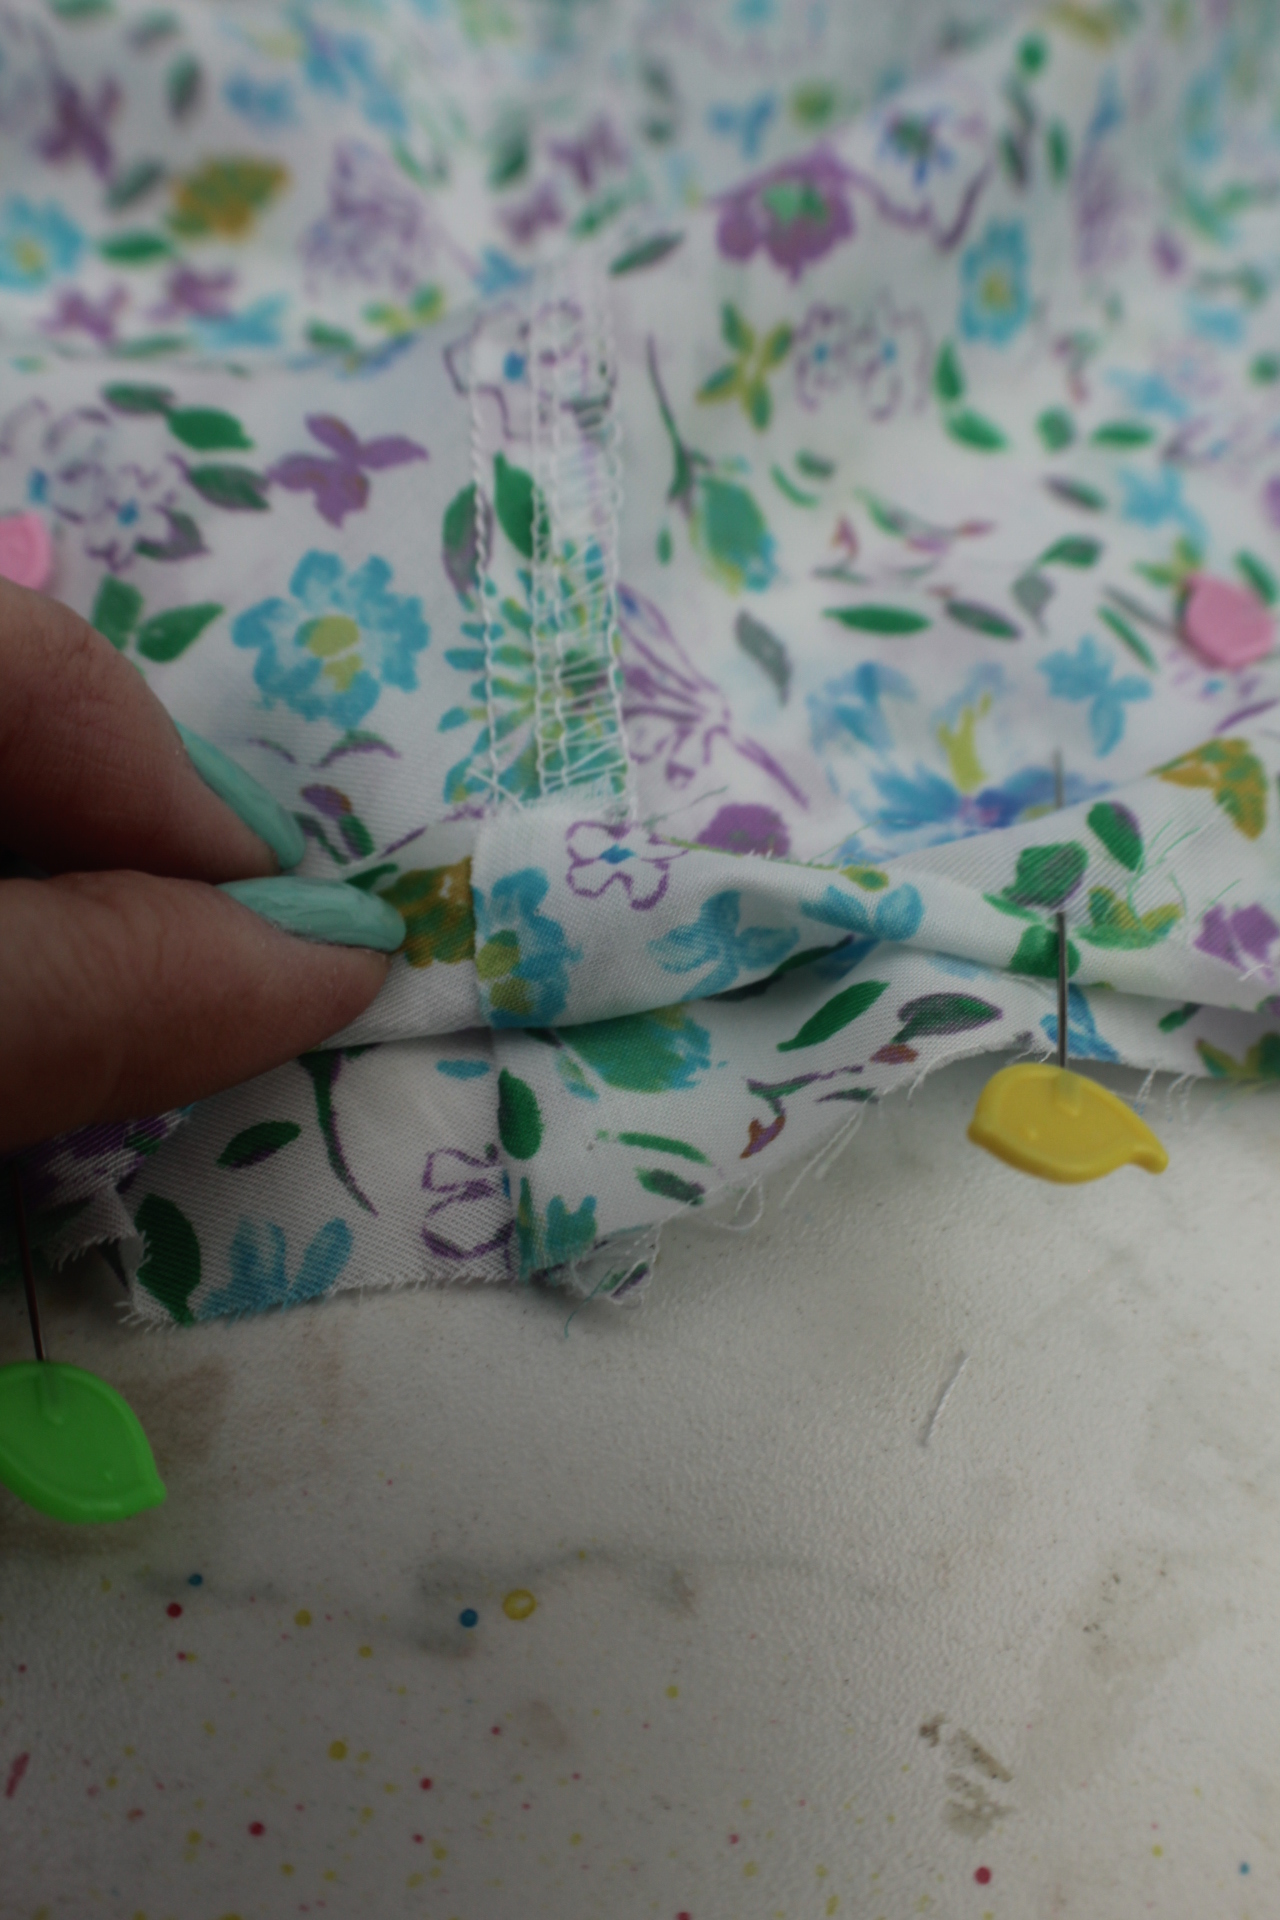
- Serge or zig zag to finish the seam.
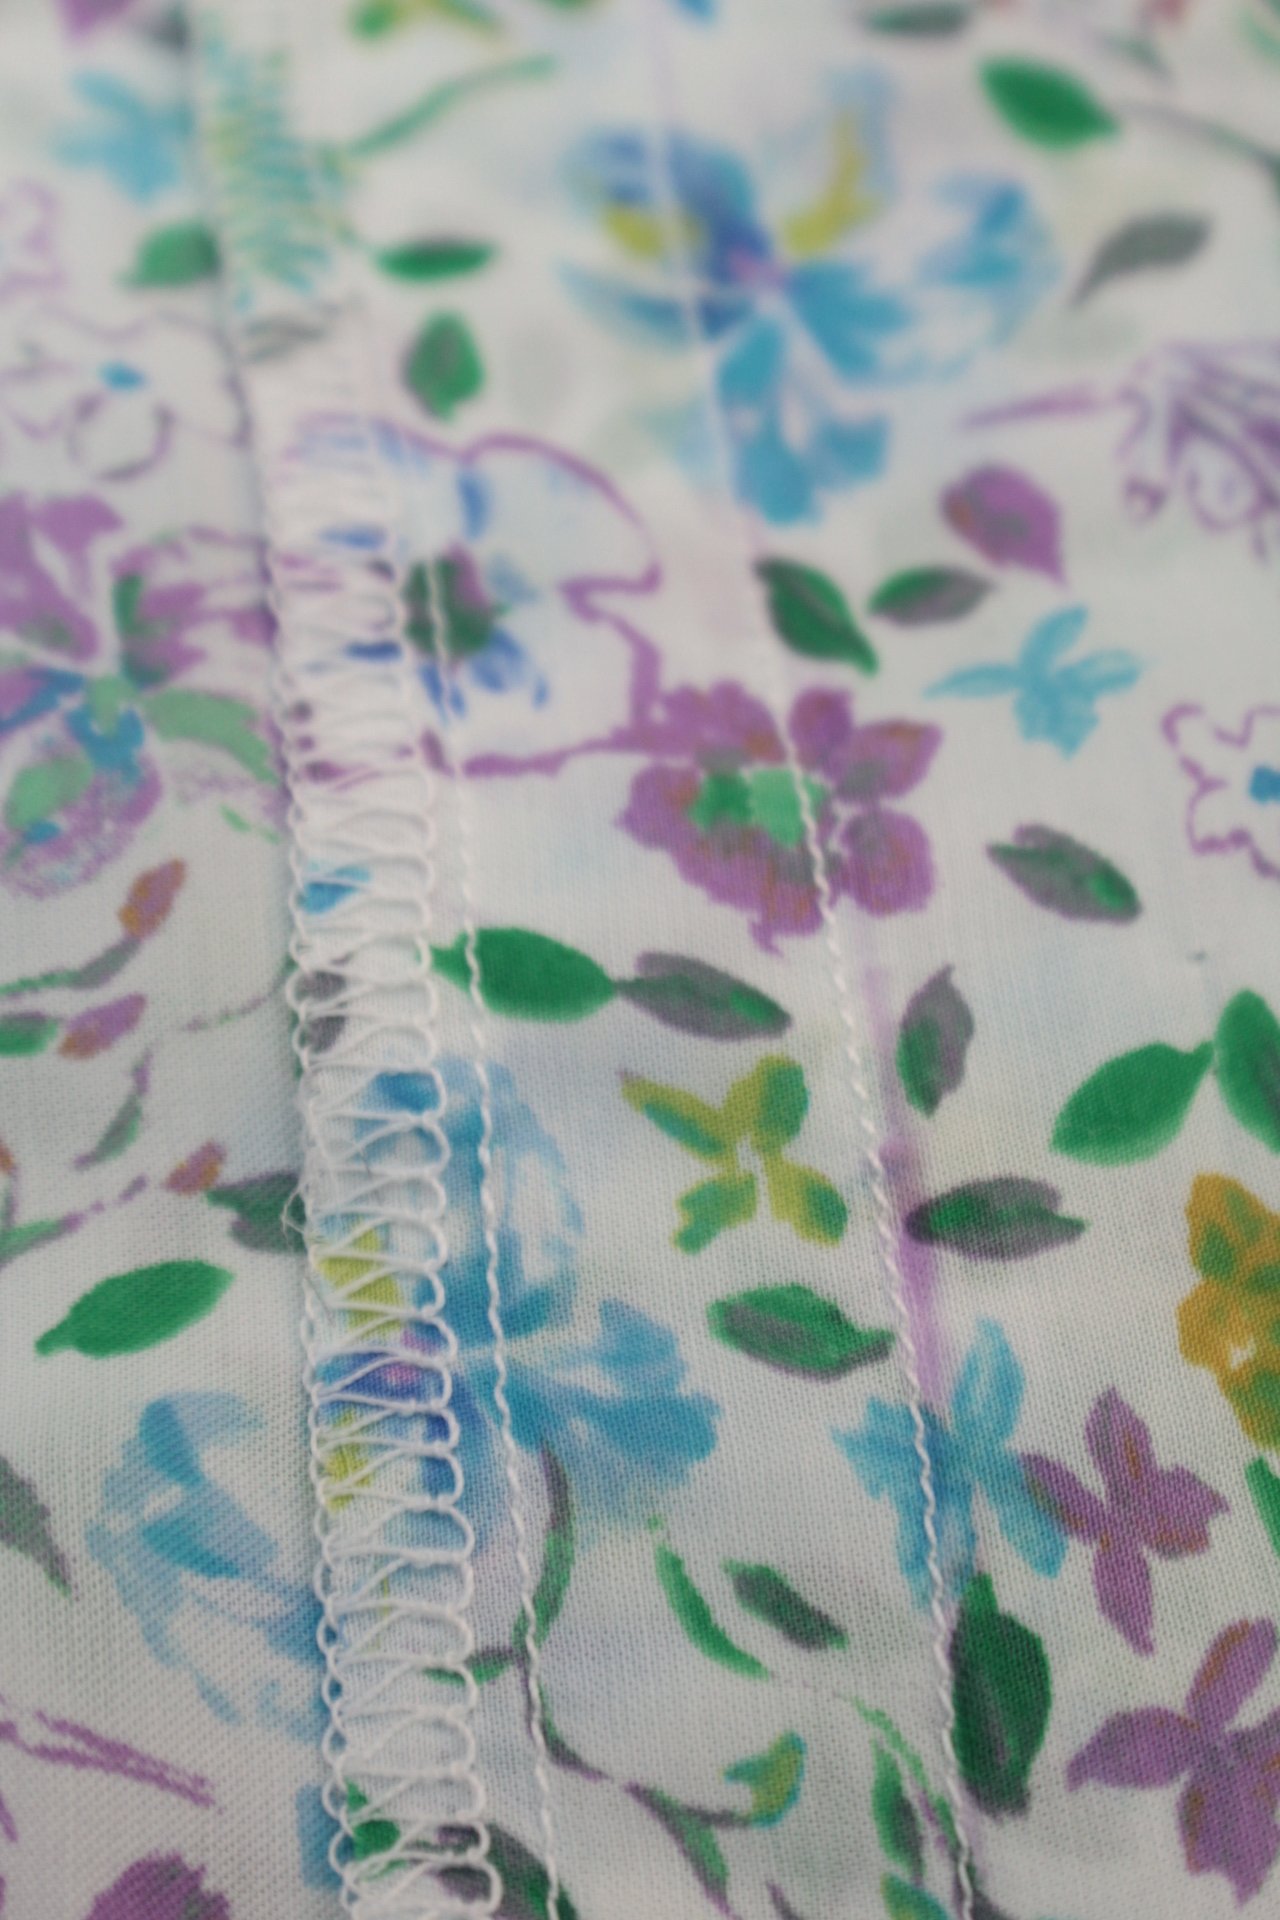
- Serge the top of your camisole or use a zig zag stitch to finish the raw edge and prevent from fraying when wearing the camisole or with washing.
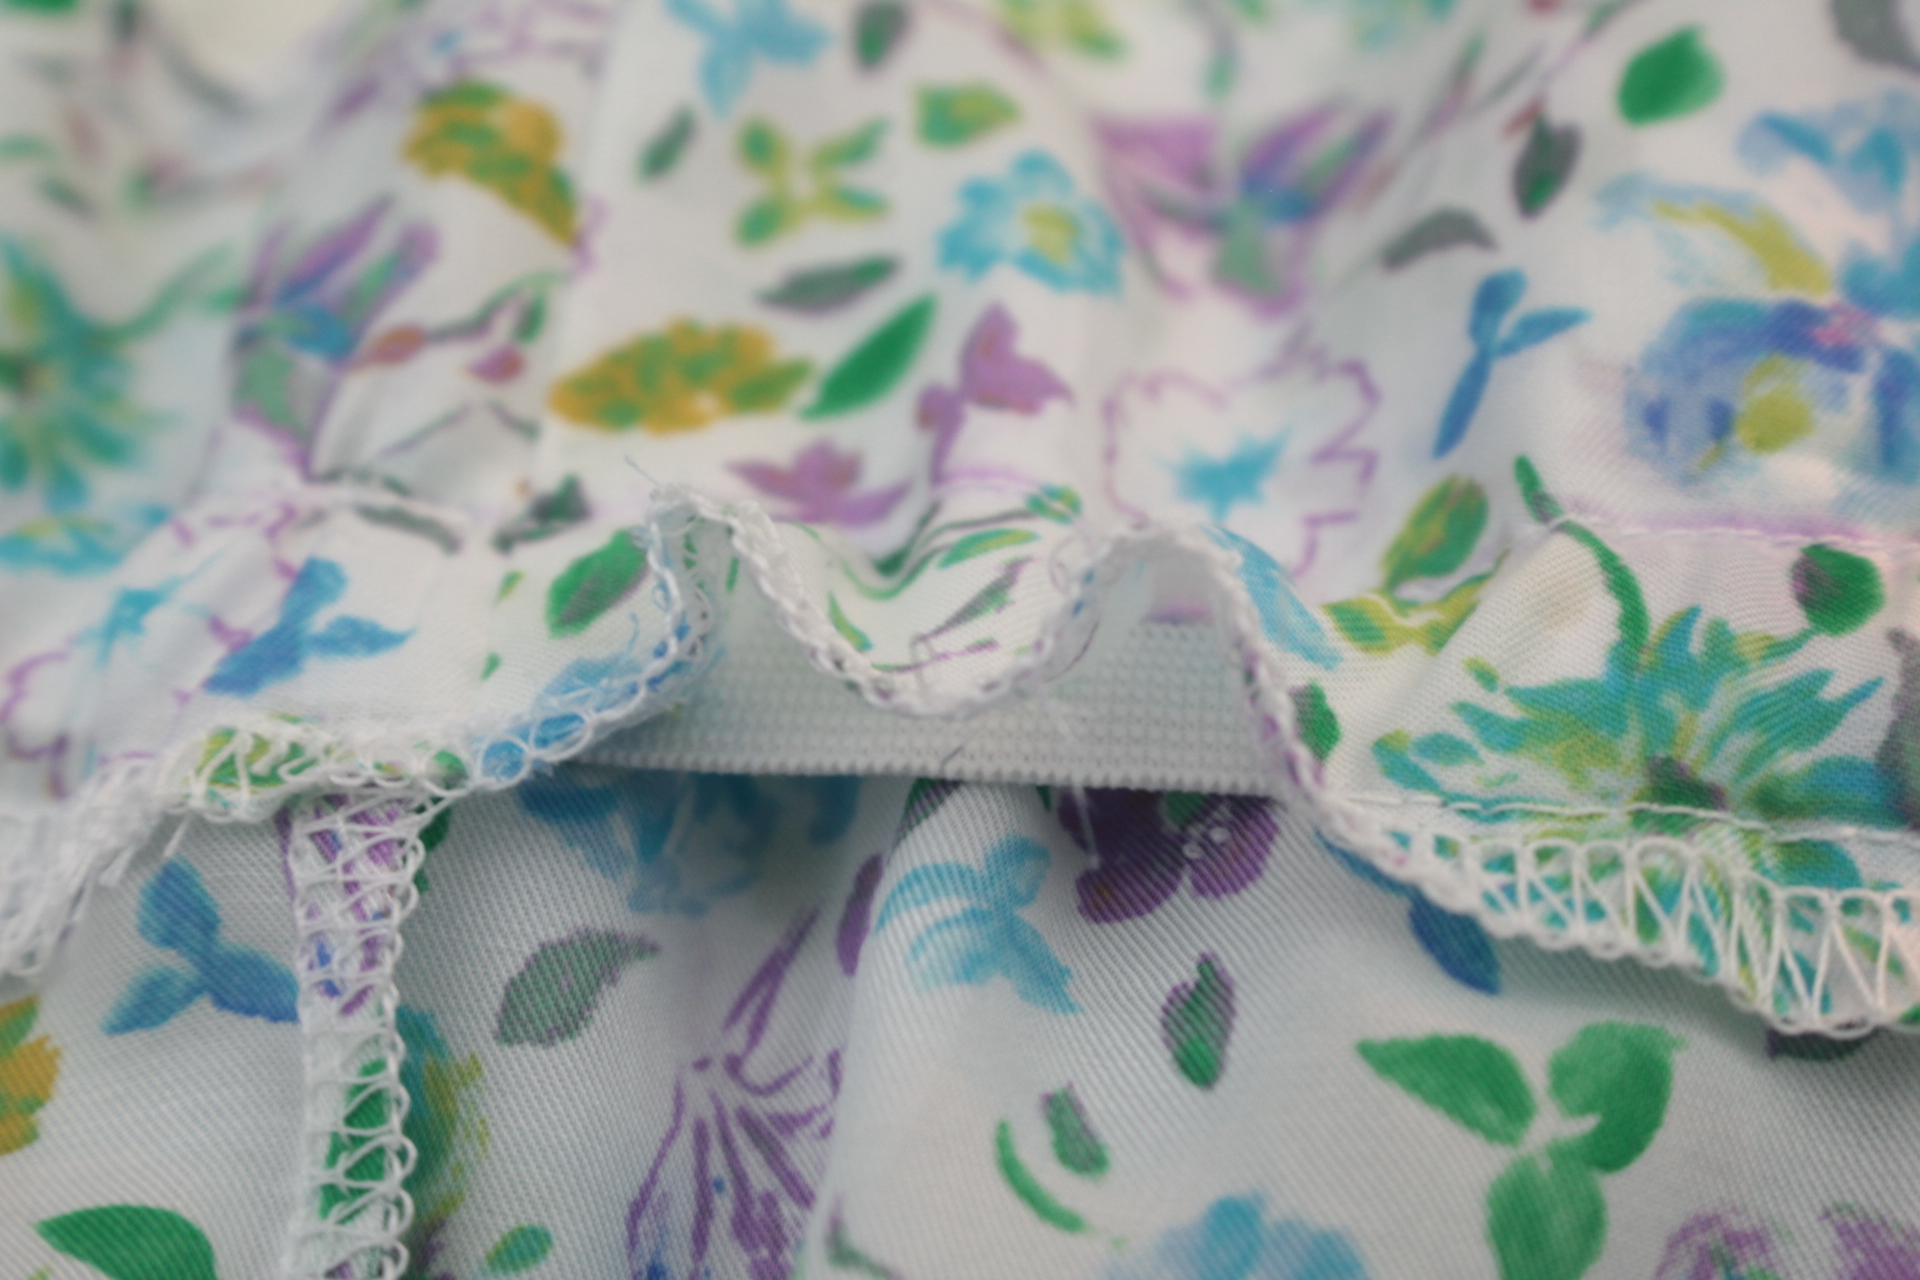
- With you camisole wrong side out, fold the top down, 6″ and press well.
- Sew around the top, 5 1/2″ away from the edge.
- Leave a gap of about 2″
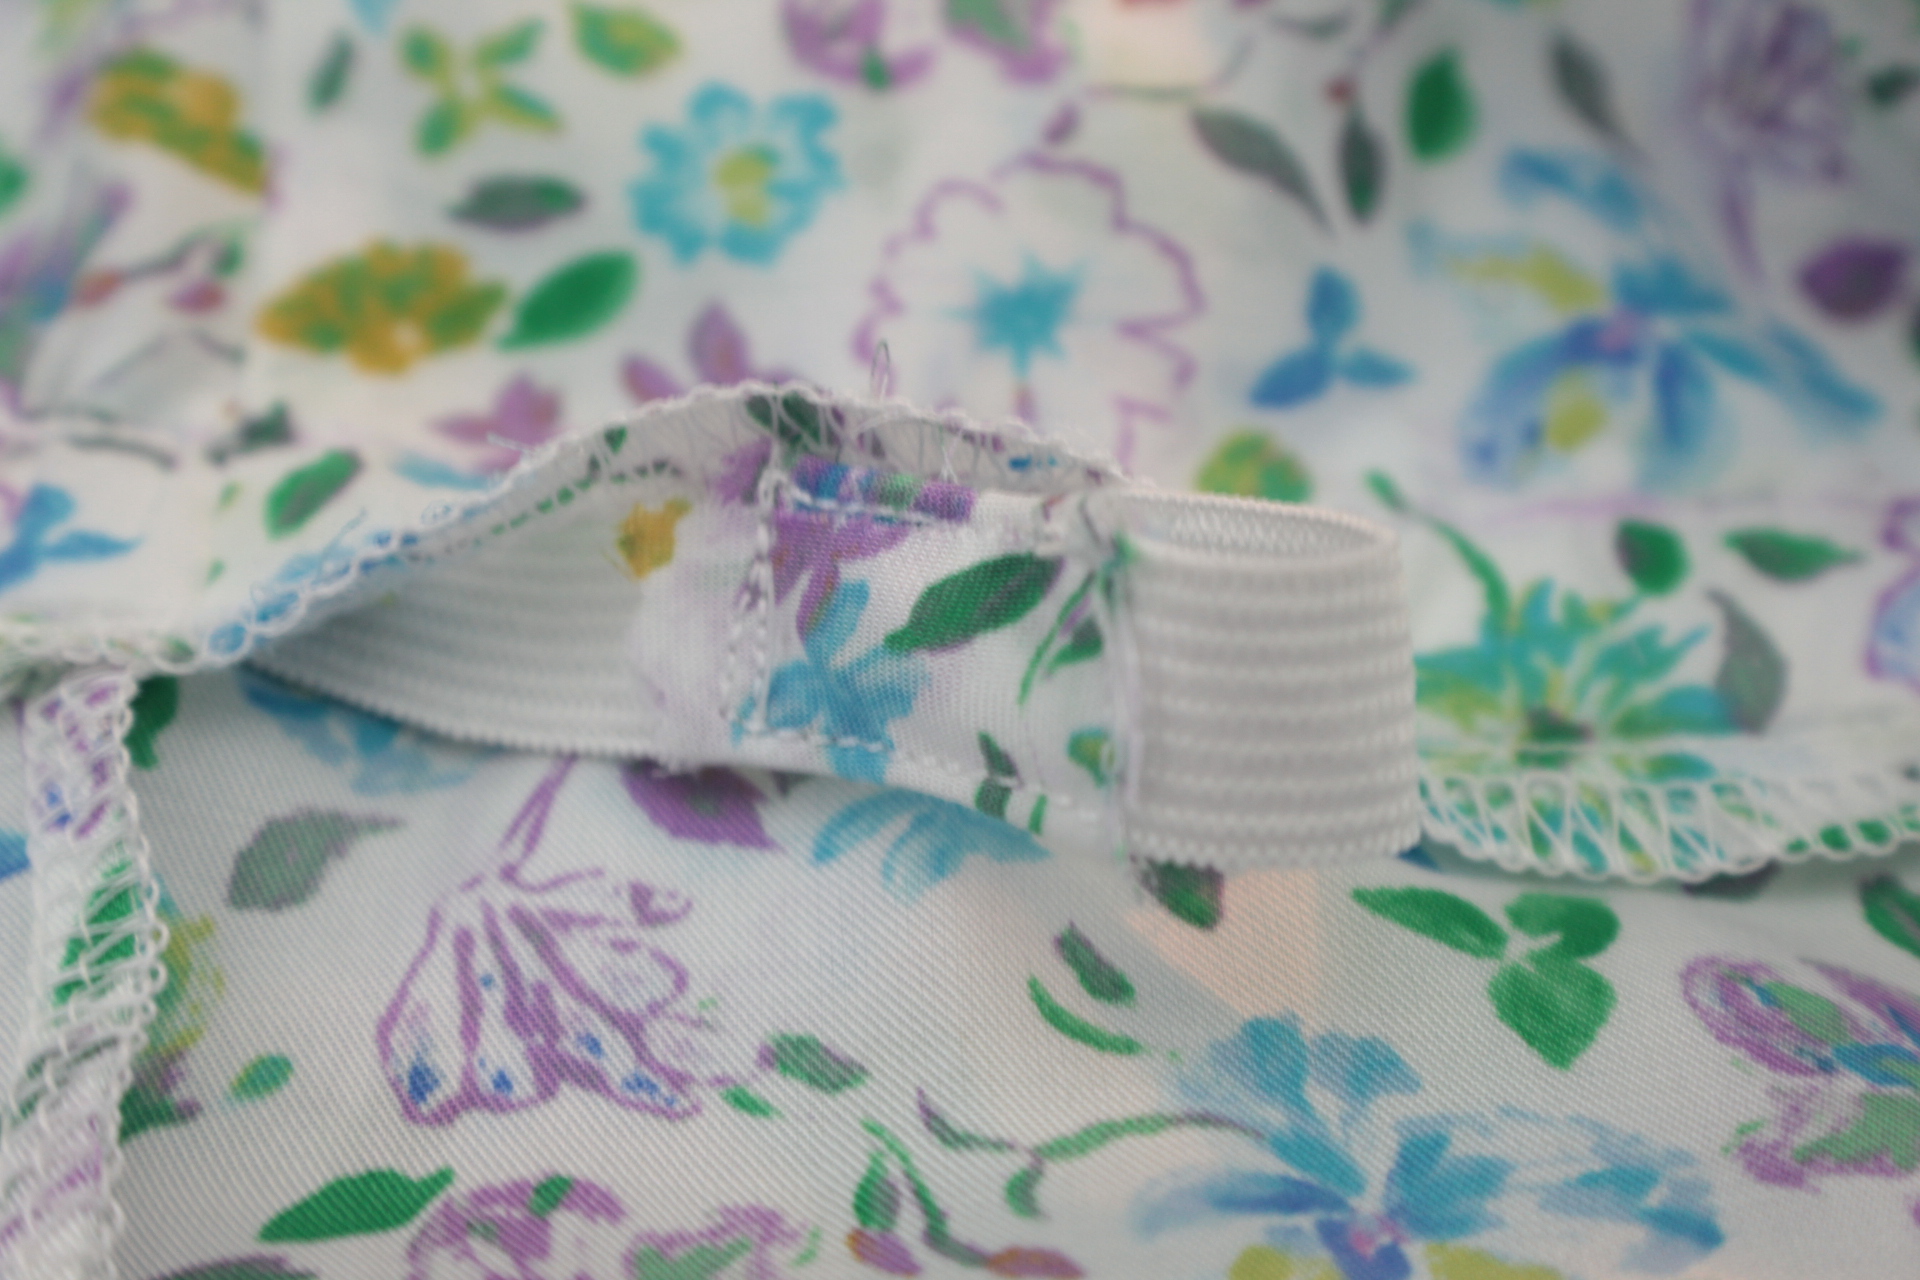
- Place the elastic along this stitch line, move about 1/8″ away from the stitch line, towards the folded edge of the camisole and mark a line along the elastic, using a fabric pen.
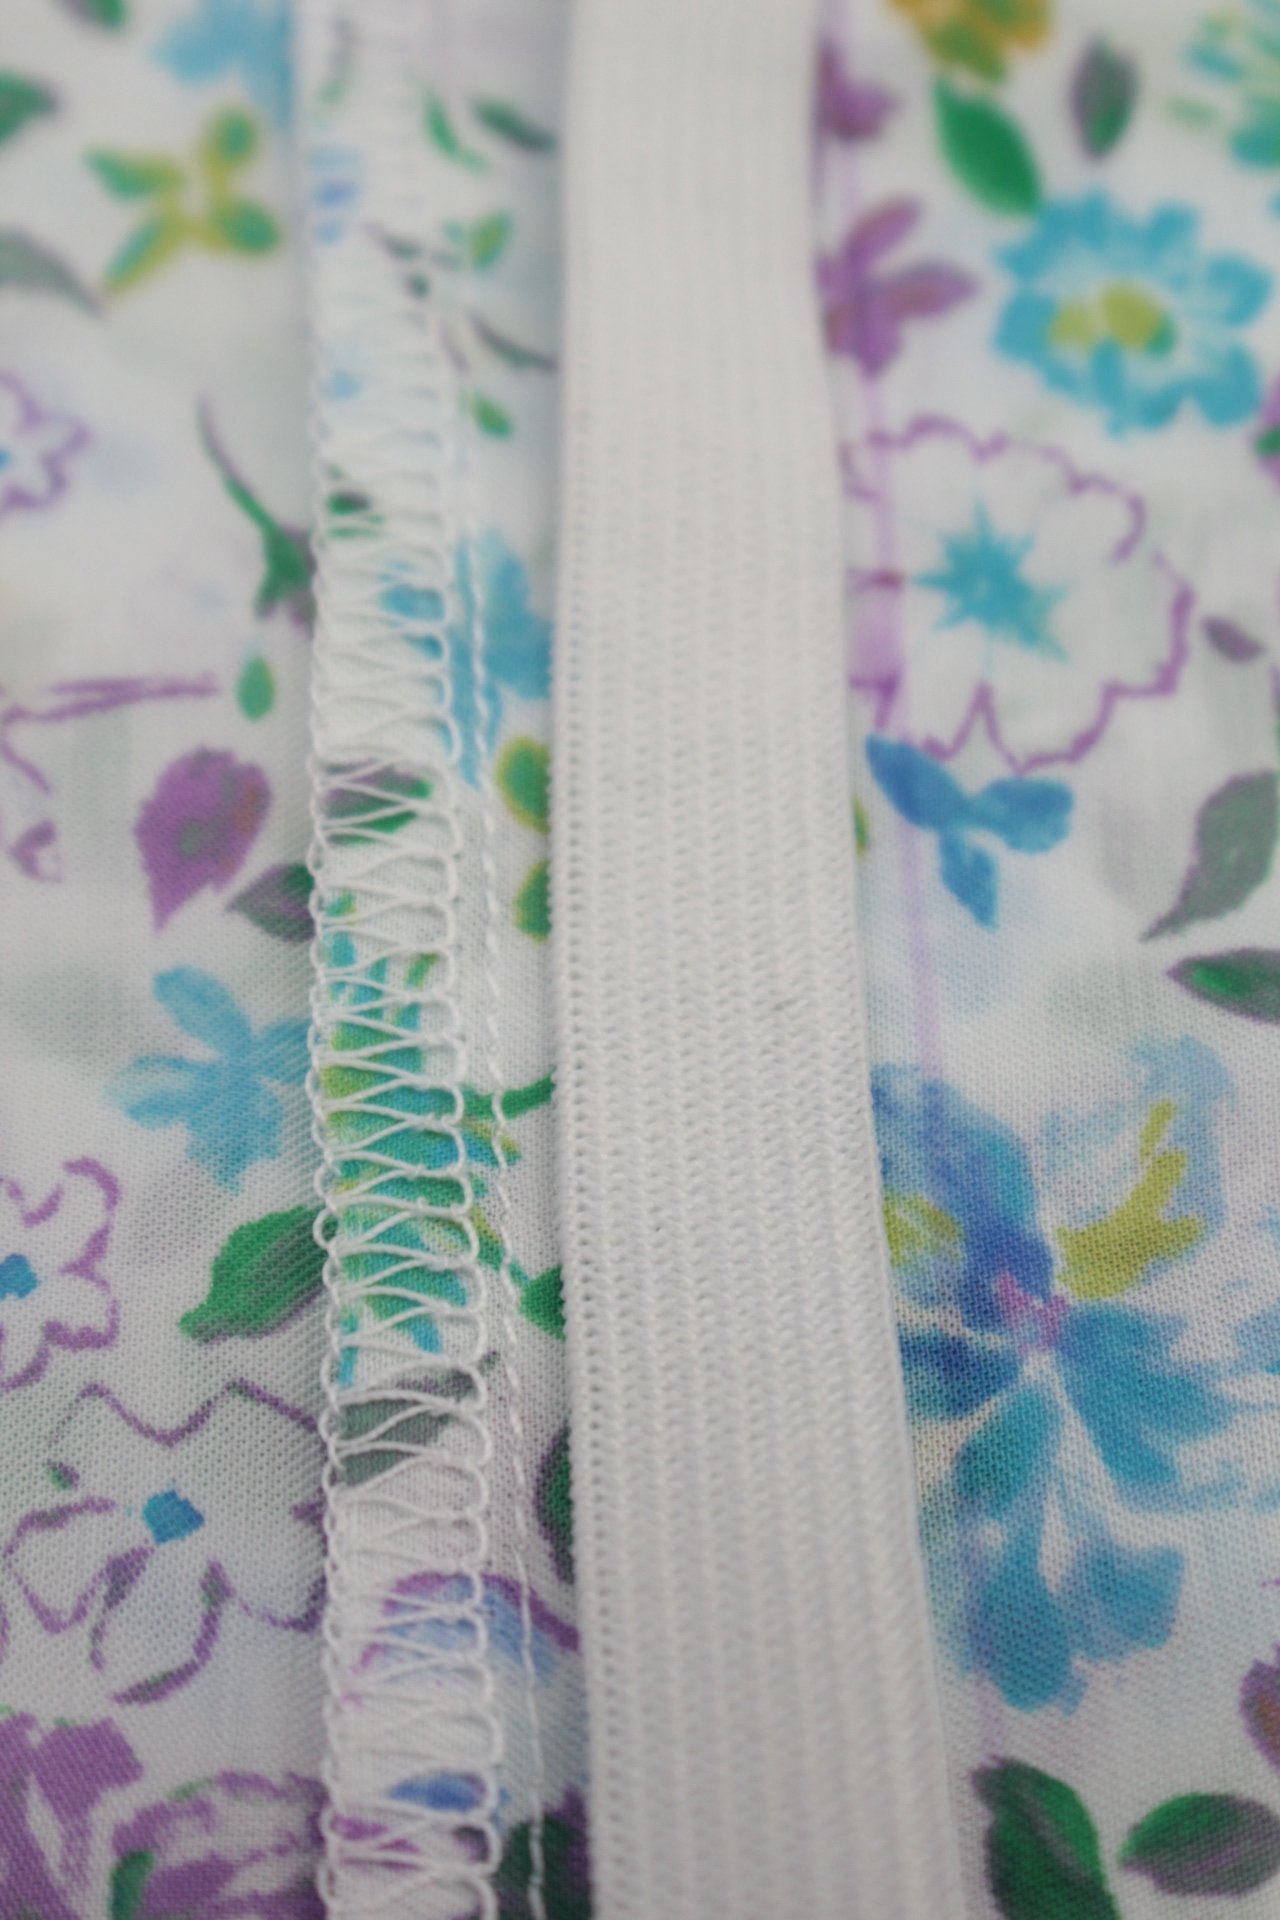
- Sew down along this marked line.
- Using a safety pin insert the elastic through the gap.
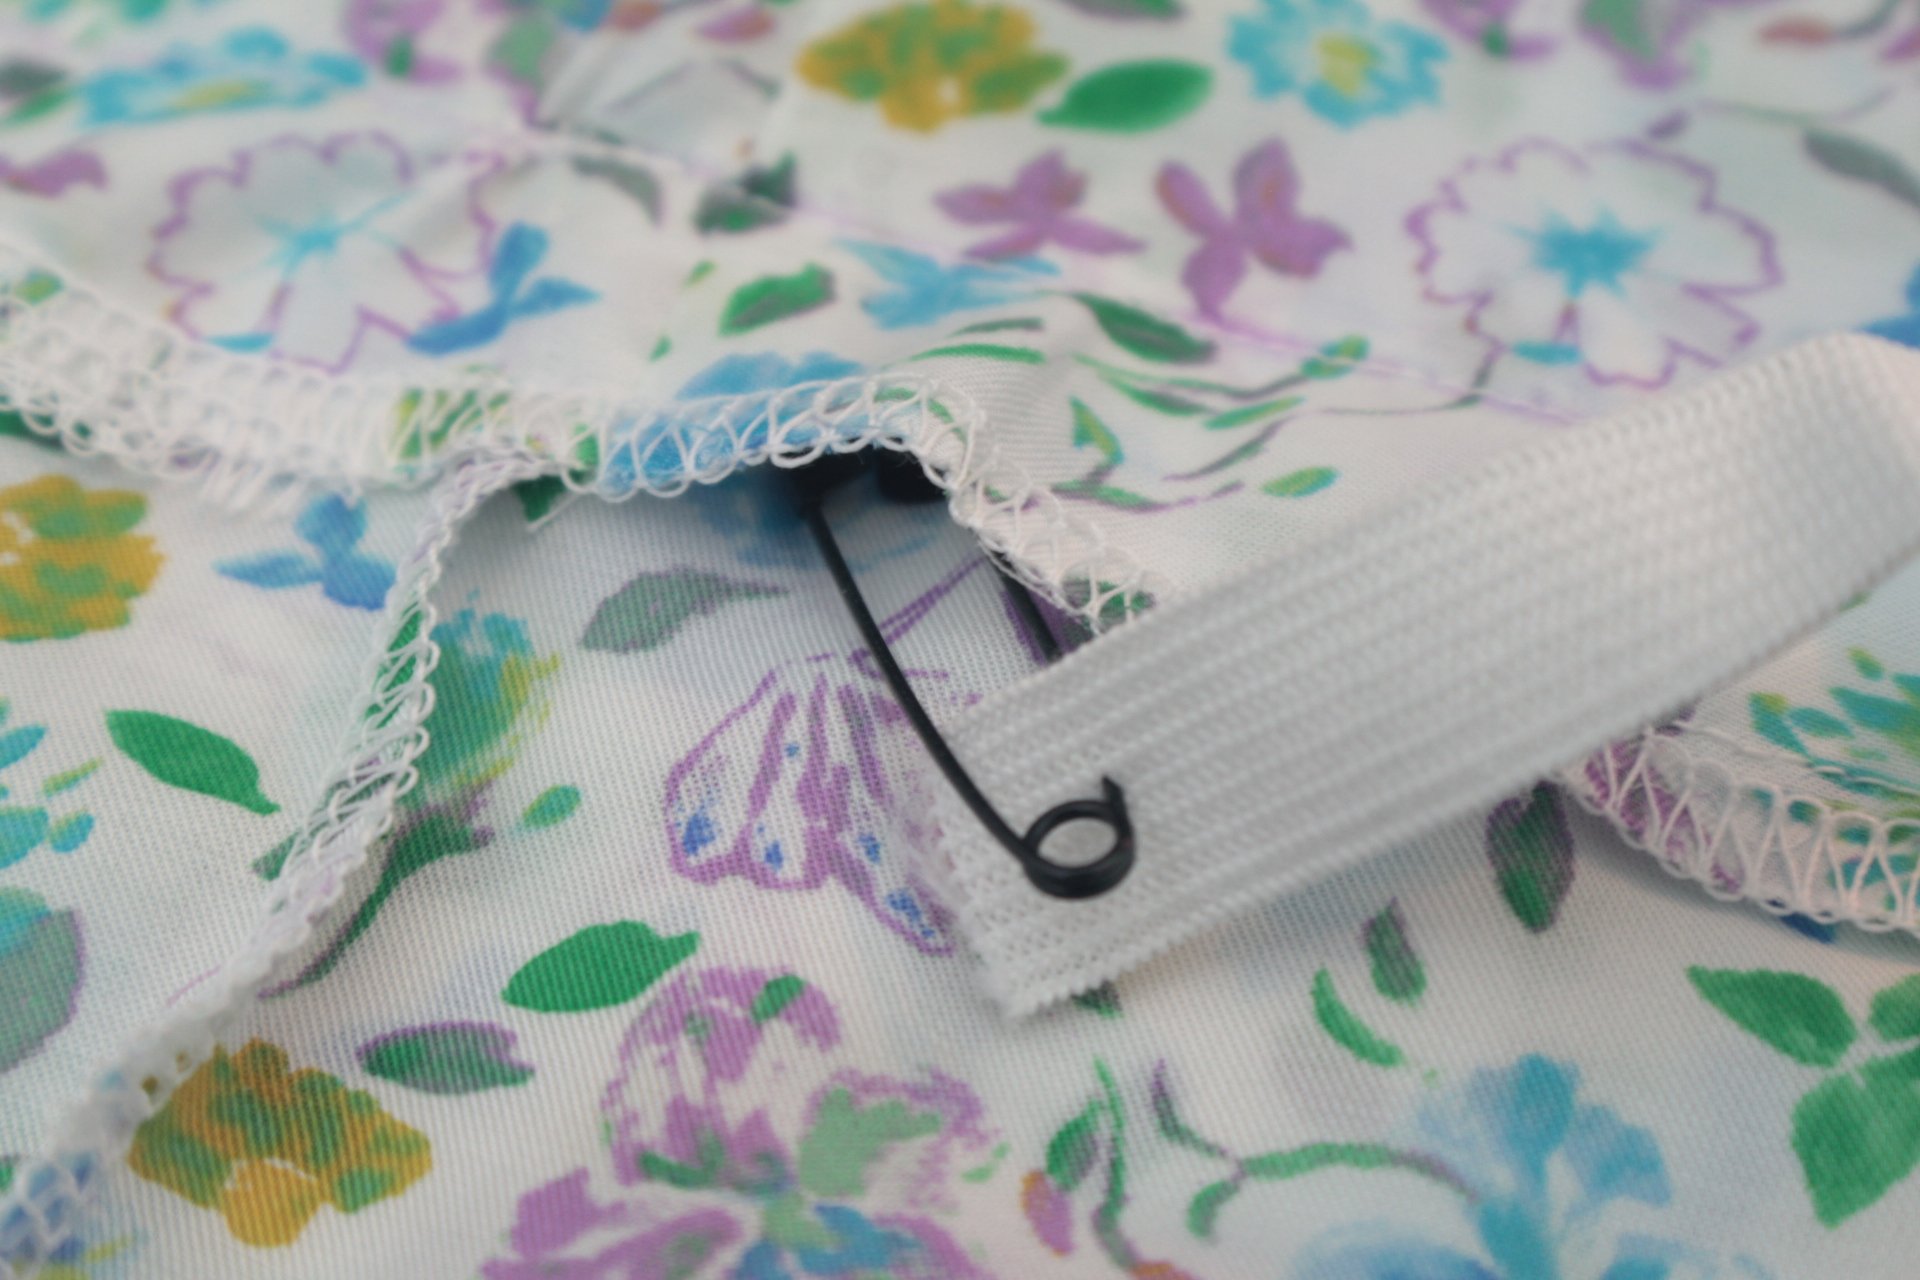
- When the elastic comes out through the gap, join the ends using this tutorial to reduce bulkiness.
- To close the gap, pull the elastic and continue stitching along the line you did above.
- Some people may find that the distance between their underarms and the chest line is too small to accommodate the ruffles in the camisole. This is my case and I decided to fold the ruffled top of the cami inside, in the underarms area and stitch it to itself.
Making the spaghetti straps
- Since this camisole looks so delicate and is made in sheer fabric, I thought spaghetti straps would be the best option. Use this tutorial to make yours. Feel free to make wider straps if thin straps are not your style.
- If you think your camisole works just as great with regular straps, use this tutorial to make your straps and turn them out in a snap, without the need for a tube turner.
- To attach the straps to your camisole, either hand stitch the straps or use your sewing machine. I added mine at the top seam of the elastic.
Frequently asked questions
Do I need previous sewing experience to create this camisole pattern?
This camisole pattern is suitable for beginners that are familiar with simple techniques such as gathering and hemming.
Can I use any type of fabric for this camisole pattern?
This gathered DIY camisole looks best made in lightweight fabric that flows, with a cute print like floral and it’s the perfect piece of garment to wear in spring or summer. You can even wear this at formal events if made in the right fabric, like silk or satin.
Other light-weight fabrics that work well for this pattern include crepe satin, chiffon, and rayon. You can also experiment with cotton or linen for a more casual look.
Avoid heavy fabrics like denim or thick knits as they won’t drape well for this style.
Can I make this camisole pattern in different sizes?
Absolutely! This pattern is very versatile and can be easily adjusted to fit different body types. Simply measure yourself or the person you are sewing for and make adjustments accordingly.
How long does it take to create this camisole pattern?
It depends on your skill level. On average, it takes about an hour to complete this camisole pattern. However, if you’re a beginner it may take a little longer.
More sewing projects you will enjoy
- Bunny sleeping mask
- Small bunny pillow sewing pattern
- Half apron pattern with heart pockets and pleats
- Farmhouse style ruffled pillowcases
- Tulle skirt for women
- Bubble skirt tutorial
- Batwing top from scarf
- Pleated blouse pattern
- Scallop neckline t-shirt refashion
I hope you liked this tutorial and decided to give this idea a try. Please let me know your thoughts in the comments below and don’t forget to rate this tutorial! Happy sewing!

How to sew a camisole pattern
Materials
- lightweight fabric
- elastic
- matching thread
Tools
- camisole and flounce pattern
- scissors
- safety pin
- Yardstick
- serger
- pressing iron
Instructions
Making the pattern
- If you are a size 10 you can use my pattern for the cami and the flounce. If you are a different size or simply don't want to go the easy way, here's how to make your own pattern in just a few easy steps.
- Decide how long you want the camisole (flounce excluded) and measure from just above the chest to the bottom of the cami. Add 4" at the top and 1" allowance at the bottom. This will the the length of your camisole pattern.
- Measure around your body, where you decided to make the bottom of your camisole (flounce excluded), divide in half and add 1" allowance. This will be the width of the bottom of your camisole. Allow for some room when measuring, you don't want your camisole too tight.
- Measure around your body above the chest, divide in half and add 6". This will be the width of the top of your camisole. Also allow for a little room when measuring, don't get too tight with the measuring tape.
- Draw the pattern using these measurements and you need to get a trapezoid with a top that is wider than the bottom. If you want a lot of gathering at the top of your camisole you need to increase the size of the trapezoid at the top.
- Decide how wide you want the flounce and do the flounce pattern following this tutorial.
Preparing the fabrics
- Cut the fabrics using the patterns you just made above.
- You need two pieces for the camisole (front and back) and two pieces for the flounce.
- Measure from your chest up to the back to decide on the length of your straps and cut four fabric strips that match these measurements and are at least 2" wide.
Making the camisole pieces
- Get one piece of flounce and hem using this tutorial or use a roller foot to make a rolled hem as indicated in this tutorial. The idea is to make a tiny hem as this type of hems work best on lightweight fabrics and darling garments like this.
- Place one camisole piece on the table, right side up and top with the hemmed flounce, wrong side up. The raw edge of the flounce should align with the raw bottom of the camisole piece. In this image my flounce is larger than the camisole as I wanted to have plenty of room to work without risking to run into a shorter flounce when putting the pieces together. I trimmed the flounce after attaching it to the blouse.
- Pin these two, sew with 1/2" allowance and serge or finish the seam with a zig zag stitch.
- Fold the flounce down pushing the seam up and press well.
- Repeat for the back piece of the camisole and the second flounce.
Attaching the camisole pieces together
- Place the two cami pieces right sides together, pin the sides and sew with 1/2" allowance.
- Make sure the seams in the flounces match.
- Serge or zig zag to finish the seam.
- Serge the top of your camisole or use a zig zag stitch to finish the raw edge and prevent from fraying when wearing the camisole or with washing.
- With you camisole wrong side out, fold the top down, 6" and press well.
- Sew around the top, 5 1/2" away from the edge.
- Leave a gap of about 2"
- Place the elastic along this stitch line, move about 1/8" away from the stitch line, towards the folded edge of the camisole and mark a line along the elastic, using a fabric pen.
- Sew down along this marked line.
- Using a safety pin insert the elastic through the gap.
- When the elastic comes out through the gap, join the ends using this tutorial to reduce bulkiness.
- To close the gap, pull the elastic and continue stitching along the line you did above.
- Some people may find that the distance between their underarms and the chest line is too small to accommodate the ruffles in the camisole. This is my case and I decided to fold the ruffled top of the cami inside, in the underarms area and stitch it to itself.
Making the spaghetti straps
- Since this camisole looks so delicate and is made in sheer fabric, I thought spaghetti straps would be the best option. Use this tutorial to make yours.
- If you think your camisole works just as great with regular straps, use this tutorial to make your straps and turn them out in a snap, without the need for a tube turner.
- To attach the straps to your camisole, either hand stitch the straps or use your sewing machine. I added mine at the top seam of the elastic.
Article may contain Amazon & affiliate links. As an Amazon Associate I earn from qualifying purchases at no additional cost to you.
ABOUT PETRO
Hi, I’m Petro, author and founder of Easy Peasy Creative Ideas. Sewist, crafter, avid DIY-er, foodie, photographer, homemaker and mommy to one. I’m an expert at coming up with quick, clever sewing tips, recycling crafts and simple, easy recipes! You can find my ideas featured in reputable publications such as Country Living, Good House Keeping, Yahoo News, WikiHow, Shutterfly, Parade, Brit & Co and more. Thanks for stopping by and hope you’ll stay for a while, get to know me better and come back another time. Stick around for real fun projects! Read more…