

Sew easy pillowcase dress for adults
For a simple yet stylish dress pattern for women that’s quick to sew and easy to wear, consider this pillowcase dress for adults! Ideal for beginners, this dress is not only adorable but also incredibly comfortable to wear.
In today’s tutorial, let’s learn how to make a simple pillowcase dress for adults that’s quick and easy to sew and so comfortable to wear! This cute dress is a must-try project for all the sewing enthusiasts out there. Who said pillowcase dresses are just for little girls?
This tutorial has been converted to a PDF file, available to purchase HERE. However this article is completely free to read.
Here’s why I love this pillowcase dress for adults:
- It’s a simple yet stylish design that looks great on all body shapes and sizes. Thanks to the tie I added to the waist, it accentuates the curves beautifully.
- The loose fit makes it ideal for hot summer days, giving you enough room to breathe and move around freely. Just skip adding the tie.
- You can easily customize this dress by adding your own personal touches like embroidery, lace trims or even pockets!
- It requires minimal sewing skills, making it the perfect project to try out if you’re a beginner.
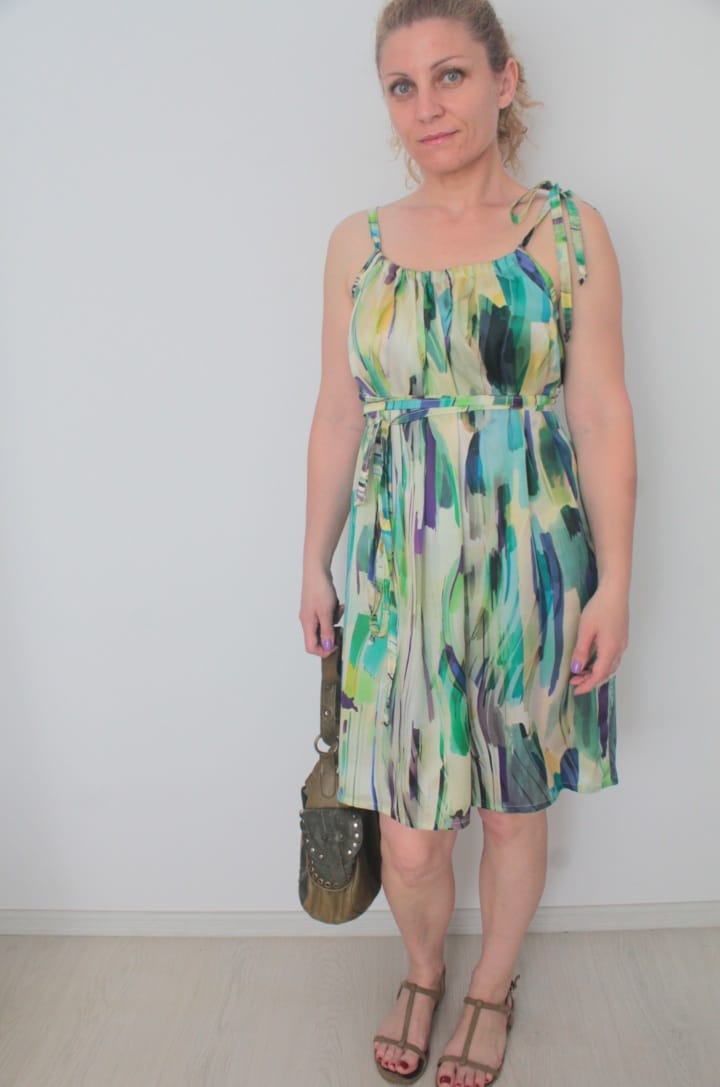
- It’s an incredibly versatile dress that can be dressed up or down depending on the occasion. Wear it with flats for a casual day out or add some heels and accessories for a night out.
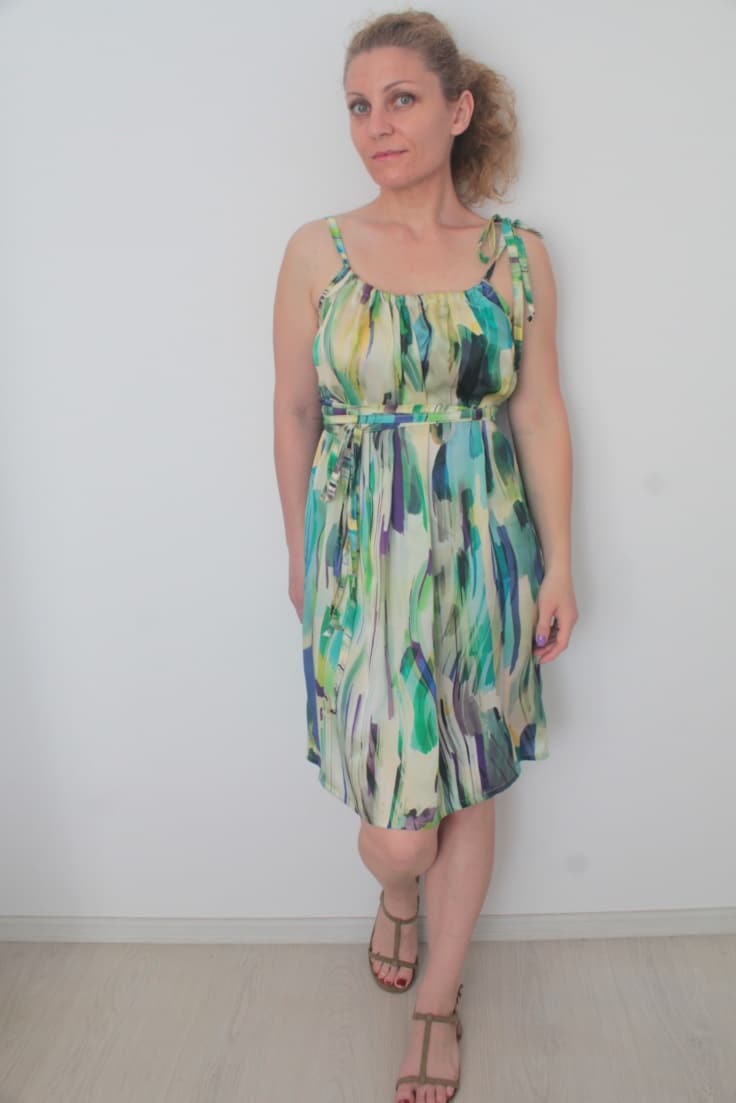
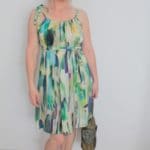
This kind of dress may seem like real tough to pull off for women, but please don’t get discouraged! As you can see in the photos, wearing a pillowcase dress for adults is perfectly fine and it can look quite nice. And I actually encourage you to make one yourself because these dresses are really, really comfortable to wear and perfect in those super hot summer days! Made in the right fabric, this women’s pillowcase dress can actually look very nice on you and quite flattering.
How to make a pillowcase dress for adults
Materials
The materials used are easily available and affordable, making this dress a budget-friendly option. The best part? You can use any kind of fabric, from cotton to silk, to make this dress.
- paper to draw your pattern (you can work straight onto the fabric if you’re feeling confident)
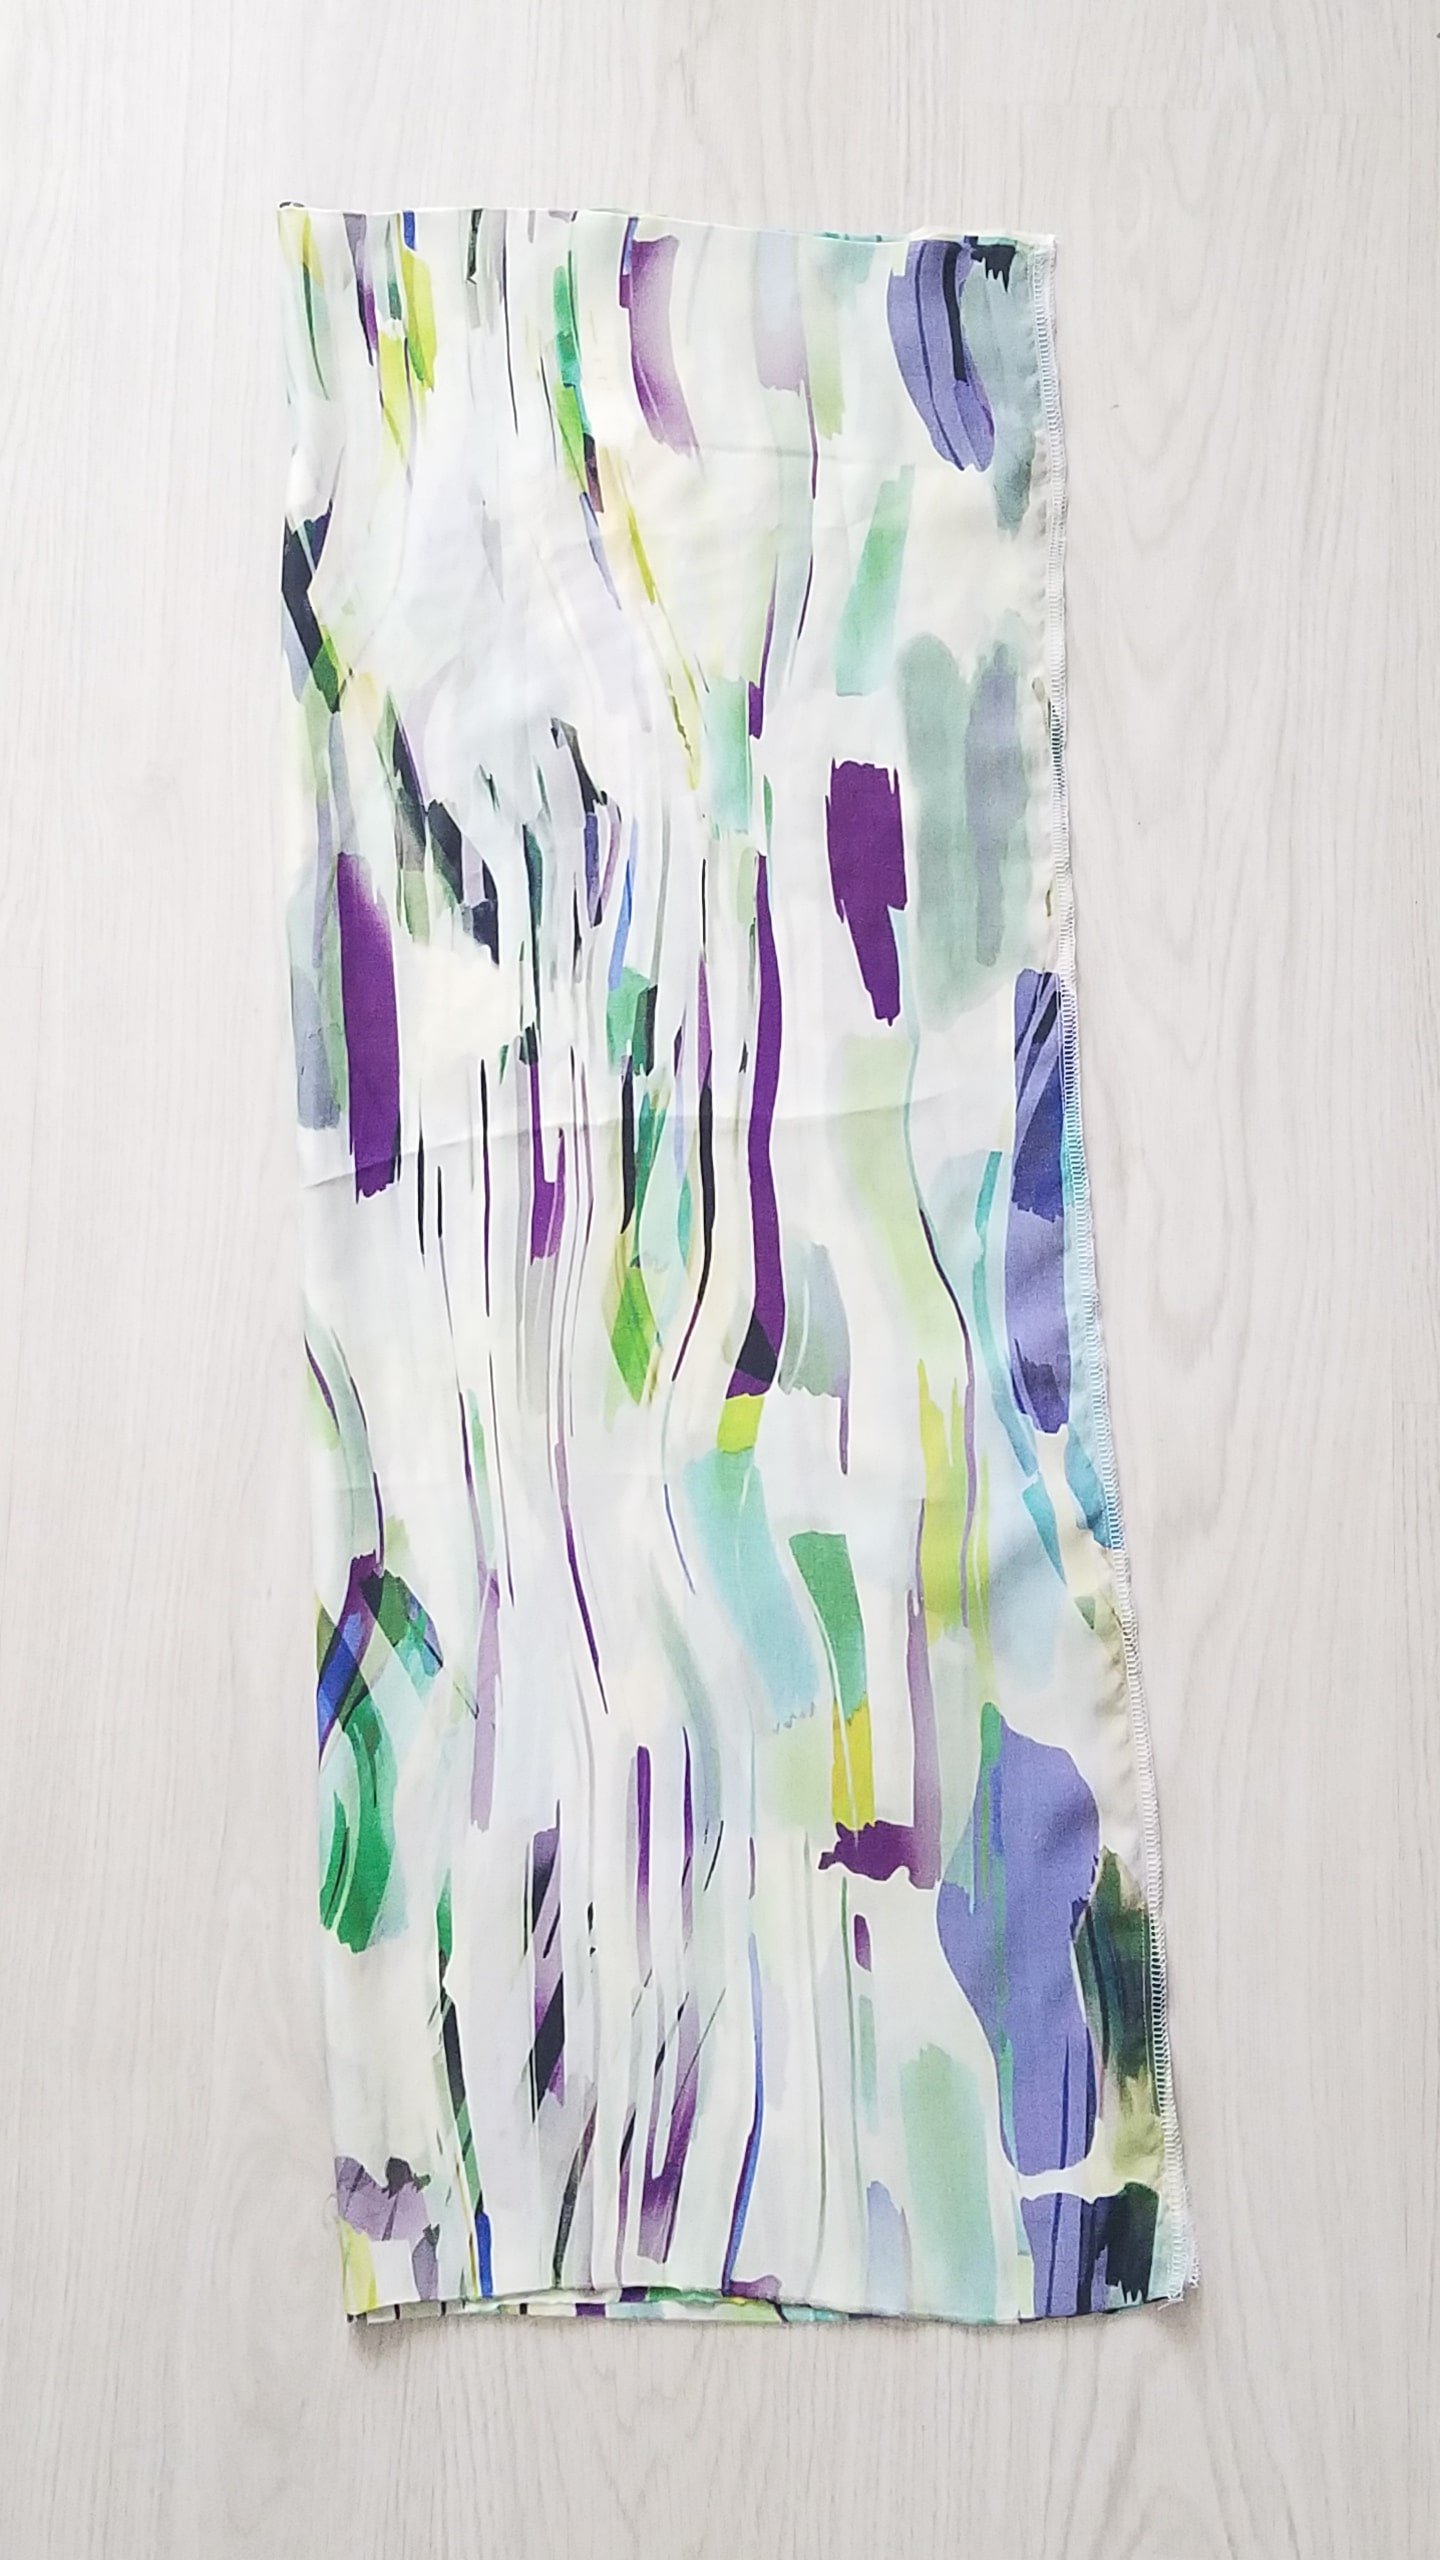
- lightweight fabric that is not see-through (I chose silk with geometric print)
- Yardstick
- seam gauge
- fabric marker
- scissors
- sharp needle
- matching thread
- sewing machine
- serger (optional)
Instructions
Create the pattern for your measurements
- Measure around your bust and multiply by 1.5 then divide by 2. Add 1″ allowance.
- Use this last measurement to draw the top of the dress.
- Measure the length of the dress from collarbone down to kneecap or floor for maxi dresses. Add 2″ seam allowance
- Use this measurement to draw the sides of the dress.
- If you decided to make your dress an A line shape (figure 1) you need to add 1/2″ to left and 1/2″ to the right of the bottom line of the pattern. Then modify the size to meet the enlarged bottom and the top.
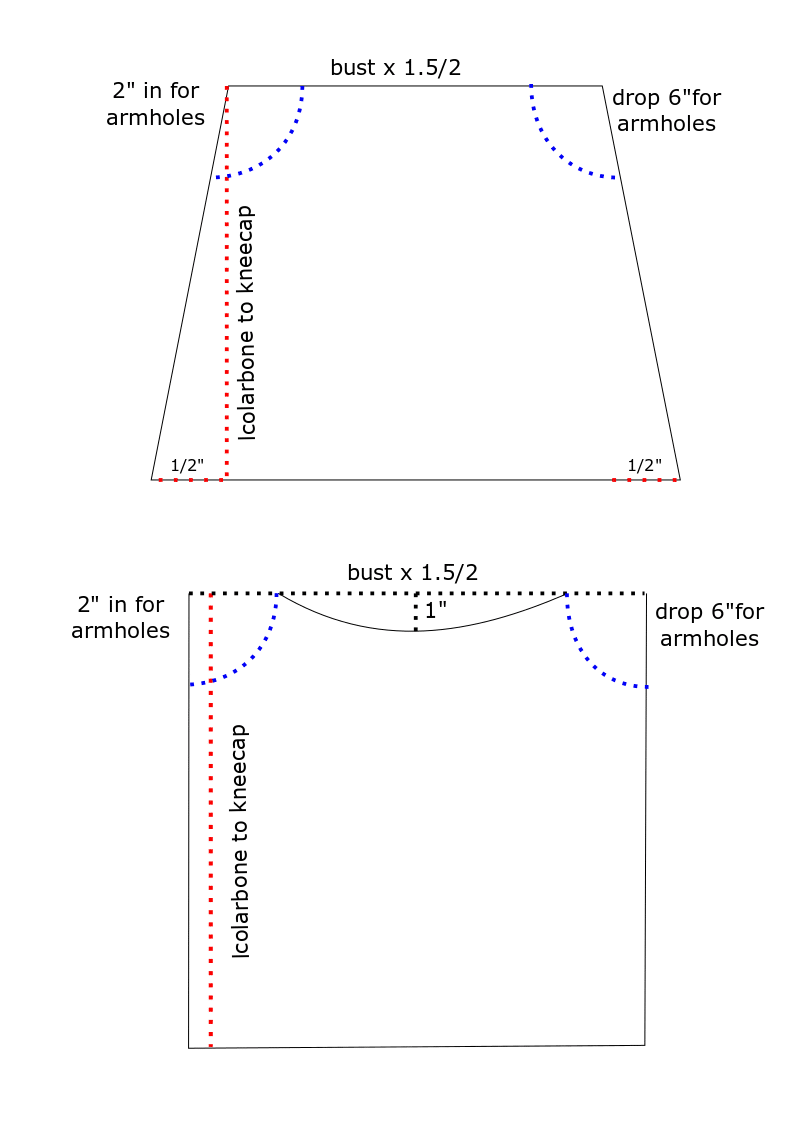
- If you decided to create a concave in the top (figure 2), find the middle of the top and mark 1″ below the middle. Join the left and right of the top through this point.
- Measure 6″ down and 2″ in from the top on both sides and draw a curve for armholes.
- I advise you to use the A line shape pattern as it’s easier to sew and hem later on.
Cut and sew the fabrics
- Cut two pieces of fabric to match the pattern and place them right sides together.
- Place the pattern on and cut out.
- Pin the sides of the fabrics and sew with 1/2″ allowance. Finish with a serger or a zig zag stitch. (I didn’t make a pattern in advance, I worked straight on the fabric so on this image you won’t see the armholes)
- Hem the dress with a narrow hem.
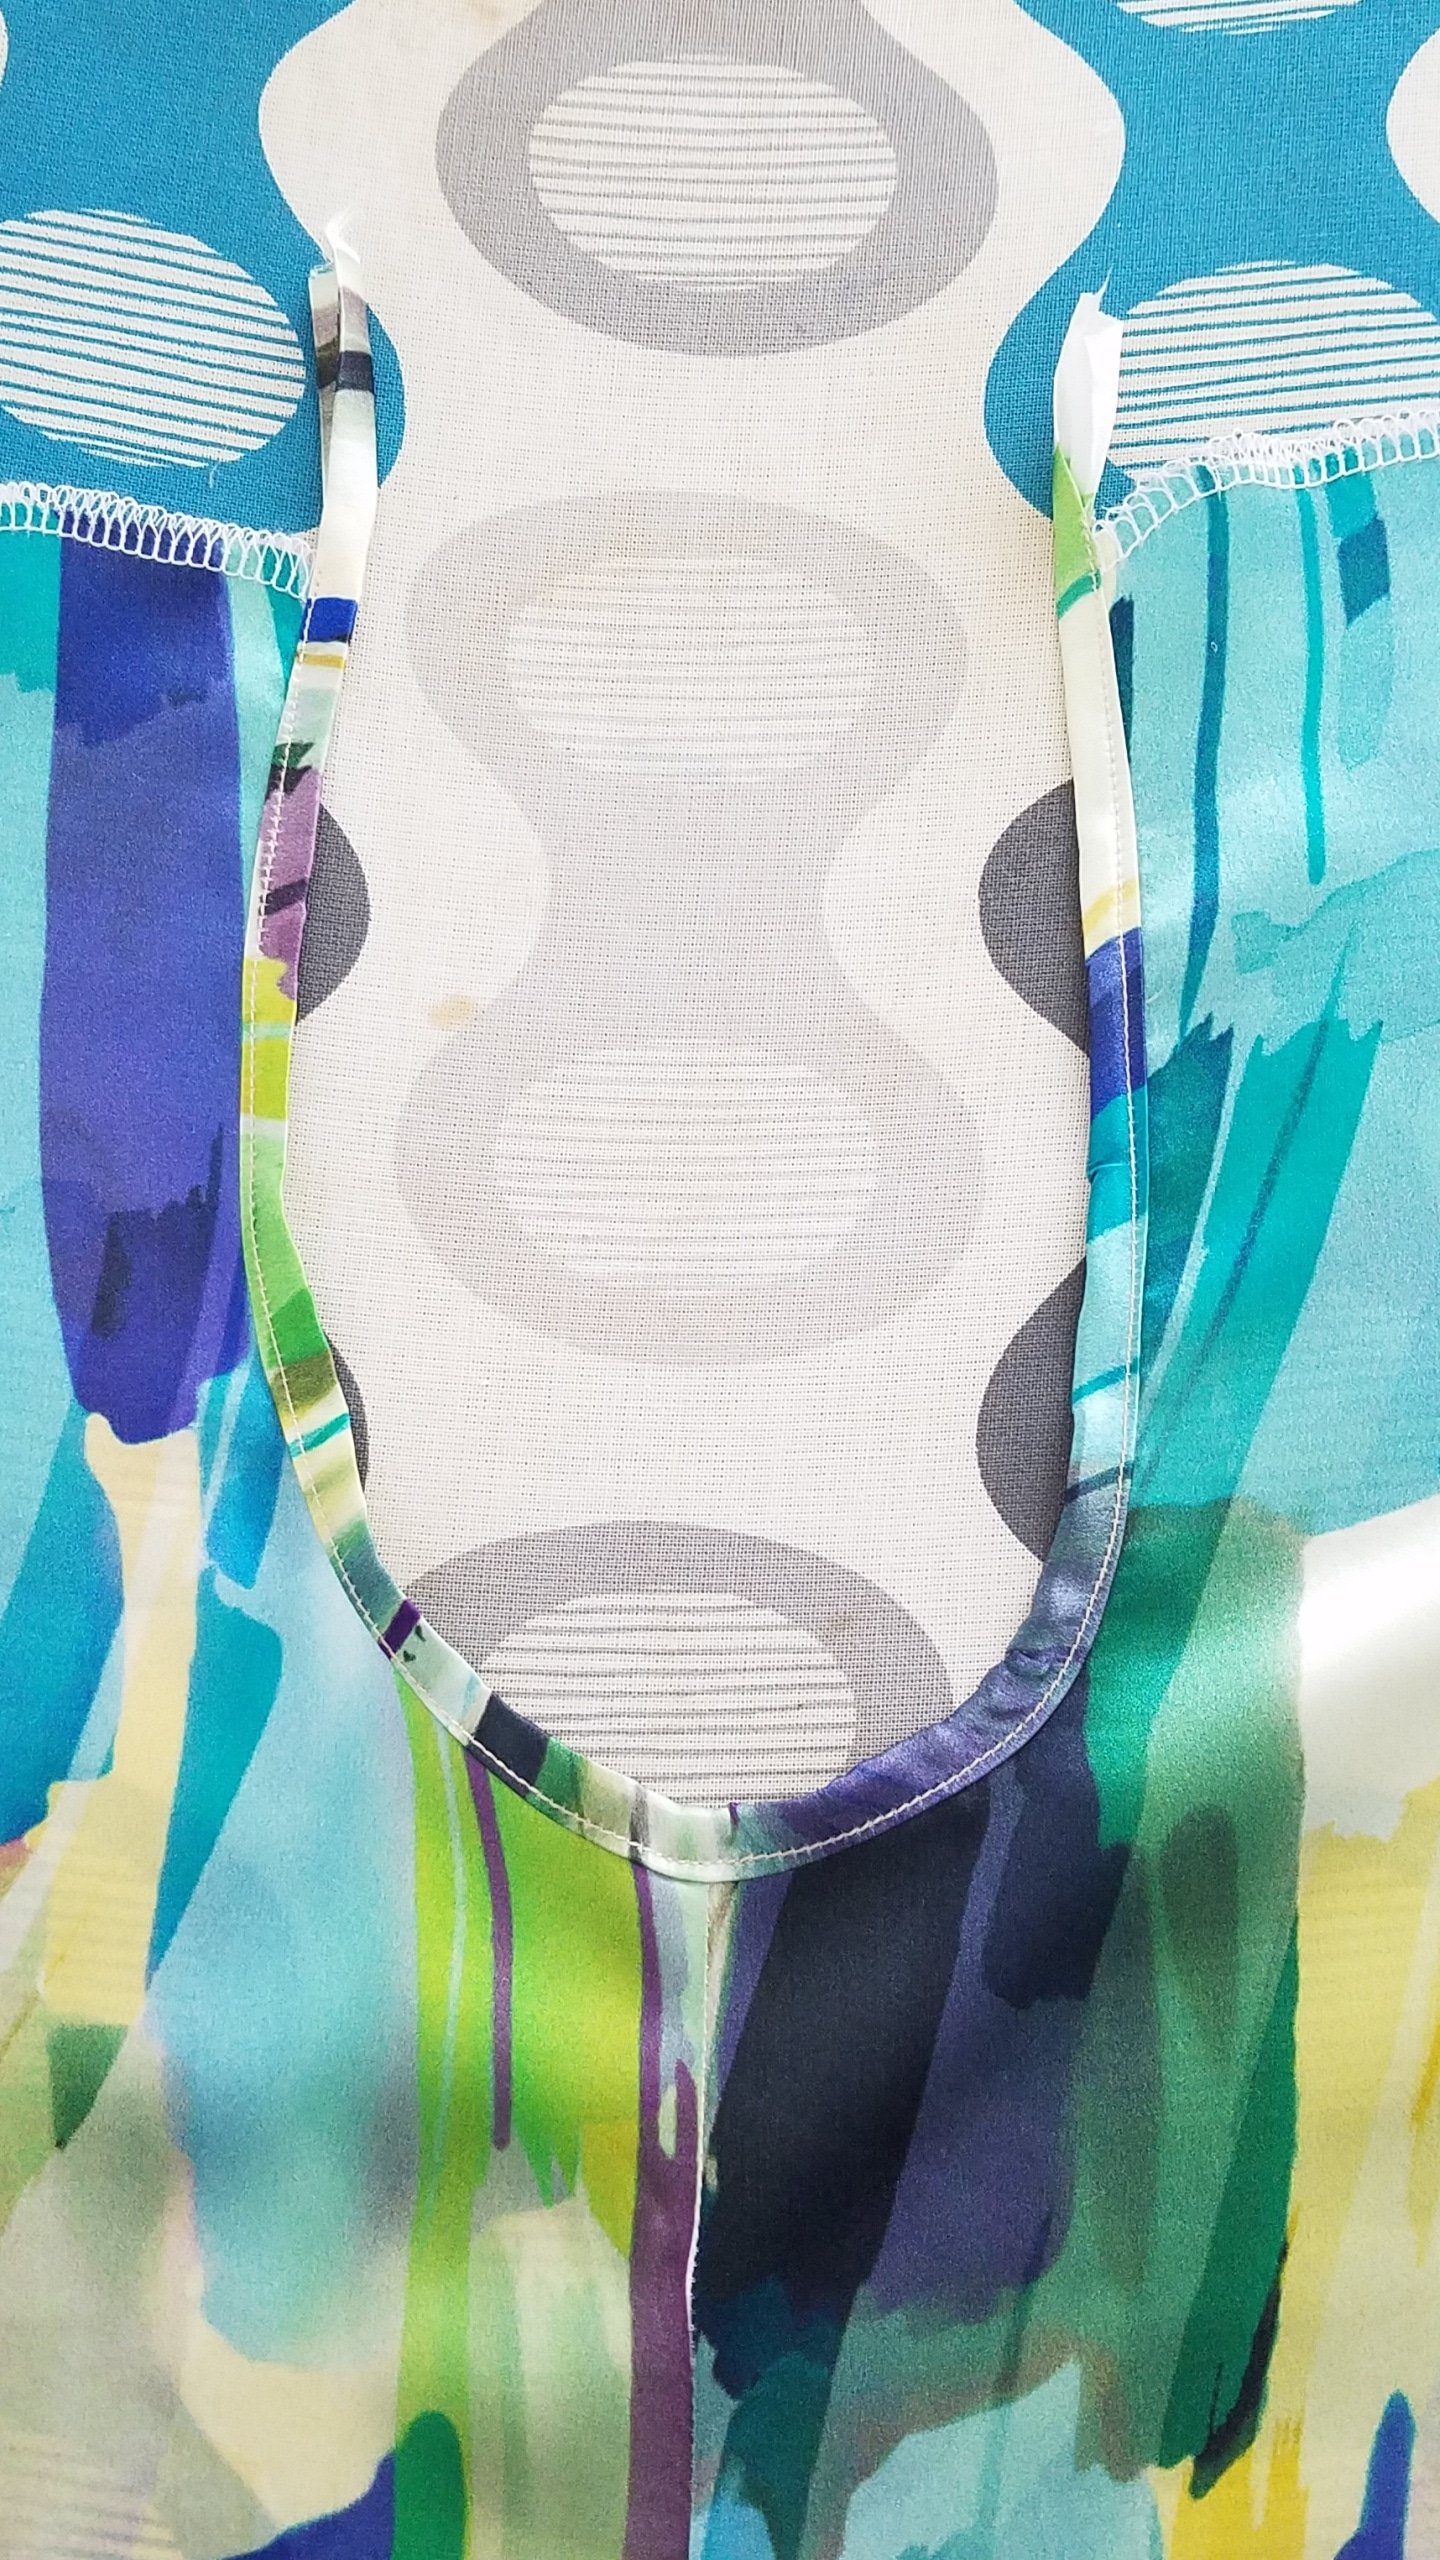
- Finish armholes with bias tape (I made my own in the same fabric as the dress. Check out these tutorials if you decide to make your own bias!
Finish the dress
- Finish the top with a serger or a zig zag stitch
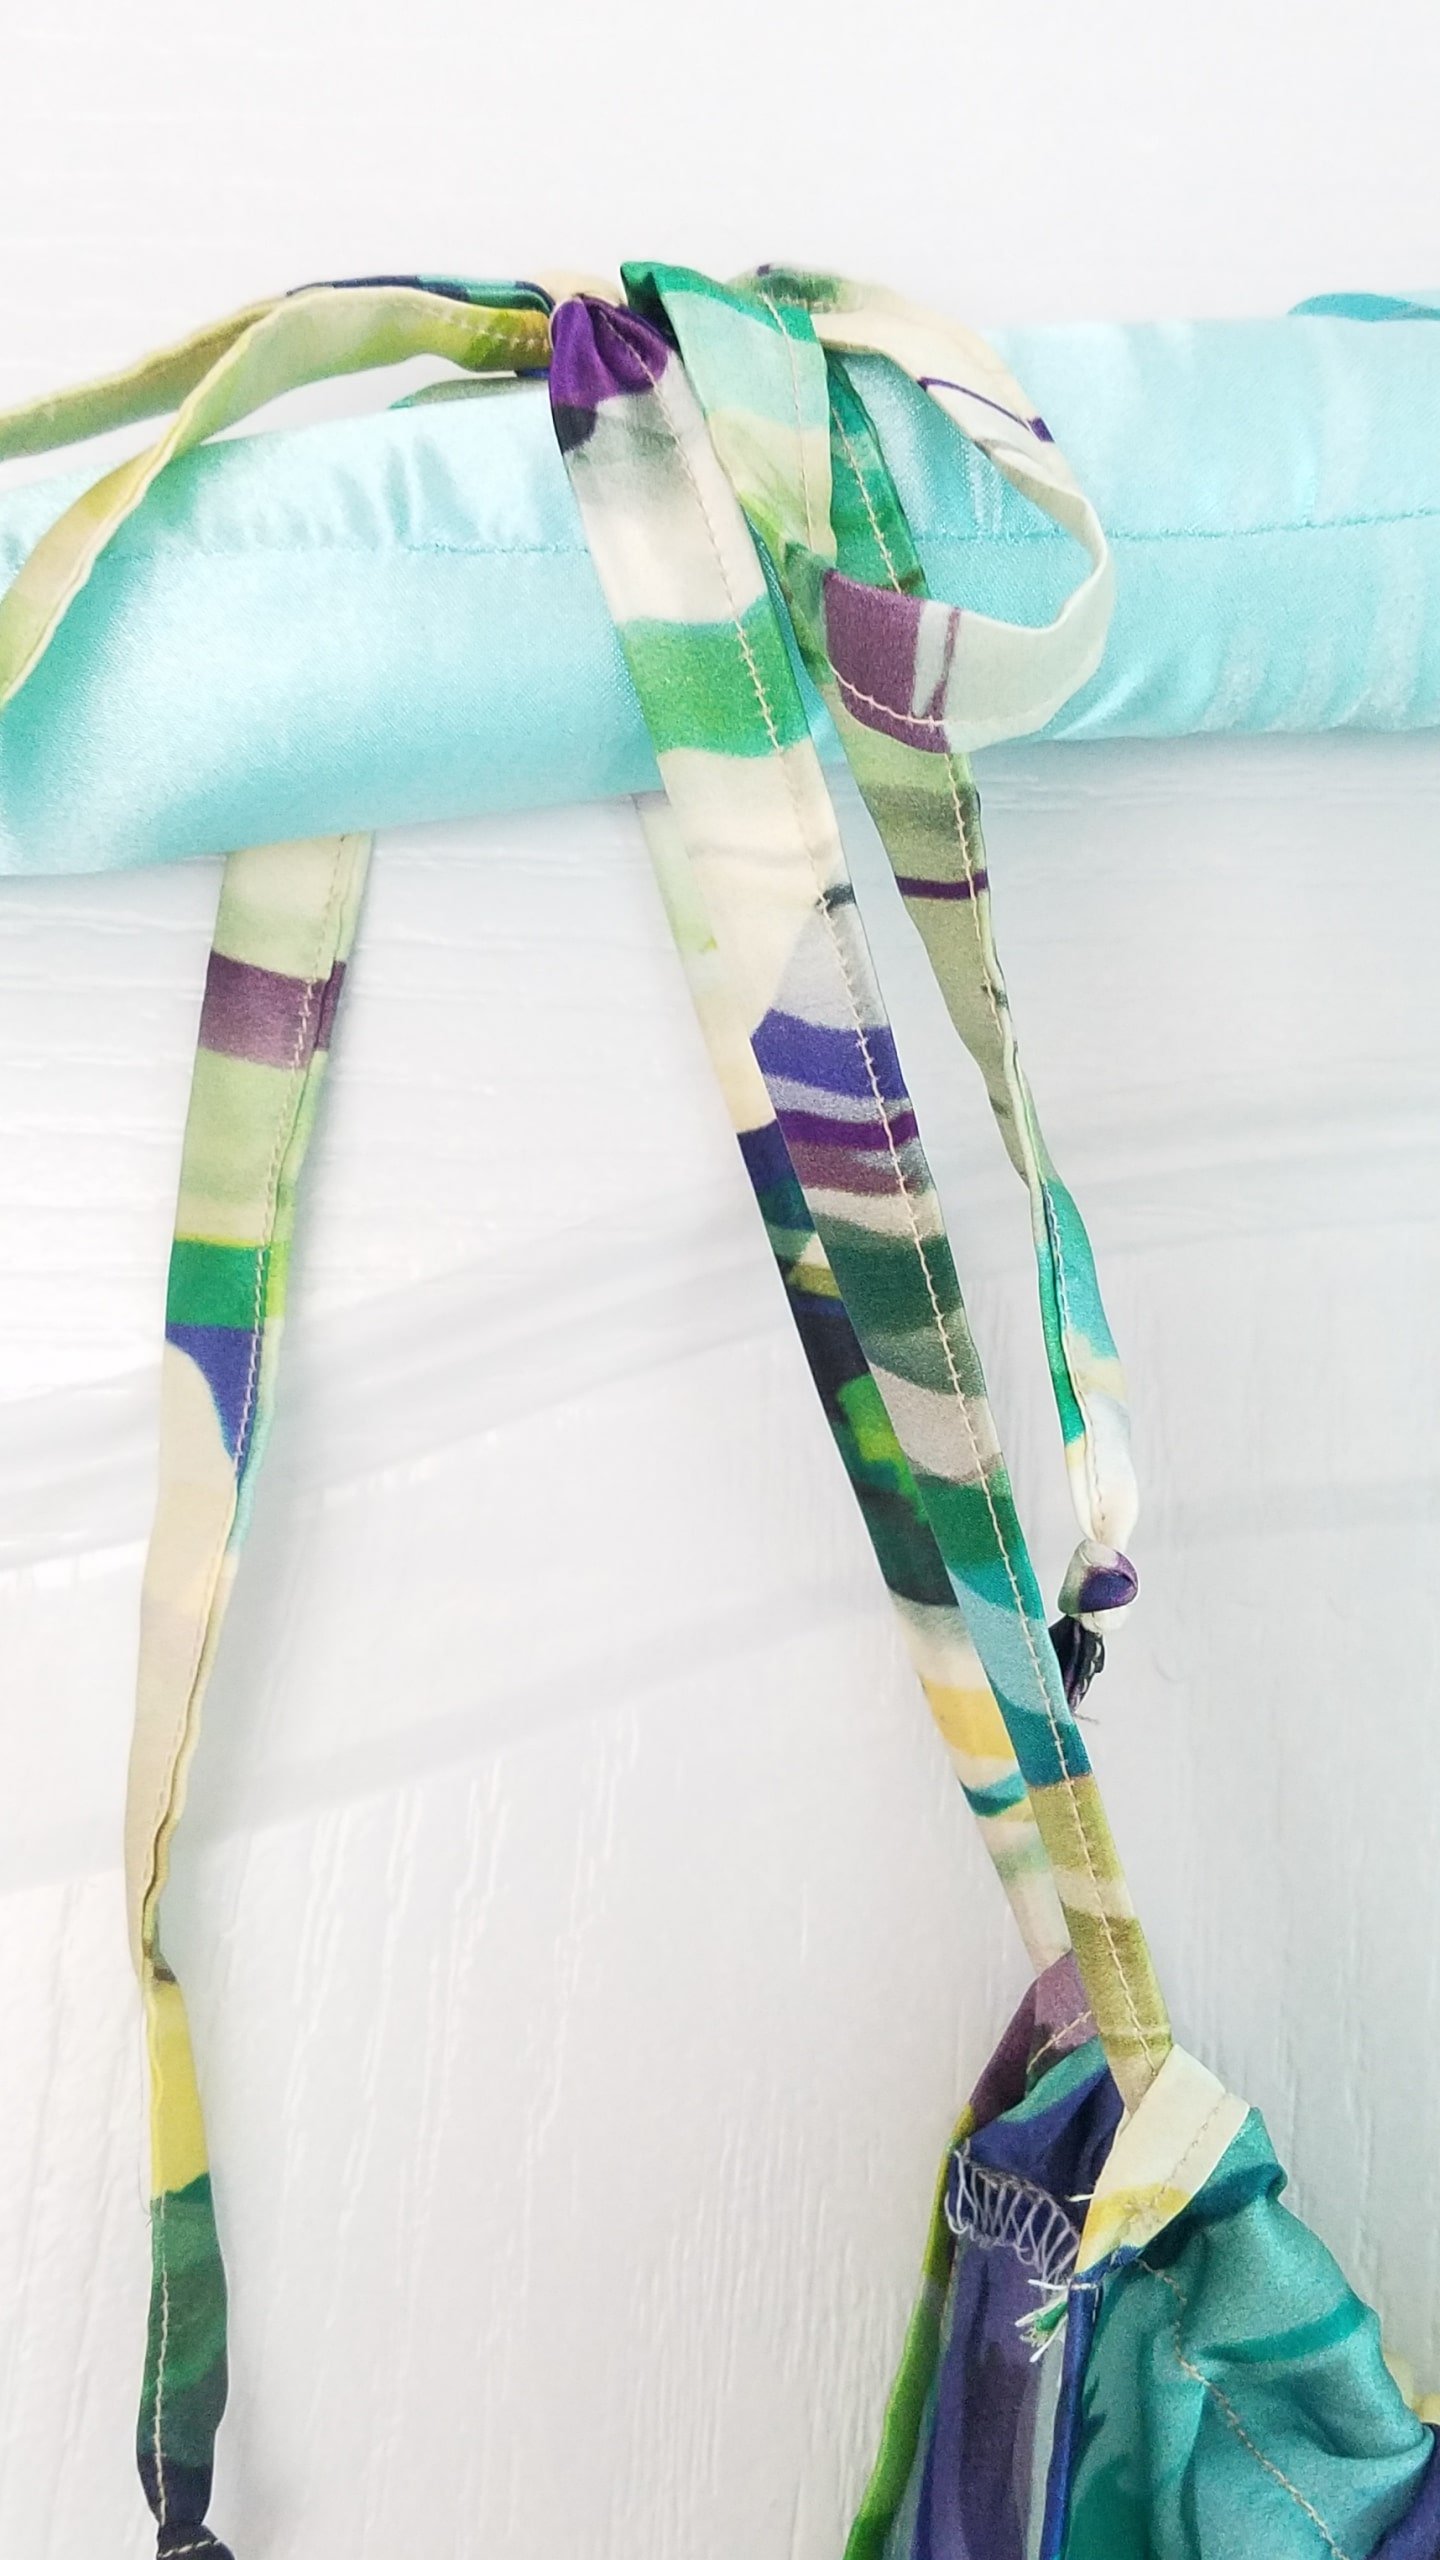
- Fold the top in about 1″, pin and sew to create the casing for the shoulder straps.
- Make a long strap ( you can use the strap instructions in this tutorial). Make the straps long enough to use for shoulder straps and the waist tie.
- Thread the strap through the dress casing and tie on one shoulder.
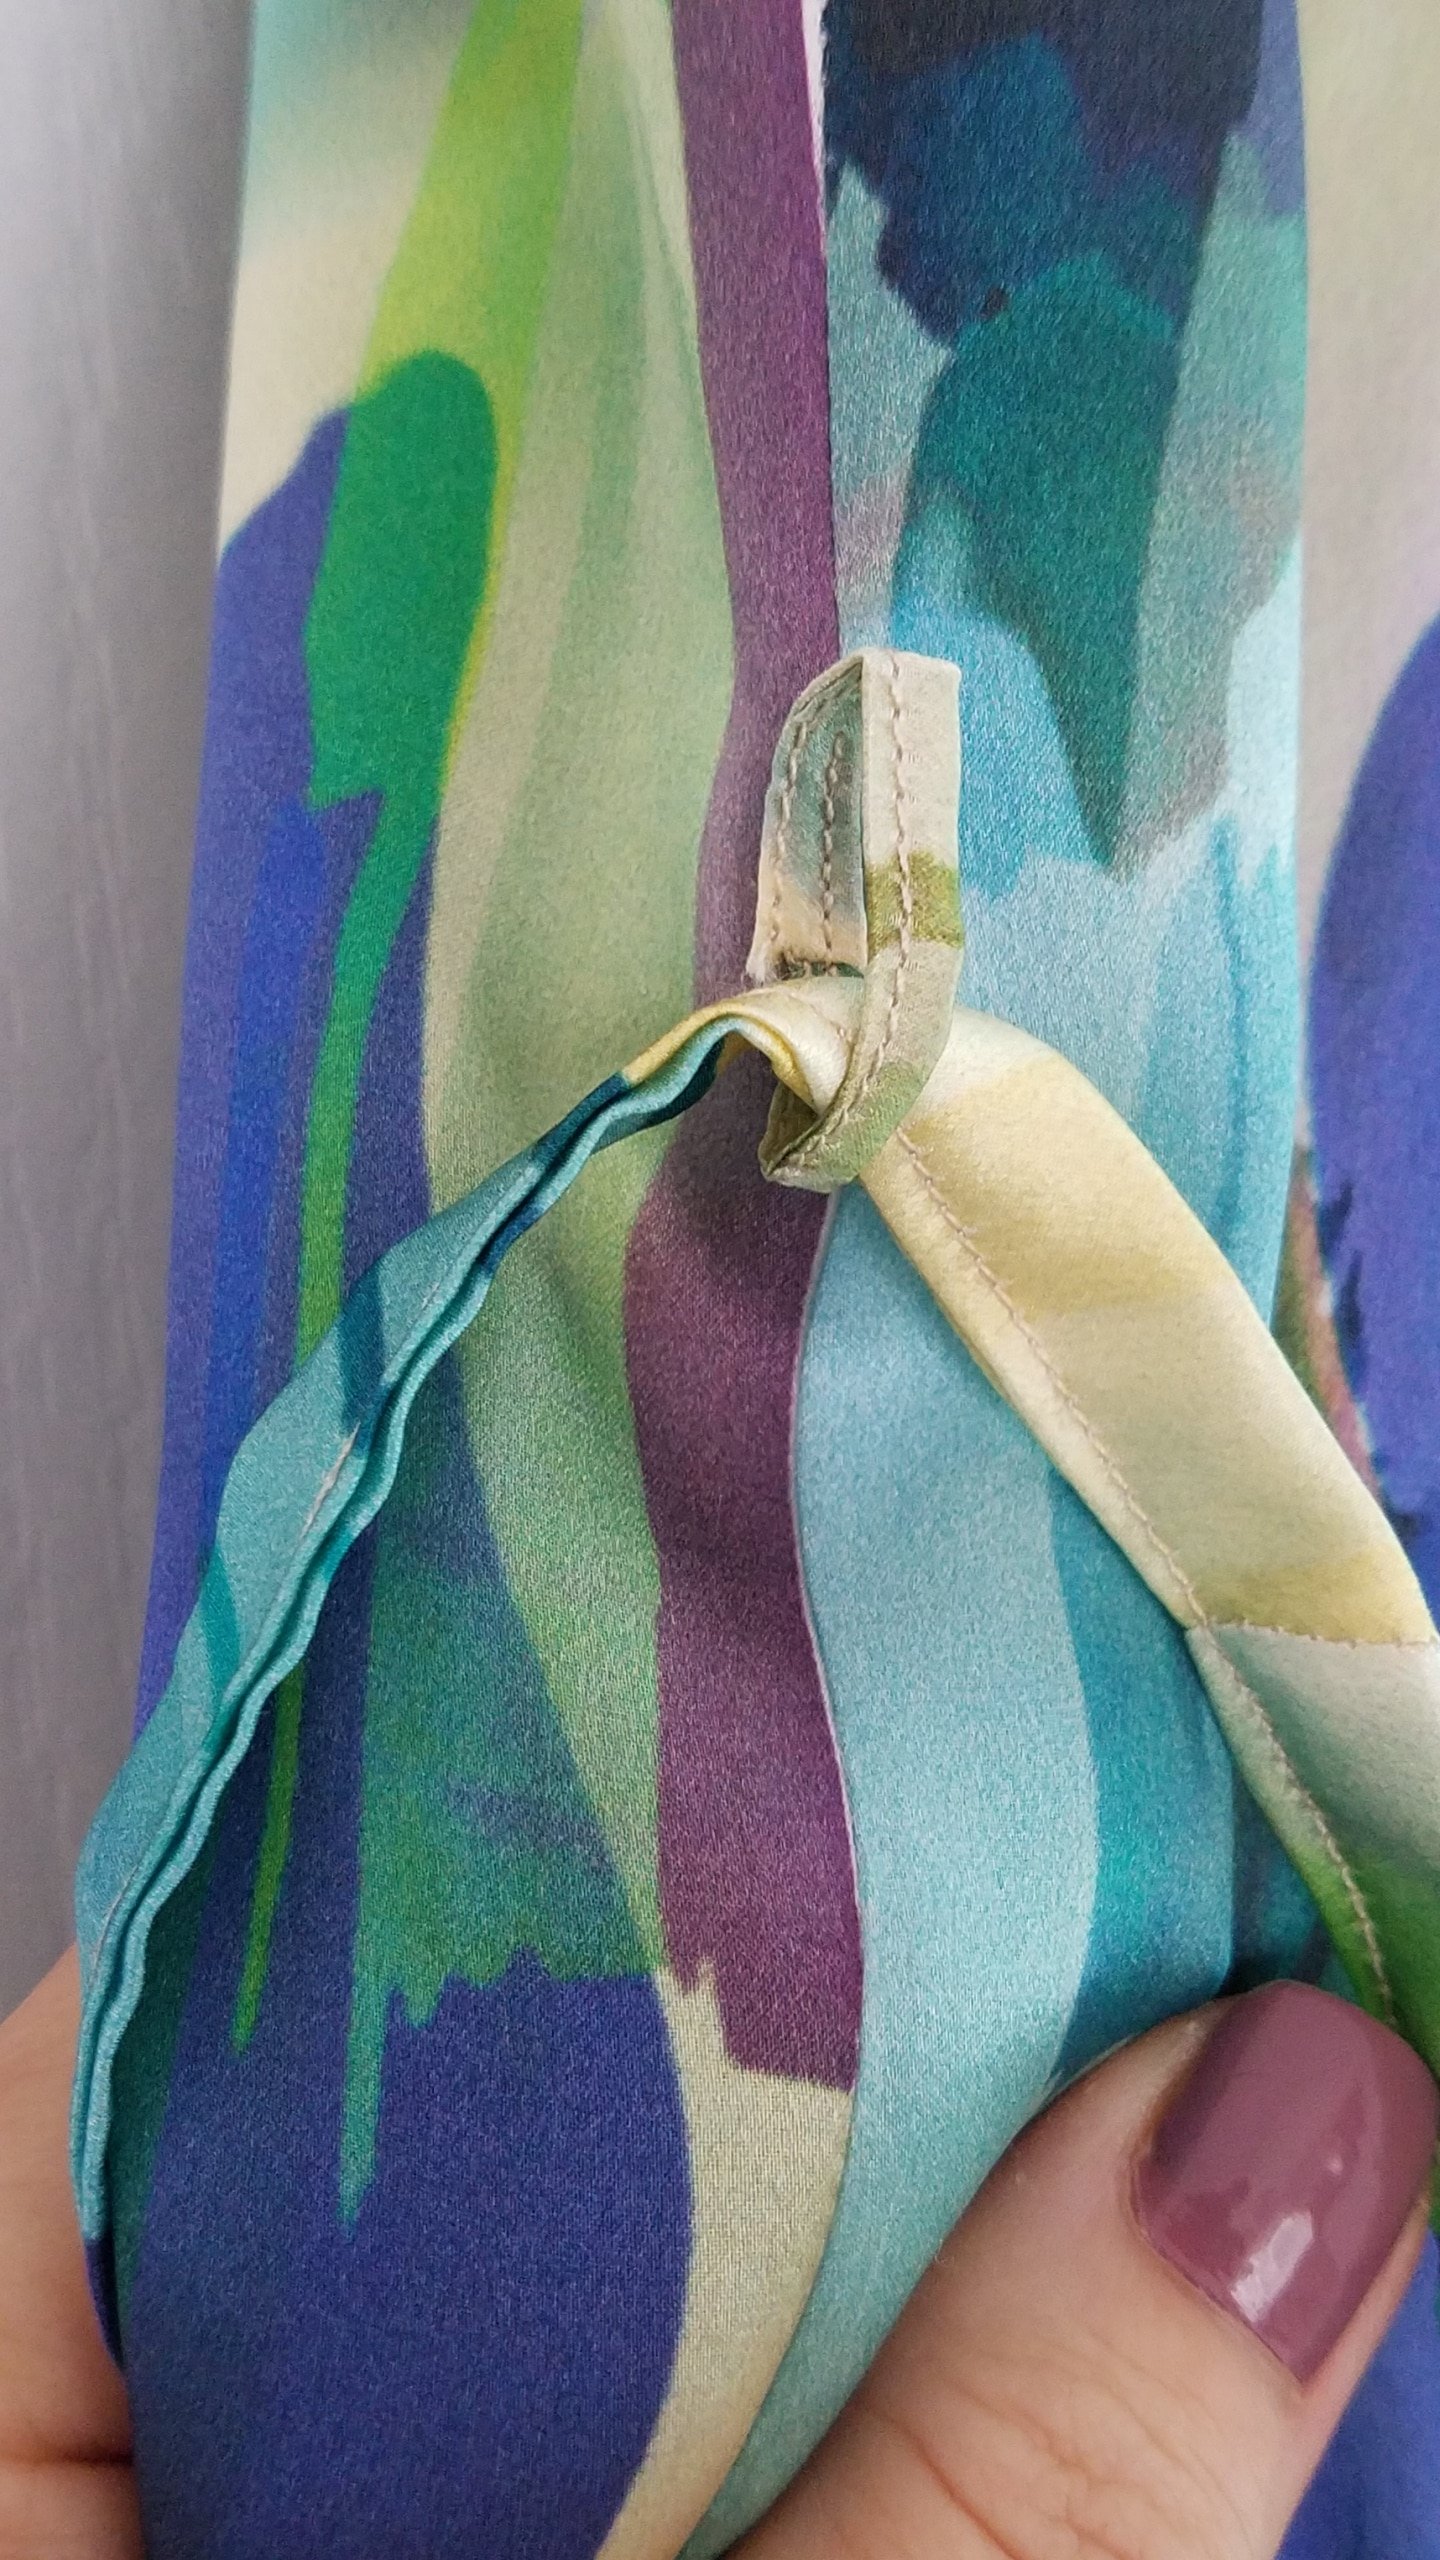
- Sew two tiny loops on the sides of the dress, about 3″ down the armhole, to secure the waist tie when wearing.
And now, the finishing touches are complete! Your pillowcase dress is all set and ready for you to rock your unique style with flair! Enjoy wearing your new creation!
Tips for sewing the best pillowcase dress for adults
Let’s check out some cool tricks and pro tips that will help you make a gorgeous sundress that’s all about comfort, elegance and style:
- When choosing the fabric, stick with lightweight instead of cotton or other fabrics on the stiffer side. I used silk for my sundress and it’s not only amazing to feel it against the skin it’s also flattering and easier to pull off. I can’t stress enough how much you need to stick to this rule if you’re lucky enough to have larger breast as cotton or other medium or even thick fabrics will not drape nice. Your dress will basically look like a tent!
- Make your dress knee length or as a maxi dress. Short pillowcase dresses are just so unflattering on grown ups!
- Because when worn the sides tend to be pulled up while the front and the back of the dress “drop” considerably, you need to either make the sides shorter when preparing your pattern or cut the top in a concave shape.
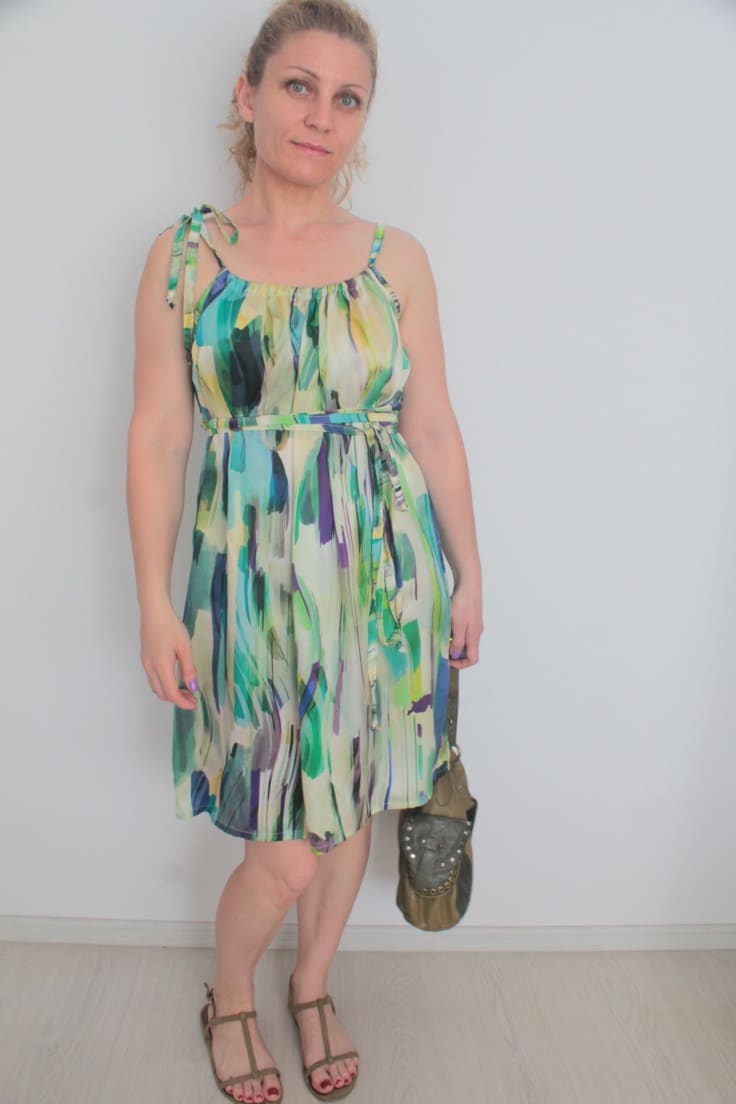
- Even if you follow all the above tips, you may find that your dress still looks quite shapeless. There’s just a simple and quite lovely solution: add a belt or a strap like I did. I actually love how much cuteness this strap adds to my dress. I made a couple of fabric loops on the sides, just above the waist and made a super long strap so I can wrap it around my bodice a couple of times and still have enough to tie in front.
More dress ideas you will love:
- V neck dress pattern
- Girls gathered dress pattern
- Shirred dress tutorial
- Easy cross back dress
- A comprehensive guide to different types of dresses
- Boat neck dress pattern
I hope you enjoyed this pillowcase dress tutorial. Remember, there are no rules when it comes to fashion, so feel free to experiment and have fun with this project!
I love hearing from my readers so please let me know your thoughts in the comments below. And happy sewing!
Pillowcase dress for adults
Materials
- lightweight fabric that is not see-through I chose silk with geometric print
- matching thread
Tools
- paper to draw your pattern (you can work straight onto the fabric if you're feeling confident)
- Yardstick
- scissors
- sharp needle
- serger (optional)
Instructions
Create the pattern for your measurements
- Measure around your bust and multiply by 1.5 then divide by 2. Add 1" allowance.
- Use this last measurement to draw the top of the dress.
- Measure the length of the dress from collarbone down to kneecap or floor for maxi dresses. Add 2" seam allowance
- Use this measurement to draw the sides of the dress.
- If you decided to make your dress an A line shape (figure 1) you need to add 1/2" to left and 1/2" to the right of the bottom line of the pattern. Then modify the size to meet the enlarged bottom and the top.
- If you decided to create a concave in the top (figure 2), find the middle of the top and mark 1" below the middle. Join the left and right of the top through this point.
- Measure 6" down and 2" in from the top on both sides and draw a curve for armholes.
- I advise you to use the A line shape pattern as it's easier to sew and hem later on.
Cut and sew the fabrics
- Cut two pieces of fabric to match the pattern and place them right sides together.
- Place the pattern on and cut out.
- Pin the sides of the fabrics and sew with 1/2" allowance. Finish with a serger or a zig zag stitch. (I didn't make a pattern in advance,, I worked straight on the fabric so on this image you won't see the armholes)
- Hem the dress with a narrow hem.
- Finish armholes with bias tape (I made my own in the same fabric as the dress. Check out these tutorials if you decide to make your own bias!
Finish the dress
- Finish the top with a serger or a zig zag stitch
- Fold the top in about 1", pin and sew to create the casing for the shoulder straps.
- Make a long strap. Make the straps long enough to use for shoulder straps and the waist tie.
- Thread the strap through the dress casing and tie on one shoulder.
- Sew two tiny loops on the sides of the dress, about 3" down the armhole, to secure the waist tie when wearing.
Most popular sewing projects:


Article may contain Amazon & affiliate links. As an Amazon Associate I earn from qualifying purchases at no additional cost to you.

Why is it called a pillowcase dress if it is not made from a pillowcase?
Originally it was made from a pillowcase. Newer versions such as mine, follow the same steps but use regular fabric instead. It’s pretty hard to make a dress for women out of a pillowcase.
You look great in your dress!! I will be making one when I get my arthritis under better control! Pain issues can make sewing more difficult than ever! I need a good sewing machine repair person but can’t find one who speaks English. Oh well, someday I will accomplish this even if I have to fuse it together, hahaha!! Great tutorial, I WILL be making one! Thanks for all the good info and tips and ideas! I enjoy most of your emails :) , when I can.
Back in the day we were taught home economics sewing cooking wood working, I had a teacher who taught us how to make this type of dress I totally forgot about this, she taught us a lot I’m very glad to see that someone still does this I will be making some new summer dresses.