

Ikea Lack Coffee table makeover
Have an old Ikea Lack table that looks too worn for your taste? Don’t throw it just yet! This easy peasy coffee table makeover idea will save your pretty table and a few bucks! This simple DIY coffee table makeover can help you completely transform an old Ikea table in a blink of an eye!
DIY Ikea coffee table makeover
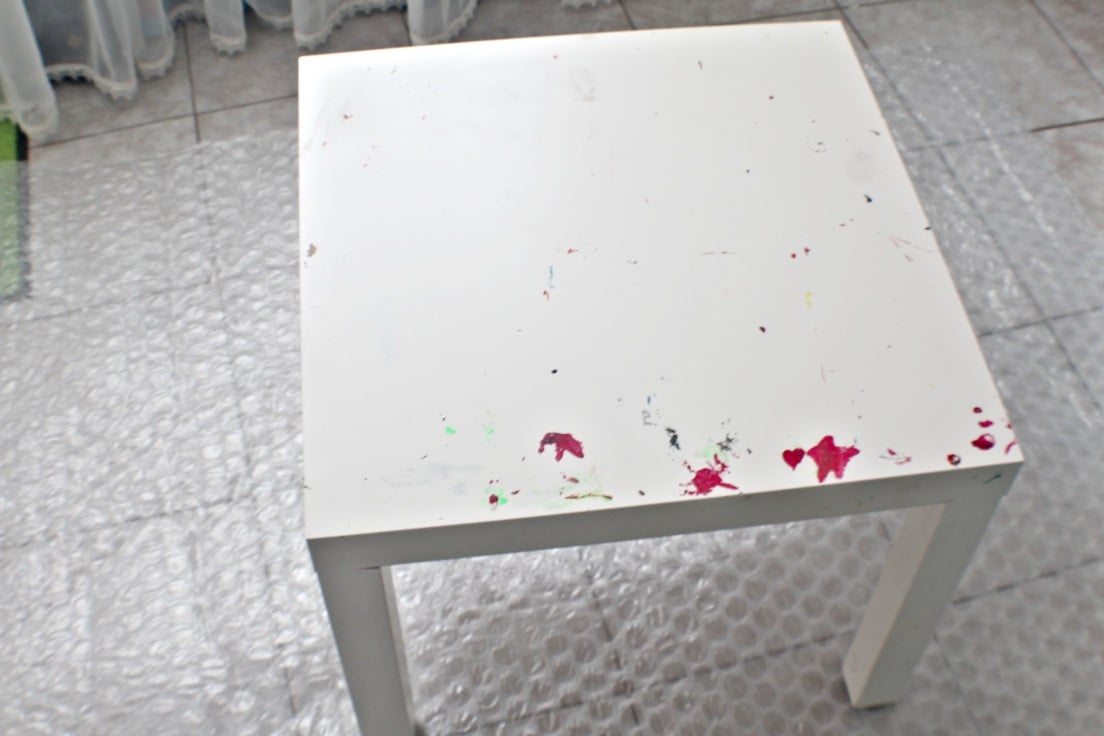
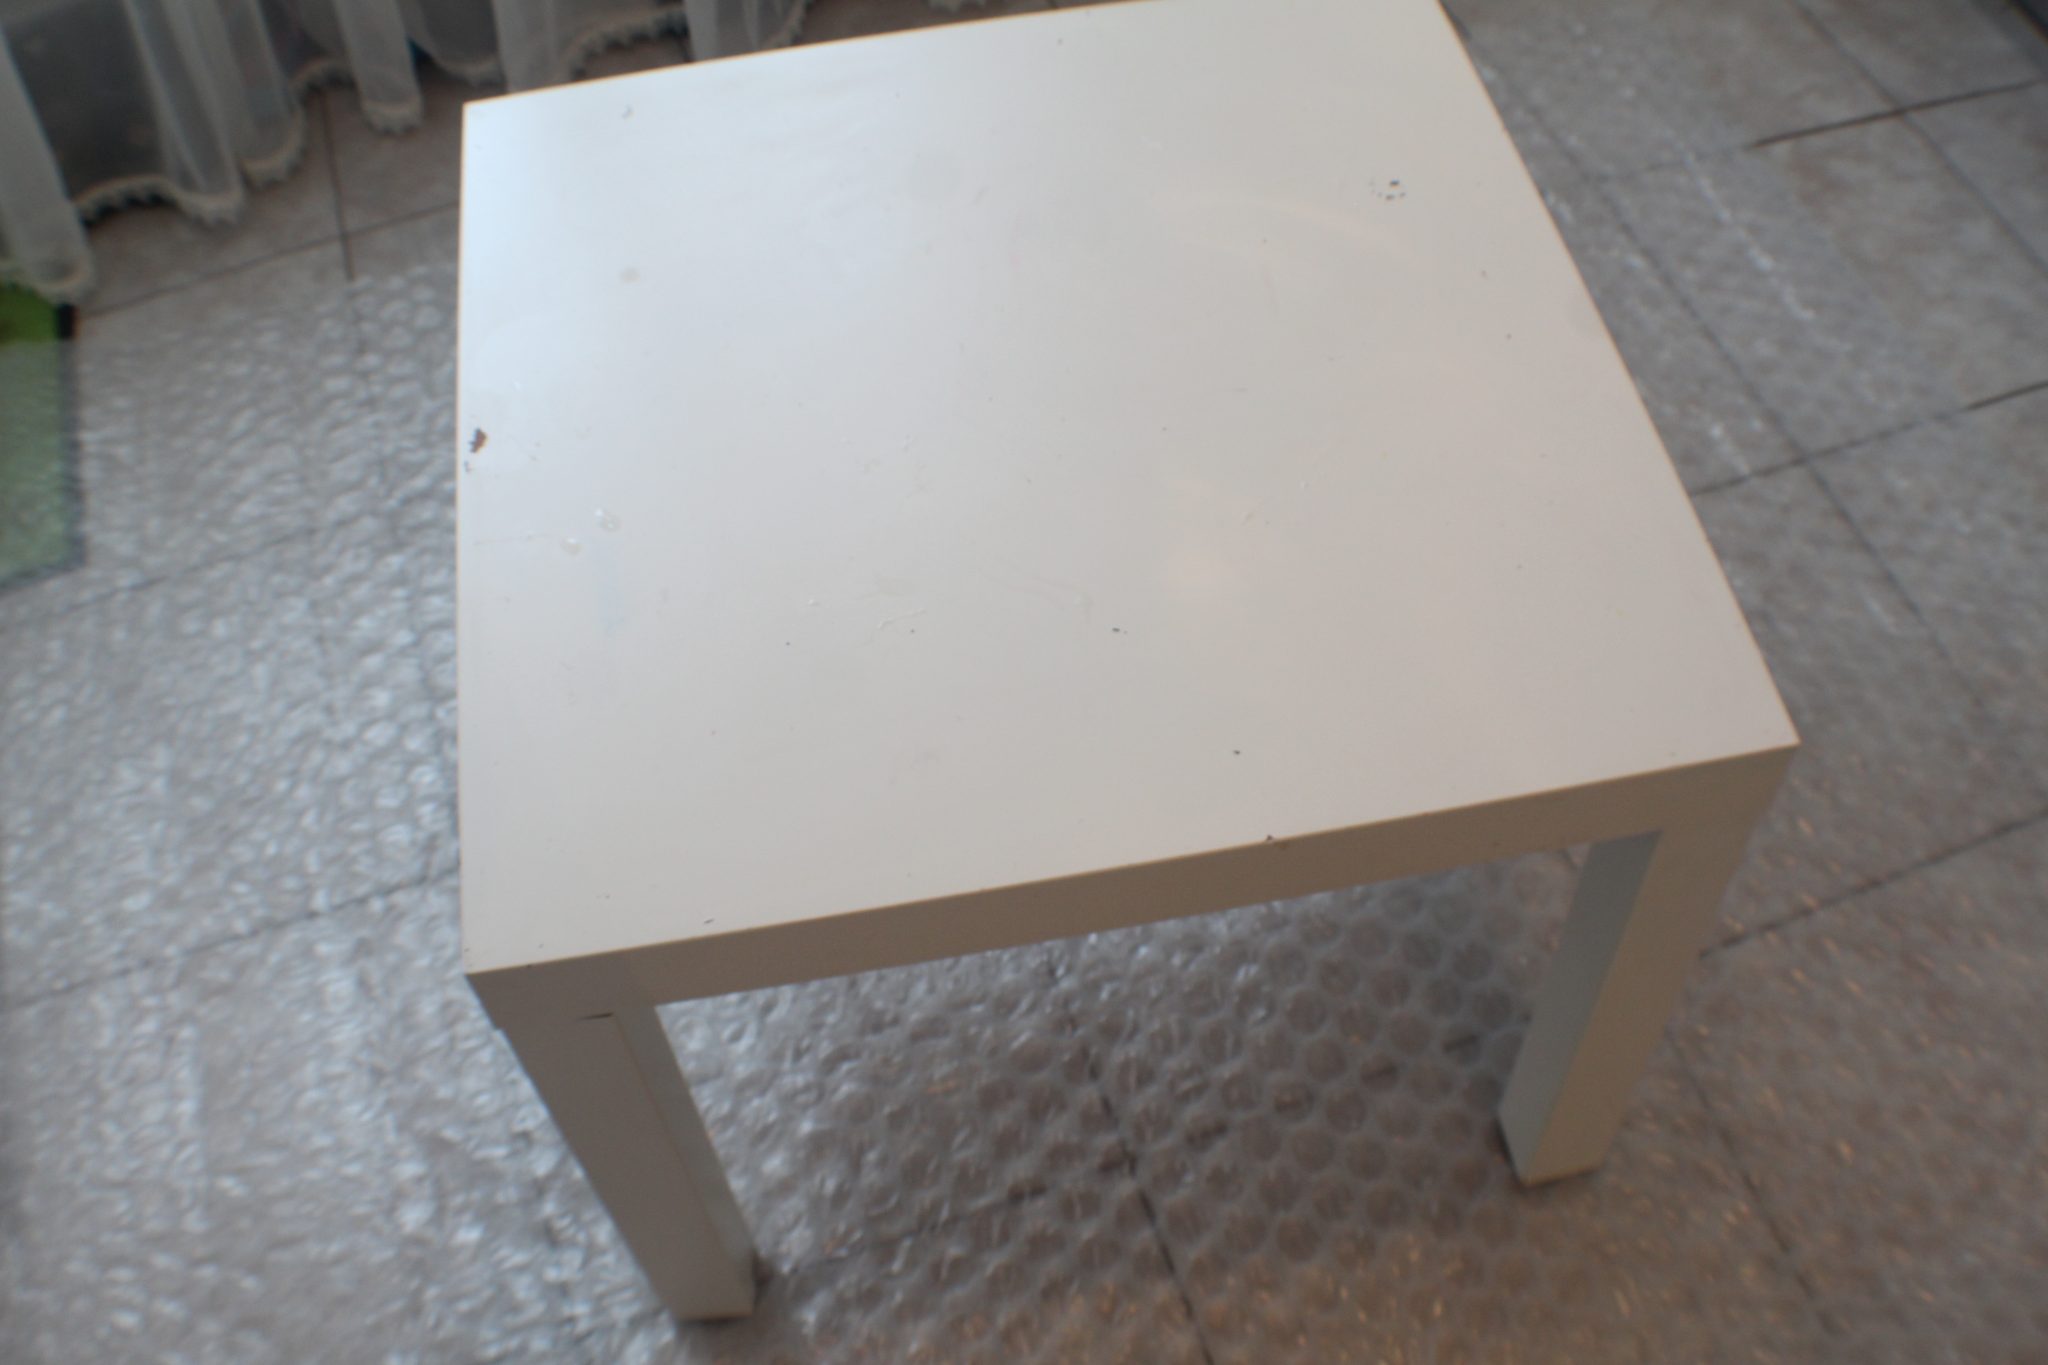
Hey guys! Today I have a pretty simple and quick idea for a coffee table makeover! This genius refurbished coffee table idea was inspired by an old Ikea Lack table we’ve had for a couple of years! After Ellie has practically abused this table in countless ways, it became too ugly to keep and we almost thew it away! It looked like this.
Almost! Because the thrifty gal in me said “well…maybe I’m not quite ready to spend money on a new coffee table!” And by thrifty I mean stingy! lol This coffee table makeover seemed like a much better option at that time and after I finished this Ikea Lack table makeover another brilliant idea came to mind in relation to this table. Hopefully I’ll find time to put that pretty idea into practice soon (and fingers crossed, my idea will look great in action too, not only in my dreams! lol)
I realize this coffee table makeover may not seem like much! After all anyone can do a painted coffee table DIY! But if you ever owned an Ikea Lack table you know they’re made out of a special material that is pretty hard to paint or if you do, the paint won’t resist in time.
The Ikea Lack tables are made with particleboard, fiberboard, acrylic paint, ABS plastic and paper (the paper actually goes inside the top, arranged in a honeycomb shape which makes the table very solid and durable). Because of these ingredients, I’ve been told regular painting just won’t do. So I wanted to try my hand at this small, light but durable and super useful table and so I proceeded onto making this coffee table makeover.
Want more recycling ideas?
- Cotton branches DIY
- Rustic photo frame with twigs
- DIY succulent planter box
- Cork frame with recycled wine corks
- Recycled tin can flower pots
- DIY painted rug
I’ve been told this kind of tables cannot possibly be sanded but the naysayer in me had a different opinion! So I went ahead and lightly sanded the table using a super fine sanding sponge/block. And the naysayer proved to be right!
The home depot guy also told me the only kind of paint I can use is acrylic paint but the mentioned naysayer HAD to buy wood paint! Especially after the beloved husband of the mentioned naysayer said he has a hunch any paint would work! And so I went ahead and applied wood paint and guess what? It worked wonders!

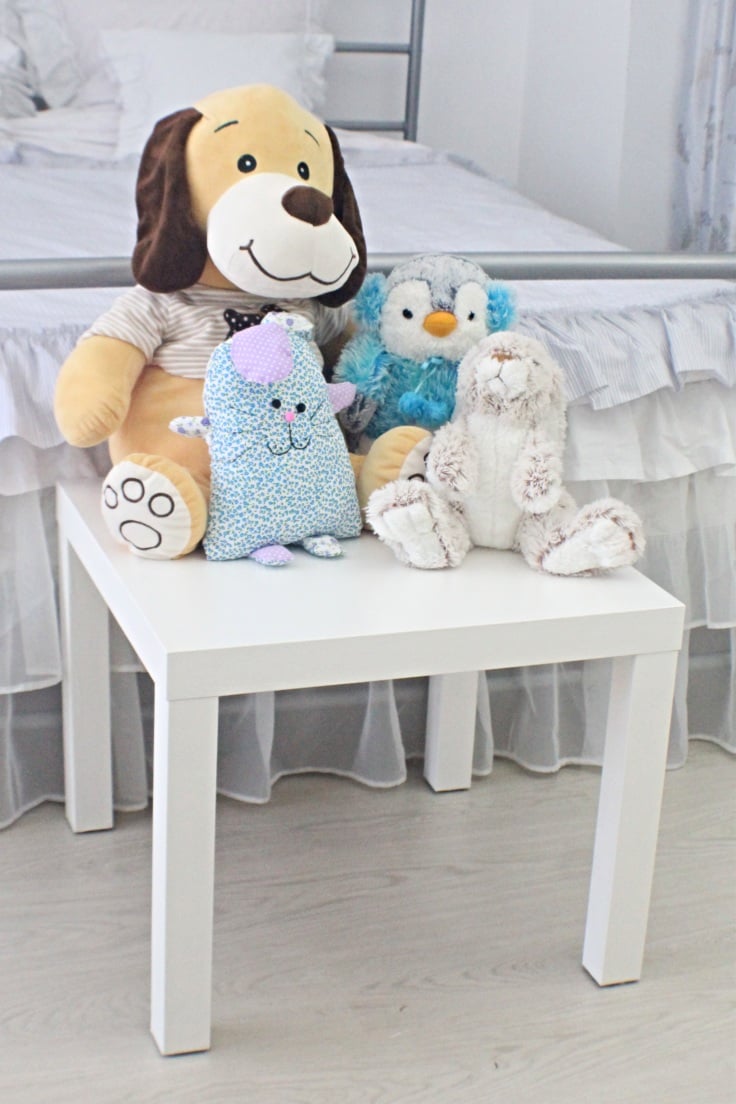
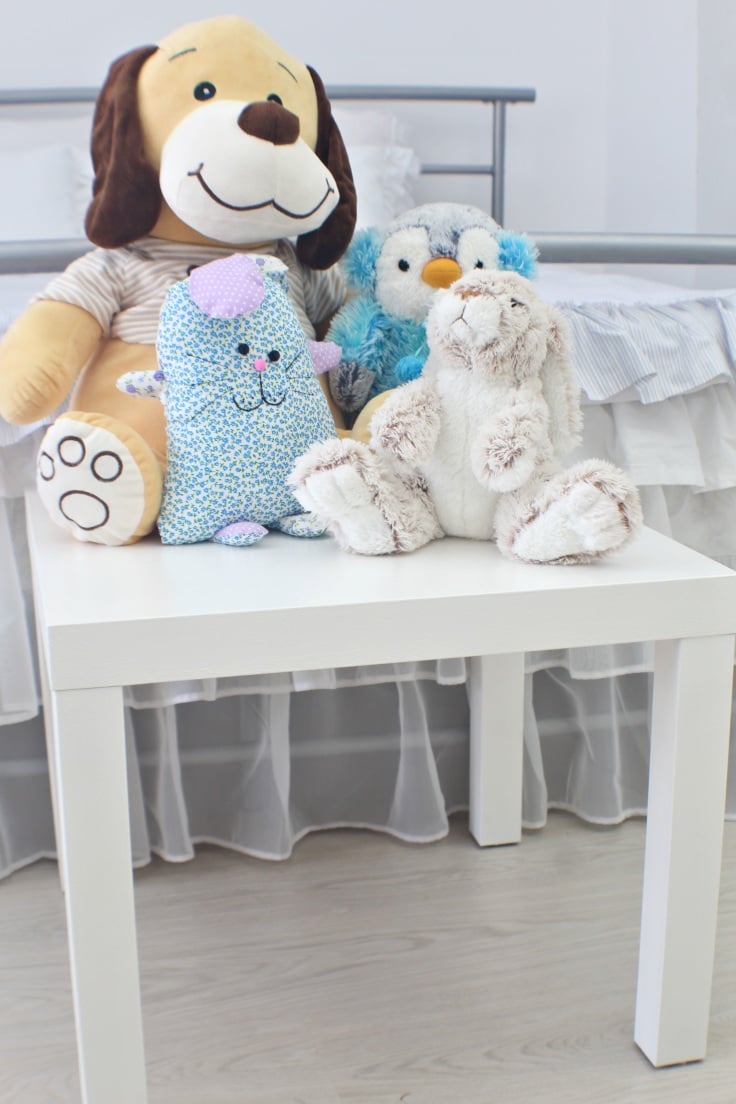
All in all this simple coffee table makeover was a success and it only involved about half an hour of work, without taking into count the time allowed for drying in between layers. Before this simple transformation, this refurbished coffee table was used by my daughter for her drawings and paintings. Now it’s re purposed into a bed side table idea to hold Ellie’s toys during the day time (she sleeps surrounded by loads of toys at night time). I wanted them to be easy to reach when Ellie is ready to go to bed so the bed side seems like the perfect spot.
As I mentioned I have another idea to upgrade this Ikea table even more but until then, we’re pretty happy with its new purpose! Here are the materials I used and the exact step by step tutorial!
Coffee table makeover
Materials:
- Ikea Lack table
- 2 cloths
- soap and water
- nail polish remover
- cotton pads
- 120 grit sanding sponge
- wood paint in desired color (my table was white and I wanted to keep it white)
- solvent (depending on the thickness of your paint)
- roller
- paint sponge
- paint tray
Directions:
Cleaning the table
- Place the table on a large piece of cardboard to protect the surrounding surfaces from paint spills.
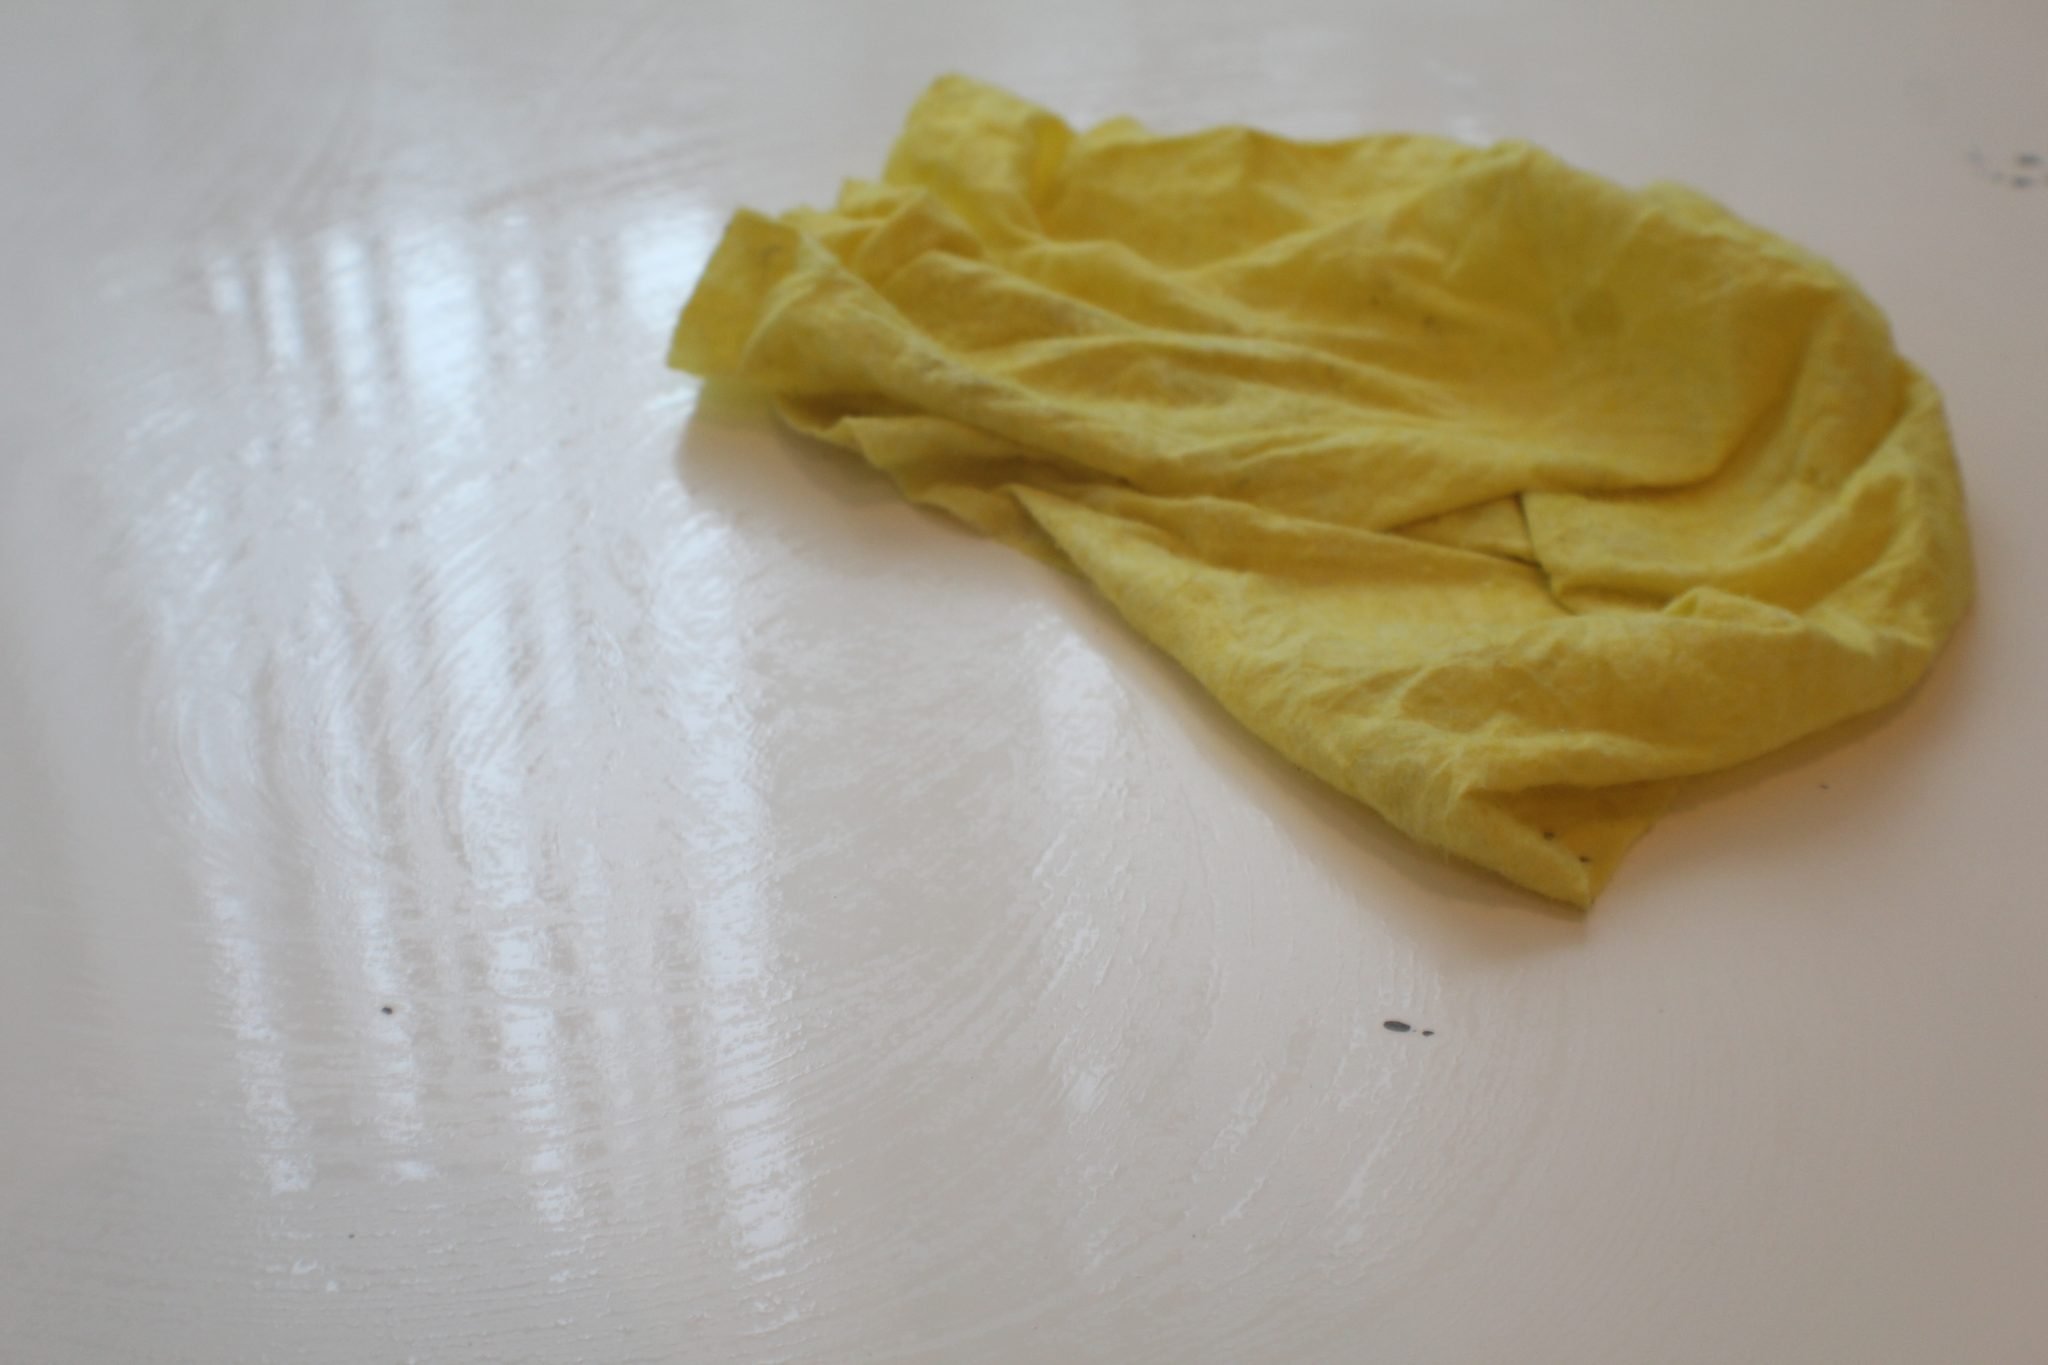
- Clean the table thoroughly with a damp cloth soaked in soap and water.
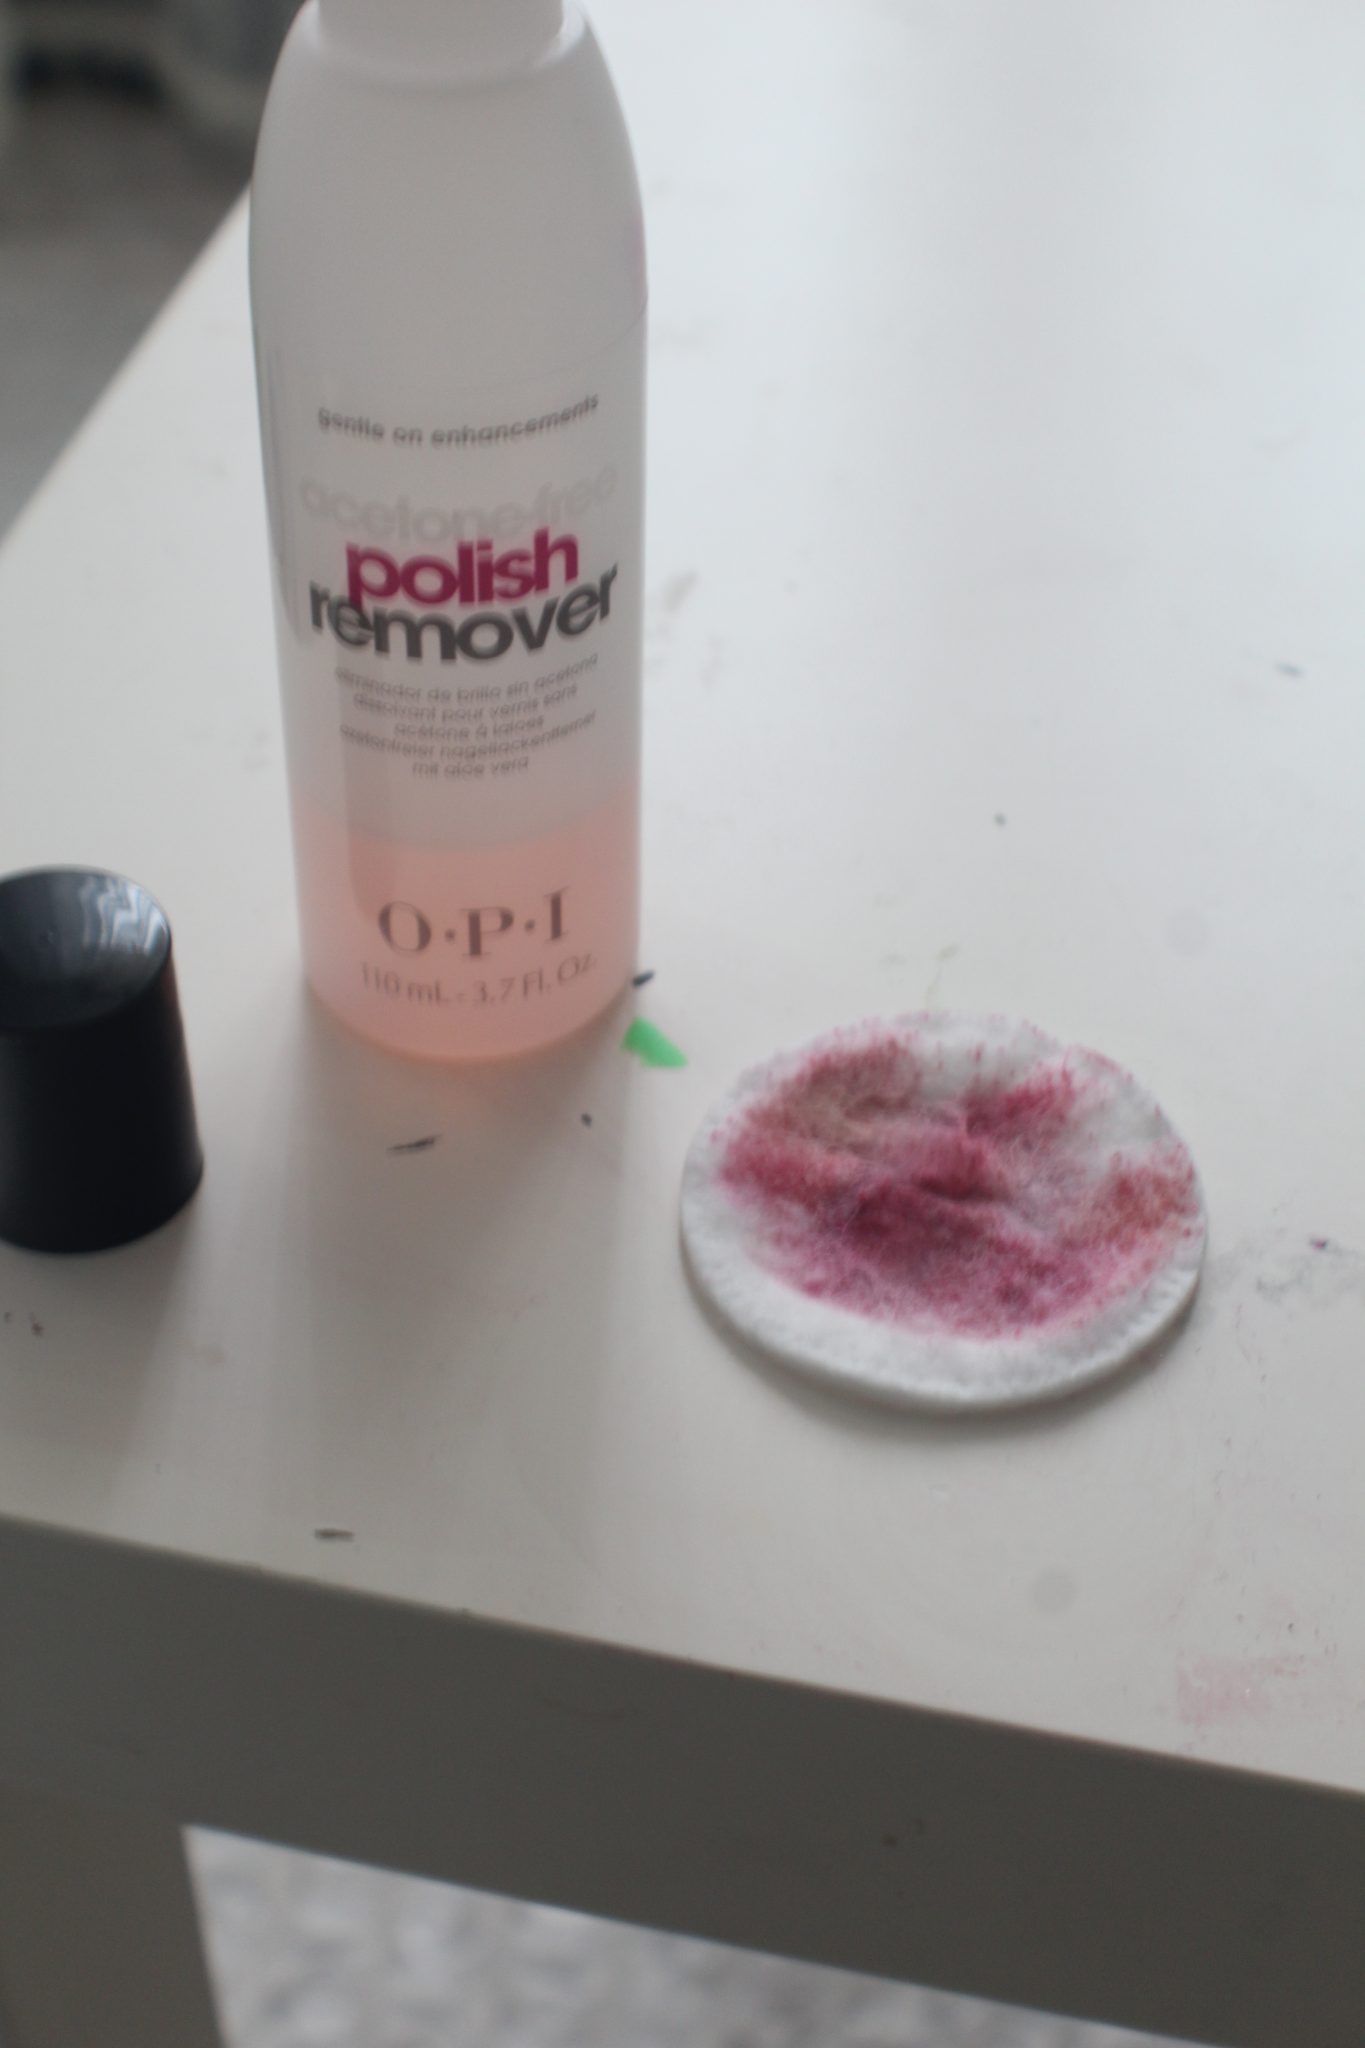
- If the table is too dirty or has paint or nail polish spots, use nail polish remover and cotton pads to dissolve and remove those spots. Nail polish remover works wonders on this kind of tables!
Sanding the table
- Let the table dry or wipe with a dry cloth then lightly sand the table and the legs using a 120 grit sanding sponge. Don’t over sand though! Looking at the table from an angle you should be able to see that the table has been sanded and lost a bit of the shine, but without completely removing the first layer of the table. Also as you sand, the sanding sponge will get colored in the same color as the table so this should be a good enough sign you are actually sanding successfully. What you aim for is to give the table a tiny bit of a rough texture so the paint would stick and last for a long time without chipping.
- You may find that your table doesn’t have a super even surface and the sanding will reveal some of the layer that’s under the paint in some tiny spots (as observed in the photo in the next step, below). Don’t stress about those, they’ll get covered with paint later on and will be completely hidden.
- Wipe the table clean with a damp cloth then dry it with a dry cloth.
Painting the table
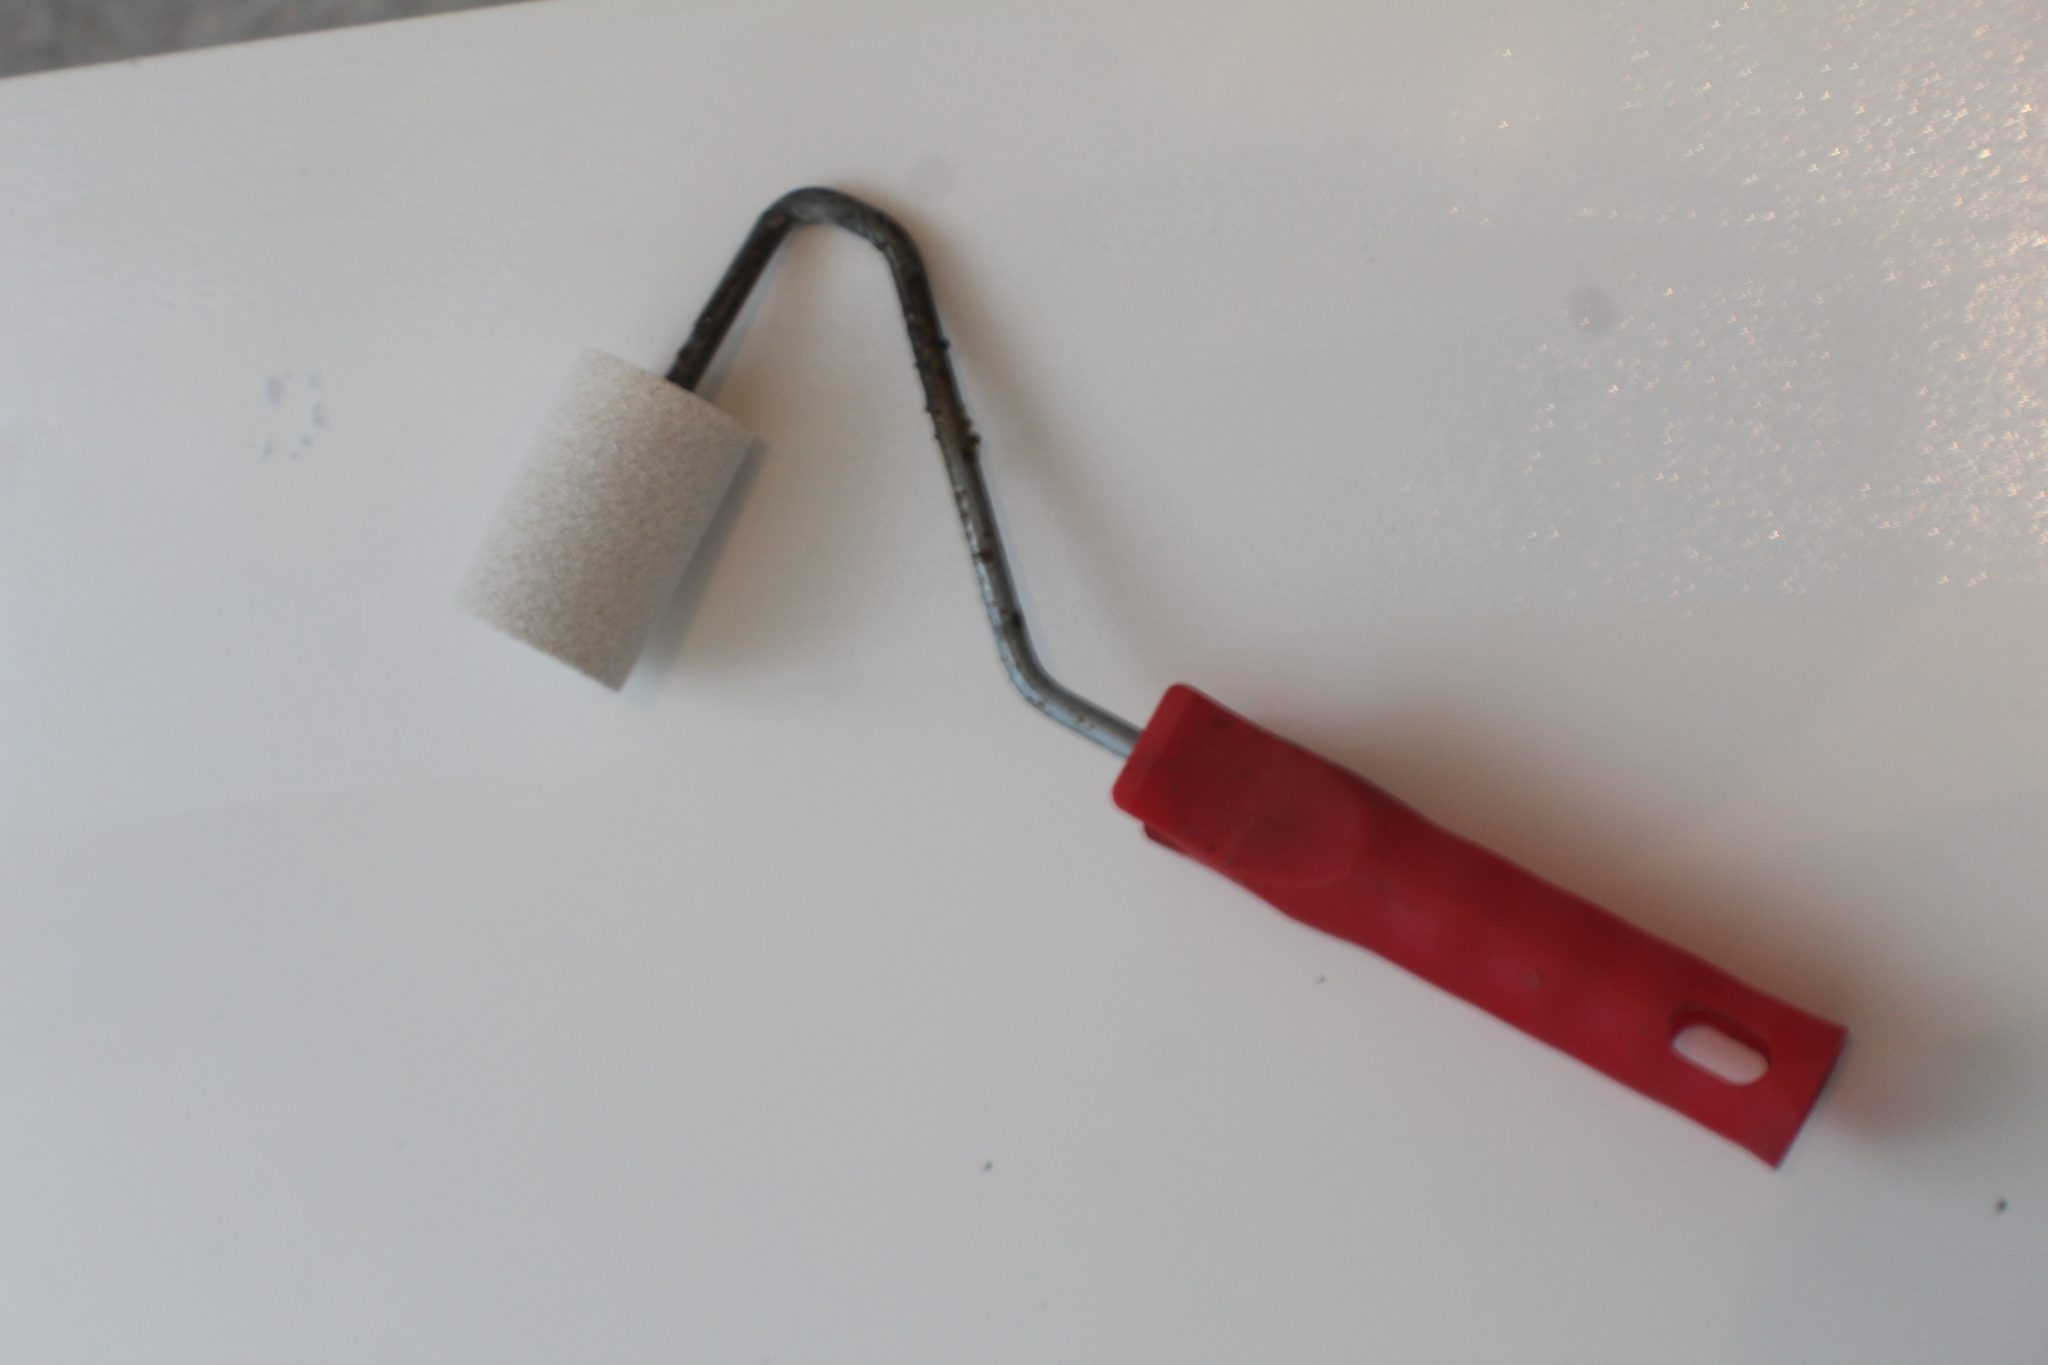
- Pour some paint into the paint tray and lightly soak the paint roller into paint. Depending on the thickness of your paint, you may need to thin it with paint solvent. You want to apply 2-3 thin layers that are smooth, flat and even instead of one or two thick layers that might get bubbly and uneven and make the paint chip easily. I found a narrow paint sponge does a better job, especially on the legs.
- Allow enough time for drying between layers.
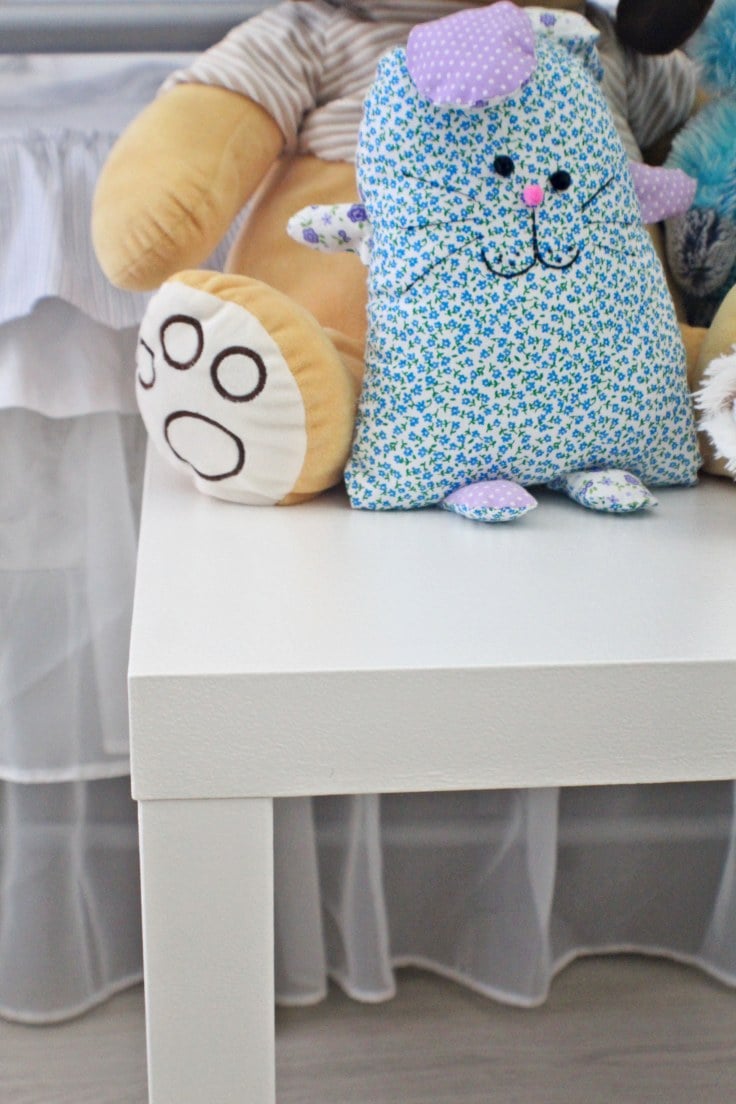
When I was done painting, I considered my Ikea Lack table makeover a complete success even thought the table didn’t have the same shine and smoothness as before. It was still looking really nice and polished and I loved that it had a brighter white than before. And most importantly, it looked clean! Even more importantly, I didn’t spend any money as I already had all of the supplies on hand!
I hope you found inspiration in my tutorial! If you get to use it on your own table makeover, I’d love to know the outcome. So please come back and leave a comment! Thanks!
Pin to save for later

Most popular recycled craft:
Article may contain Amazon & affiliate links. As an Amazon Associate I earn from qualifying purchases at no additional cost to you.
ABOUT PETRO
Hi, I’m Petro, author and founder of Easy Peasy Creative Ideas. Sewist, crafter, avid DIY-er, foodie, photographer, homemaker and mommy to one. I’m an expert at coming up with quick, clever sewing tips, recycling crafts and simple, easy recipes! You can find my ideas featured in reputable publications such as Country Living, Good House Keeping, Yahoo News, WikiHow, Shutterfly, Parade, Brit & Co and more. Thanks for stopping by and hope you’ll stay for a while, get to know me better and come back another time. Stick around for real fun projects! Read more…