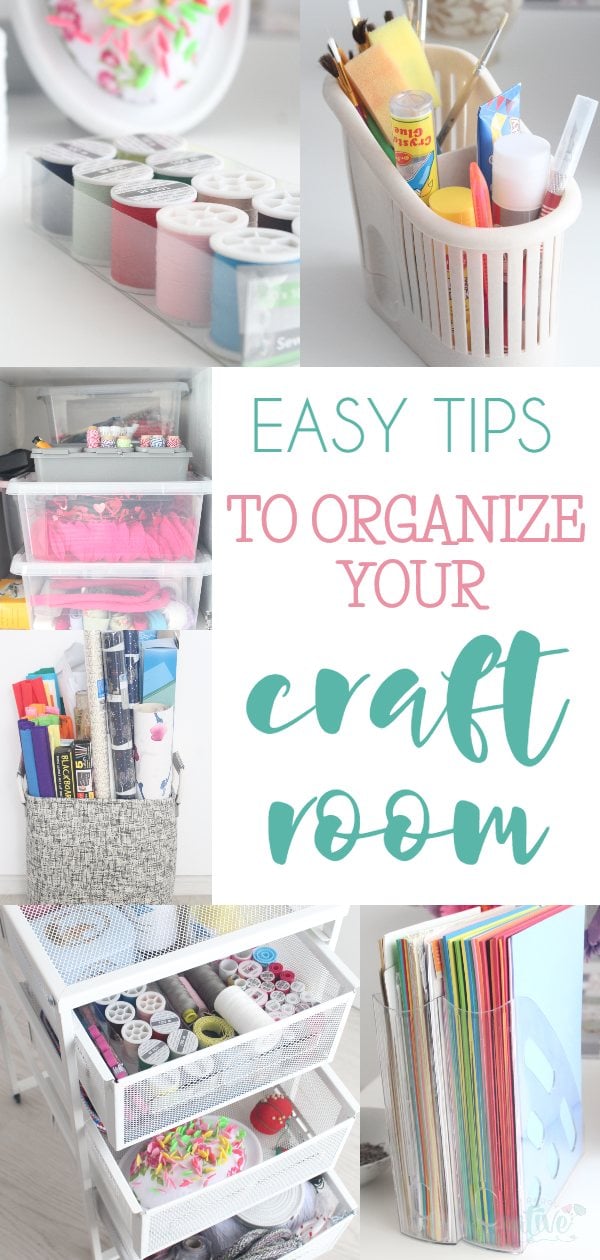
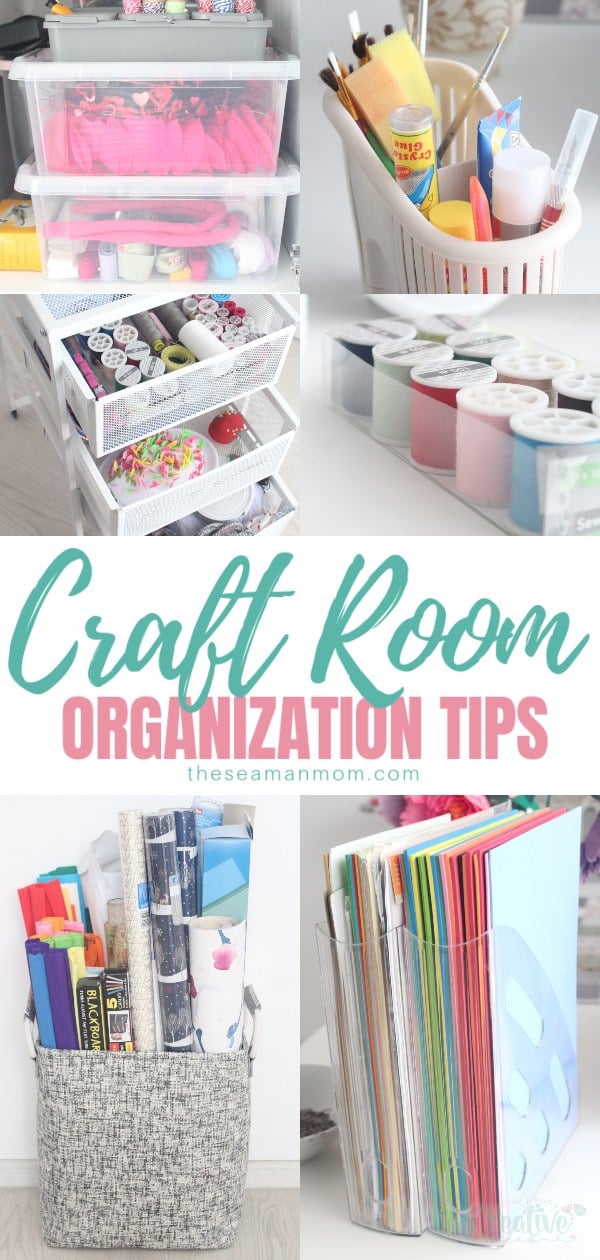
Simple craft room organization tips
Are you dealing with a messy, disorganized craft room? Struggling to find effective ideas on how to organize craft room best? Craft rooms can become cluttered quite easily, but that’s ok! Check out these simple craft room organization tips and organize your craft room today!
Craft room organization ideas

Having a room in your home dedicated to crafting (and in my case sewing too!) is amazing! A craft room is the perfect way to implement your creative ideas and ensure you have everything you need for a project all in one handy place. But for that to happen you need a good craft room organization plan!
Keeping the space organized is a challenge especially if you have a thing for compulsively buying craft/sewing supplies without an actual project in mind! With so many different supplies in all shapes and sizes, finding a good organizational system for your craft room takes a little bit of planning. But I have good news! Craft room organization DIY is not hard! With these easy craft room ideas, you’ll be able to keep your craft room organized for good.
Craft room organization
Pin to save for later

Start by decluttering
The first step to organizing any space is to declutter, and the craft room is no exception. Whether you have a stack of vinyl taking up space because you never really learned how to use your Cricut or your thread collection is out of control, you probably have a ton of craft supplies in your room you don’t need. Begin by throwing away items that you clearly don’t need, like dried up bottles of paint and glue, craft tool manuals (you can find the instructions online), paper scraps, and duplicate items.
The next step is the hardest part of decluttering – assessing what you have, what you need, and what you can get rid of. Go through each of your supplies and really think about what you’ll use it for. If you have a plan for the item or know you will use it in the future, keep it. But if you can’t think of a project for it or don’t have a clue how you’ll use it in the future, it’s time to let it go.
Create Work Zones
If you tackle a variety of craft projects in your craft room, designating work zones is a simple way to organize the space. As you get your craft supplies organized, you can easily place the supplies you’ll need for each work zone in that designated area. Much like I do with my sewing projects here. Then, when you’re ready to work, you’ll have everything you need for your particular project right in one handy place.
While having separate work zones for projects is great for organizing your craft supplies, it’s also a good idea to have a command center in the space. This central work area will be the spot where you sit to work, so start by designating a spot on the counter as your work space. Then, make sure this space is always clear and ready for your next project.
Sort Your Supplies
After you have spent time decluttering your craft supplies and designating work zones, start sorting your craft supplies into categories. An easy way to sort your craft supplies is by project. Keeping all your sewing supplies in one section, paper crafting supplies in another, and home décor crafts in a separate section, for example, will make working in your space so much easier. At this point, simply move each item into its designated section as you sort. And don’t forget to create a storage space for often-used items, like scissors, measuring tools, and writing supplies, which can be placed near the room’s command center.
After you have all the items sorted, start putting them away. Making use of organizers you already have (like baskets, bins, and jars) is essential when organizing your space.
Get New Organizers
After you have most of your craft supplies in their designated space and put away in bins you already have, assess the area and make a list of what you need. This list is best laid out in terms of what needs to be organized, like “a jar for buttons” or “a filing system for scrapbook paper.” Knowing exactly what you need to store in each organizer will make it easier to find exactly what you need to keep your craft room organized. Then, head to your favorite craft store or office supply store to find what you need for your remaining craft supplies
Add Labels
Organizing all your supplies into handy jars and bins is a great way to keep everything contained, but it can make it difficult to find what you’re looking for as you work. To make crafting a little easier after you organize your craft room, invest in a label maker. Add labels to every bin and jar in the space so you can easily glance at the outside of the basket and know exactly what’s inside each storage container.
And if you have drawers and cabinets in your craft room, consider adding labels to each storage space so you can see what’s inside them, as well.
Clean up When You’re Finished
After a long crafting session, the last thing you want to do is clean. But making sure to clean up the space after you finish a project is the easiest way to ensure your craft room stays organized from day to day.
Put all your tools and supplies back in their designated spot, wash your brushes, wrap up your unused fabric, pack up your sewing machine, wipe off your work area, and throw away all your scraps. Do this every time you craft and you’re sure to have a beautifully organized work space each and every day.
More craft/sewing room ideas:
Article may contain Amazon & affiliate links. As an Amazon Associate I earn from qualifying purchases at no additional cost to you.


Hey Petro,
Your craft room organization ideas are simply awesome and unique. Nicely you have organized and distributed premises in a room.