

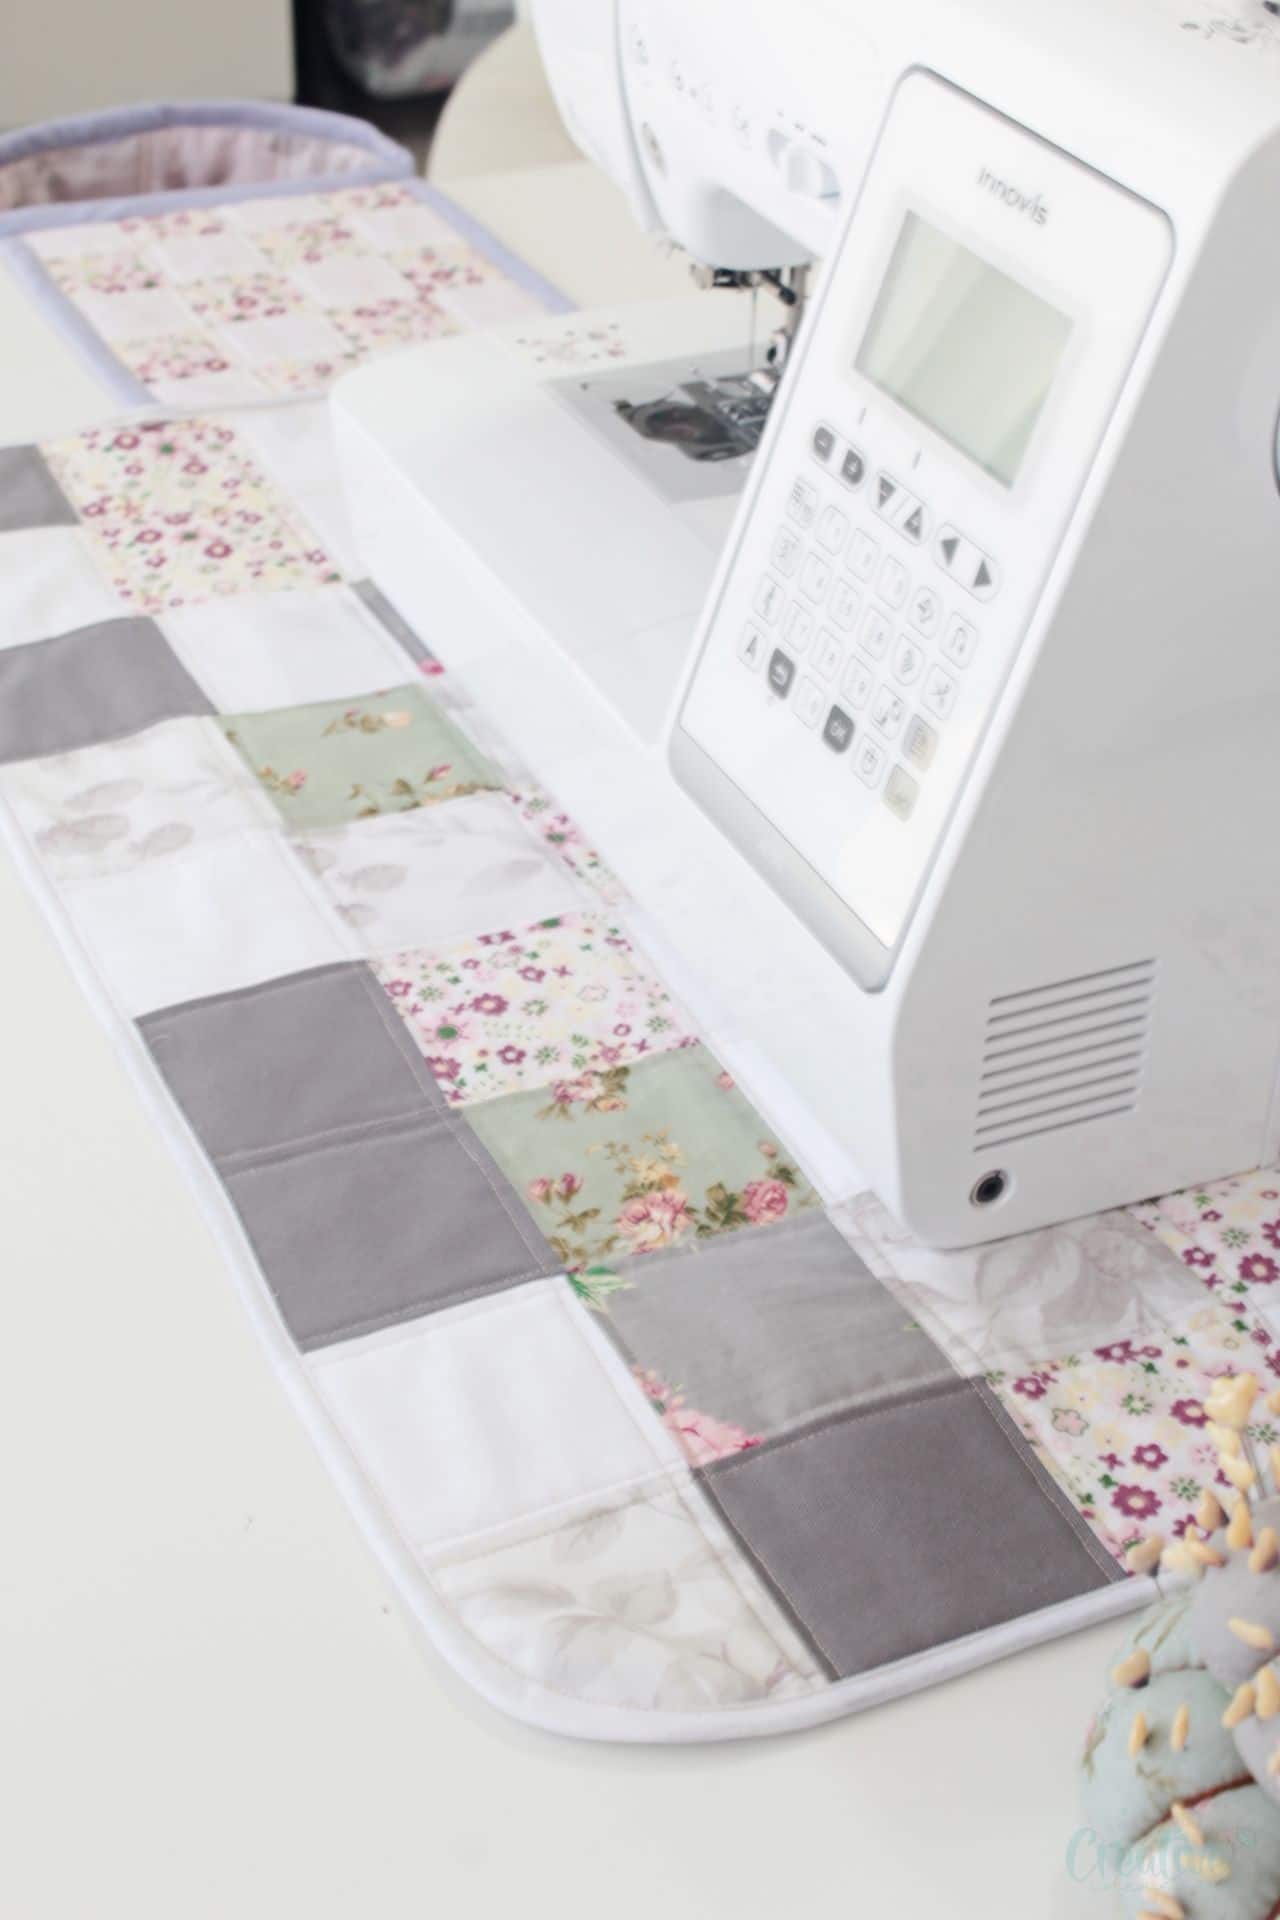
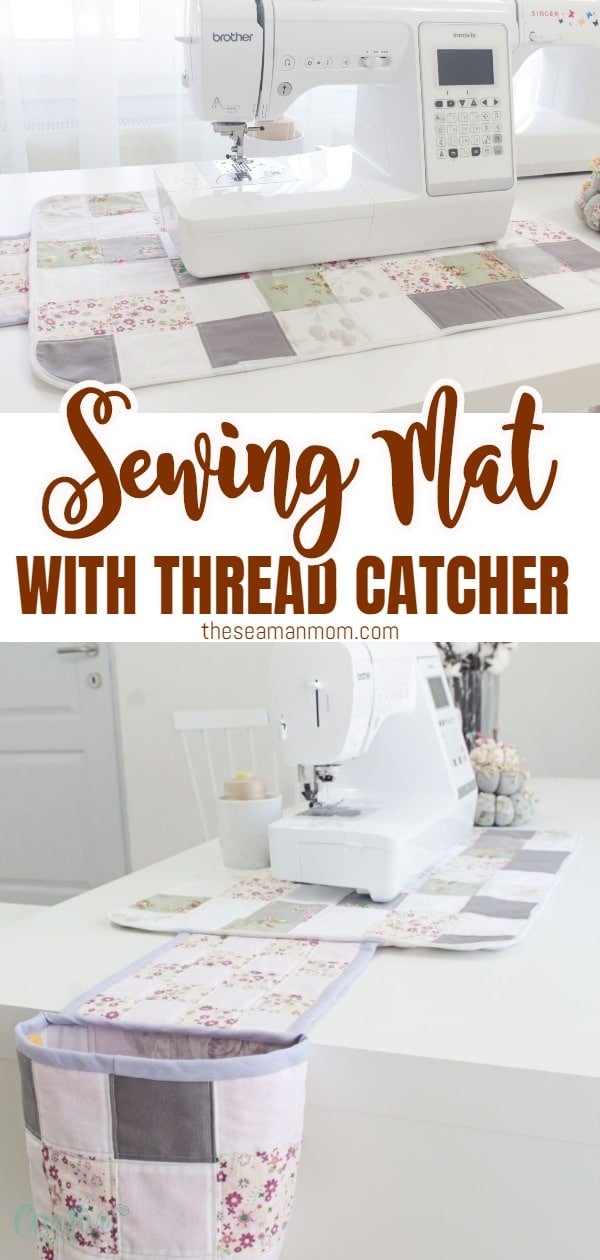
Quilted sewing mat with thread catcher
If you are madly in love with sewing, you’ll fall head over heels for this sewing mat! Quilted and made with fabric scraps, this sewing machine mat has a thread catcher attached to help you keep your sewing room clean and organized!
Sewing mat

If you’ve been looking for scrap fabric projects, this lovely sewing mat will be able to help you go through a good portion of your scrap fabric stash! Super enjoyable to make, this sewing machine pad is great for keeping your sewing table in good shape, offers stability and good grip to your sewing machine and makes your sewing room looking so adorable.
This blog post has been converted to an optional PDF that’s optimized for printing. Find it here! The blog post below is totally free to read! The Optimized for Printing PDF download for $2 is totally optional.
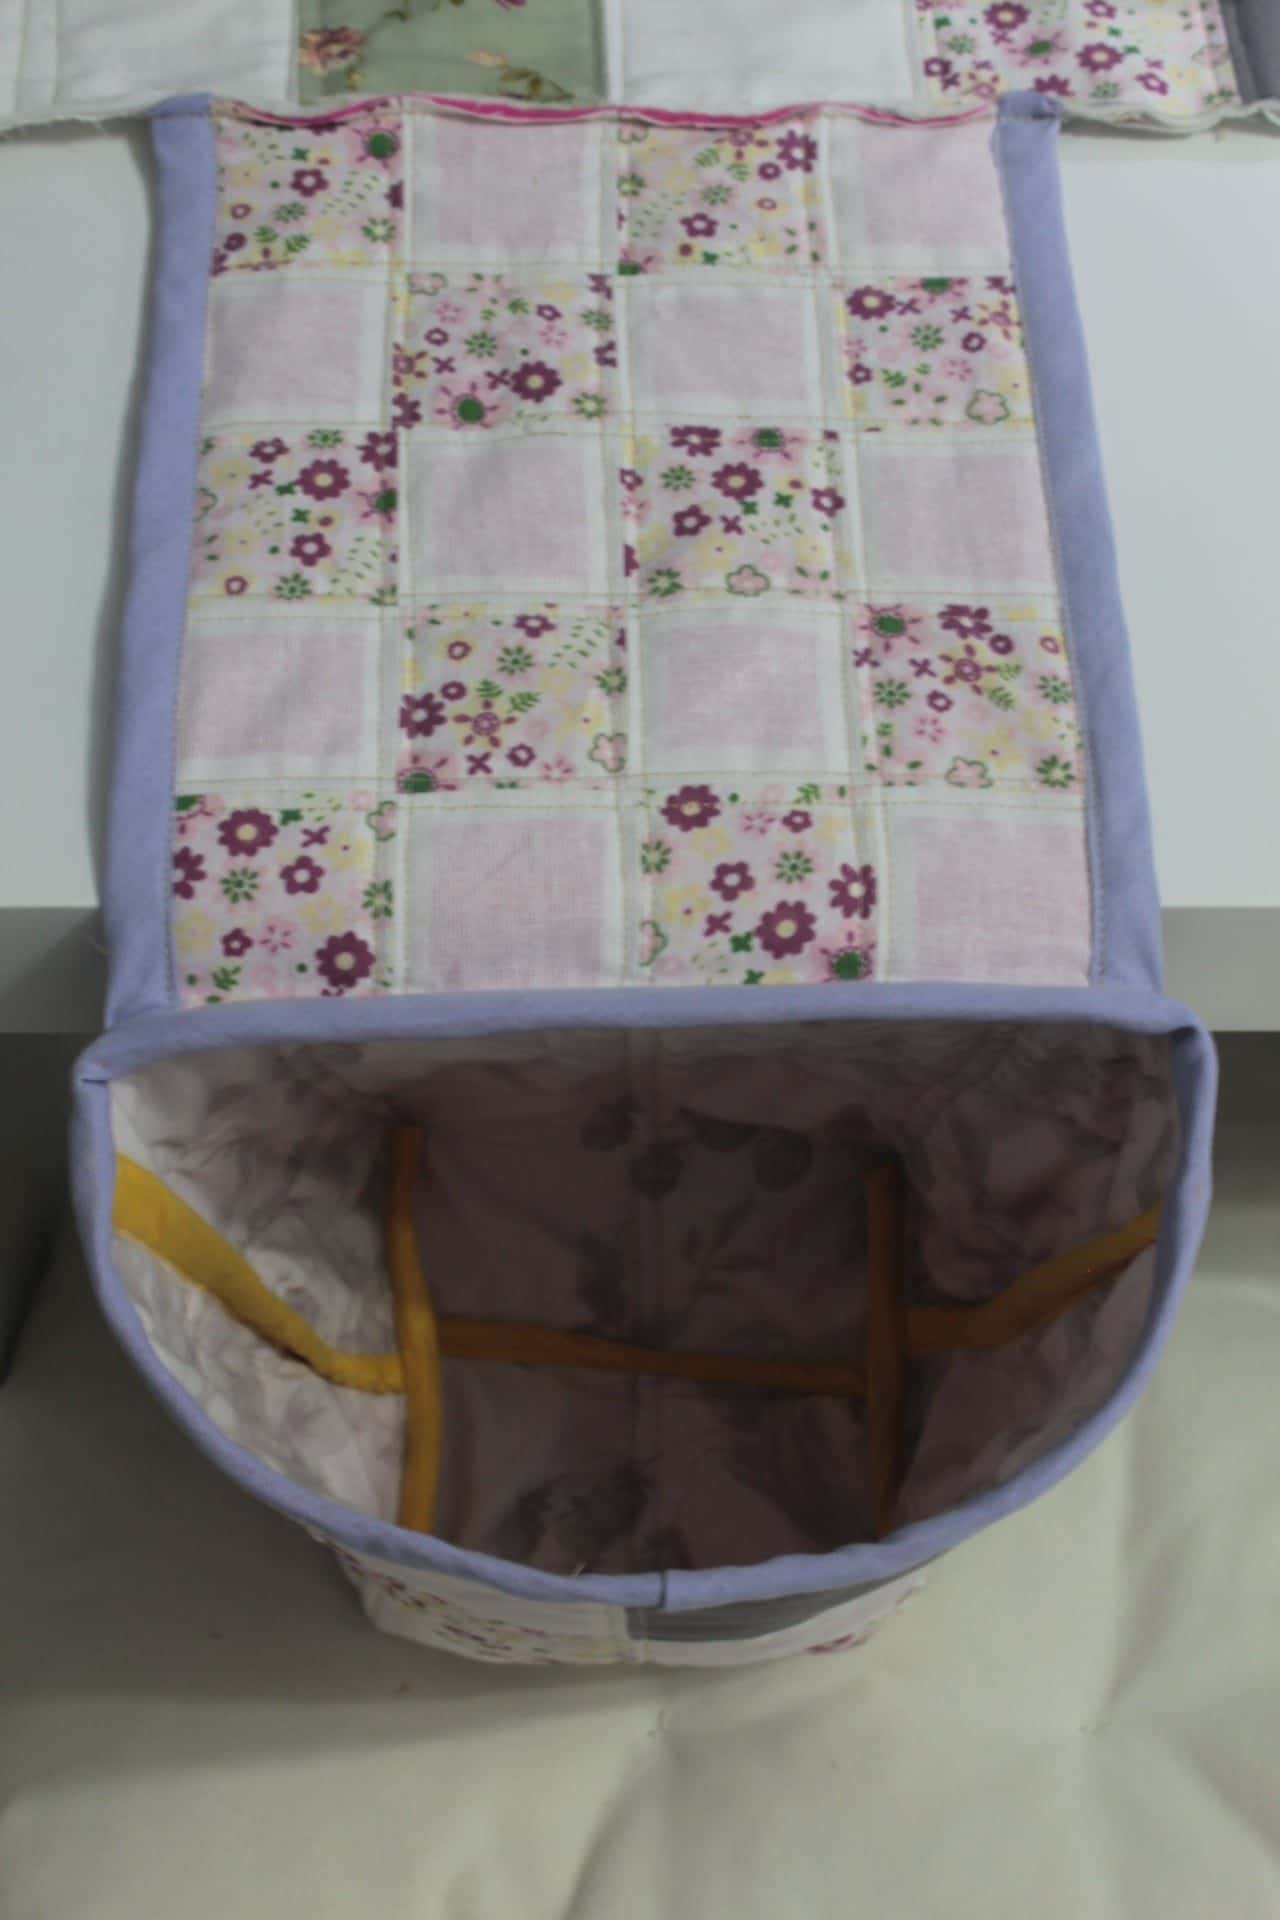
I simply loathe seeing the floors in my sewing room flooded with thread, lint and fabric bits from my clipping and I always wanted to be able to have a nice trash can nearby, like on the table. So I decided to make my life easy and added a thread catcher pattern to my sewing mat. It was mind blowing! I couldn’t believe such a small detail could change my sewing experience in such a tremendous way! For an OCD person, this little guy is like a slice of heaven served on a golden plate!
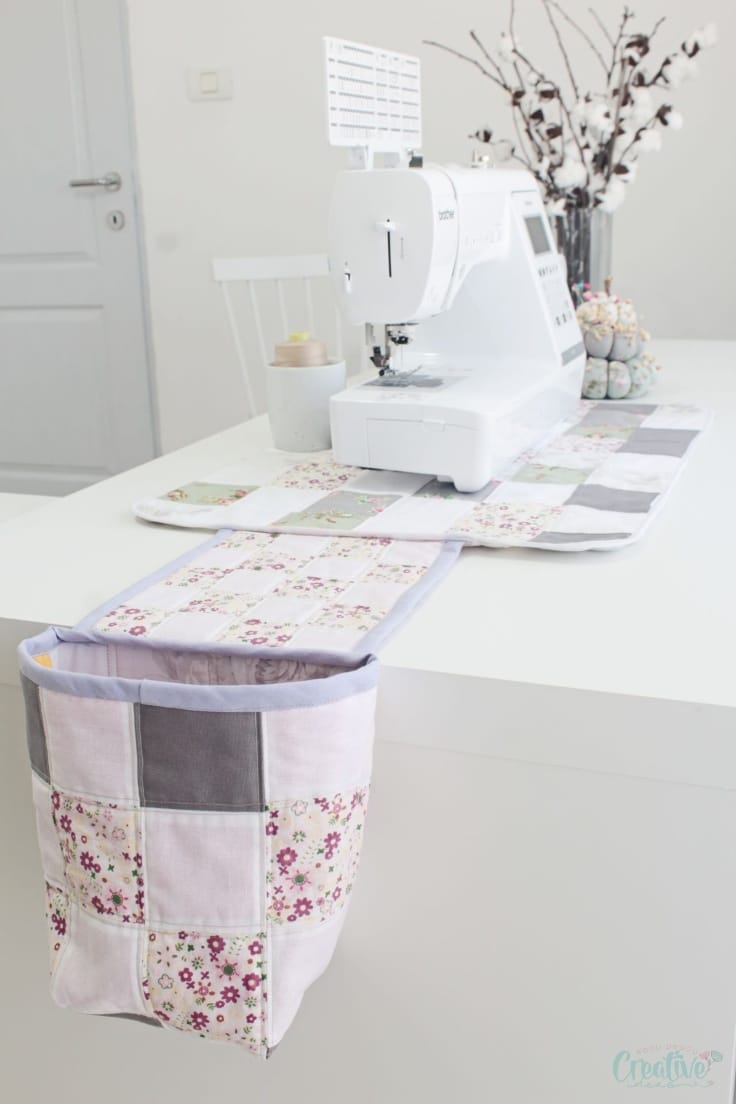
No more threads or lint or any other sewing “debris” on the floor, the table or my clothing! I absolutely love my sewing mat and the thread catcher plays a big part in this! To make things even more neat, I add a small plastic bag inside the catcher so I can easily remove and discard the threads when I’m done sewing. This ensures my beloved sewing machine mat and the thread catcher basket stay clean all the time.
Other scrap projects you will love!
- French braid sewing mat
- Quilted snap pouch
- DIY fabric twine
- Fabric twine trivets
- Lined zipper pouch
- Small lavender bags
- Triangle fabric weights
- DIY card holder
- Fabric covered buttons
- DIY fabric keychains
When I first thought about making this sewing mat I was considering attaching some pockets to the front so I can keep my most used sewing notions and tools on hand. But I just couldn’t picture myself being comfortable with this pocket between myself and the sewing table! Plus it wouldn’t make sense as I keep most of those supplies super close, right under the sewing table as illustrated in this article where I showed you my sewing room setup.
In the same article I also showed you my scrap fabric stash which is pretty huge (truth be told, I have another big box full of fabric scraps in another room; OMG!! I’m the crazy scraps lady! lol) And I also warned you a few scrap projects are in the making so you don’t freak out completely! This sewing mat is perfect for this project as it’s not such a small project.
I’ve been meaning to make this cool sewing mat for a long time, even since I purchased this awesome sewing desk and I soon noticed my sewing tools are doing damage to it pretty easily. This sewing pad is a little time consuming but so easy to make! I wouldn’t recommend it to beginners though as it involves quilting and sewing a lot of bias tape. It’s not hard but can get stressful and frustrating.
Want more sewing projects for home?
- Easy school supplies organizer
- DIY bunny banner
- Coiled rope rug
- Ruffled reversible bed throw
- Farmhouse style ruffled pillow case
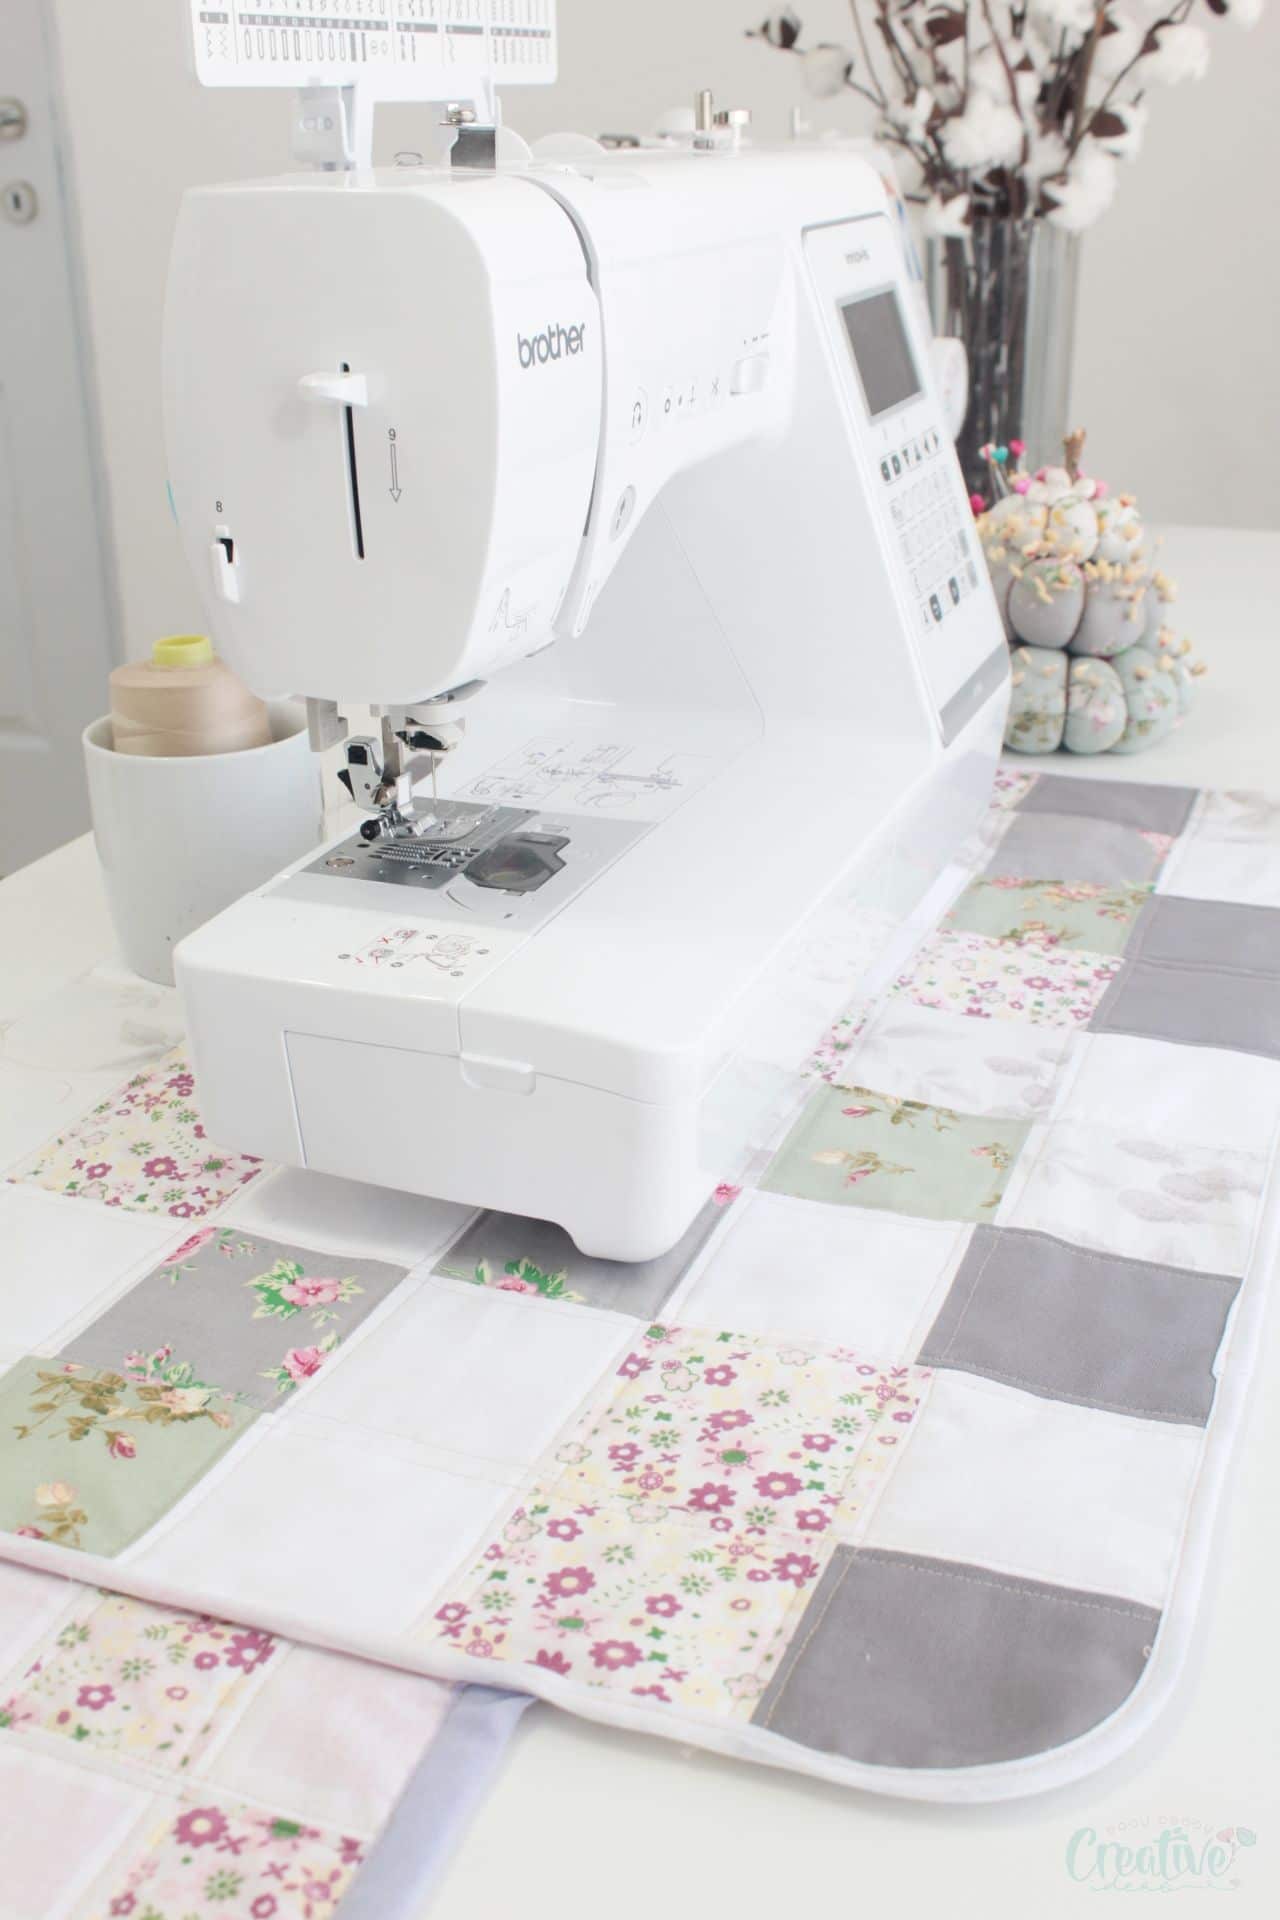
I took the opportunity to do my very first quilting (or at least that’s what I believe I did, quilting! lol). I had some batting scraps that I simply couldn’t bare throwing away and I decided to put them to a good use. So I joined all these pieces with a zig zag stitch on my new sewing machine that I absolutely adore! This baby sews soo smooth, is incredibly powerful, sewing through crazy thick layers while being super accurate and gives me so many sewing options, I could literally take it with me in bed when I go to sleep at night, I love it and miss it that much!
To make the outer piece of the mat, I cut squares of fabric scraps, joined them at the ends, then I joined the strips at the sides to make a larger piece of fabric. I sandwiched the batting in between the outer piece and the backing piece (which is also from scraps, but in one piece for each the mat, the joining strip and the thread basket). I used large pins to keep all three layers together and started sewing parallel lines to the joining seams in the outer piece (I will illustrate later, in the step by step tutorial). All three pieces of this sewing mat have been created with this method and then the pieces were joined together with bias tape. Let’s see the step by step tutorial for better understanding of the process.
Quilted sewing machine mat
Materials:
- fabric scraps cut into equally sized squares
- cutting mat
- rotary cutter
- large pins or safety pins
- quilting clips
- matching thread
- pressing iron
- seam gauge
- fabric marker
- scissors
- double fold bias tape in the desired width (I used 2″ bias, homemade)
- sewing machine
- quilting foot or walking foot (if your mat is very thick)
Directions:
How the mat is structured
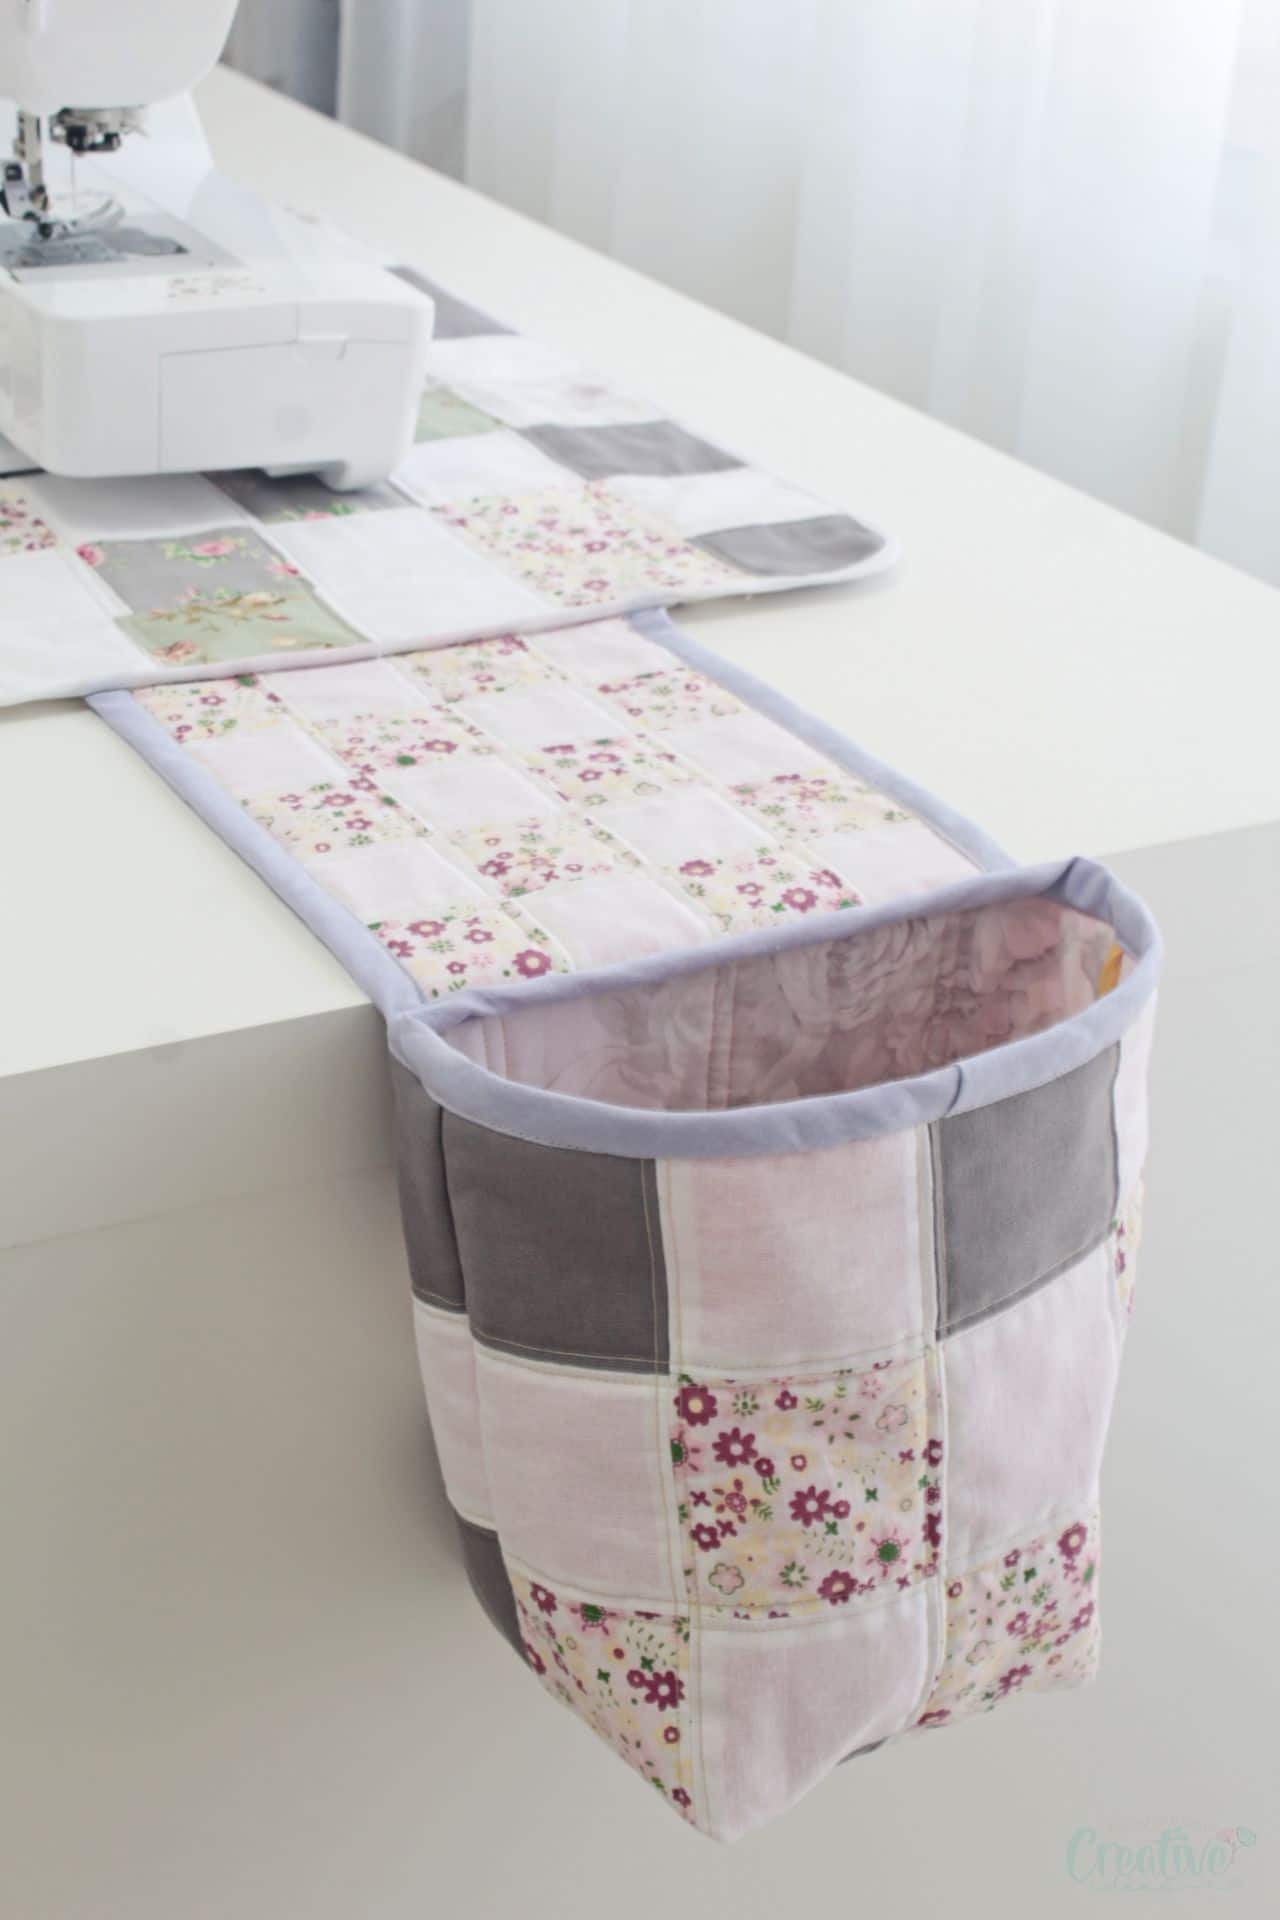
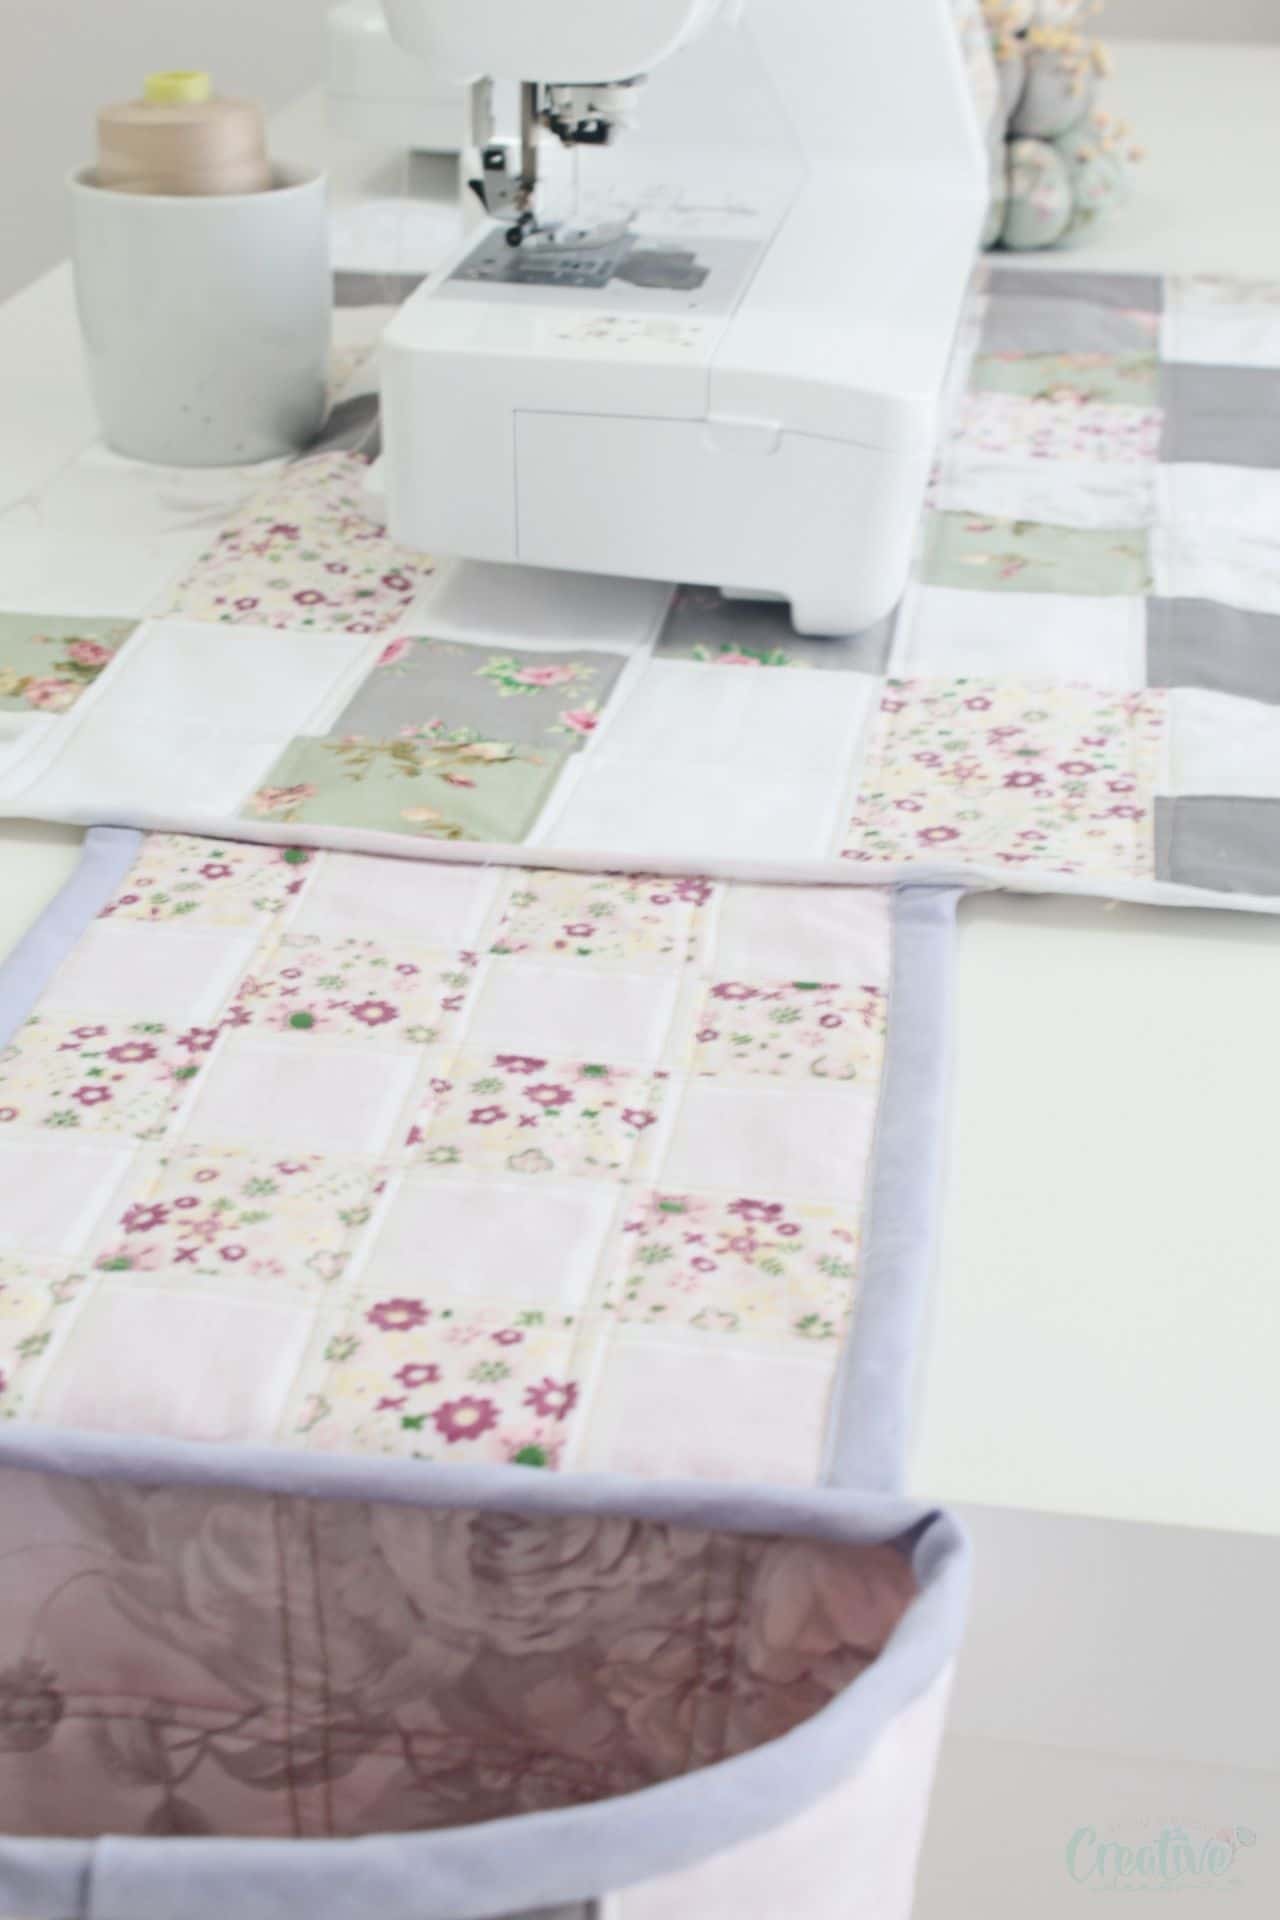
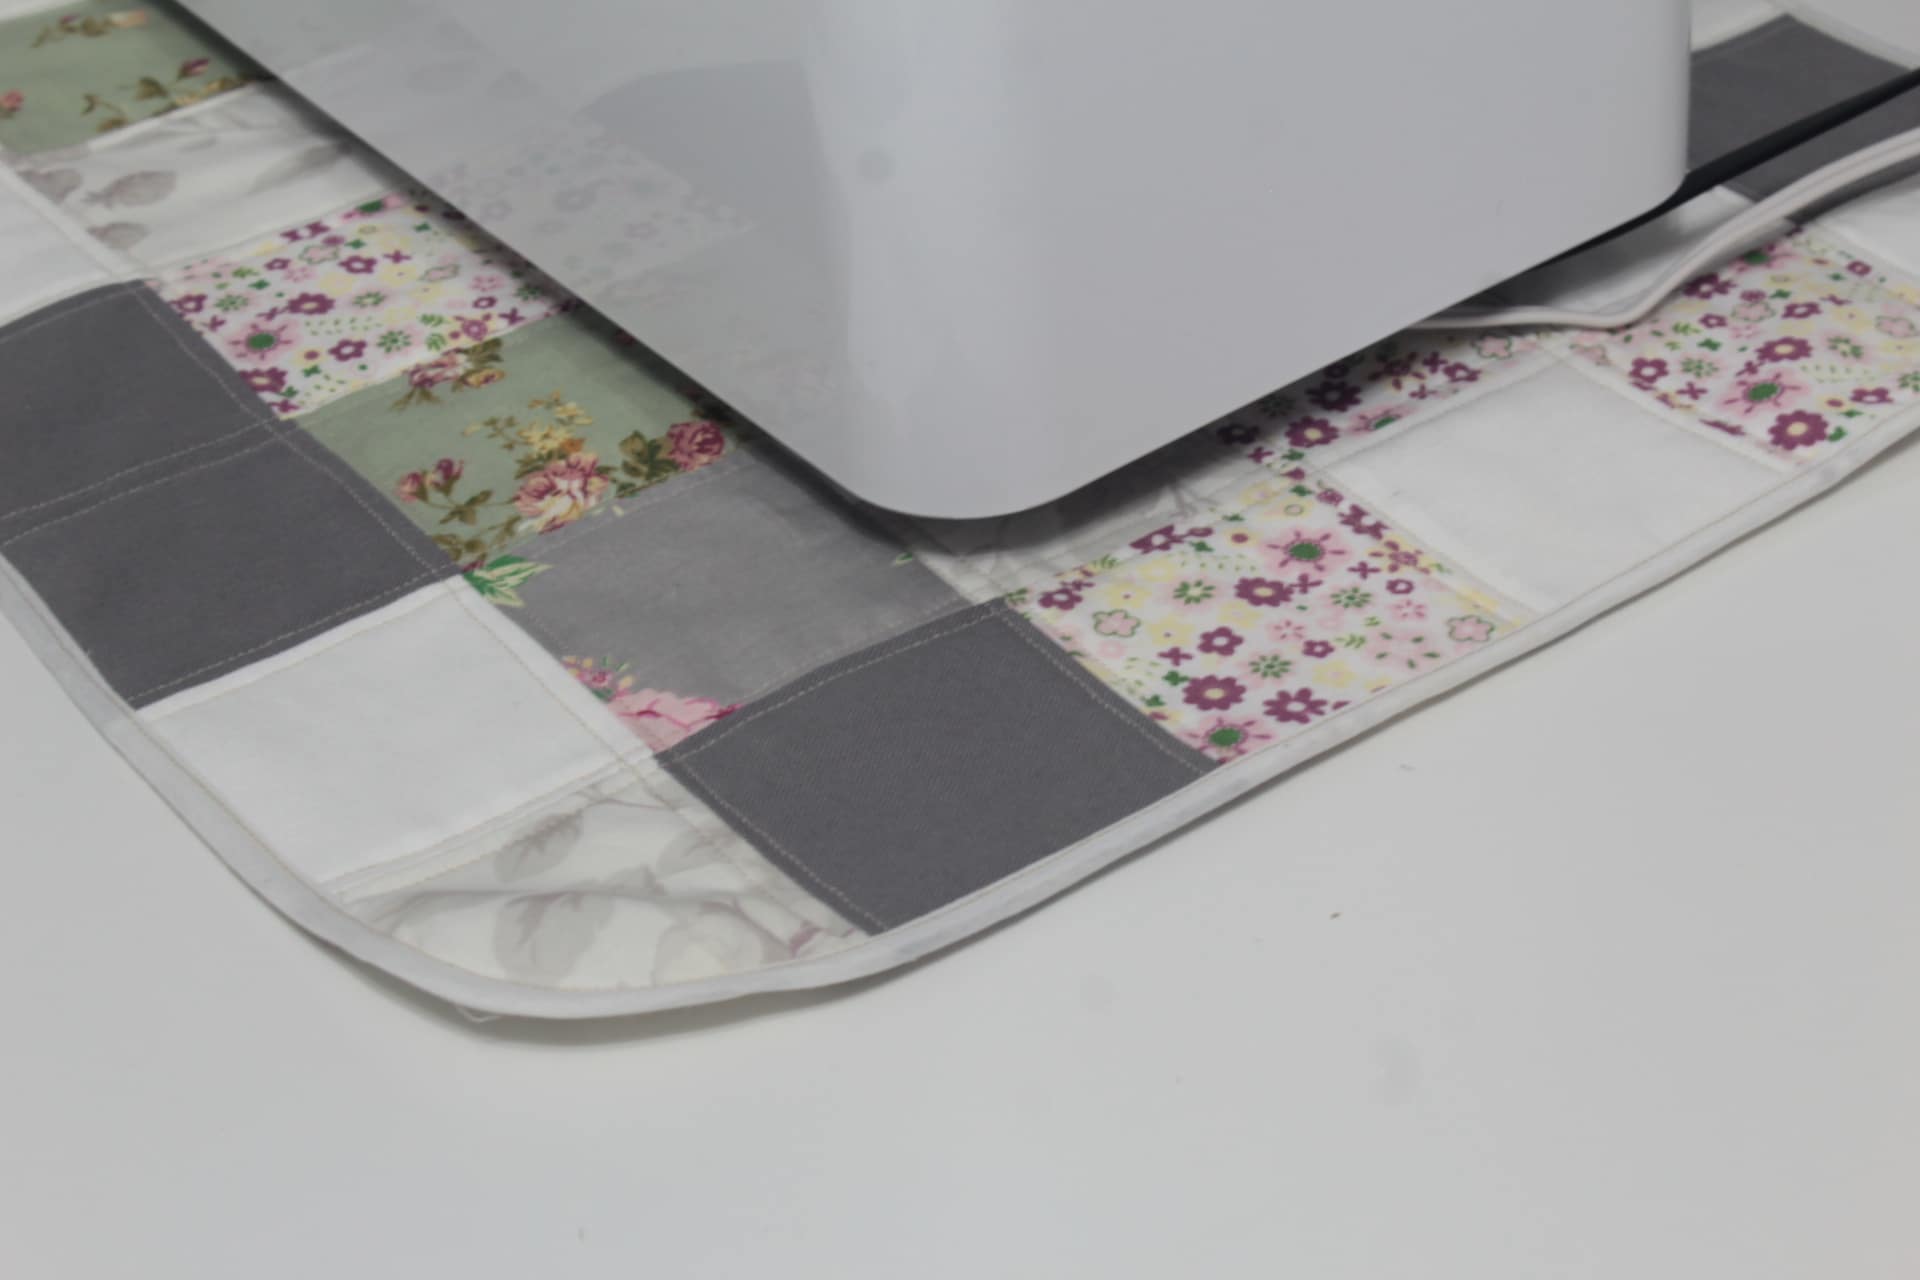
- The final measurements of my sewing mat are: 25″ x 17″ for the mat 9″ x 8″ for the joining piece and 9″ x 8″ x %’ for the basket. Use these measurements or feel free to adjust to your needs.
- My sewing mat is built in three pieces which are created almost the same way: the main mat, the joining strip and the thread basket.
- Each of these pieces is quilted, meaning they are created with three layers of fabric: the outer layer (with fabric squares joined together), the middle layer (with batting) and the bottom layer (with regular fabric).
- To make the mat and the joining strip you will need to create one quilted panel for each of these pieces. For the basket you will need to create two quilted panels, for the back and for the front of the basket.
Making the quilted panels
Preparing the squares
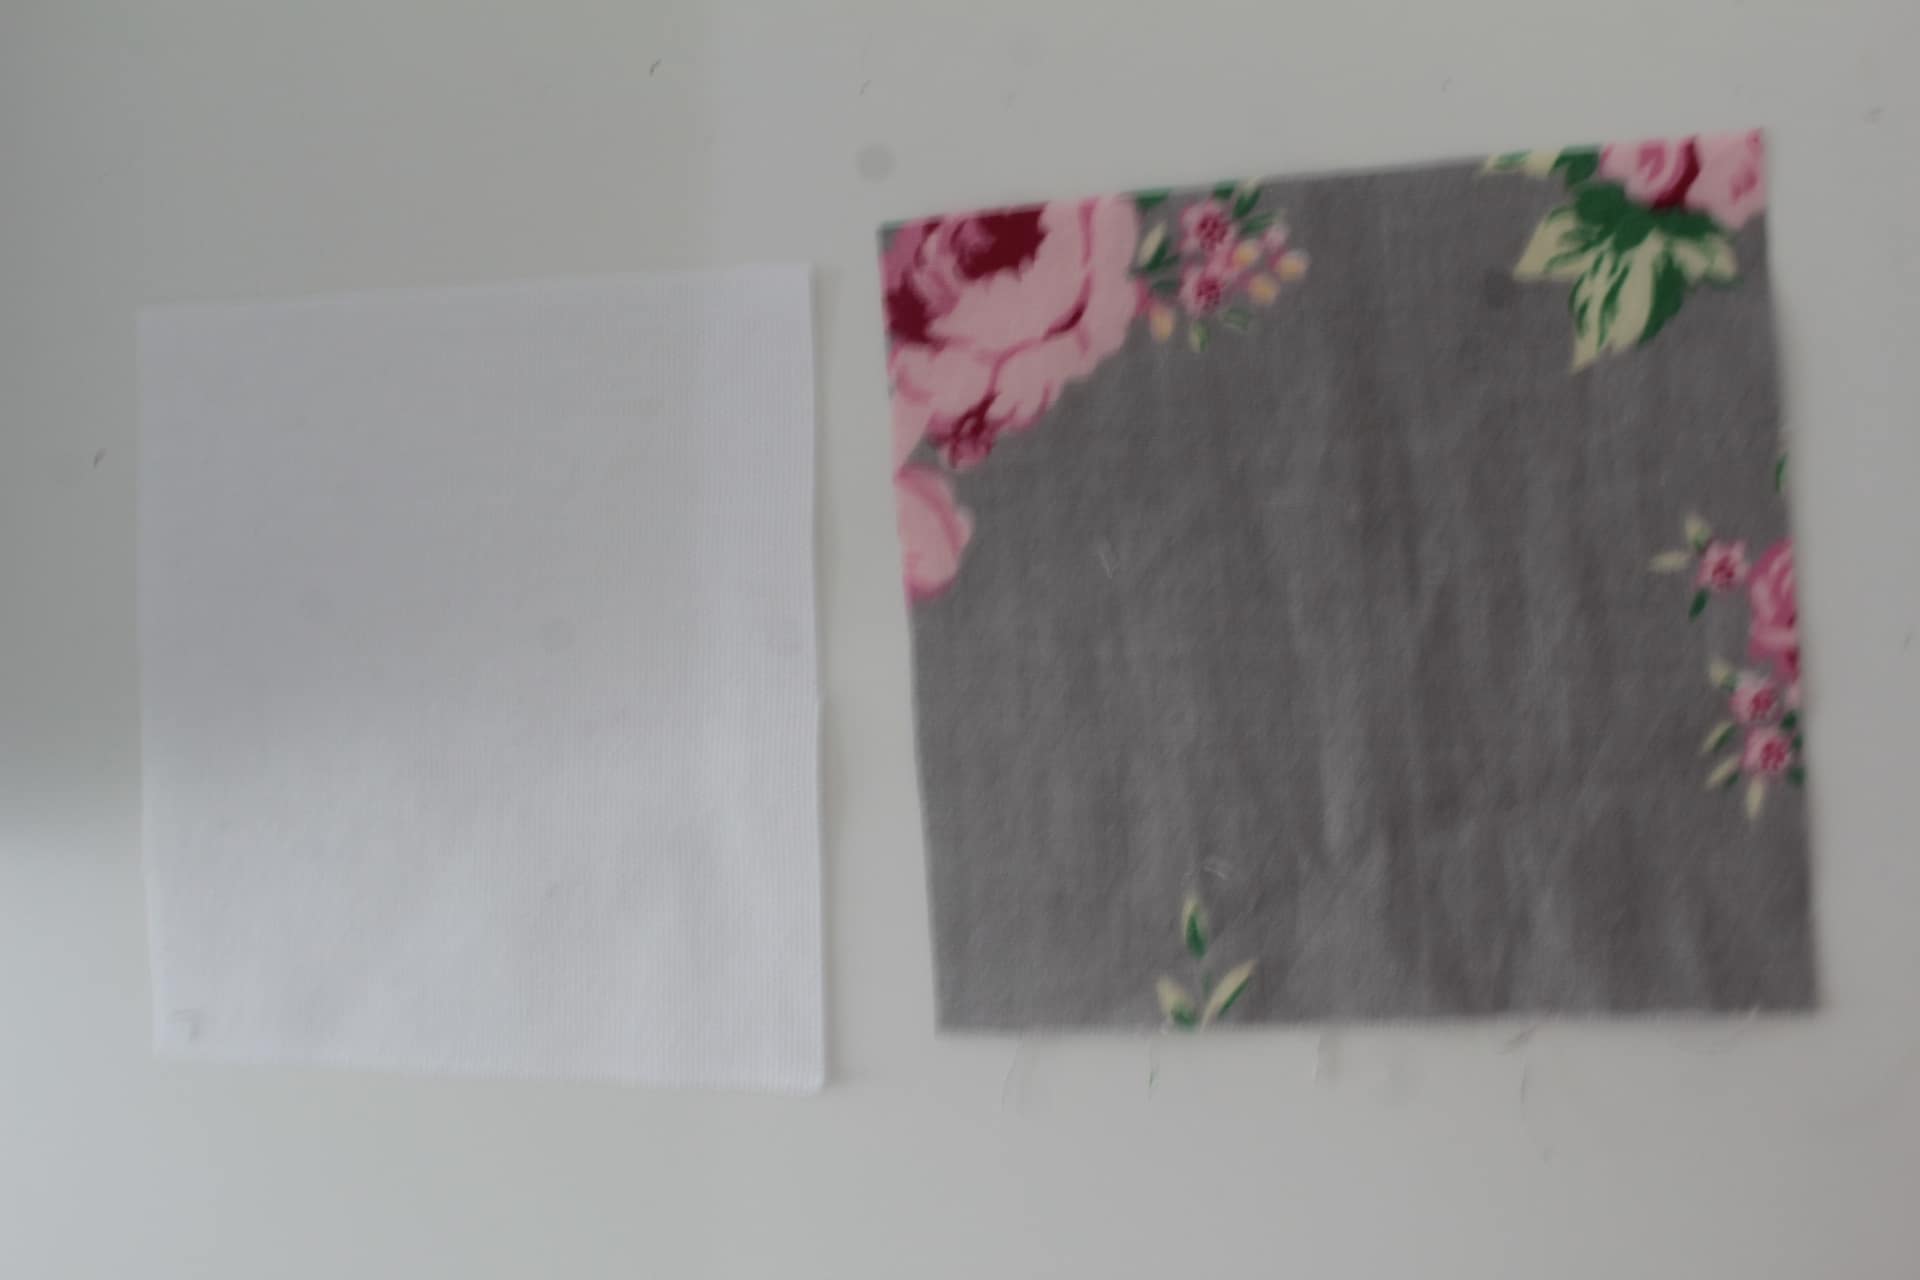
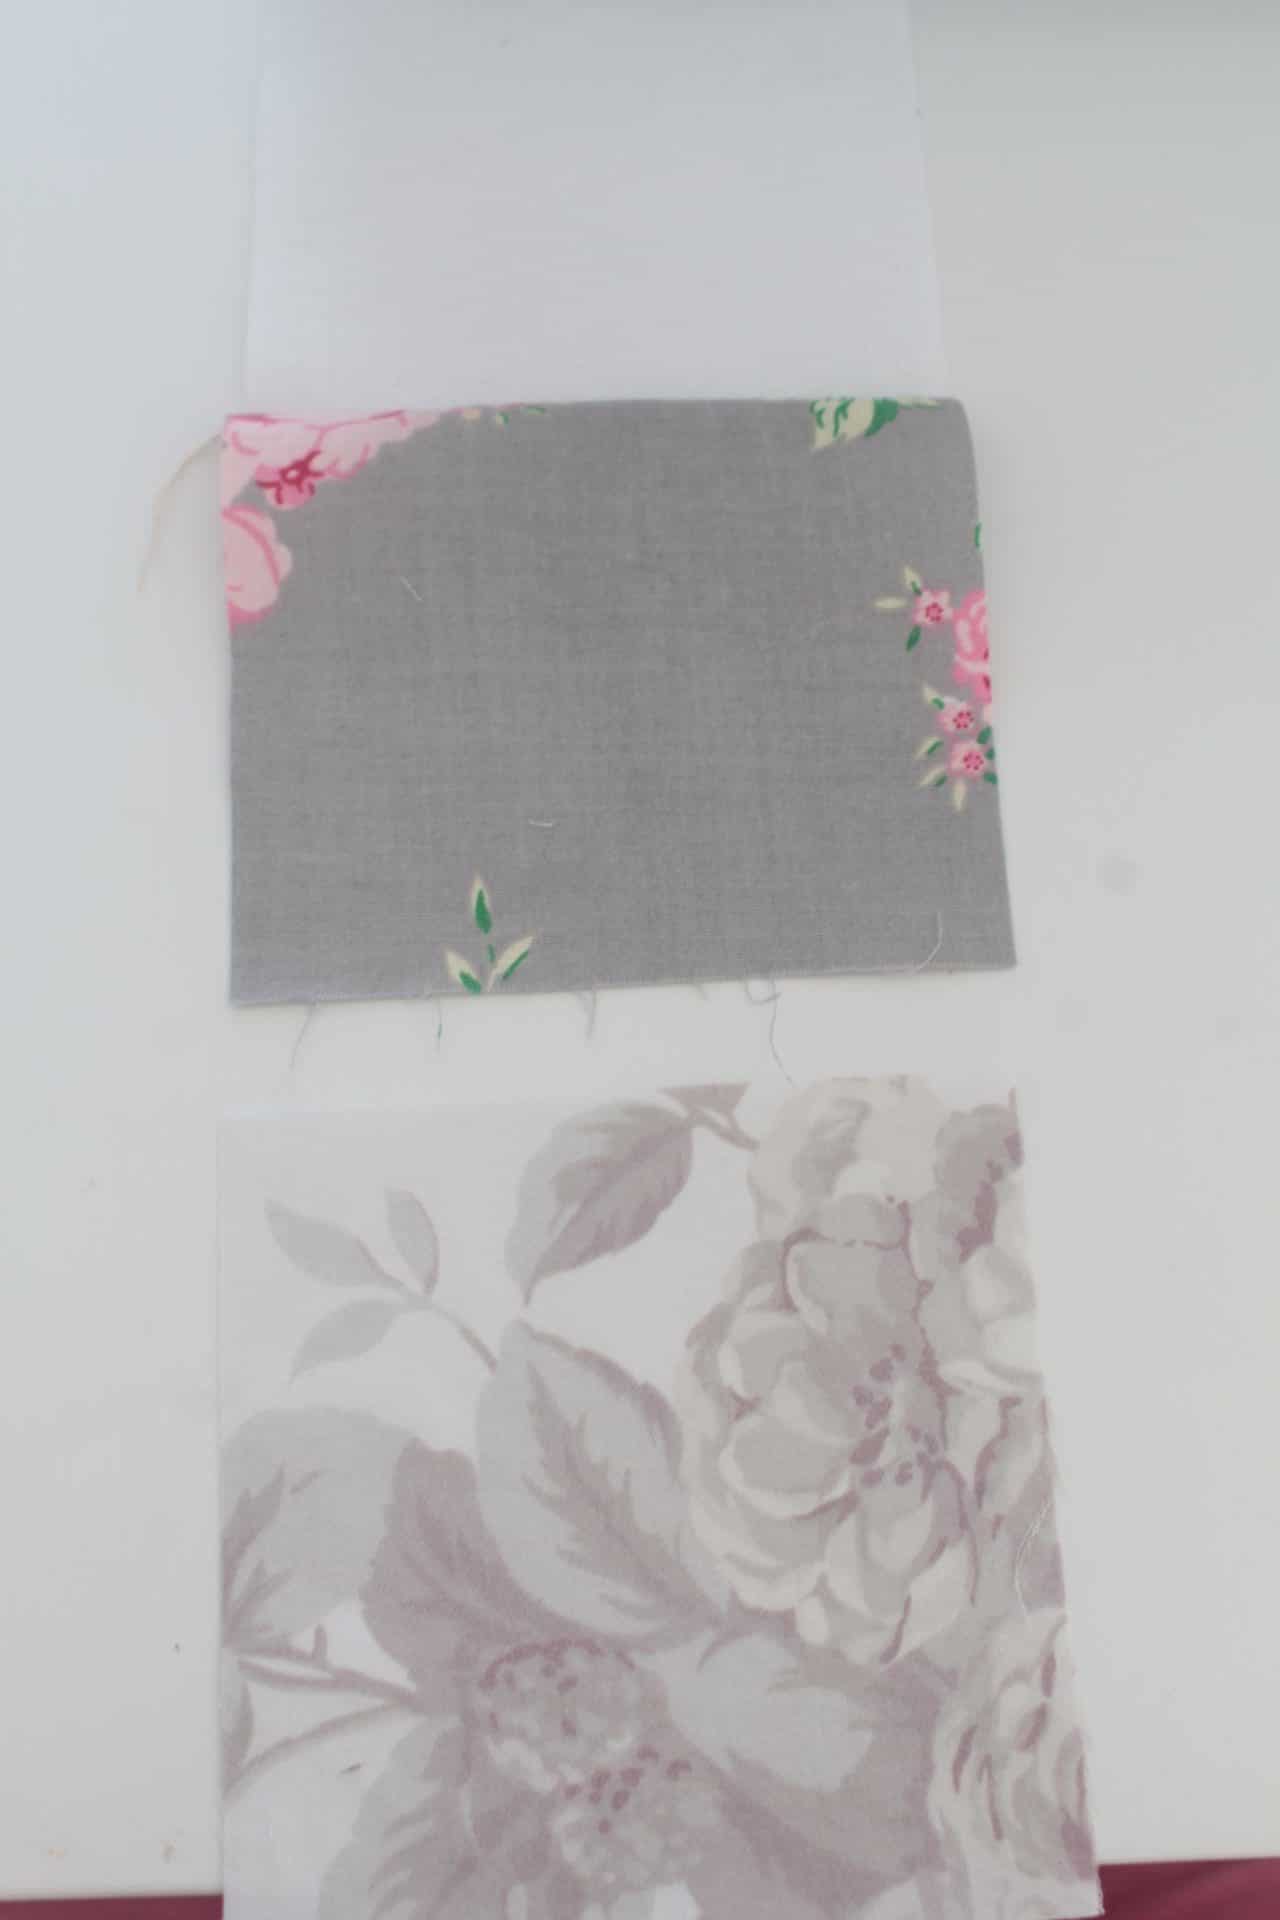
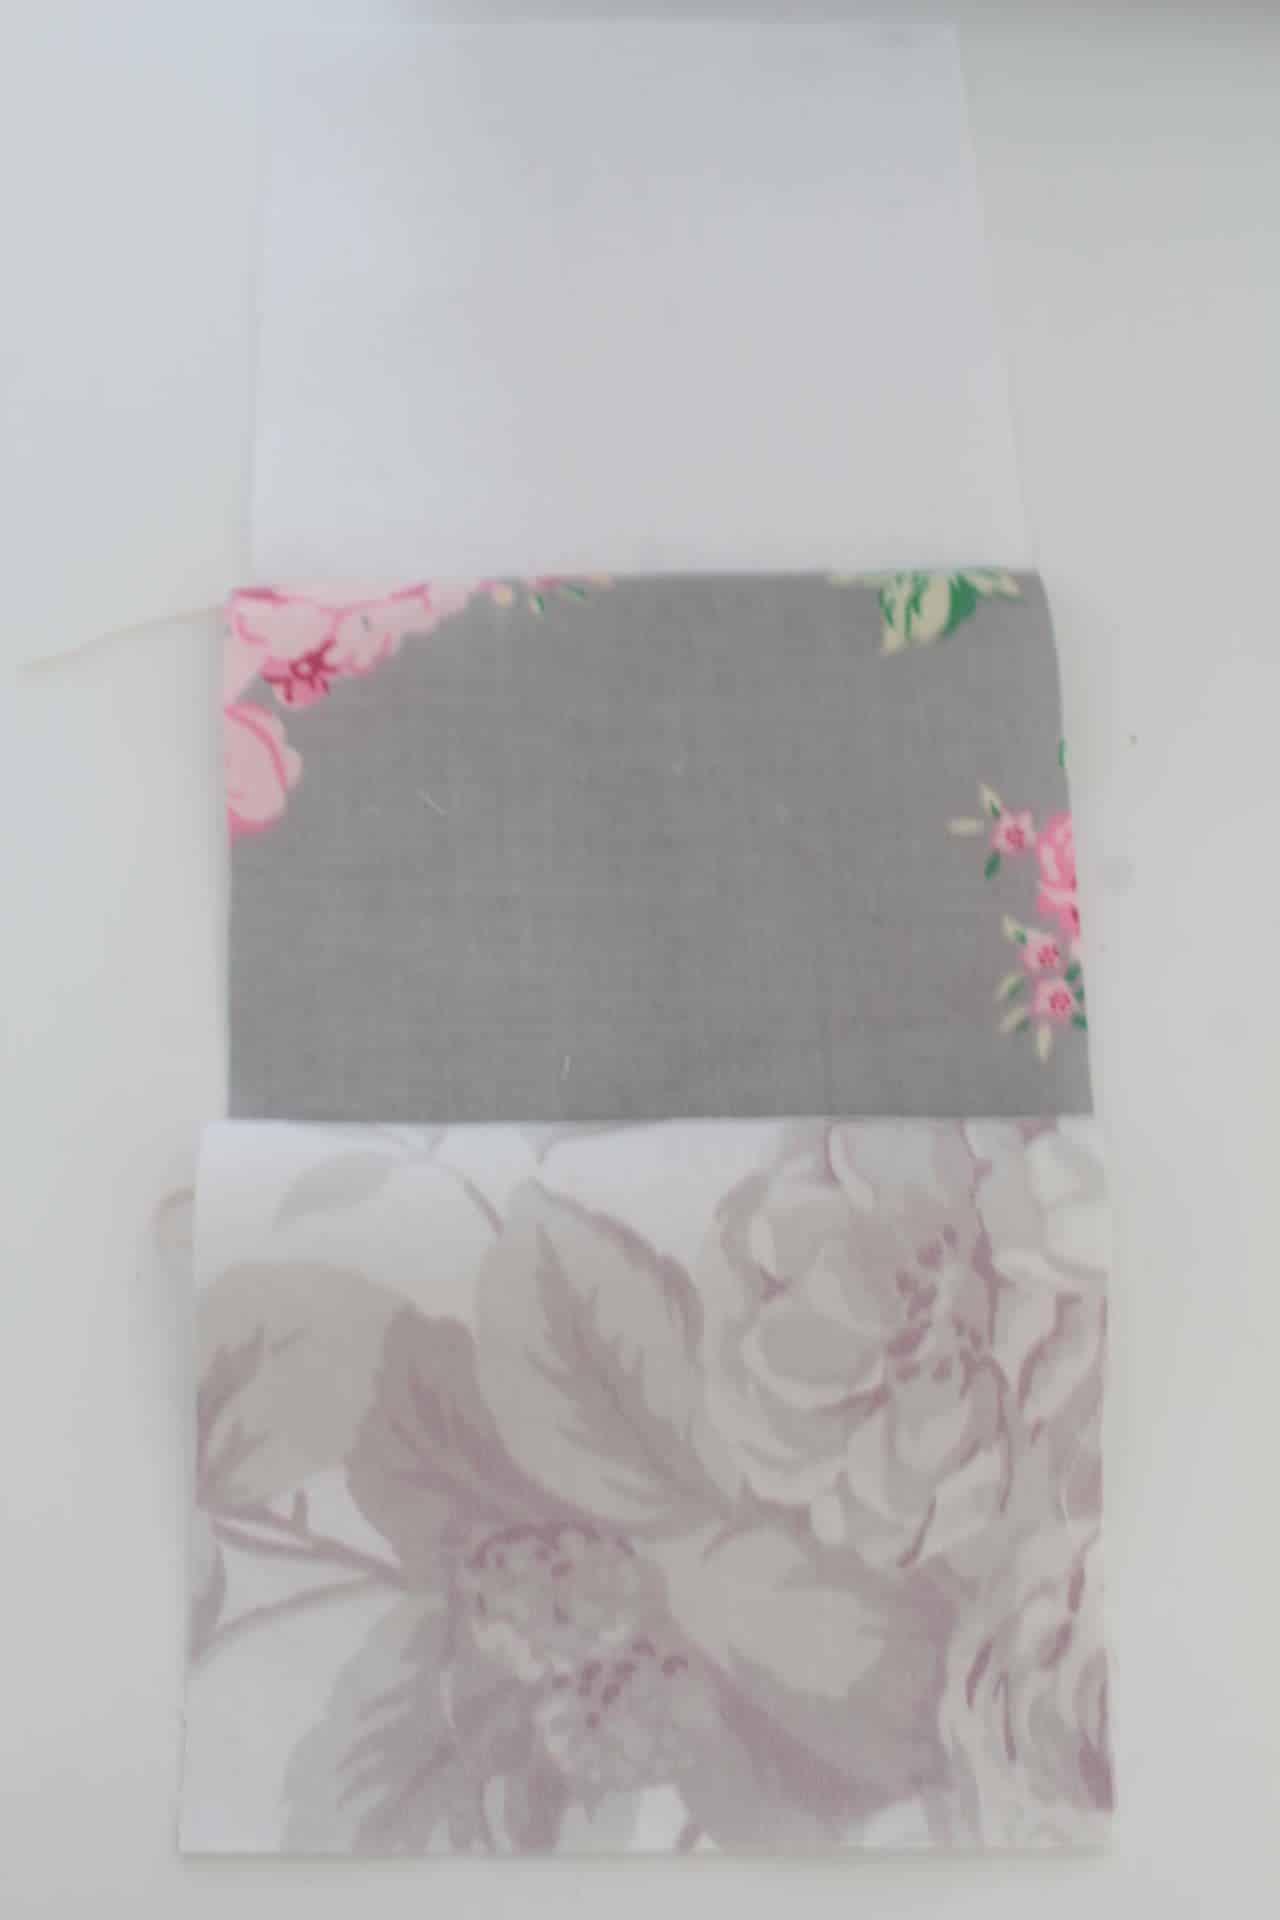
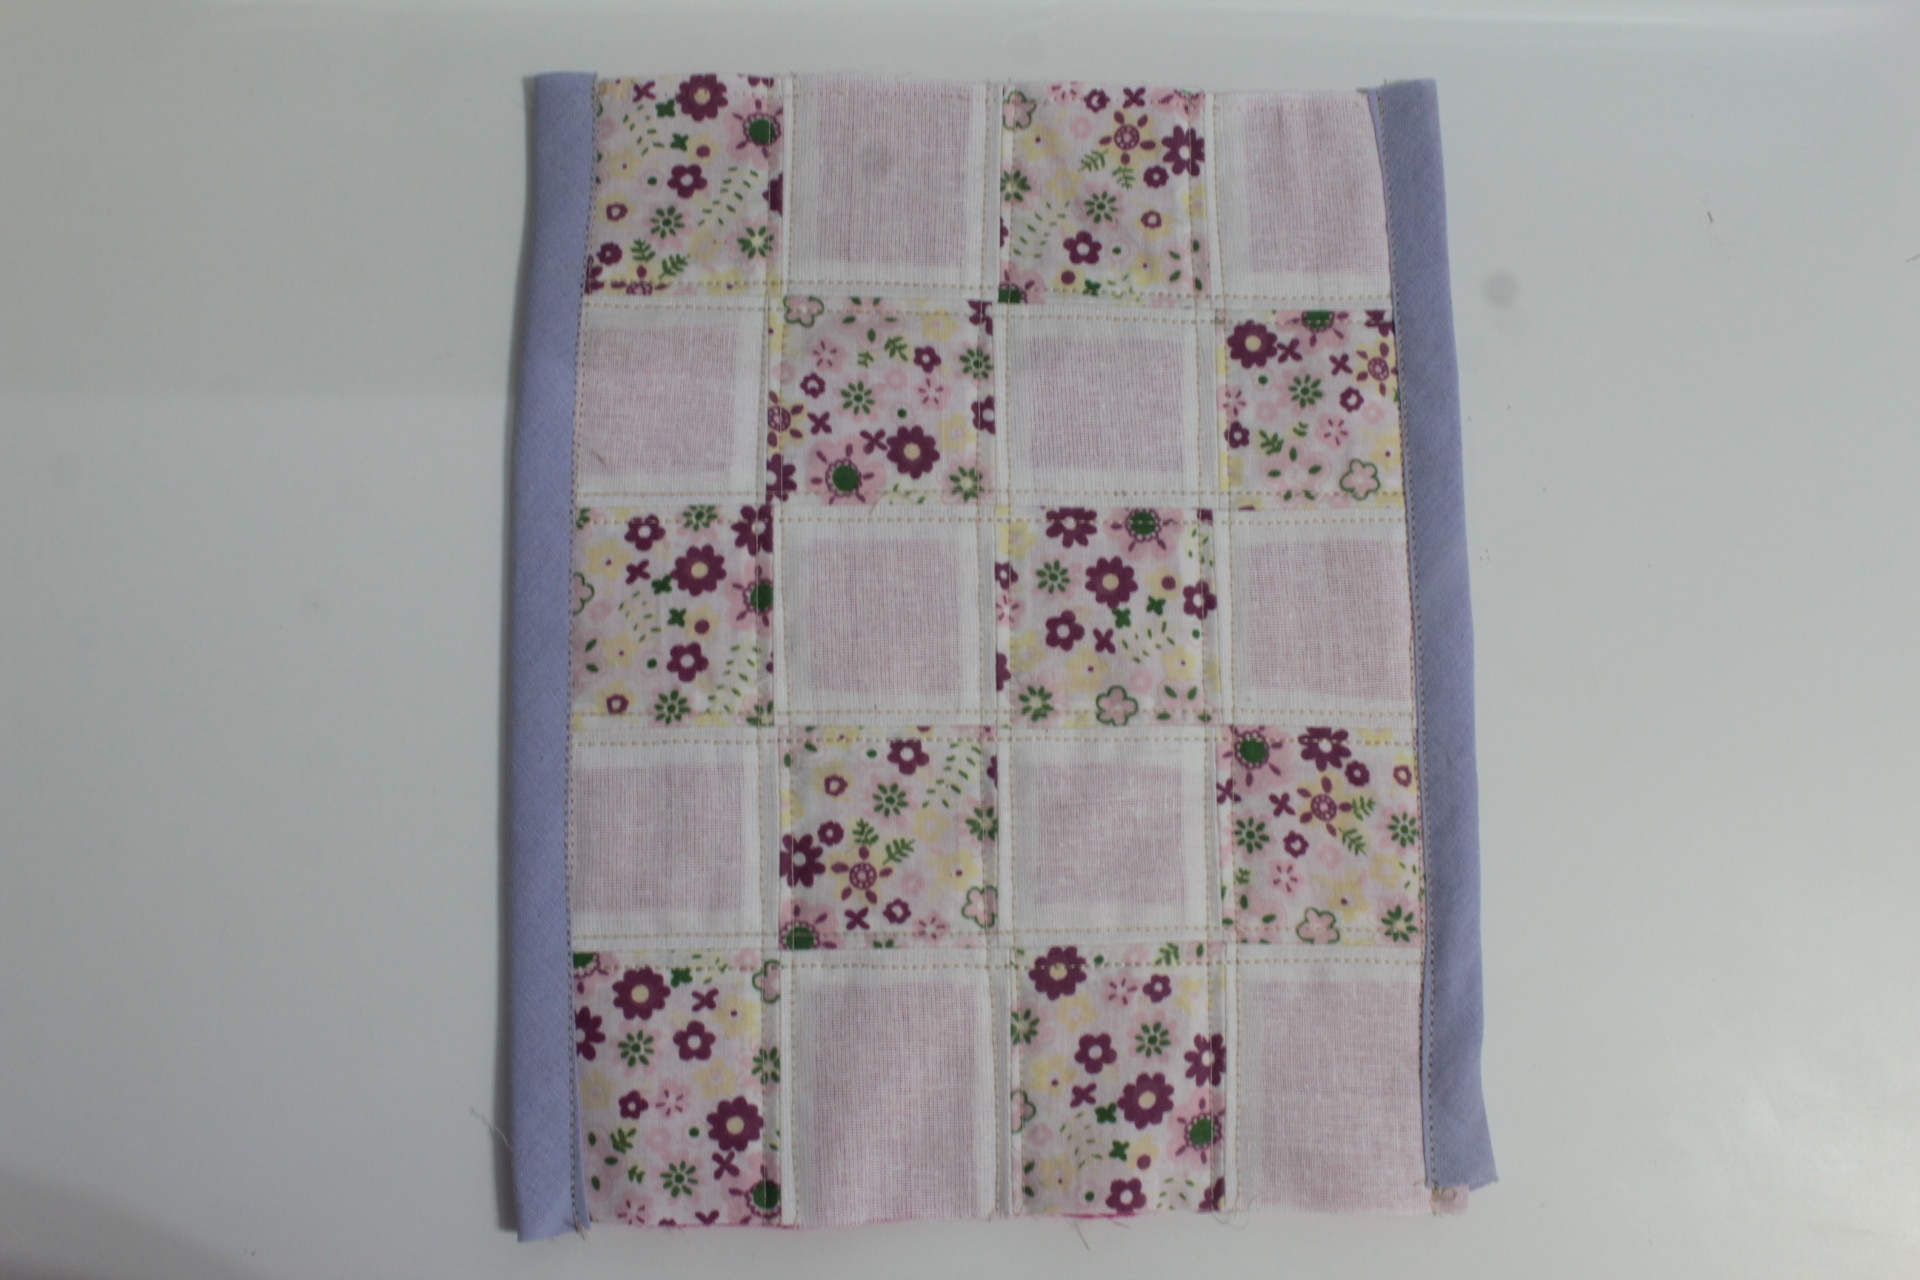
- To make the outer fabric in each of the three pieces, cut fabric scraps into equally sized squares, for the main mat and the basket. For the joining strip you can cut smaller squares if you wish but it’s optional. I opted for this because the I didn’t have enough fabric scraps in similar color and pattern to cover all three pieces.
- Separate the squares in three piles, for each of the piece: the mat, the joining strip and the basket.
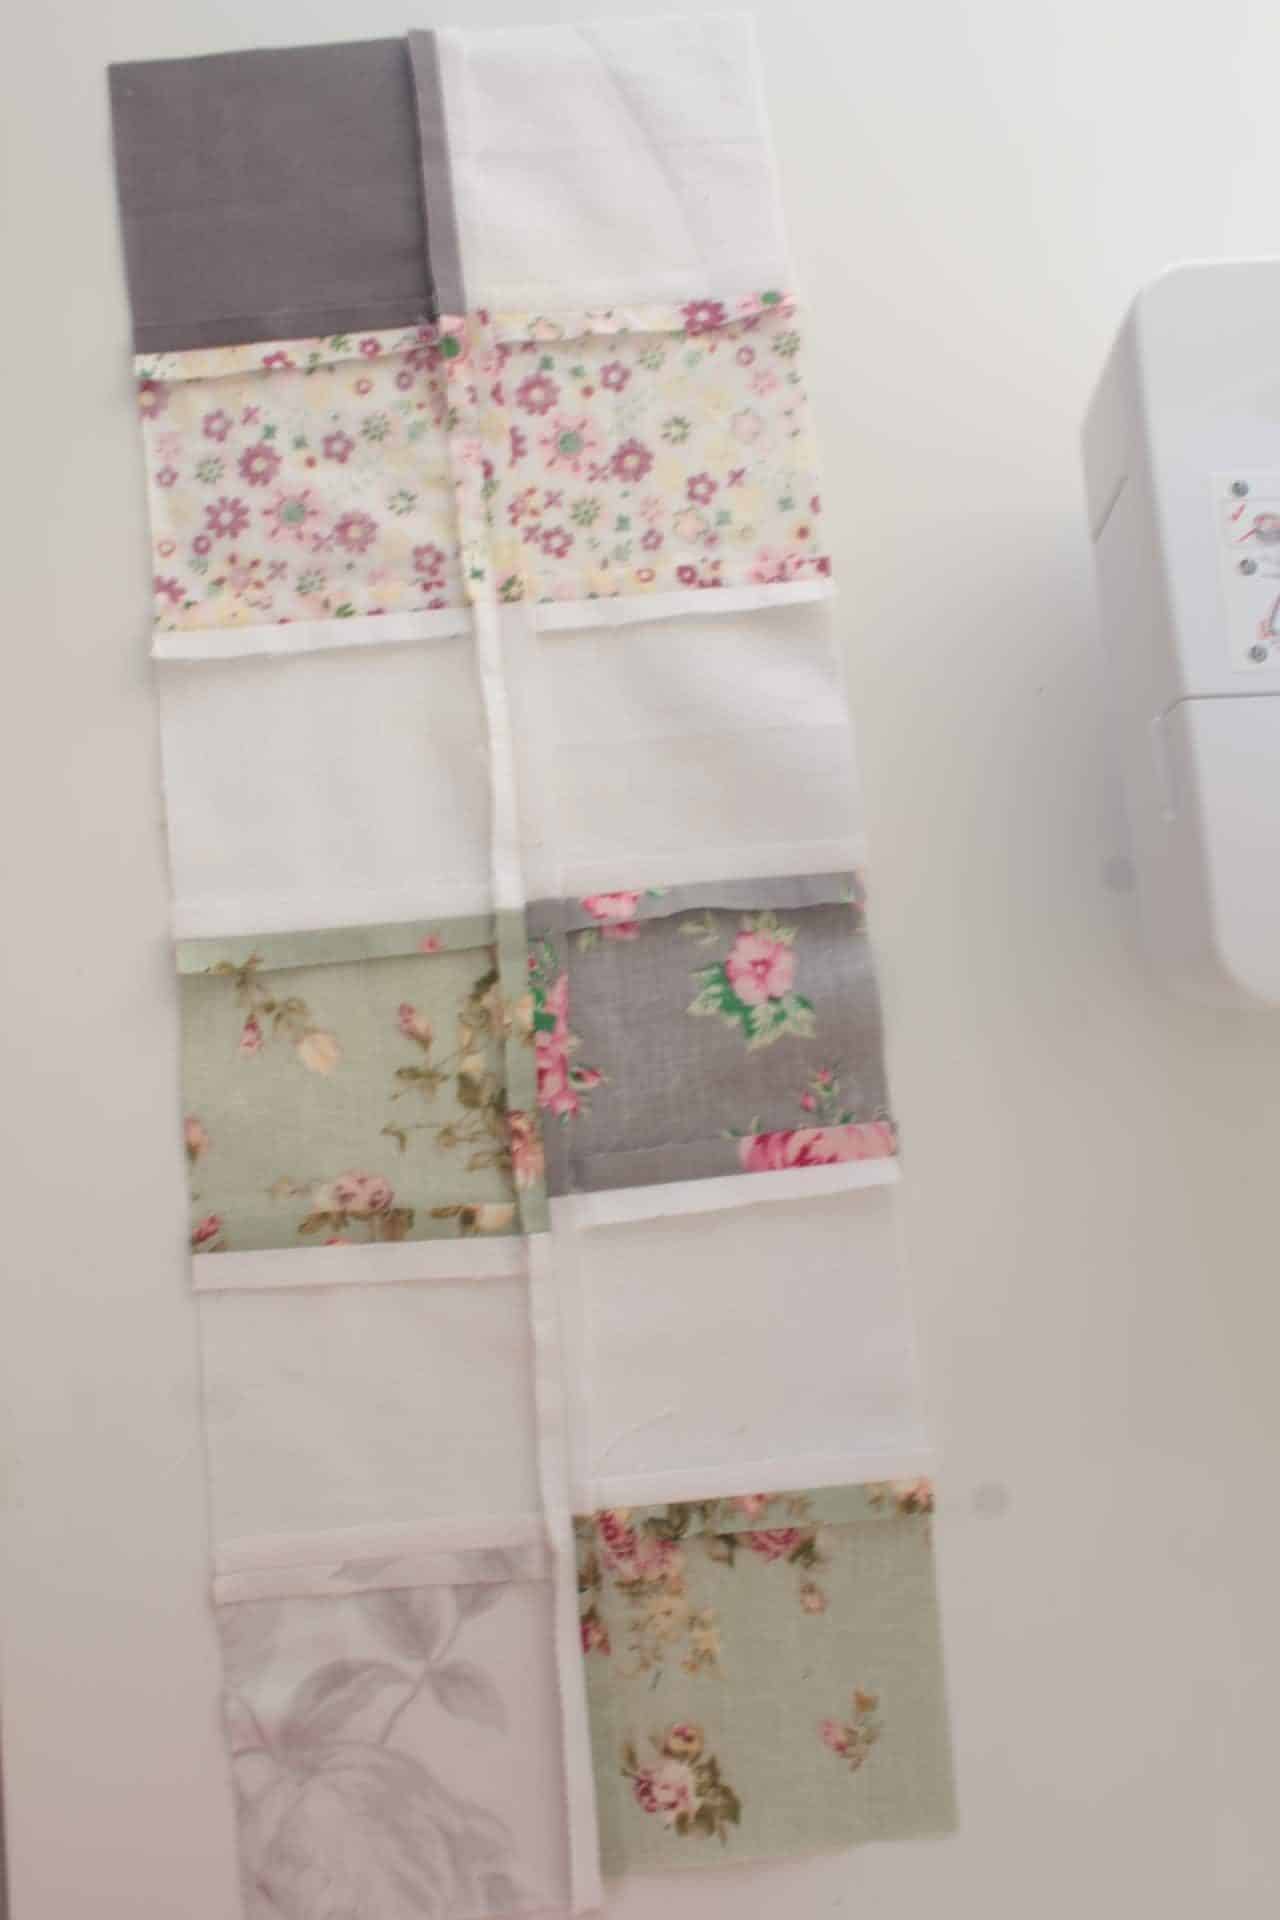
- Grab the mat squares and display them in rows as you would like the final mat to look like.
Sewing the squares
- Take the squares in the first row and join them at the ends to form a row. Start with two, right sides together, sewn at the bottom.
- Place squares right side out and place another square on one of those two, right sides together. Sew the bottom.

- Continue until you finish one row.
- Repeat for all rows then join the rows on the sides to form the mat. Place two rows right sides together and sew along one side.
- Open the two rows and add another row over one of those, right sides together. Sew along one side.
- Continue until all rows are joined together and the outer side of the quilted panel is formed.
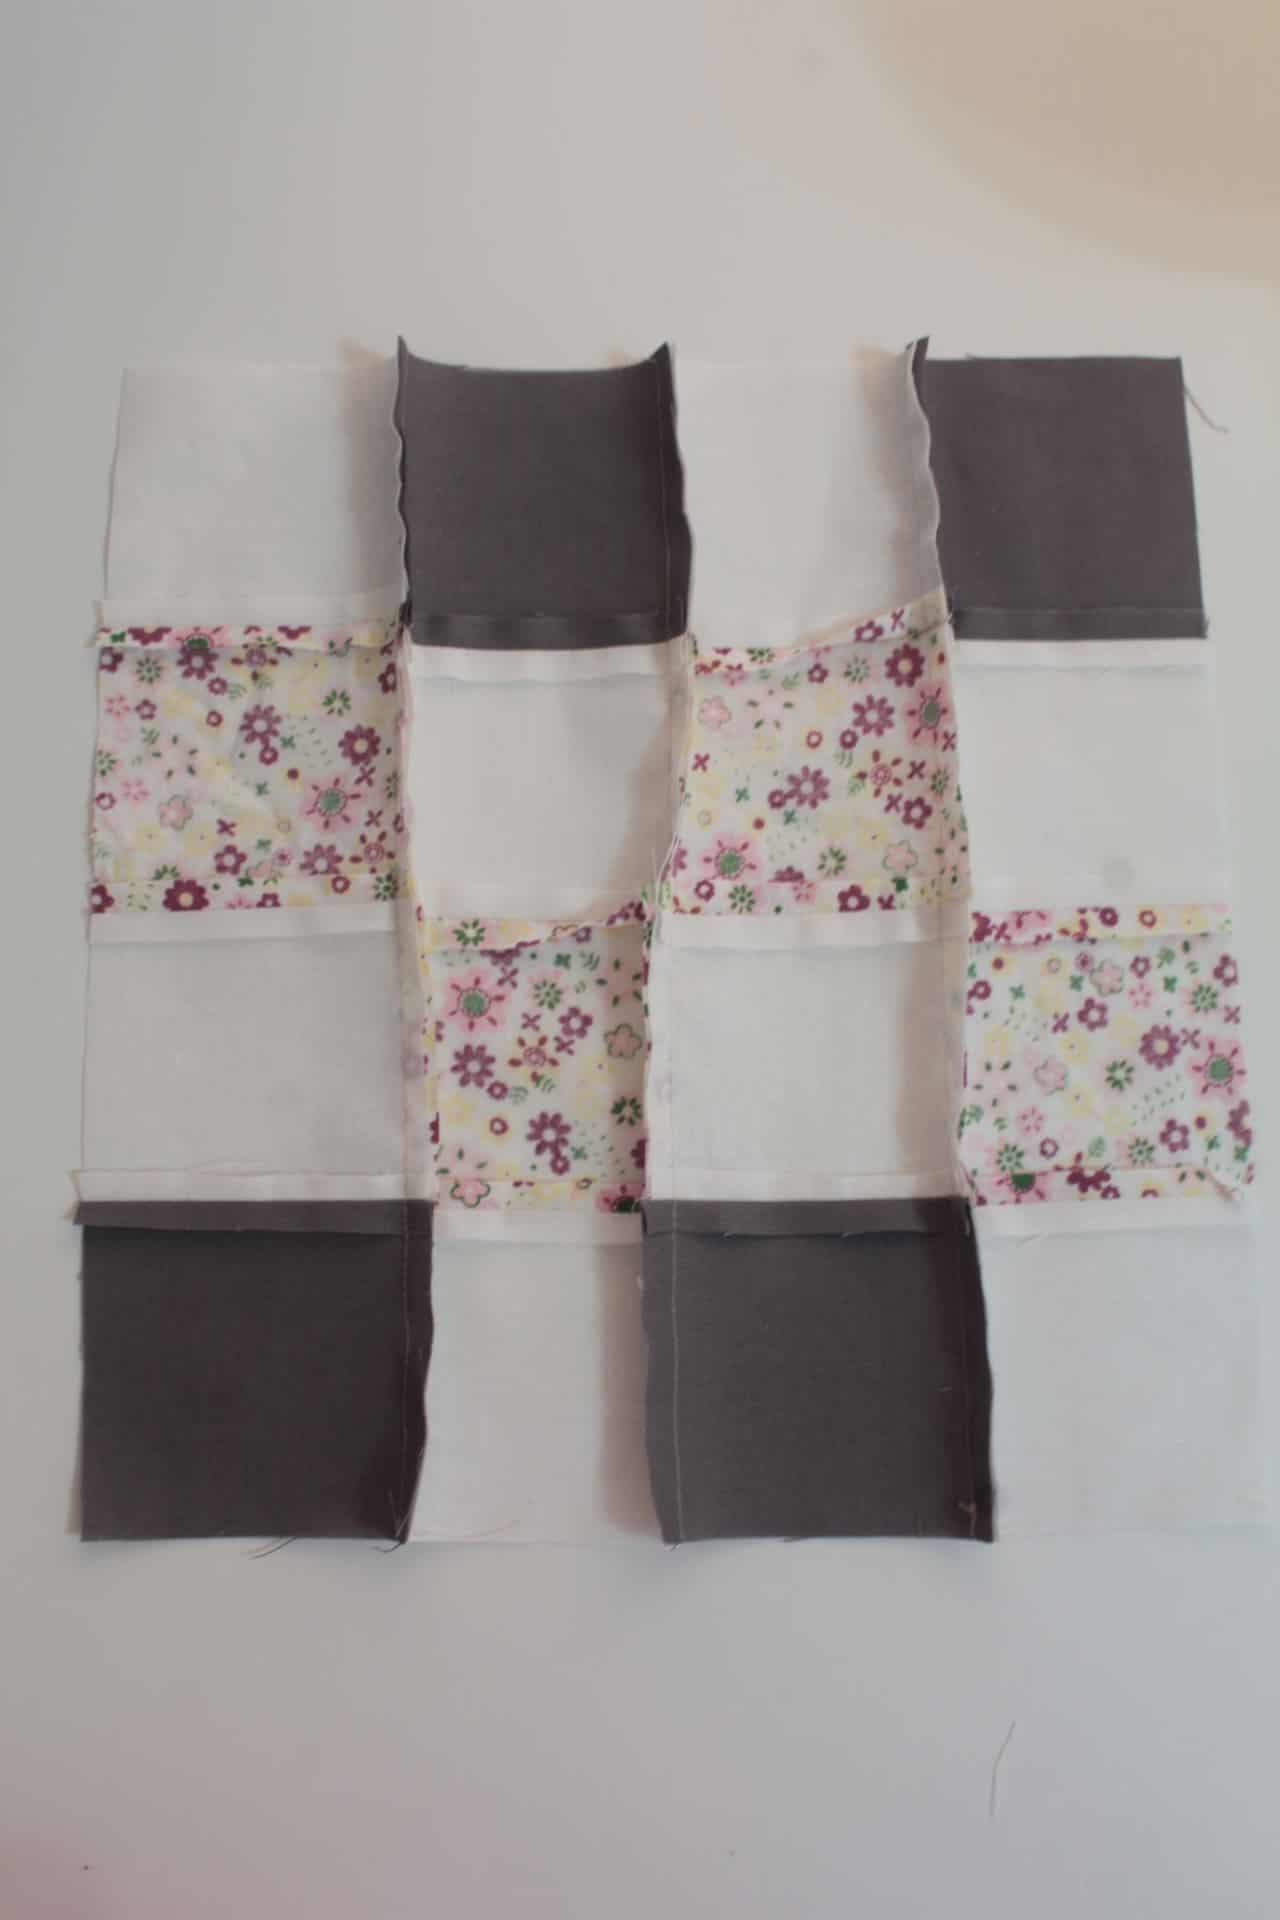
- With the outer side wrong side up, open all seams and press well.
- Repeat these steps for the joining strip and for the basket (for the basket you need two panels of fabric)
Cutting the batting and backing
- If you have enough batting, place each of these pieces over the batting and trace around the fabric with a marking pen. Then cut out from the batting. If you only have scraps of batting as I did, attach them using a medium narrow zig zag stitch.
- Repeat this step for the backing fabric, for each of the three pieces.
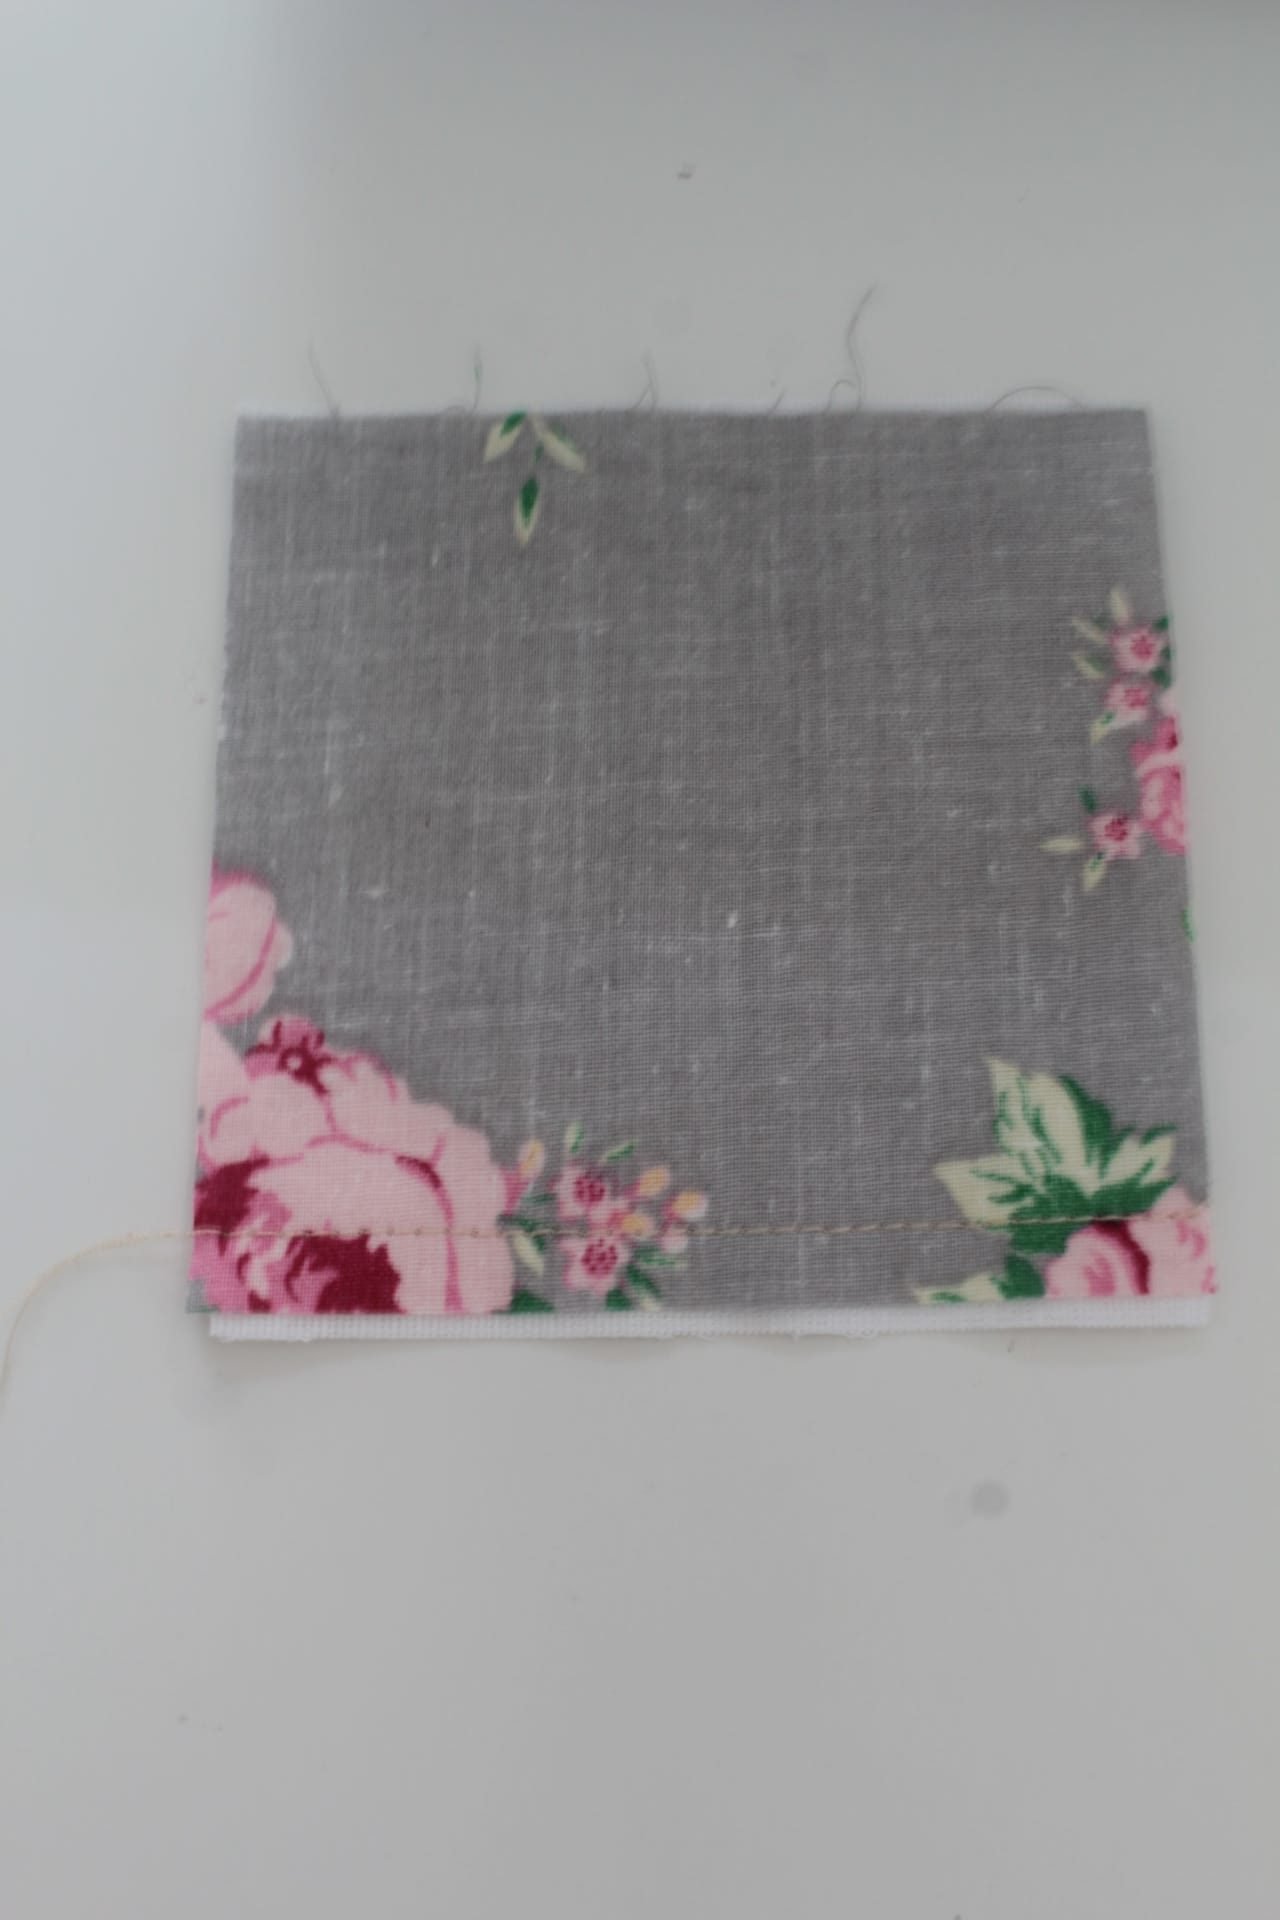
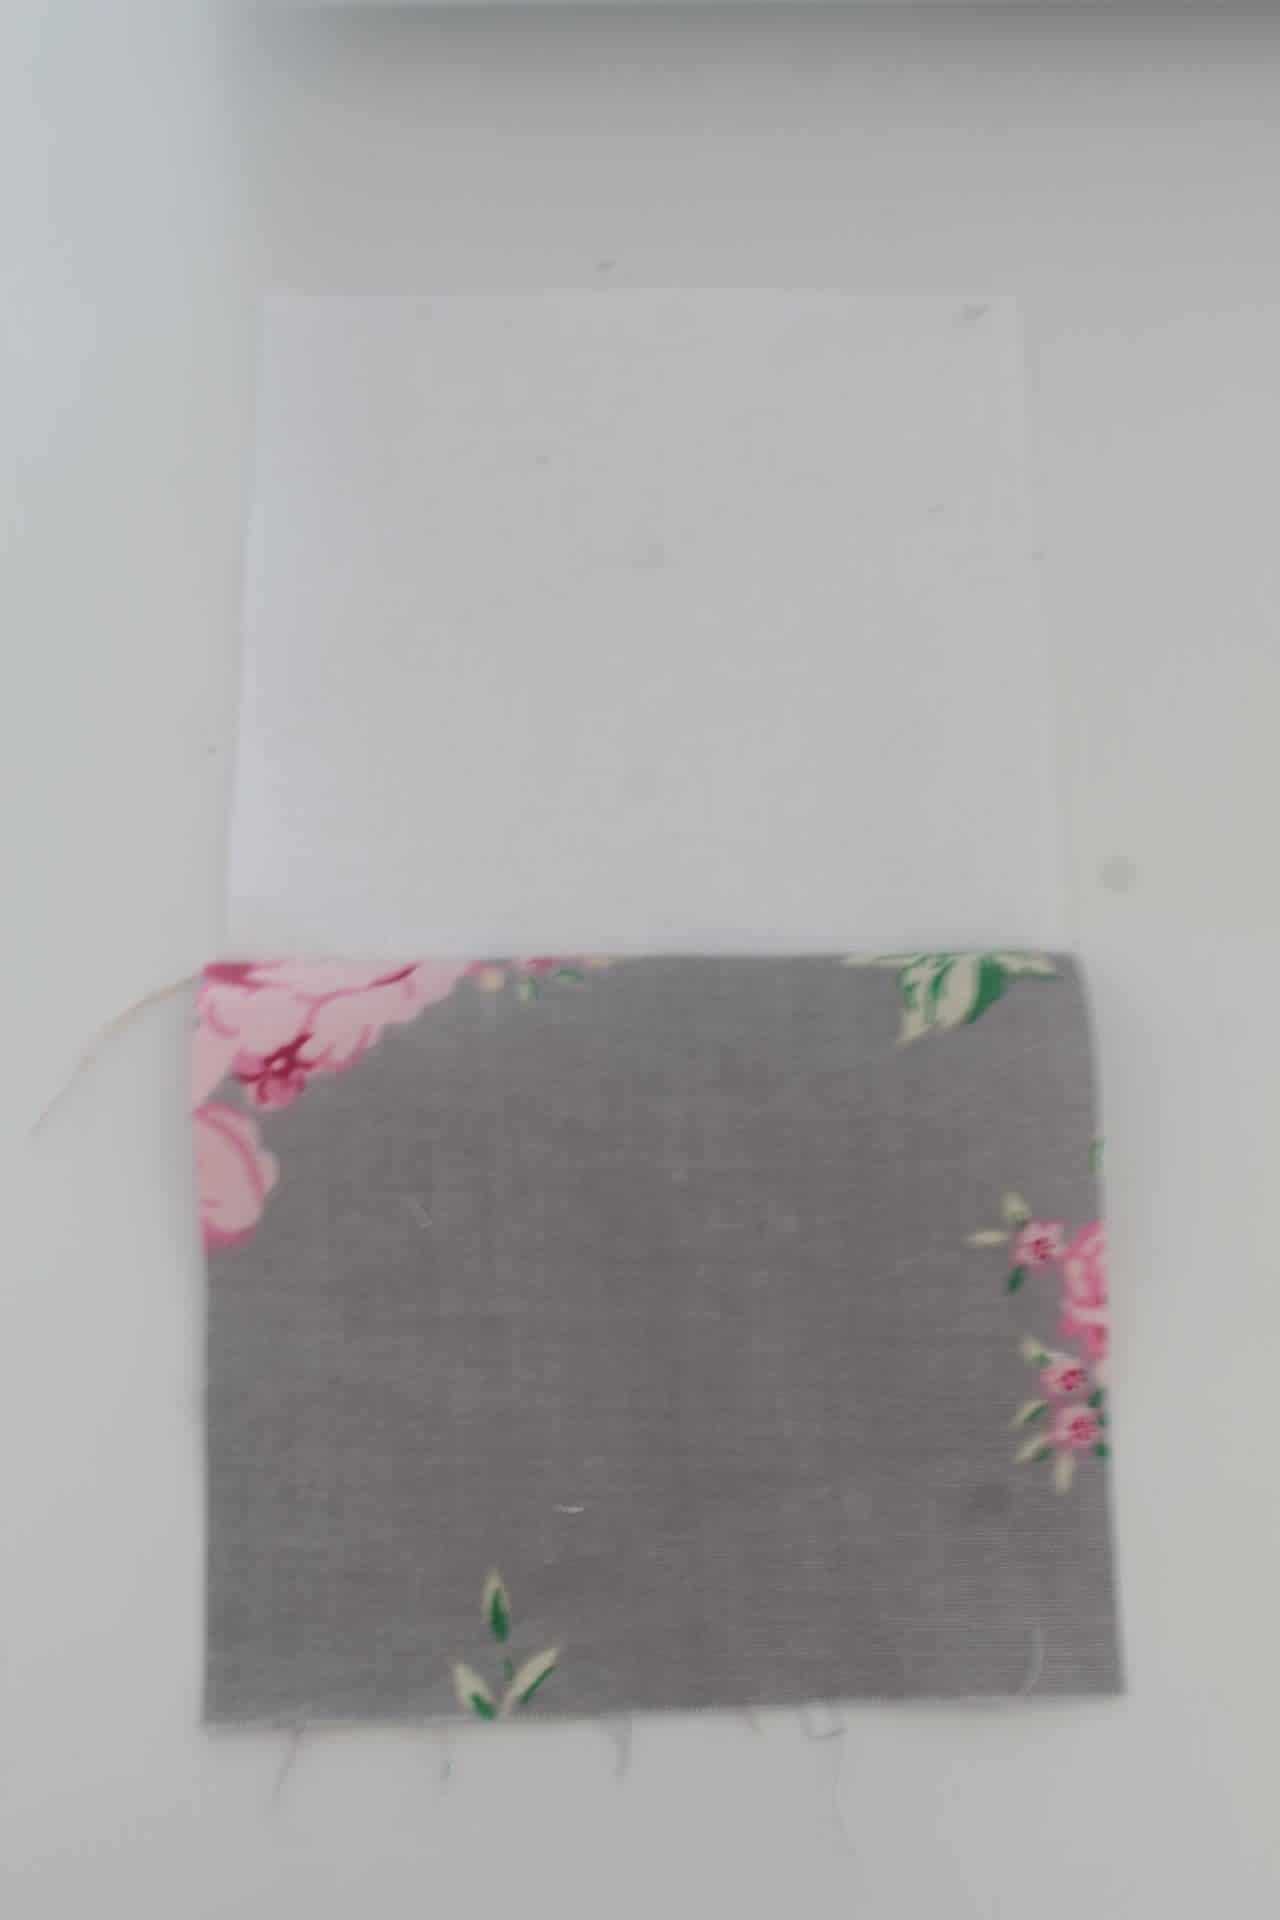
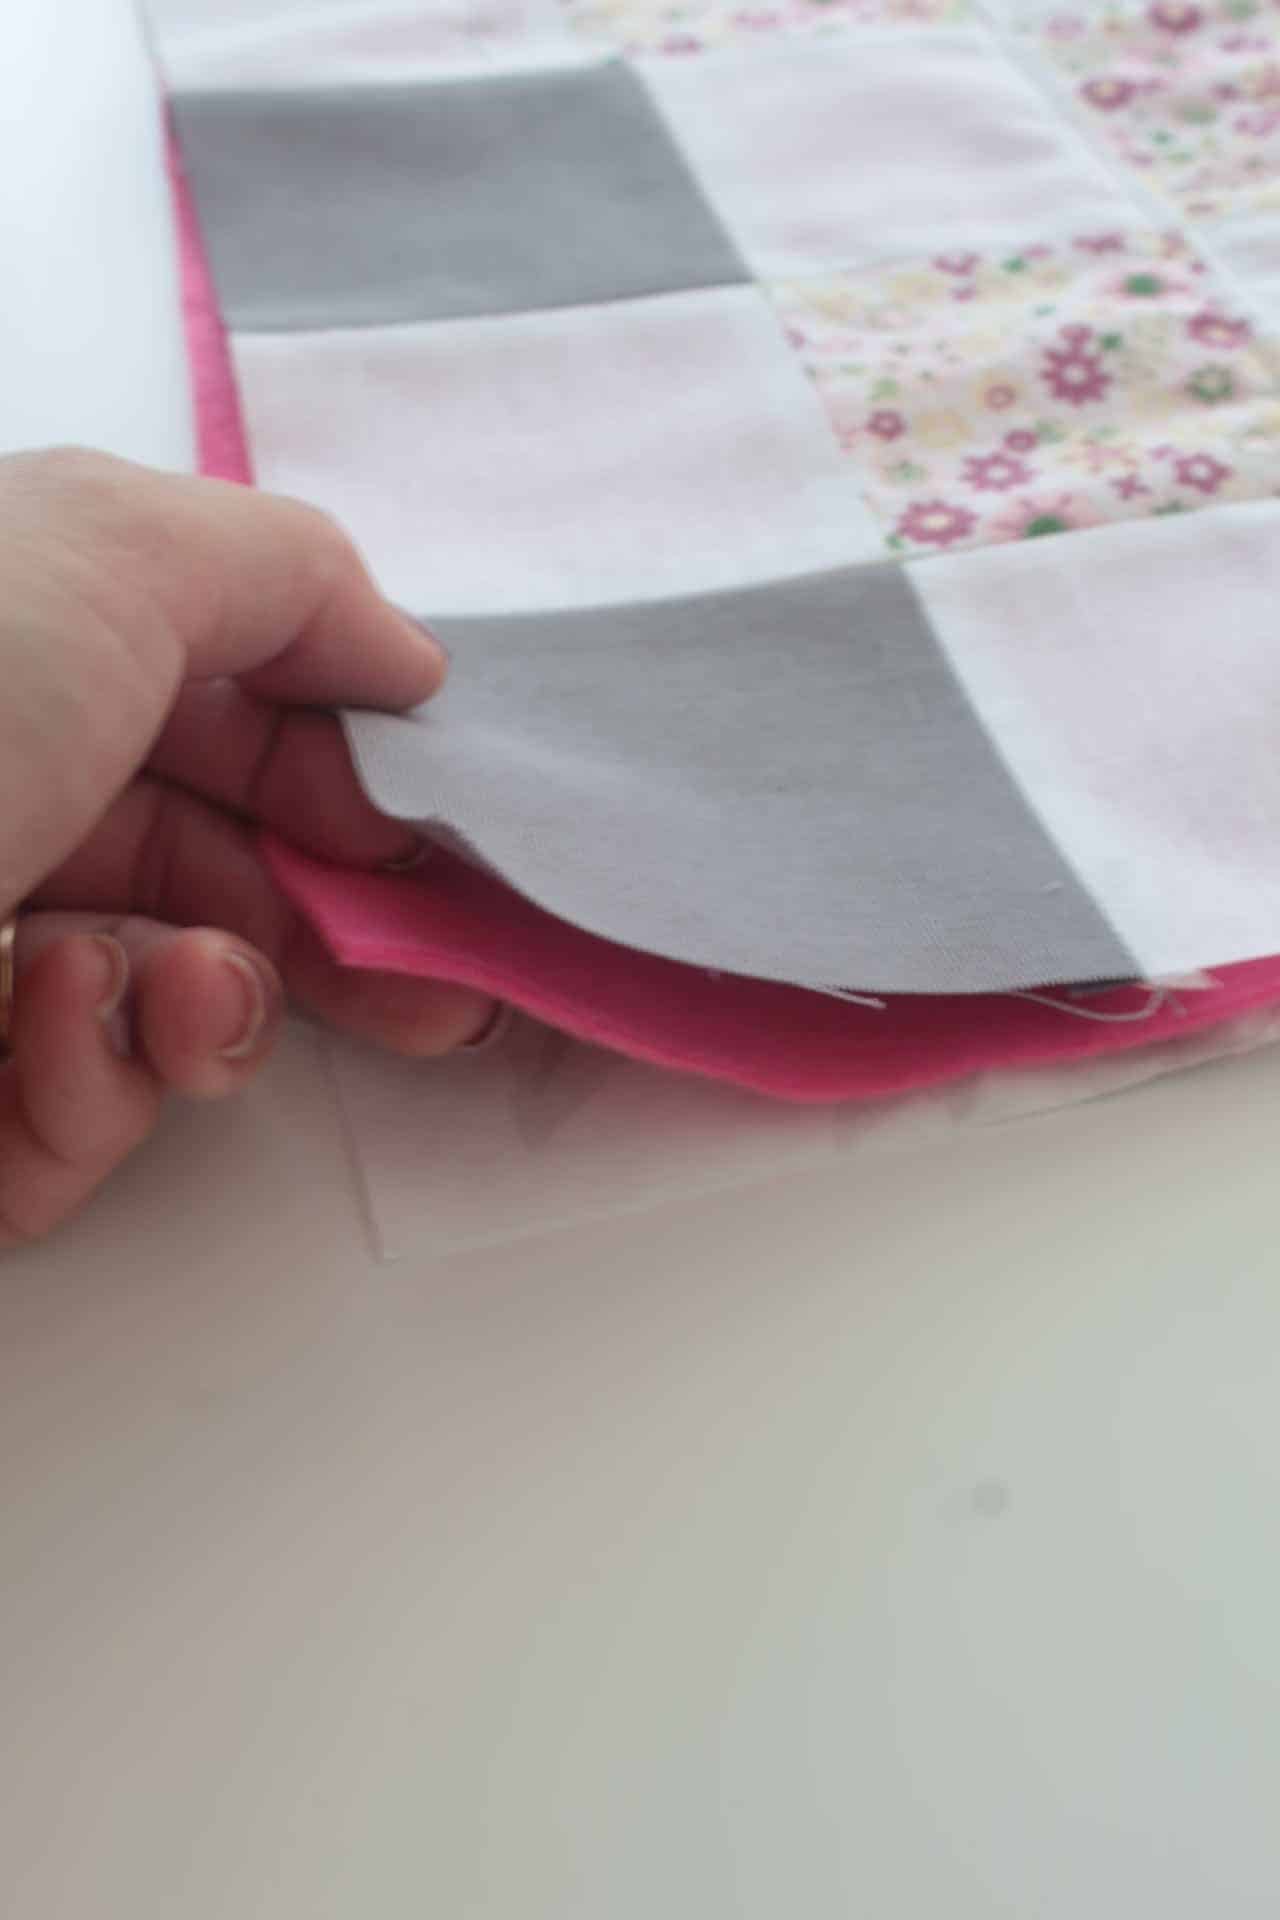
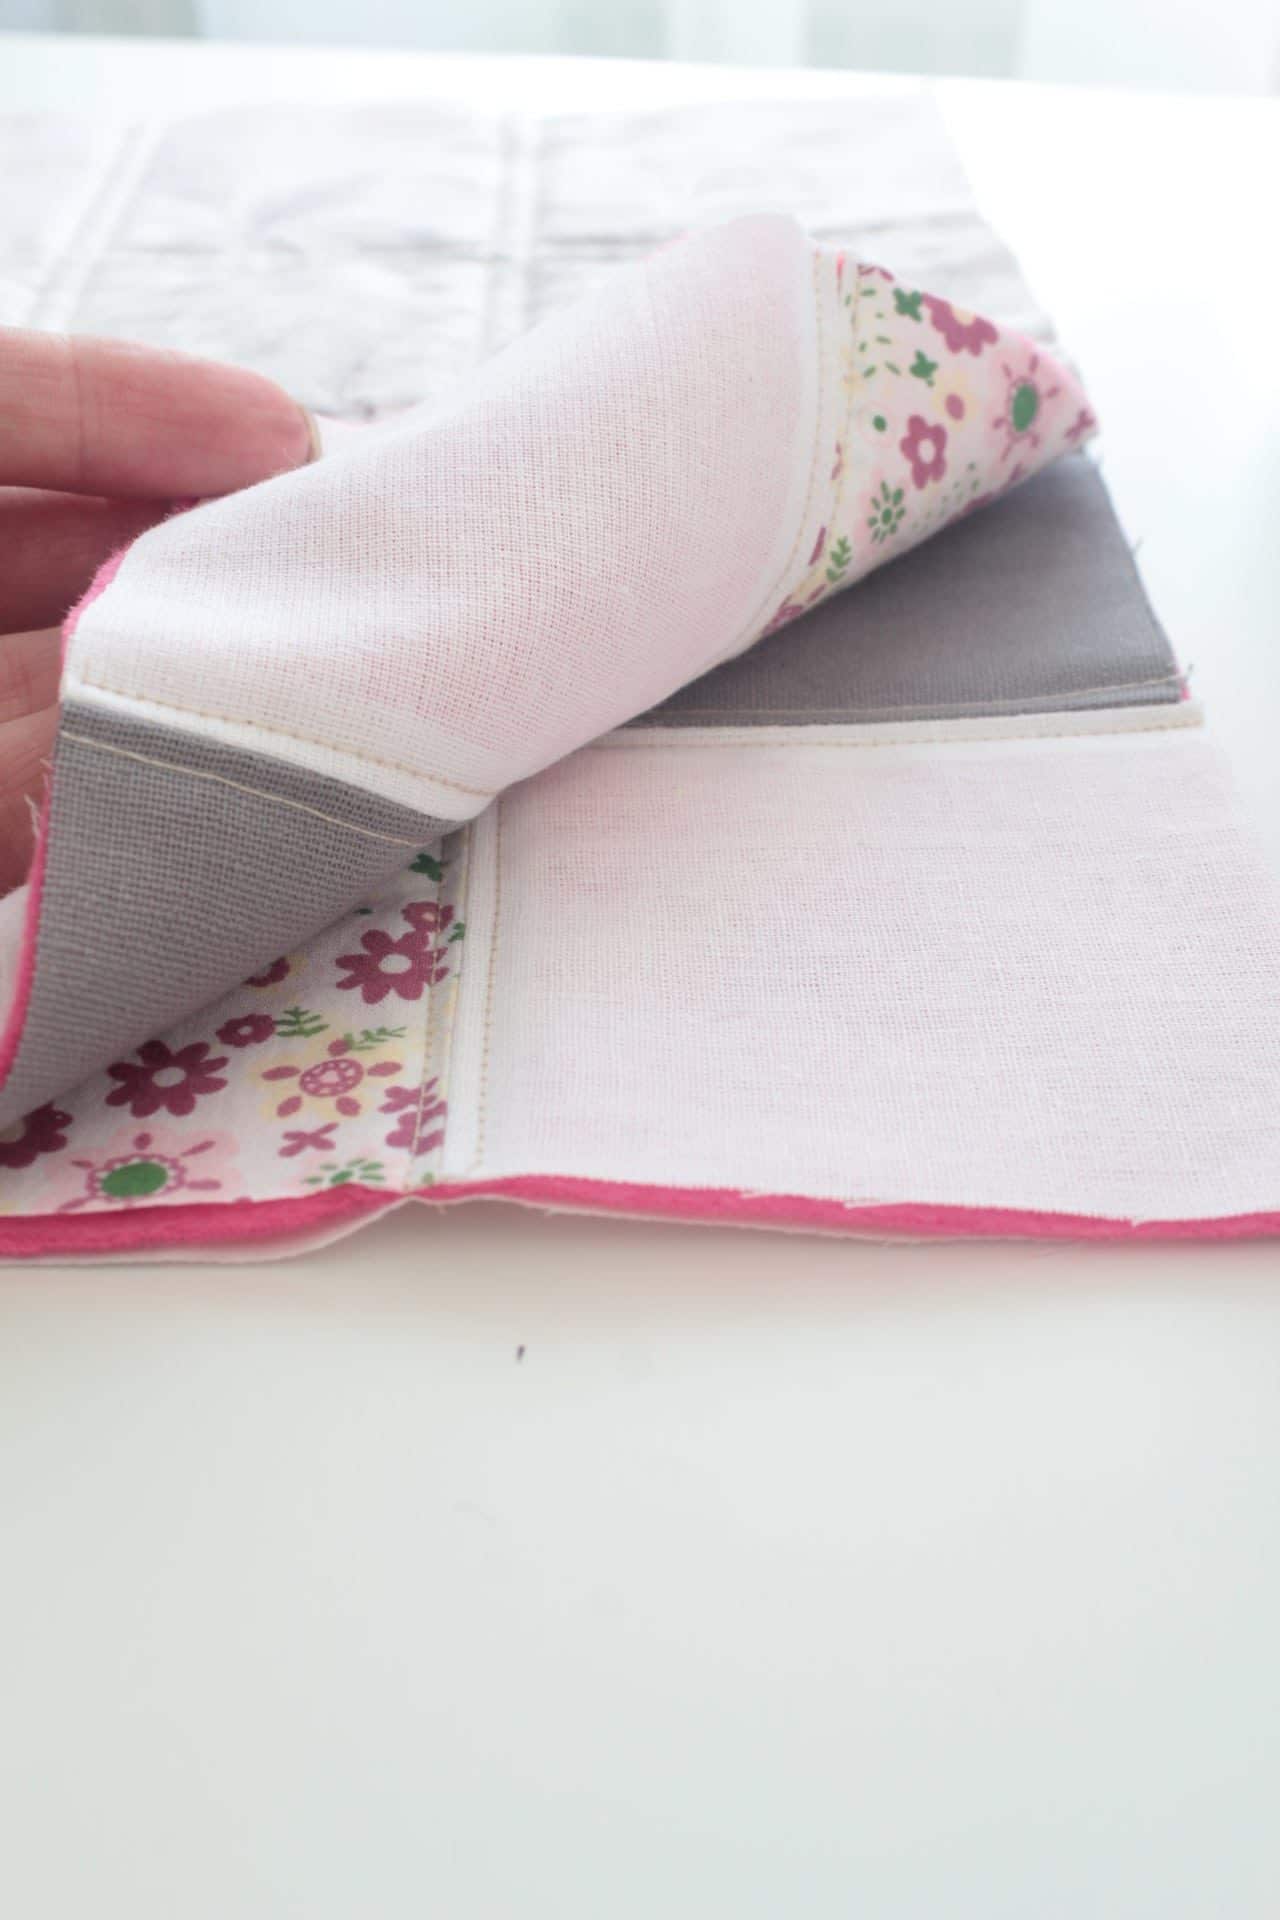
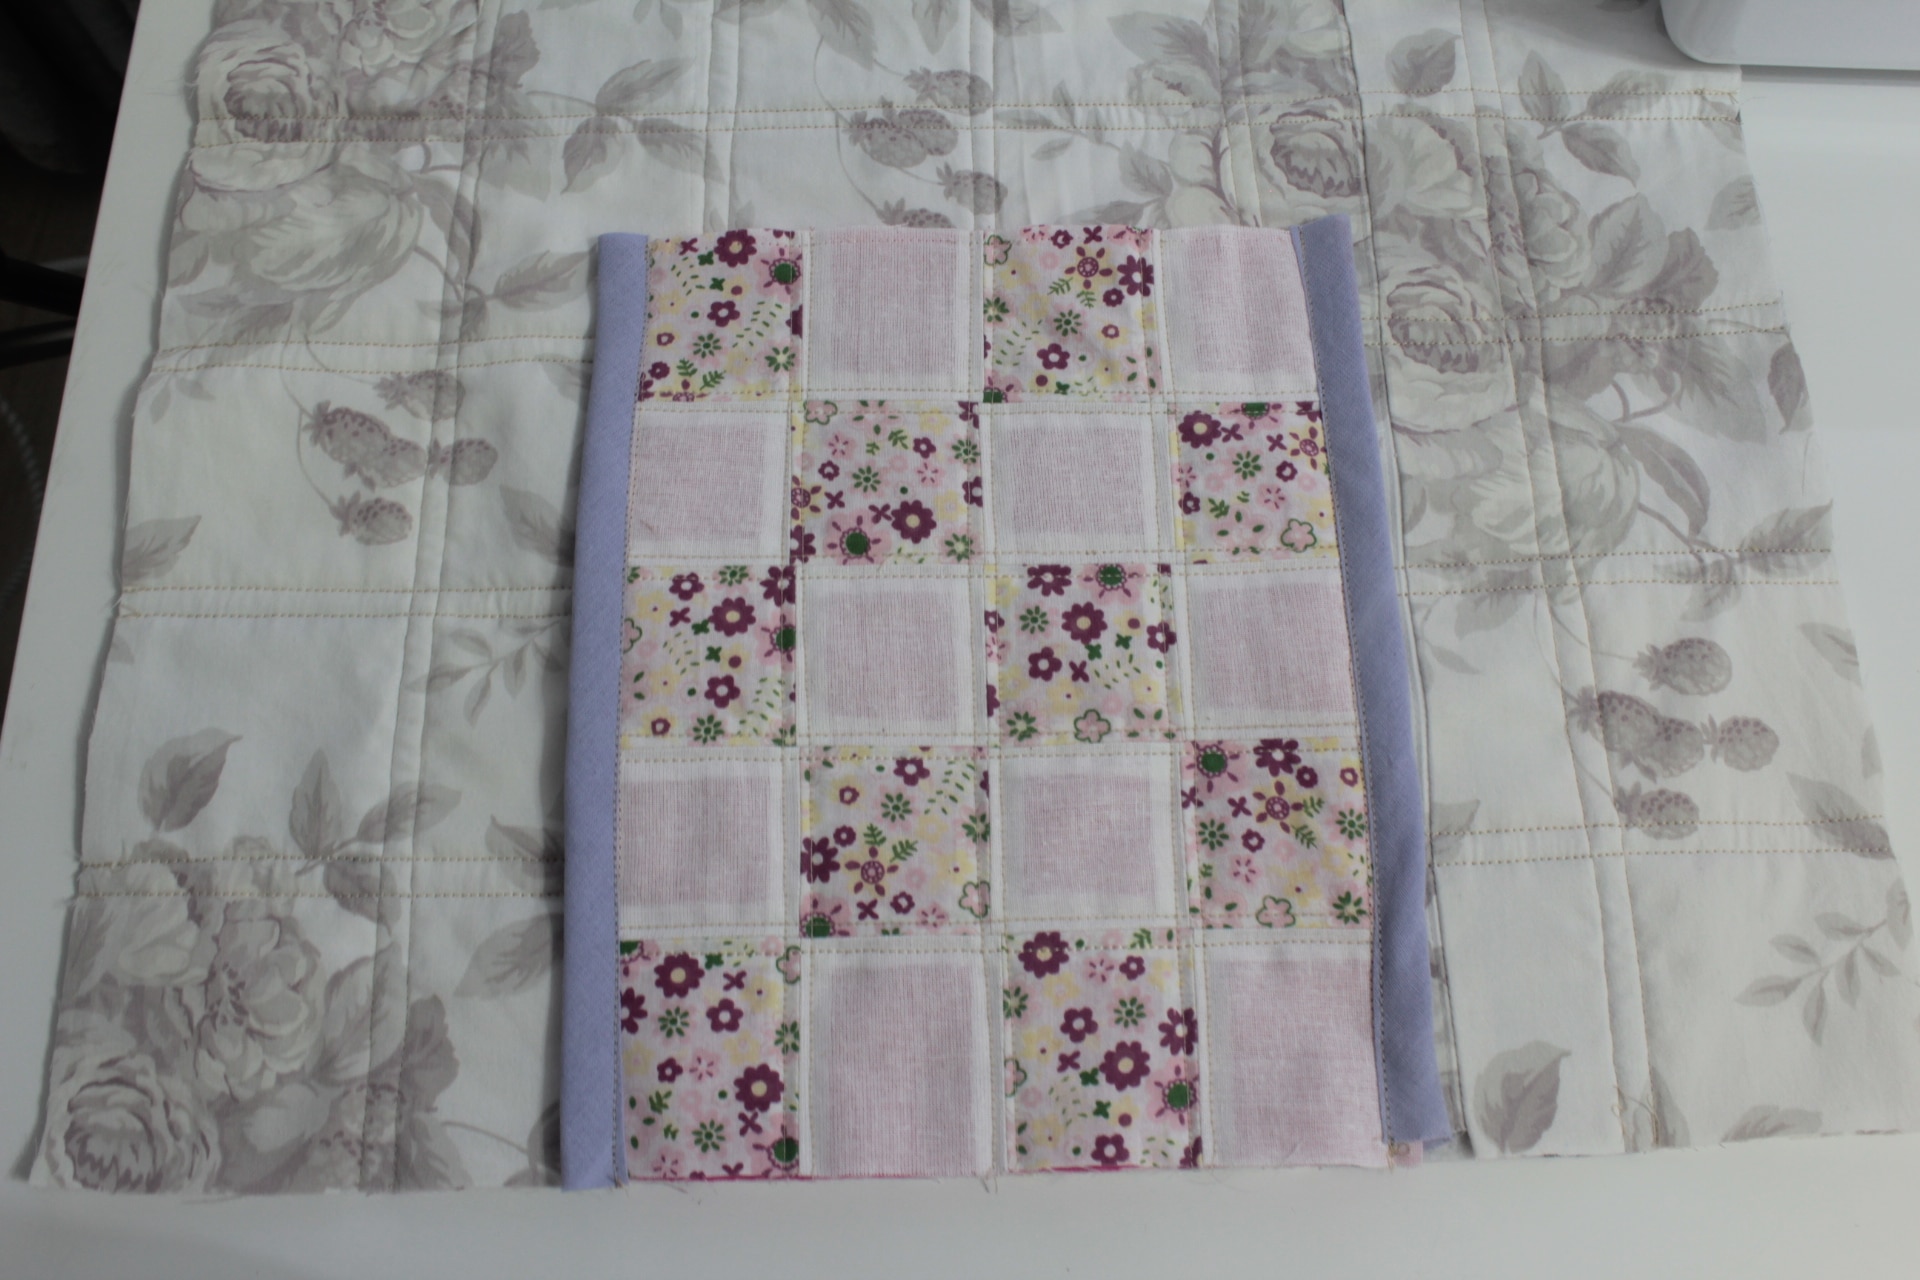
- Working with one piece of the sewing mat at a time, place the backing wrong side out, top with batting then add the outer fabric right side up.
Sewing all layers together
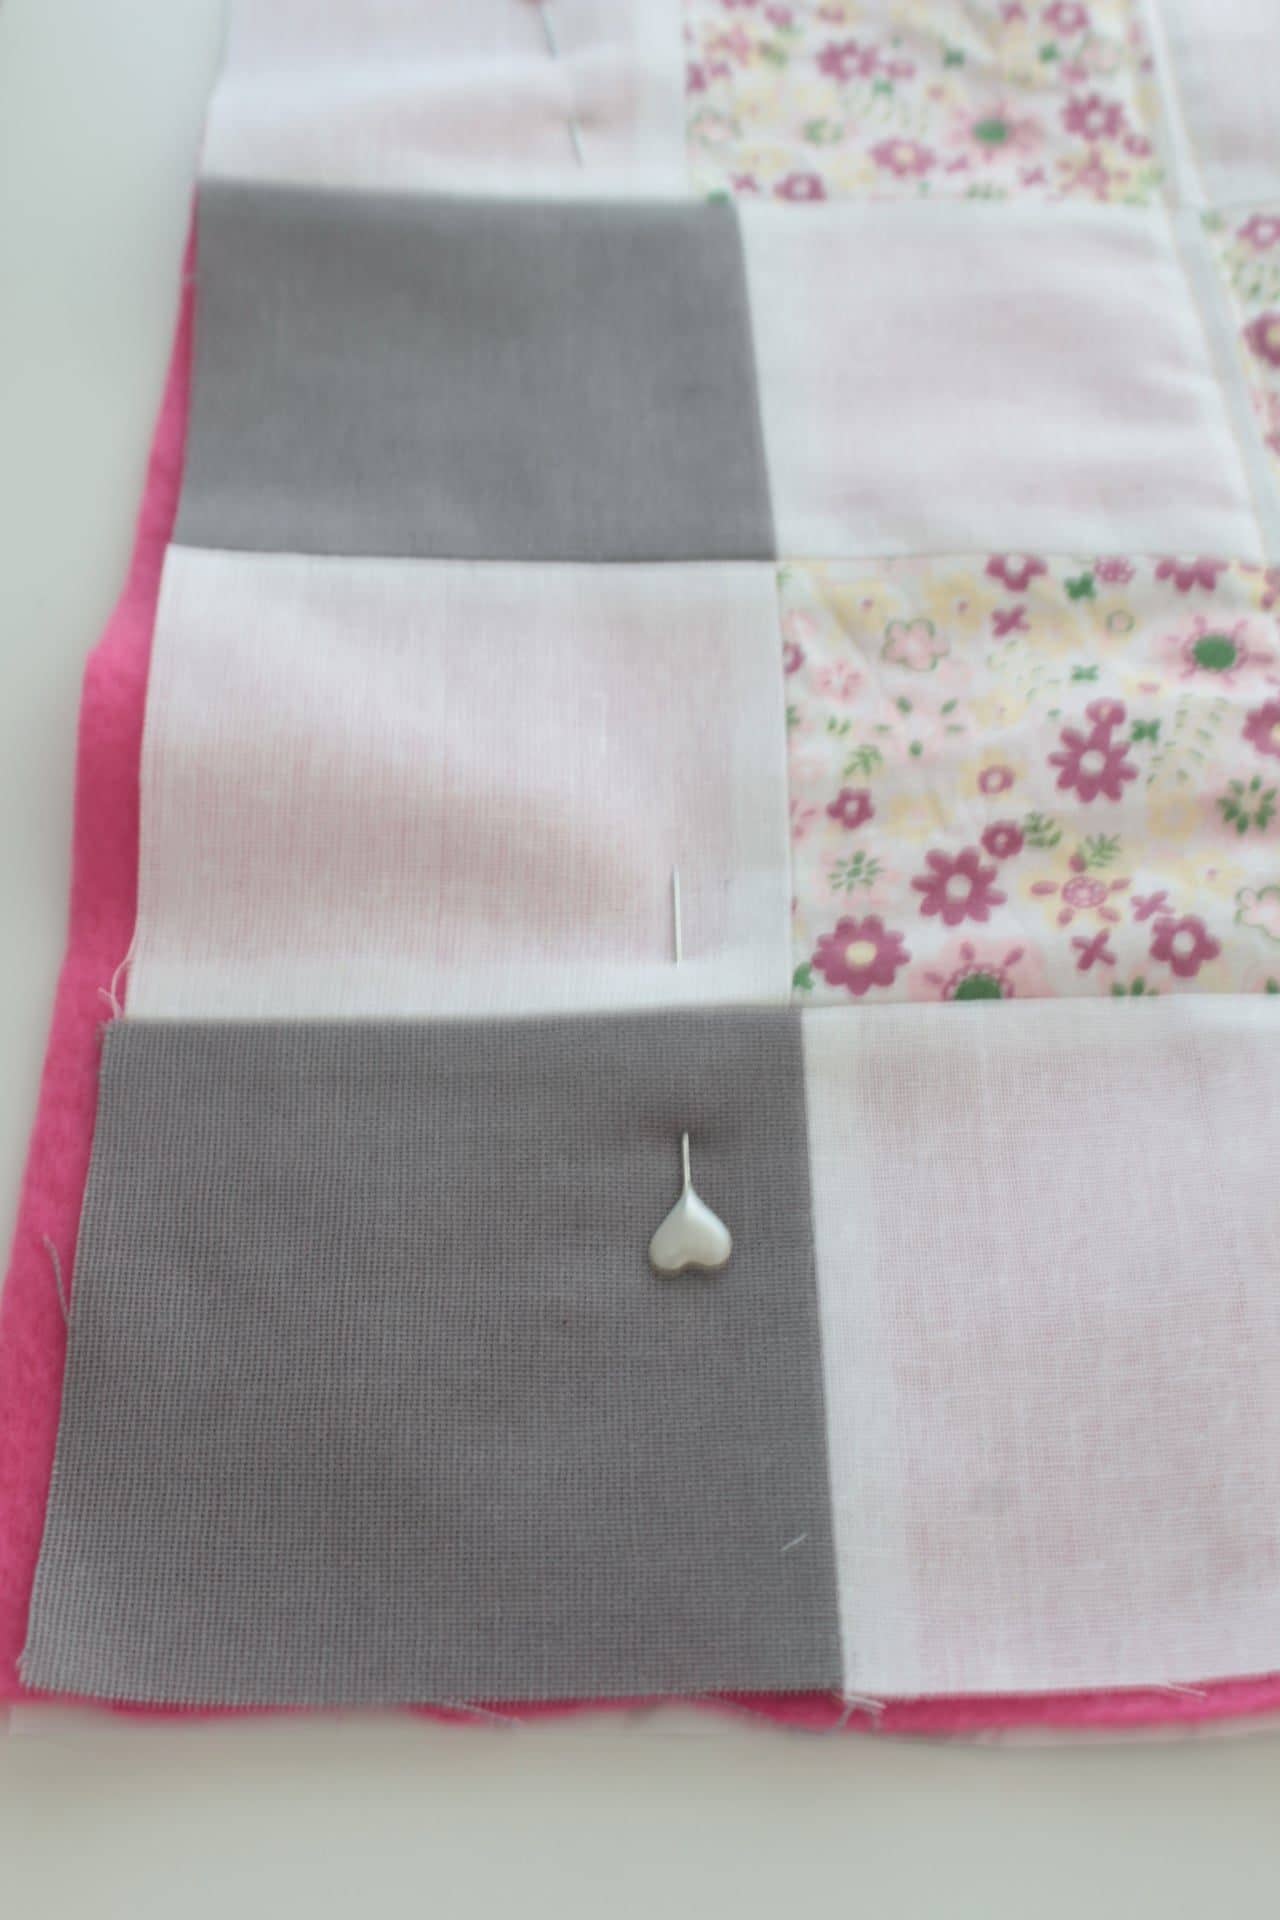
- Pin through all layers, using large pins or safety pins.
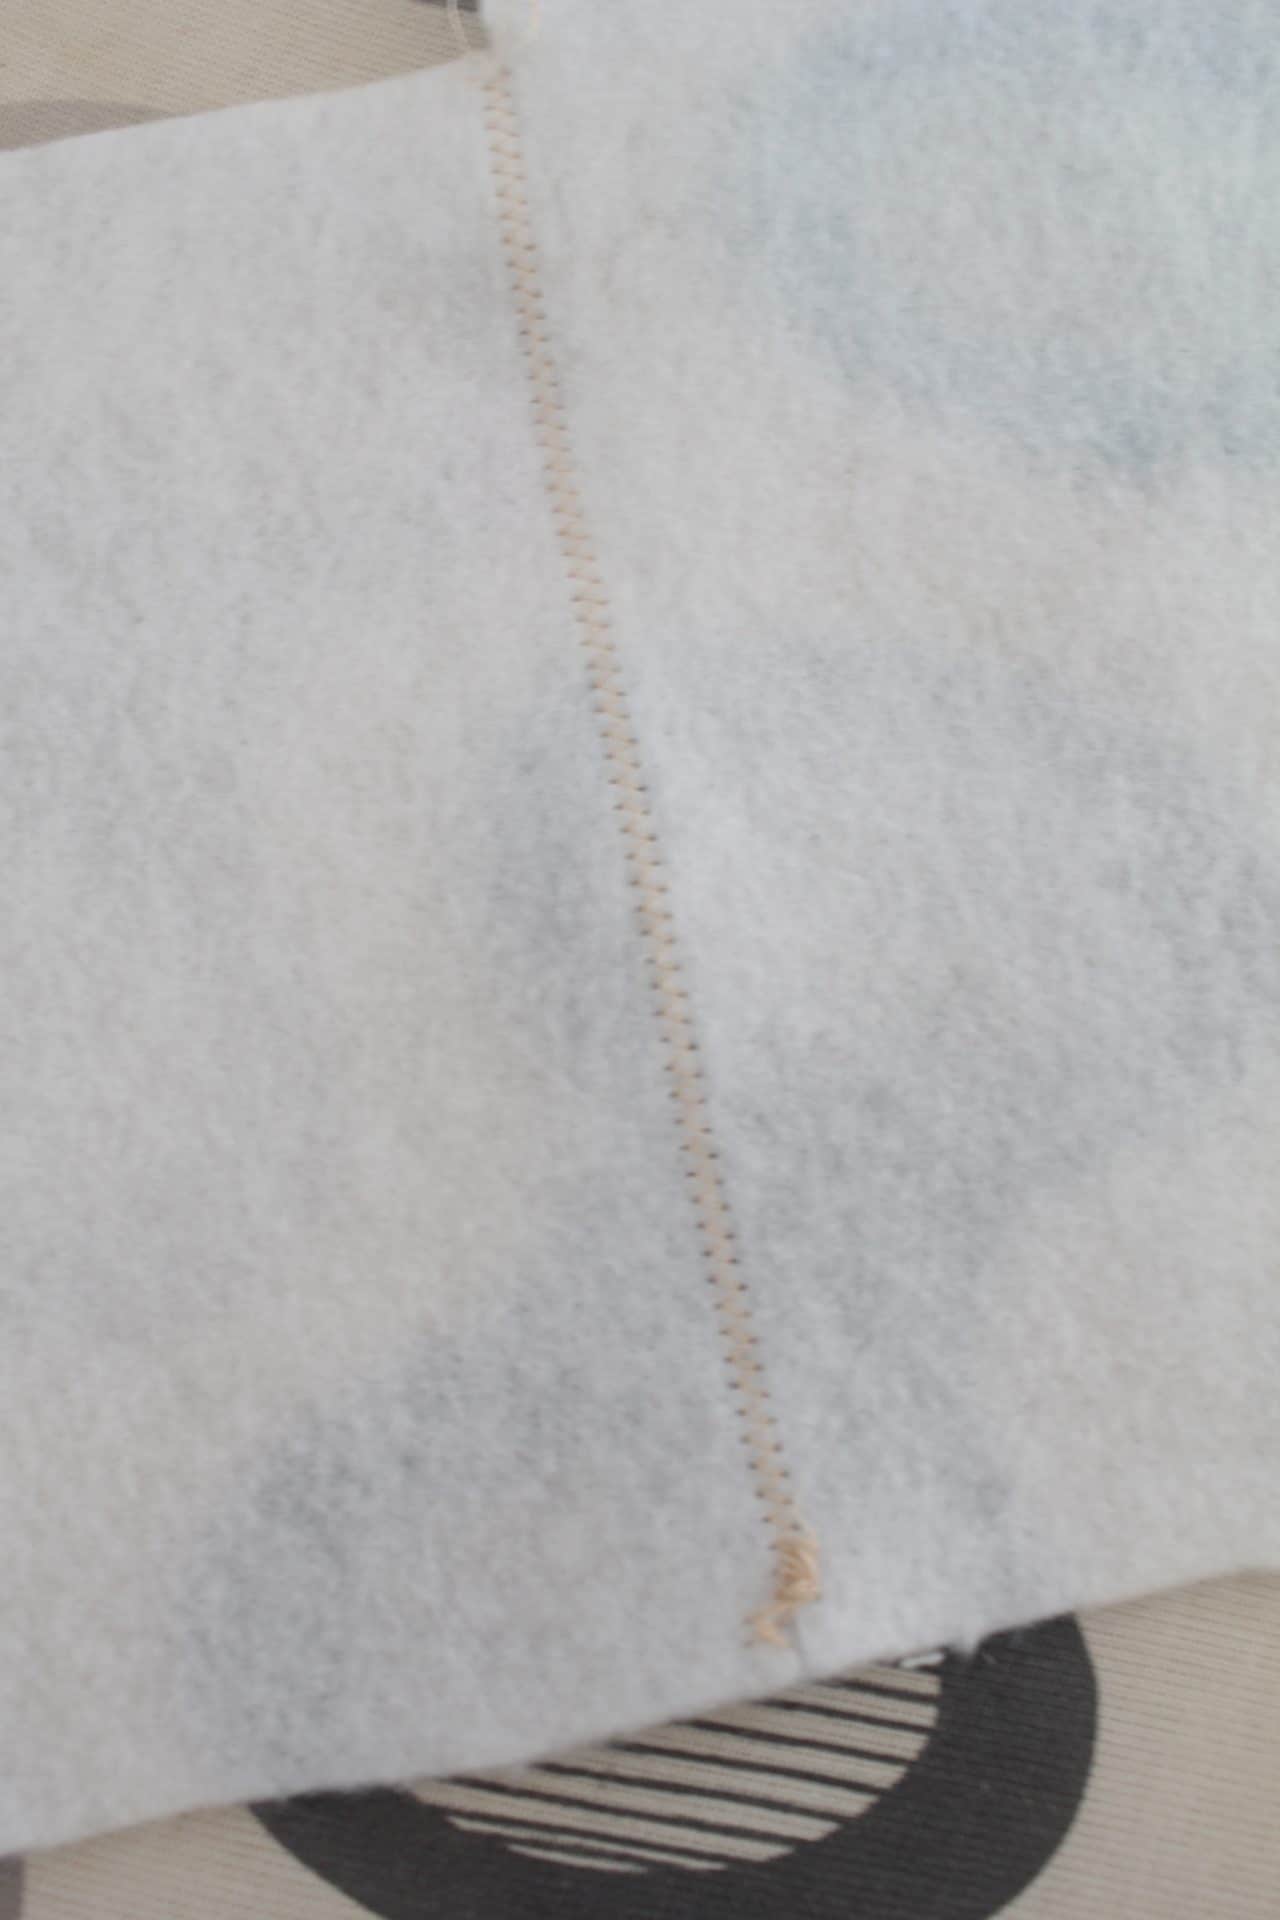
- Take each of the three pieces to the sewing machine and sew straight lines, parallel to the seams that join the squares.
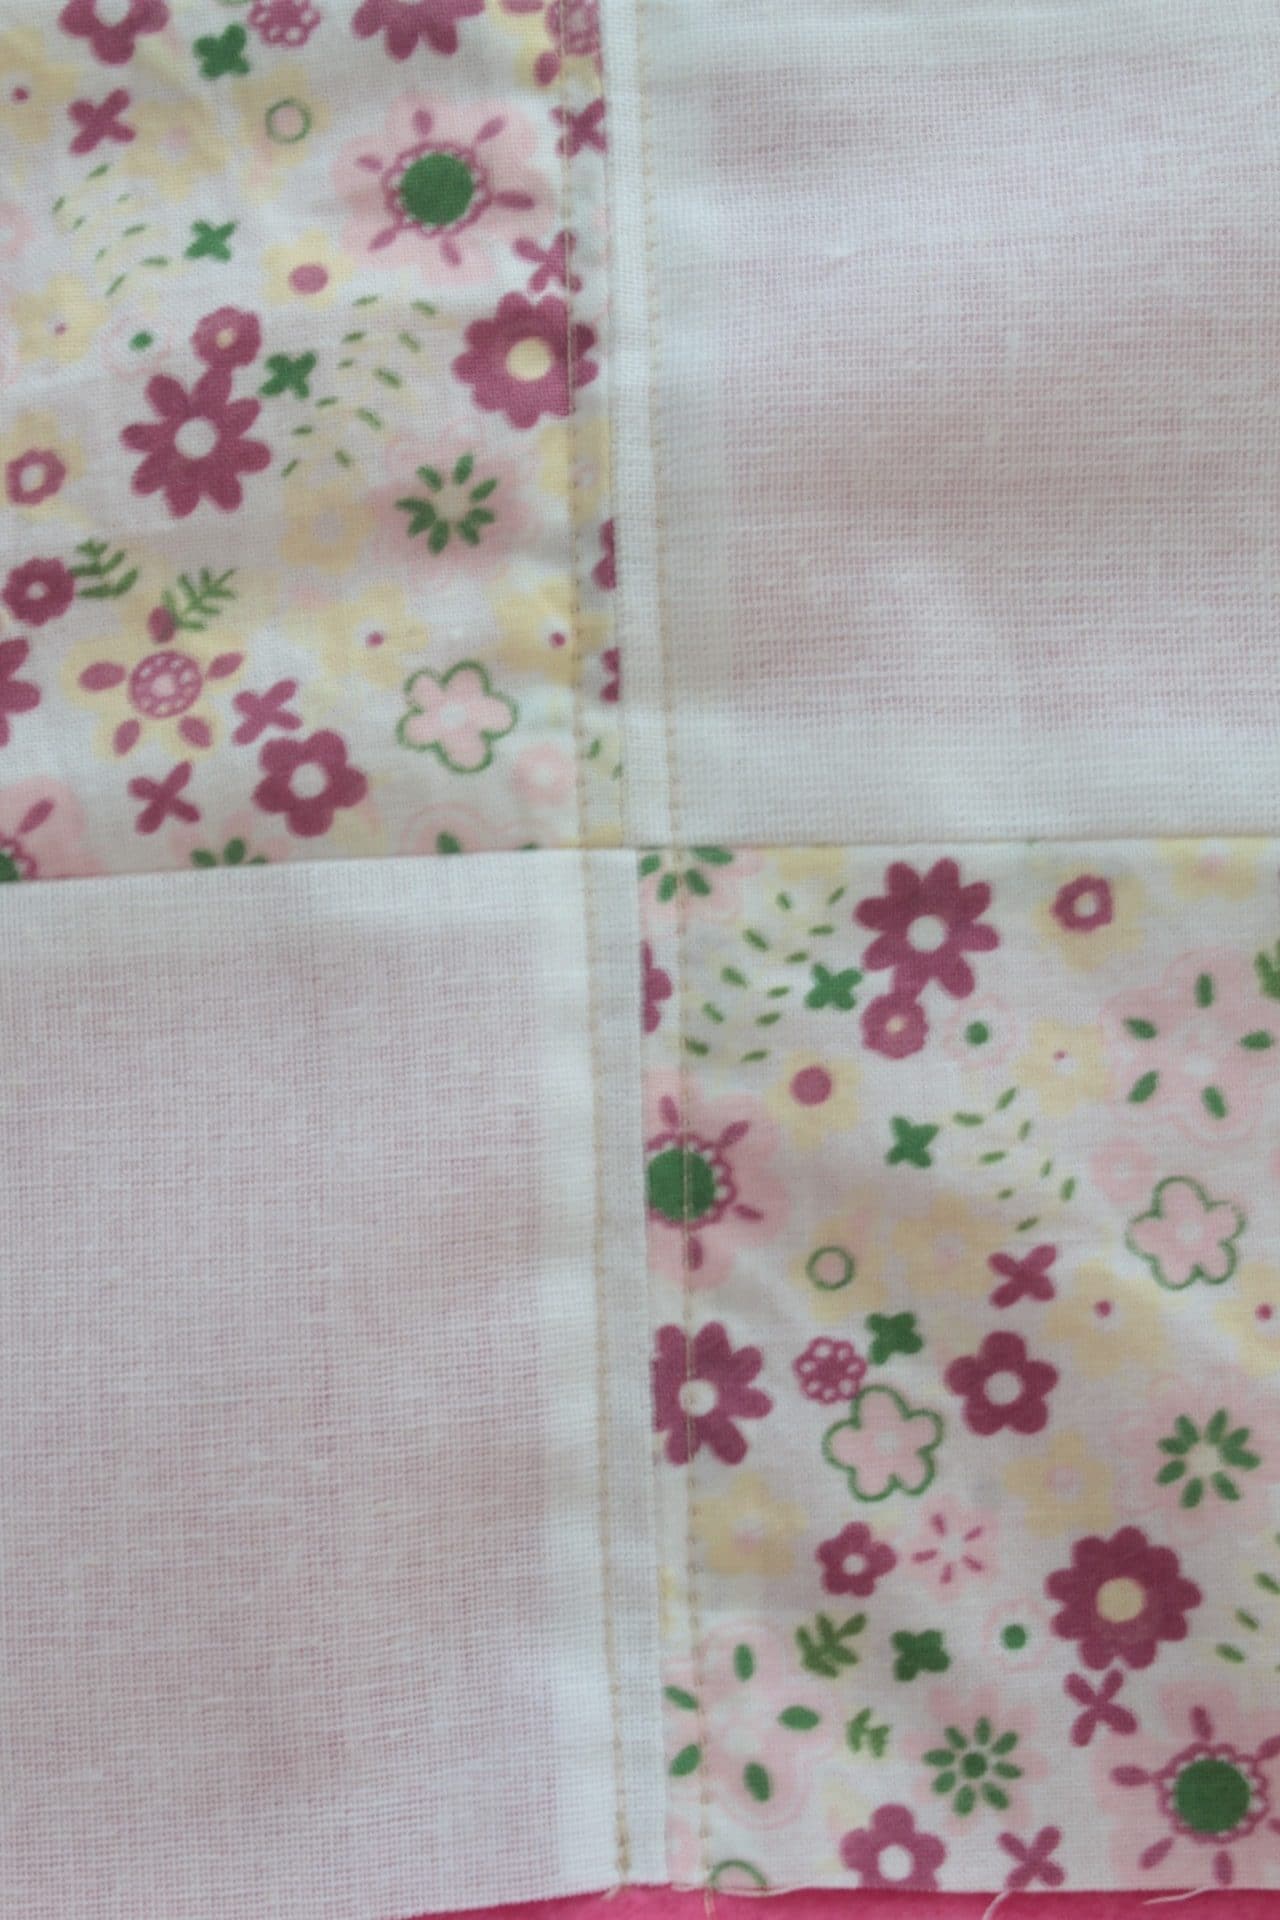
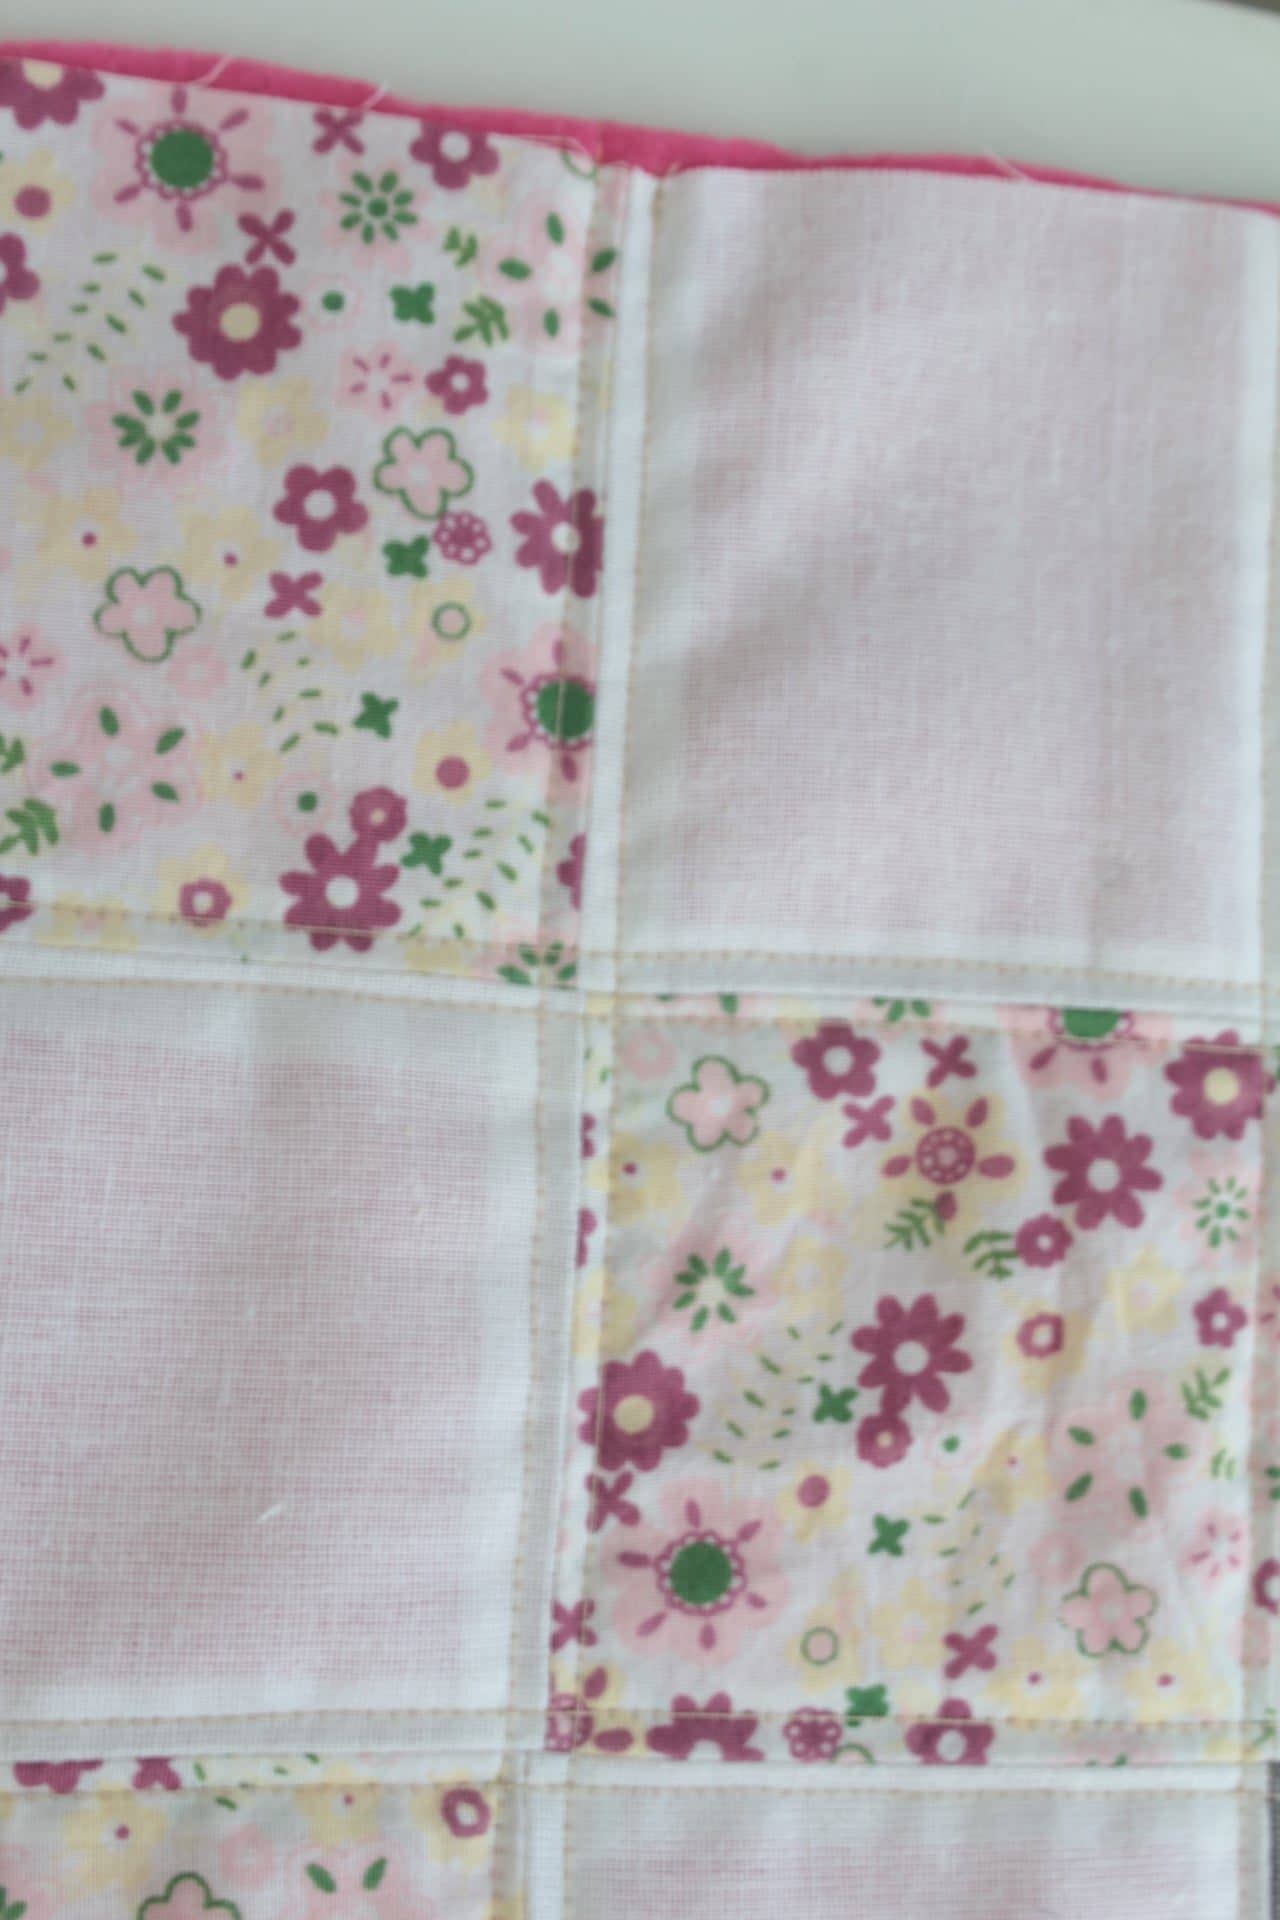
- Start sewing from the center seams towards the outside seams, smoothing fabric out as you sew.
- When all the quilted panels in all three pieces are assembled (the mat, the joining strip and the basket), trim the edges so they’re all level. If you have a sharp rotary cutter it will make the process faster.
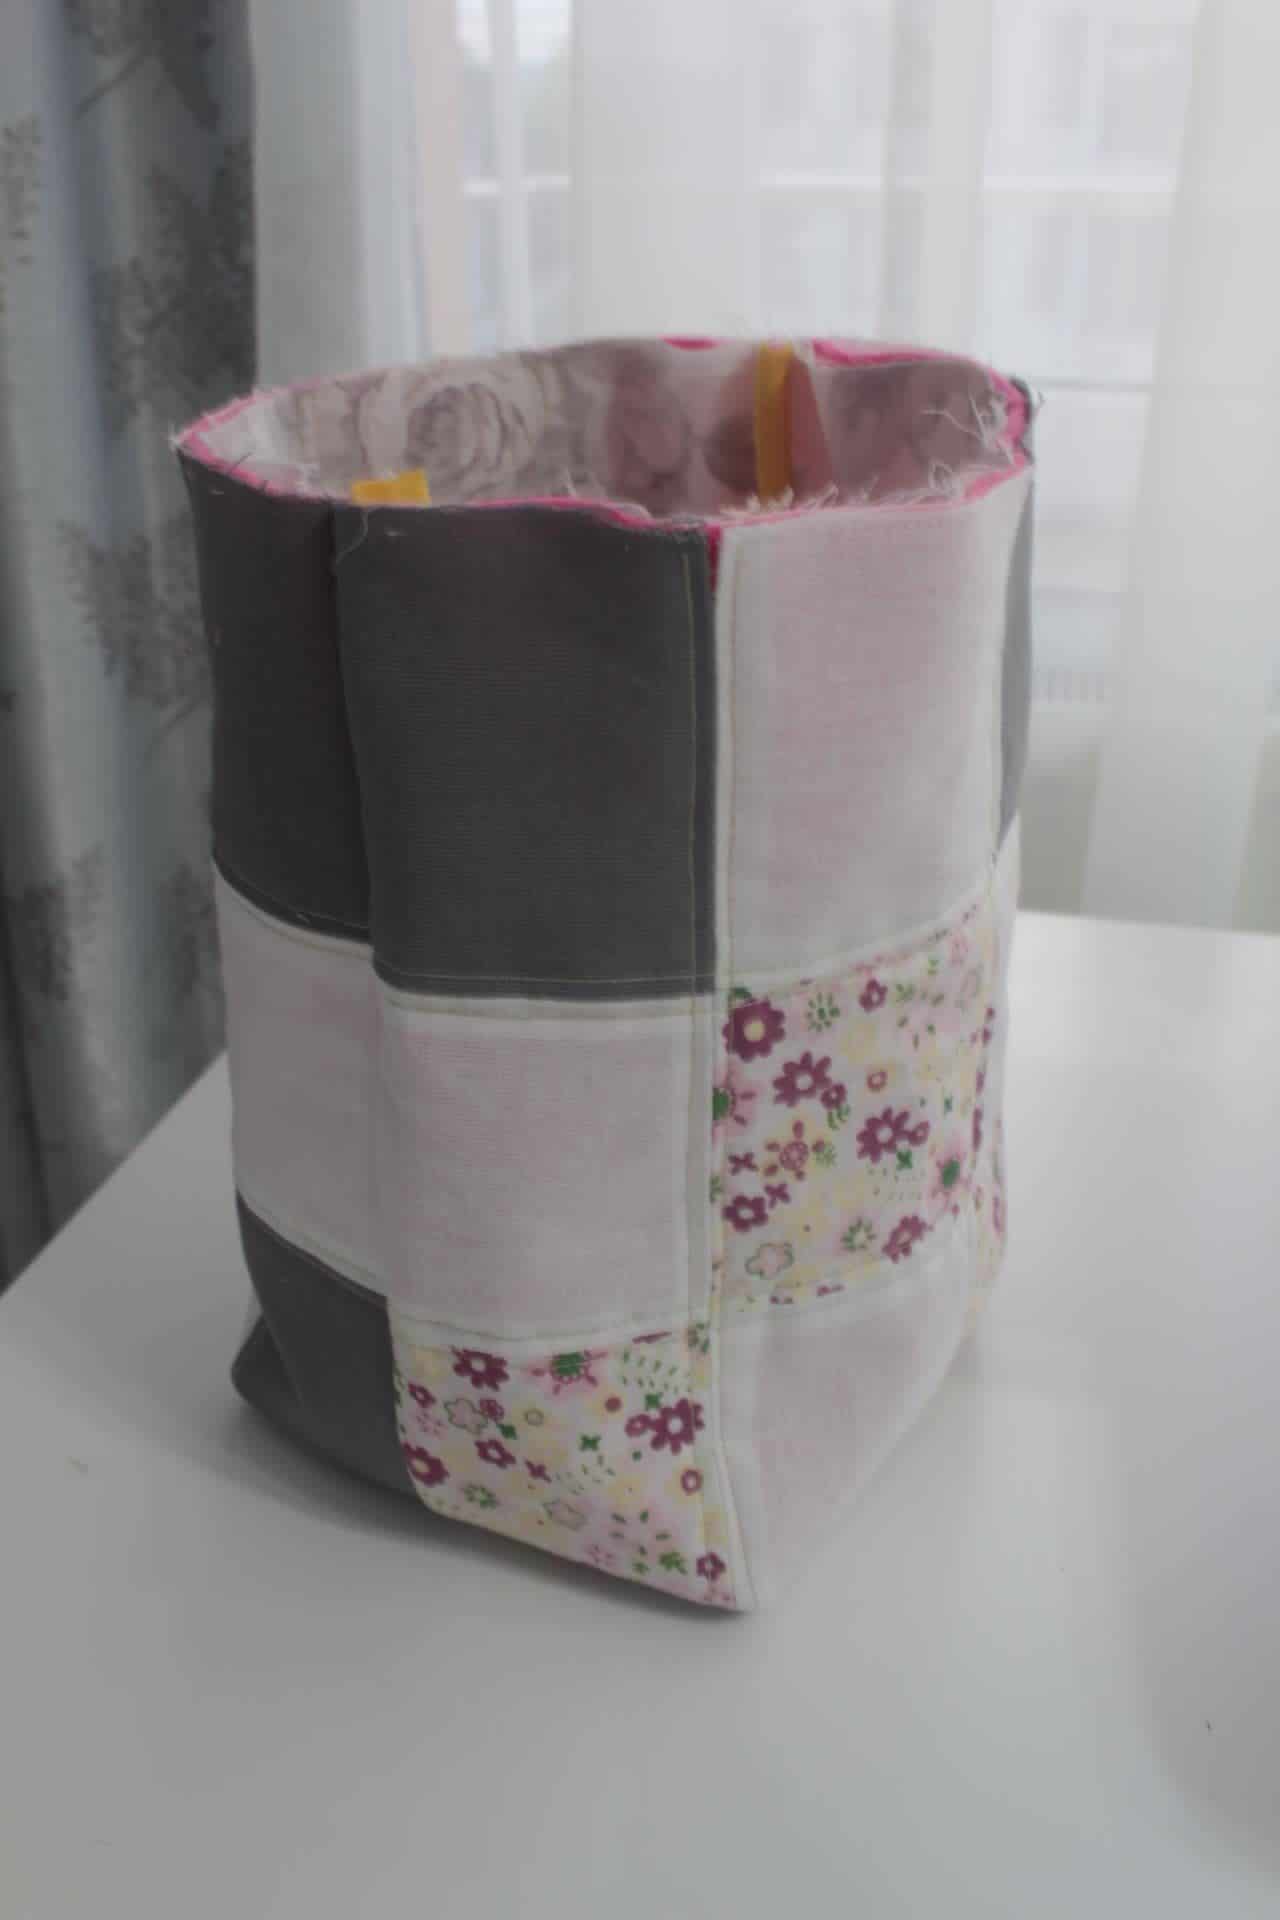
Creating the basket
- Take the two basket panels and place them right sides together.
- Clip the sides and the bottom with quilting clips and sew with 1/4″, pivoting at corners.
- Trim the seams down to 1/8″
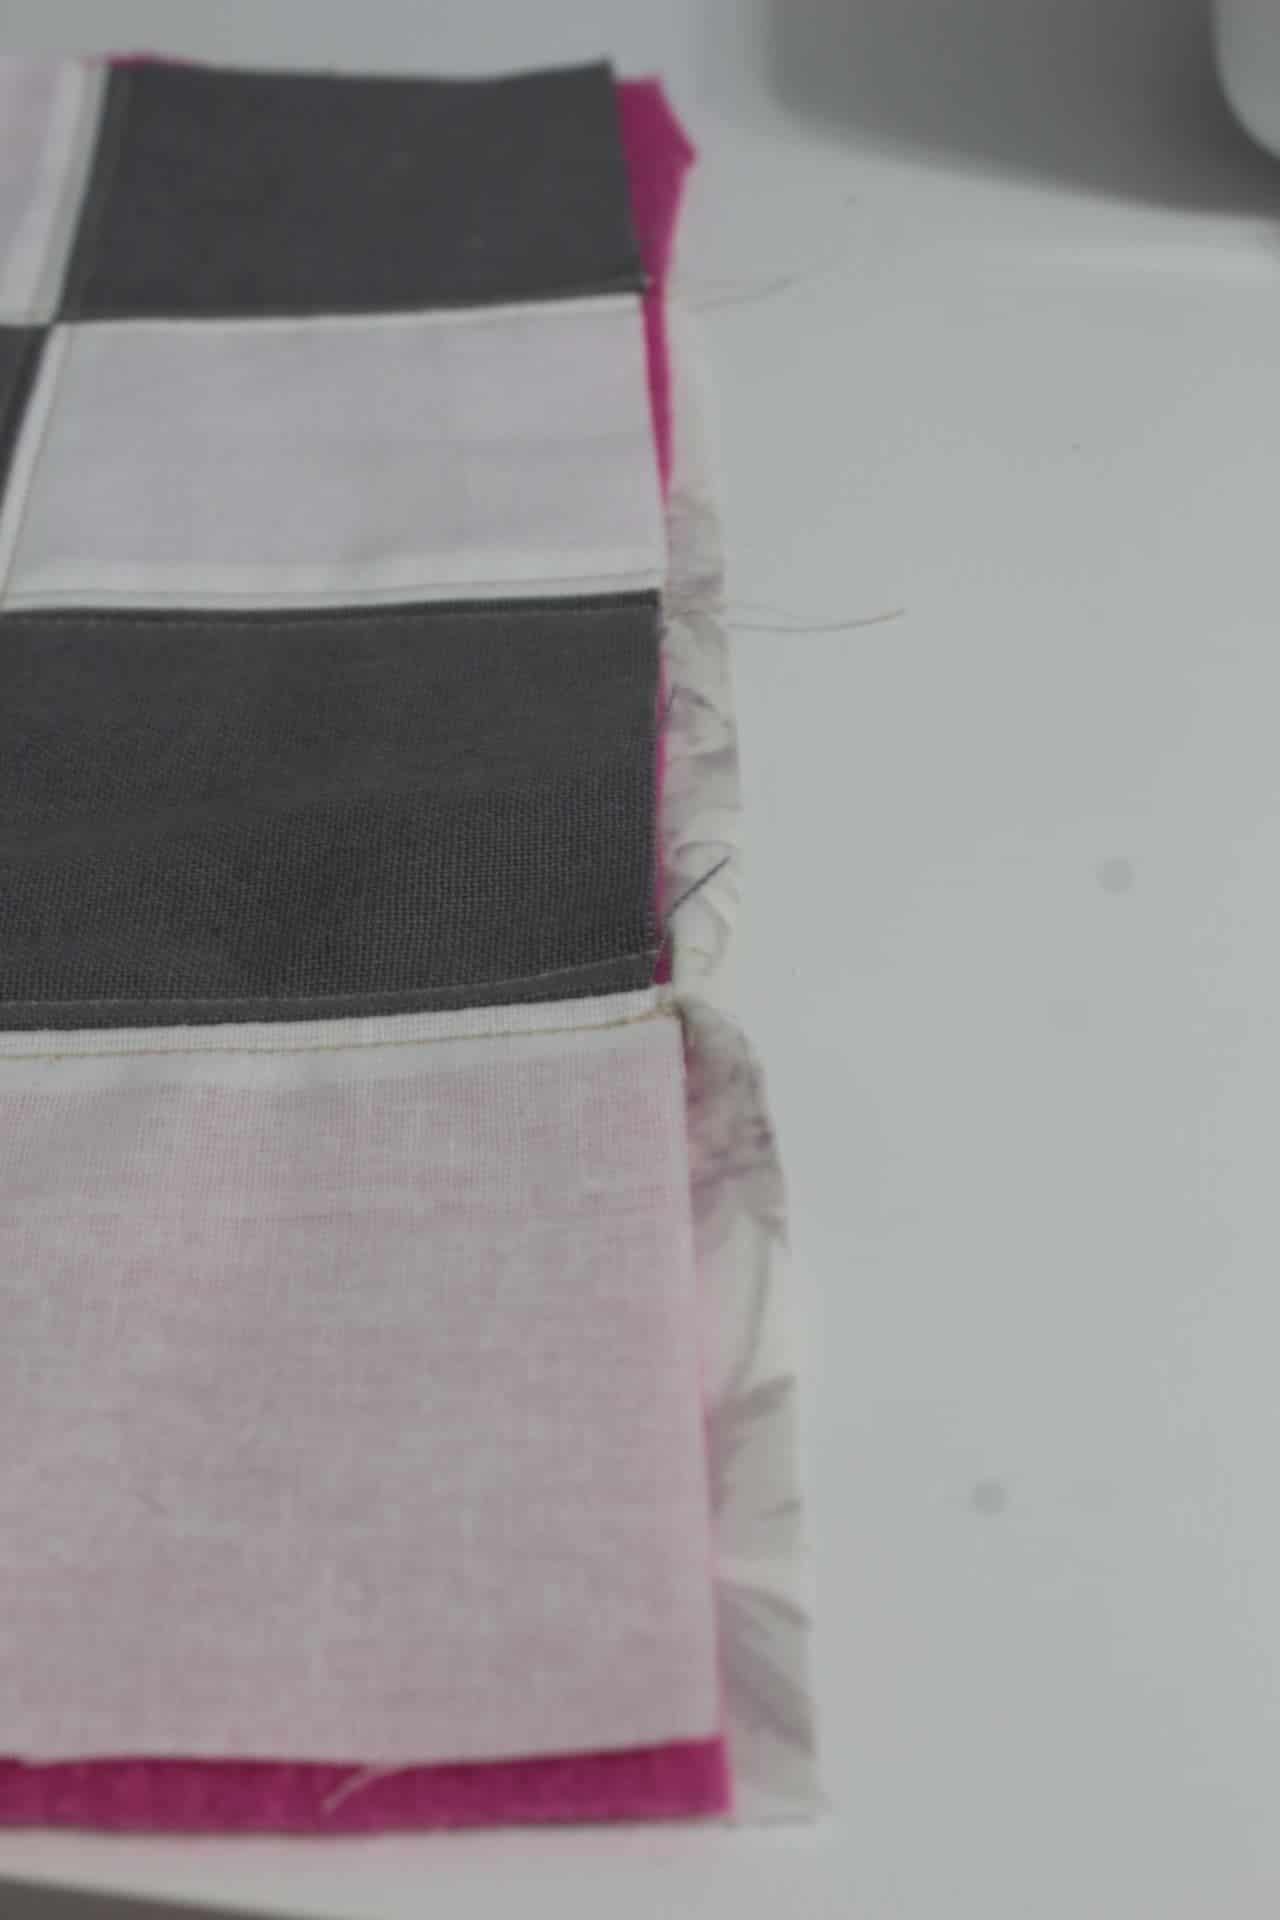
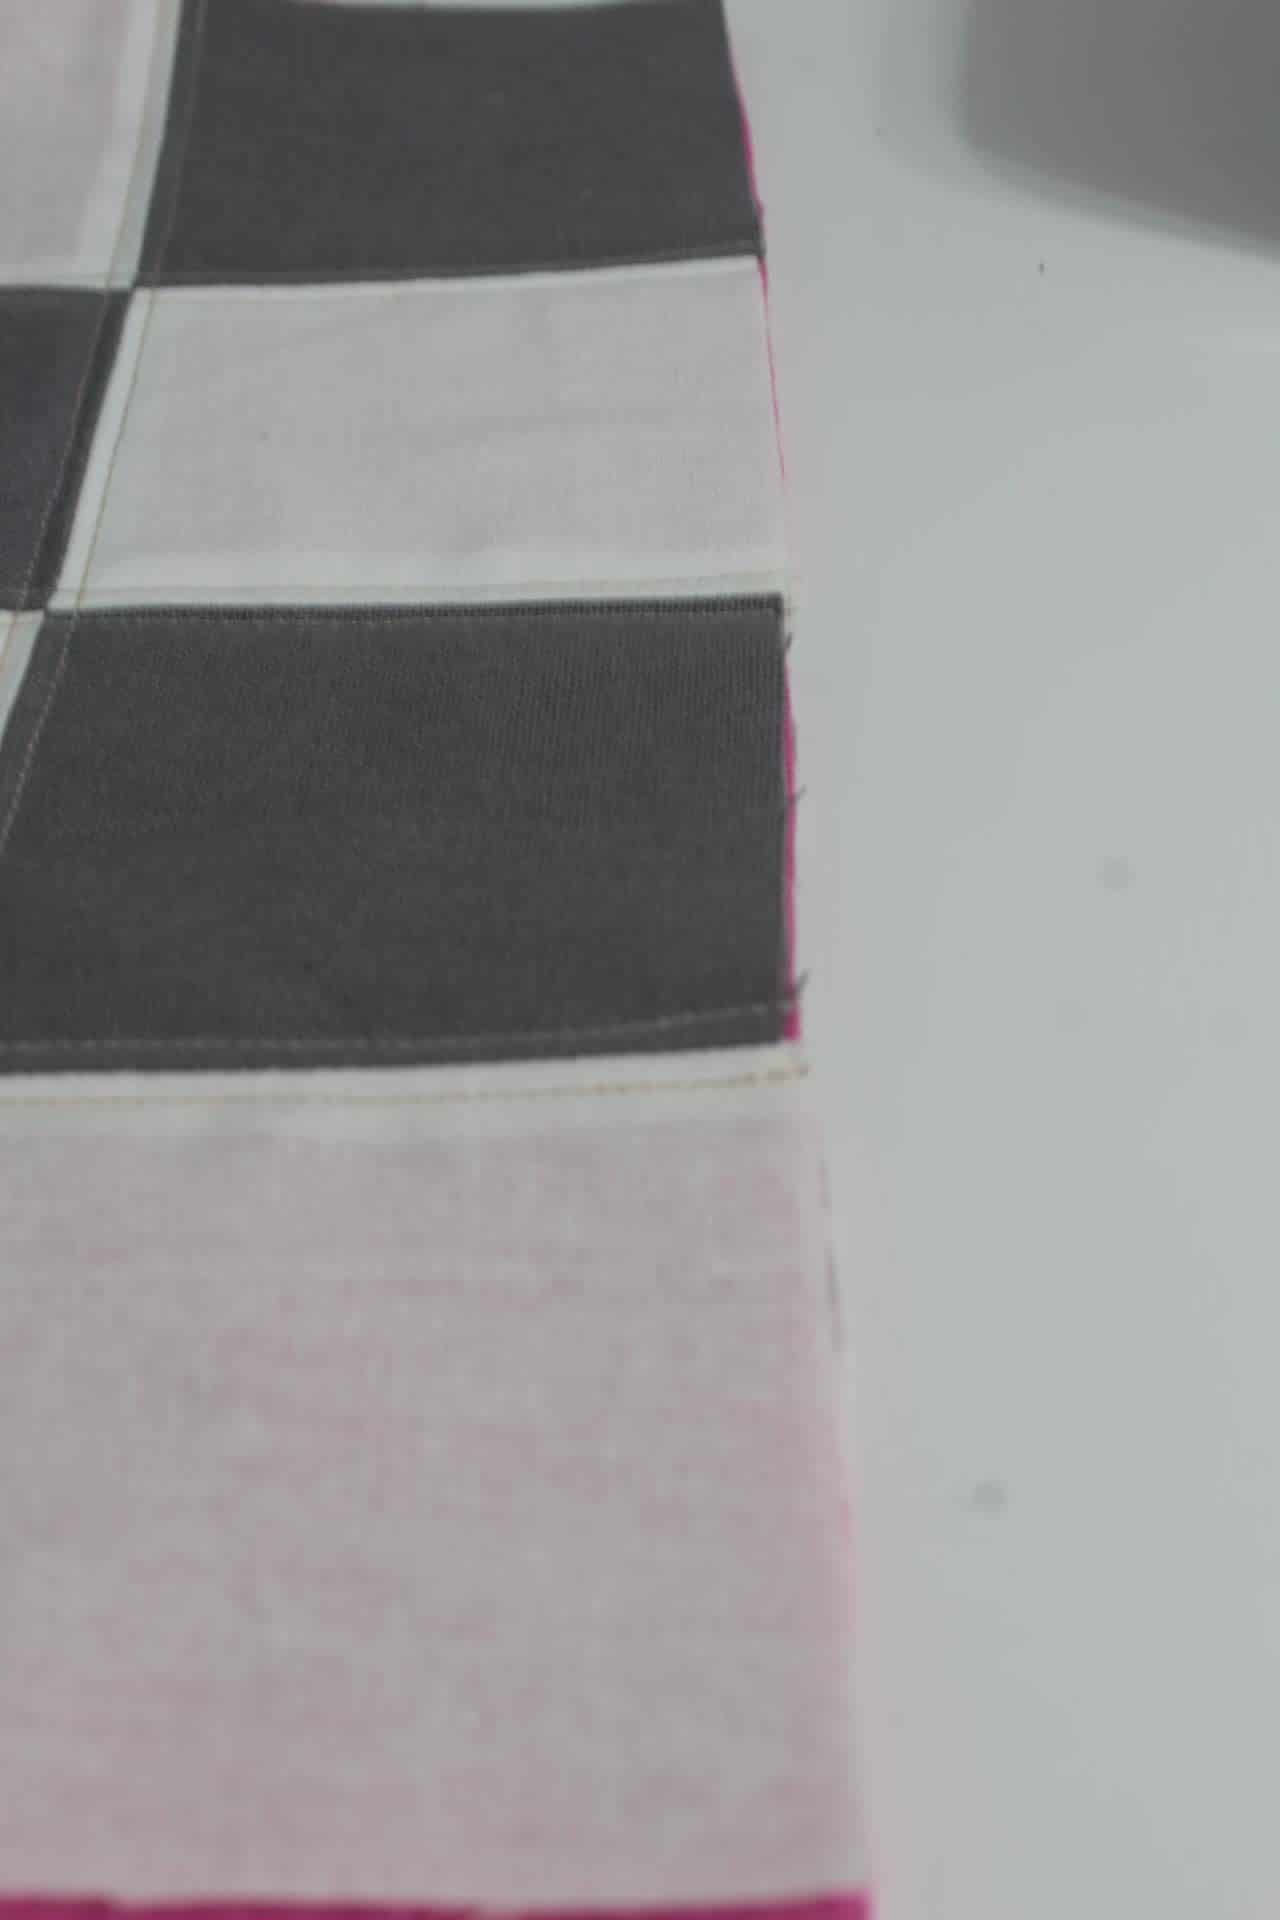
- With the basket still wrong side out, attach bias tape to the sides.
- Box the corners of the bag following method #2 in this tutorial for boxing corners (use a 2 1/2″ square for the corners instead of 2″ as indicated in the tutorial). Right after cutting the corners but before sewing the corners, attach bias tape to the bottom of the inside basket.
- Once the corners are boxed, attach bias tape to the boxed corners.
- Turn basket right side out.
Joining the pieces together
- Once all three pieces (mat, joining strip and basket) are done it’s time to sew the bias tape and attach all three pieces together.
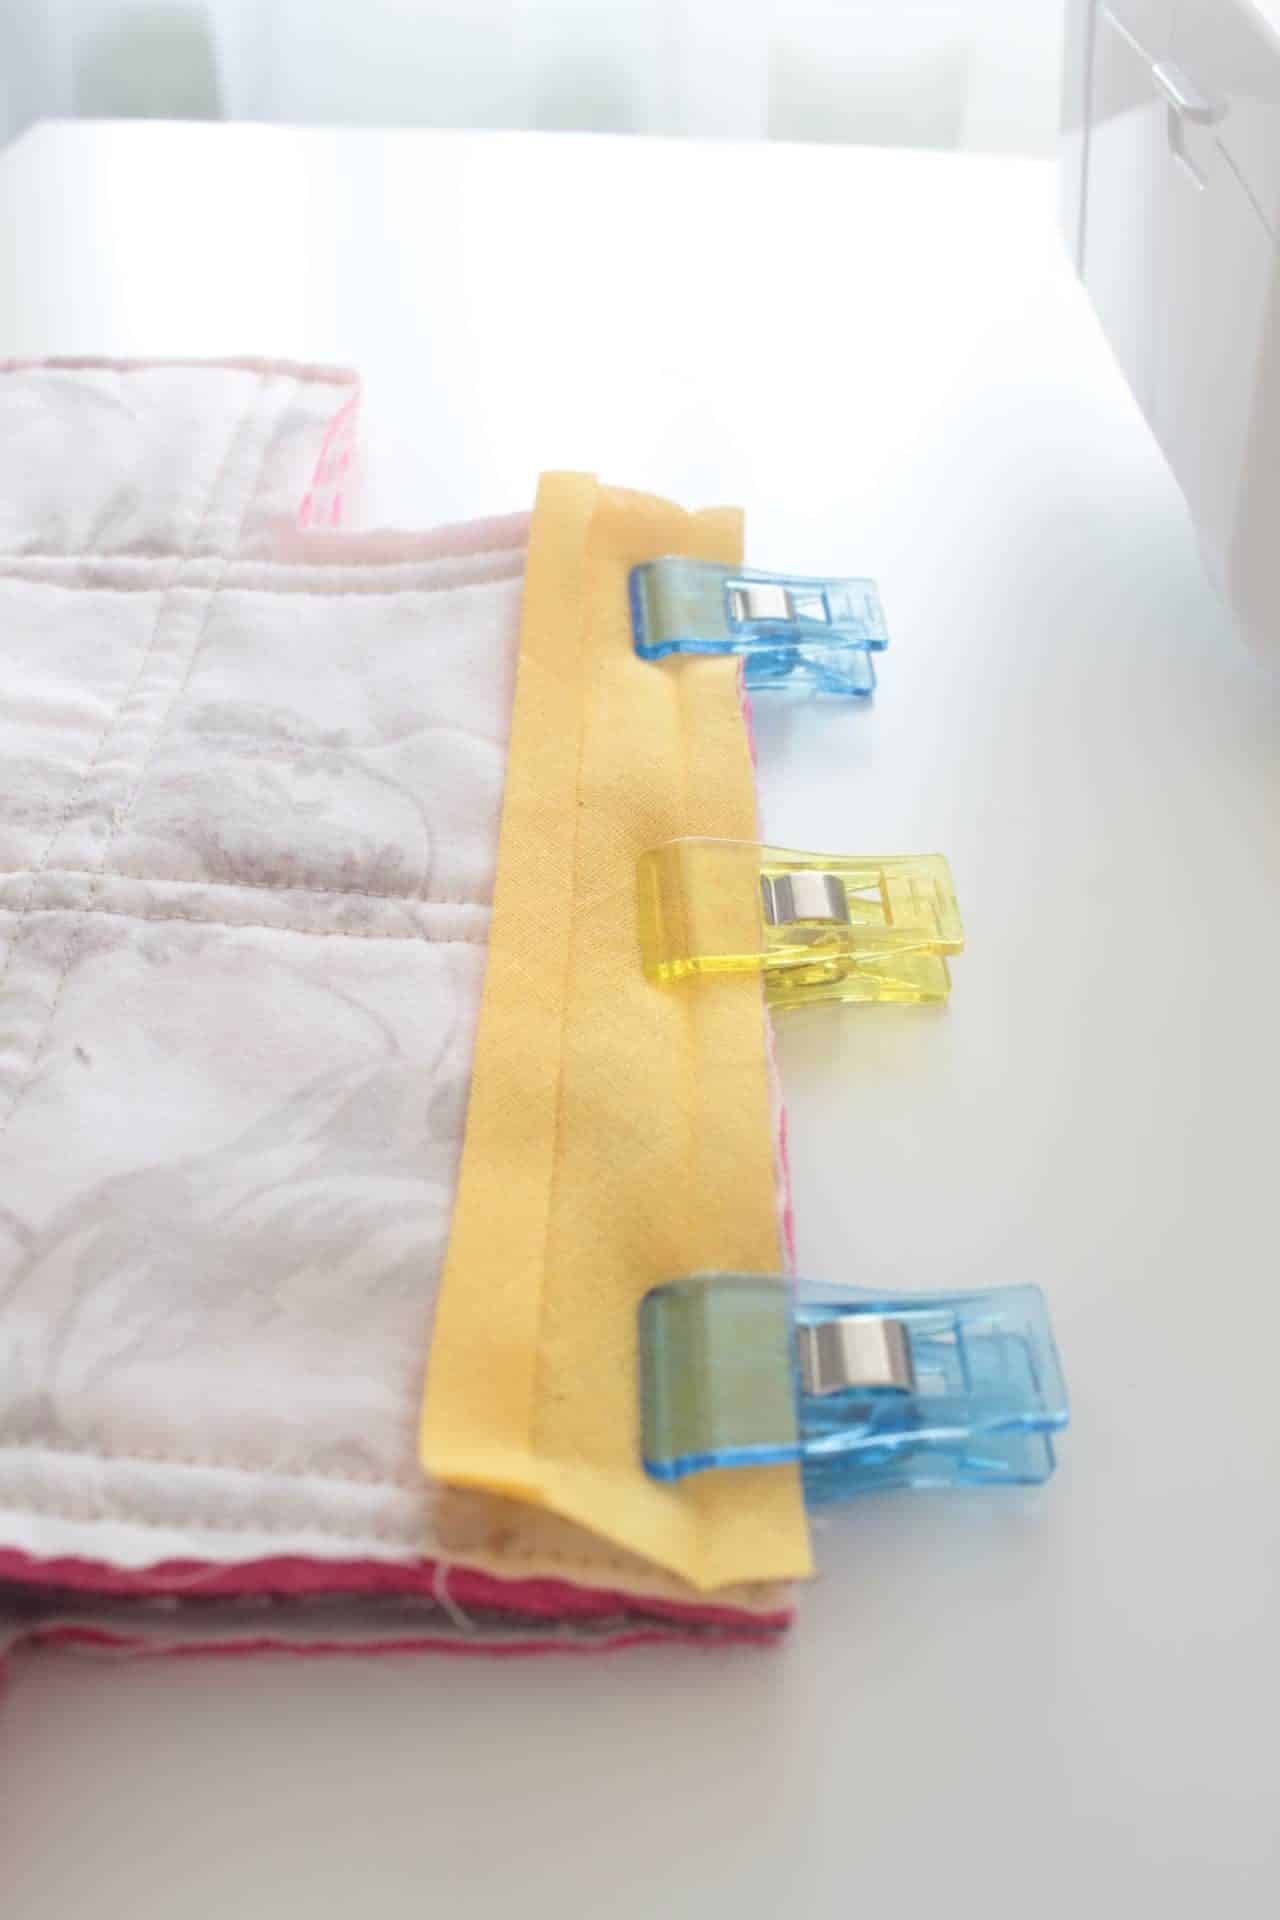
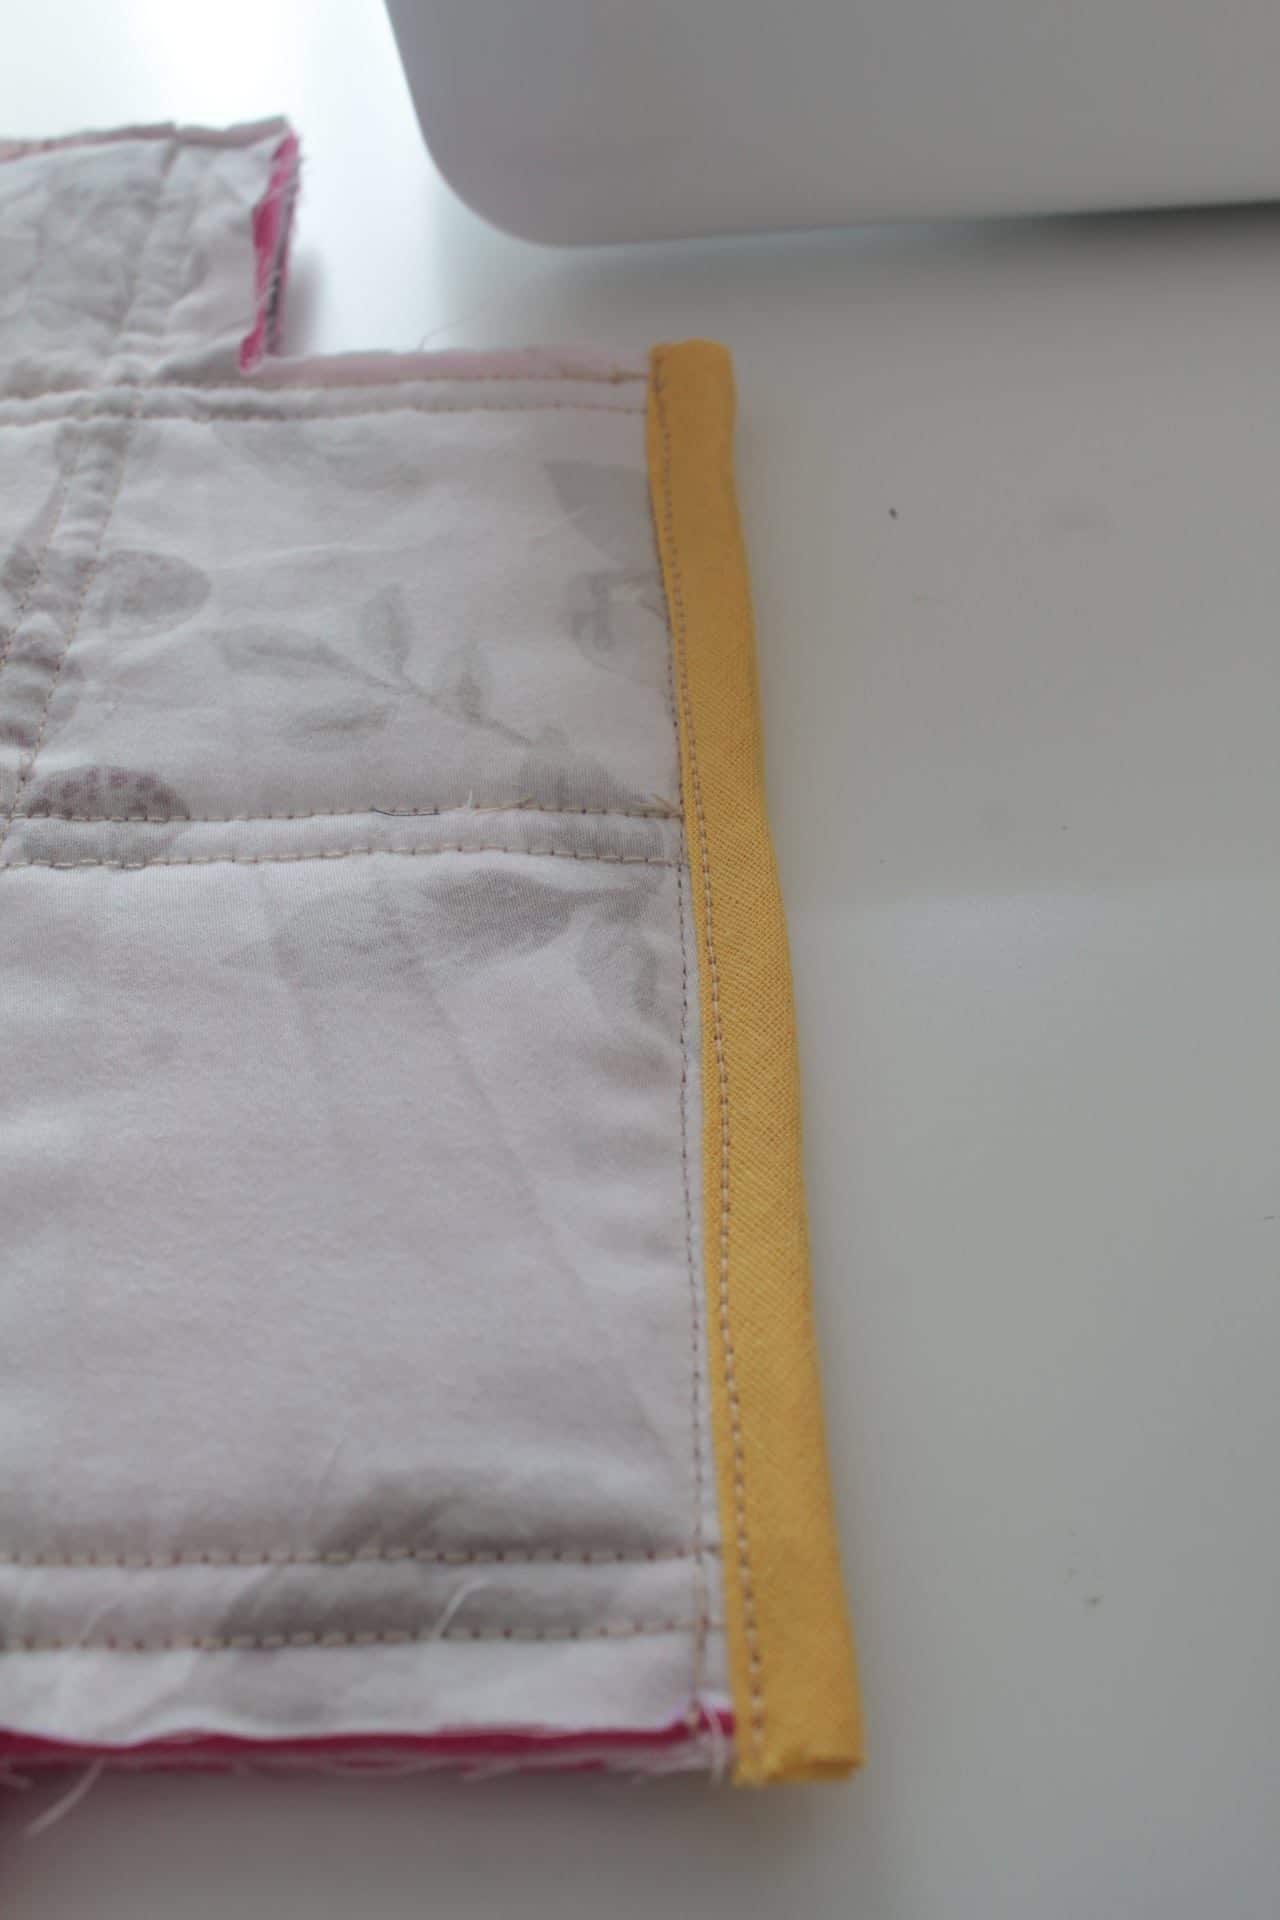
- Start by attaching bias tape to both sides of the joining strip first.
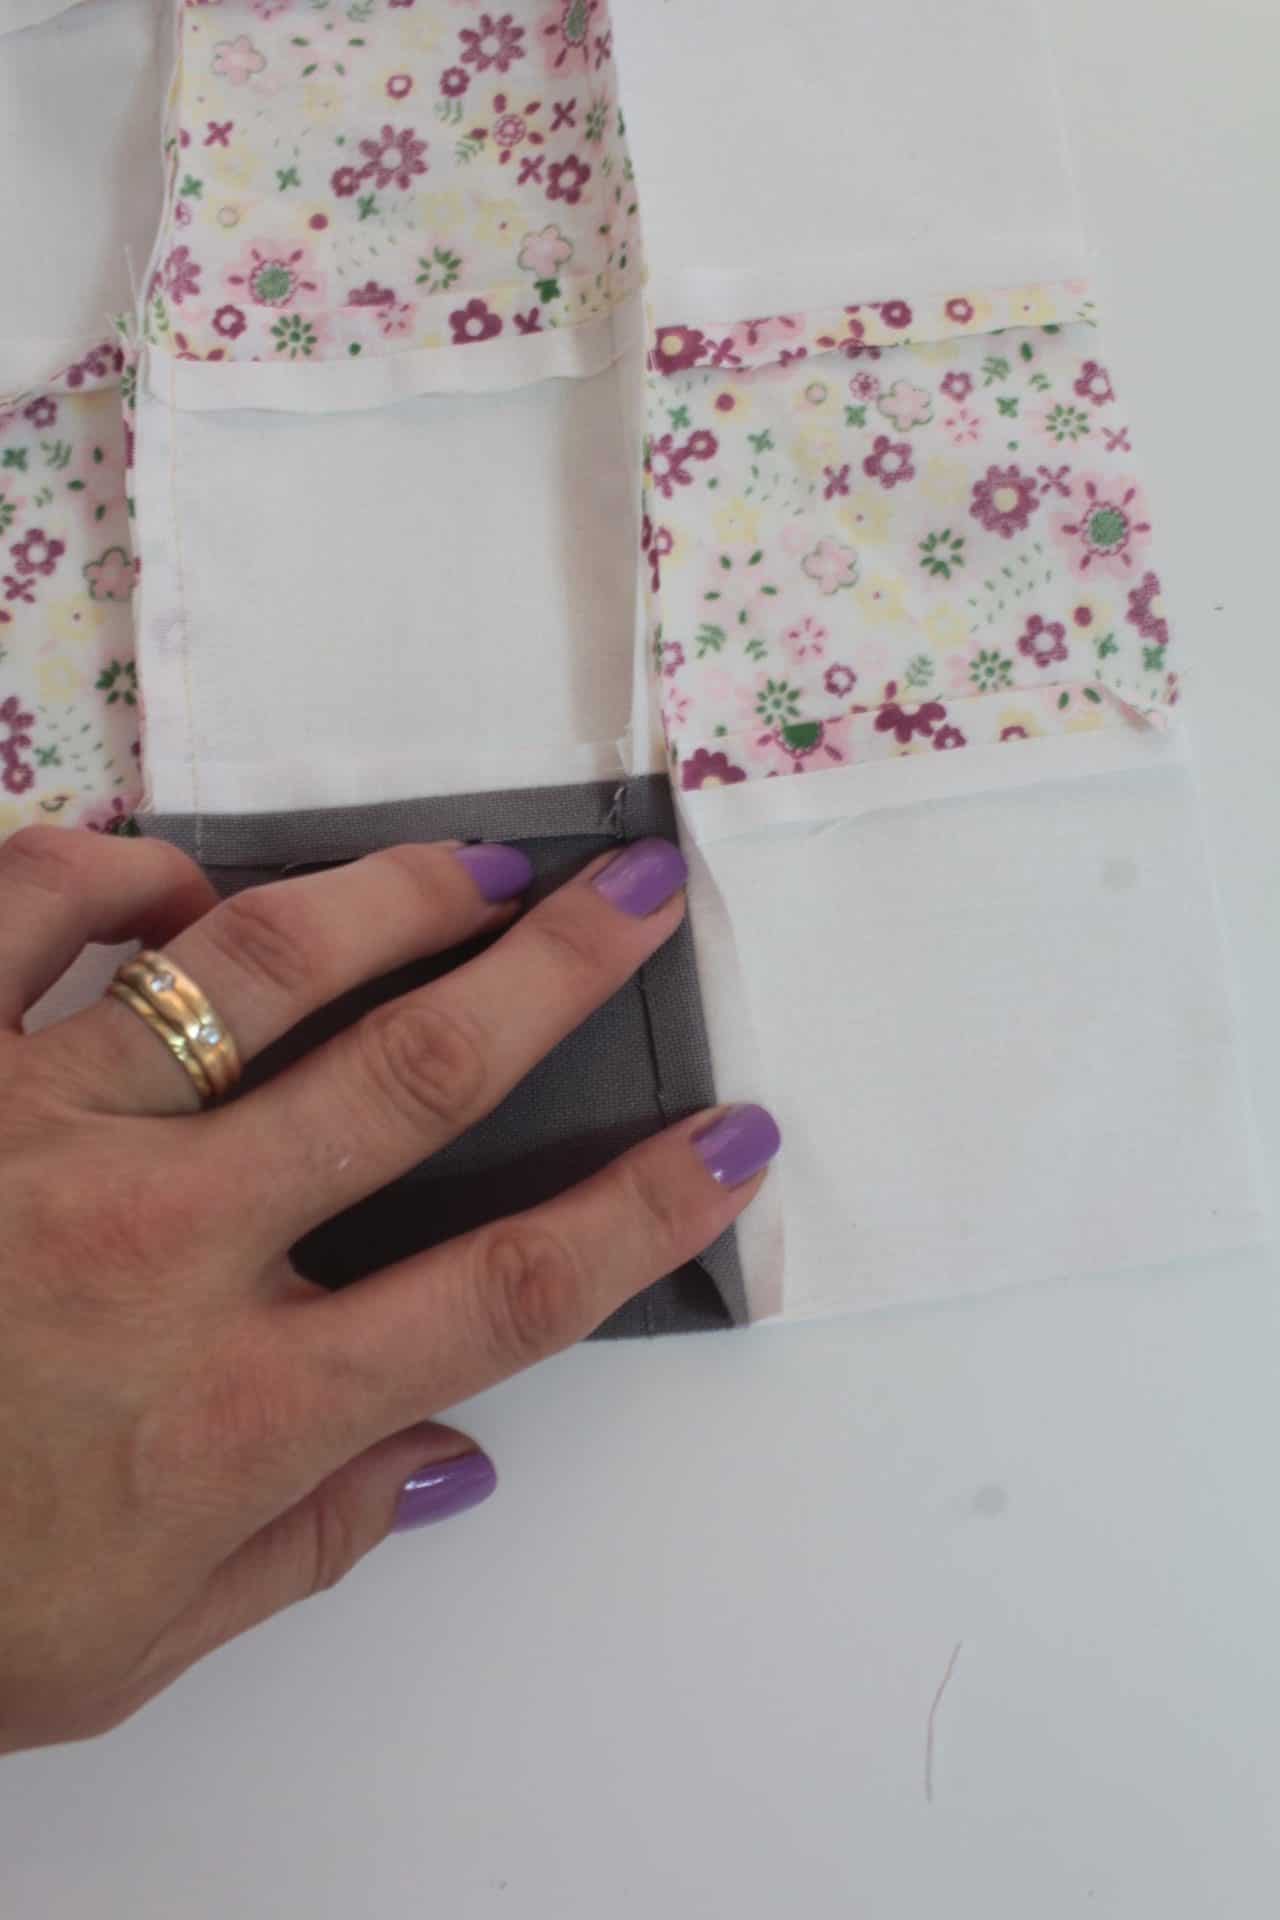
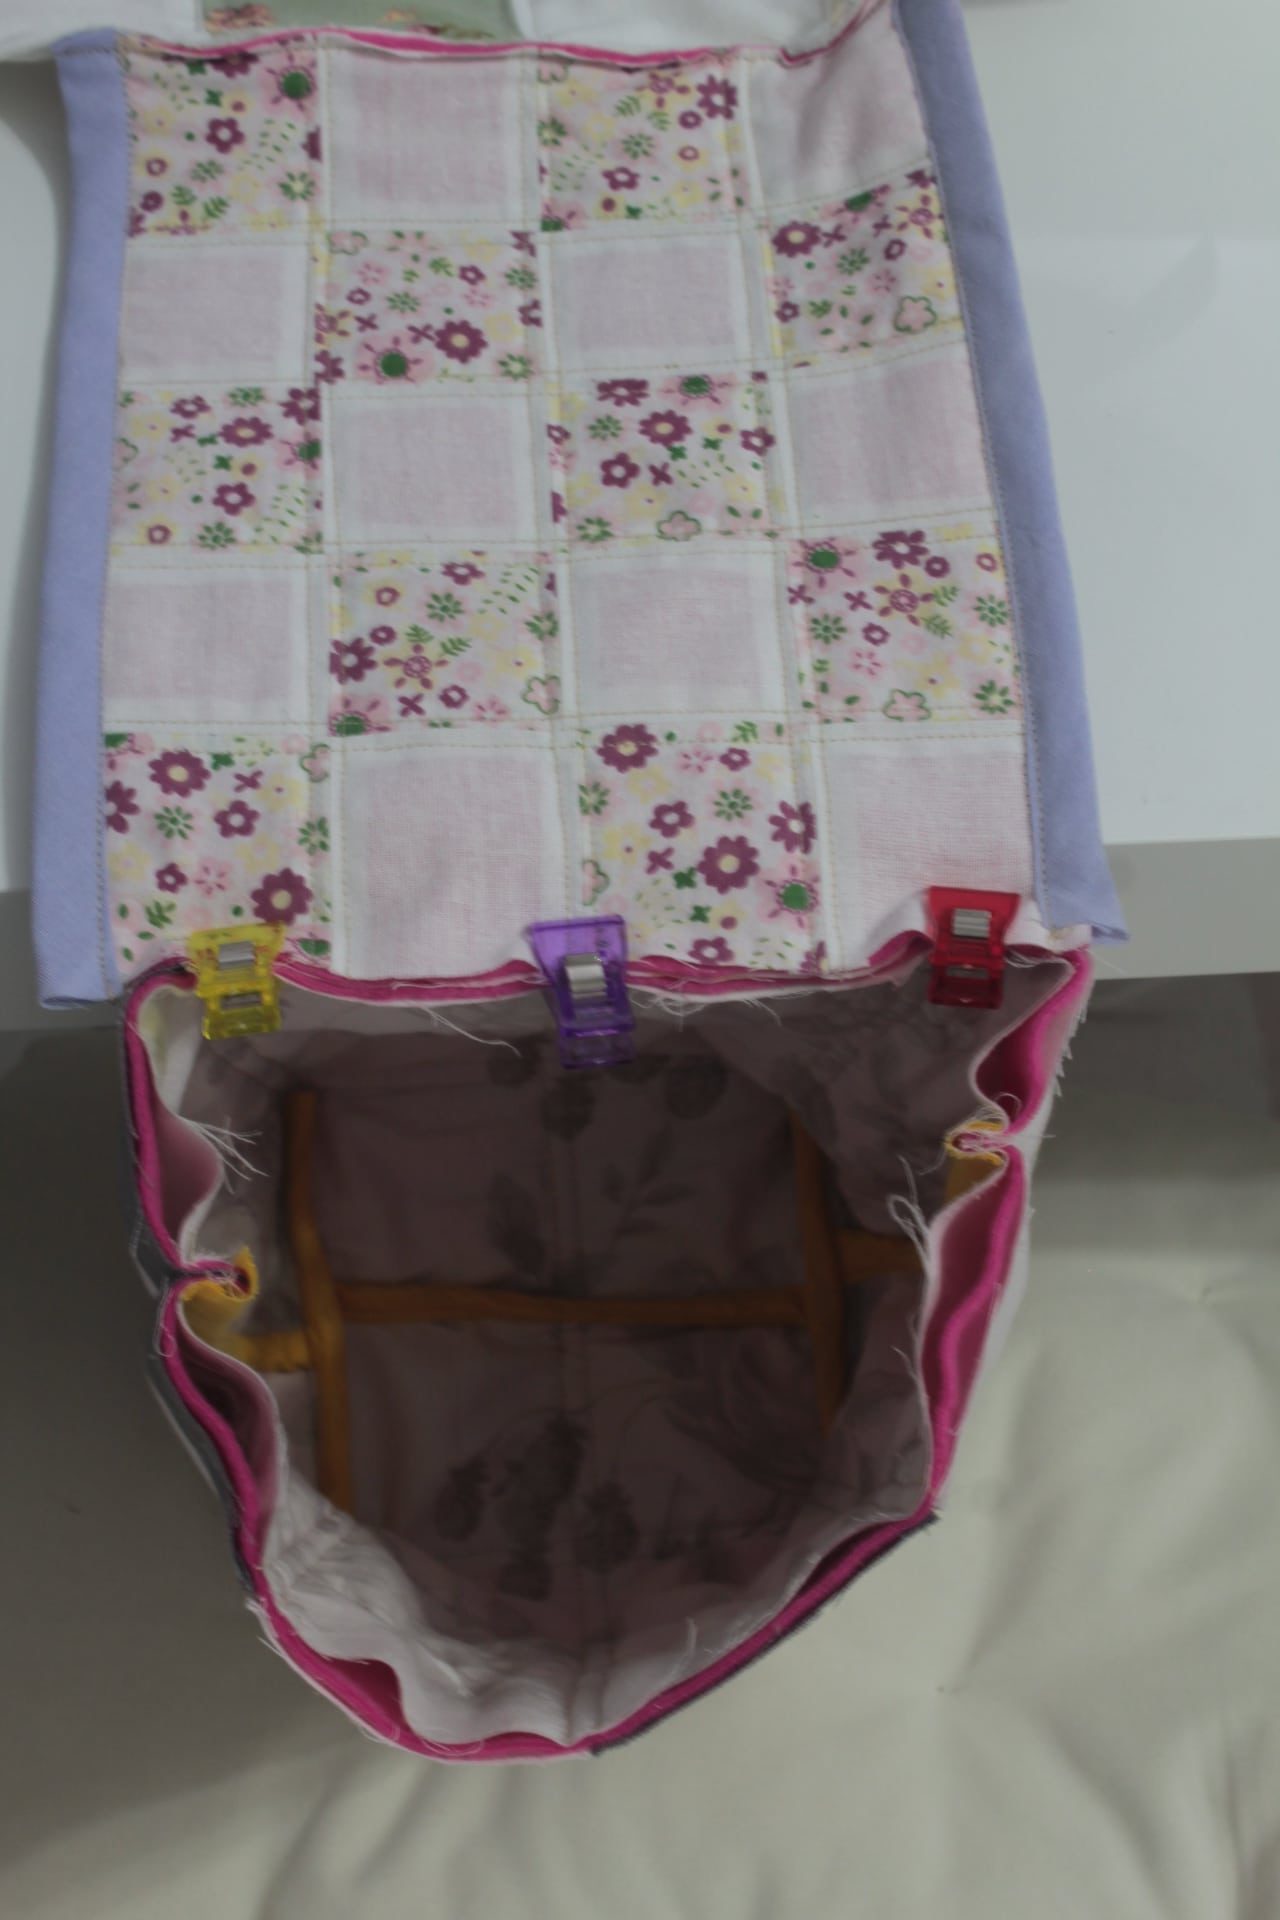
- Clip the top of the joining strip to one side of the main mat, wrong sides together. Sew with 1/4″ allowance.
- Trim the seam to 1/8″ allowance.
- Using quilting clips, clip the bottom of the joining strip to the basket, wrong sides together (for the basket this will be the back side). Sew with 1/4″ allowance.
- Trim the seam to 1/8″ allowance.
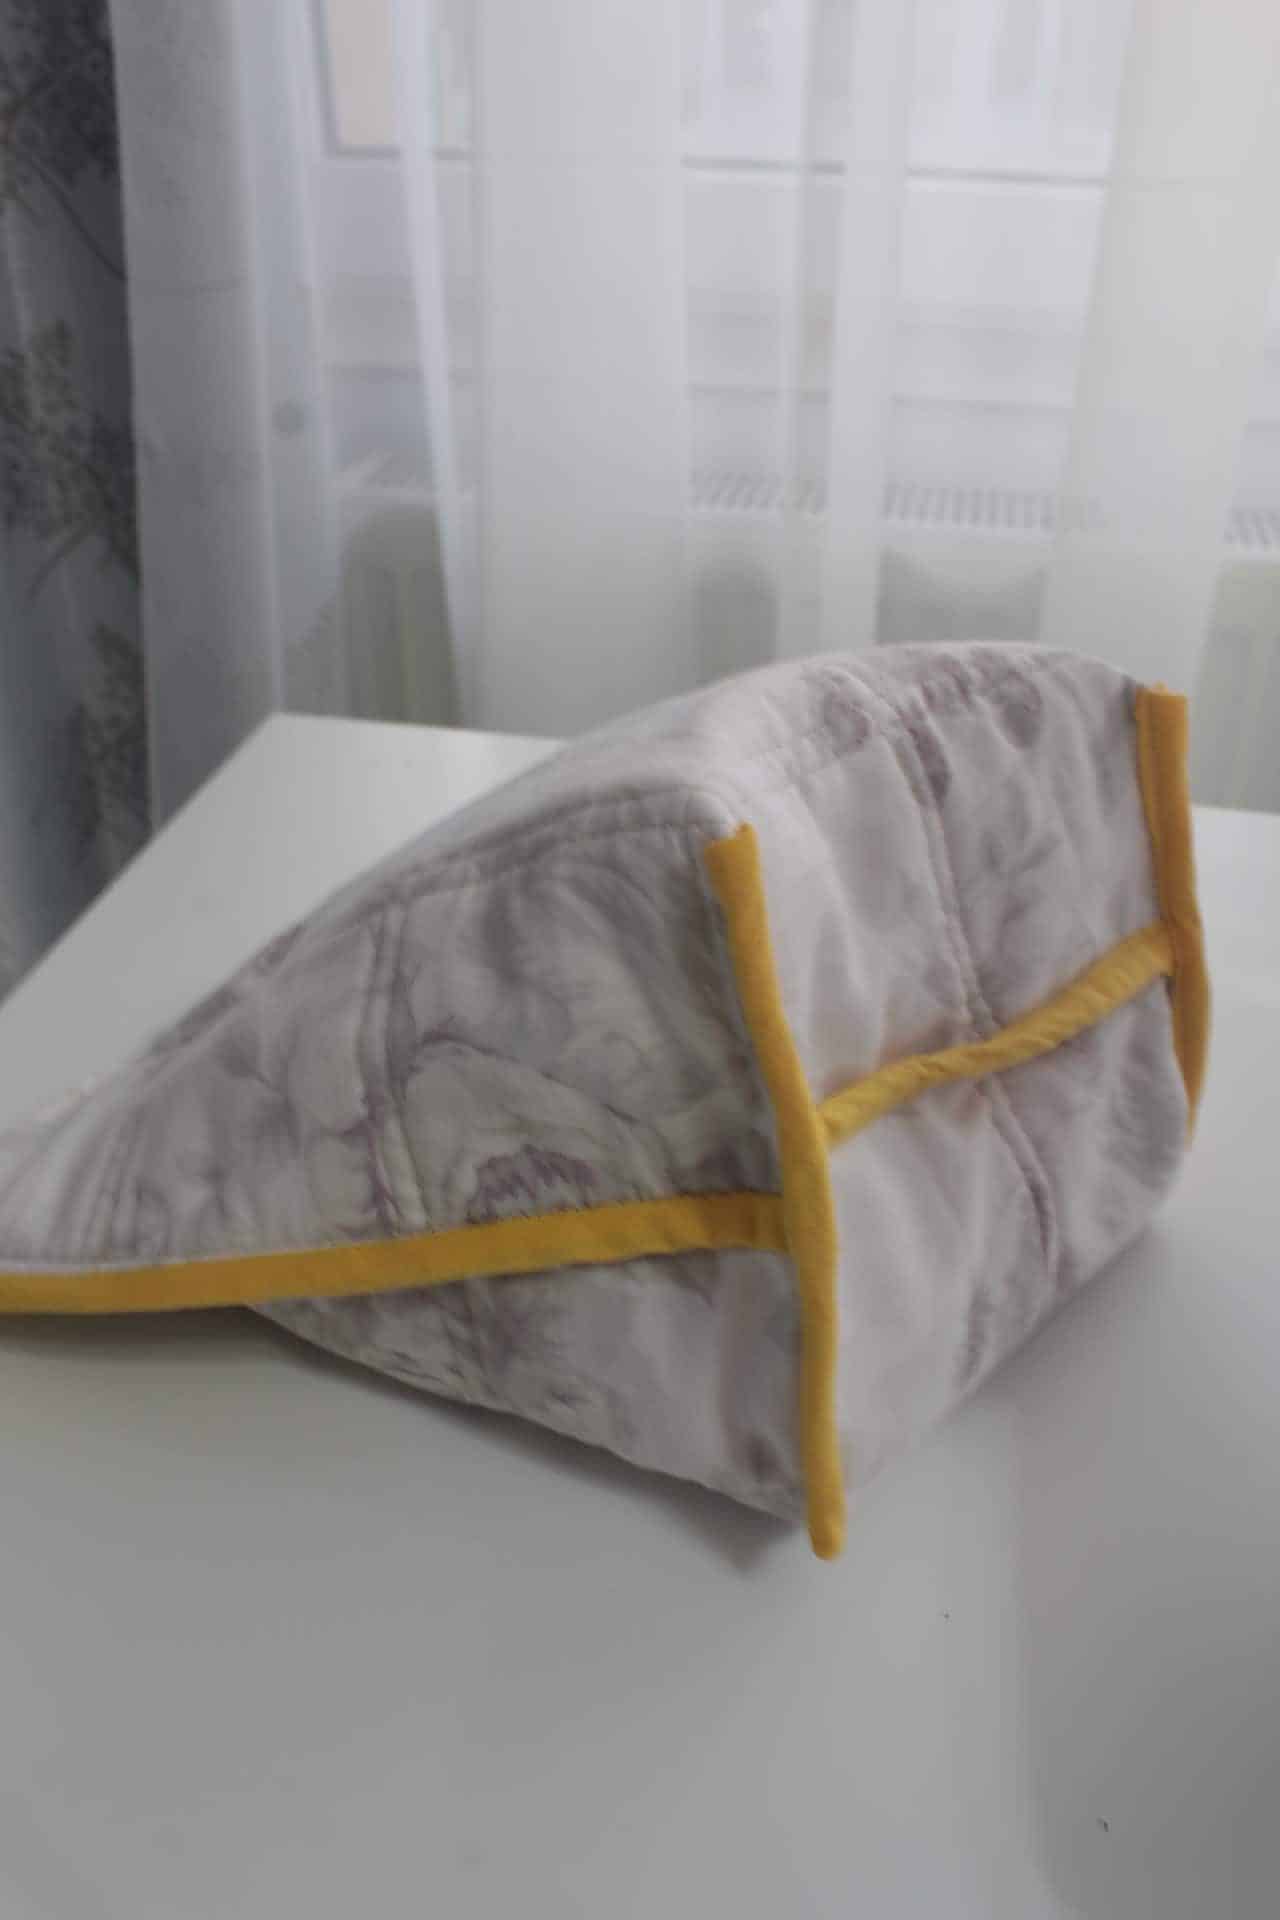
- Attach double fold bias to the top rim of the basket, catching the part where the basket is attached to the joining strip too.
- Round the corners of the main mat. Grab a small round object and place it on the corners of the main mat. Trace around the object with a fabric marker then cut out
- Attach double fold bias tape to the main mat, catching the part where the joining strip is attached to the mat too.
- And you’re pretty much done! Enjoy your adorable sewing mat and keep your sewing room clean, organized and pretty!
I hope you liked my tutorial and decided to make your own sewing machine mat! I would love to know your thoughts so please leave a comment below and don’t forget to rate this tutorial! Thanks!
Pin to save for later
Most popular sewing projects:
Article may contain Amazon & affiliate links. As an Amazon Associate I earn from qualifying purchases at no additional cost to you.

Great idea to keep the threads and scraps of fabric off the floor! thank you for sharing it Petro!
Excellent tutorial , I’ll go to make it, Congratulations, and Thanks for your help.
Hi Rut! Thanks so much for your lovely comment and rating! I’m happy you liked this idea and decided to give it a try! Enjoy! xoxo