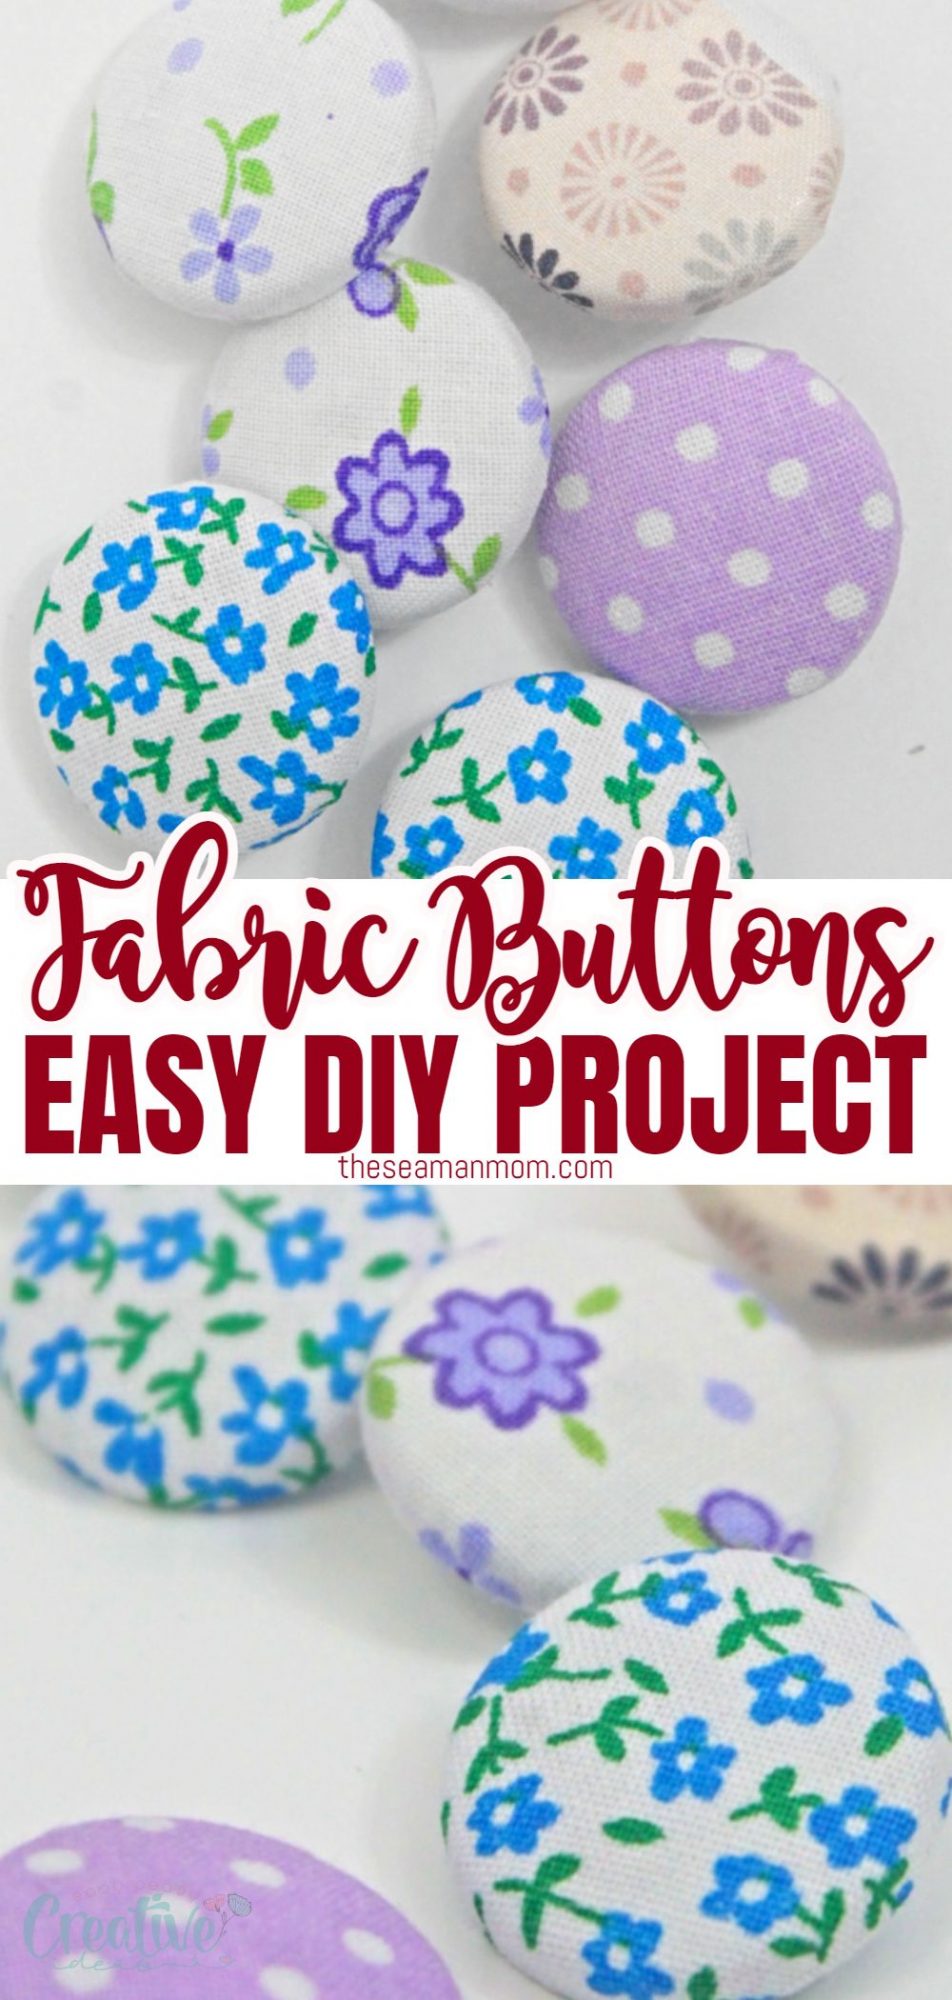
See how easy and fun to make are these fabric covered buttons
Fabric covered buttons are not an upholstery only attribute anymore, these cute notions are more and more used in sewing and craft projects too! Learn how to make fabric buttons for your own projects at home without any special tools or a button cover kit!
Fabric covered buttons
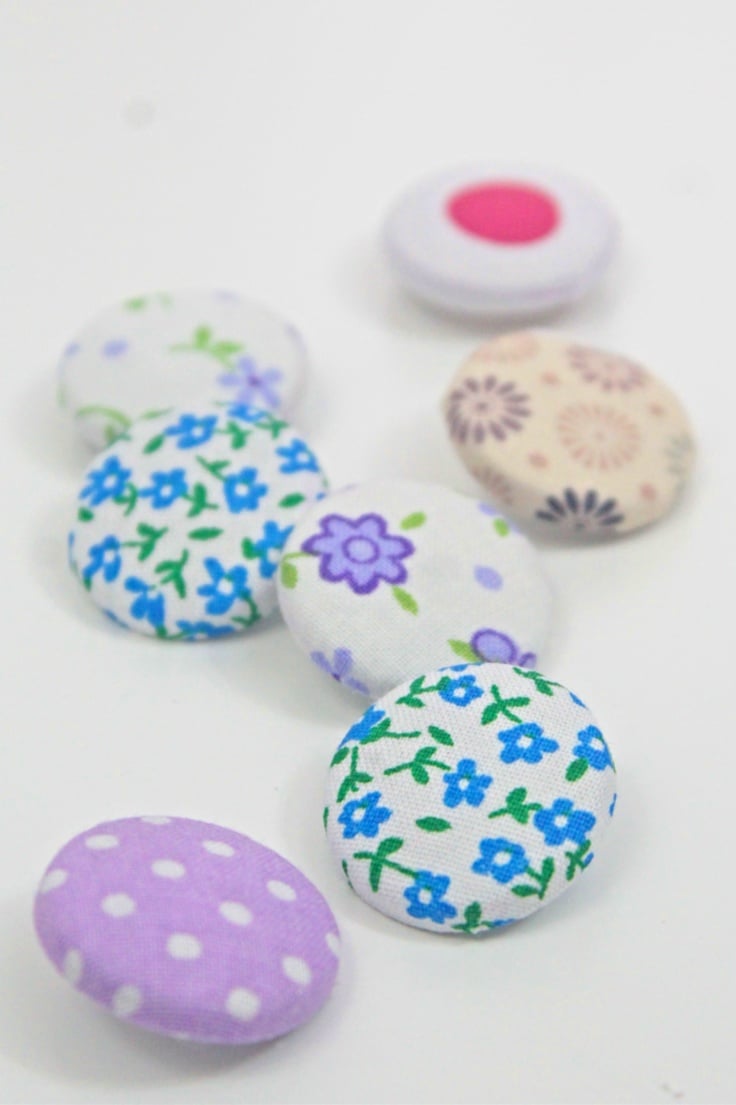
Have you ever wanted to learn how to cover buttons with fabric? Or have you ever used covered buttons in your sewing or craft projects? This is my first time making my own fabric covered buttons and I couldn’t be more excited!
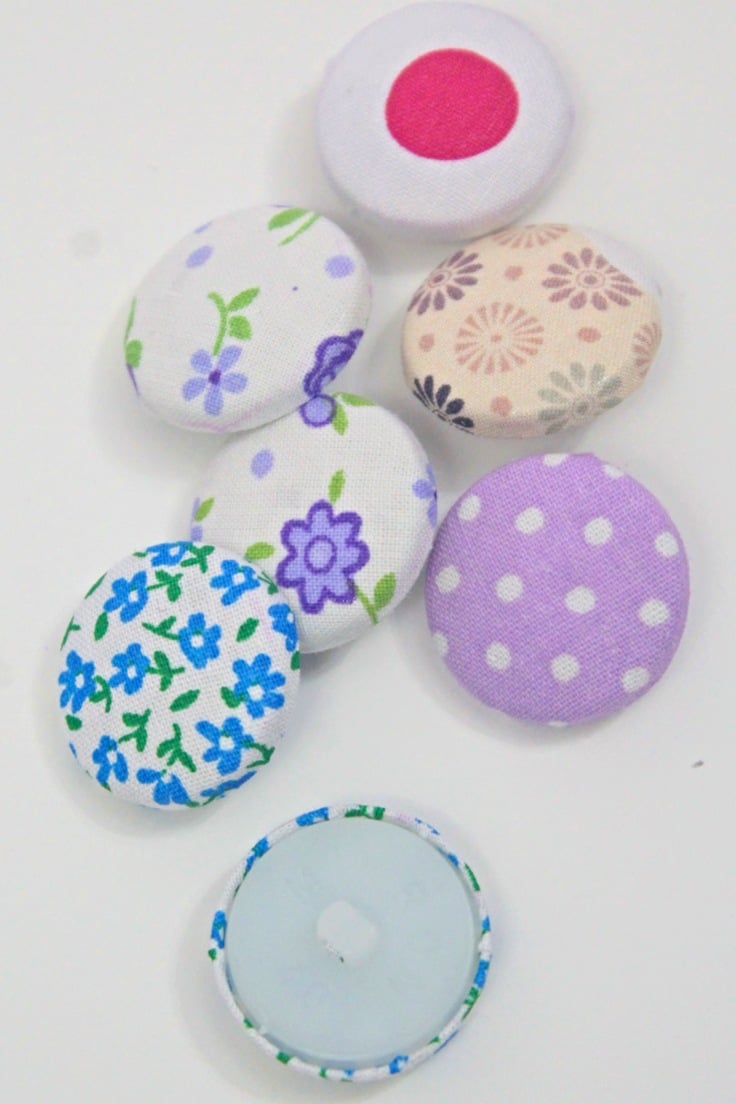
I am in total love with these crazy adorable fabric buttons! There are about a gazillion projects crossing my mind right now and I’m having a hard time choosing the first one! But even if I don’t actually get to use these gorgeous fabric covered buttons, I’ve placed them nicely on my sewing/craft table to admire, cause they sure are a sight for sore eyes! Just kidding, I already made this gorgeous and oh so easy buttons necklace!
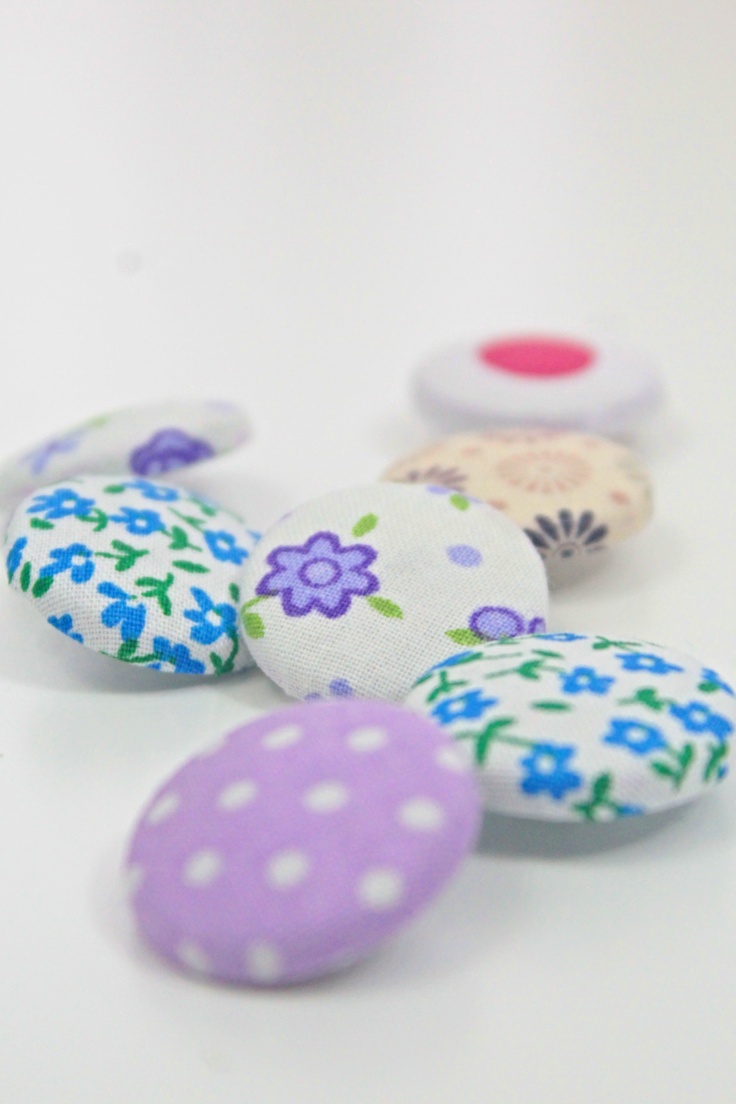
These lovely buttons are a great project for some of those fabric scraps you have no use for! And make a super cute addition to any garment, where they can play a functional or decorative purpose. These little notions can add so much personality to a plain outfit so I encourage you to incorporate them in your sewing projects.
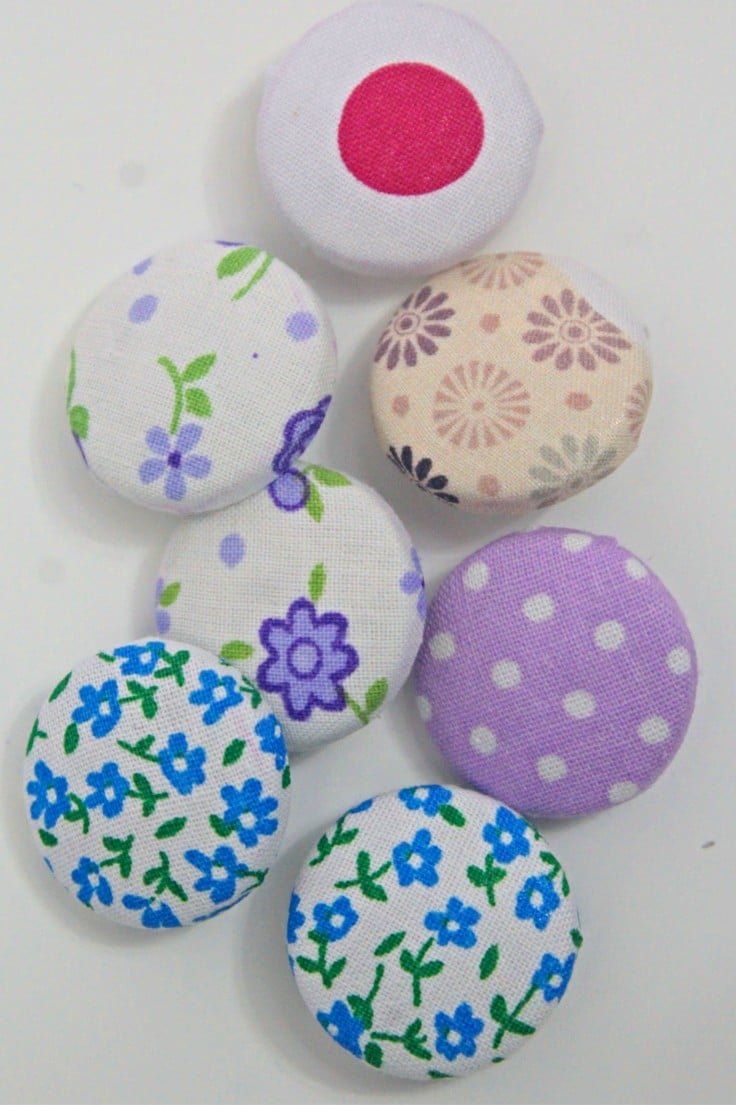
Most people choose the easy way and purchase a self cover button kit. But I decided to go cheap and find an equally easy way to make my own fabric covered buttons on a budget. In this tutorial I’ll show you my simple, quick and affordable method for covering buttons in fabric and take cheap buttons from ugly to stunning in just a couple of minutes!
DIY fabric buttons
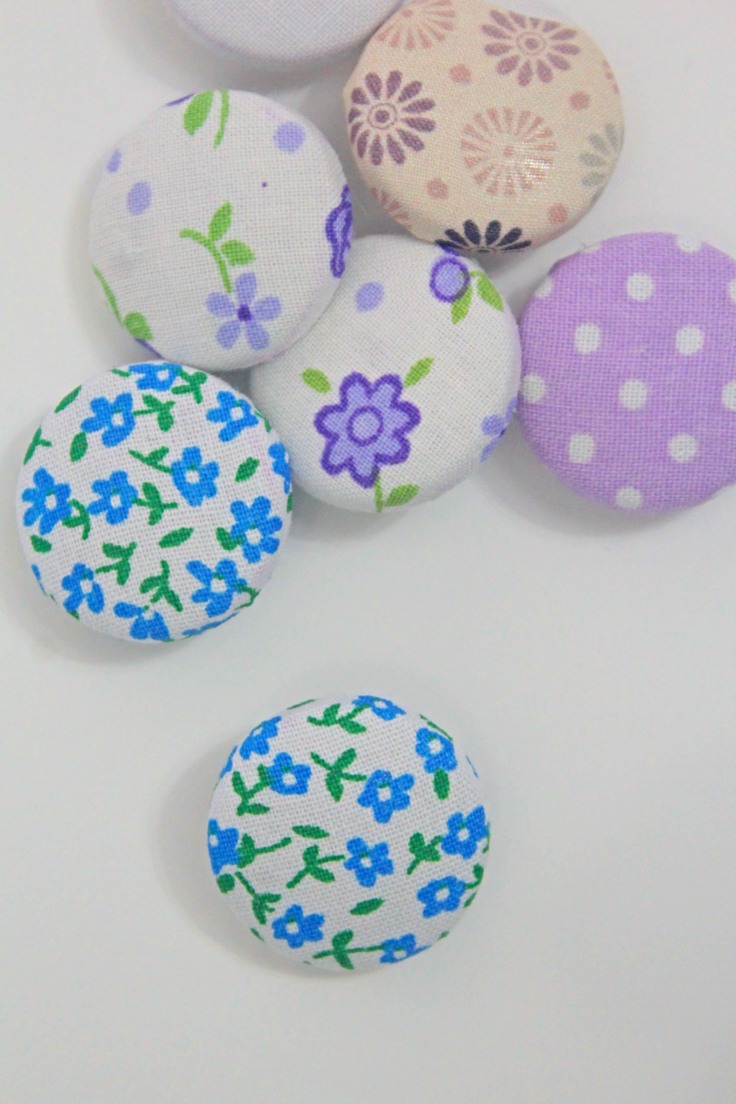
Materials:
- cheap buttons to cover
- fabric scraps
- seam gauge
- fabric marker
- sewing scissors
- glue stick
How do you make fabric covered buttons?
- Each button should come with a cap and a back. Take the cap, place it on a scrap of fabric wrong side down and trace around it with a fabric pen.
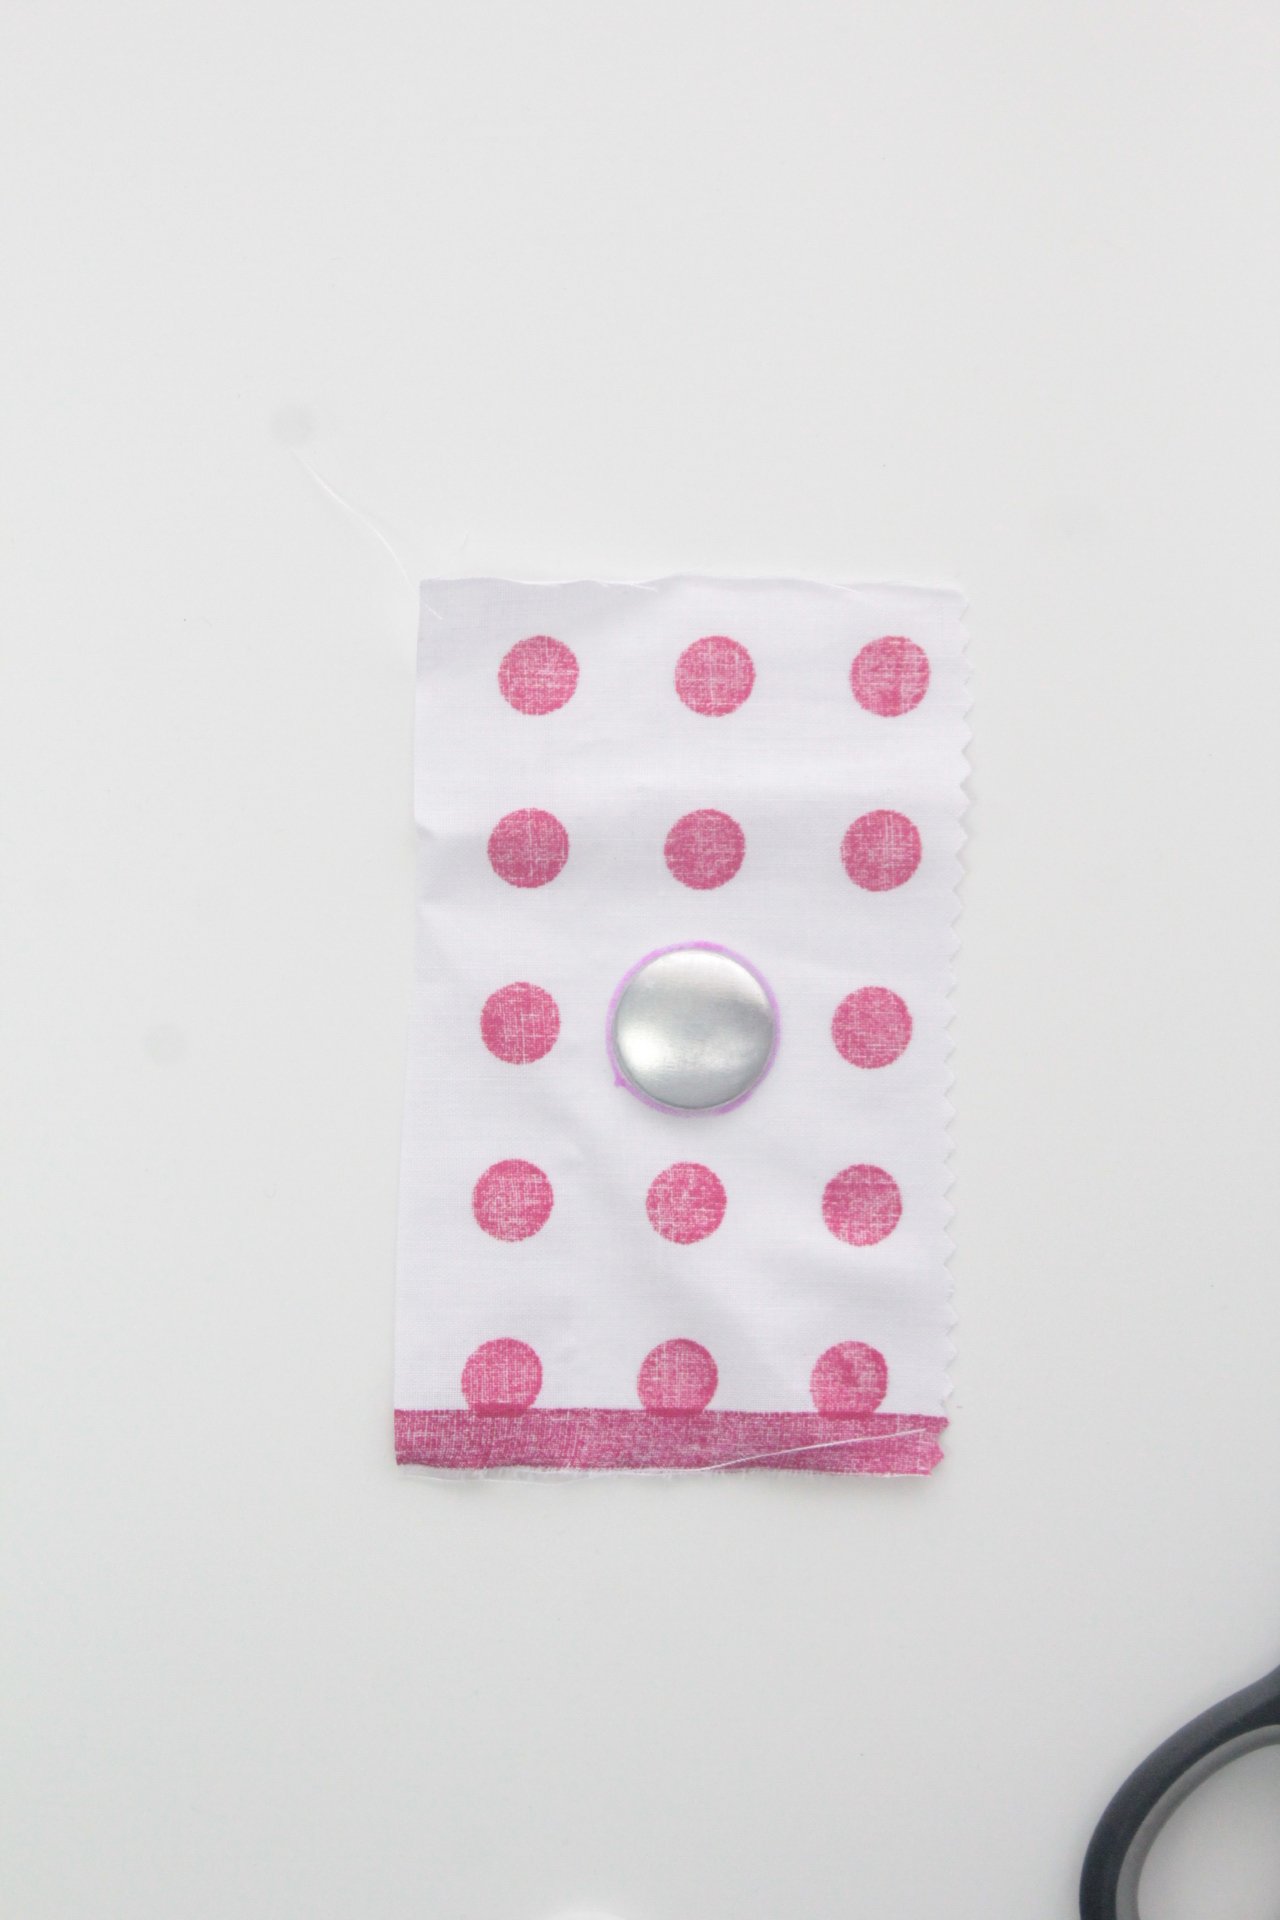
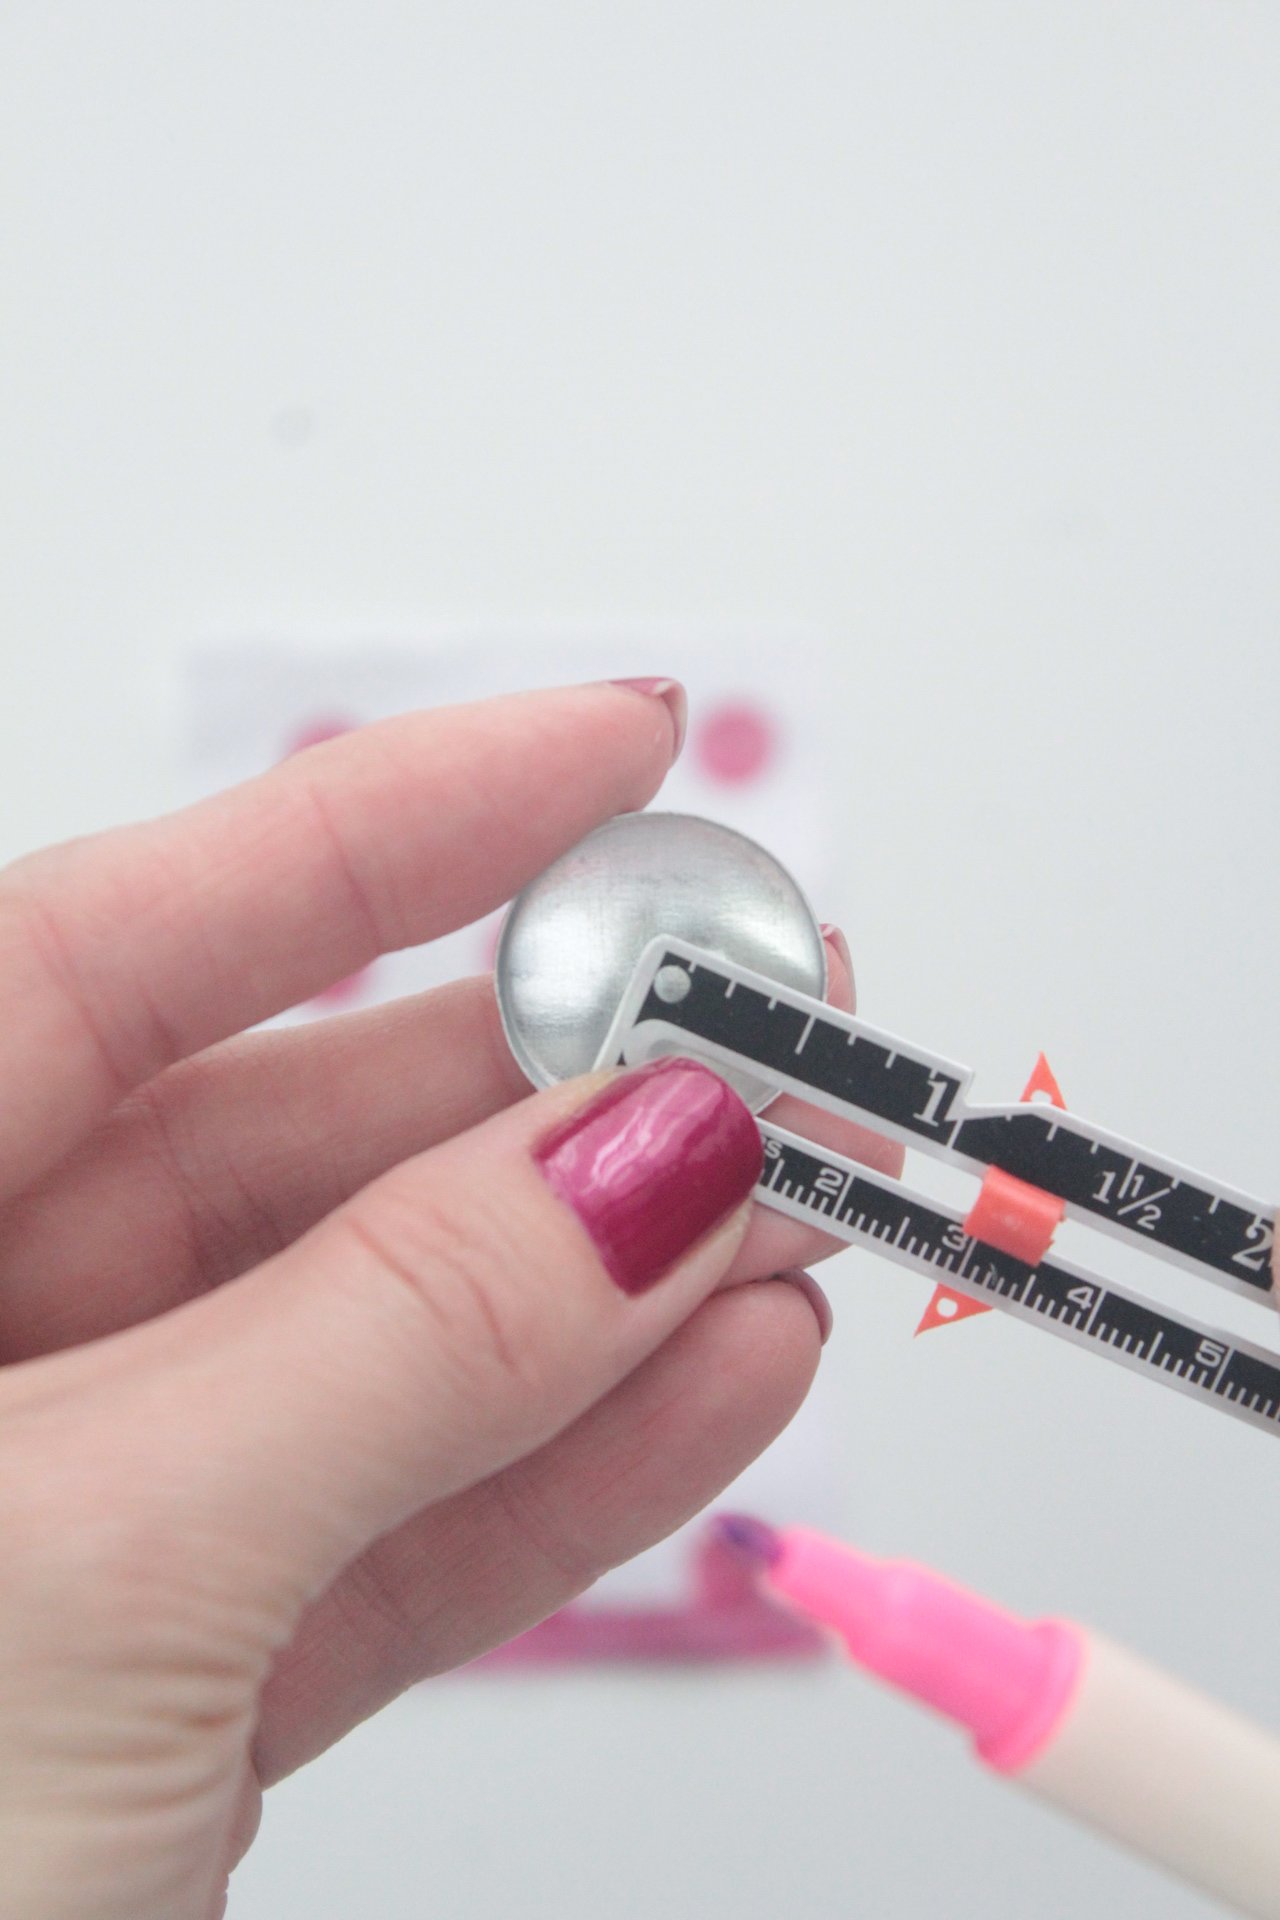
- Measure the edges of the cap with your seam gauge and add this allowance to the tracing you did above.
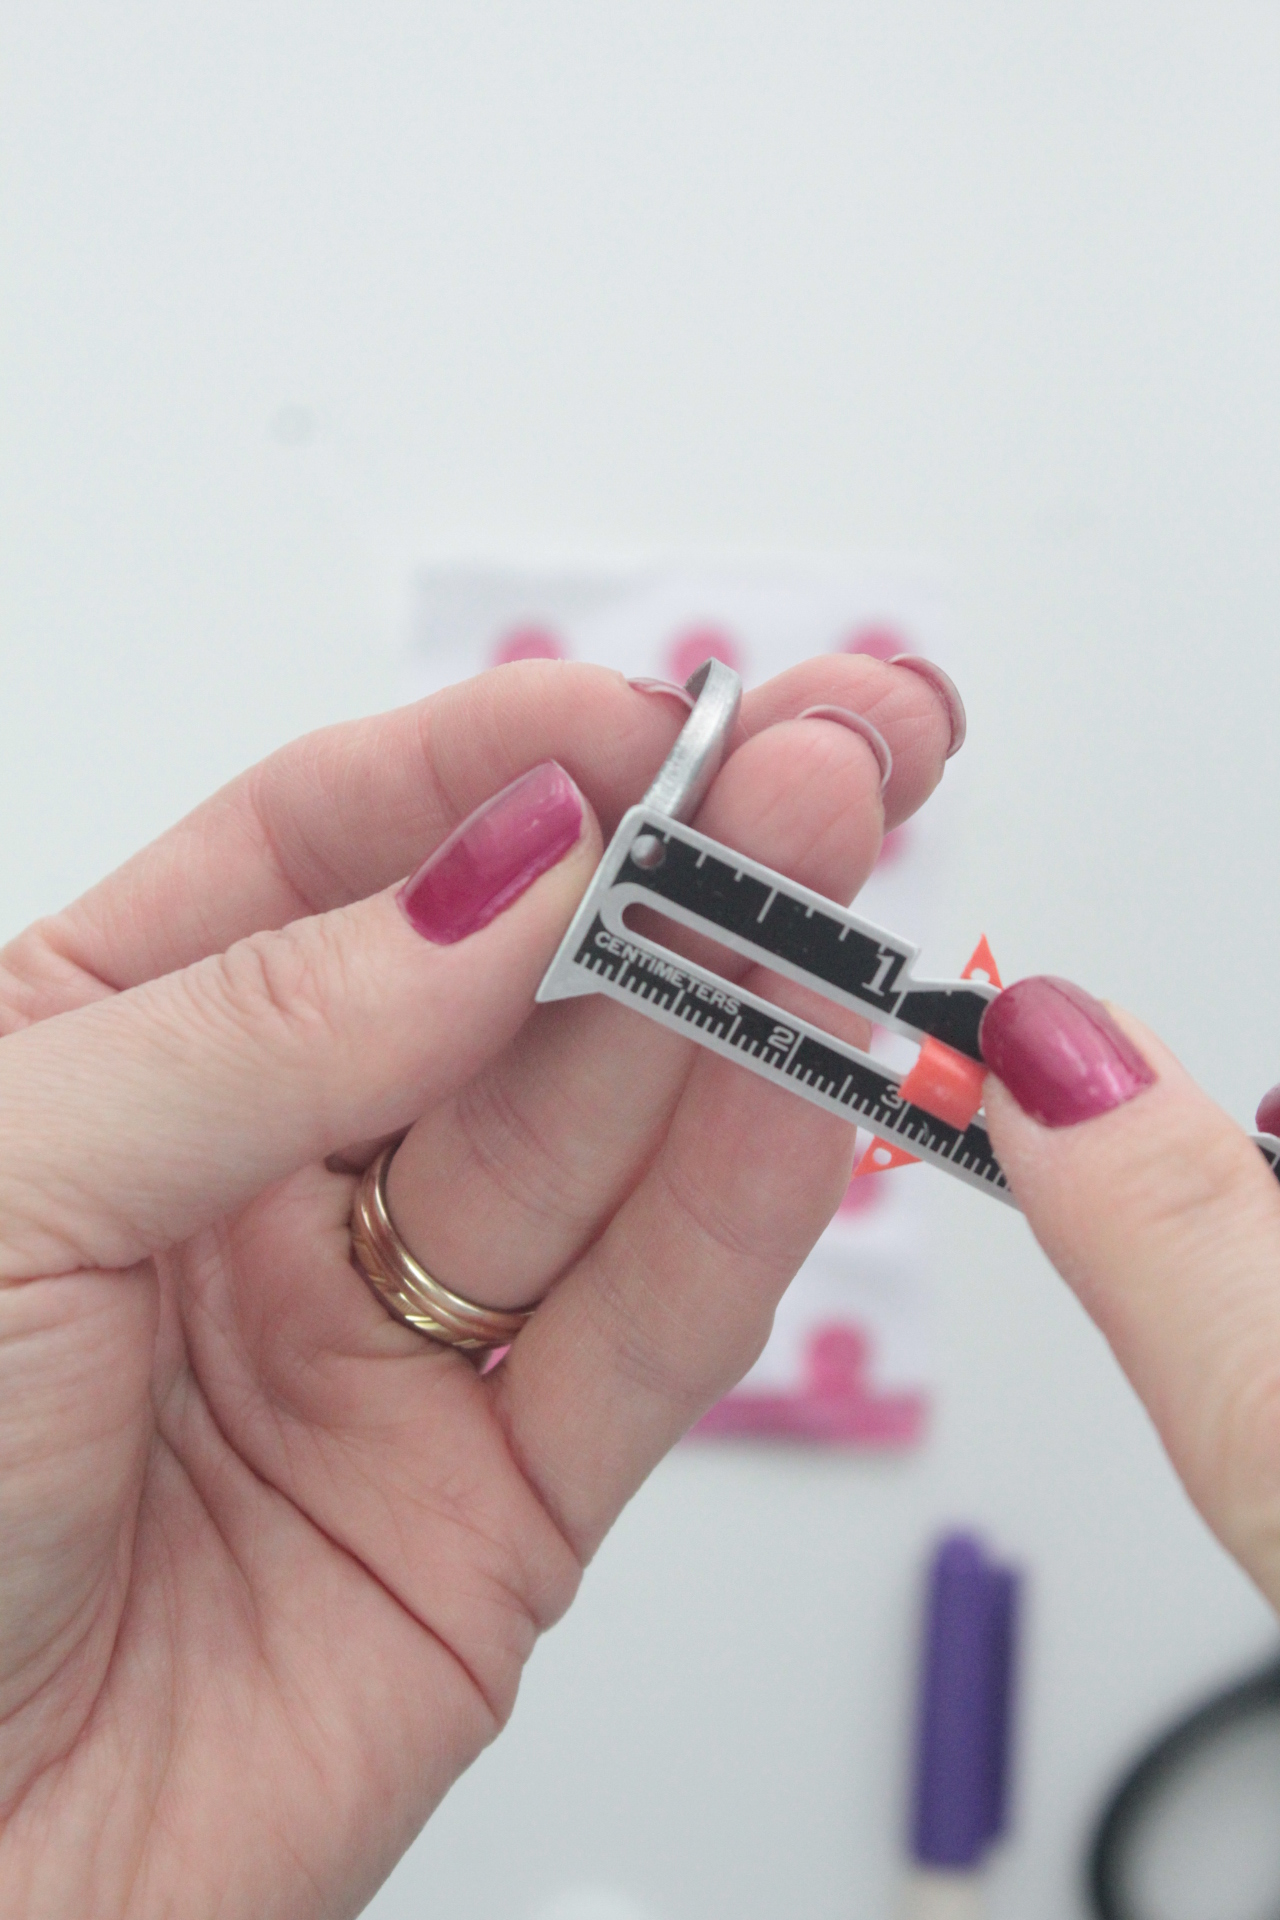
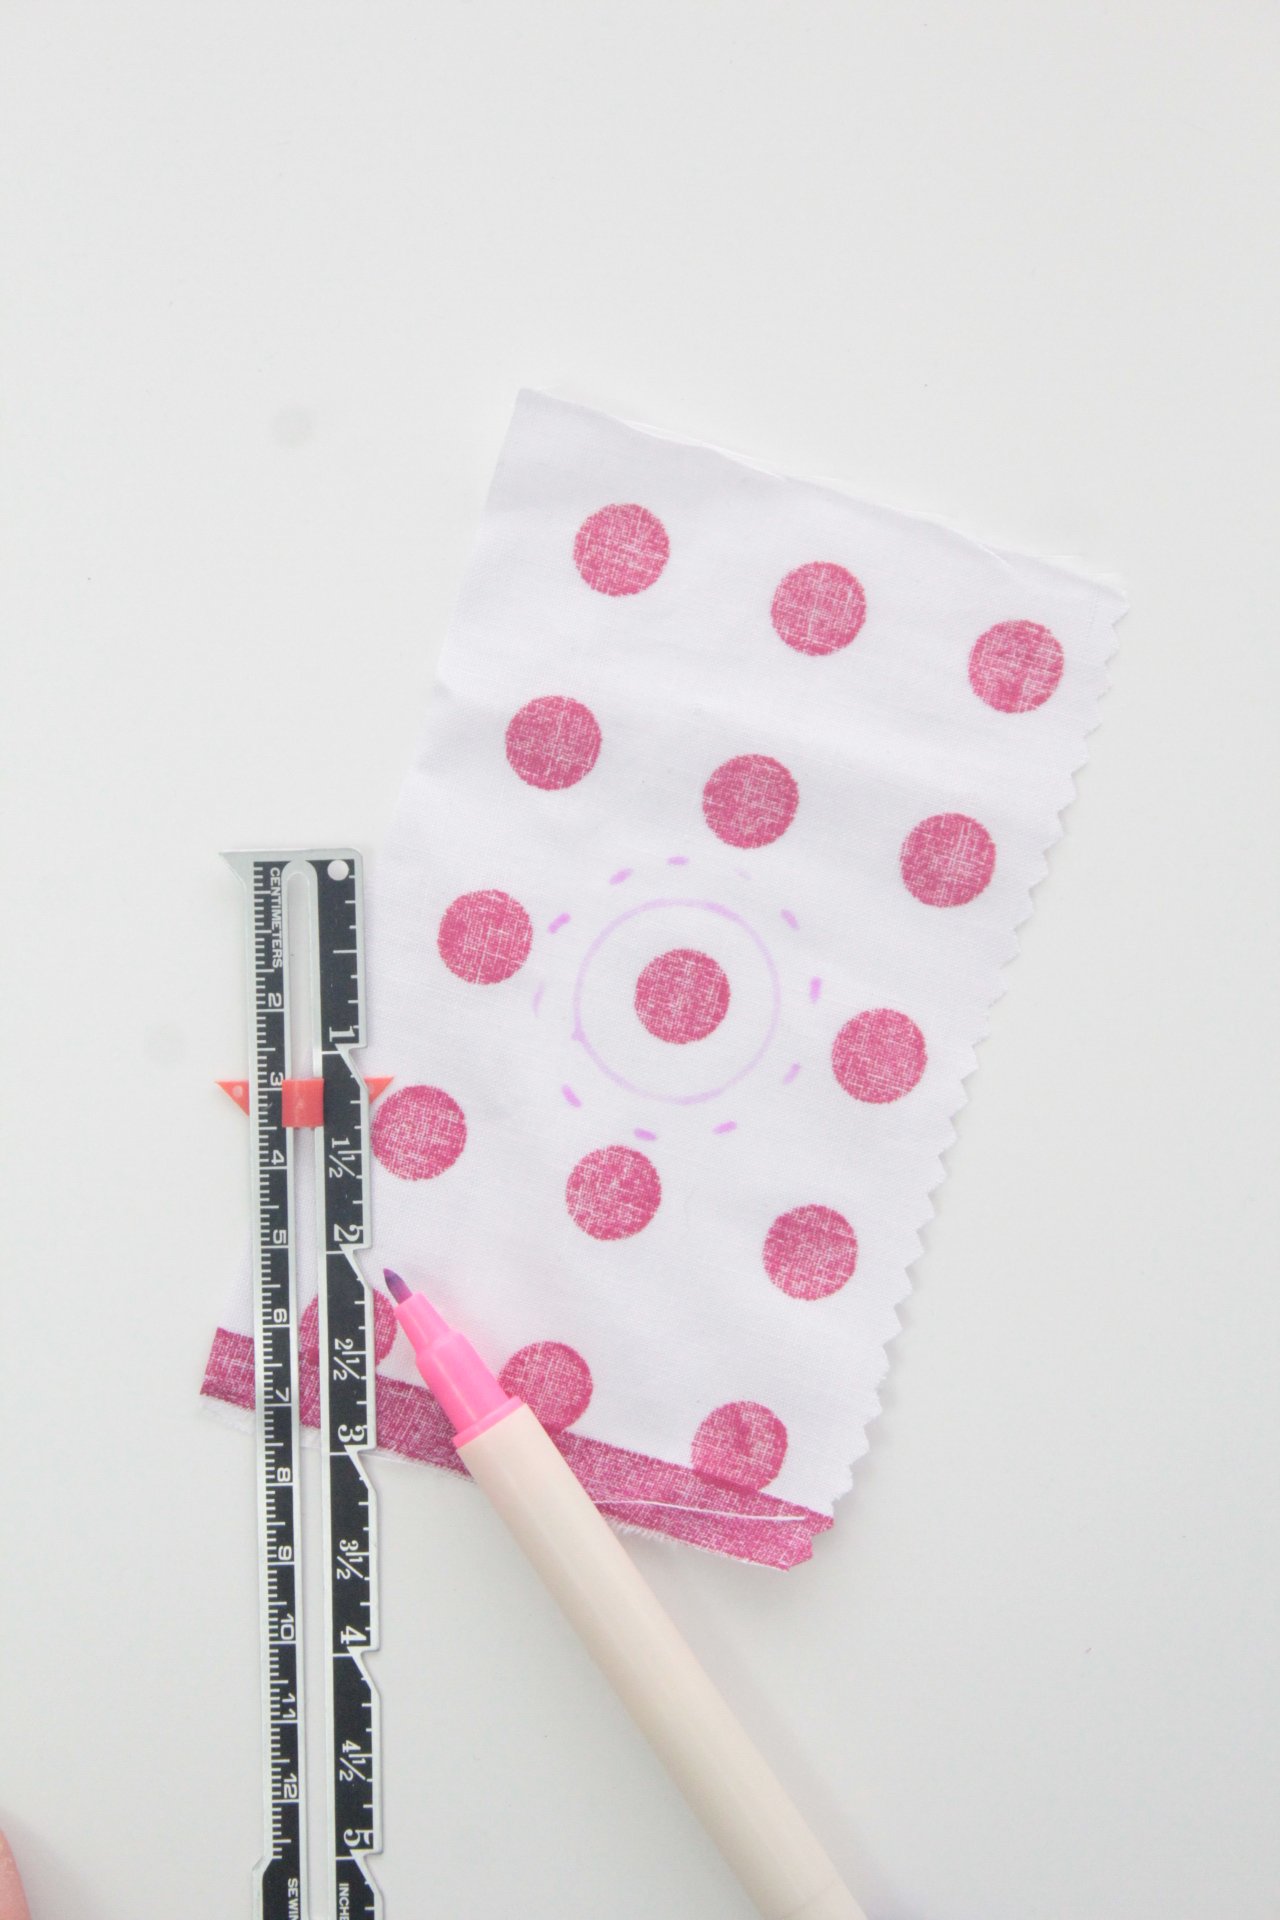
- Measure the cap from center to the edge and add this allowance to the first circle.
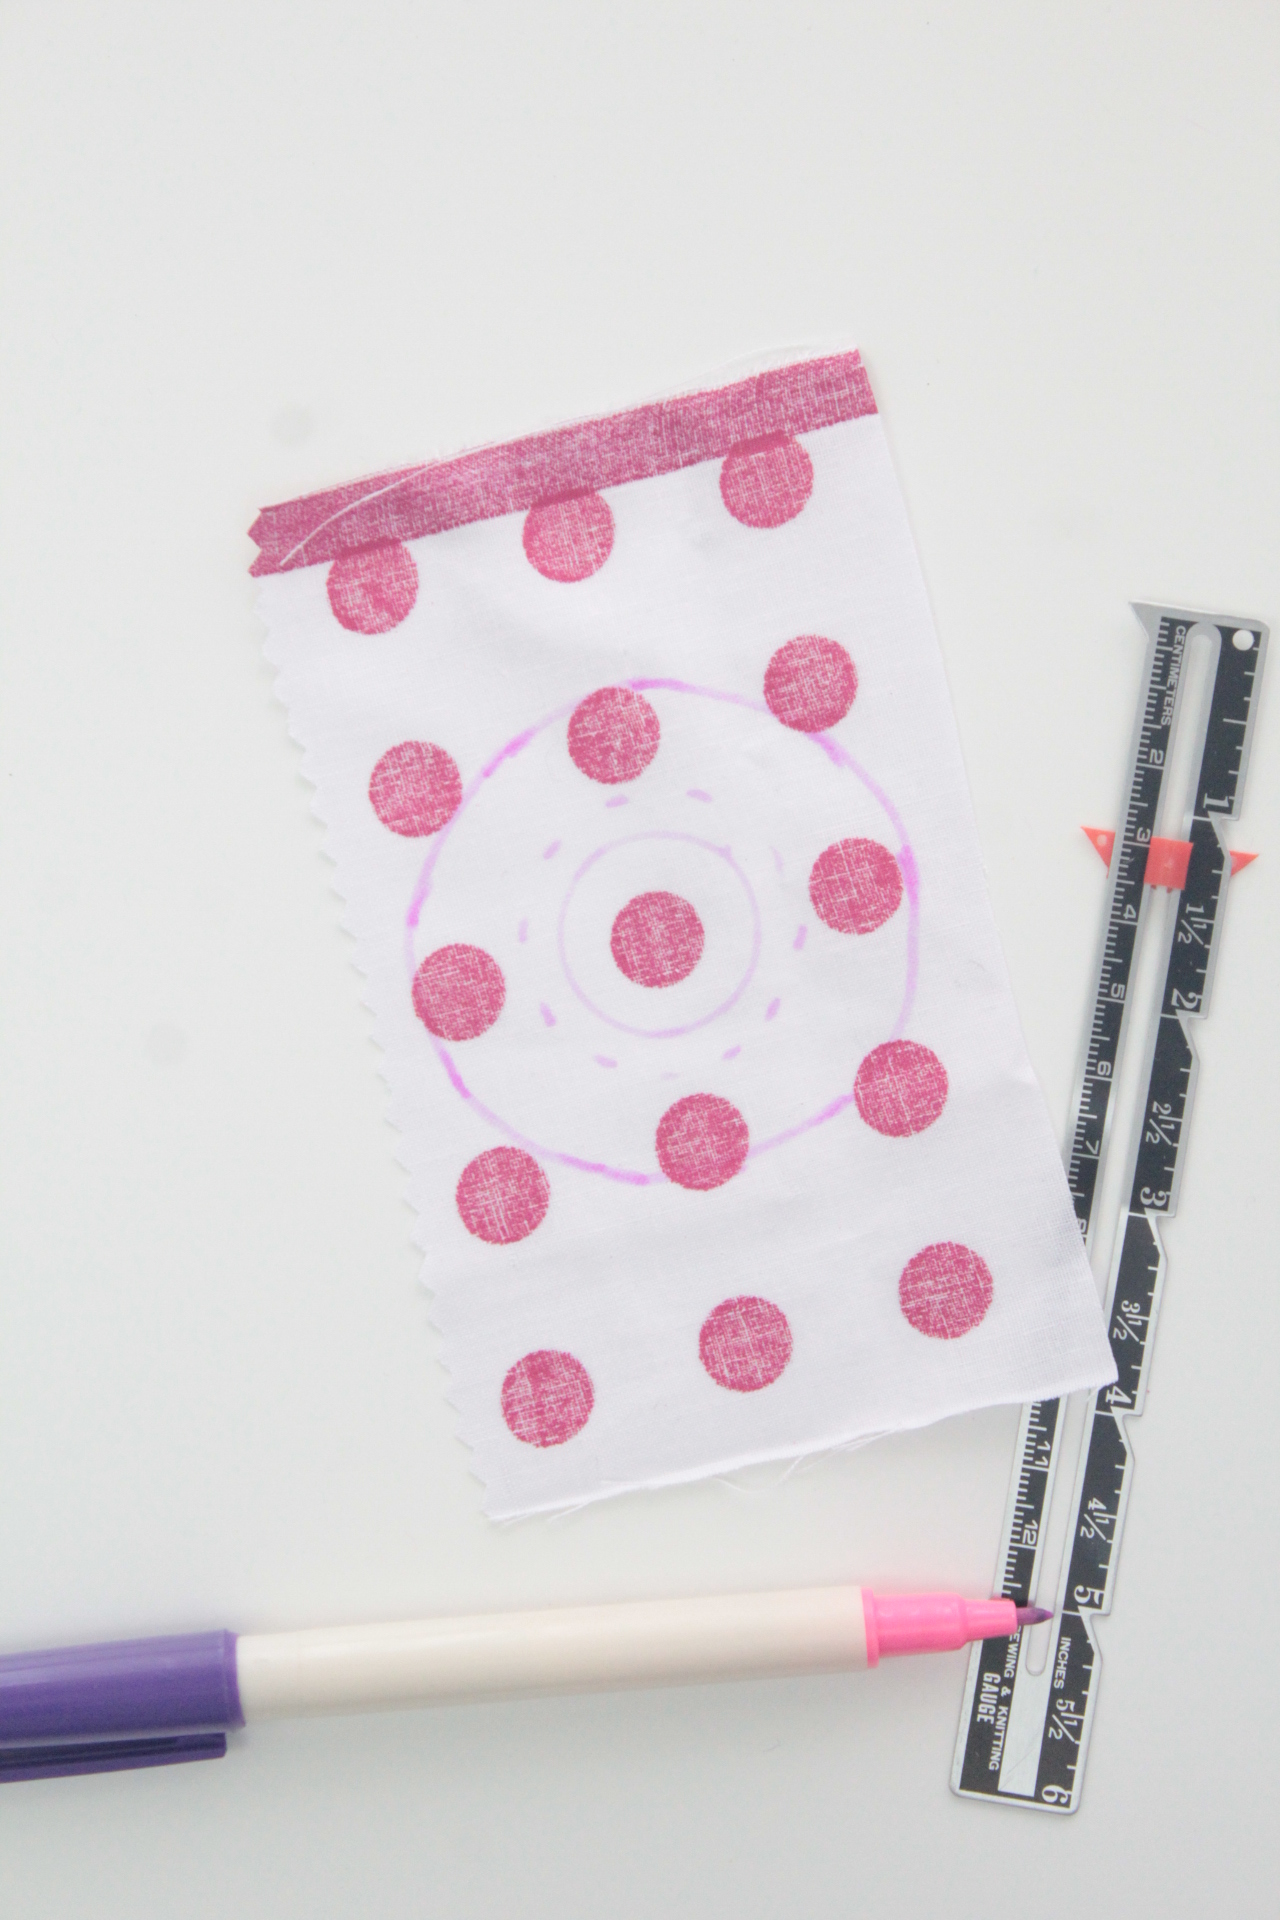
- Cut out using the last circle as a guide.
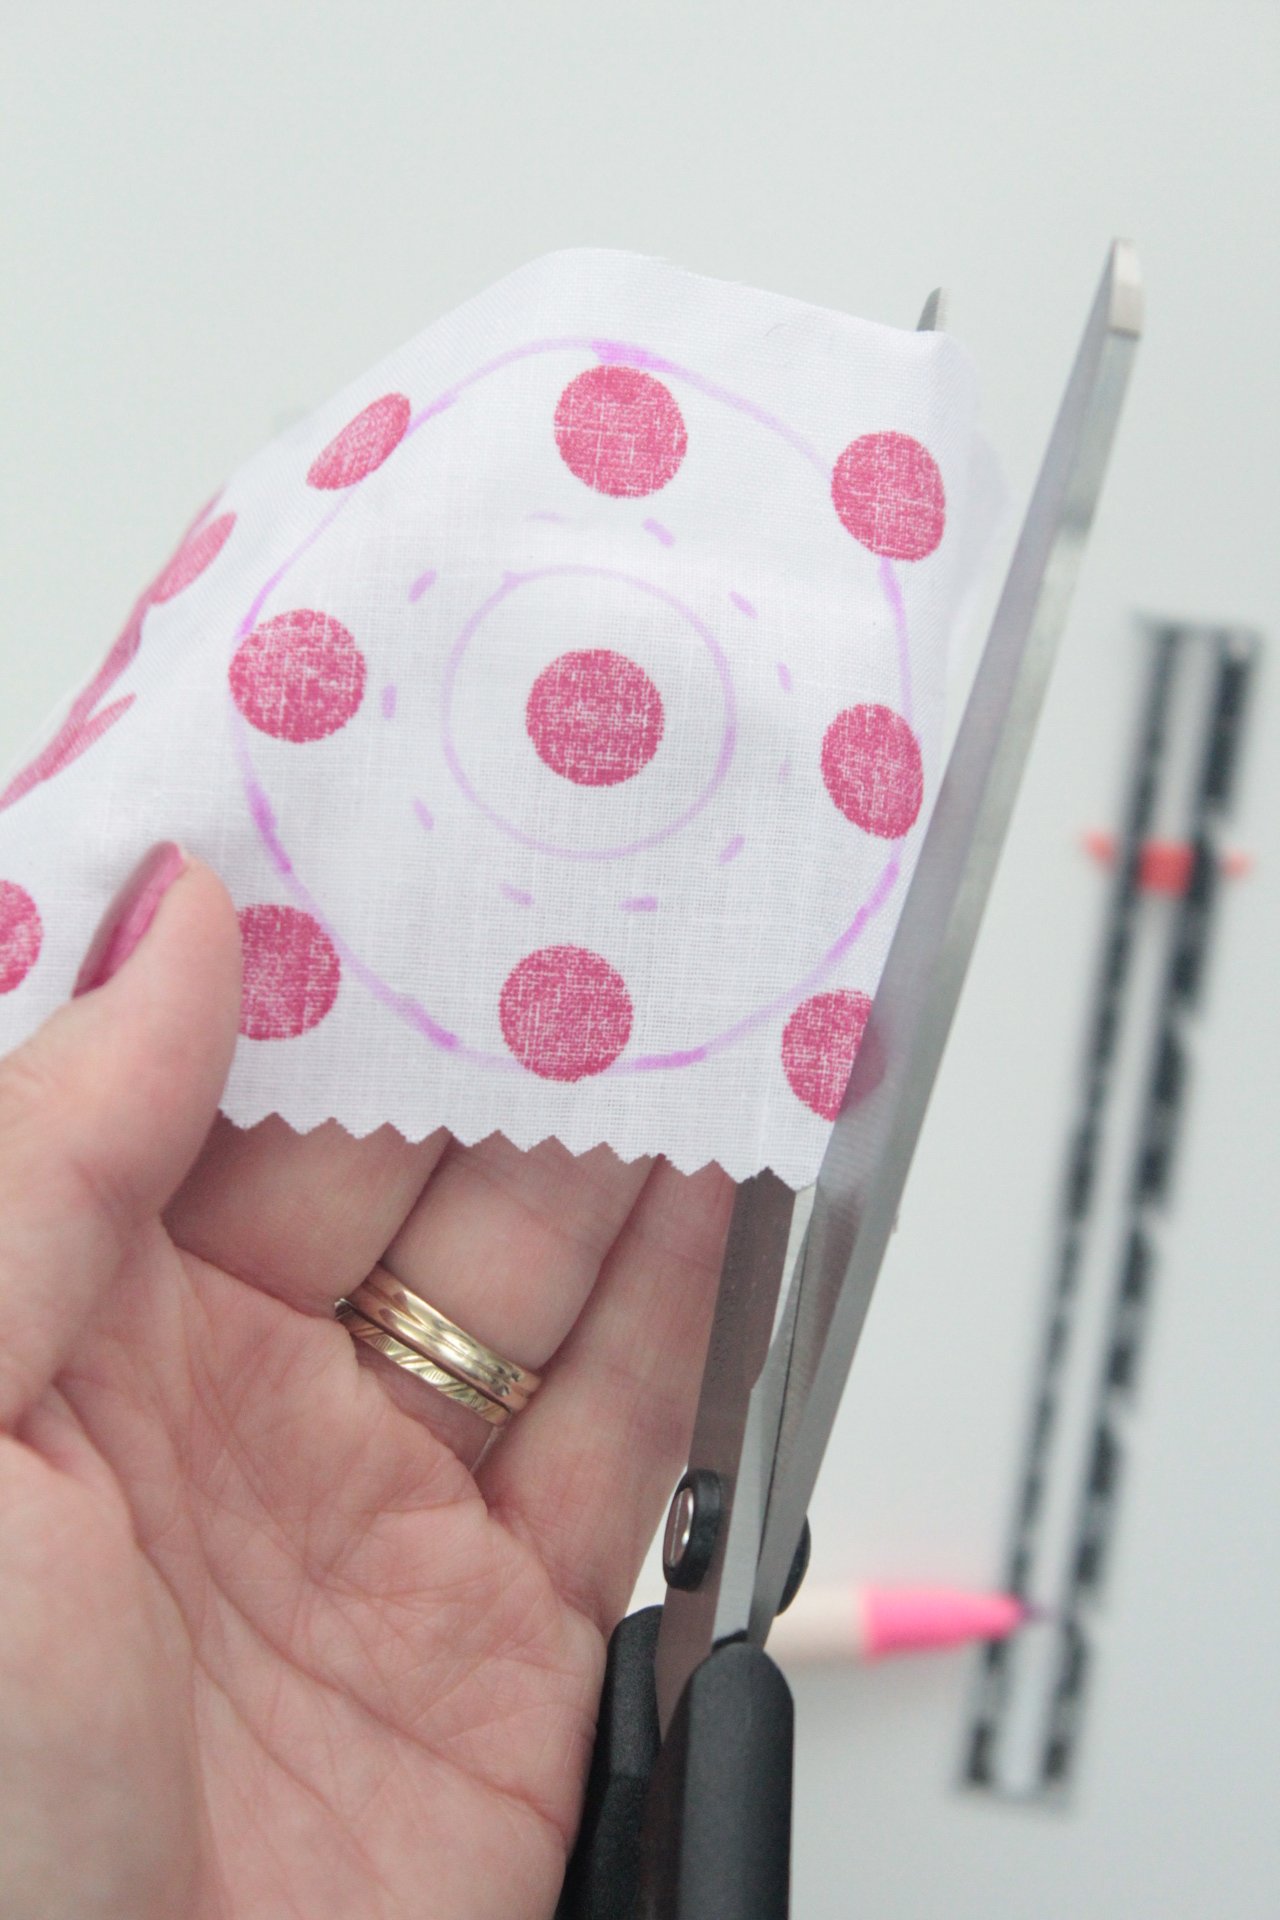
- Cut out notches up to the middle circle.
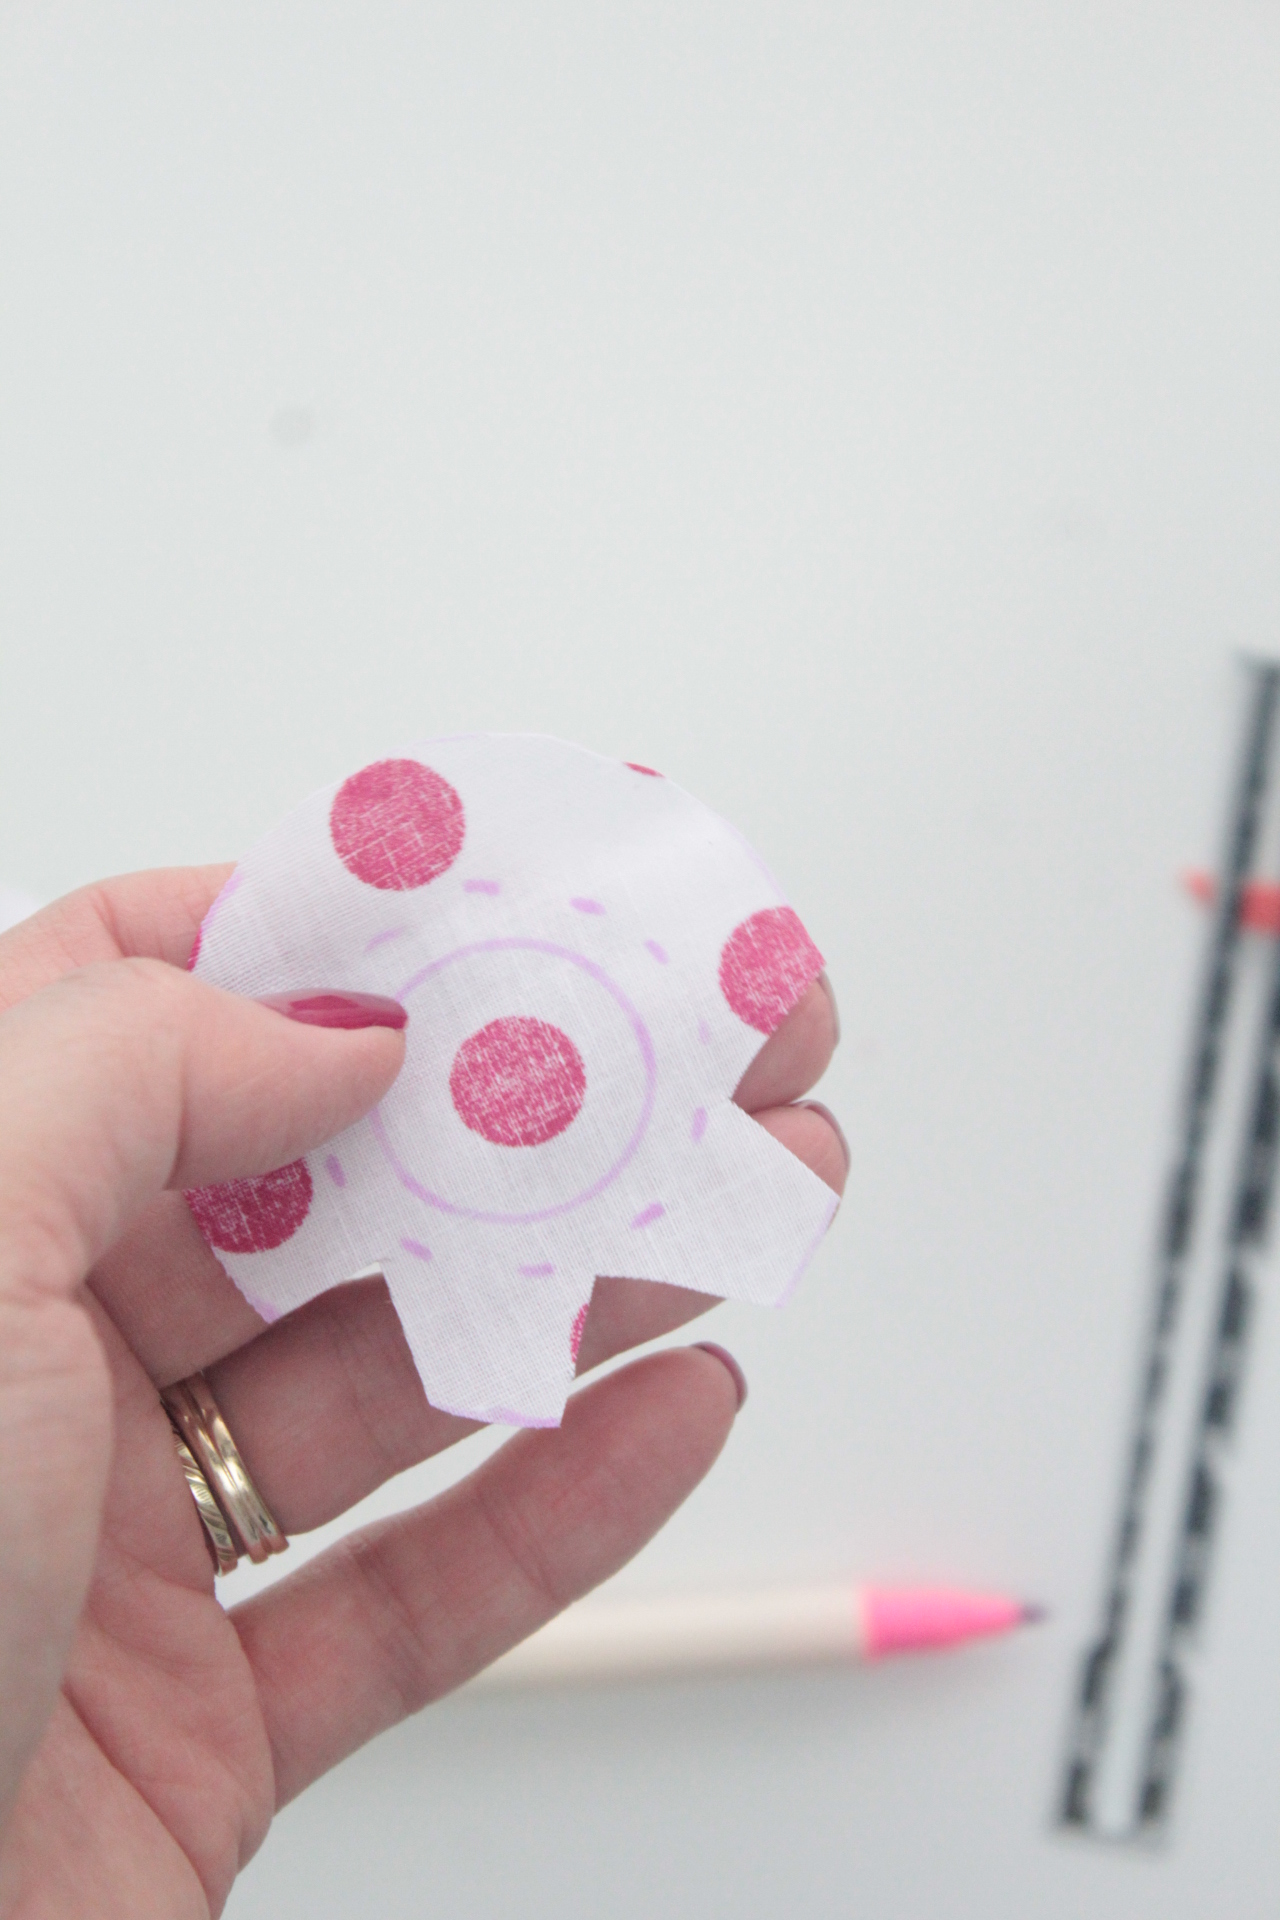
- Cover the fabric in glue on the wrong side.
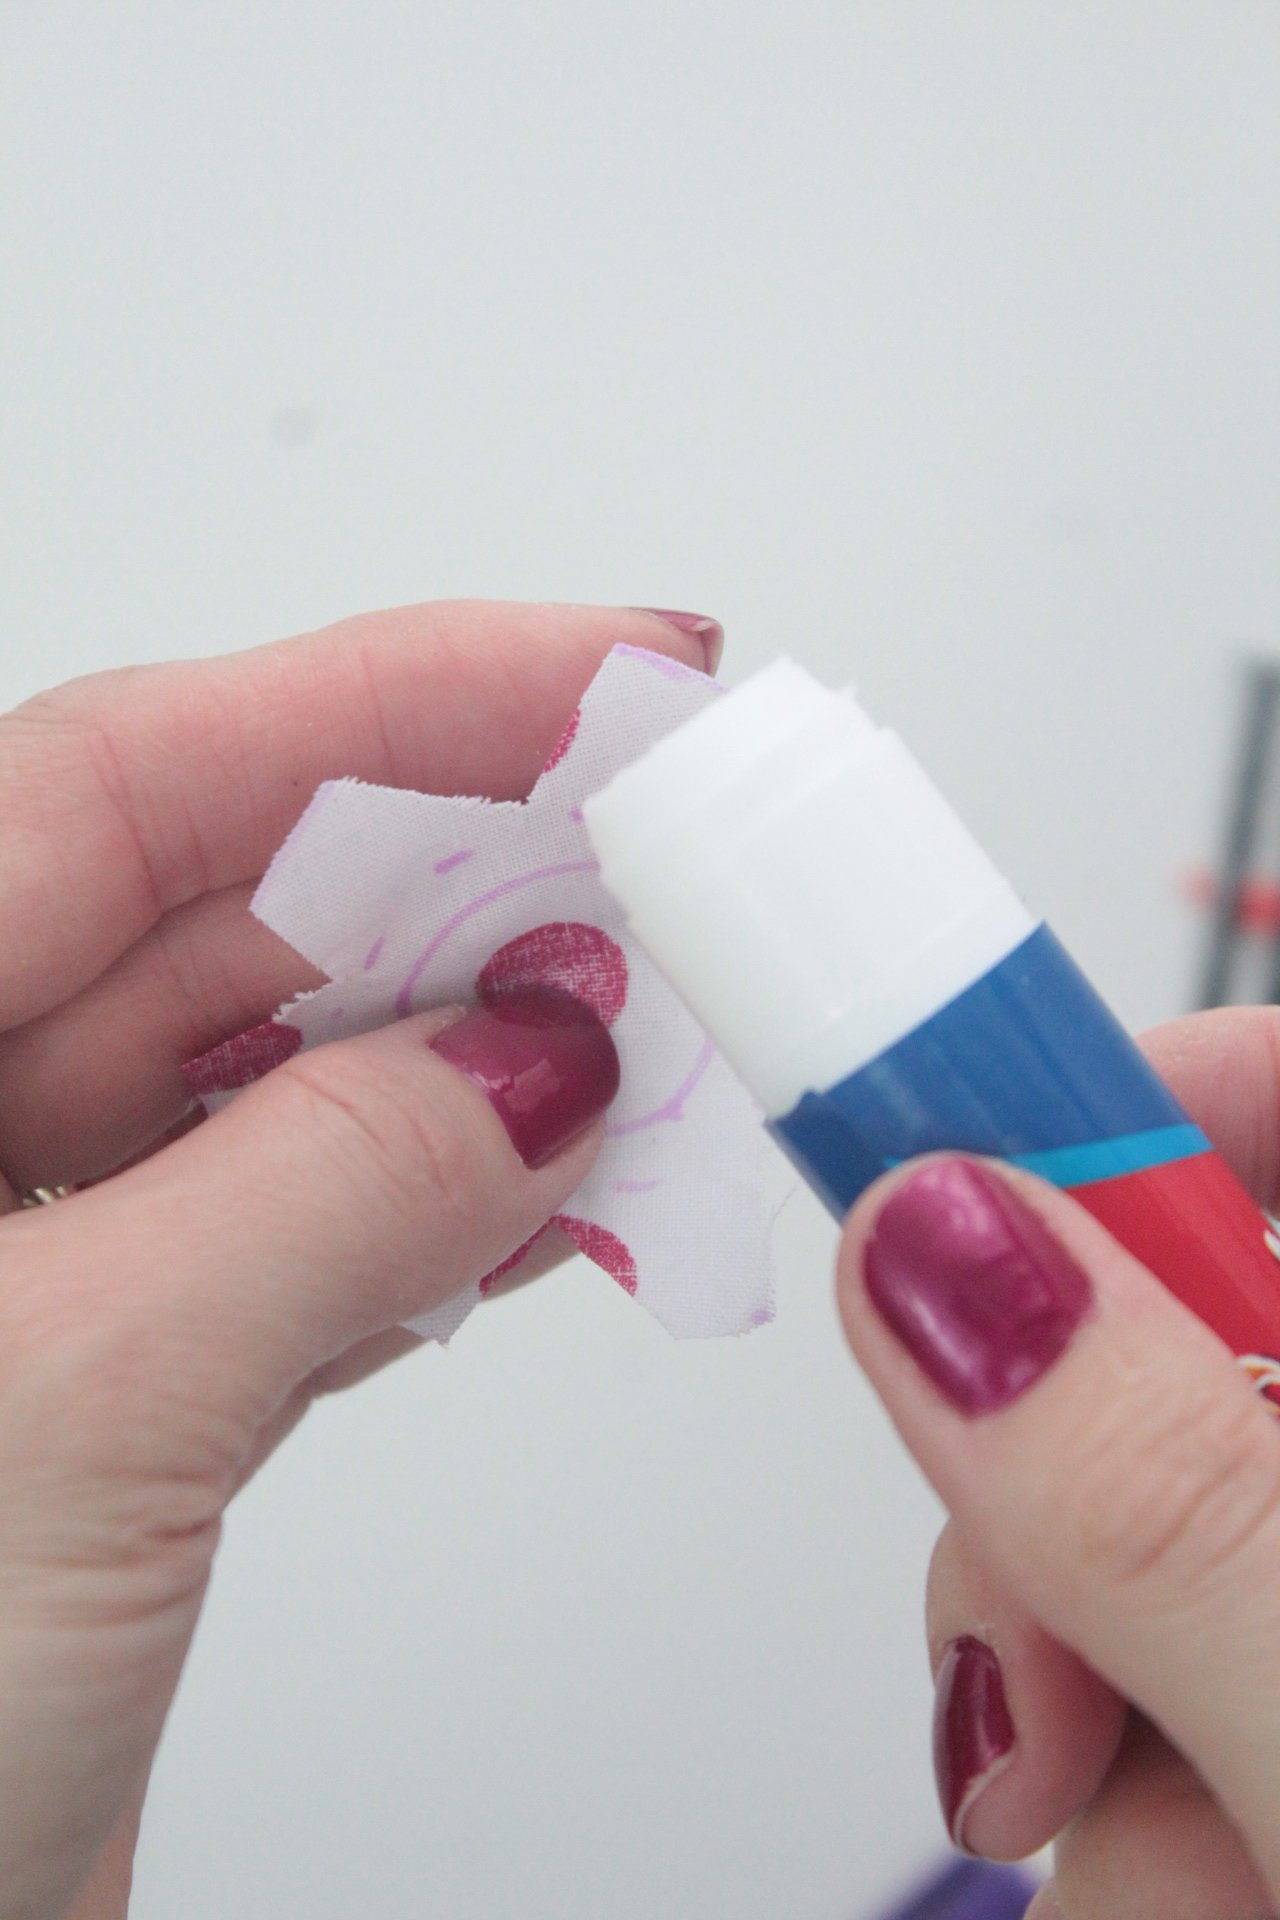
- Place the cap of the button onto the fabric, with both the fabric and the cap wrong side up.
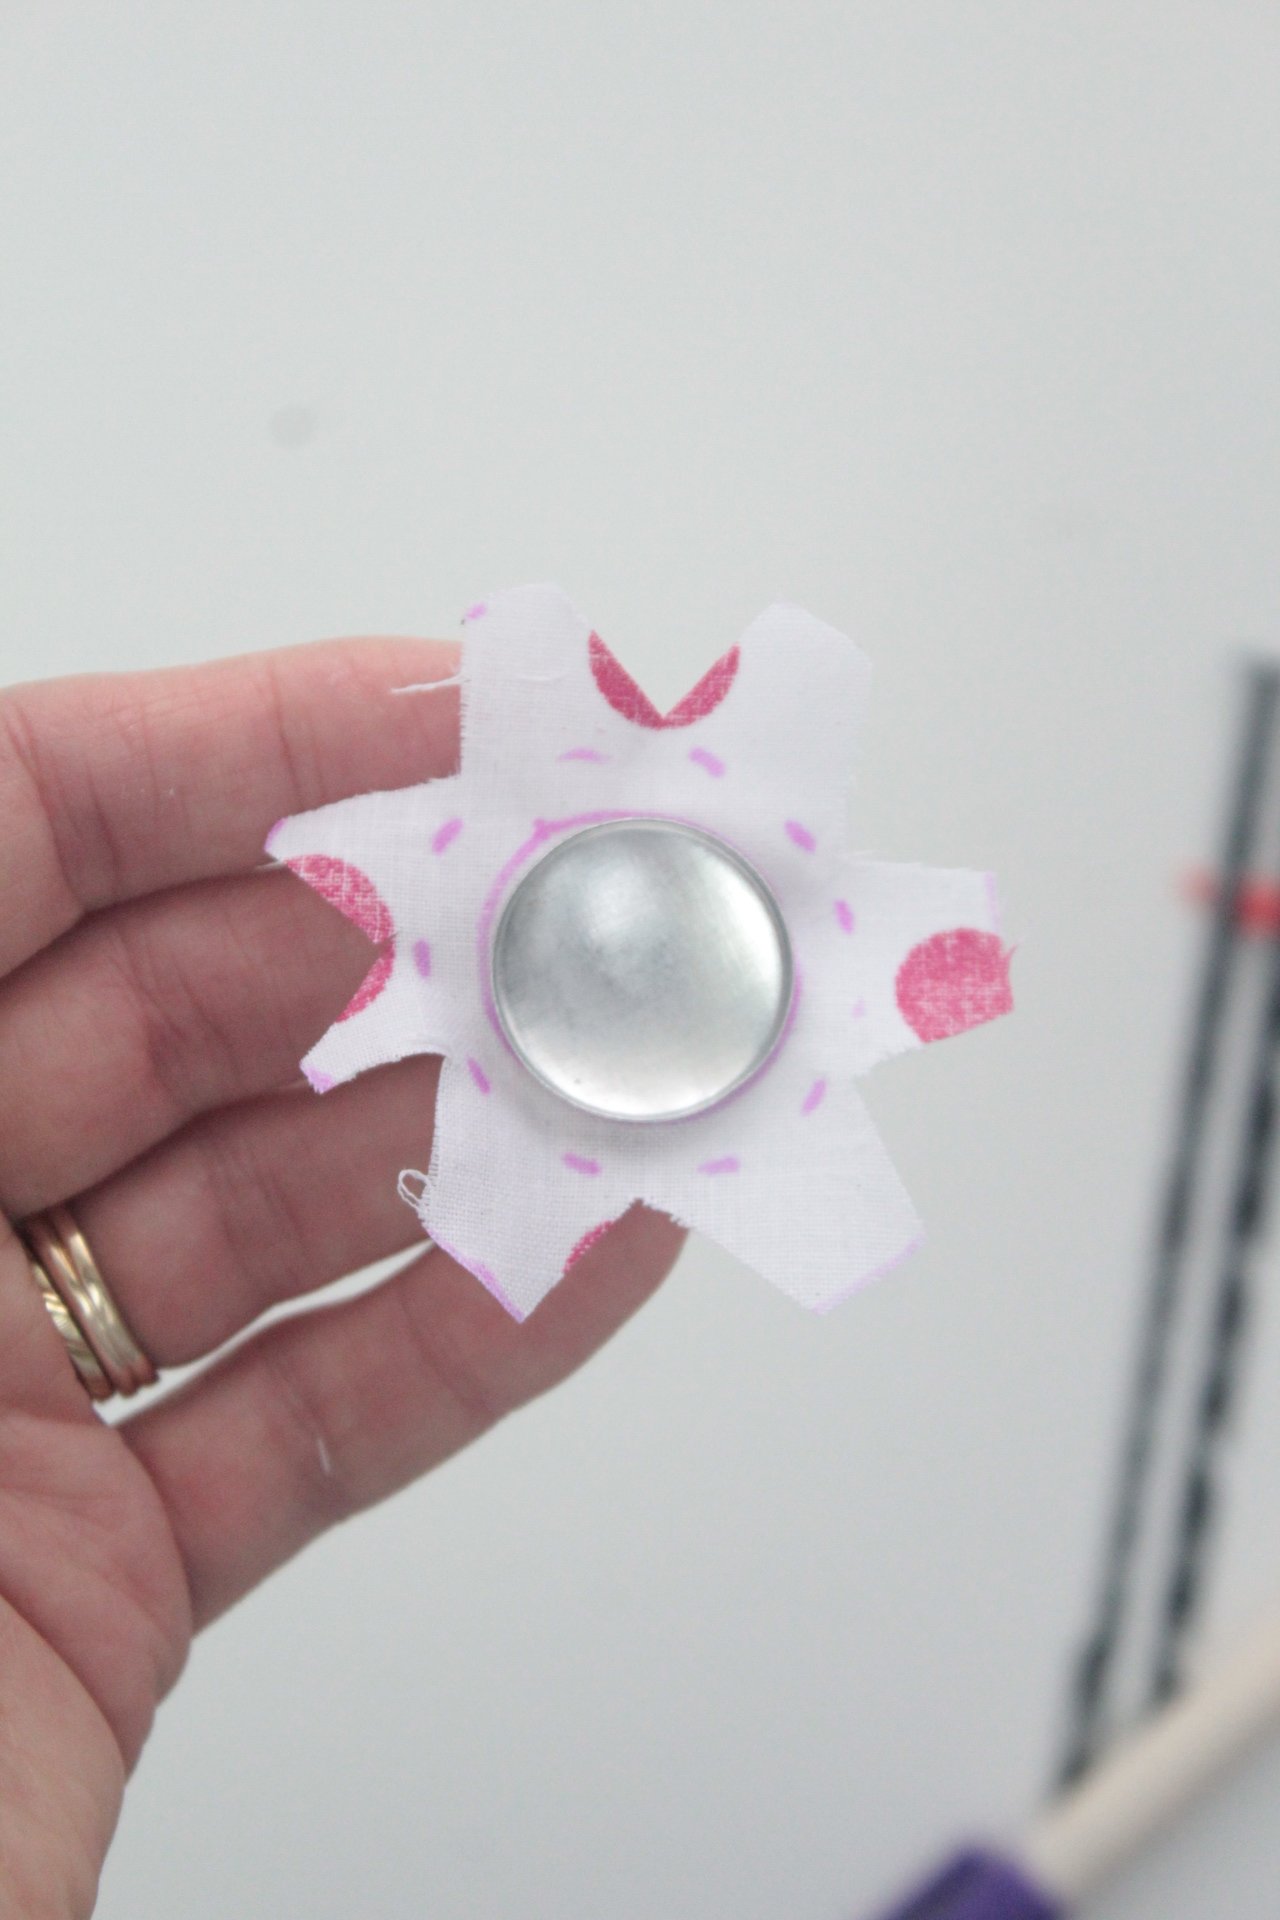
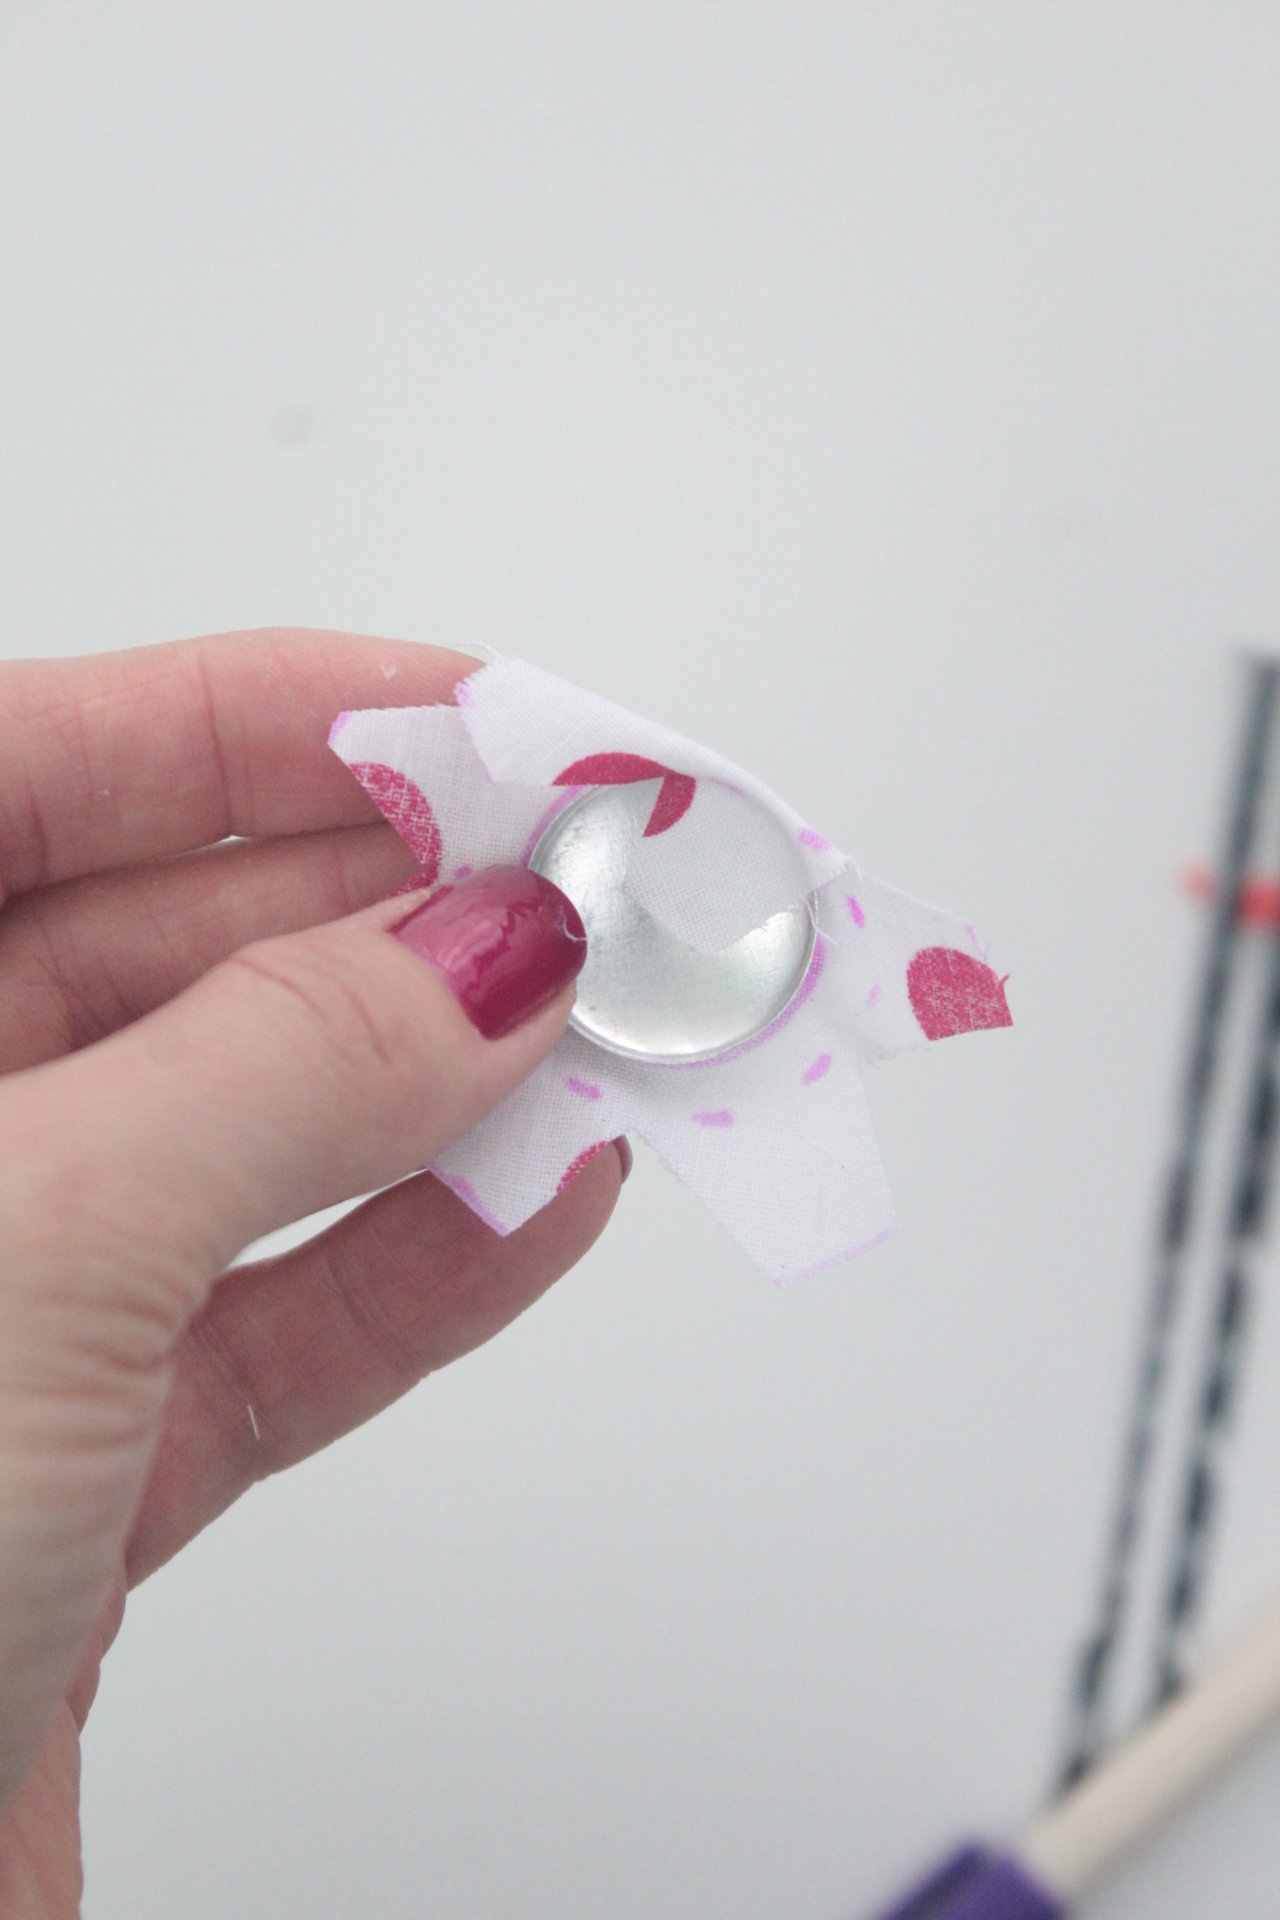
- Start pushing the extra fabric inside the cap pressing around the edges of the cap to smooth out the fabric and the creases.
- When all fabric is glued to the inside of the cap press the back of the button inside the cap.
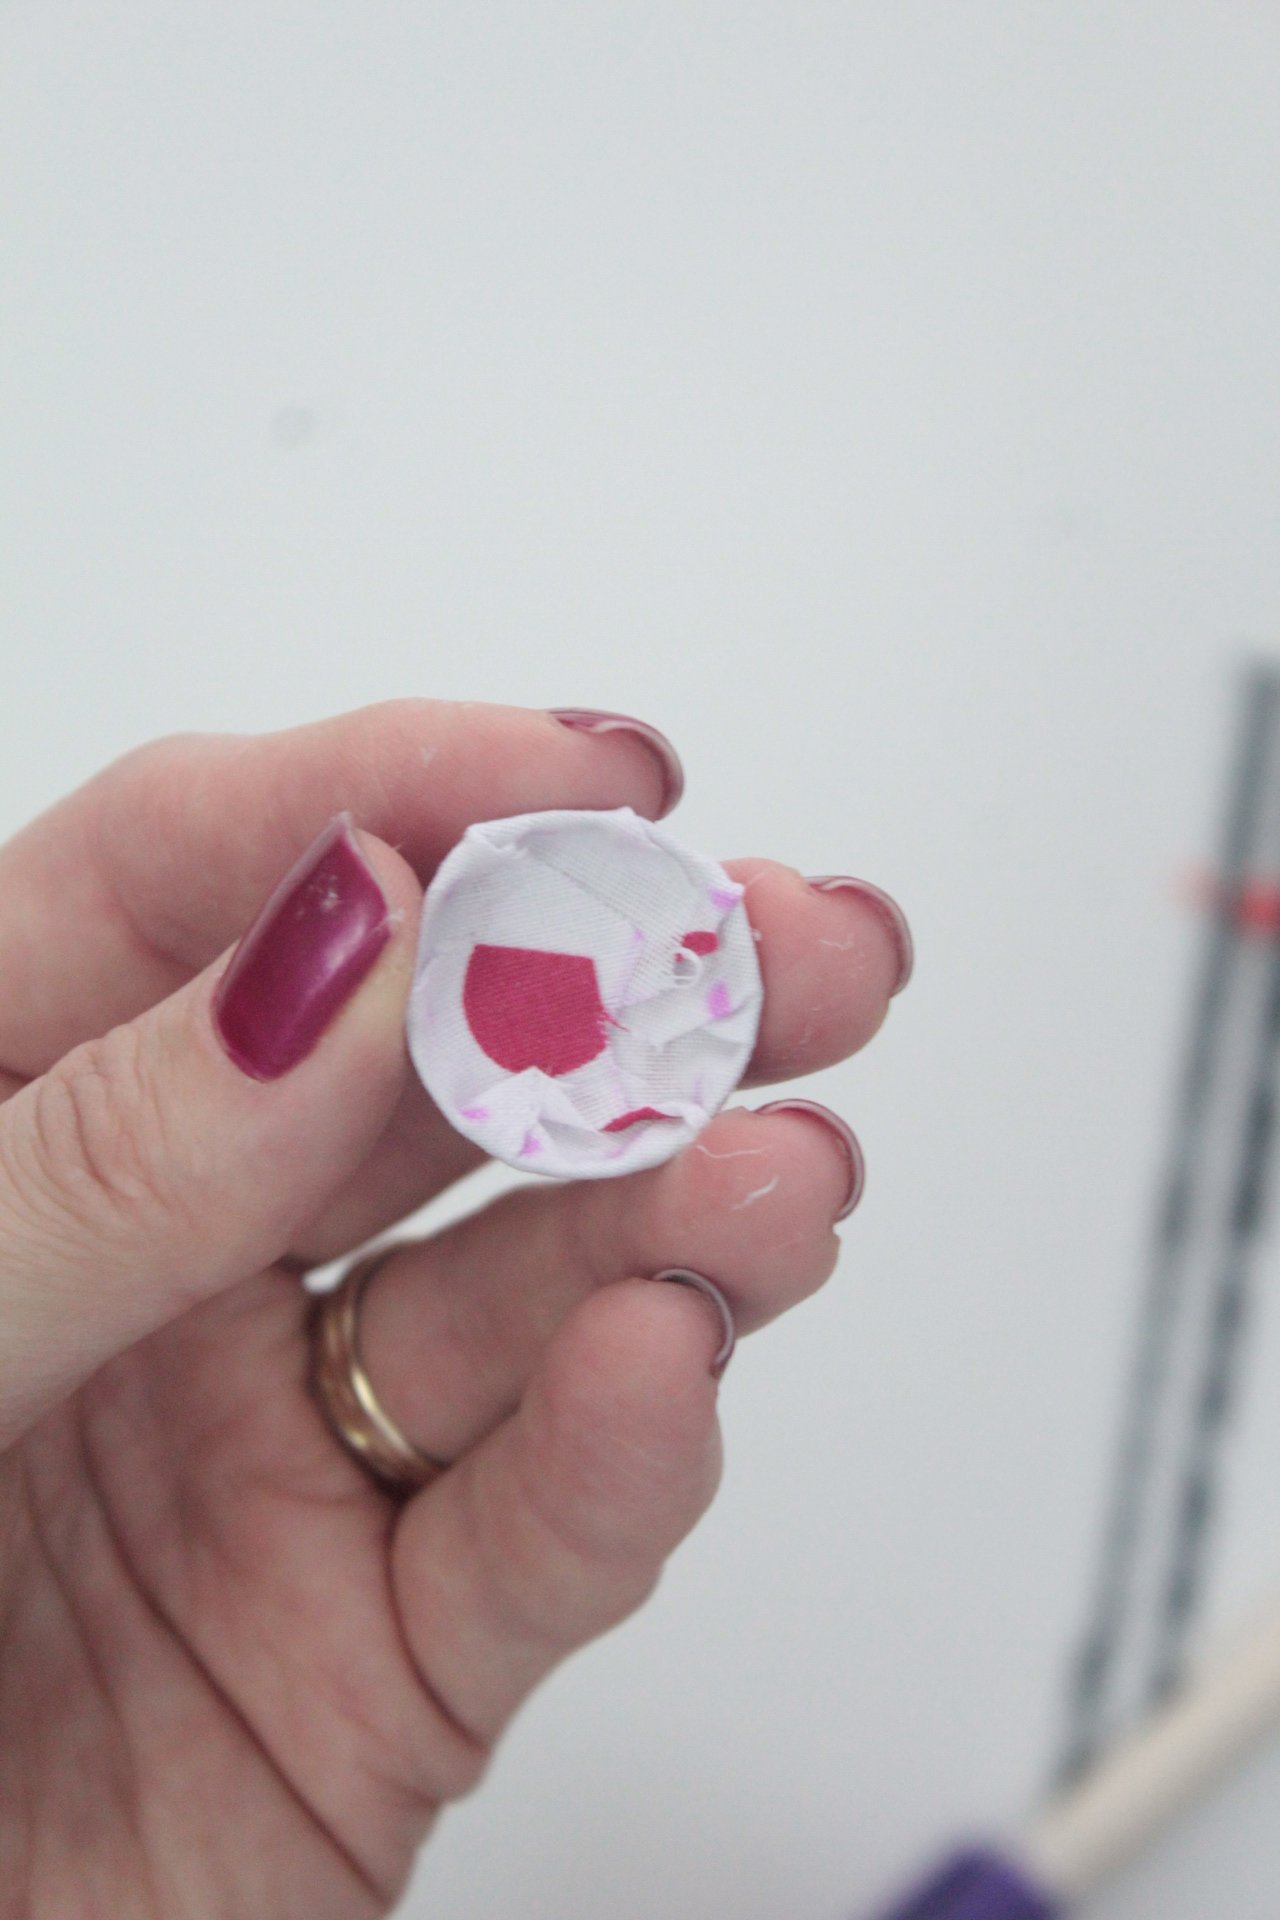
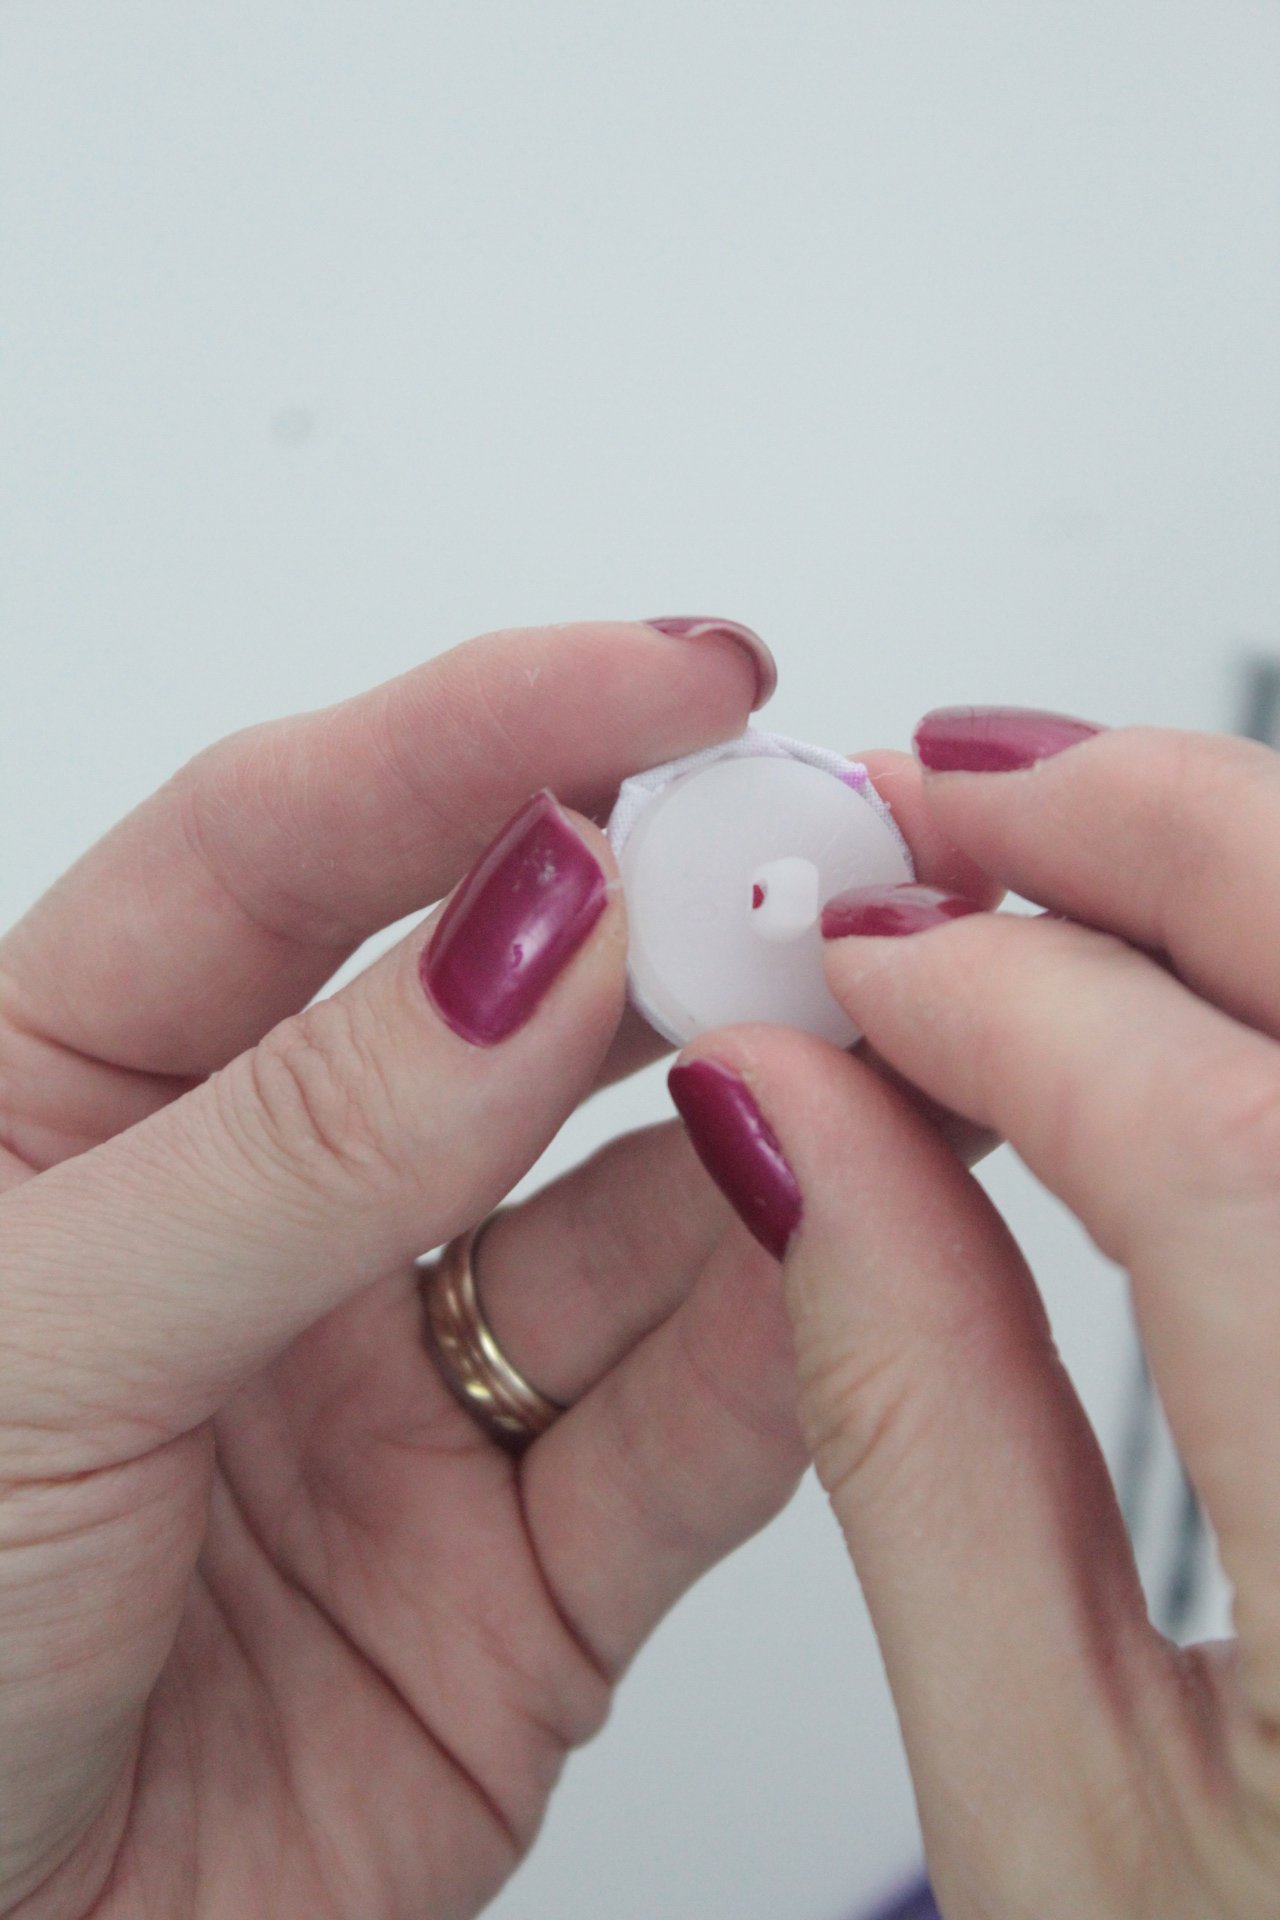
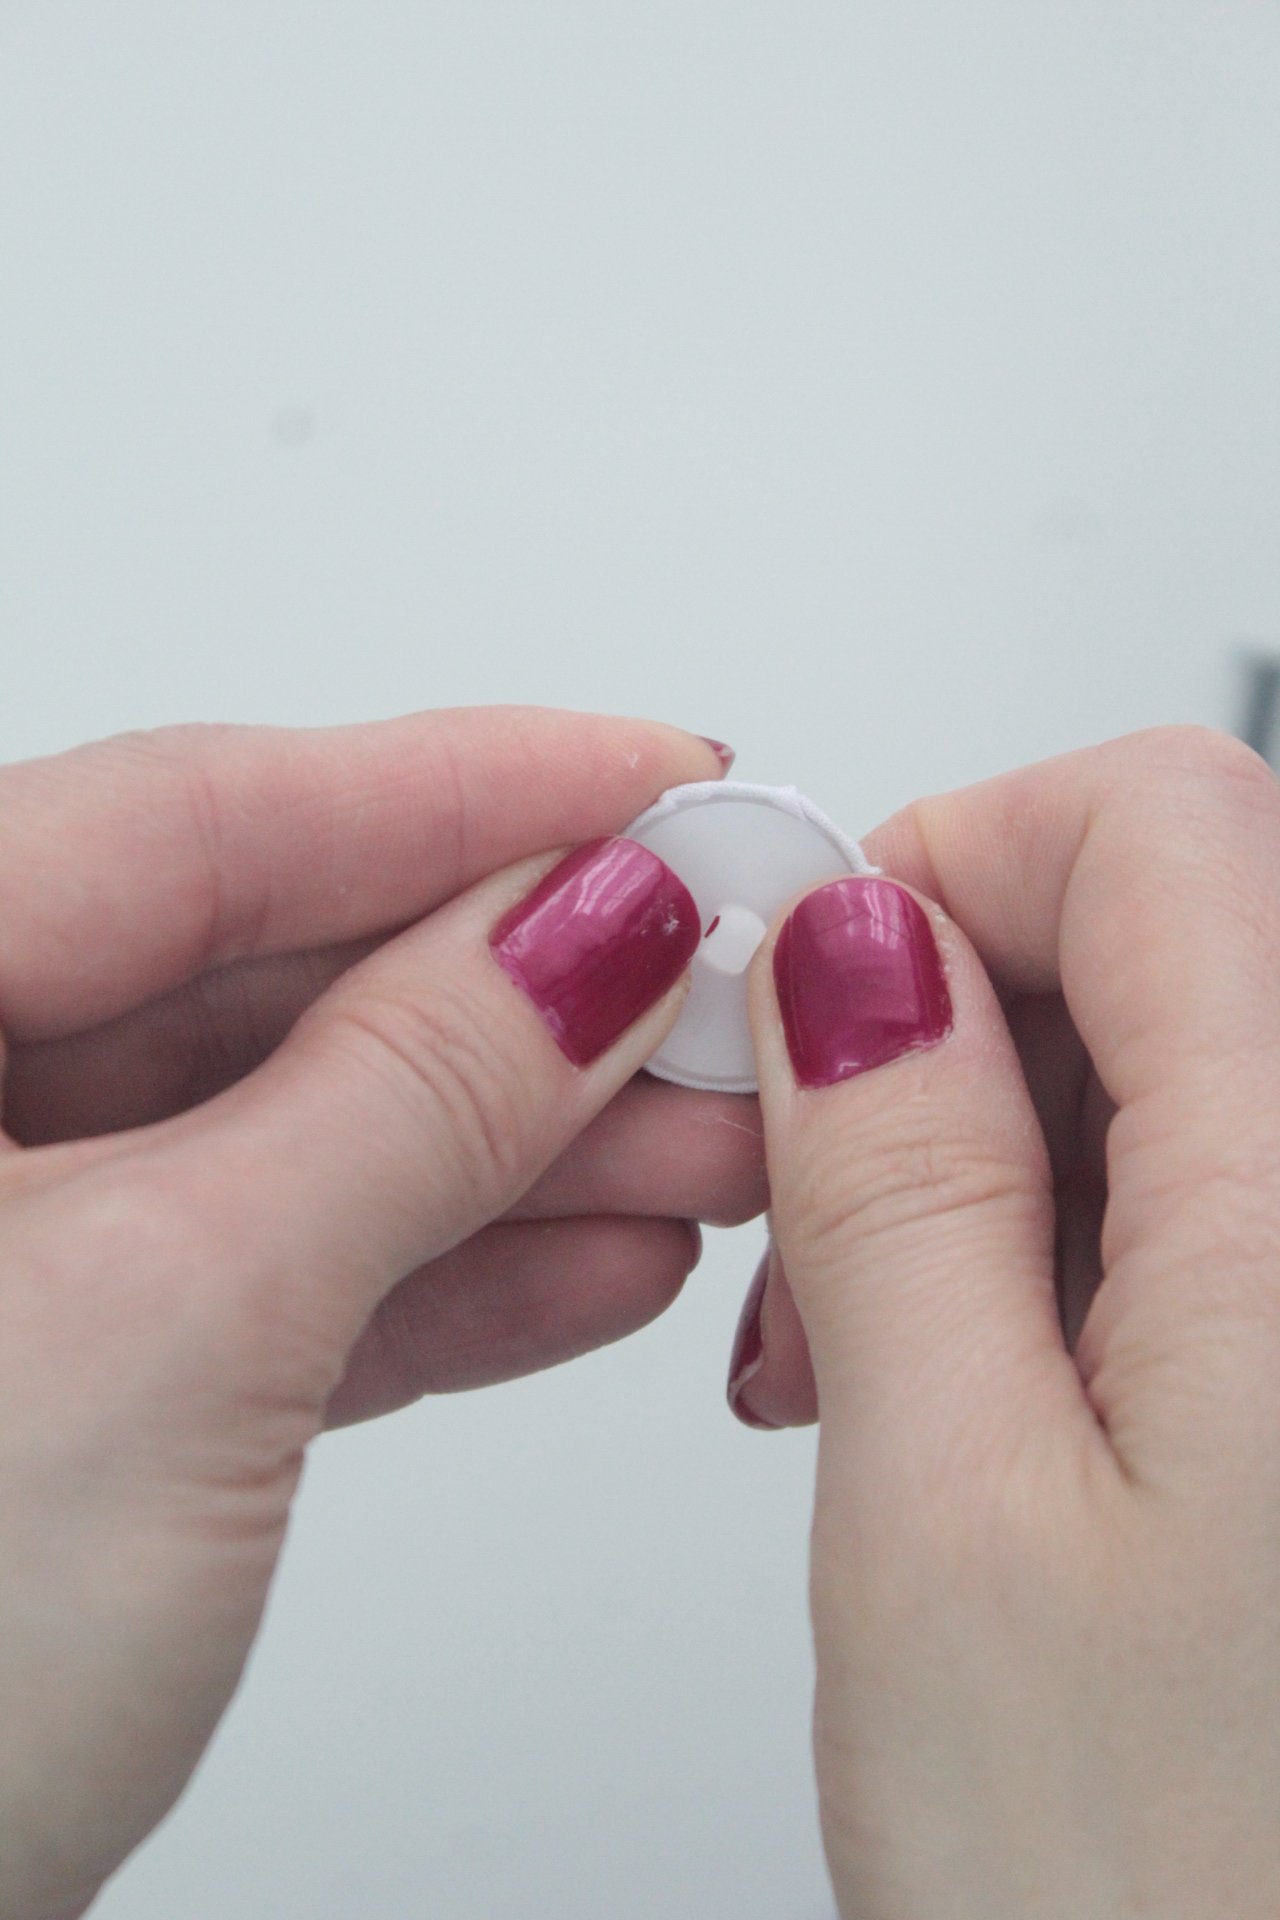
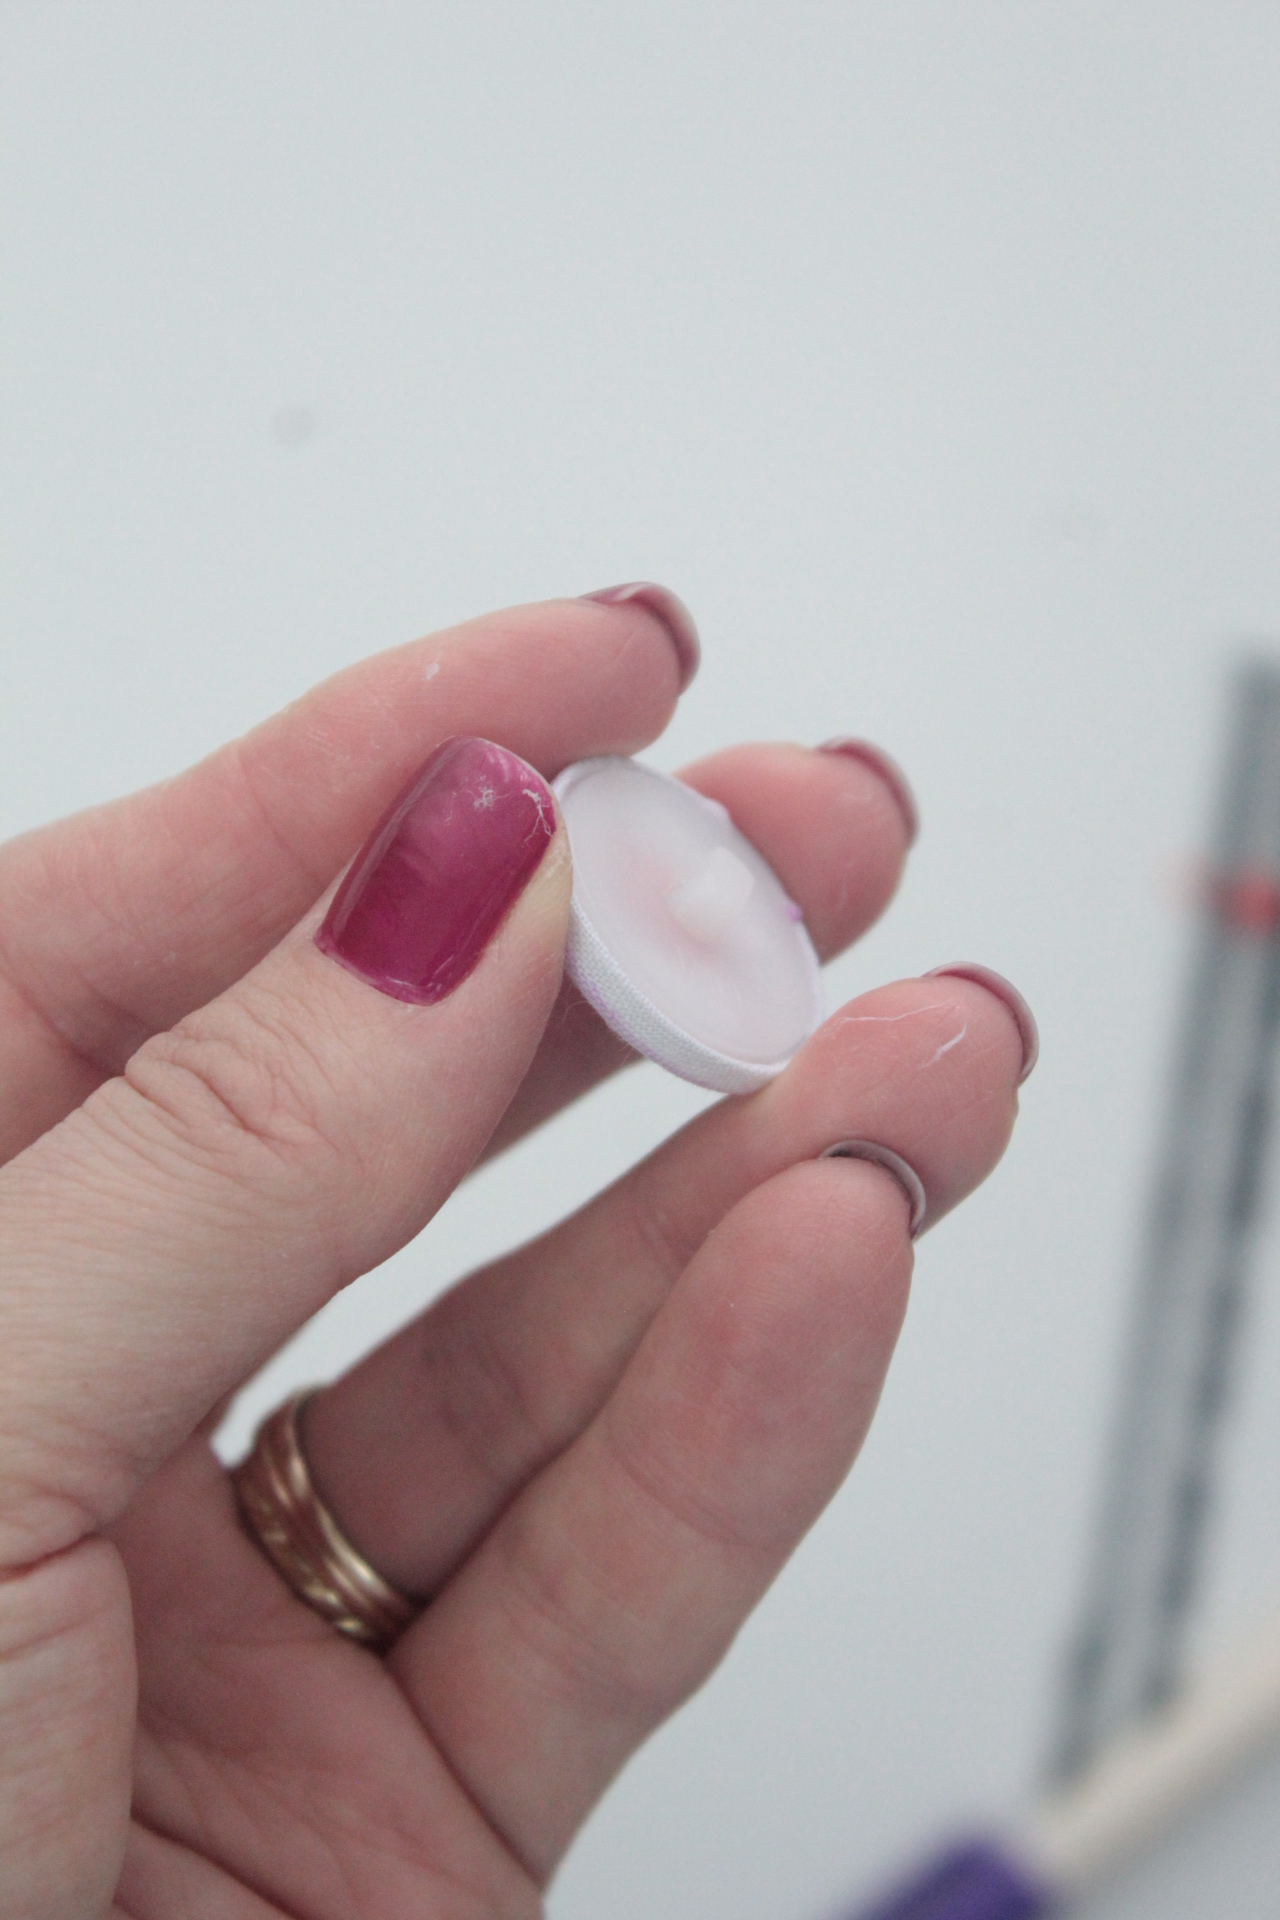
- Additionally, to make sure the back is nicely secured inside the cap, add a couple of drops of hot glue inside the cap.
- And your pretty fabric covered buttons are done! Enjoy!
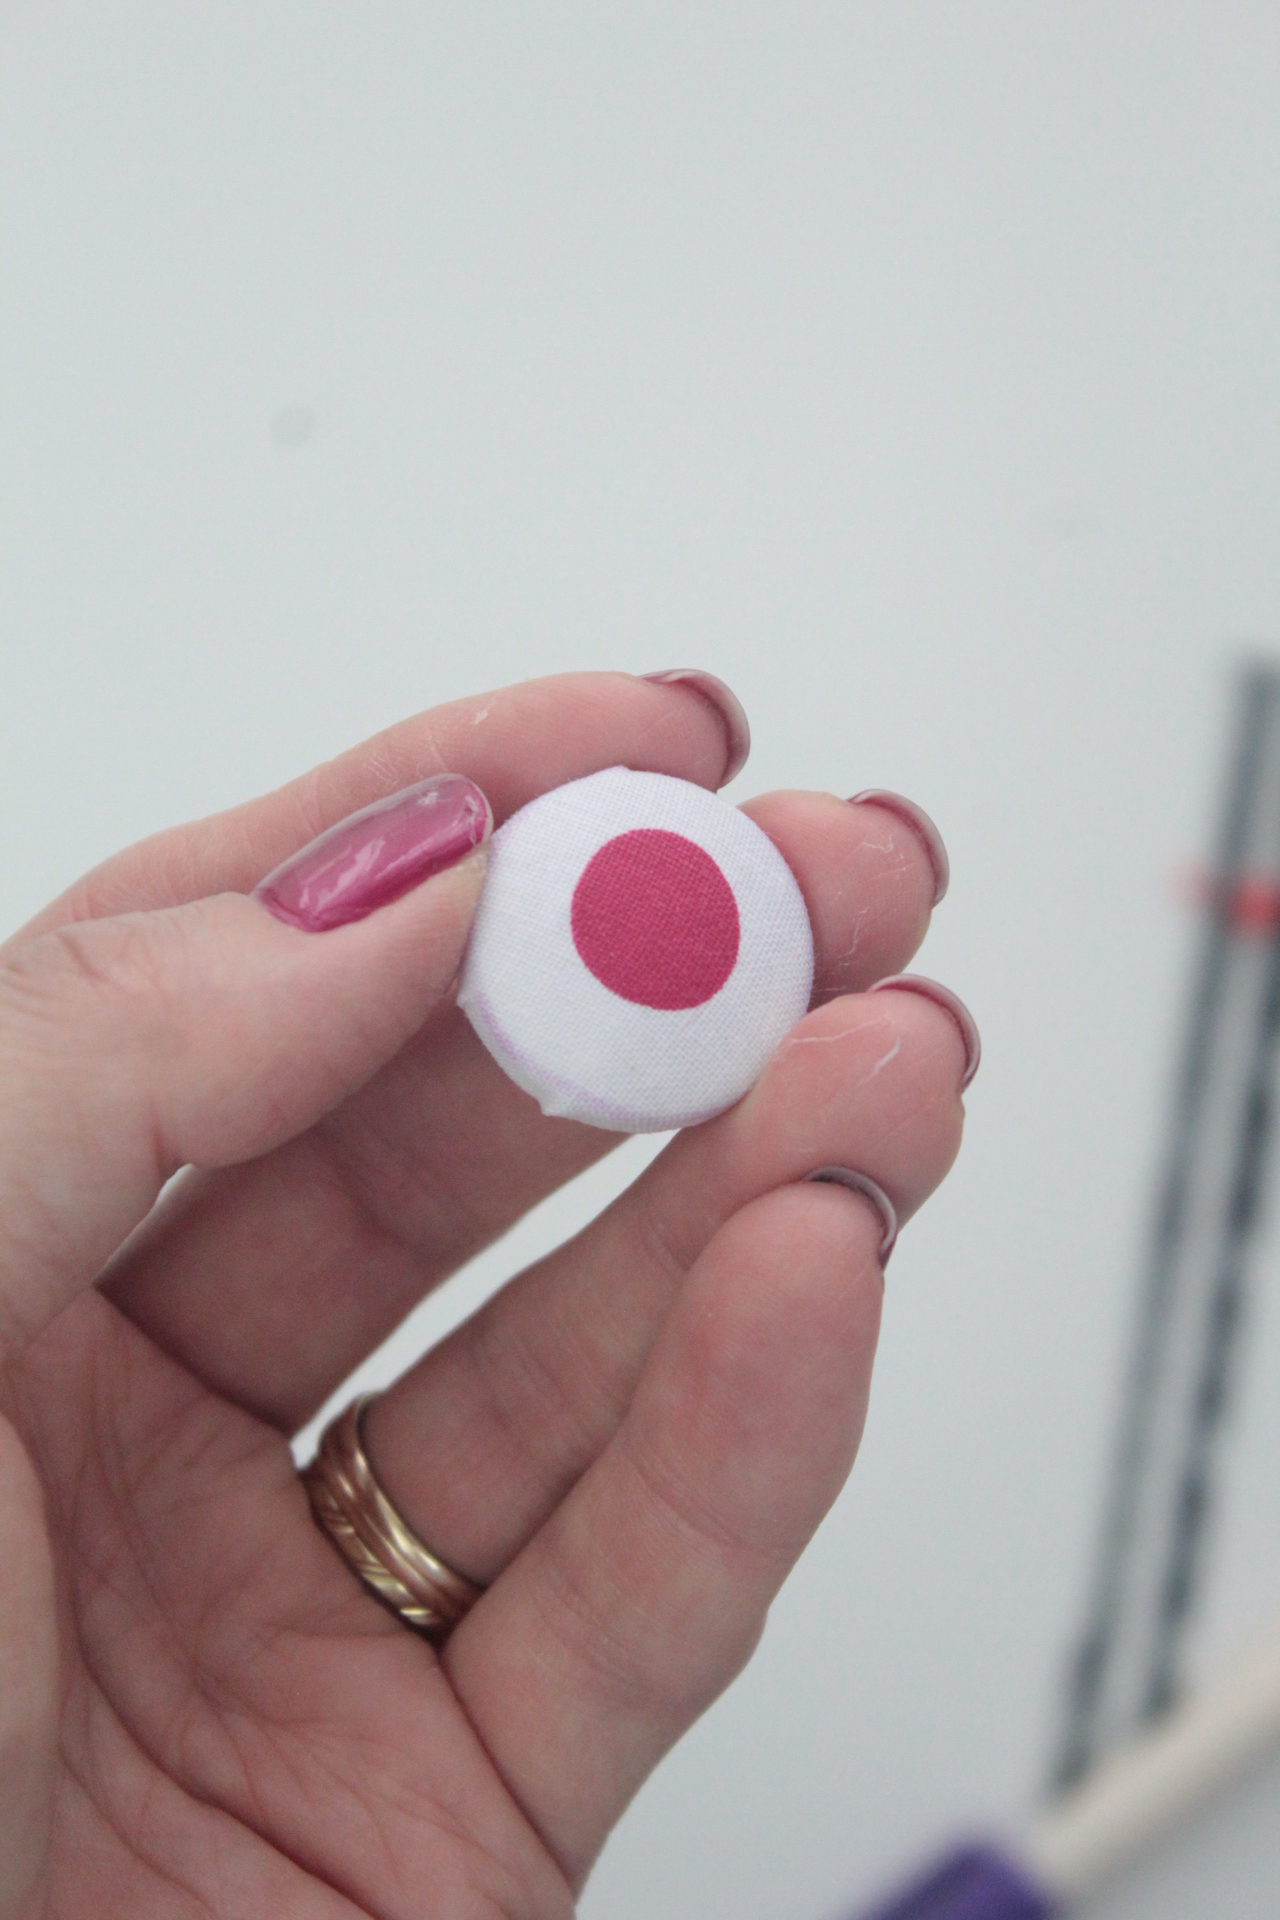
Do you have any project in mind for these cuties? Please let me know in the comments below and if you liked this tutorial please don’t forget to rate it! Thanks!
Pin to save for later
Most popular sewing projects:
- Corded bag handles tutorial
- How to sew a round hem
- Flutter sleeve dress pattern
- Laminating cotton fabric
Article may contain Amazon & affiliate links. As an Amazon Associate I earn from qualifying purchases at no additional cost to you.




I want to make a headboard for my bed and I think these buttons will be a great addition. I just have to find upholstery buttons. I can coordinate the buttons with the headboard and room decor! Thanks for the inspiration! Great tutorial! I found your blog yesterday and signed up for emails I look forward to your creative projects.
Thanks so much for your lovely comment, Erica! Good to have you onboard :)
Great idea to make pretty fabric covered buttons. I love this idea!