

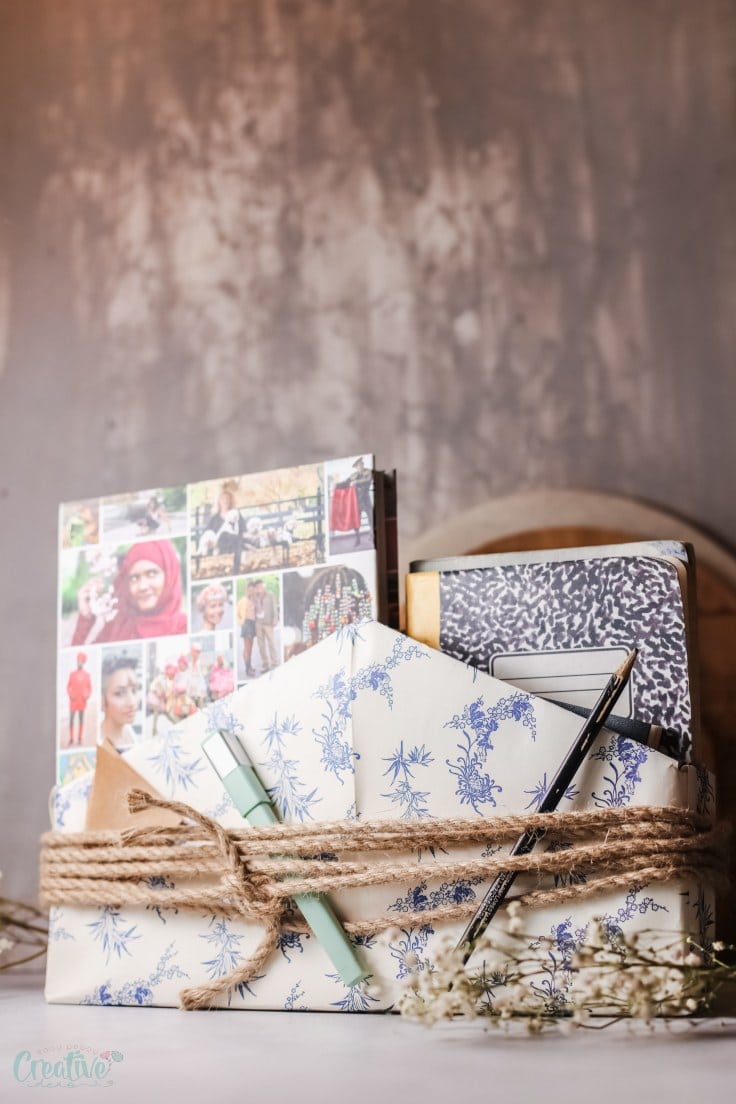
Crayon box DIY teacher appreciation gift
Making a DIY teacher appreciation gift is such a sweet and creative way to say thanks. A custom, handmade crayon gift isn’t just thoughtful – it adds that special personal touch that you just can’t get with store-bought presents. With so many fun ideas out there, a DIY crayon box really shines for its simplicity, charm, and usefulness, making it the perfect way to show educators a little love.
This particular DIY teacher appreciation gift is exceptional for several reasons. Firstly, it’s accessible; anyone can make it with simple materials and tools. Secondly, it’s customizable, allowing you to tailor your gift to the teacher’s preferences or classroom theme. Lastly, it holds functional value; teachers can use this custom teacher gift in their daily activities, making your gift both thoughtful and practical.
How to make a DIY teacher appreciation gift with crayons
Materials you’ll need
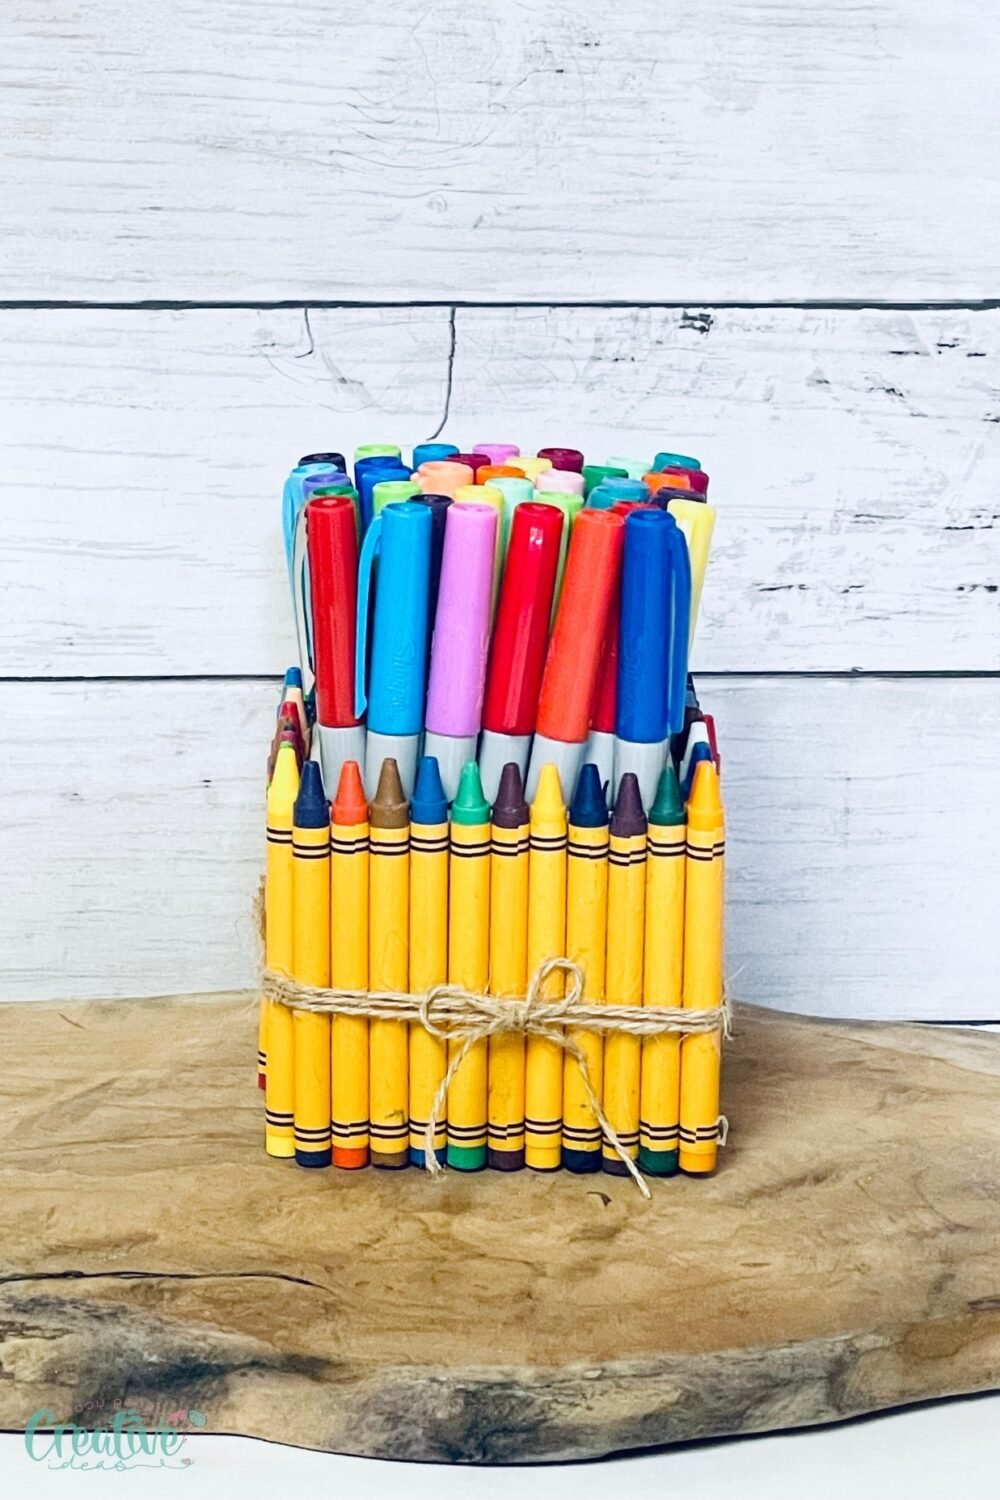
- Wooden Box: Choose a sturdy wooden box that can be easily opened and closed. It should be spacious enough for 2 x 24 packs of crayons. You can choose to make a bigger box and add more crayons but I find this size is the best, not too small, not too big, just my two cents.
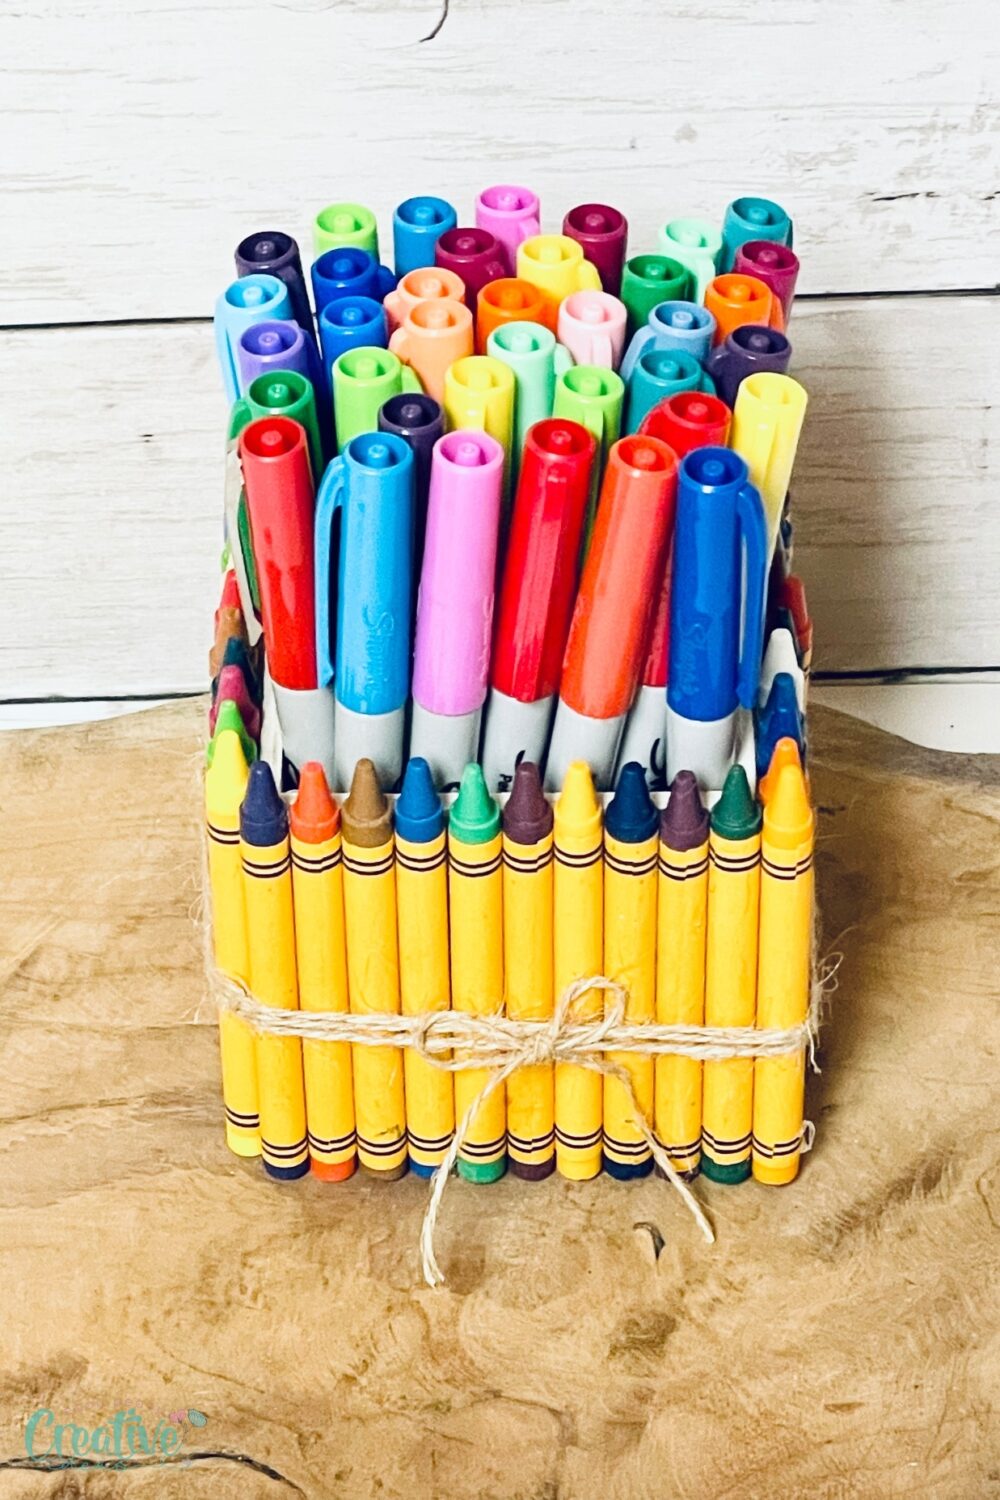
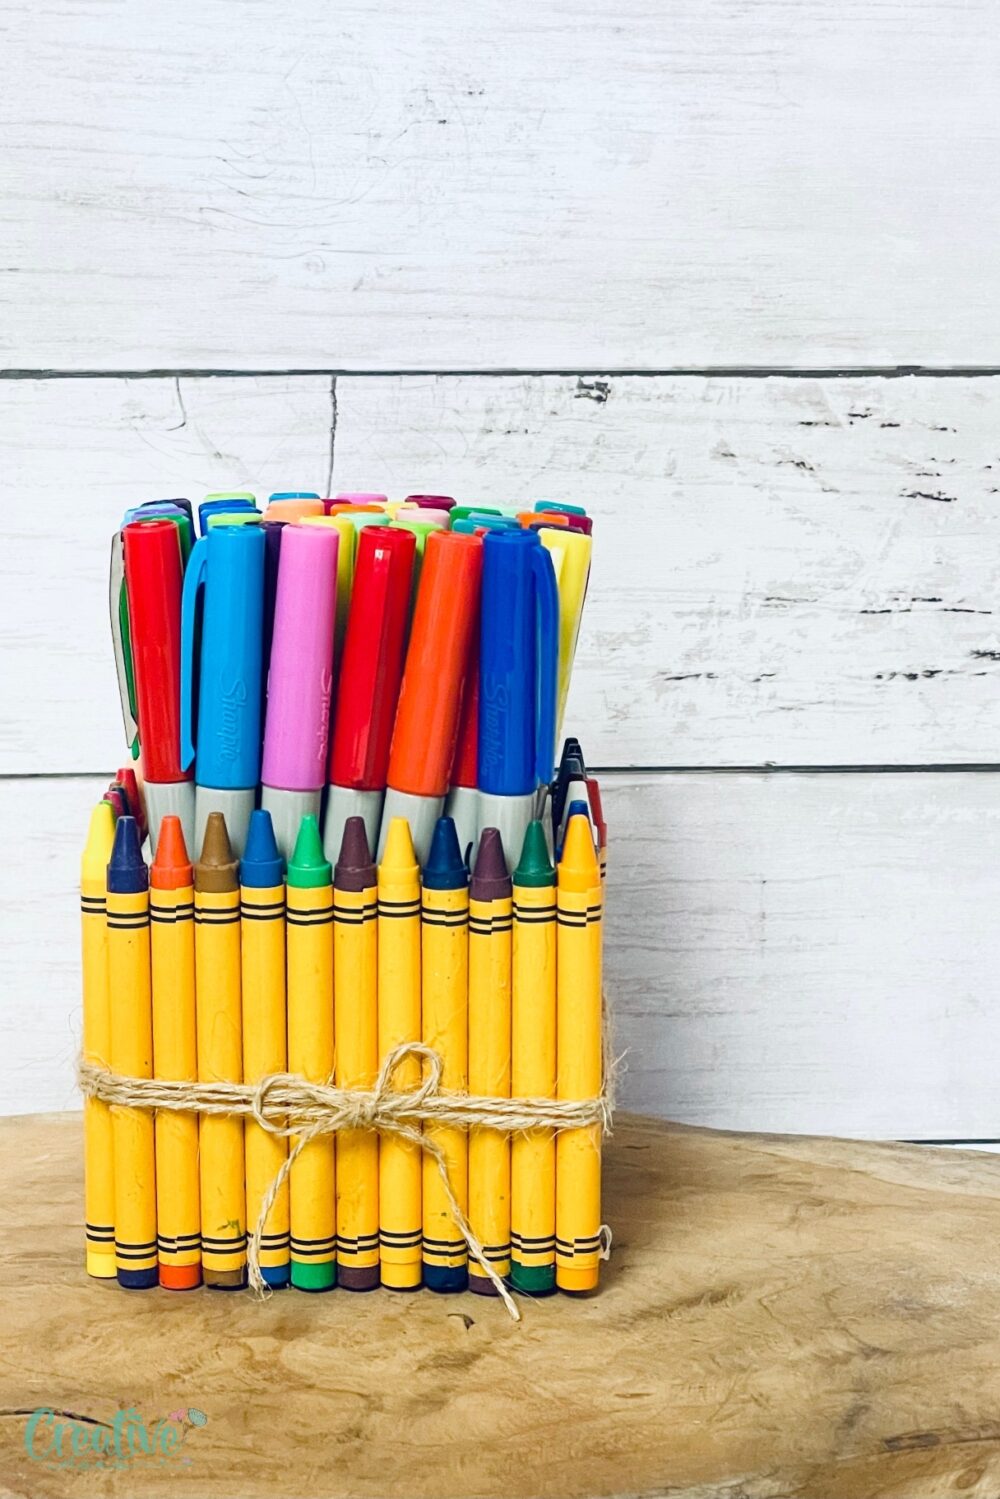
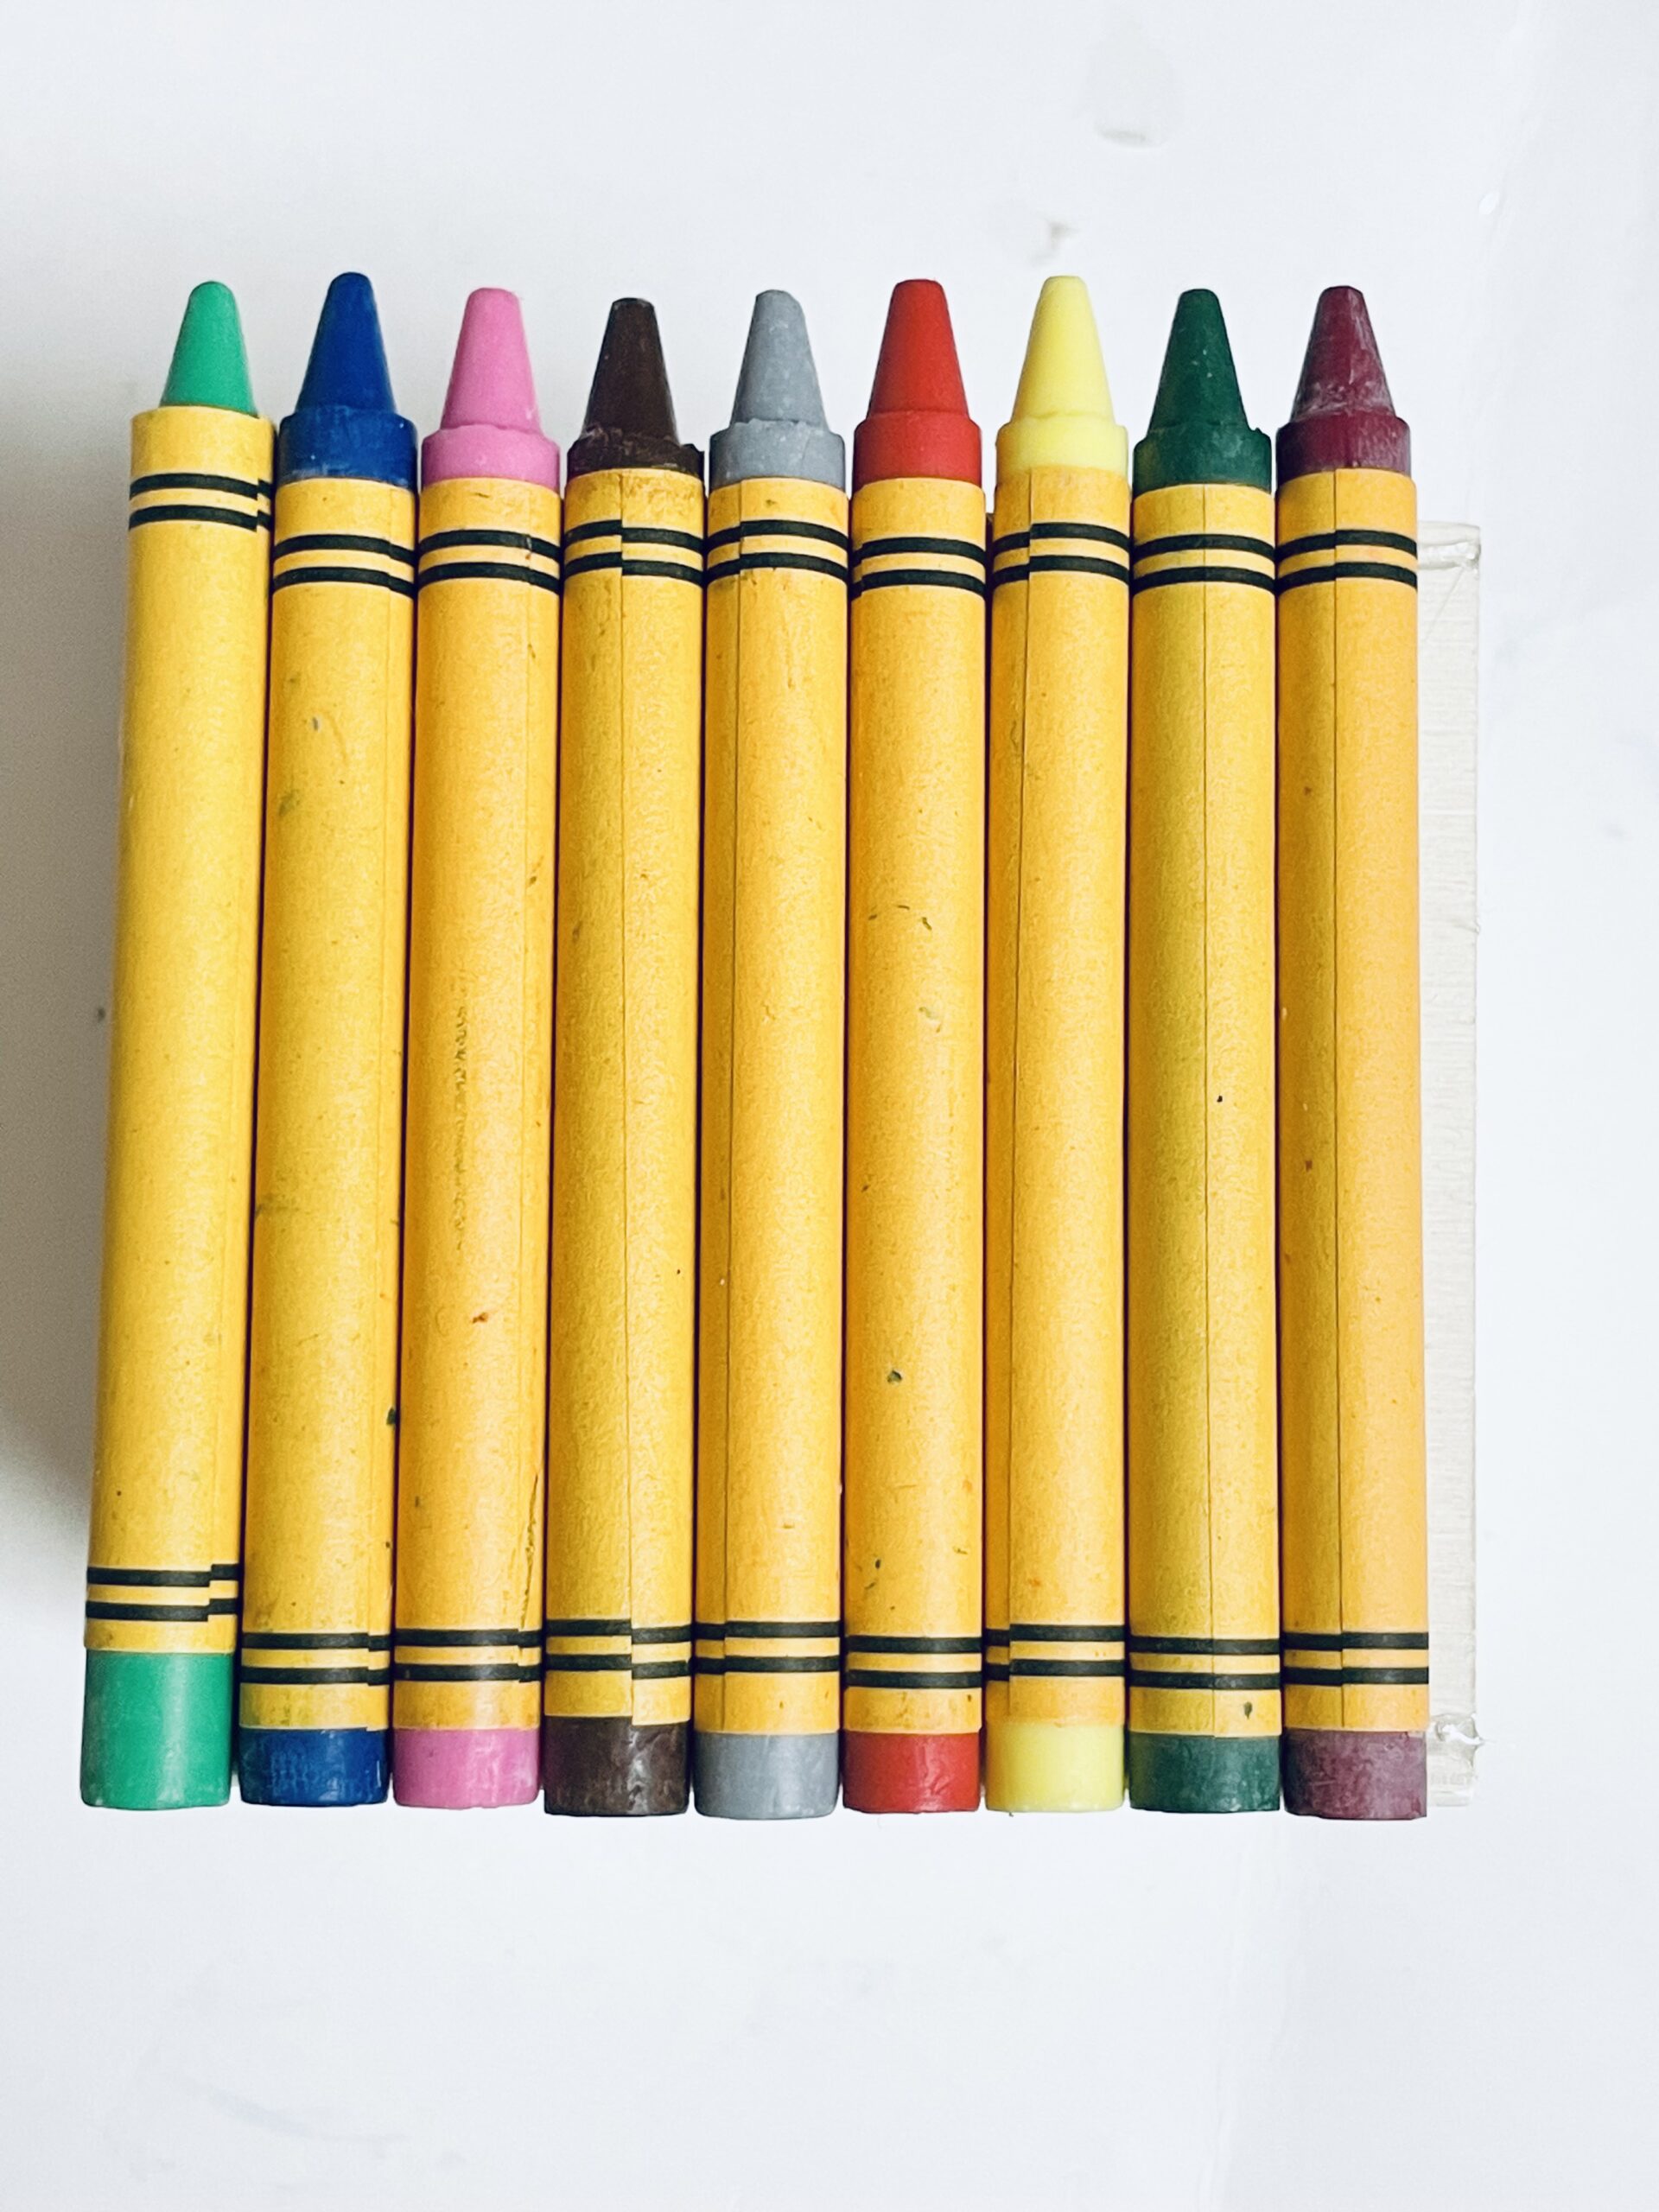
- Crayons: Select high-quality crayons that offer a wide range of colors. This makes the box visually appealing. I used 42 crayons for my box.
- Twine: A piece of natural twine adds a rustic charm to the package, making it a lovely addition to any classroom.
Substitutes
In case you don’t have access to the materials mentioned above, there are substitutes that can work just as well.
- For the wooden box, consider a sturdy cardboard or metal tin as alternatives.
- If crayons are not preferable, colored pencils or markers can be excellent substitutes.
- Ribbons or colorful yarn can replace twine for a different aesthetic.
Equipment
- Hot Glue Gun: An essential tool for this project, ensuring secure attachment of crayons to the wooden box.
- Hot Glue Sticks: Have several sticks on hand to avoid running out mid-project.
Step-by-step instructions
Preparations
Begin by organizing your workspace. Lay out all materials and equipment within reach. If you’re using a wooden box, you might wanna consider painting or staining it beforehand, allowing ample time to dry.
Making the crayon box
- Take out the inside box as you won’t be using it (save for another project)
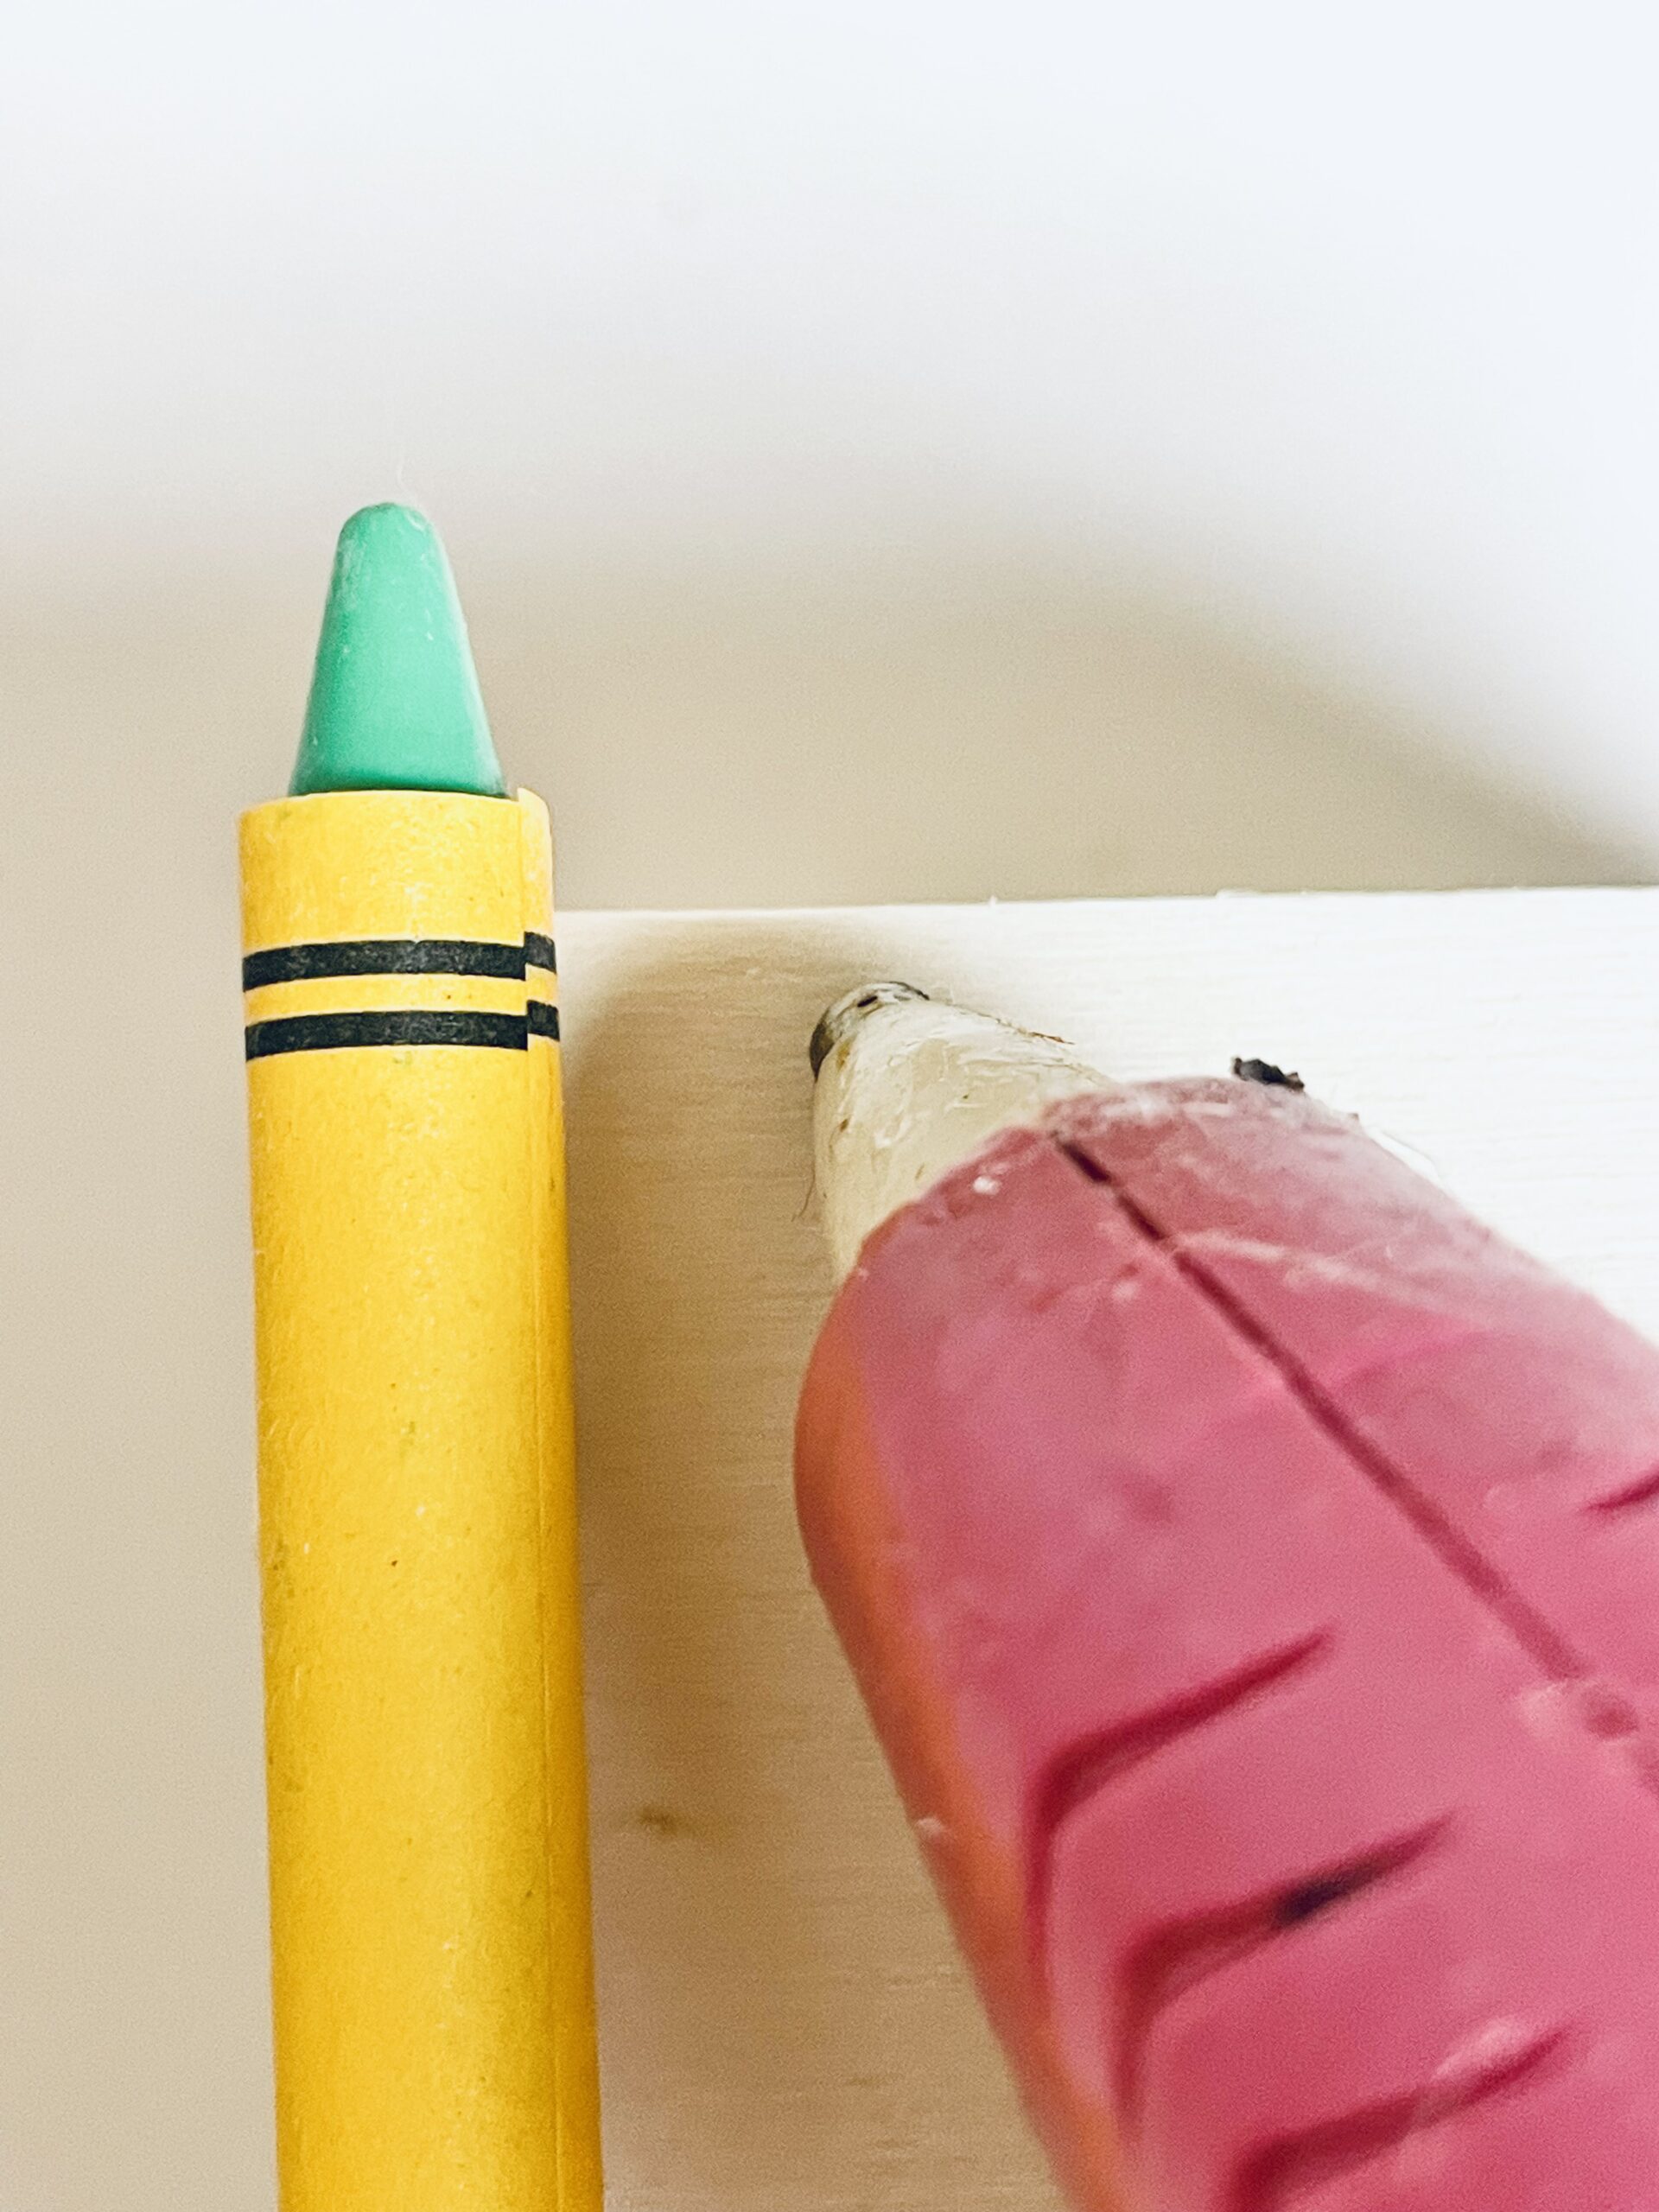
- Add a line of hot glue along the top and bottom of the box and press the crayon on firmly.
- Make sure not to add too much glue as it dries quickly once it hits the box.
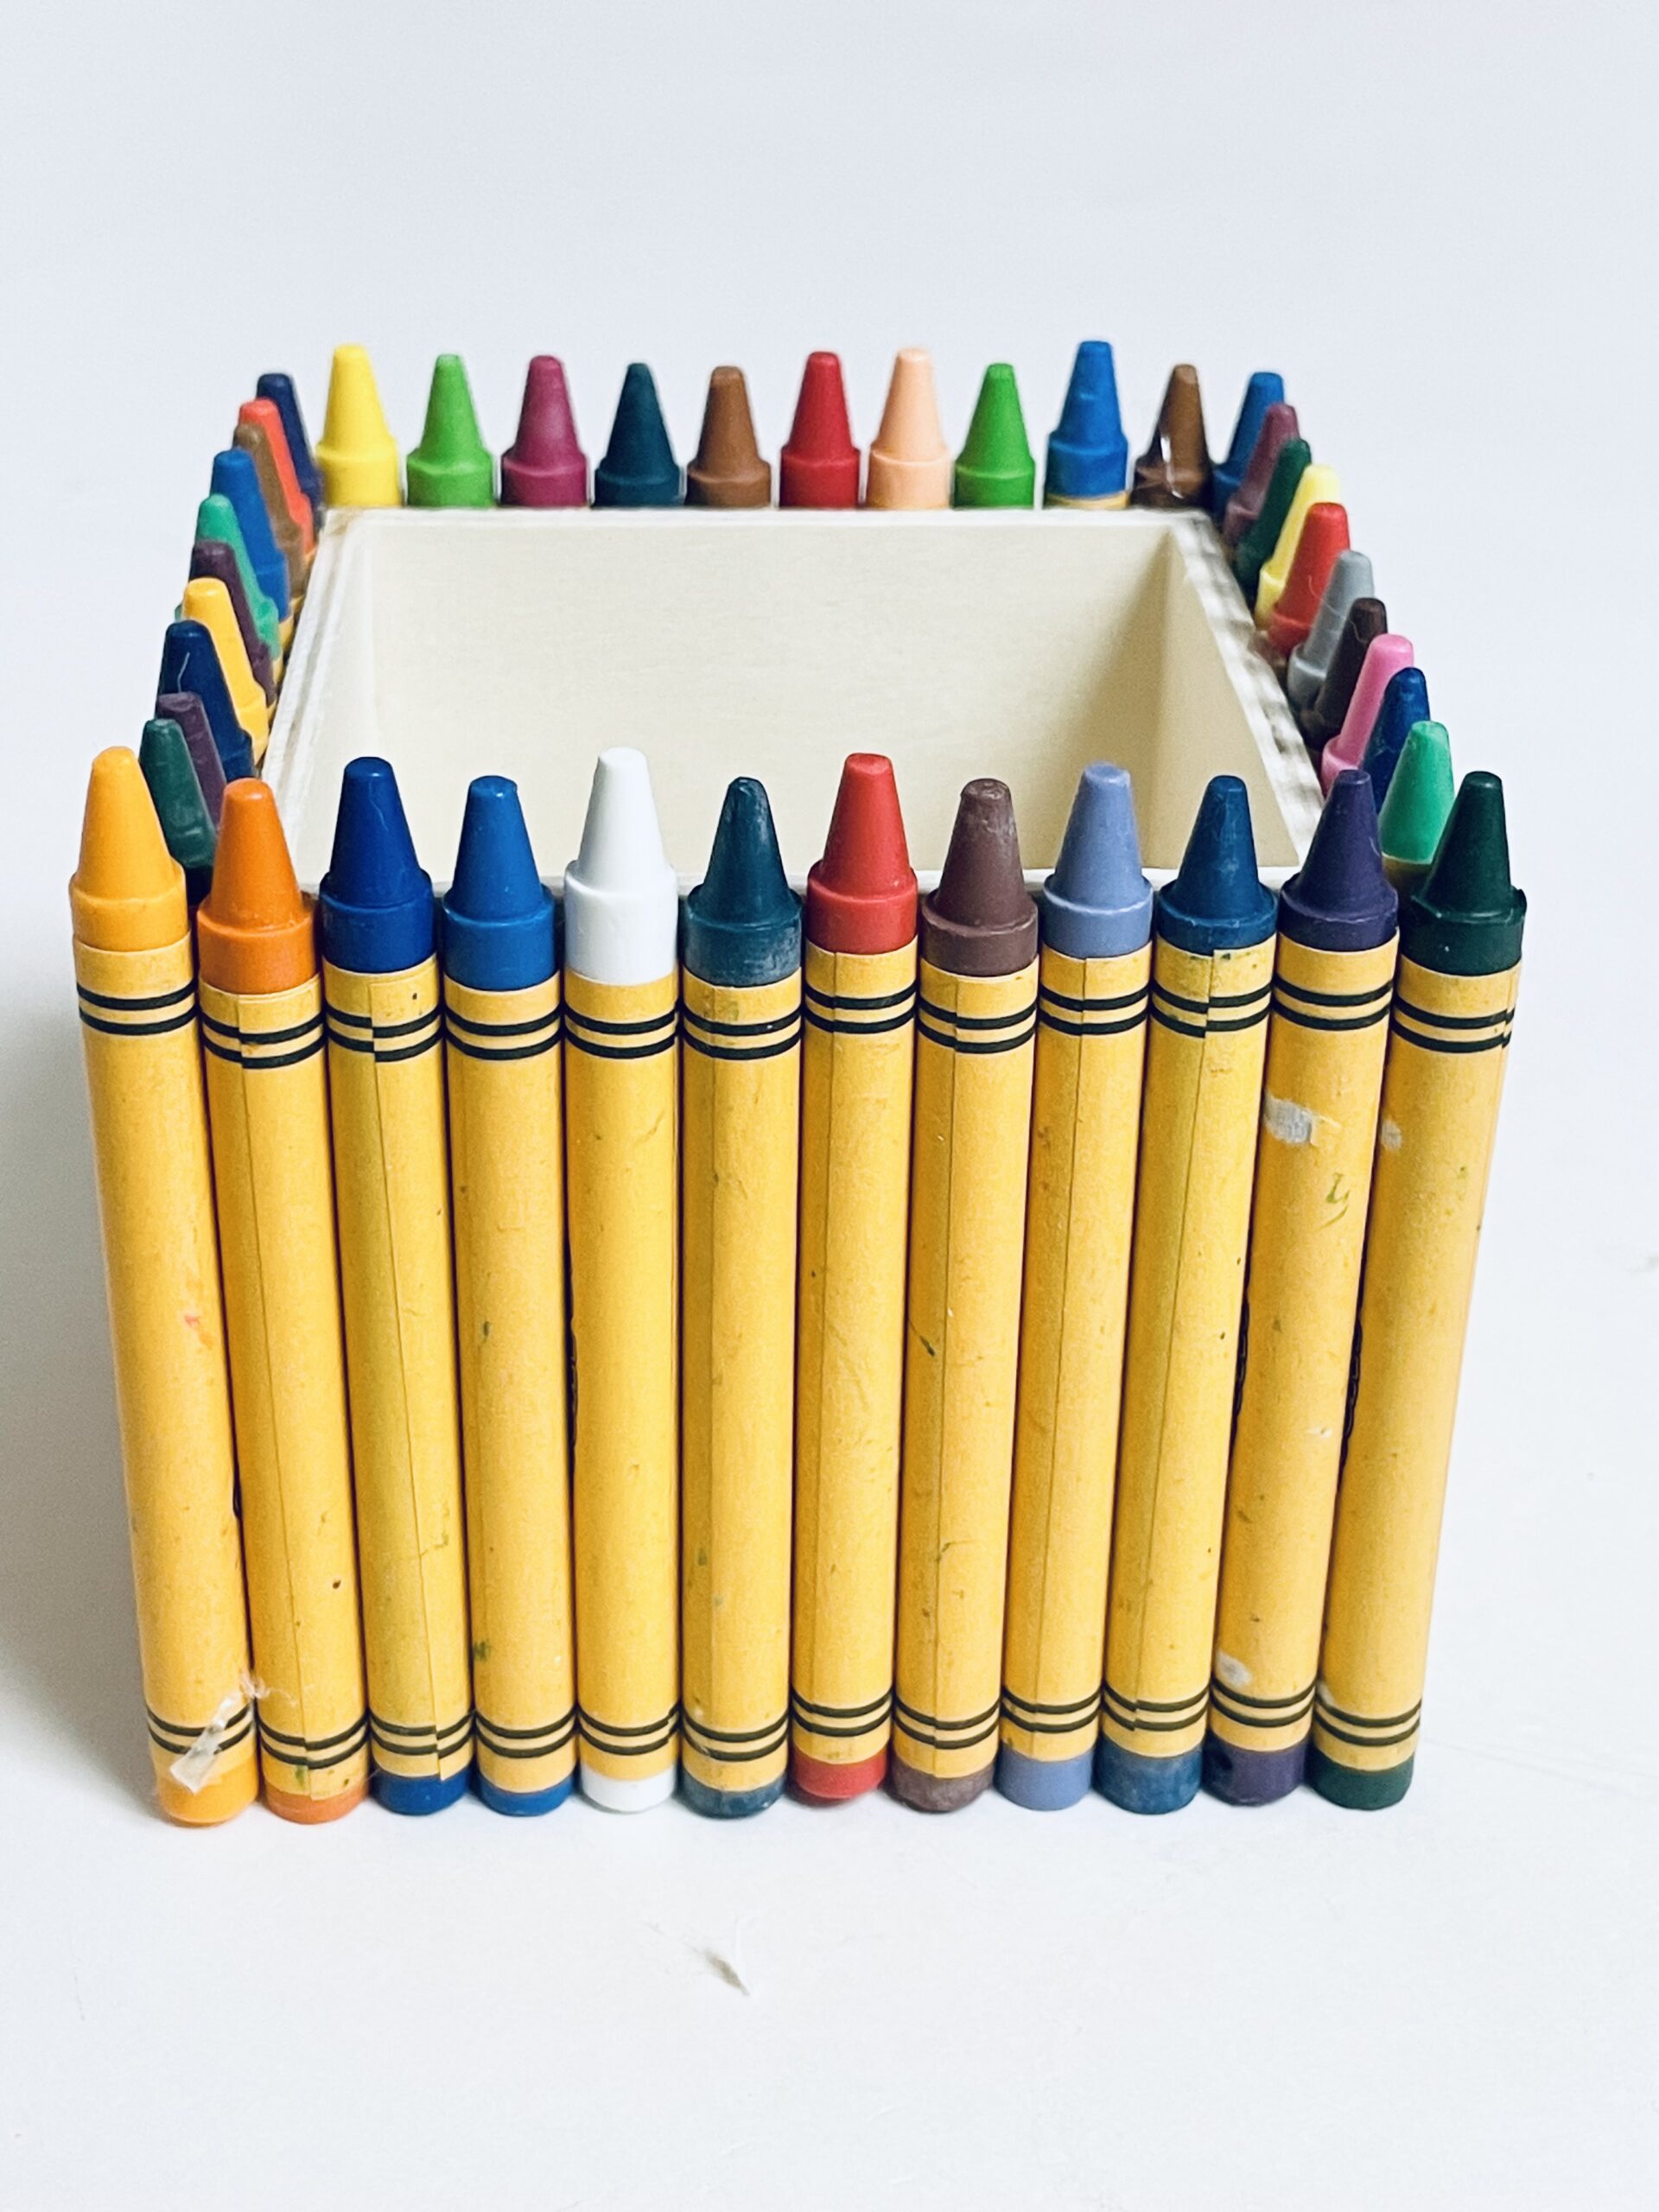
- Repeat this the entire way around the box.
- Add crayons to the corners once you’ve finished going all the way around the box.
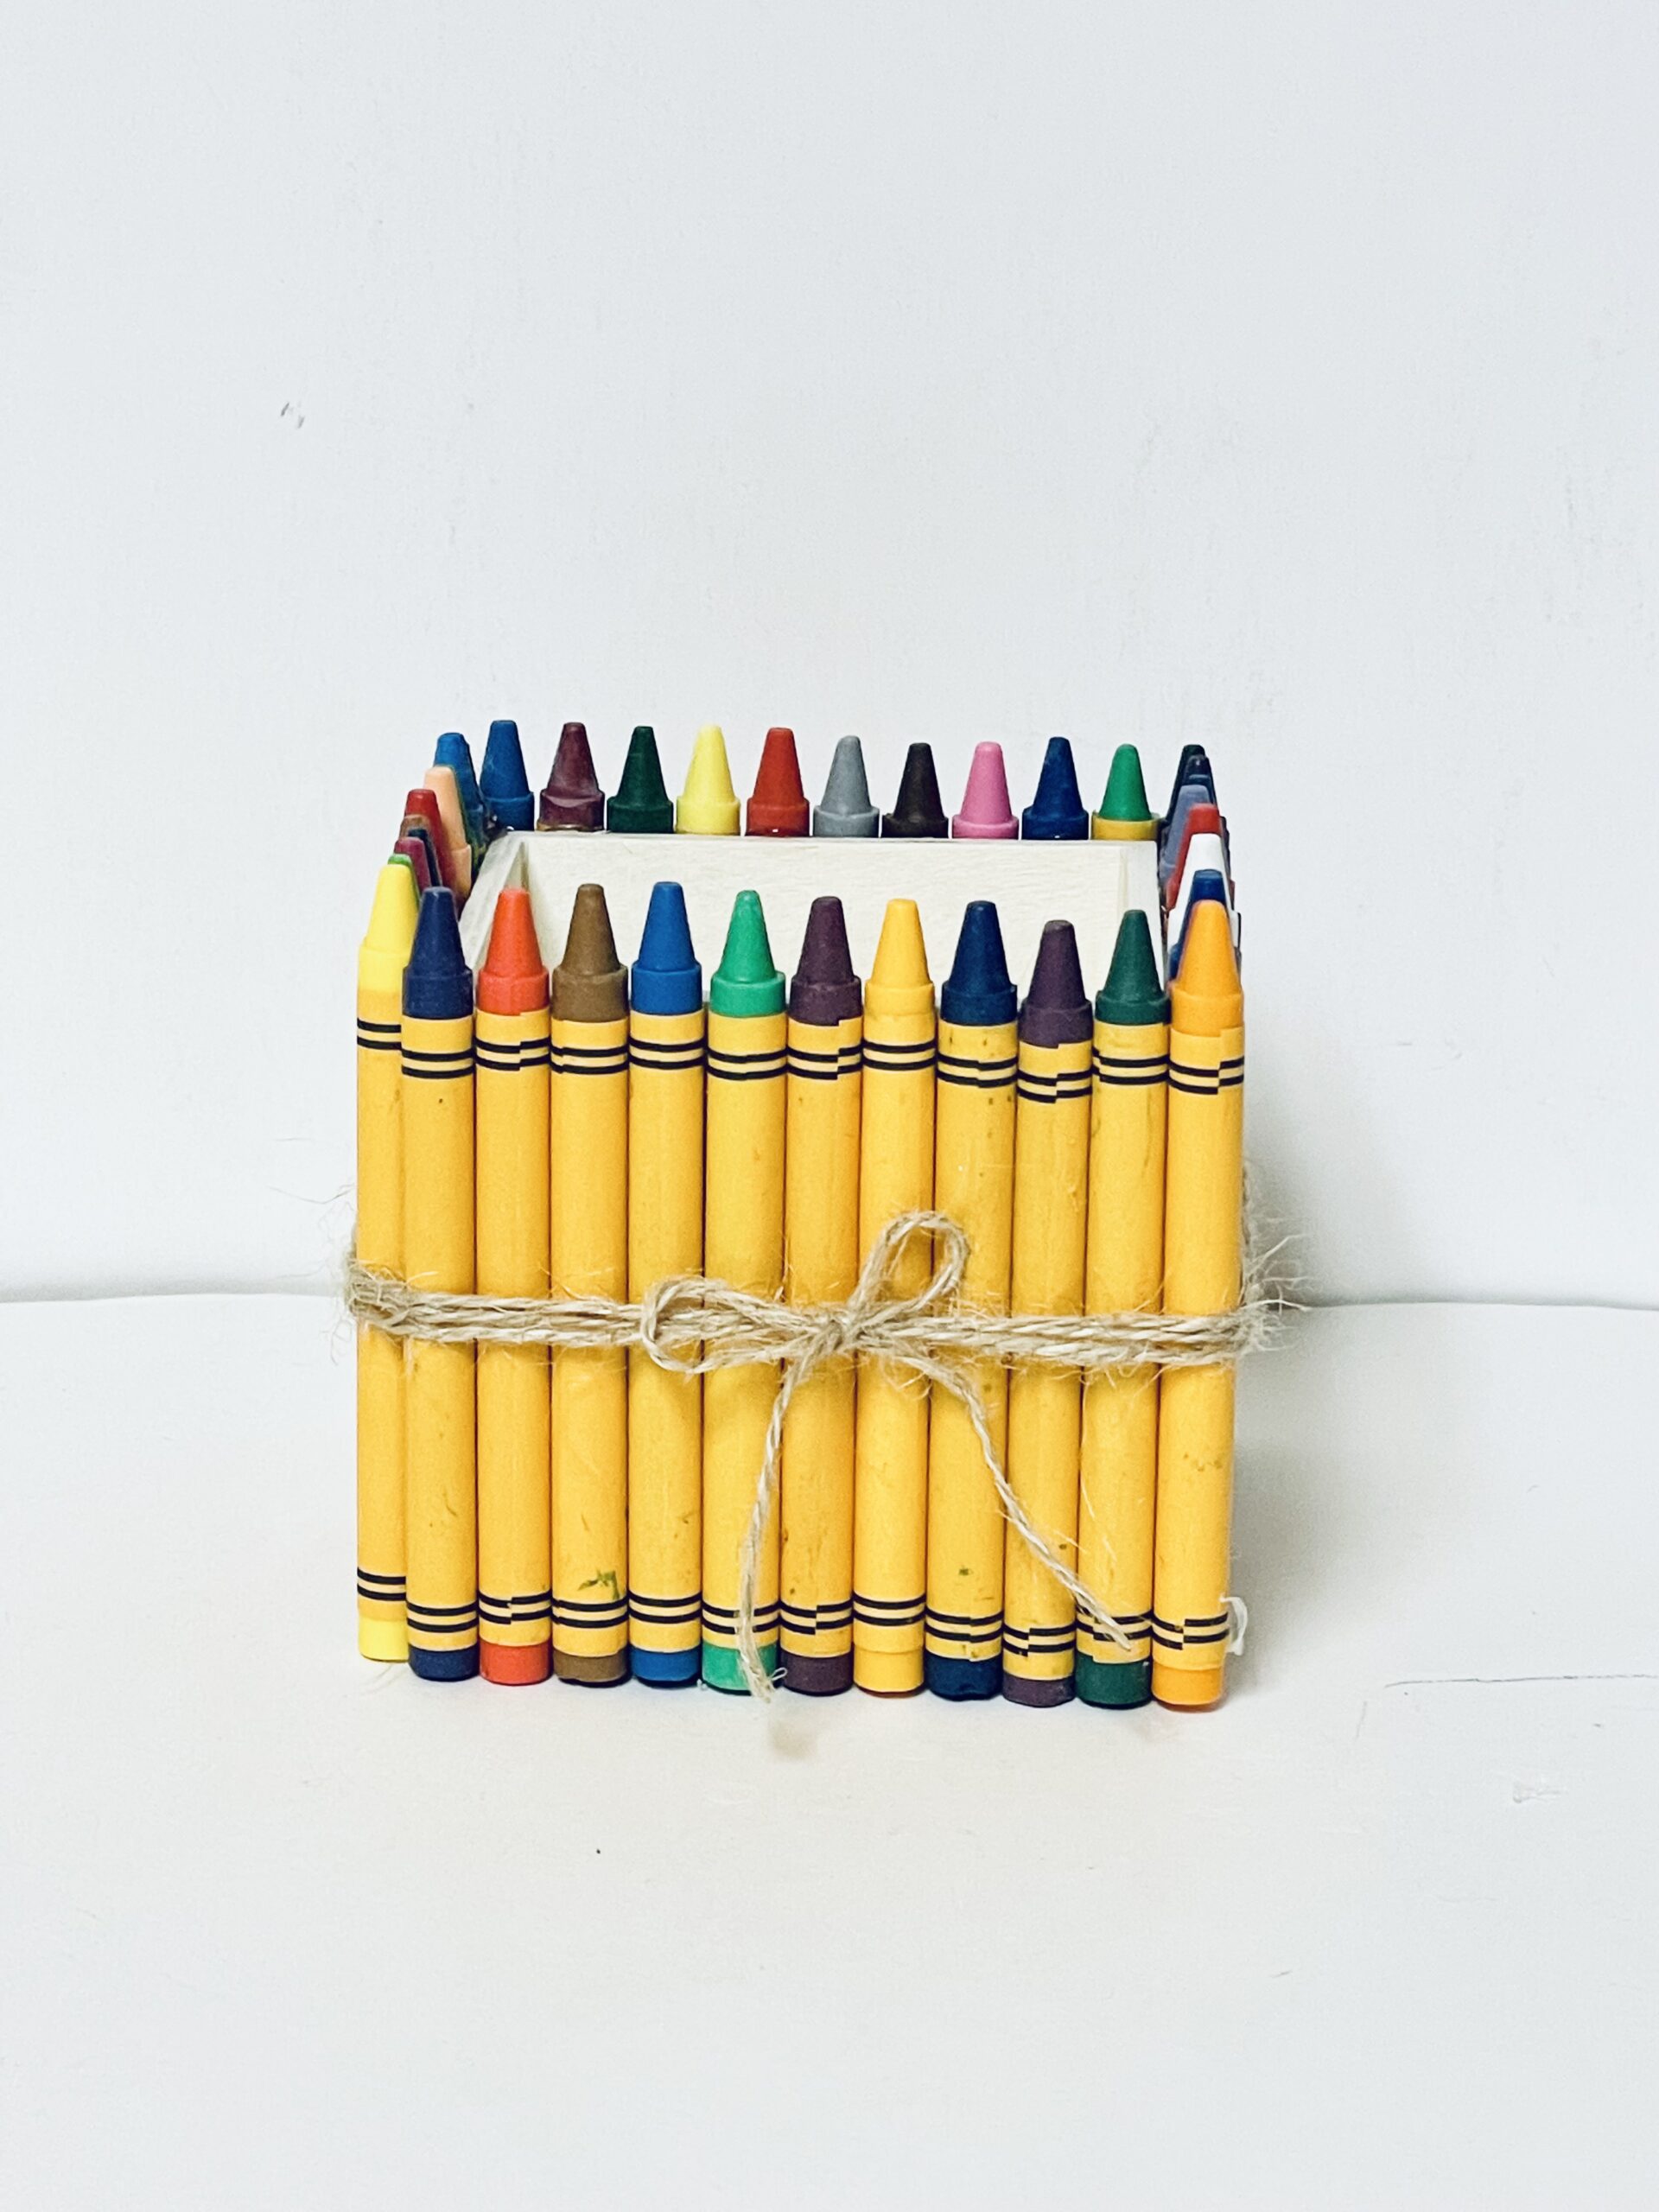
- Next take a long piece of twine and wrap it around the box a few times and tie a simple bow!
Tips
- When selecting a wooden box, prefer one with a smooth surface as it ensures better adhesion for the crayons and decorations.
- Use a low-temperature hot glue gun when working with crayons to prevent melting.
- Personalize the crayon box by using the teacher’s favorite colors or including a small DIY note or decorations inside.
Craft variations
- Create a theme-based crayon box, such as spring pastels, to reflect the current season.
- For a more sophisticated look, use metallic paints on the wooden box and pair it with high-quality colored pencils.
How to use the crayon box
Beyond holding crayons, the box can serve various purposes:
- As a desk organizer for the teacher, storing paper clips, erasers, or small stationery items.
- As a decoration piece, adding color to the classroom.
- A vase for artificial flowers or a planter for a small plant, adding a touch of greenery to the teacher’s desk.
Frequently Asked Questions
Can I make this gift if I’m not crafty?
Absolutely! This project is suitable for all skill levels and includes simple steps.
Is it expensive to make this DIY teacher appreciation gift?
The cost can vary, but it’s generally very affordable, especially if you already have some of the materials.
More crafts you’ll enjoy
Explore these delightful crafts on my website, theseamanmom.com, for more inspiration:
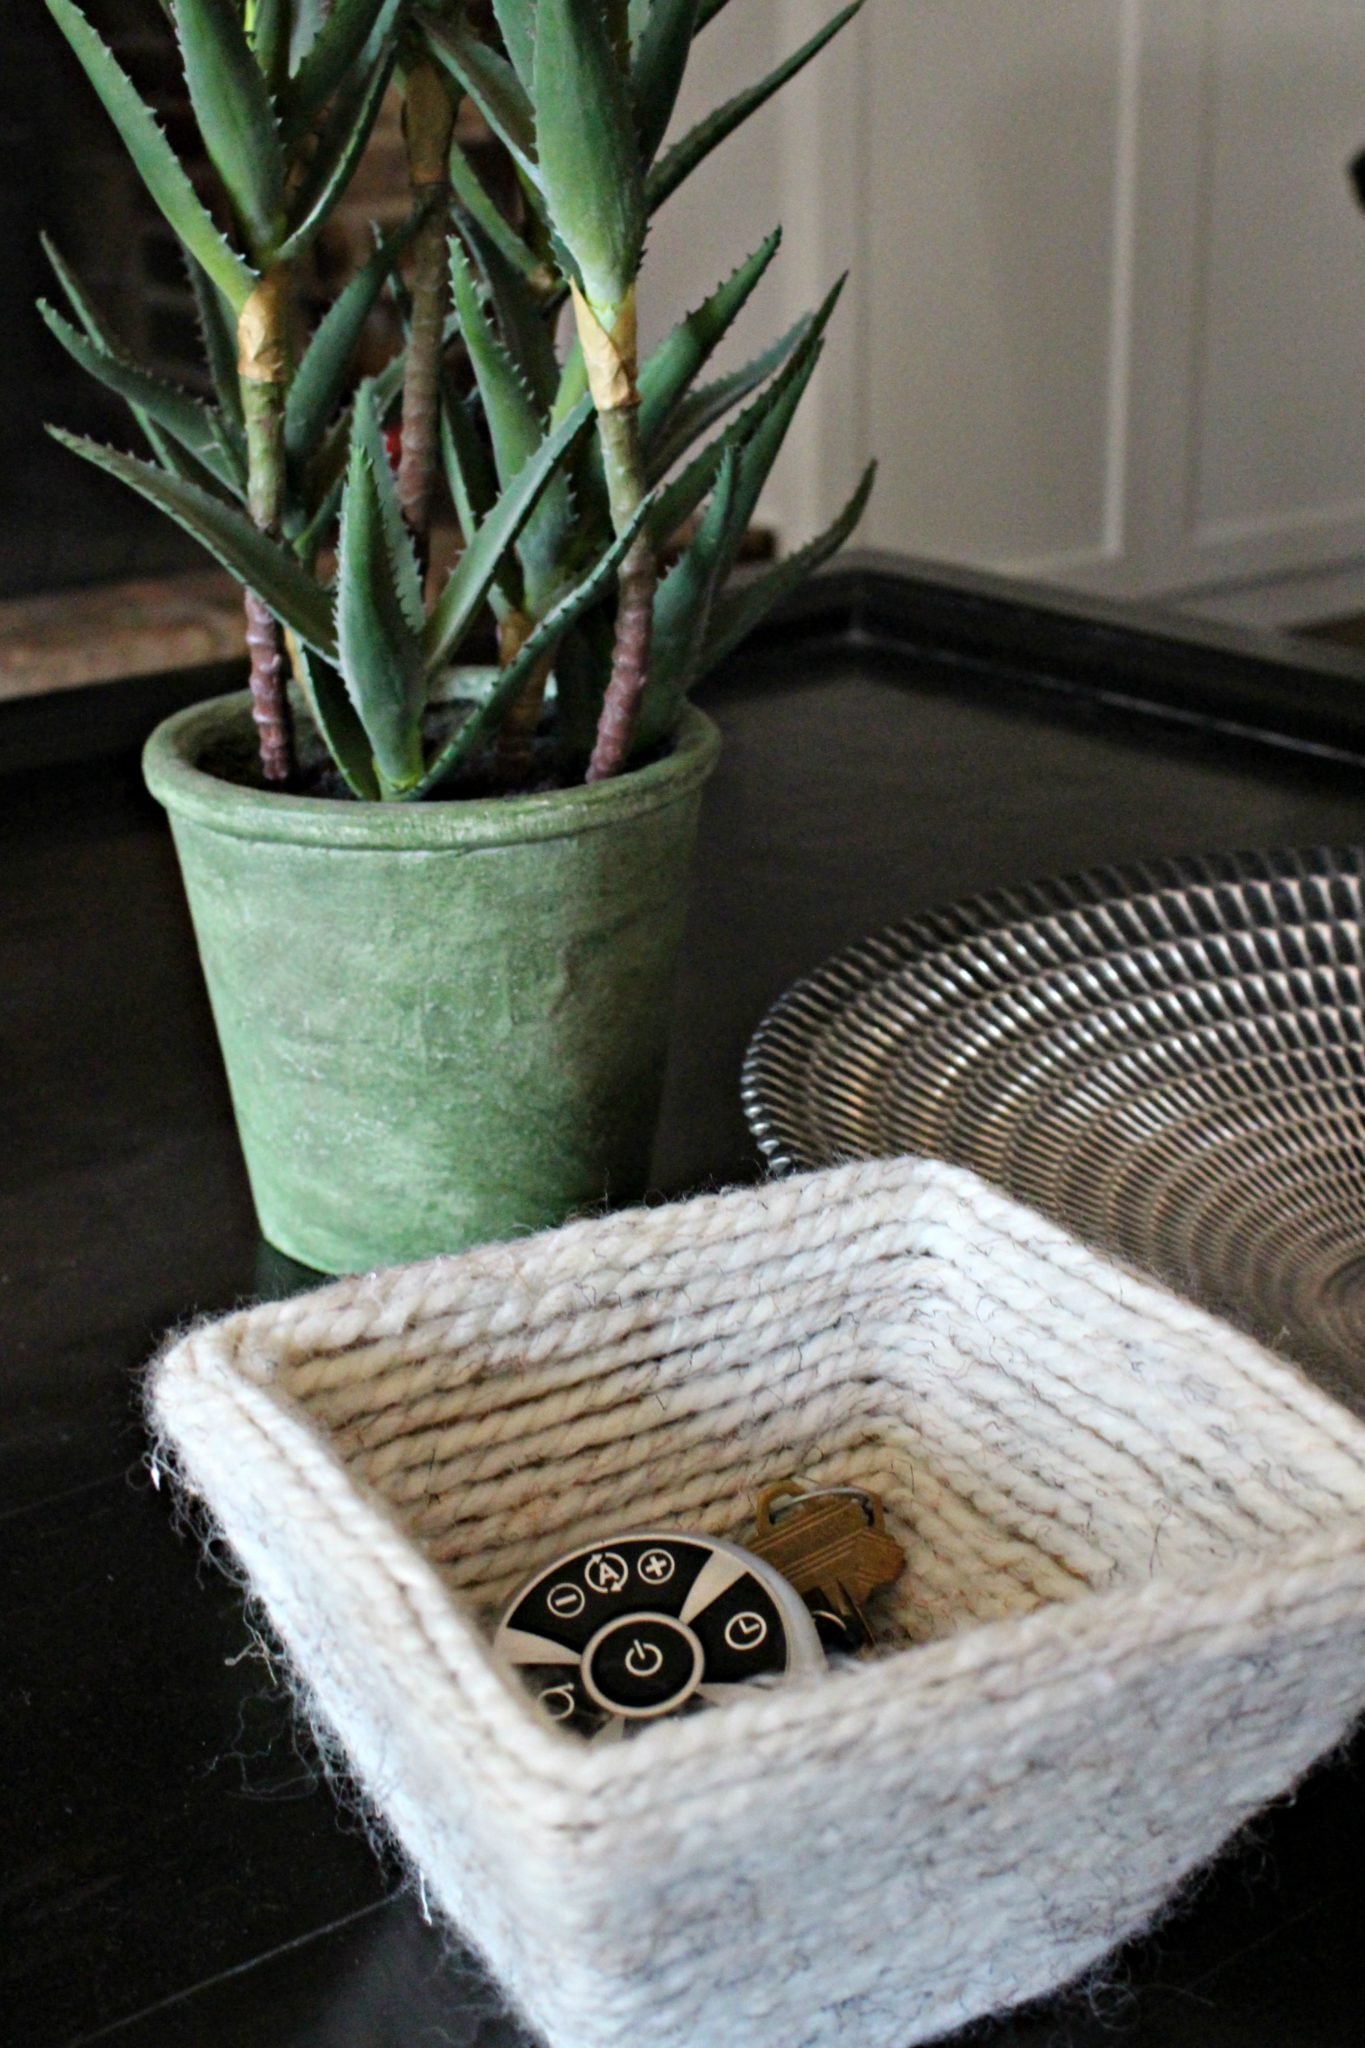
- DIY yarn bowl from cardboard
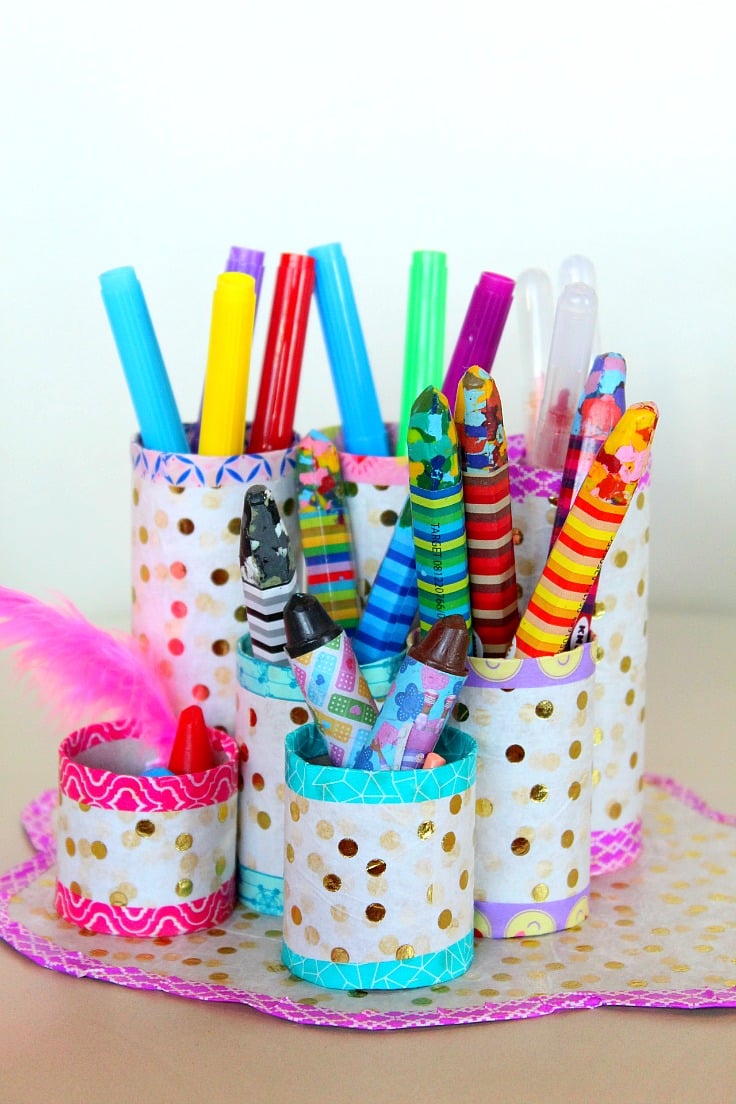
- Handmade pen organizer from paper tubes
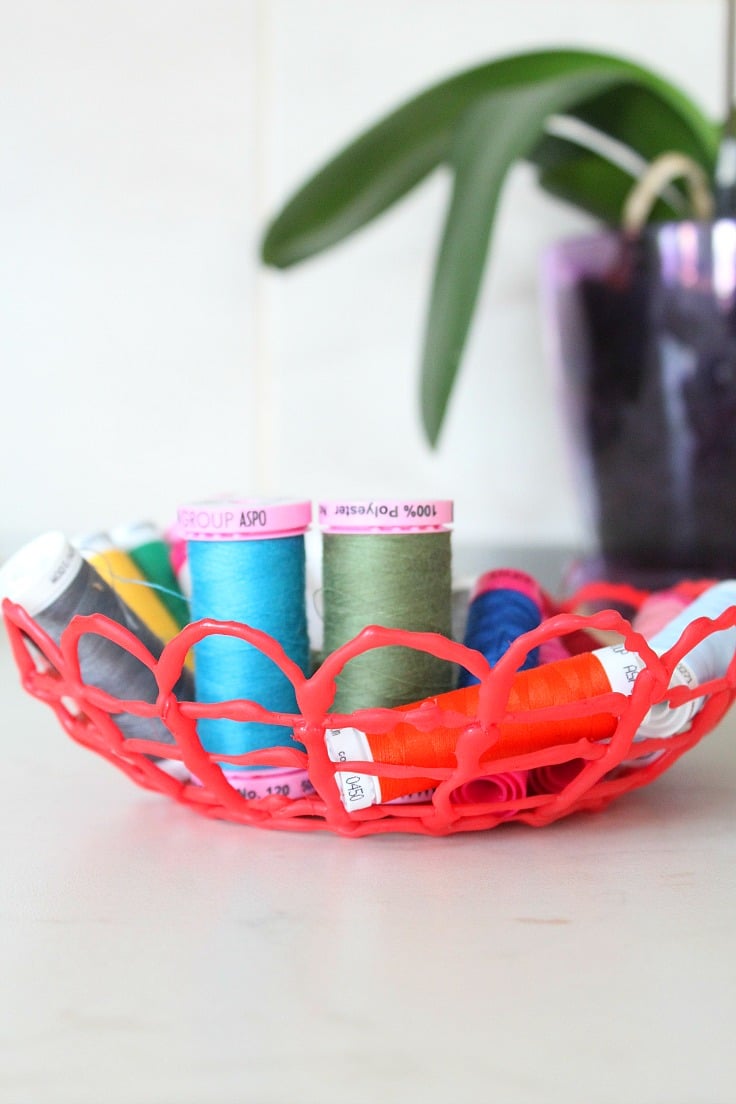
- DIY hot glue bowl
- Cereal box organizer
Spread the joy of giving by sharing your completed DIY teacher appreciation gifts on socials. For more creative ideas and inspiration, sign up for my newsletter and join our crafting community.

DIY teacher appreciation gift with crayons
Materials
- Wooden Box
- 42 crayons or 2 x 24 packs of crayons
- Twine
Instructions
- Take out the inside box as you won’t be using it (save for another project). Add a line of hot glue along the top and bottom of the box and press the crayon on firmly. Make sure not to add too much glue as it dries quickly once it hits the box.

- Repeat this the entire way around the box.
- Add crayons to the corners once you've finished going all the way around the box.
- Next take a long piece of twine and wrap it around the box a few times and tied a simple bow
Article may contain Amazon & affiliate links. As an Amazon Associate I earn from qualifying purchases at no additional cost to you.
ABOUT PETRO
Hi, I’m Petro, author and founder of Easy Peasy Creative Ideas. Sewist, crafter, avid DIY-er, foodie, photographer, homemaker and mommy to one. I’m an expert at coming up with quick, clever sewing tips, recycling crafts and simple, easy recipes! You can find my ideas featured in reputable publications such as Country Living, Good House Keeping, Yahoo News, WikiHow, Shutterfly, Parade, Brit & Co and more. Thanks for stopping by and hope you’ll stay for a while, get to know me better and come back another time. Stick around for real fun projects! Read more…