

Cereal box organizer craft
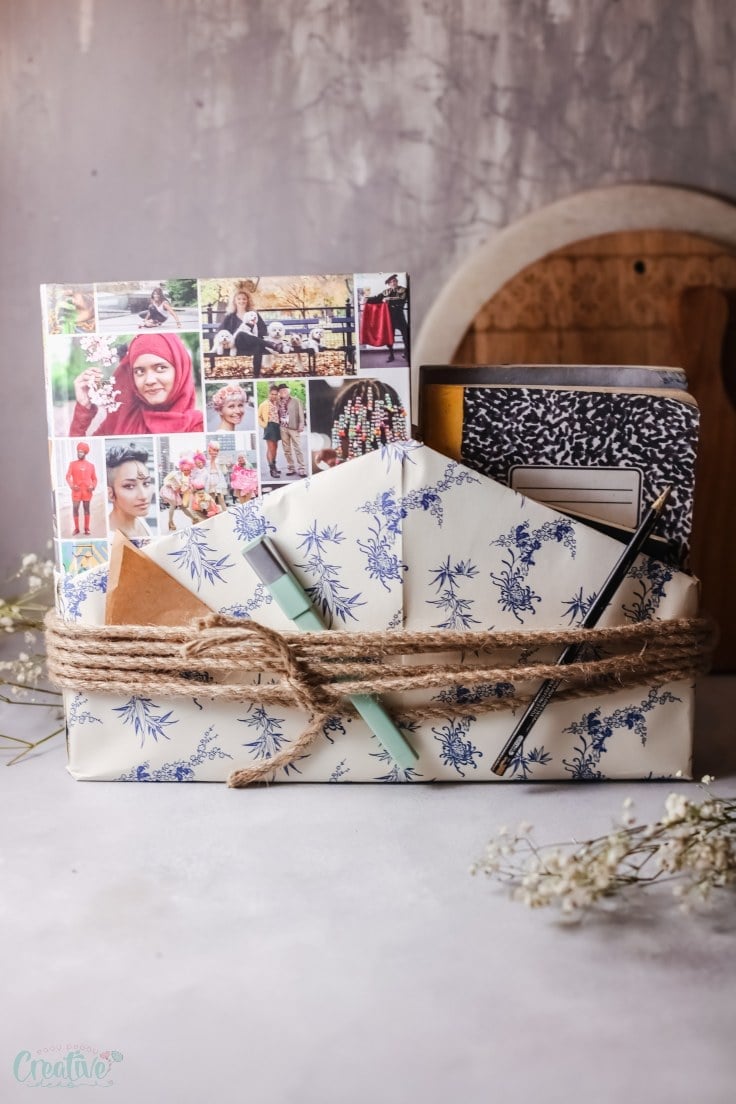
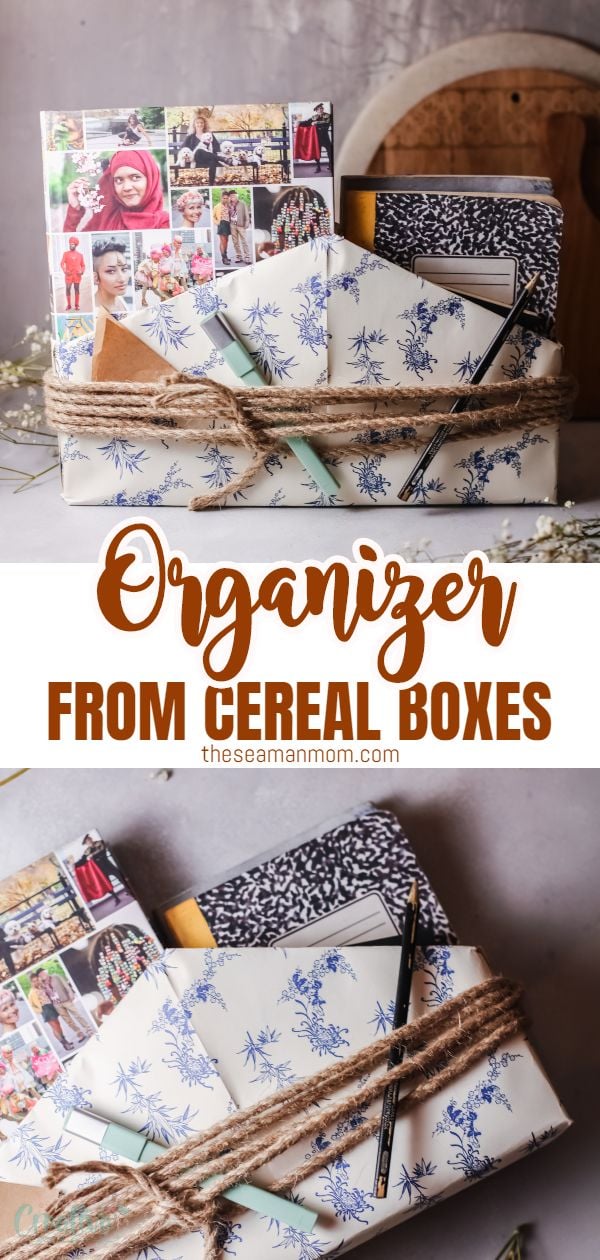
This cereal box organizer is a stylish way to get your desk (or cooking books!) in order. A super fun way to upcycle some old cereal boxes just by adding colorful paper and some twine or ribbon.
Cereal box organizer
If you’ve been a reader around here for a while then you probably already know I’m a huge fan of simple easy DIY projects and tutorials. Especially if they are made upcycling something you already have. This cereal box organizer is exactly one of those projects.
This cereal box craft is easy, simple, you don’t need to be an expert crafter and it’s made with just a couple of things you probably already have on hand.
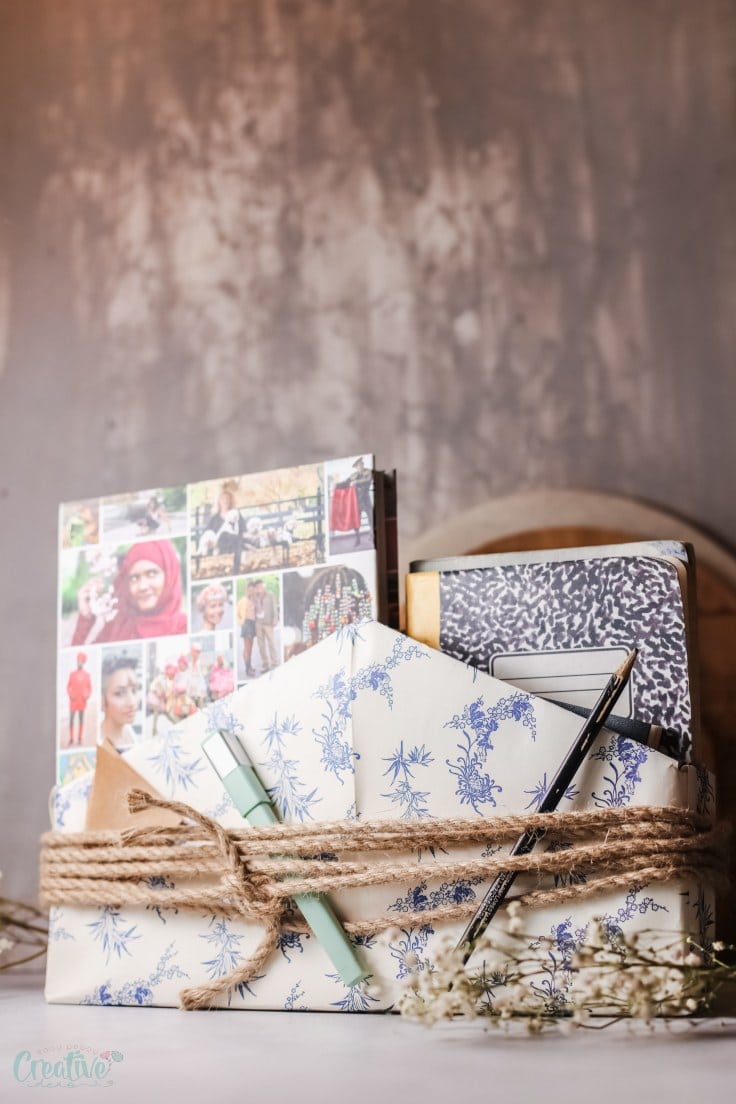
What I love the most about this cereal box organizer is how useful it is! I love to have books and notebooks and notes and pencils but they can make any surface seem cluttered. With this cereal box organizer however the space instantly looks more put together than ever.
Similar projects you will love:
- DIY rope basket storage
- Paper roll organizer
- Cereal box notebook
- Makeup storage containers
- Succulent planter box
- Duct tape organizer
- Jewelry organizer tree
There are also a million different ways you can make them but I honestly love how this one came out. You have 2 compartments perfect to store different things. I’m using one of the sides to store books and the other to store notebooks.
The twine tied around is the perfect place to store pencils, pens, little pieces of paper (like a shopping list maybe?) and just about any other trinket.
You can make it for your desk or kitchen but it’s also the perfect organizer to have in the entryway collecting mail and kids drawings, notes and even your keys!
Now that I hope I convinced to make this you are probably wondering what materials you need. Don’t worry, I’m pretty sure you already have everything.
Cereal box storage
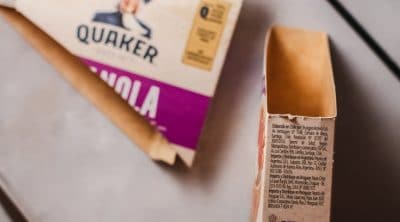
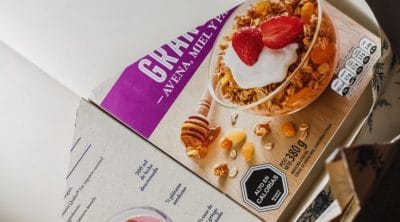
1. Cut the boxes on an angle from side to side so you have one tall end and one short end on each box. You can adjust the size of your boxes and how much of an angle you want. Feel free to experiment!
2. Stick the 2 long ends of the boxes together. This is going to keep them together.
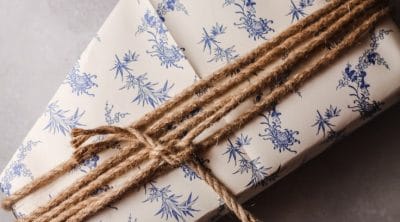
3. Wrap them tightly with the wrapping paper tucking in the extras into the box. Make sure to use enough glue to keep it secure.
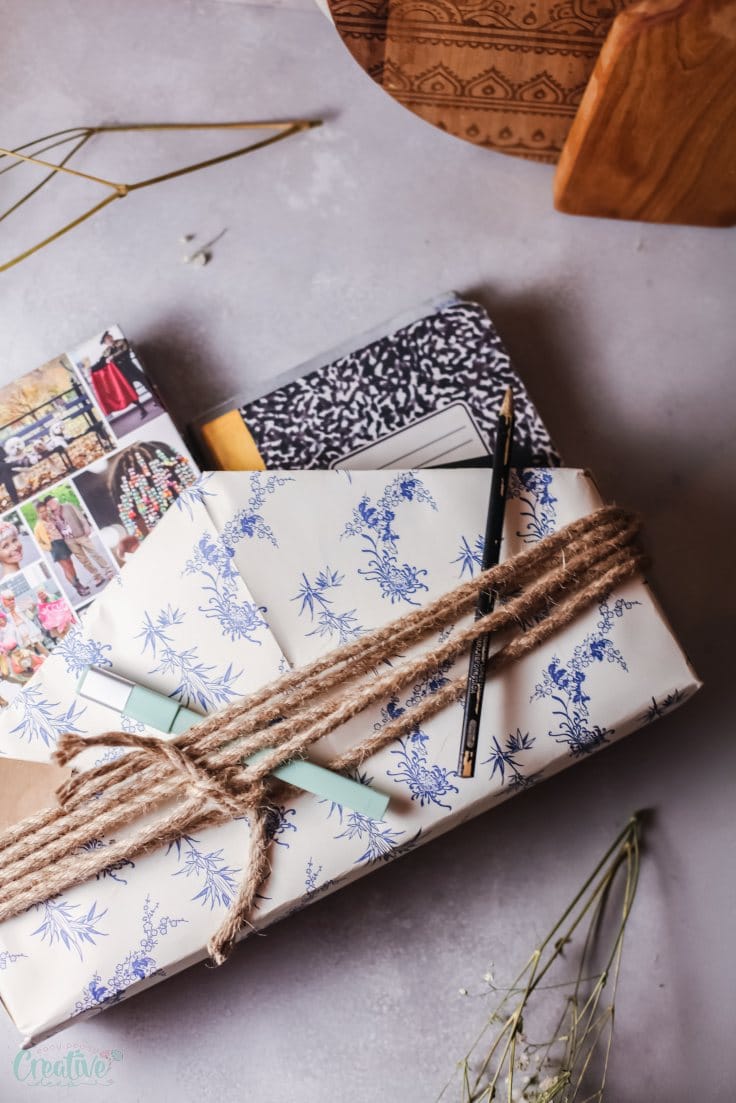
4. Wrap around the ribbon or twine and finish it with a small knot or bow.
5. Fill it with your trinkets and books or just about anything you want to keep organized.
Print the craft card
Cereal box organizer
Materials
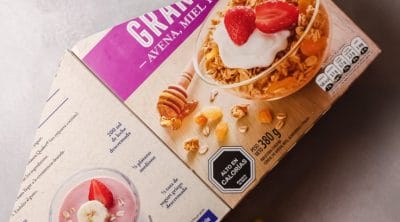
- 2 Cereal boxes
- 1 piece wrapping paper big enough to cover both boxes
- Glue
Tools
- scissors
- Ribbon or twine
Instructions
- Cut the boxes on an angle from side to side so you have one tall end and one short end on each box. You can adjust the size of your boxes and how much of an angle you want. Feel free to experiment!

- Stick the 2 long ends of the boxes together. This is going to keep them together.
- Wrap them tightly with the wrapping paper tucking in the extras into the box. Make sure to use enough glue to keep it secure.
- Wrap around the ribbon or twine and finish it with a small knot or bow.
Video
Pin to save for later
Article may contain Amazon & affiliate links. As an Amazon Associate I earn from qualifying purchases at no additional cost to you.

I have a huge empty cereal box. Could I cut it in half and use it as above?
I guess you could, Laurie.
We made these for each class I teach. They keep my students’ work organized and my T.A. knows if there are papers to pass out, correct, or file! Super. Thanks. Stay strong, stay safe, stay well.
Sincerely,
Shaina
Thanks so much, Shaine! Be safe! xoxo