

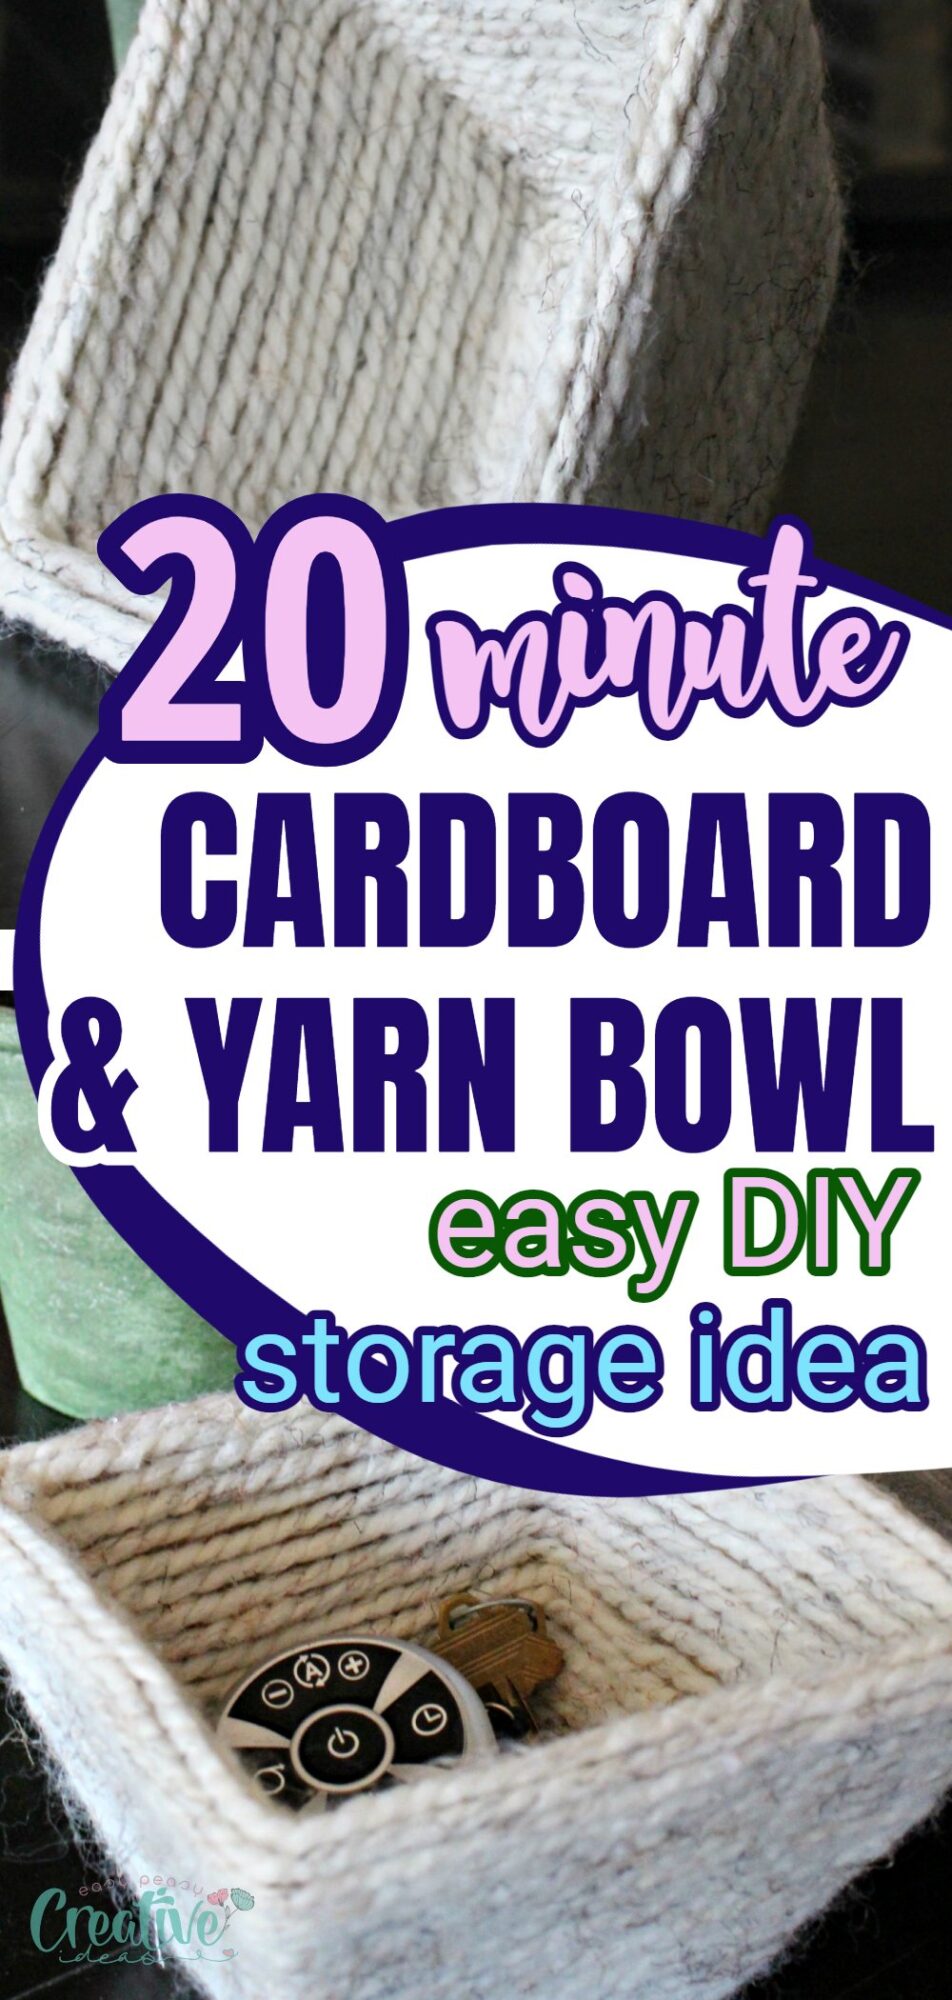
DIY yarn bowl from cardboard
Create a charming DIY yarn bowl with just a few basic materials! This yarn bowl craft is not only practical but incredibly easy to make. By following some simple steps, you can fashion a handy yarn bowl that’s perfect for keeping your things organized while adding a touch of charm to your crafting space.
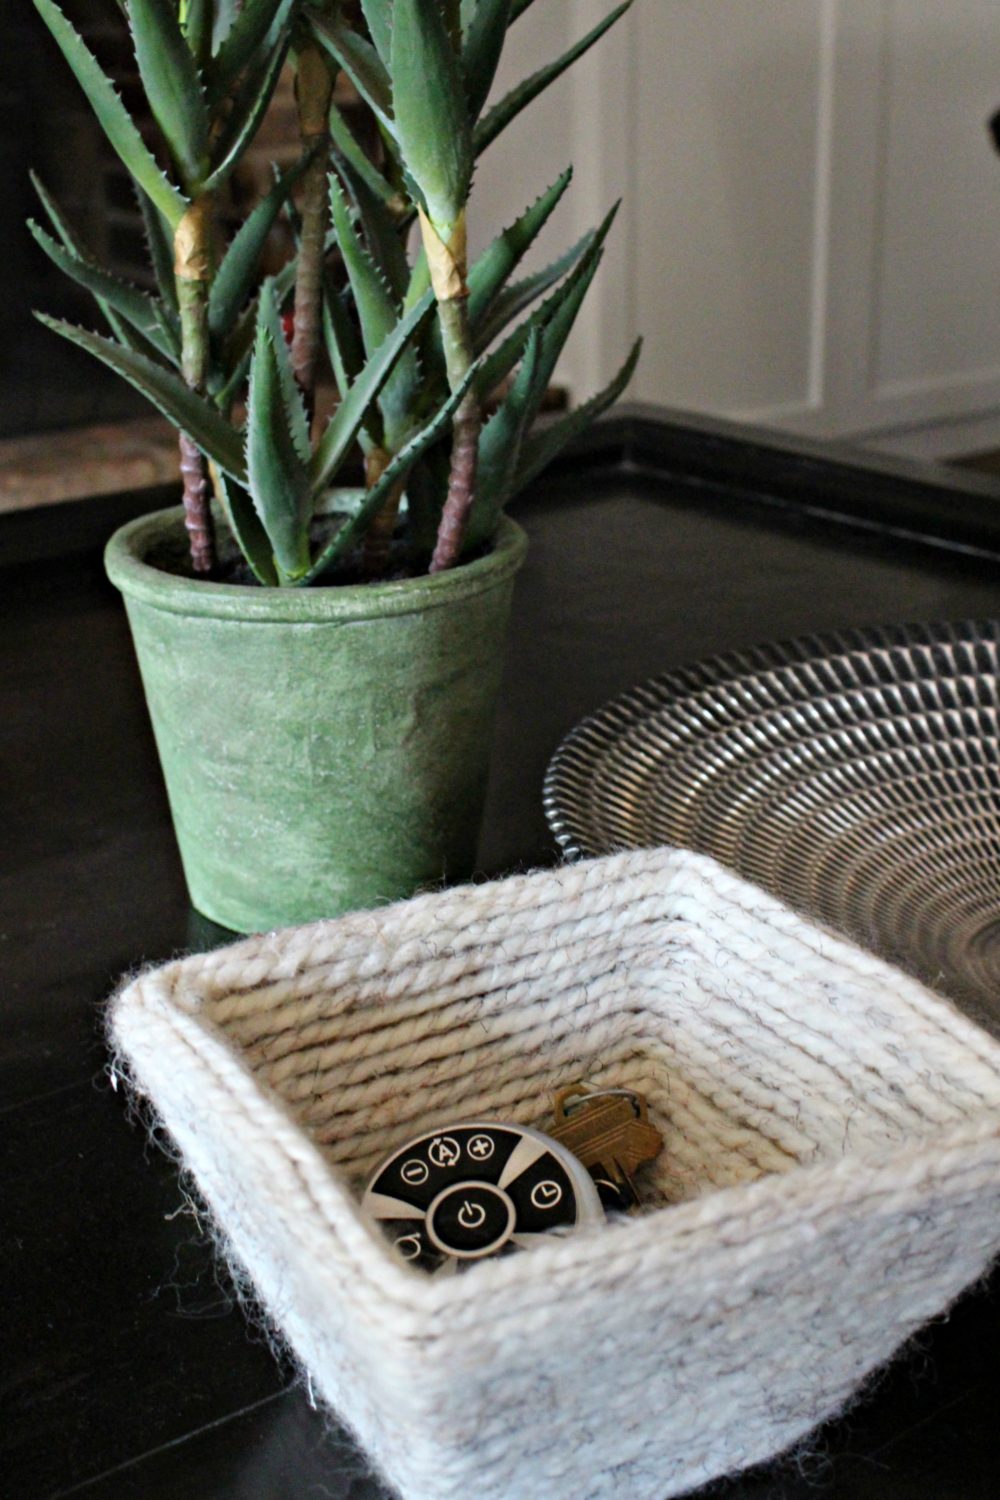
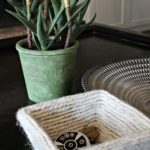
This delightful DIY yarn bowl is a fun way to spend an afternoon, and results in a useful item for any crafting enthusiast. This cute yarn bowl looks quite impressive but can you believe it’s made with just cardboard and yarn?
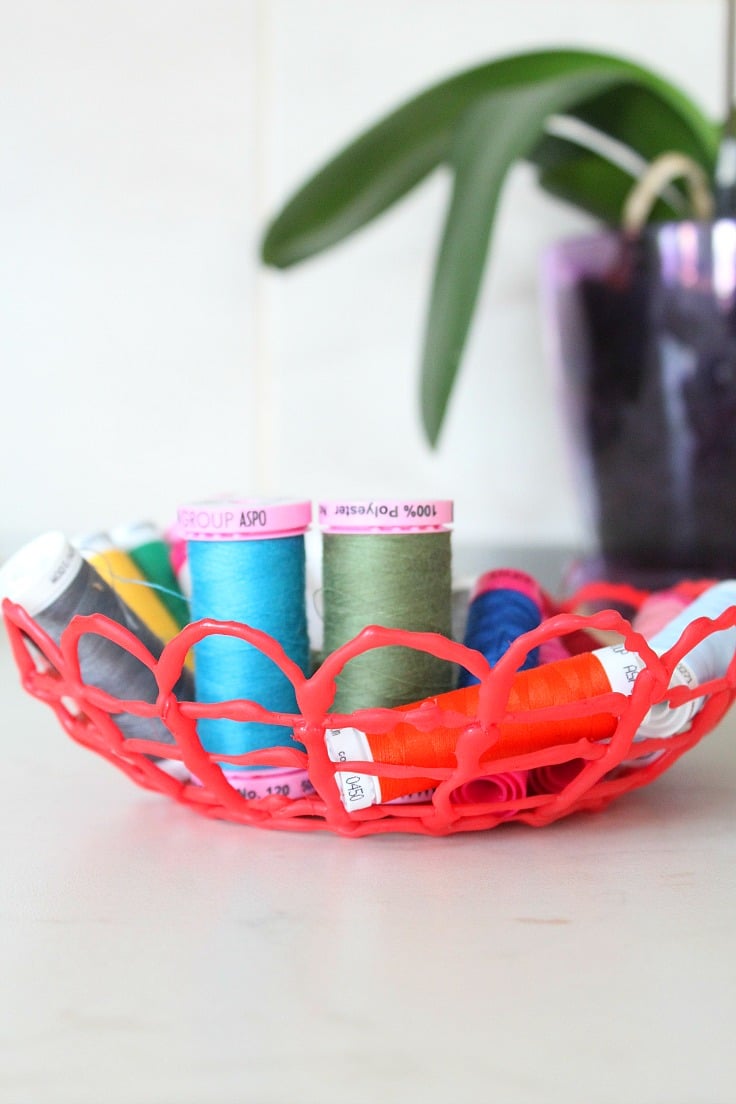
You can use this yarn bowl DIY to organize your office or craft supplies, or to store sewing notions if you love sewing. It looks unique and it’s so easy to personalize! Use yarn in color of choice or even multiple colors and play around with shape and size to make this DIY bowl match your style and personality.
Great as home decor this DIY yarn bowl is also a super awesome way to spend quality time with kids; they’ll be happy to help you make this! These could also work great as Easter baskets to hold eggs. And why not, even a wonderful gift idea!
Ready to get started? Here’s how to make a cardboard bowl in just a few minutes!
How to make a DIY Yarn Bowl
Materials:
- A heavy weight cardboard box: You can use any cardboard box you have on hand, such as a cereal or shoe box. The sturdier the box, the better it will hold its shape.
- Roll of thick strand yarn: Choose your favorite color and type of yarn. Thicker yarn works best for this project to create a sturdy bowl.
Substitutes
You can also use thick rope or twine for a different look. Instead of cardboard, you can also use a plastic bowl or even a clay pot as the base for your yarn bowl.
Equipment
- Scissors: You’ll need them to cut the cardboard and the yarn.
- Ruler or measuring tape: This will come in handy for measuring and cutting the cardboard.
- Glue gun: To attach the yarn to the cardboard.
Instructions
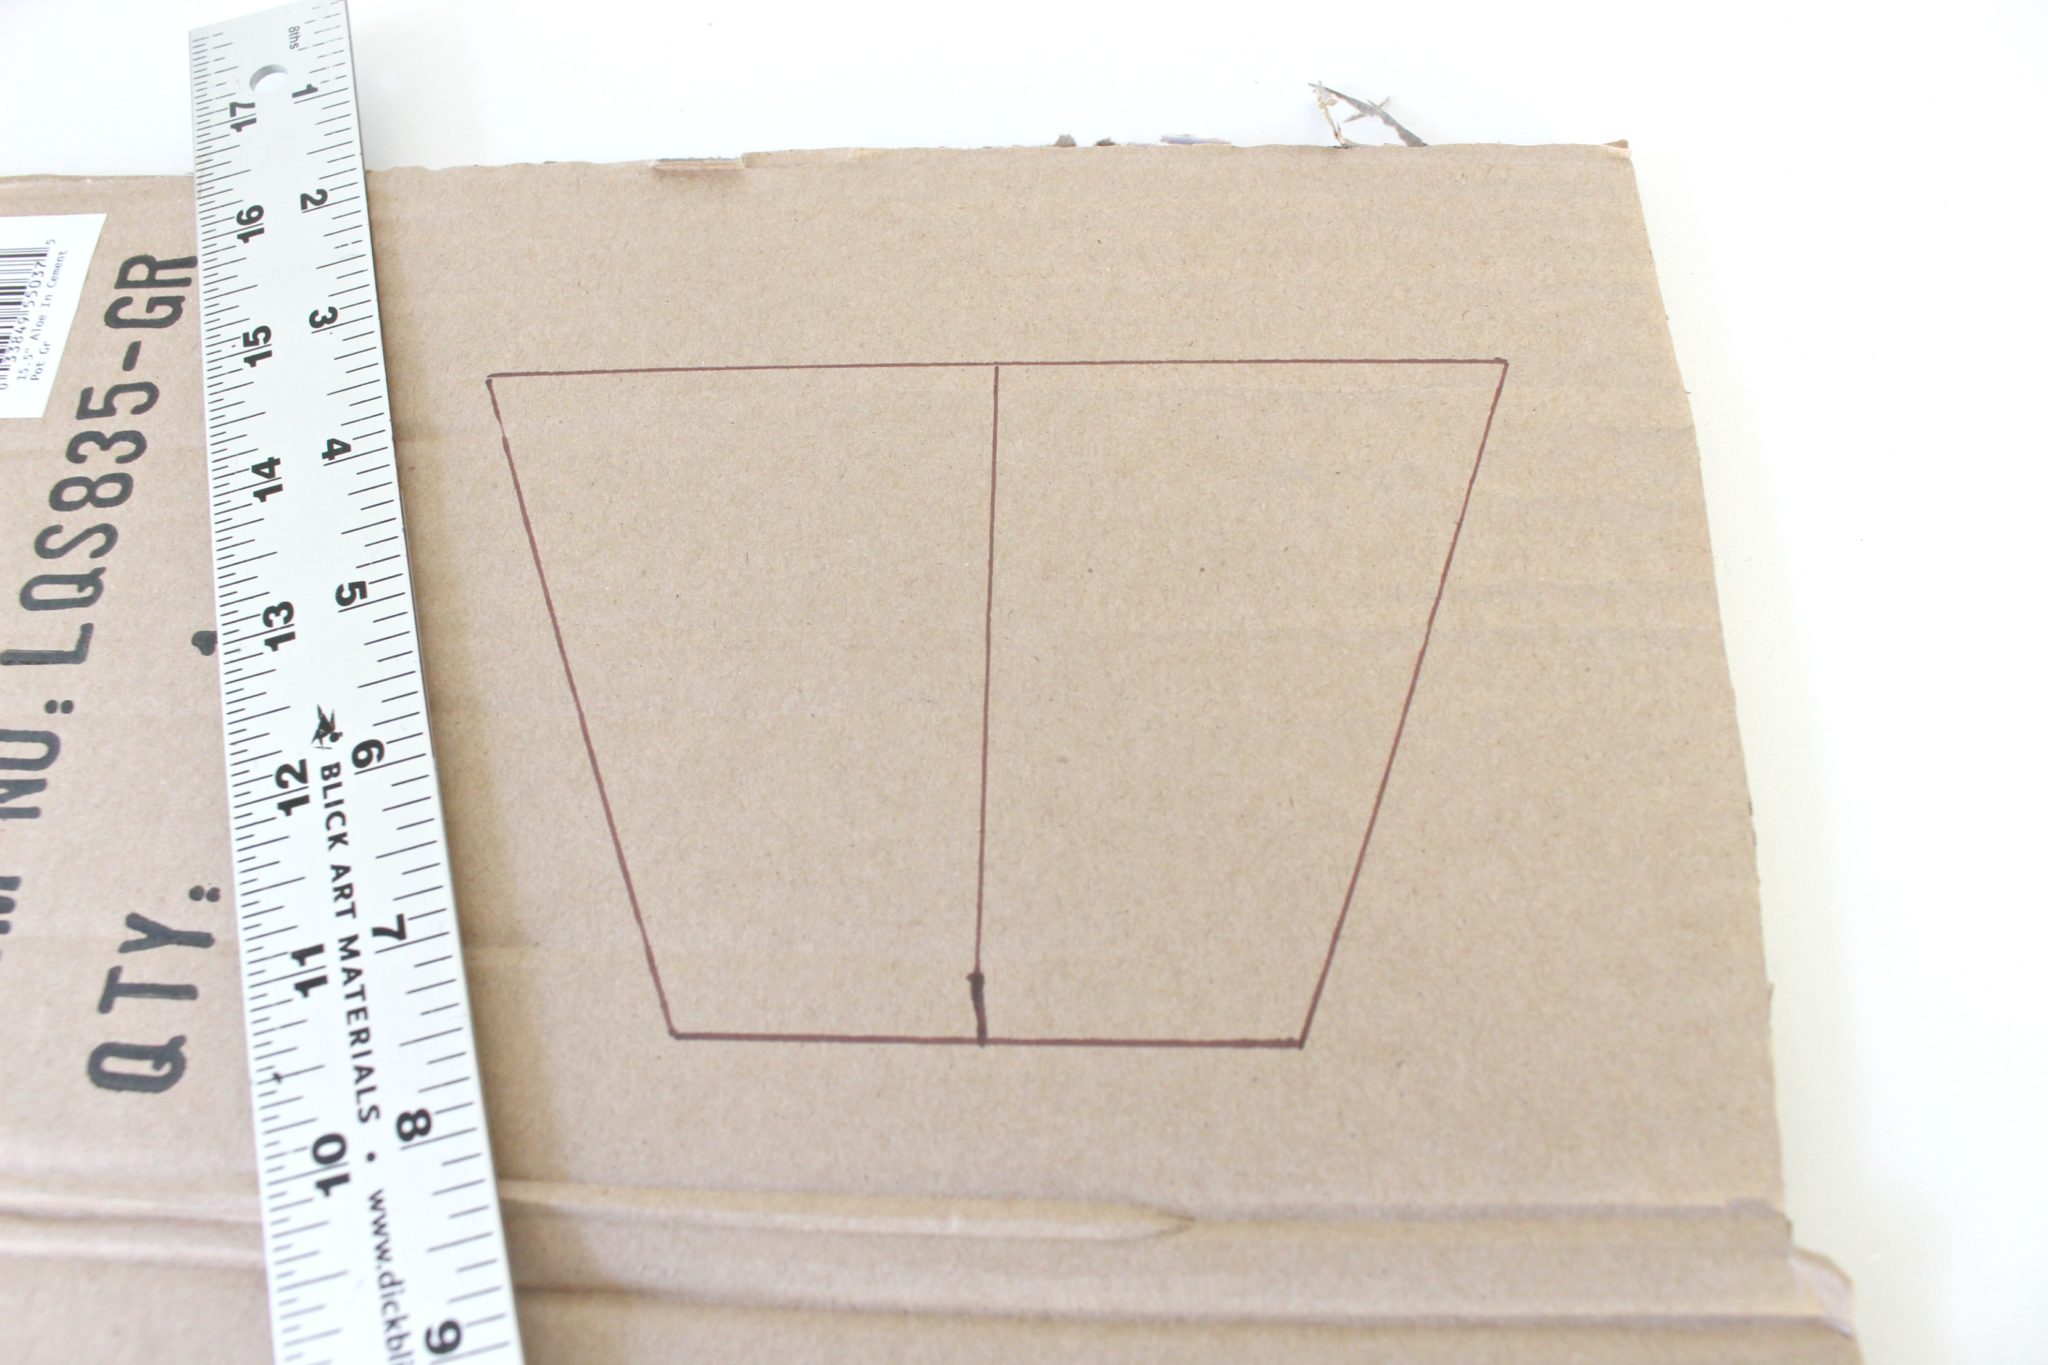
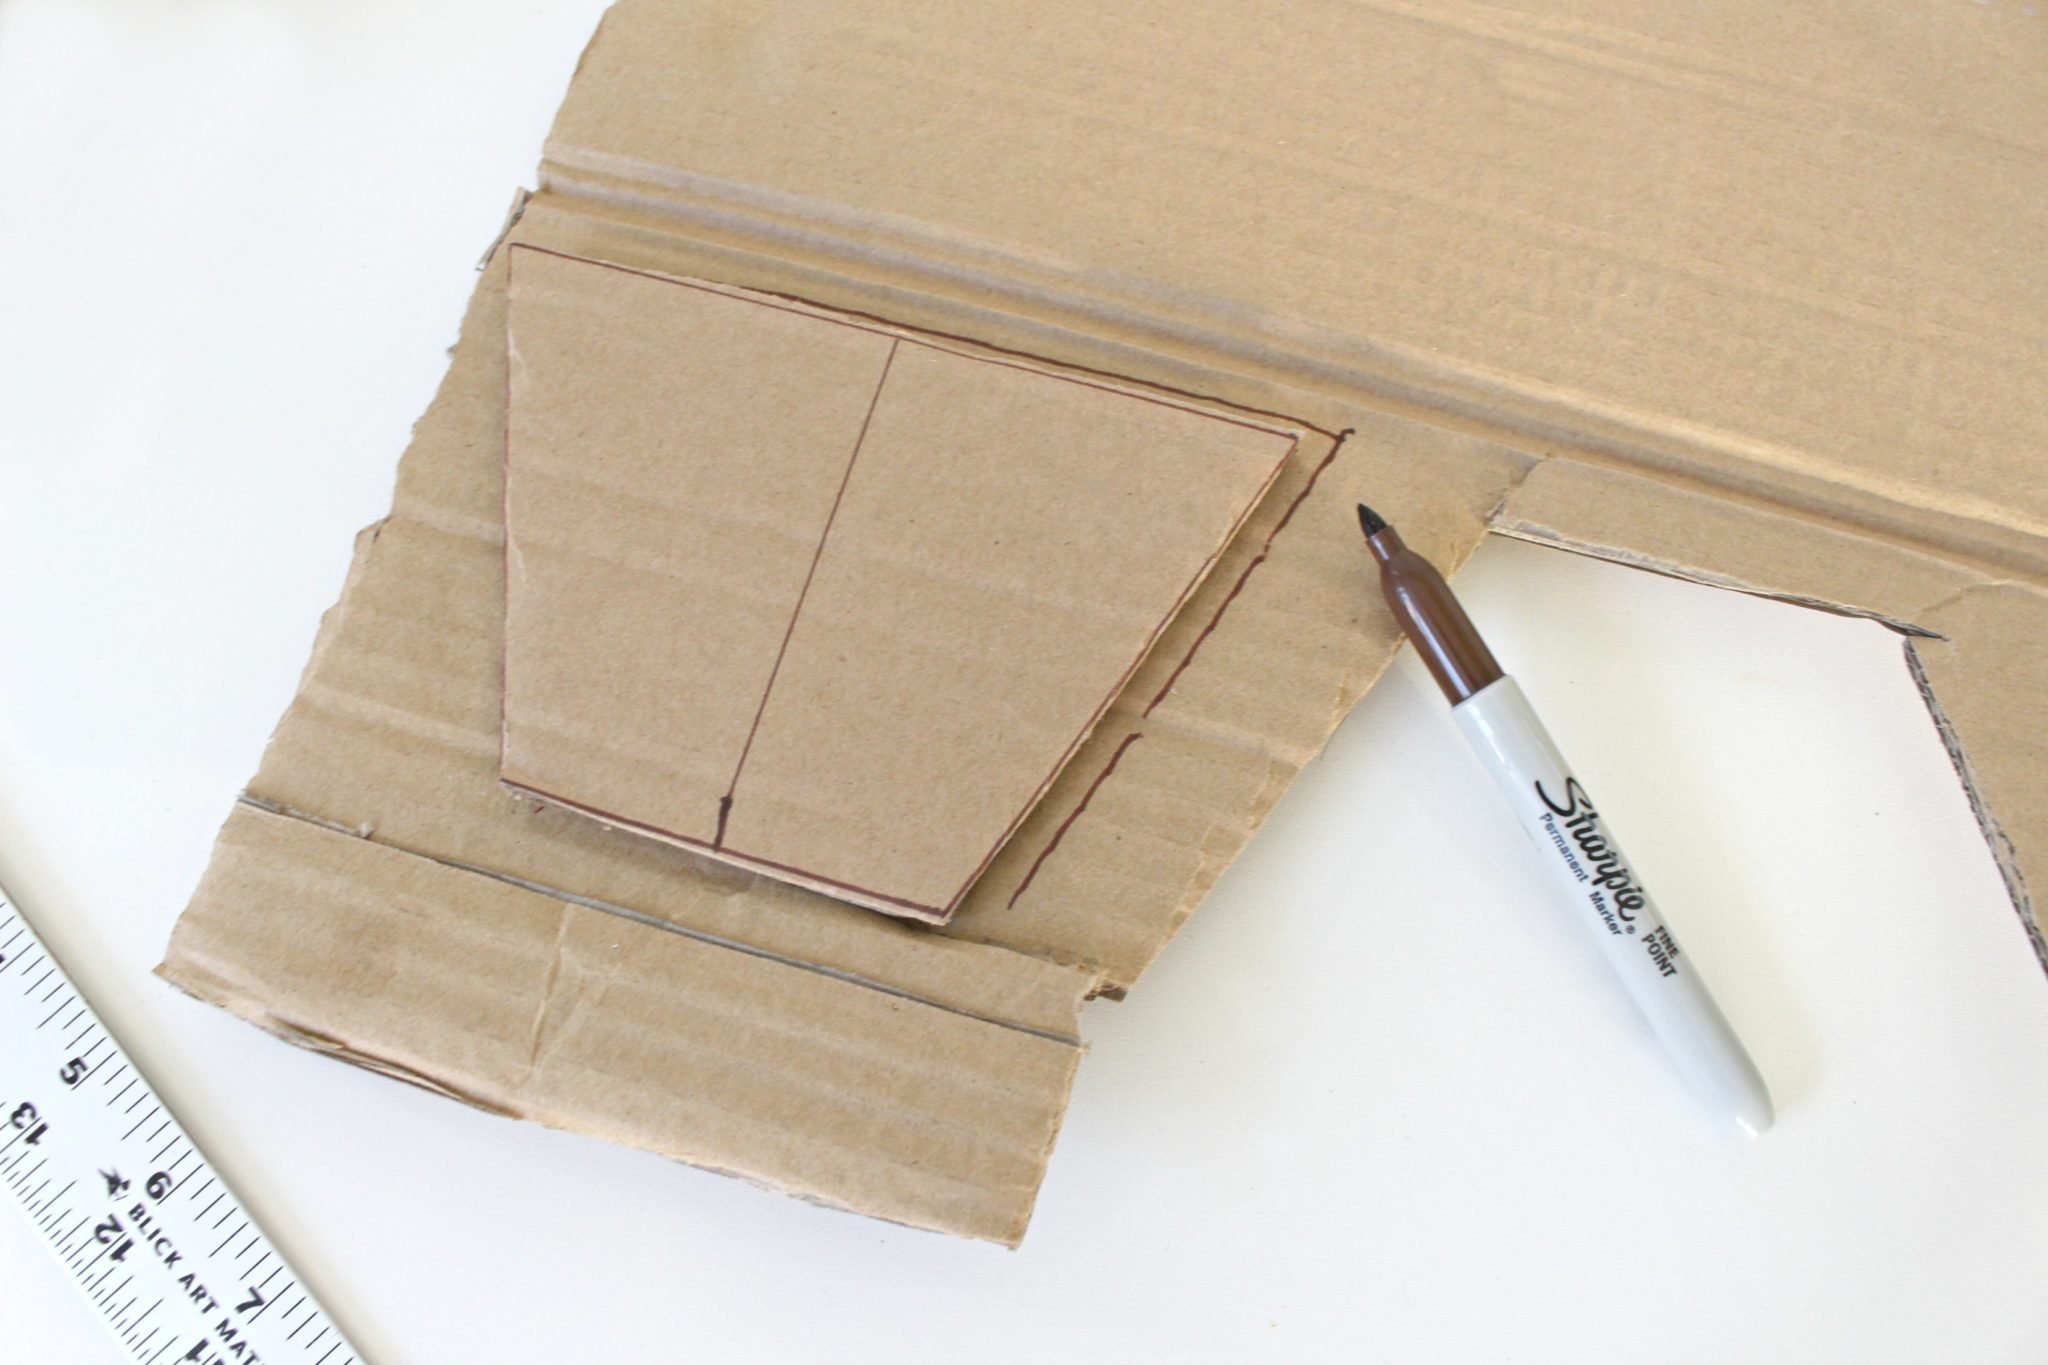
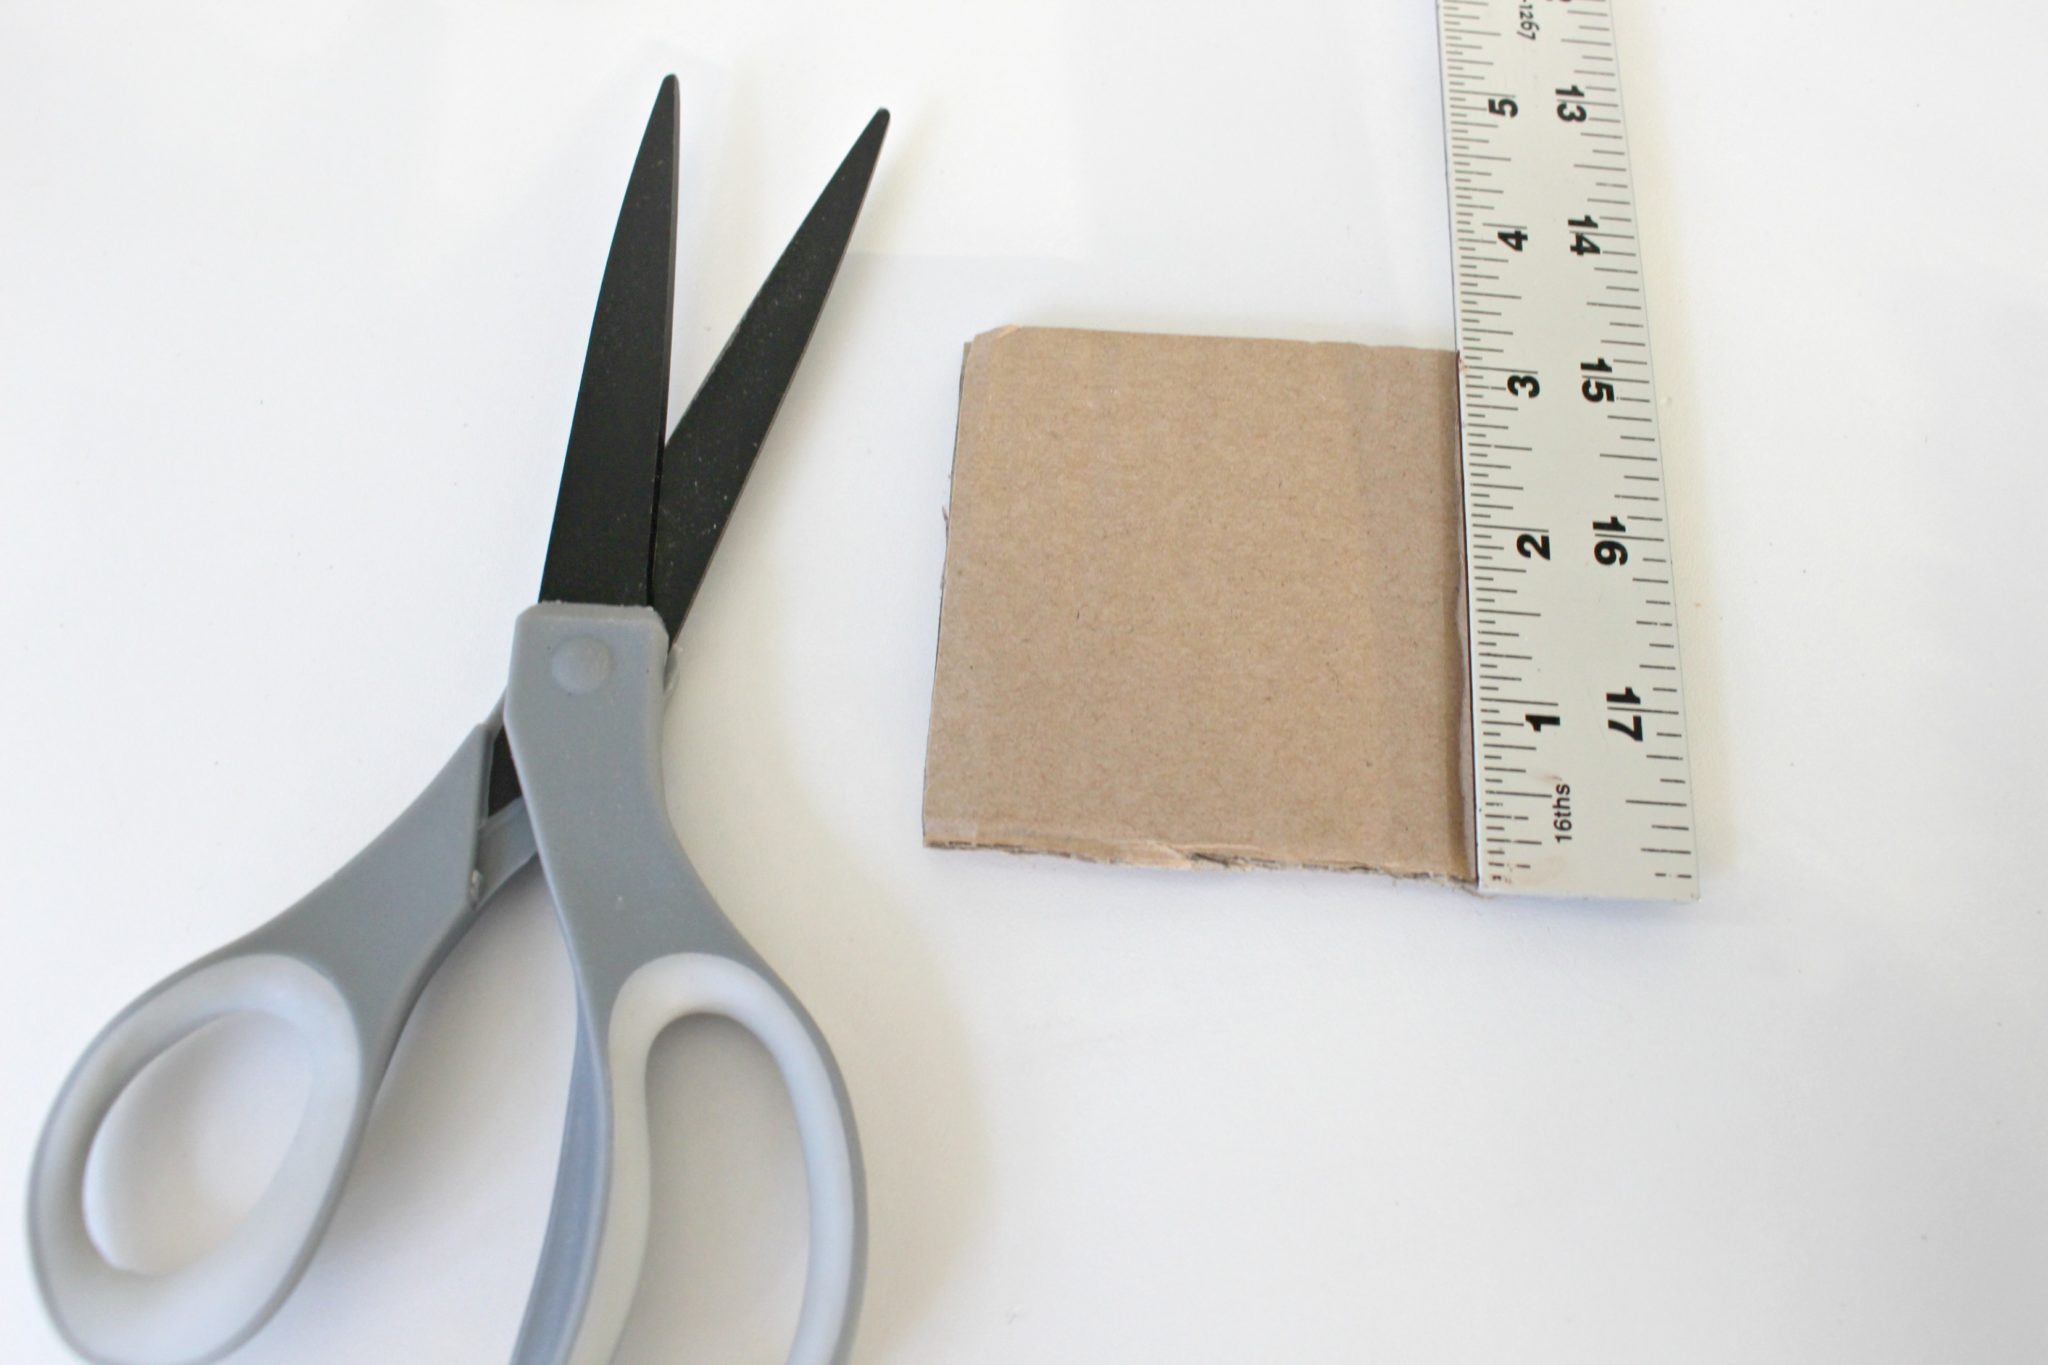
- Trace out a piece of cardboard with the dimensions: 4 ½” tall x 5 ¼” wide across the top x 4” across the bottom. Make sure your top and bottom lines are perfectly centered before you draw the lines along the sides. Cut out 4 more. Make a square from the cardboard that is 3” x 3”.
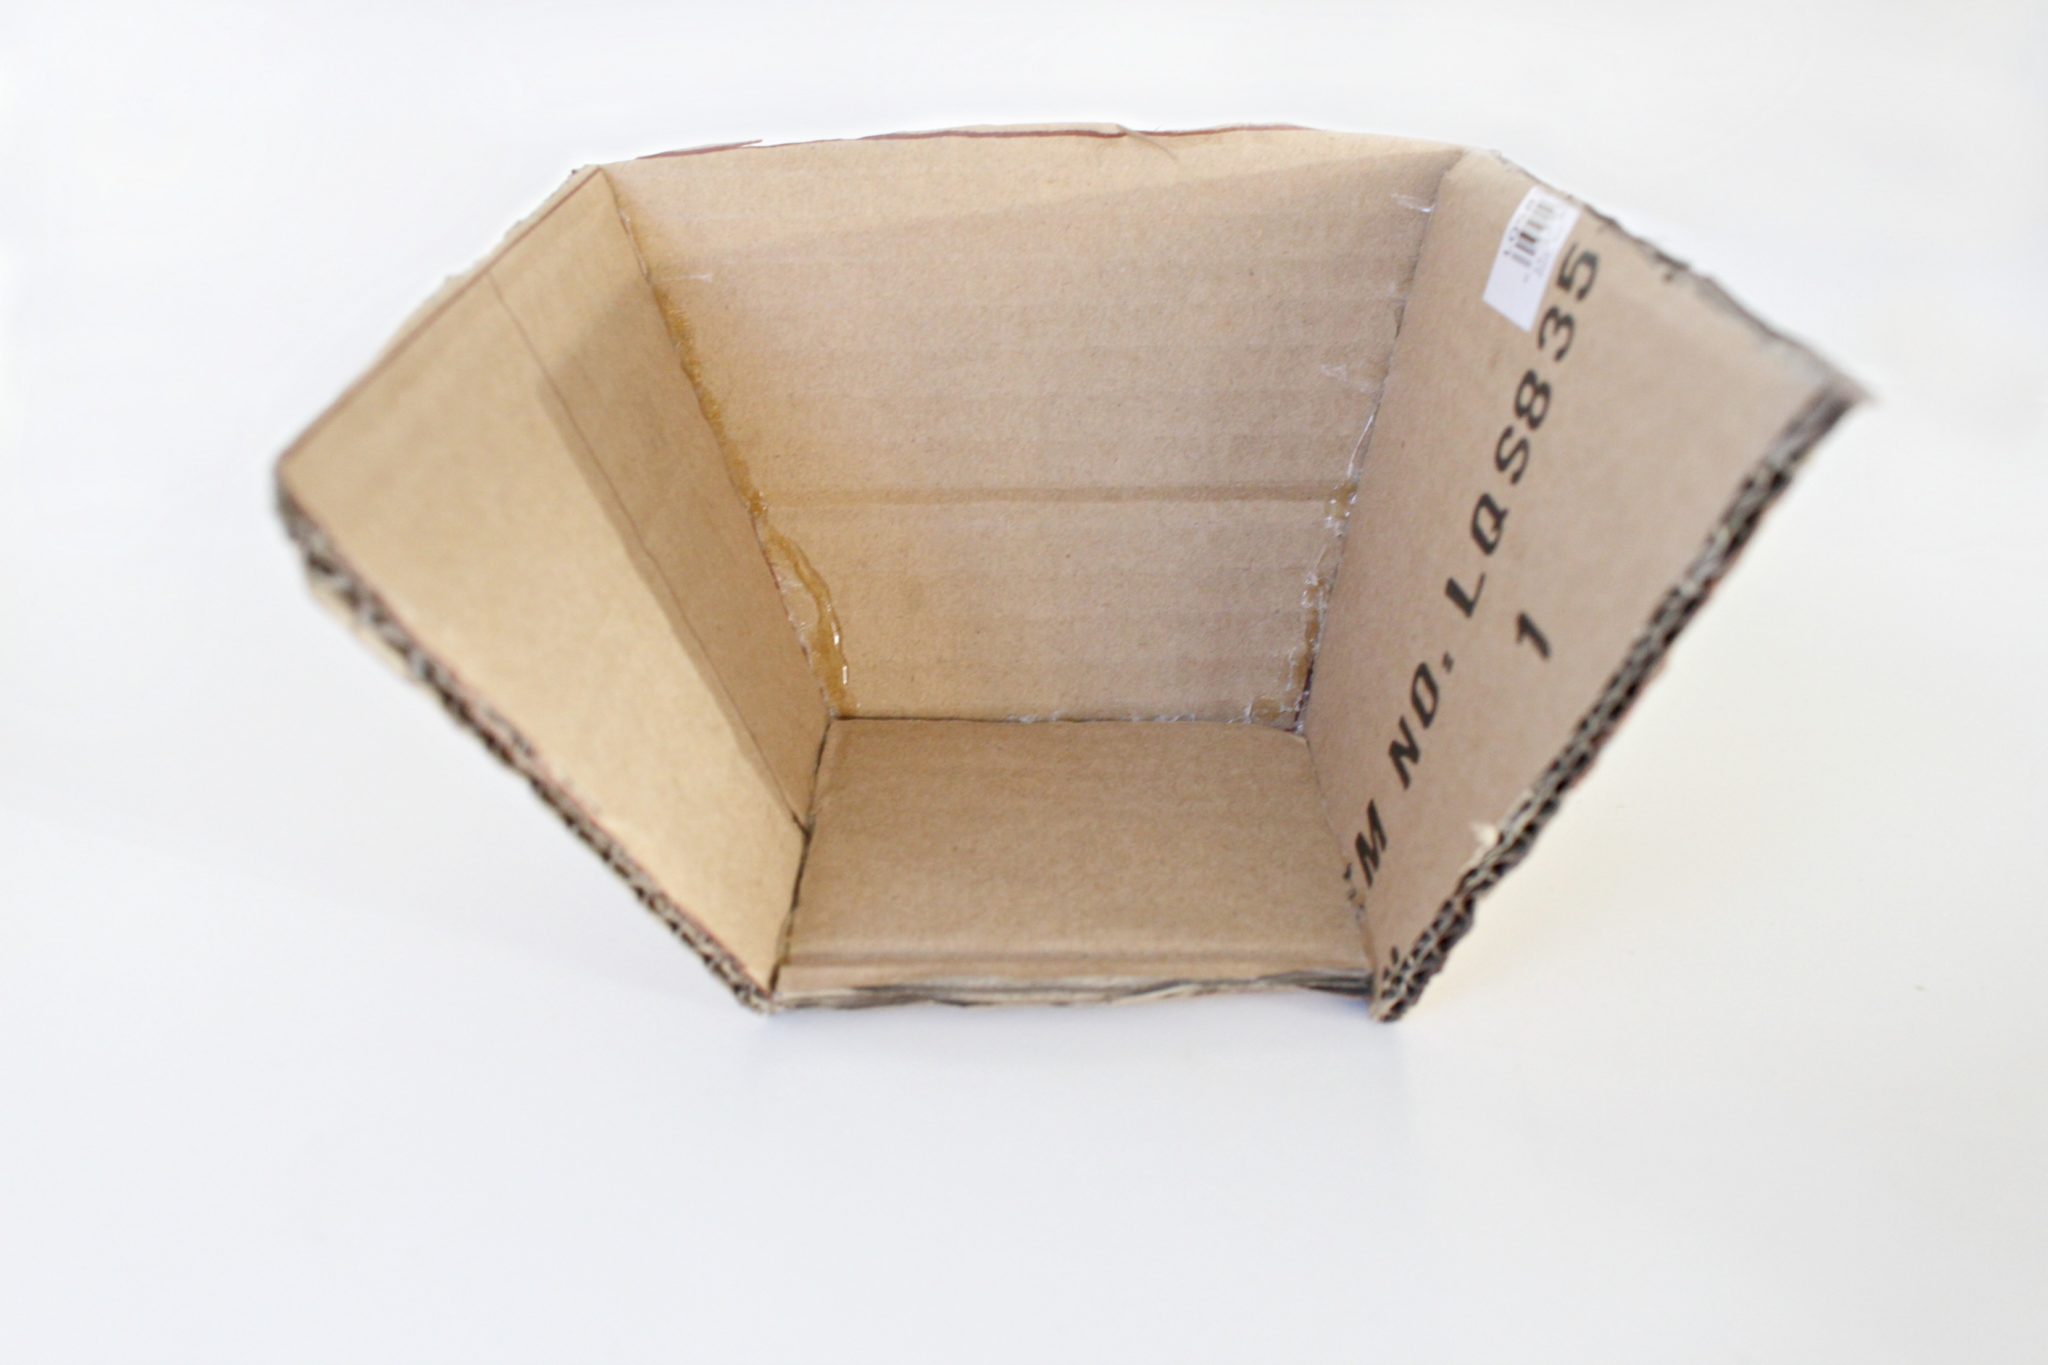
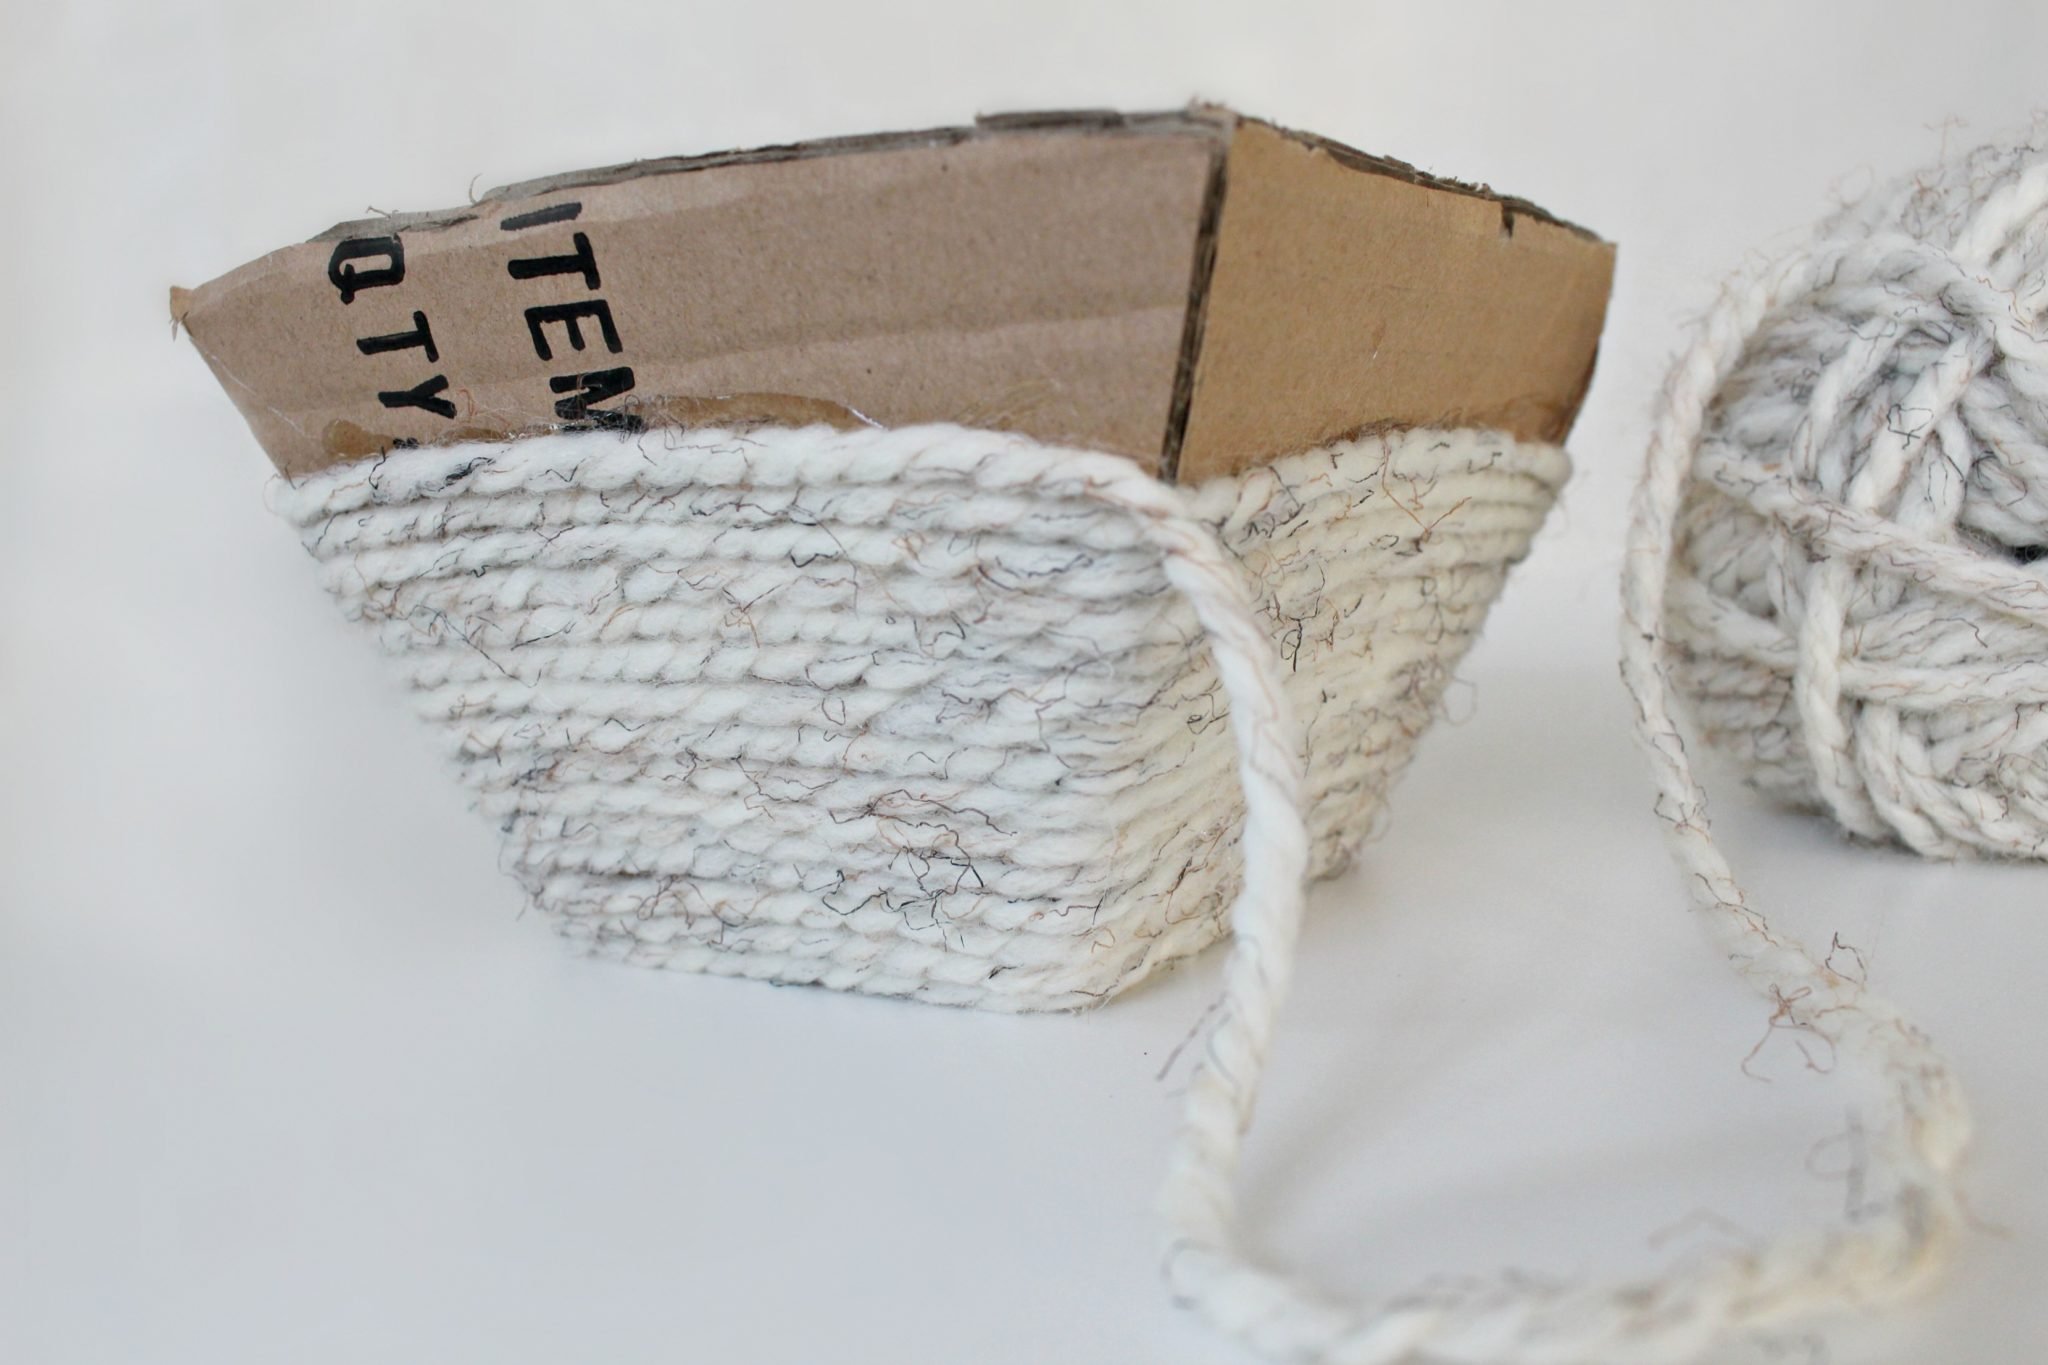
- Use the hot glue to secure the bottom and sides of the cardboard until you make the shape of a bowl.
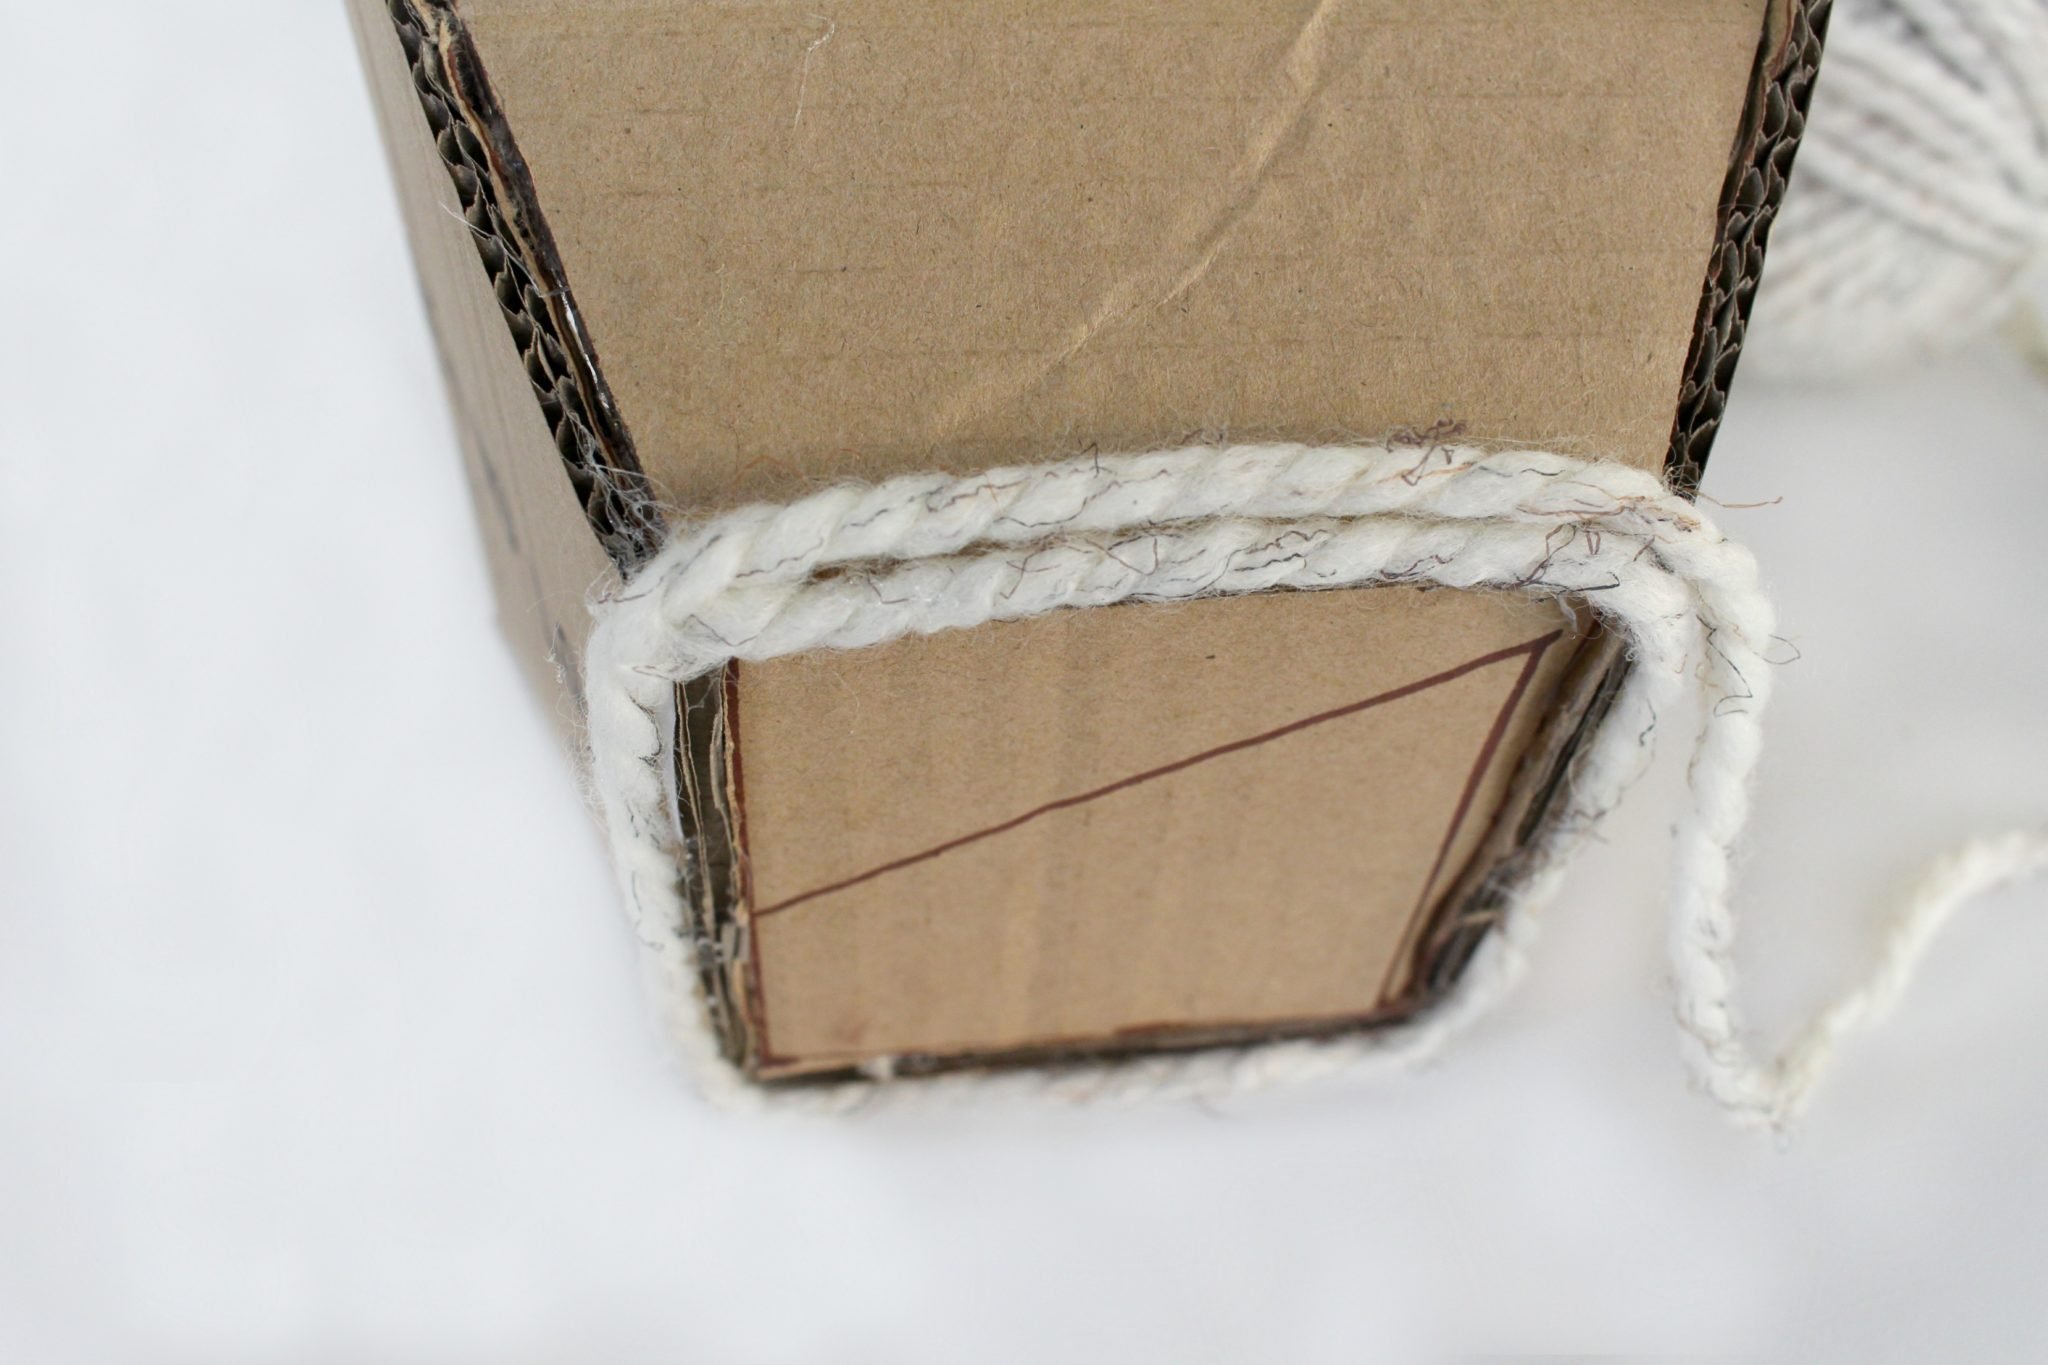
- Take the end of the yarn and begin gluing it along the very bottom of the bowl then continue gluing and wrapping the yarn up the bowl.
- Continue gluing and wrapping the yarn and down the inside of the bowl.
- Without leaving any gaps in the yarn, wrap the inside of the bowl until you get the the very bottom center. Clip the end of the yarn and glue it securely to the bottom center of the box.
- Let it dry completely before using it.
Tips
- If you want to change colors, simply cut the first yarn and start gluing a new one in the same spot.
- You can experiment with different patterns or even add decorations such as buttons or beads onto your yarn bowl.
Craft variations
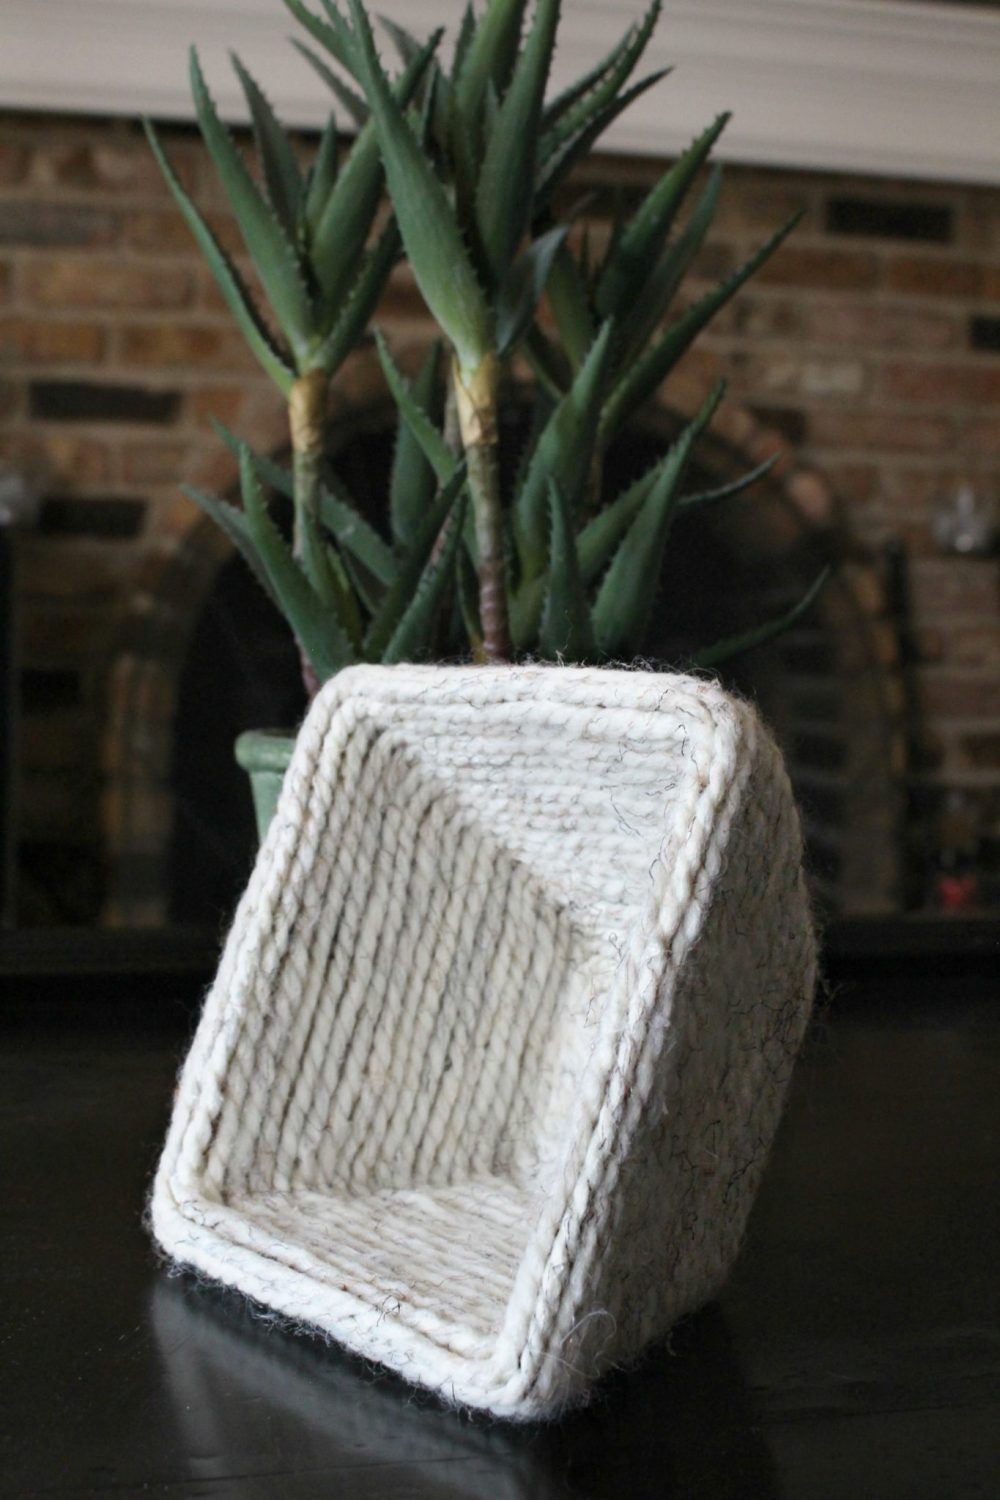
- Instead of a traditional round bowl shape, try creating a square or triangular yarn bowl for a unique look.
- Add decorative handles to your yarn bowl by gluing on pieces of ribbon or cord to the sides.
- Use different colors and types of yarn to create a rainbow or multicolored yarn bowl.
Frequently asked questions
- Will the hot glue damage my yarn?
No, as long as you don’t apply too much heat and use a low temperature setting on your glue gun.
- Can I use this yarn bowl for other things besides organizing yarn?
Absolutely! This versatile bowl can be used to store any small items such as office supplies, sewing notions, or even small toys.
More storage ideas you might like:
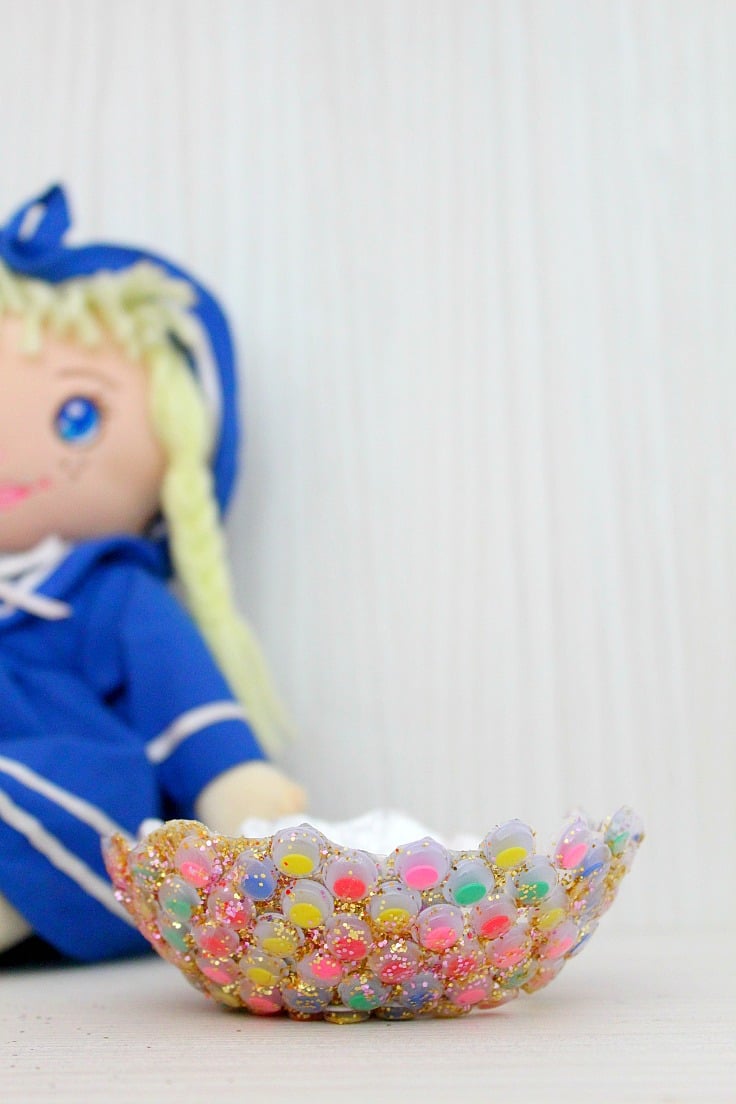

- Googly eyes bowl DIY
- Hot glue bowl
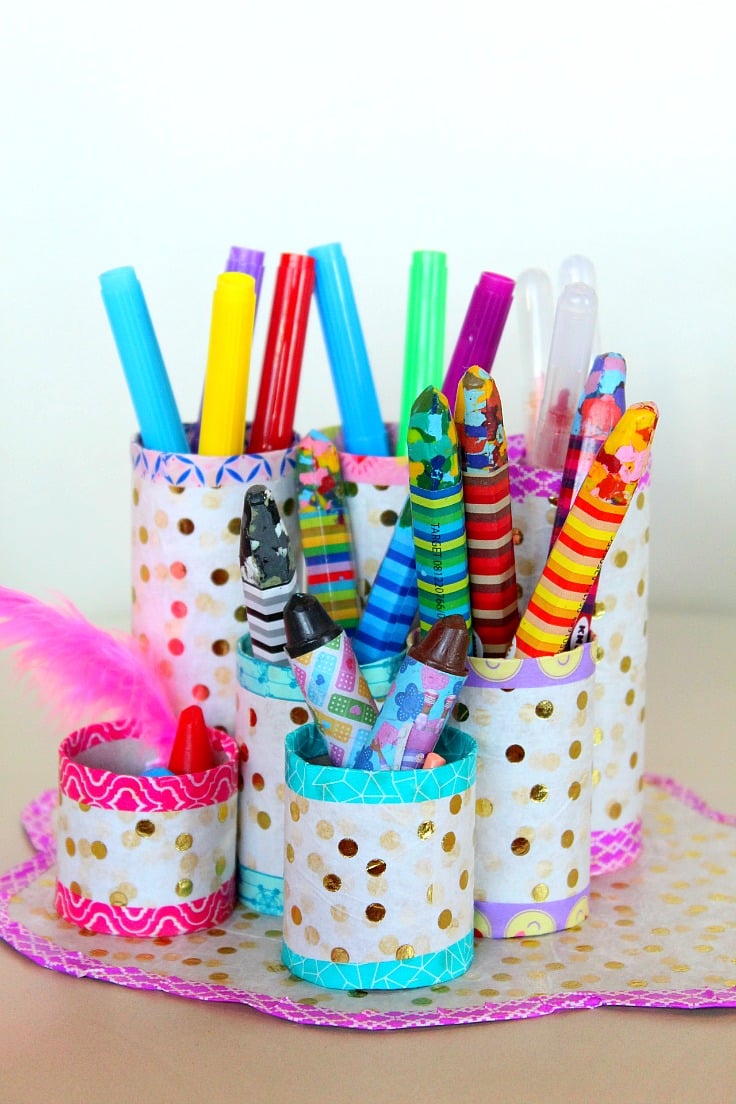
- DIY paper roll organizer
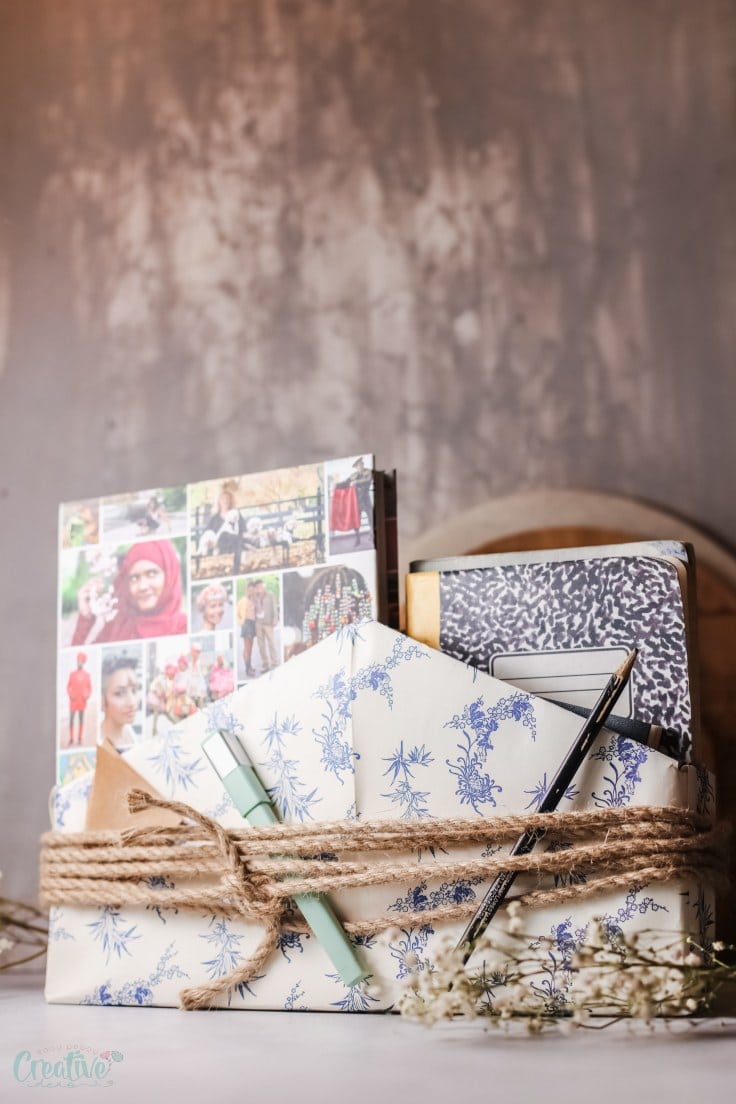
- Cereal box organizer
- Recycled rope basket
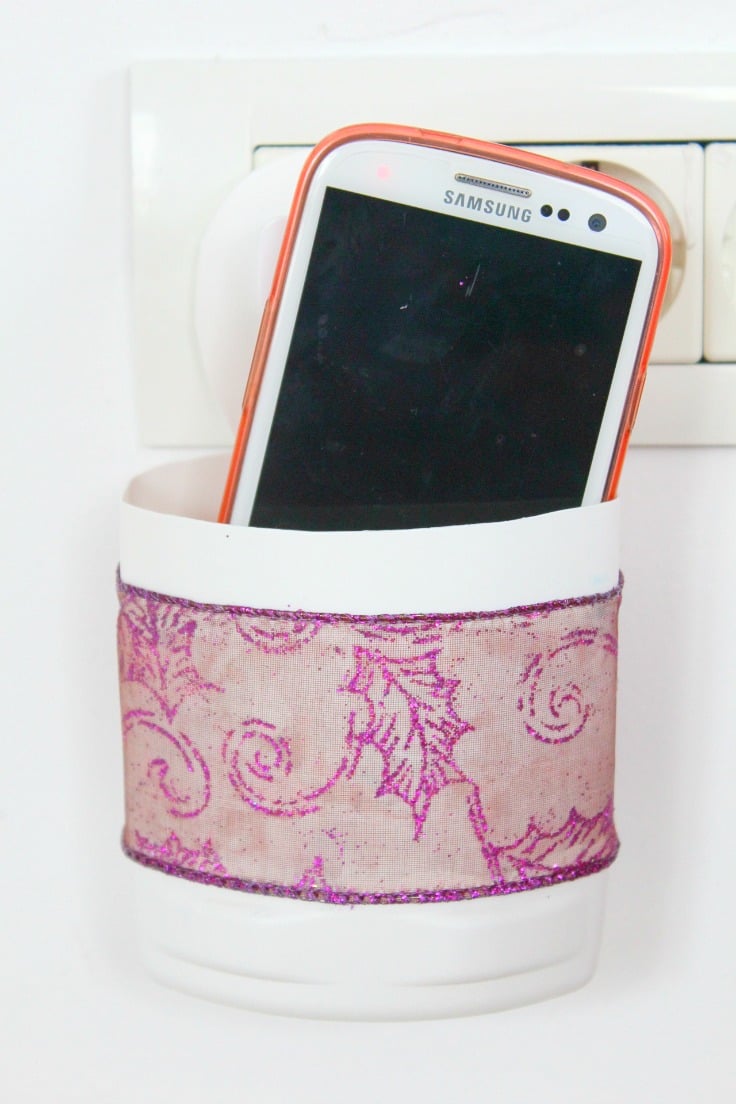
- DIY phone charging station
- Teacher appreciation gift crayon box
This DIY yarn bowl is not only a practical and fun craft to make, but it’s also a great way to add a personal touch to your crafting space. So gather your materials, put on your creative cap, and start making your very own unique yarn bowl today!
Don’t forget to come back and let me know how yours turned out in the comments below. Happy crafting!
Yarn bowl DIY
Materials
- 1 box heavy weight cardboard
- 1 roll thick strand yarn
- Hot glue
Tools
- ruler
- scissors
- glue gun
Instructions
- Trace out a piece of cardboard with the dimensions; 4 ½” tall x 5 ¼” wide across the top x 4” across the bottom. Make sure your top and bottom lines are perfectly centered before you draw the lines along the sides.

- Use this one as a template and cut out 4 more.
- Make a square from the cardboard that is 3” x 3”.
- Use the hot glue to secure the bottom and sides of the cardboard until you make the shape of a bowl.
- Take the end of the yarn and begin gluing it along the very bottom of the bowl
- Continue gluing and wrapping the yarn up the bowl. While applying the yearn to the strips of glue, make sure to lay the yarn down instead of pulling it tight.
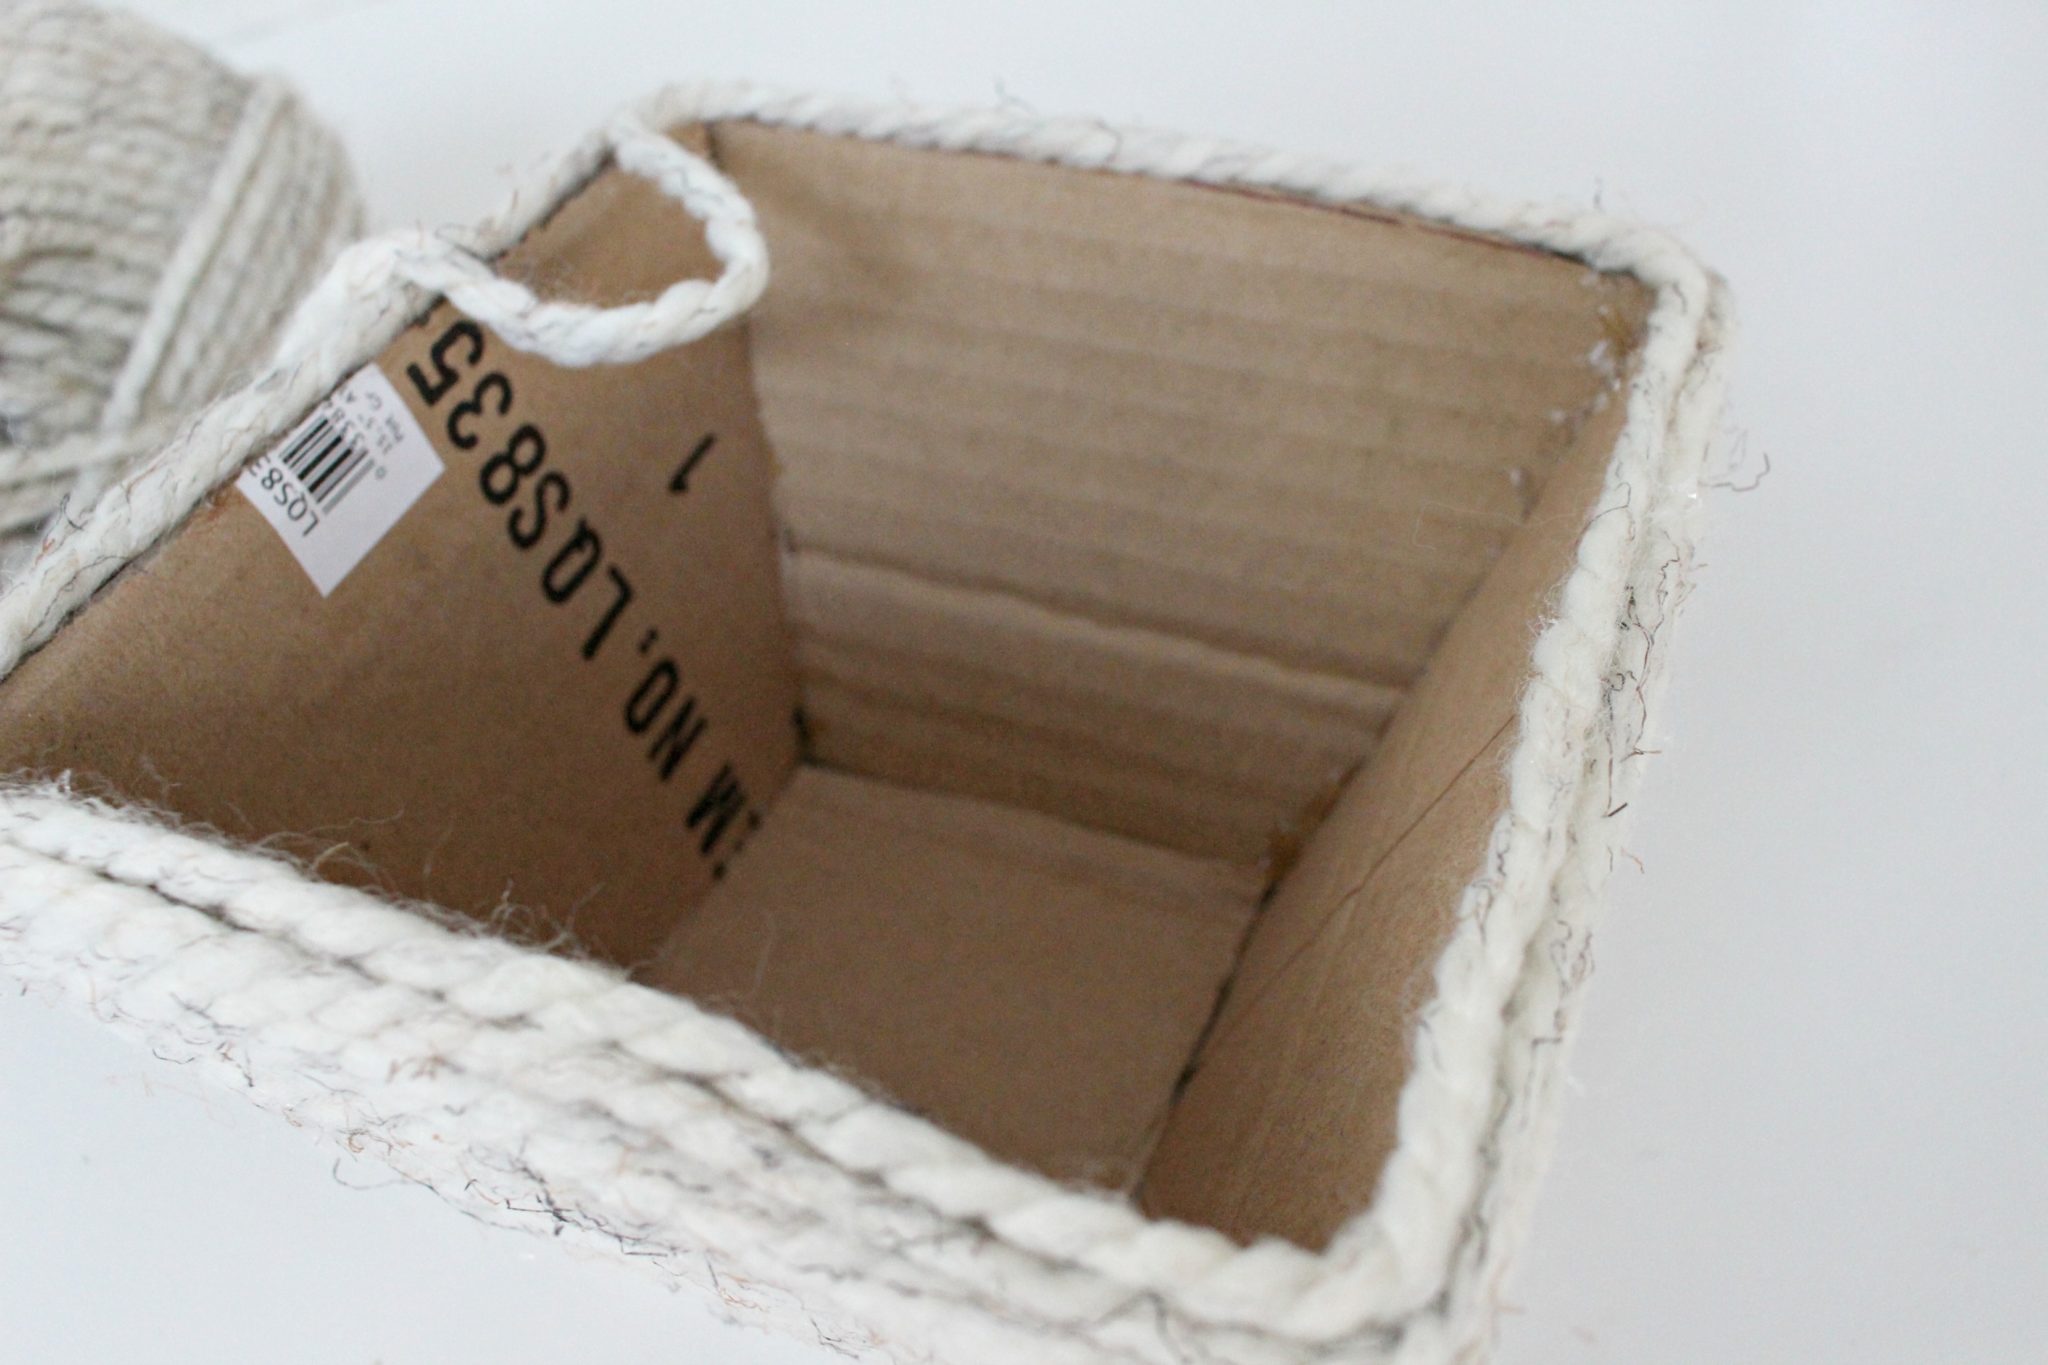
- Once you wrap the bowl to the top, continue gluing the yarn along the top edge of the bowl so that the cardboard is covered. Do not leave gaps between the strands of yarn.
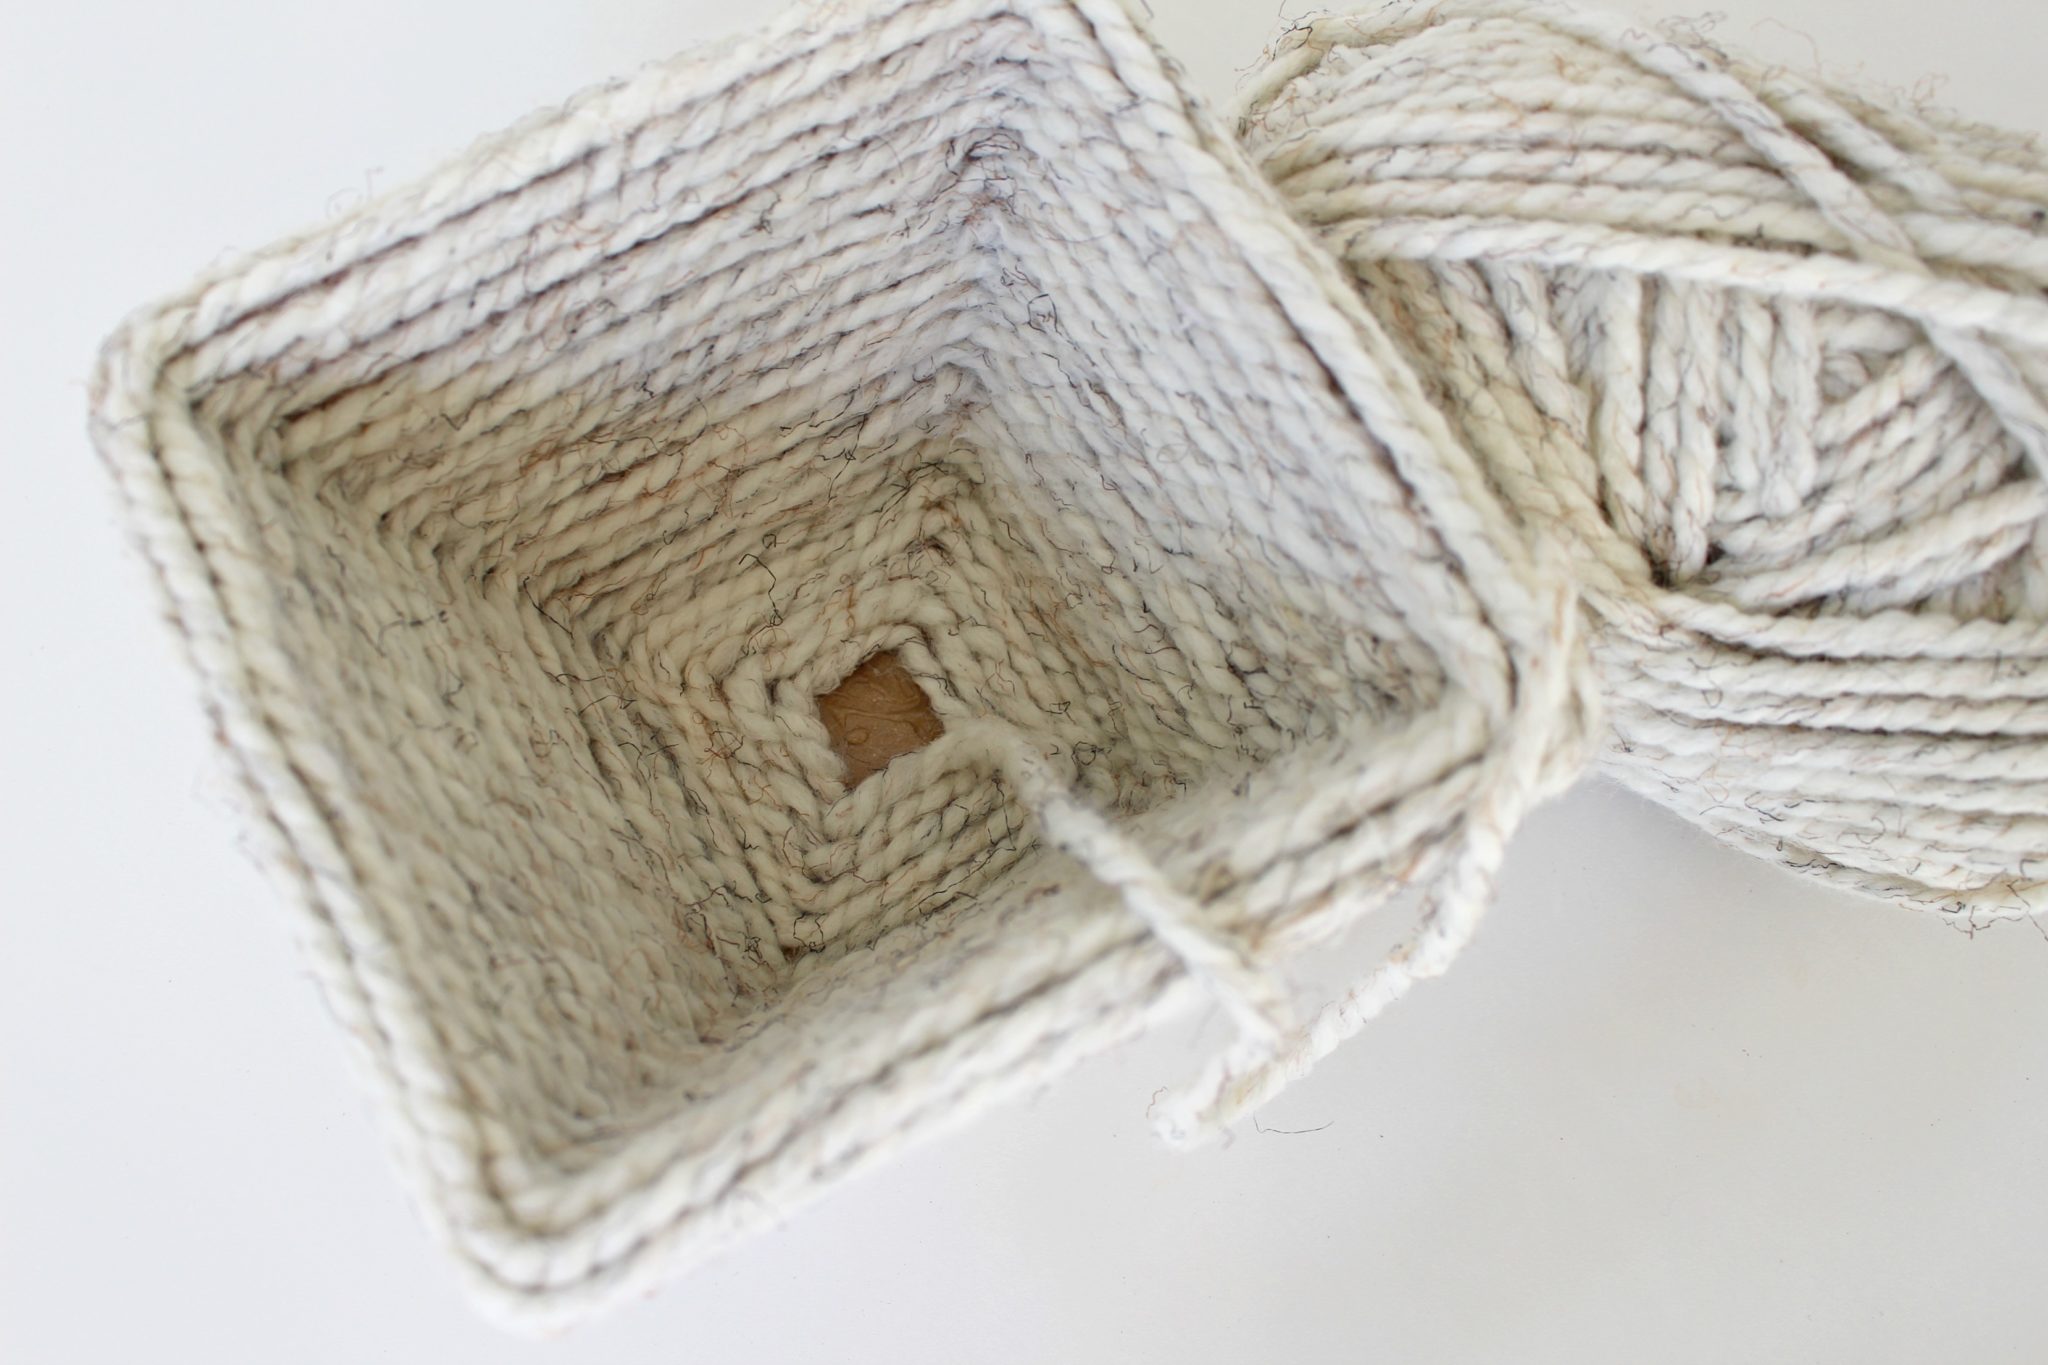
- Continue gluing and wrapping the yarn and down the inside of the bowl.
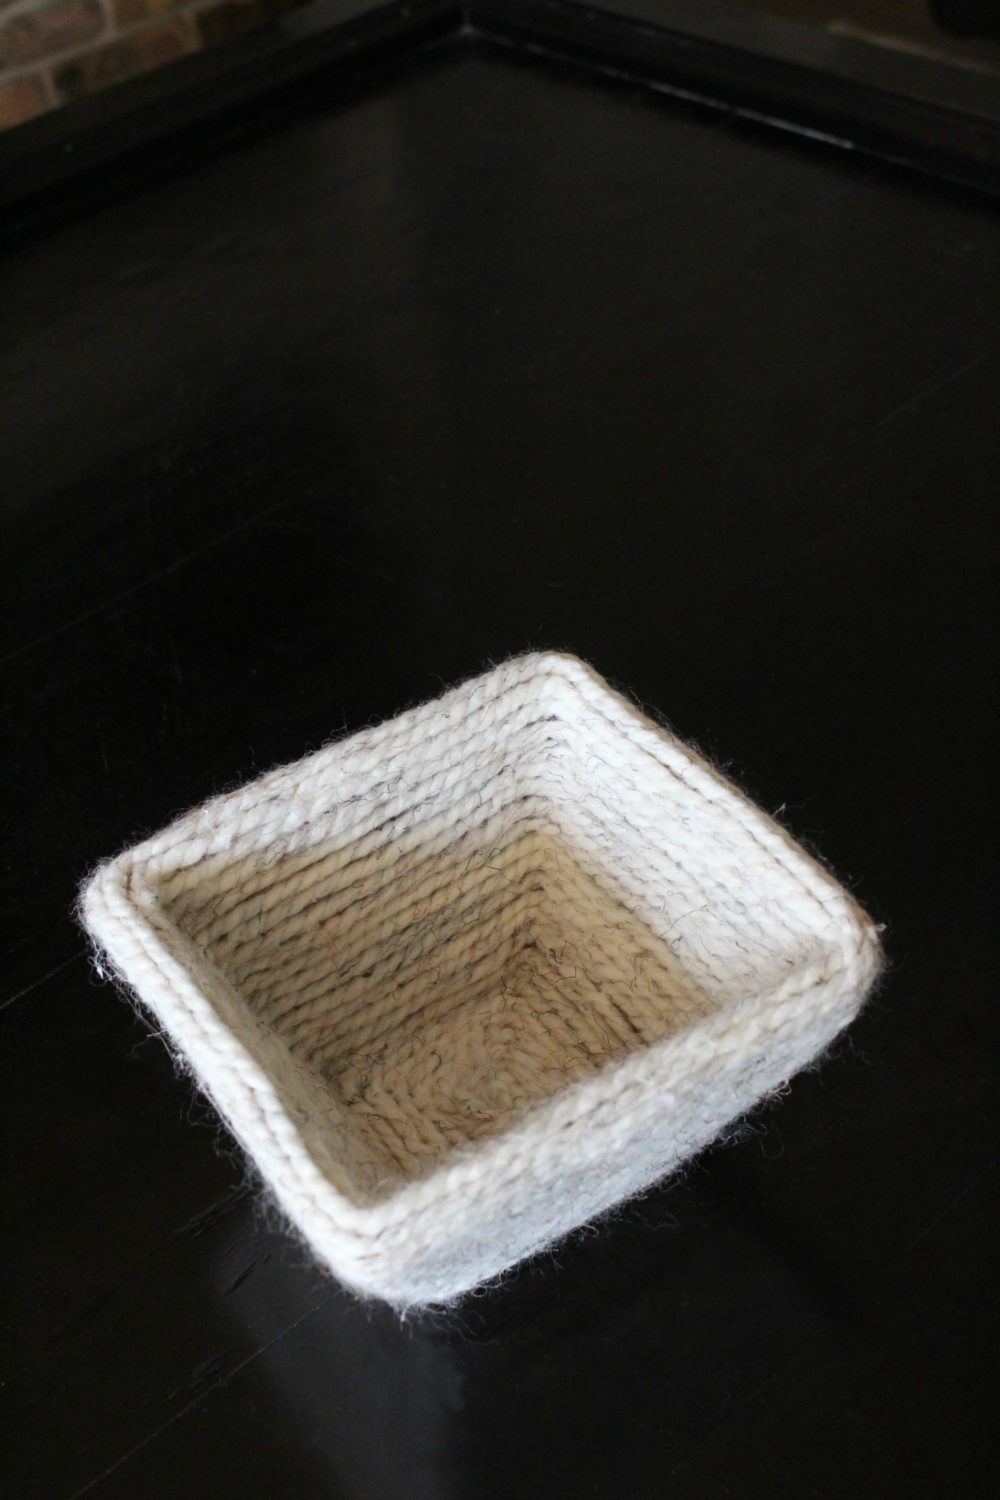
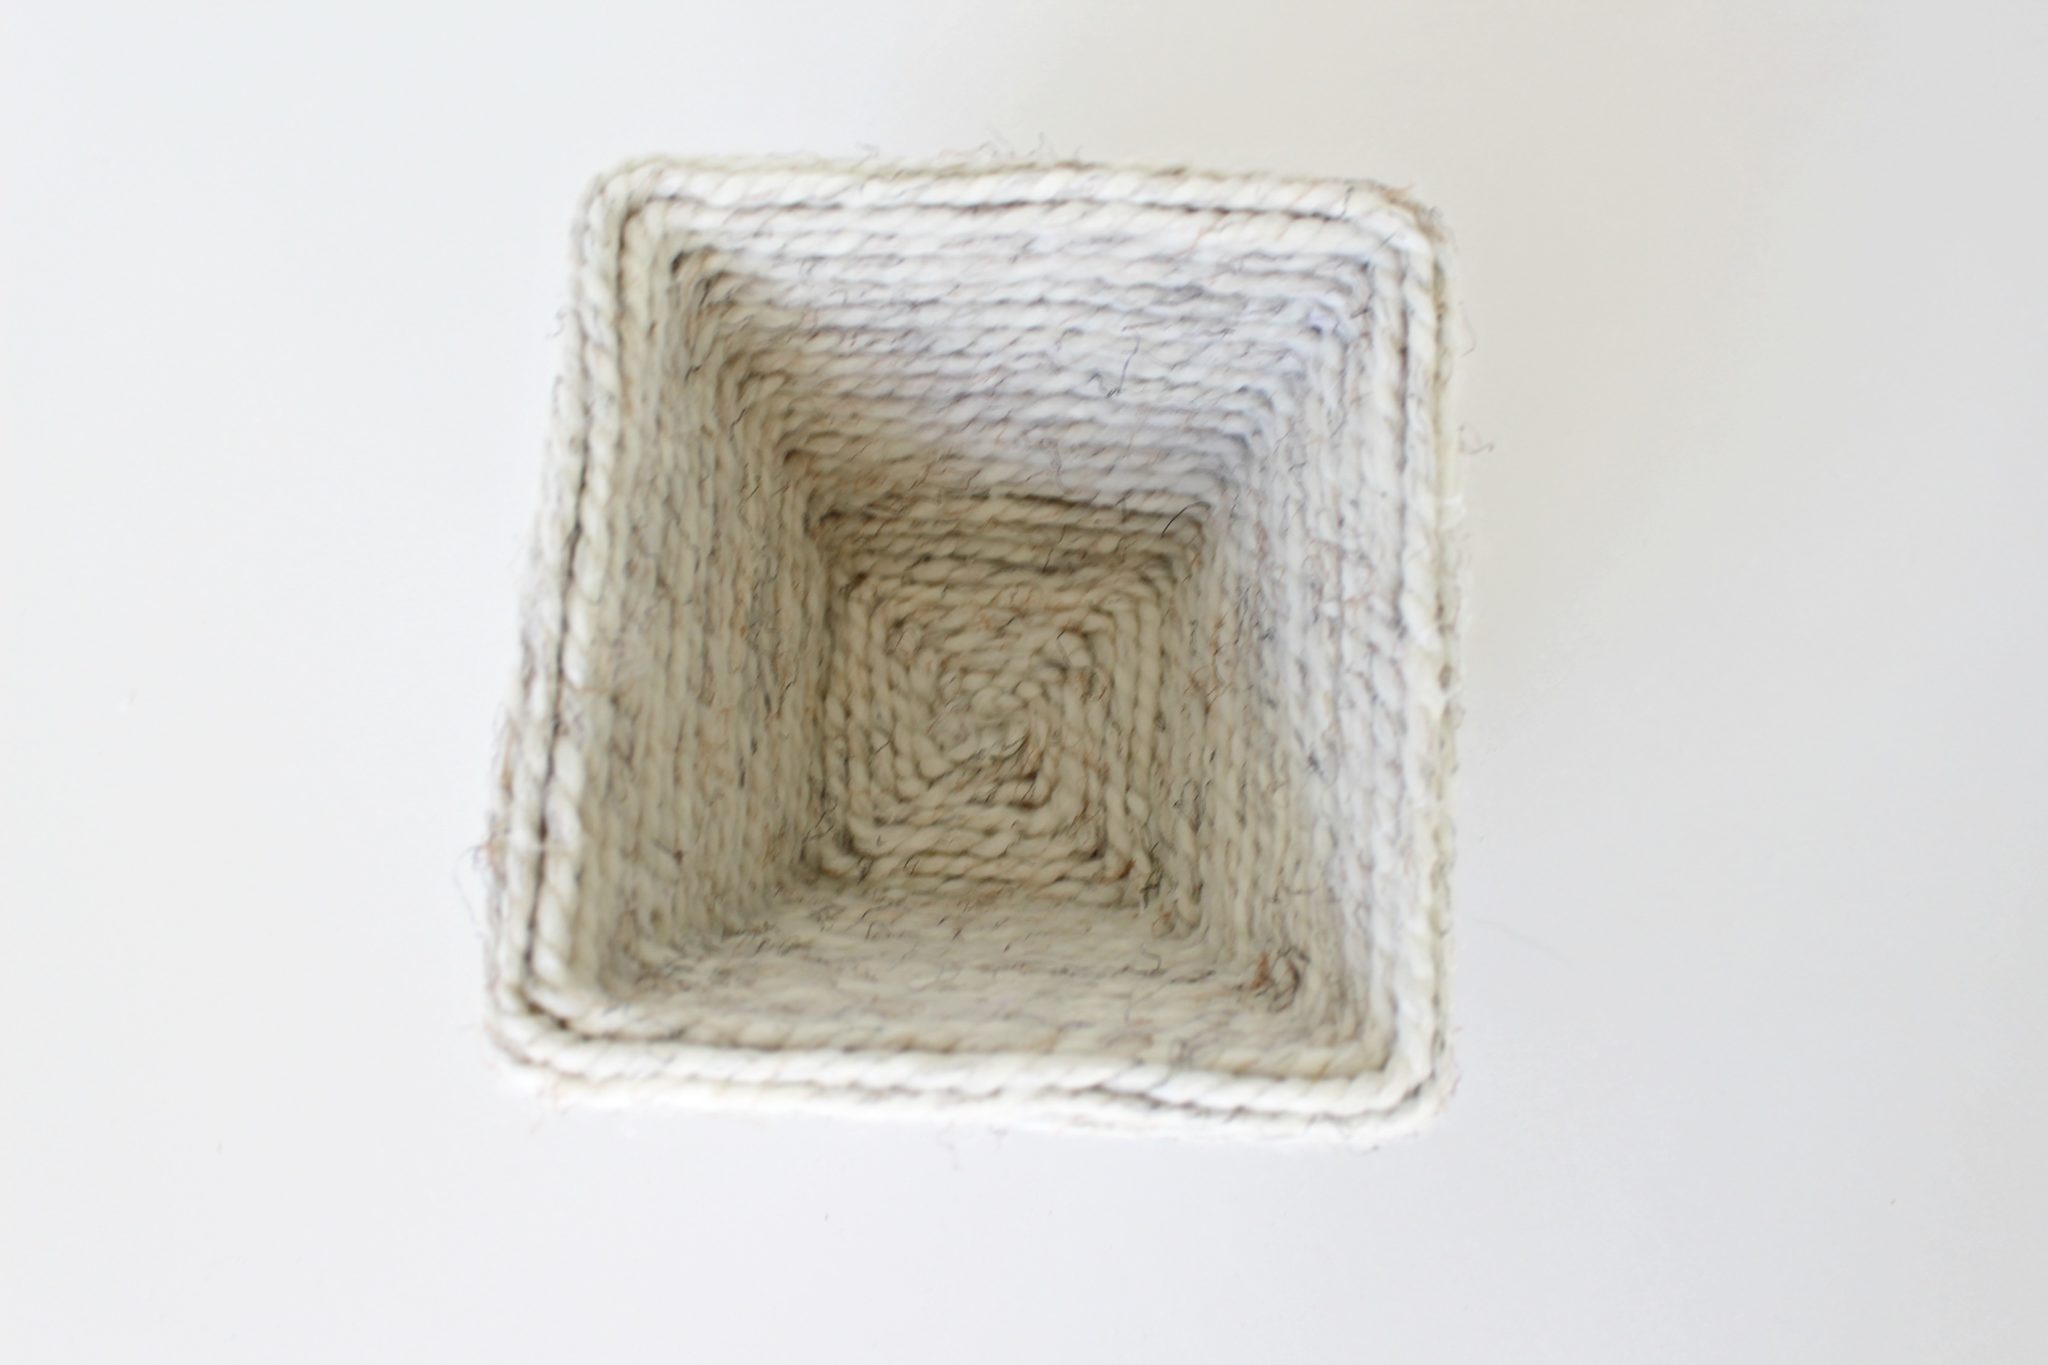
- Without leaving any gaps in the yarn, wrap the inside of the bowl until you get the the very bottom center. Clip the end of the yarn and glue it securely to the bottom center of the box.
Article may contain Amazon & affiliate links. As an Amazon Associate I earn from qualifying purchases at no additional cost to you.

This is so cool! I’m always looking for interesting textures and appearances for baskets to hold my baby’s things. I need to make this yarn bowl for her smaller toys!