Headband pattern with side buttons
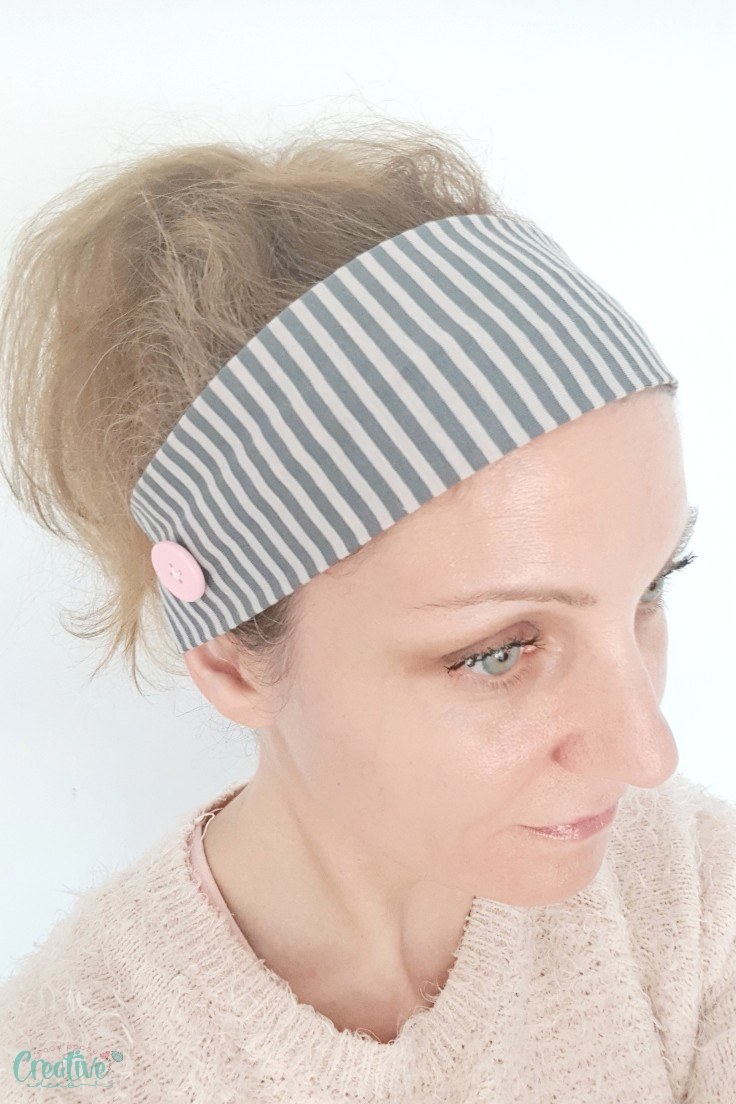
What is it about headbands that makes them so irresistible?! This headband pattern is great for those trying to keep hair out of their face but also a nice and easy last minute handmade gift idea!
Headband pattern
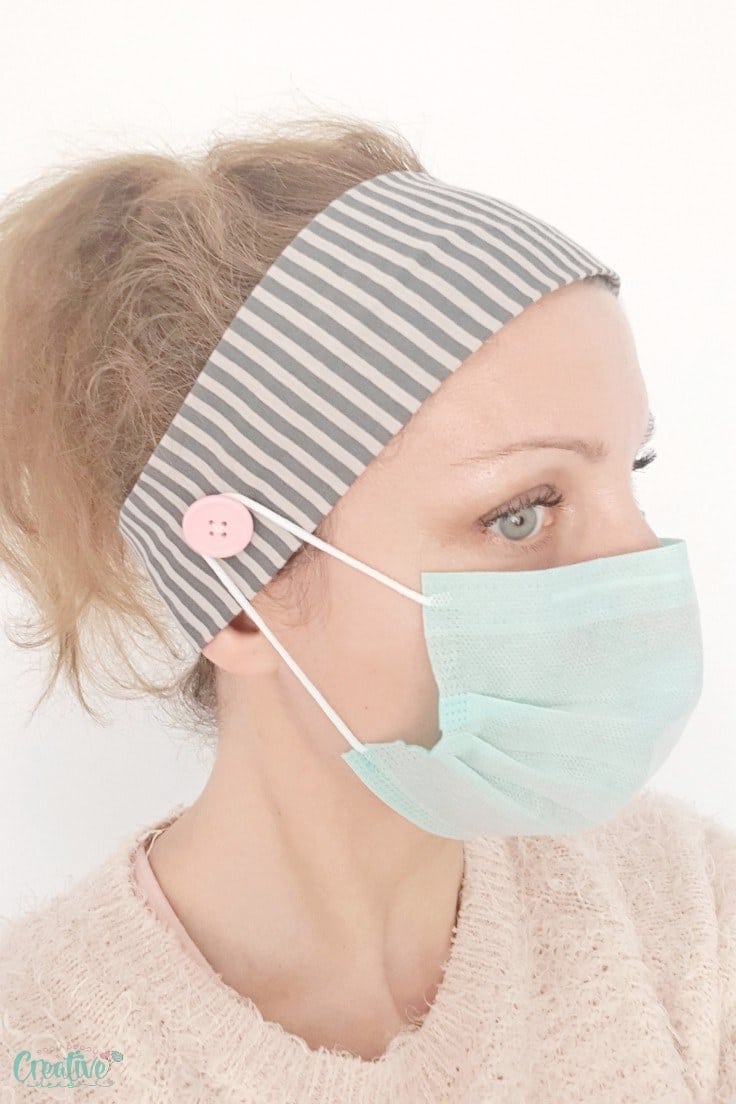
Hey, guys! Today I’m back with a headband pattern with a little twist. These cute and useful DIY headbands are perfect for keeping your hair out of your face for sports, when washing your face in the morning or night or at dinner time to keep your hair out of your plate. And not to mention they’re great for hiding my gray hairs these days when dyeing my hair is the last thing on my mind.
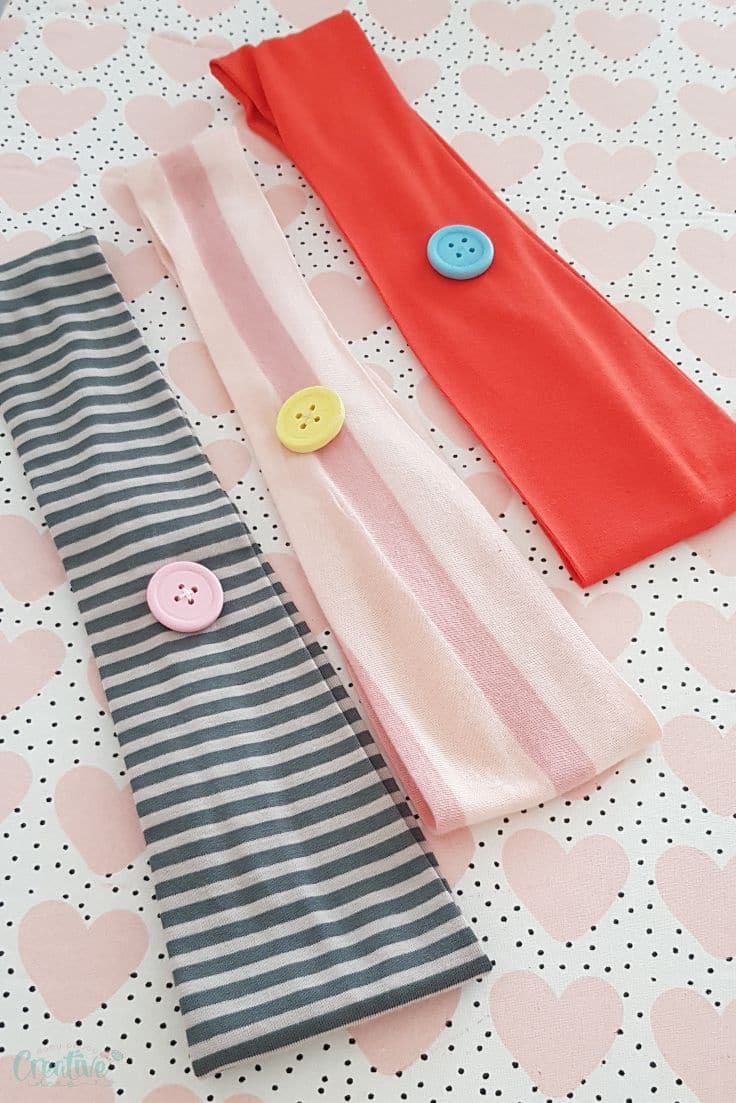
If you are making masks with elastic , you might wanna consider including a few stretchy headbands for nurses, as a token of your appreciation for all the medical personnel wearing face masks for extended periods of time.
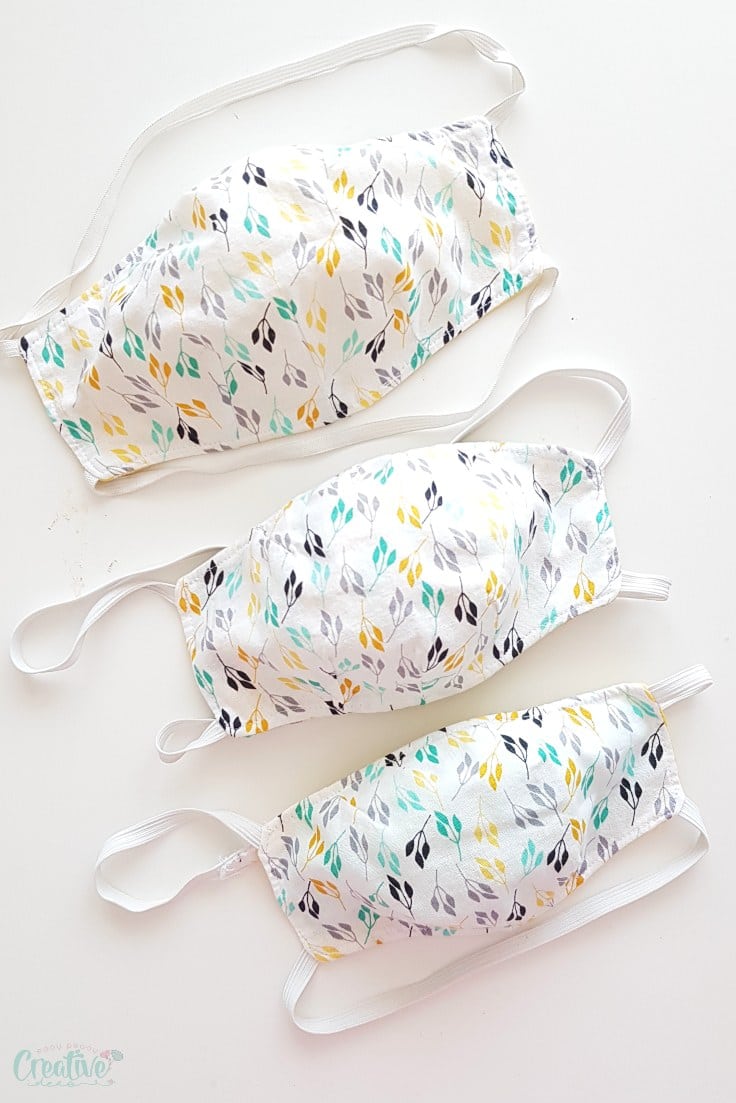
If you need a face mask pattern, here are the ones I made.
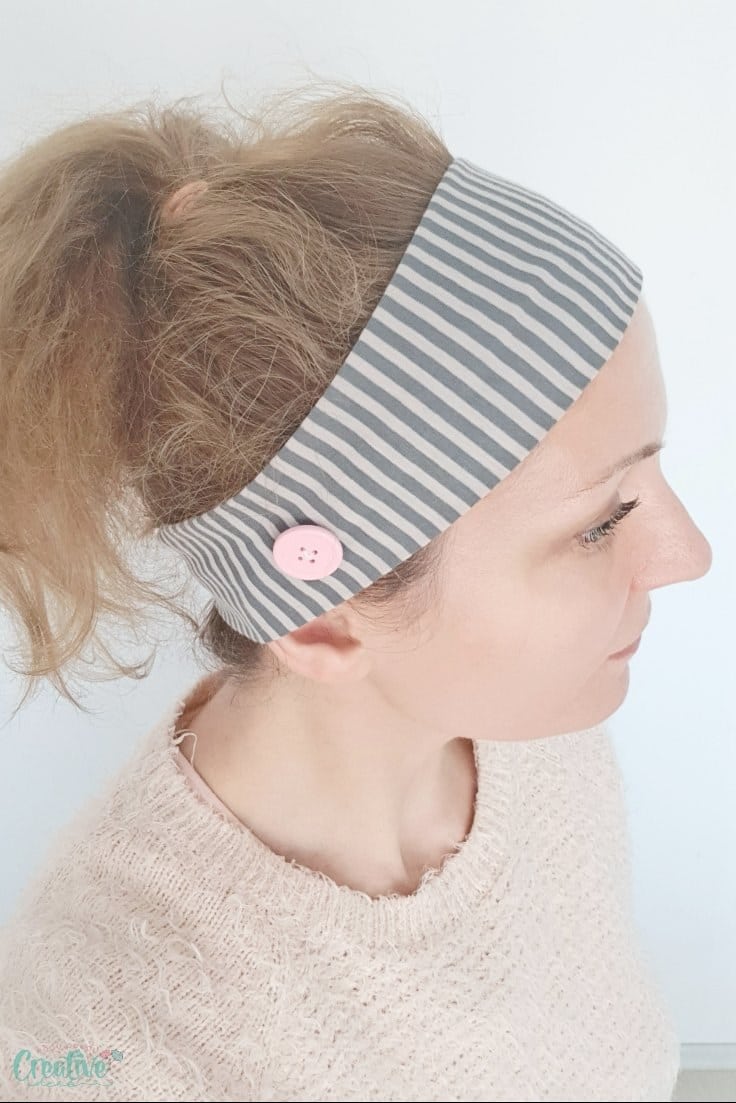
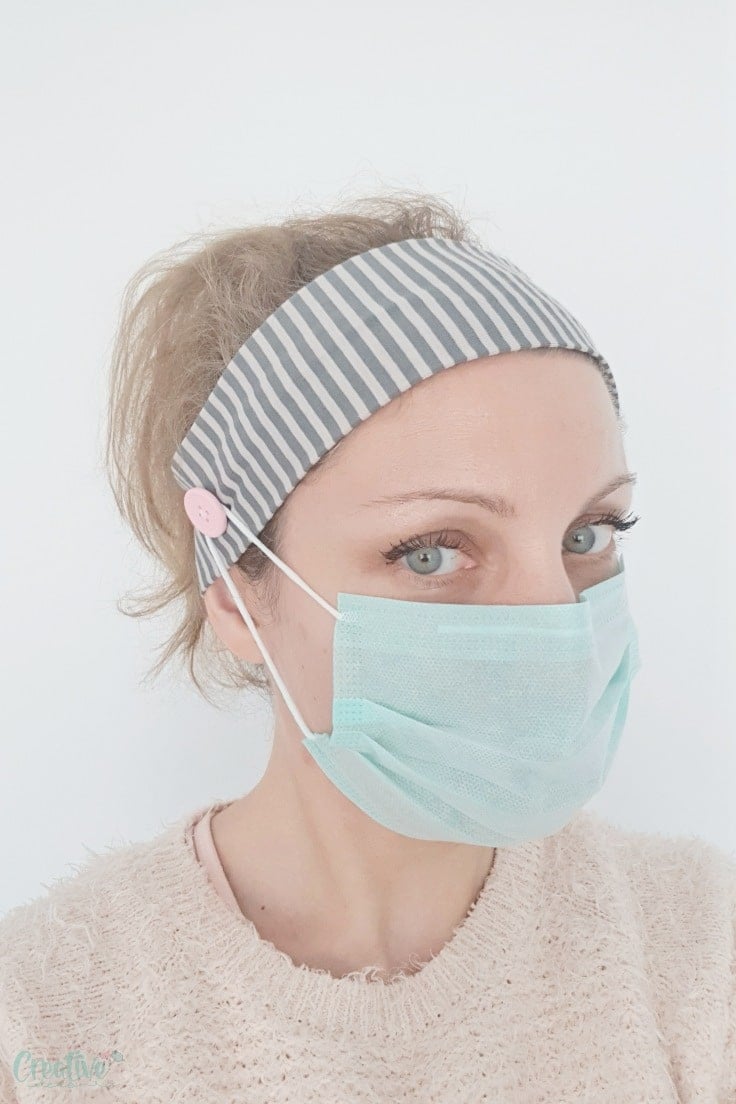
This is a headband with buttons to reduce ear irritation. If you ever got to keep those face masks on for a few hours you know what I’m talking about! This ear saver headband pattern is so simple to sew and use but make such a big difference for someone wearing a mask for long periods of time. Just add a button halfway on each side, just above the ears!
Similar posts you will love:
- DIY knot headband
- Wire headband sewing tutorial
- Easy lace headband
- Ear savers sewing tutorial
- Drawstring laundry bag for medical staff
This headband pattern for nurses only takes a small amount of stretch knit fabric, so it’s a great way to use up some of your fabric scraps. And they are so easy to make, you can easily whip up several in just a matter of minutes!
While the pattern for this project is super easy to figure out I made a headband pattern to make things easier for you. This pattern is slightly different than the one I used to make the headbands in this tutorial. The reason is I realized the original pattern is not as practical so I decided to offer you an upgraded version. The pattern is available for purchase here.
Because these headbands with buttons for masks were sewn with some stretchy knit fabric, I used a ballpoint needle and a roller presser foot to make sewing these headbands smooth and fuss free!
Headband sewing pattern
Materials:
- headband pattern
- knit fabric
- ballpoint needle
- scissors
- pins
- roller foot
- matching thread
- sewing machine
- hand needle
- pressing iron
- 2 buttons
Directions:
1. Fold the knit fabric wrong sides together and place the pattern on the fold. Cut one.
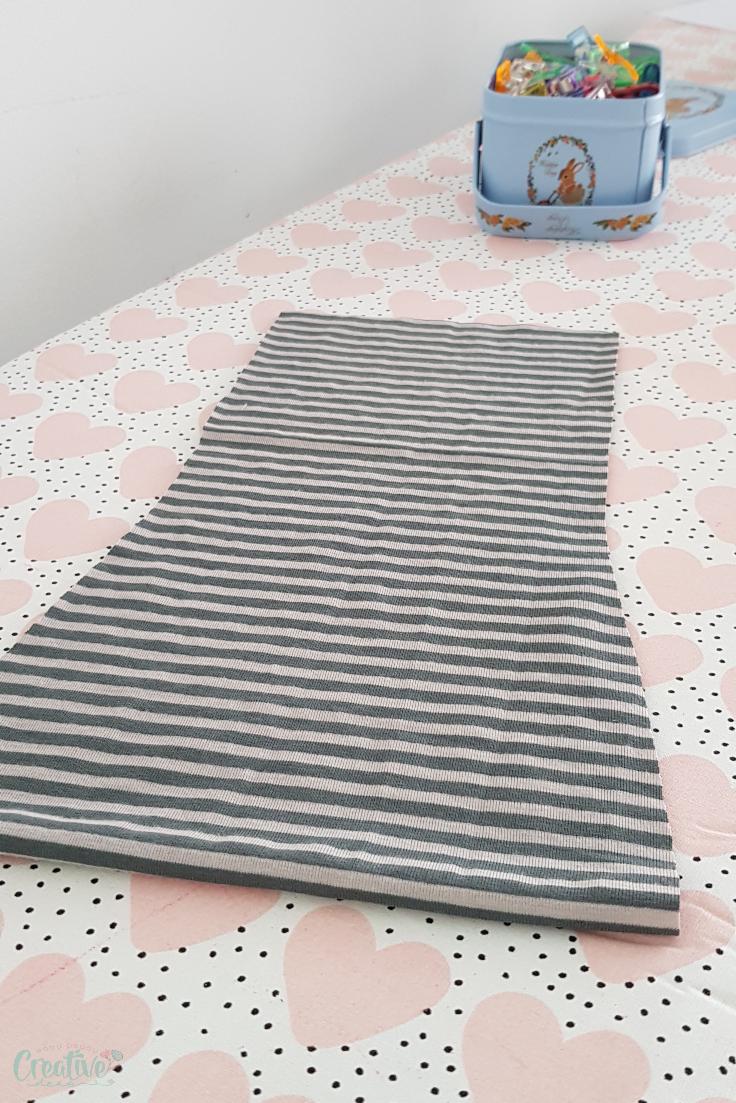
2. Open the strip and fold it in half lengthwise, with wrong side out. Pin the raw side and sew using a stretch stitch, with 1/2″ allowance. Leave a 2″ gap in the seam, about 2″ before the end of the seam.
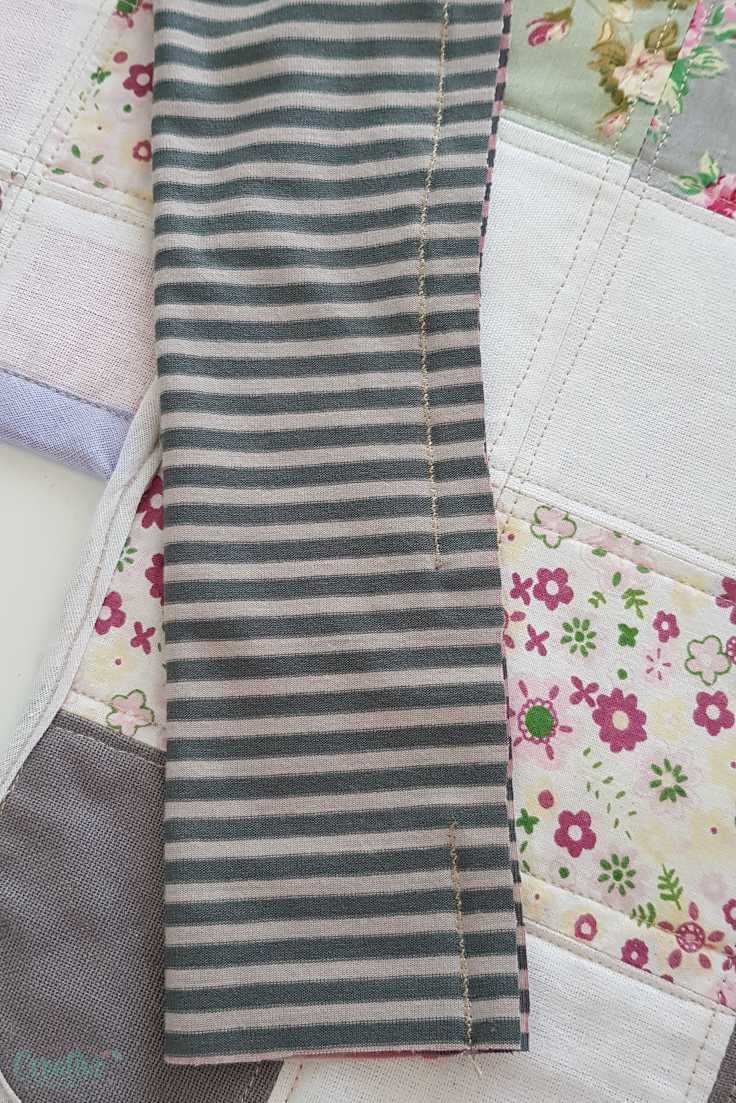
3. Turn the tube right side out, place the seam in the middle and press.
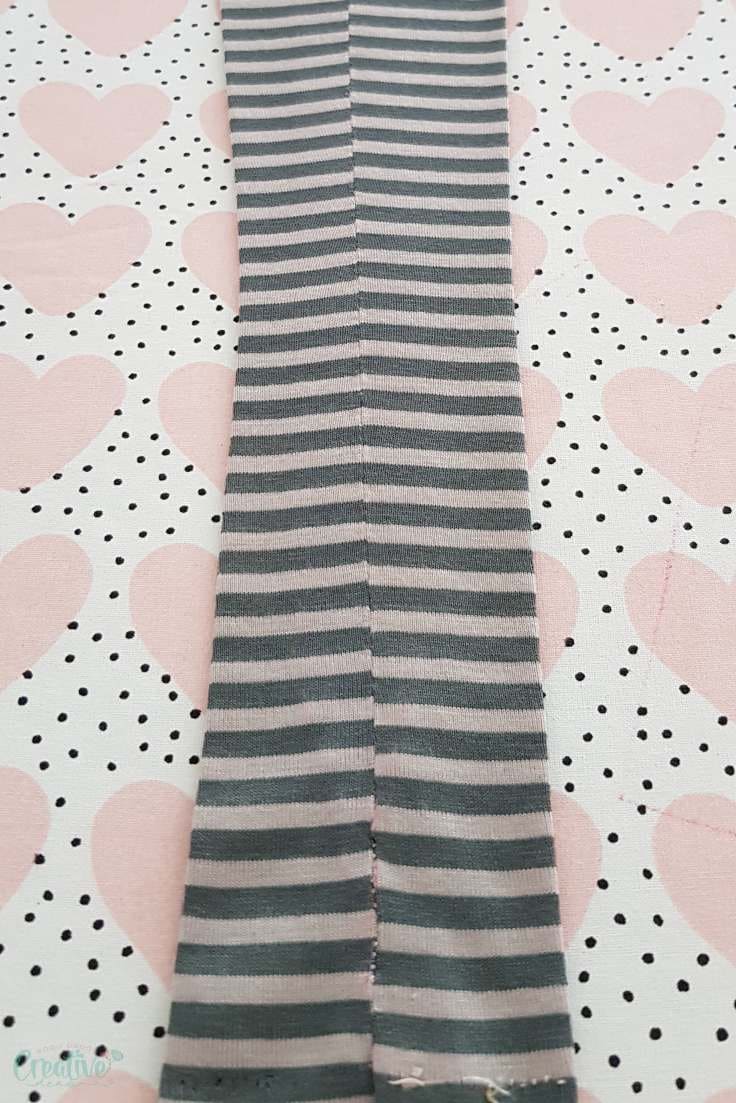
4. Place the tube with the gap end to the right.
5. Roll the right end towards the left end until the ends meet.
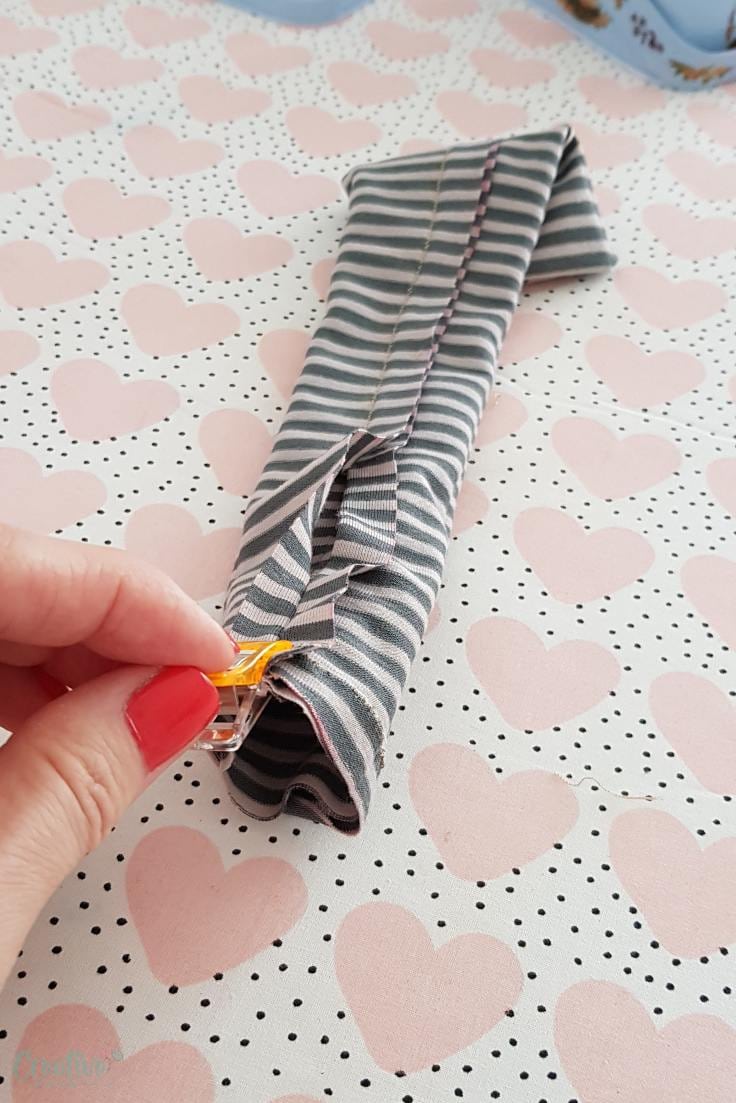
6. Make sure the seams are matching, pin and sew with 1/2″ allowance. Keep the seam in the middle.
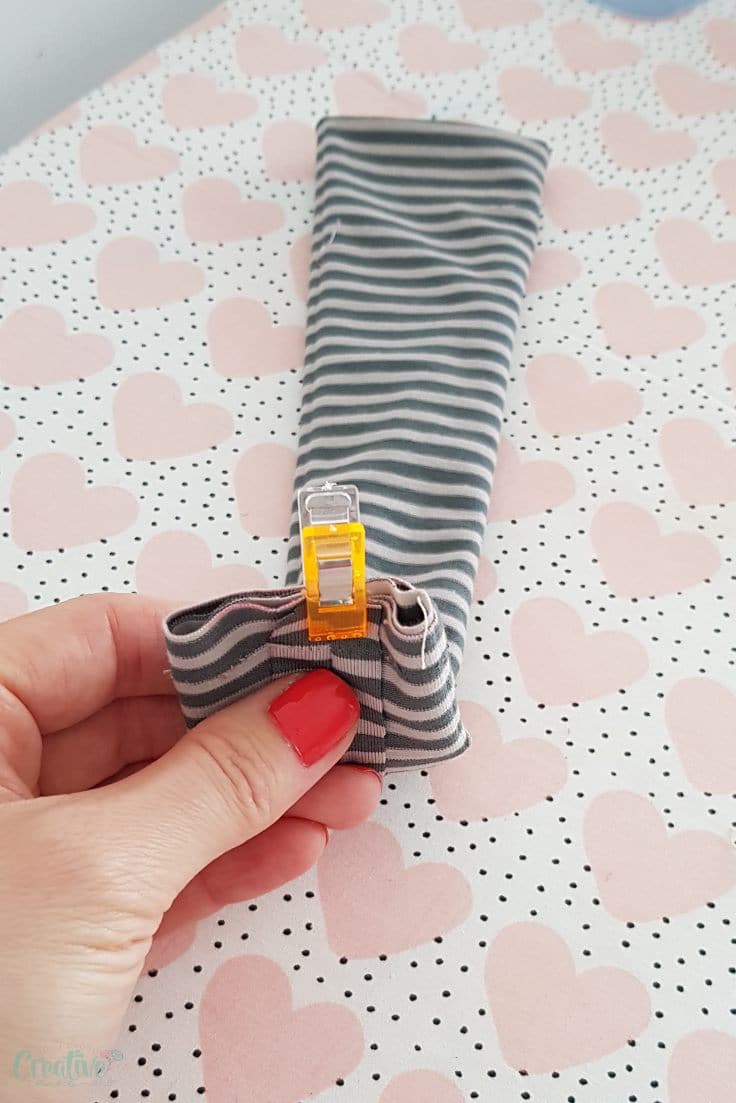
7. Turn the headband right side out through the gap.
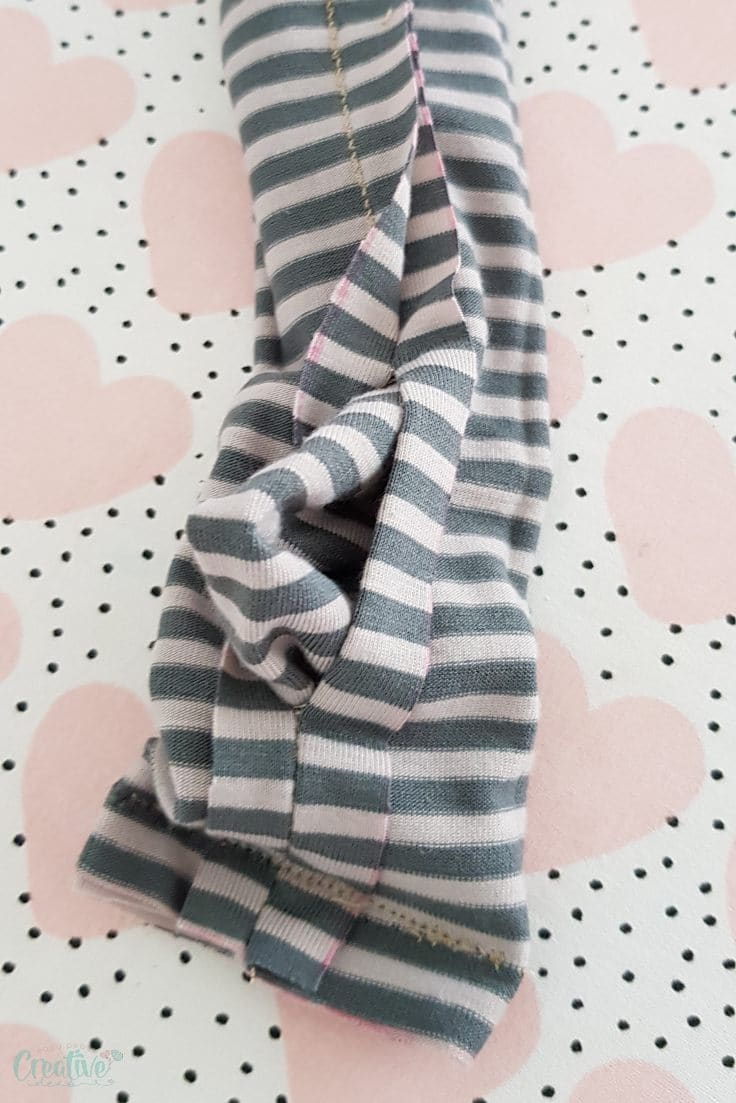
8. Using a hand needle, close the gap with a ladder stitch.
9. Put the headband on your head and mark above both ears.
10. Sew the buttons on each side, on these marks and you’re done!
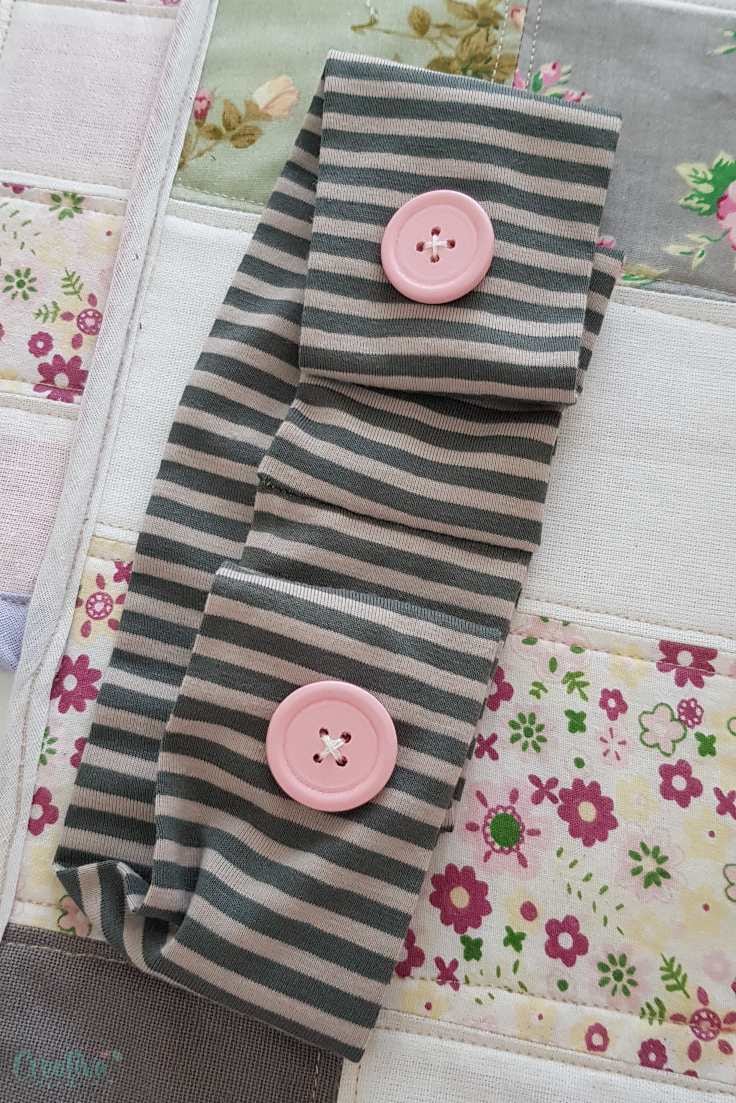
These headbands can be worn over the ears as as ear warmers or behind the ears. Either way they’re a great way to keep the elastics in the face masks away from the ears to avoid irritation.
Pin to save for later
Article may contain Amazon & affiliate links. As an Amazon Associate I earn from qualifying purchases at no additional cost to you.


What is the best size button?
Hi Alli. The buttons I used are about 1″ wide (diameter)
Hi Petra. I just finished making one of these headbands for my daughter who is an E.R. nurse. This came together in no time at all. My only problem now, is finding more material. And again there is need for elastic which is also in short supply. Thank you so much for the pattern and look forward to more projects from you.
Hi Diane. Thanks so much for choosing my pattern & I’m happy you enjoyed sewing these headbands. Althoigh a couple months ago I was so proud of my fabric stash I’m starting to have problems too. I’ll probably start using old t-shirt & bed sheets lol
Love to have the pattern in a pdf! You can subscribe me to your feed…
Karenquilts@gmail.com
– Regards, Karen Alexander
Hi Karen. You’re subscribed and you should receive a welcome email with more details on the sewing library.
I can not find the pattern and I got the email. Please help.
Shannon, it’s in the sewing library, link & password sent in welcome email
Hello, I tried to access the free download for your knit headband pattern, but it keeps telling me I have to purchase it. Can you just e-mail it to me? Thanks!
Hi Sandra. My guess is you’re accessing the pattern using the wrong link (you’re using the shop link instead of the sewing library link). As a subscriber you have full free access to the sewing library where the pattern is located. We’ve sent you a welcome email with the link and password which I see you opened and accessed already. Please look for the pattern there, in the sewing library
Hi there
I have purchased the pattern – I work for a church – please may I share the pattern with some of our isolated congregation? They are looking for things to do during lockdown that can help others. Thank you
Sure, no problem, Verity! Hope you guys are doing well and stay safe!
Thank you so much! We are keeping safe thank you. Looking forward to when this is just a memory. Take care
How do I interpret the diameter sizes on the headband with buttons pattern. Is it the diameter of the head? Do I have to measure the circumference then convert to diameter? I’m trying to decide what size to make for medical staff but I don’t know what the sizing means.
Hi Caroline. Thanks for pointing that out and I apologize! I meant the circumference of the head not diameter.
How often do you send the email out with the link and password? I just signed up but would like the pattern for the headband as soon as possible. My daughter is a nurse and could really use this headband. Thank you
Hi Marcy! Thanks for signing up! We’ve sent a welcome email right after you signed up. It contains all the info, link & password to the sewing library. We also send a weekly newsletter, typically on Tuesdays.
Headband looks interesting because it is one piece..super easy.
I got to your site looking for face mask ideas. I haven’t started the project yet, however I have gathered up “tons” of fabric from my stash. I enjoyed all the little craft ideas, and easy bag patterns, so I decided to keep up with you site.
Hi, Janet! Thanks so much for your lovely comment! I hope you’ll find many of my ideas inspirational and easy to follow! Stay safe and happy sewing!
I have been a subscriber for some time now and for the life of me I cannot find the link to the headband with a button pattern. SO FRUSTRATED!
Hi Sharon. I’m sorry for your troubles. There is no specific link to the pattern, it is located in the sewing library (link & password sent out with each of my weekly emails). Please take a moment to scroll through the library and I’m sure you’ll be able to locate it.
I’m really struggling to find free download for headband with buttons and mask
Hi, Michelle! It’s in the sewing library. You can find the link and password in the latest sewing email we’ve sent out. I see you’ve opened it today.
Hi, I’m a subscriber but I cannot see how to obtain this pattern free. What do I need to do? Thanks so much. I’m making these for a local hospital nursing unit.
Ahh, never mind…I see the code in the bottom of the email. Thanks again. :)
I have tried to subscribe to your emails twice so I can get the pattern for the headband with the button but have not received any response from you. I also tried to pay the $2.99 but that does not seem to work either. How can I get this pattern, please?
Hi Lynna. You have unsubscribed and deactivated your account with us, then you activated it again, that’s why you were unable to subscribe again, you were already a subscriber. I’ll be sending new emails soon, hopefully they’ll go out today, so you’ll be able to receive the link and password to the sewing library where this pattern is located
I got the email and now have the password but I’ve looked through everything in the sewing library and I don’t see the pattern for the headband with the buttons for a face mask. Is there something I’m missing? Please help! Thanks!
Is it possible to get a link directly to the headband pattern?
Thanks for your help!
I finally found the pattern! Sorry to be such a pain!
Thanks for your great ideas and patterns!
I just subscribed. Where do I get the free headband download?
Mary, it’s in the sewing library. We’ve sent you an email with link & password
please send me the headband pattern. i am looking for the stretchy one and one with elastic at the back
Hi Karen. Not sure hat you mean with “one with elastic at the back” but the headband pattern is free for email subscribers otherwise can be purchased here https://payhip.com/b/Dd6S
I love your tutorial for the headband. Both of my granddaughters work in the medical field and their ears are getting sore from the elastic being around their ears. Just last night one of the girls asked me about making headbands with buttons. I looked at several online, but yours was the best. Thank you. And I look forward to seeing more of your crafts and ideas!
Thanks so much, Cheryll, glad I could help! Please send our appreciation to your granddaughters, the medical staff are our heroes! Stay safe & happy sewing!
you state this is free The pattern is a free download for email subscribers or you can purchase it here. I signed up to be an email subscriber how do I get the free download?????
disregard I found it. thanks
Sylvia Keene,, where did you find the download/ i’ve been looking all over! Want to make some of these for our local hospital.
Please email your awesome headband pattern for the masks. I have been making the masks for nursing homes.
Thank you very much
Hi Donna. The headband pattern is free for my email subscribers such as yourself. As a subscriber you get full access to my sewing library. The link and password have been sent to you with the welcome email which I see you’ve received and opened. Please use the credentials provided there to access the sewing library and any pattern you like there.
I inadvertently blocked your site and do not understand the directions to unblock it! I would really like to make the stretch knit headband….Linda
Hi Linda. I’m not sure I understand. If you were able to post this comment, my site is not blocked. However, you still have access to the pattern and the step by step tutorial through other means. I see you’re an email subscribers and already clicked the link to my sewing library where the pattern is located. The instructions are included in the pattern. In addition you can watch the video on my YouTube channel here https://youtu.be/8CV2_K6SPu8