Paper crown craft with paper doilies
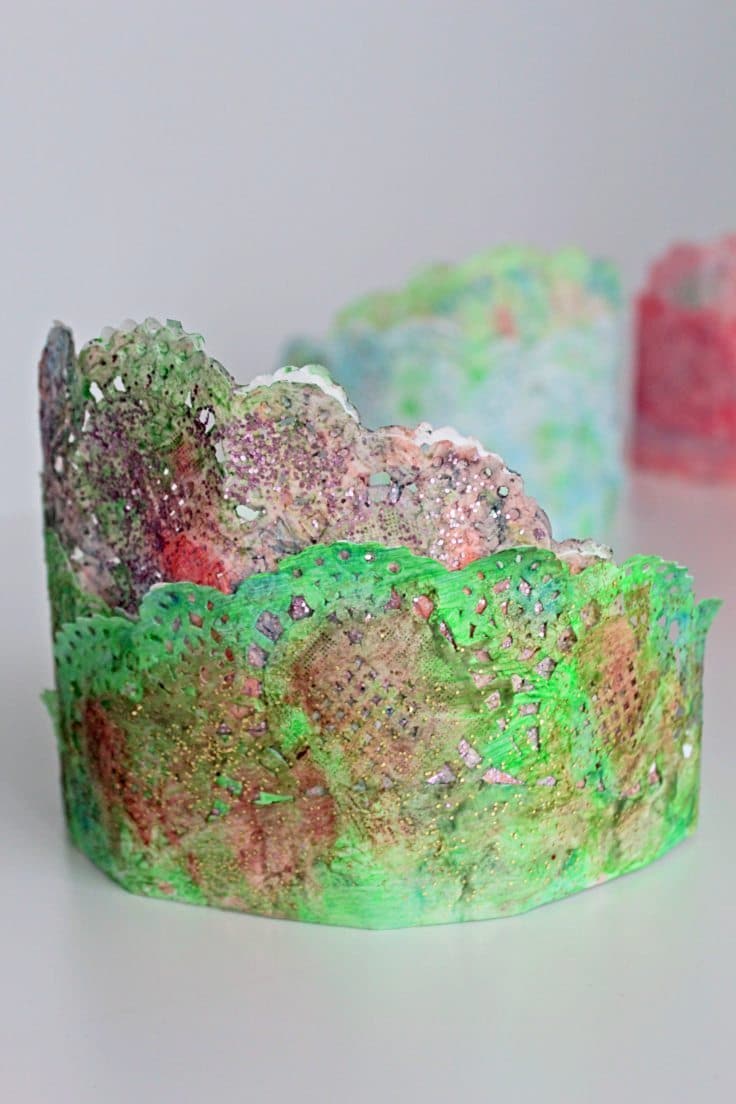
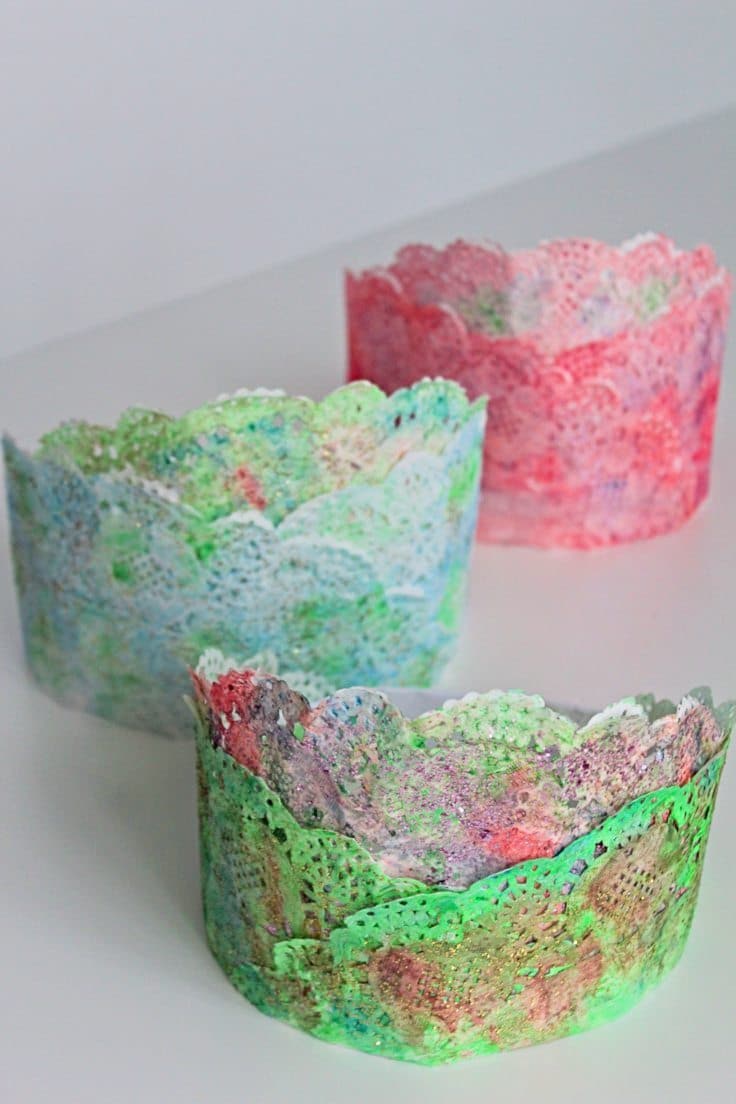
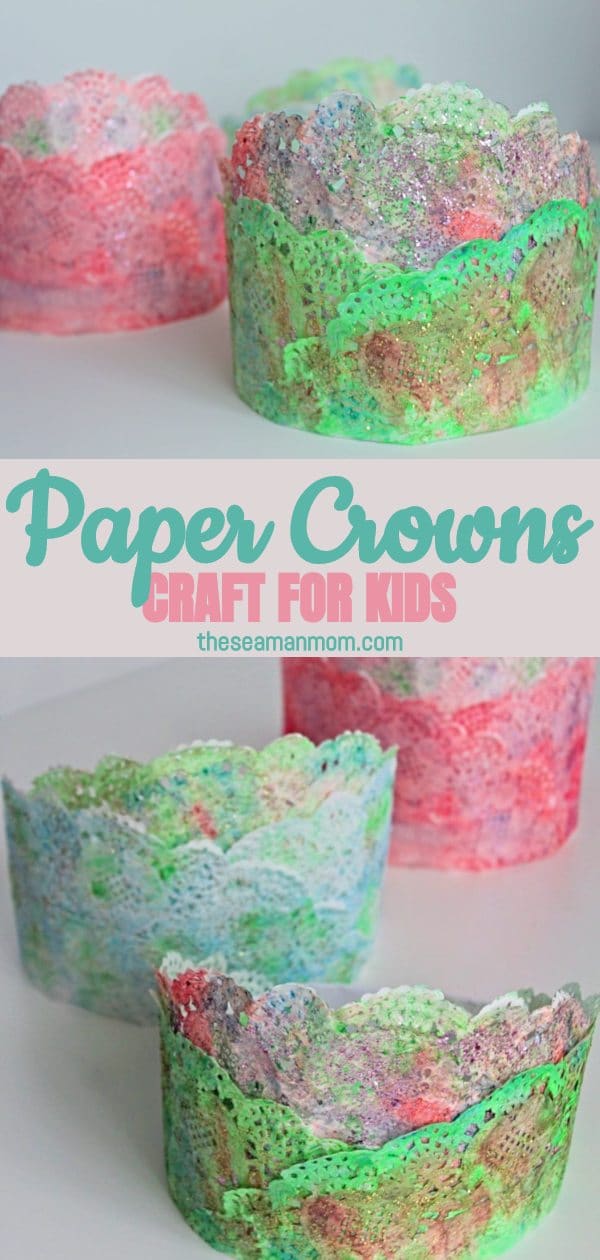
Help your kids channel their inner princess with an adorable DIY paper crown! Made with paper doilies this paper crown craft is so easy and fun and a great opportunity to spend quality time with the kiddos!
Party crowns
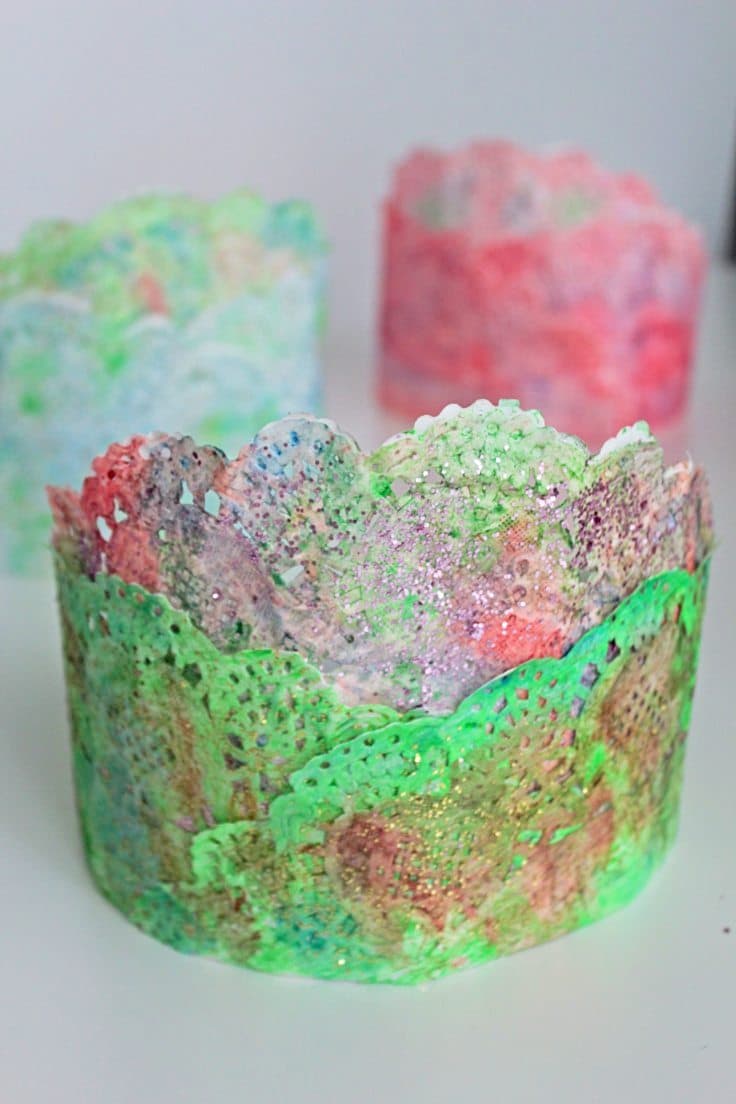
If you’ve been looking for a DIY princess crown idea, this paper crown craft is the perfect choice! It’s crazy easy and quick to make and you’ll be in for a super fun activity with your kids!
My daughter, Ellie has such a creative mind and she absolutely loves princess crafts, crowns in particular. When I bought some paper doilies she immediately thought about turning these into a paper crown craft! We couldn’t make her dreams come true for a while since we’ve so busy with school and other activities but this weekend we finally got the chance to create our crowns.
Want more kids activities?
- Binocular craft with “I spy spring” printable
- DIY dinosaur eggs
- Bird house out of milk carton
- DIY honeycomb with tp rolls
- Toy bridge and tunnel for cars
- DIY lace crowns
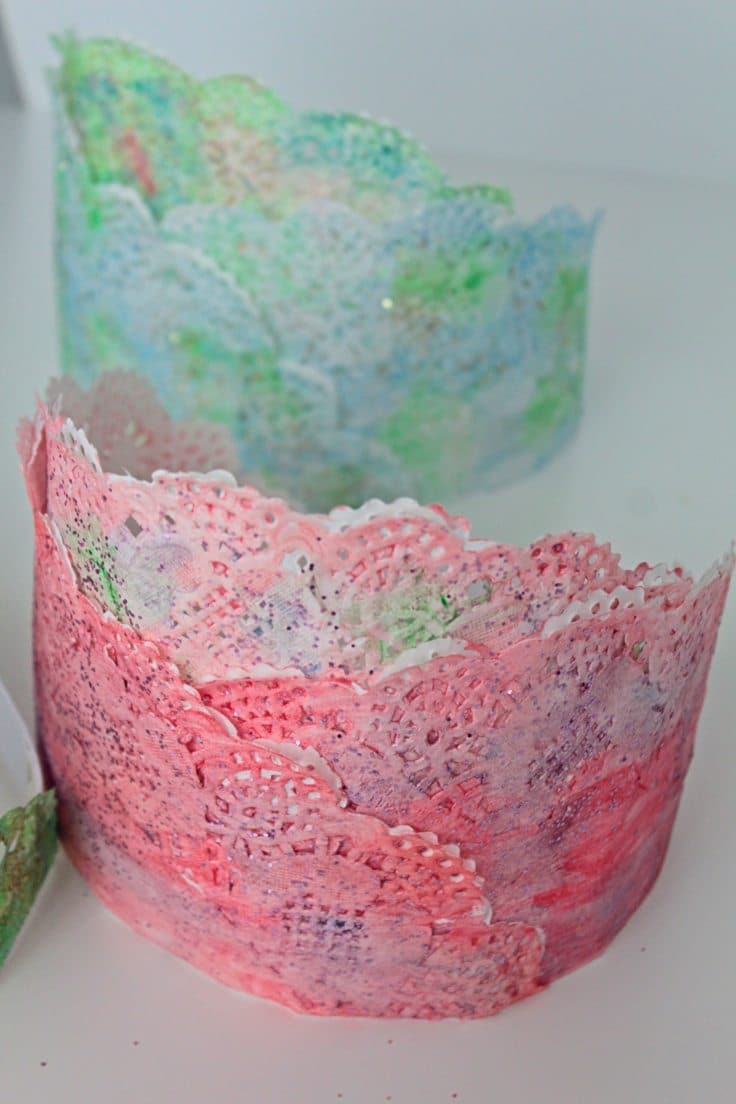
We found these paper crown for kids to be the easiest of all the crown crafts we’ve done and thanks to the paper doilies look so adorable with no effort on our side. All we had to do is throw some paint over the paper doilies, let them dry, fold them and then stick them to a paper headband. We chose to sprinkle some glitter because nothing says royal better than glitter but this is totally optional.
This lovely paper crowns craft is perfect for birthdays, kids parties, a celebration, pretend play or for rainy days. No matter the occasion, kids will absolutely love making these with you!
Paper crown craft
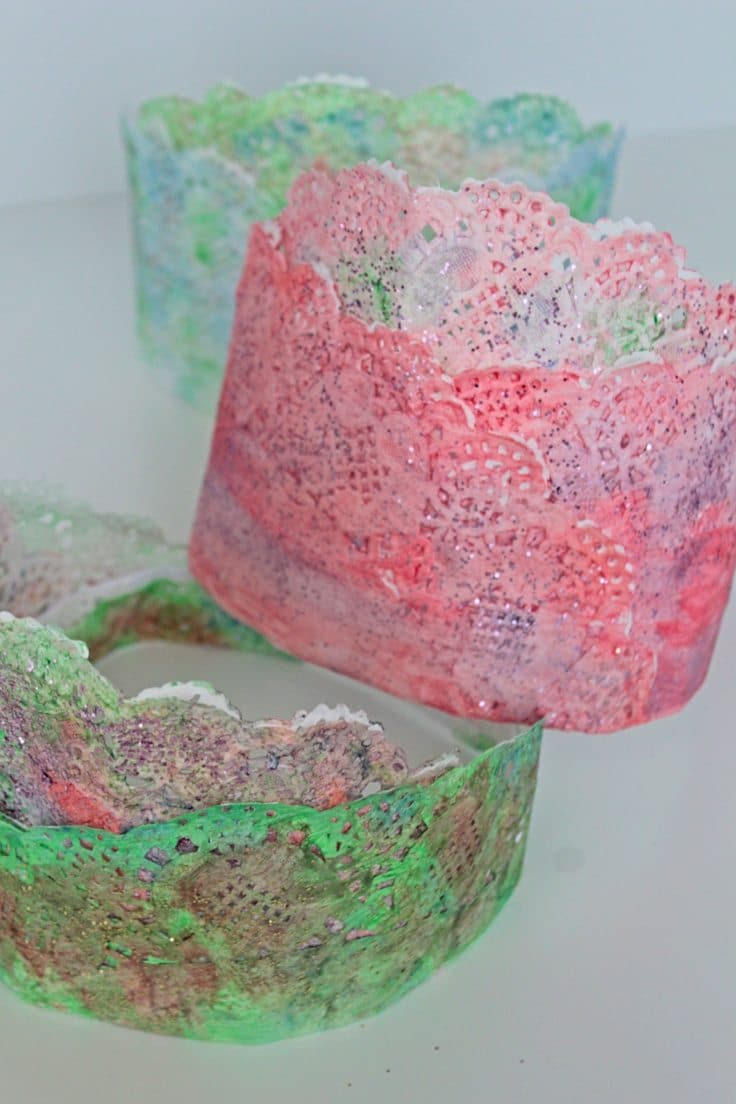
Materials:
- paper doilies
- watercolor paint
- brush
- paper or cardstock for the headband
- glue stick
- glitter – optional
- spray glue
Directions:
- Ideally you should use different size doilies one for the center and two smaller ones for the sides. But this is not necessary, you can play around if you only have one size. That’s what we did, by double folding the side paper doilies to make them smaller than the center paper doily.
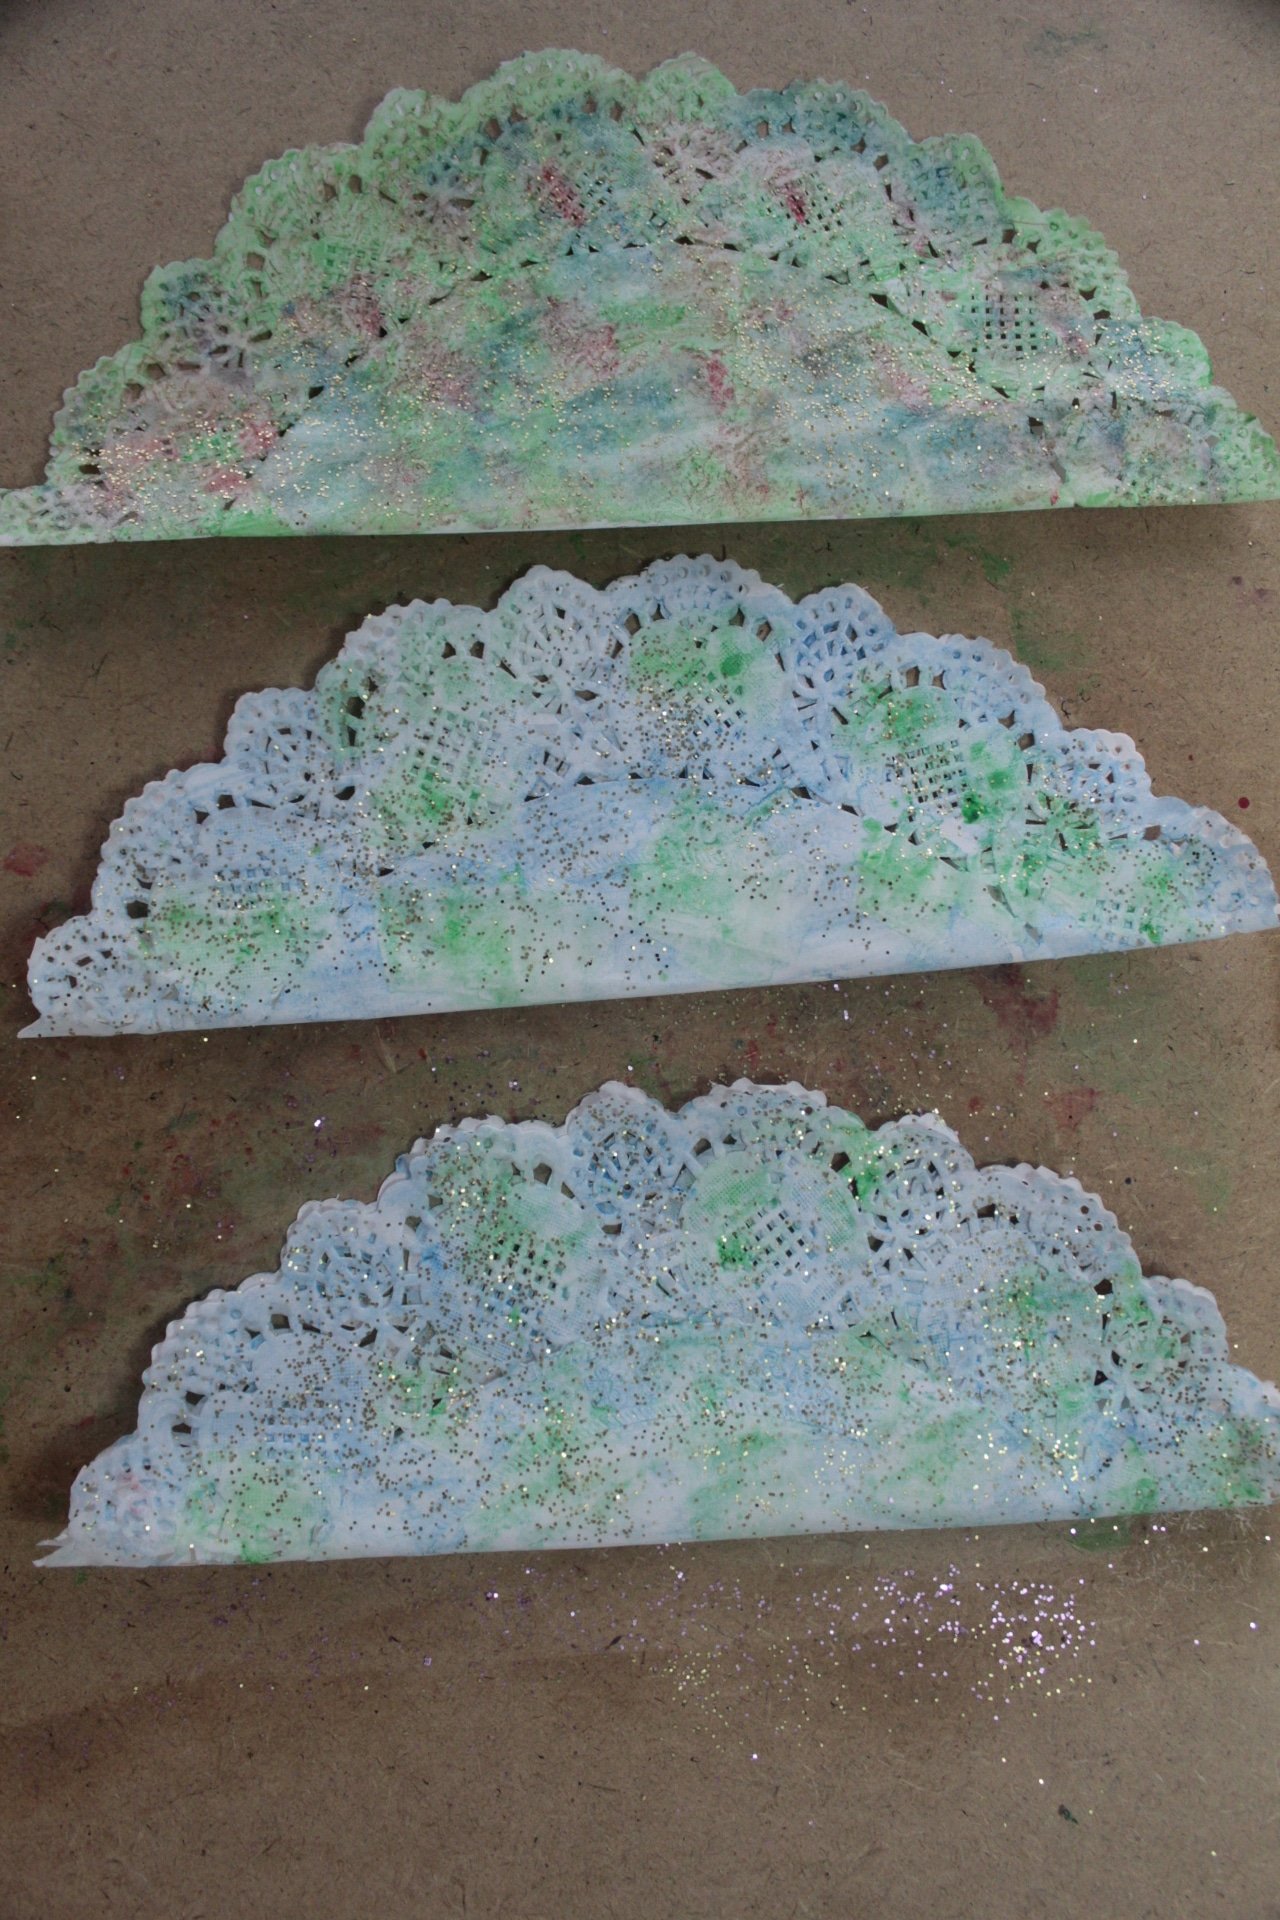
- Fold all doilies in half and paint using the desired colors.
- Allow to dry completely before moving to the next step.
- Spray some glue over the colored part then sprinkle glitter. Set the glitter in place with a second light coat of spray glue. Allow to dry.
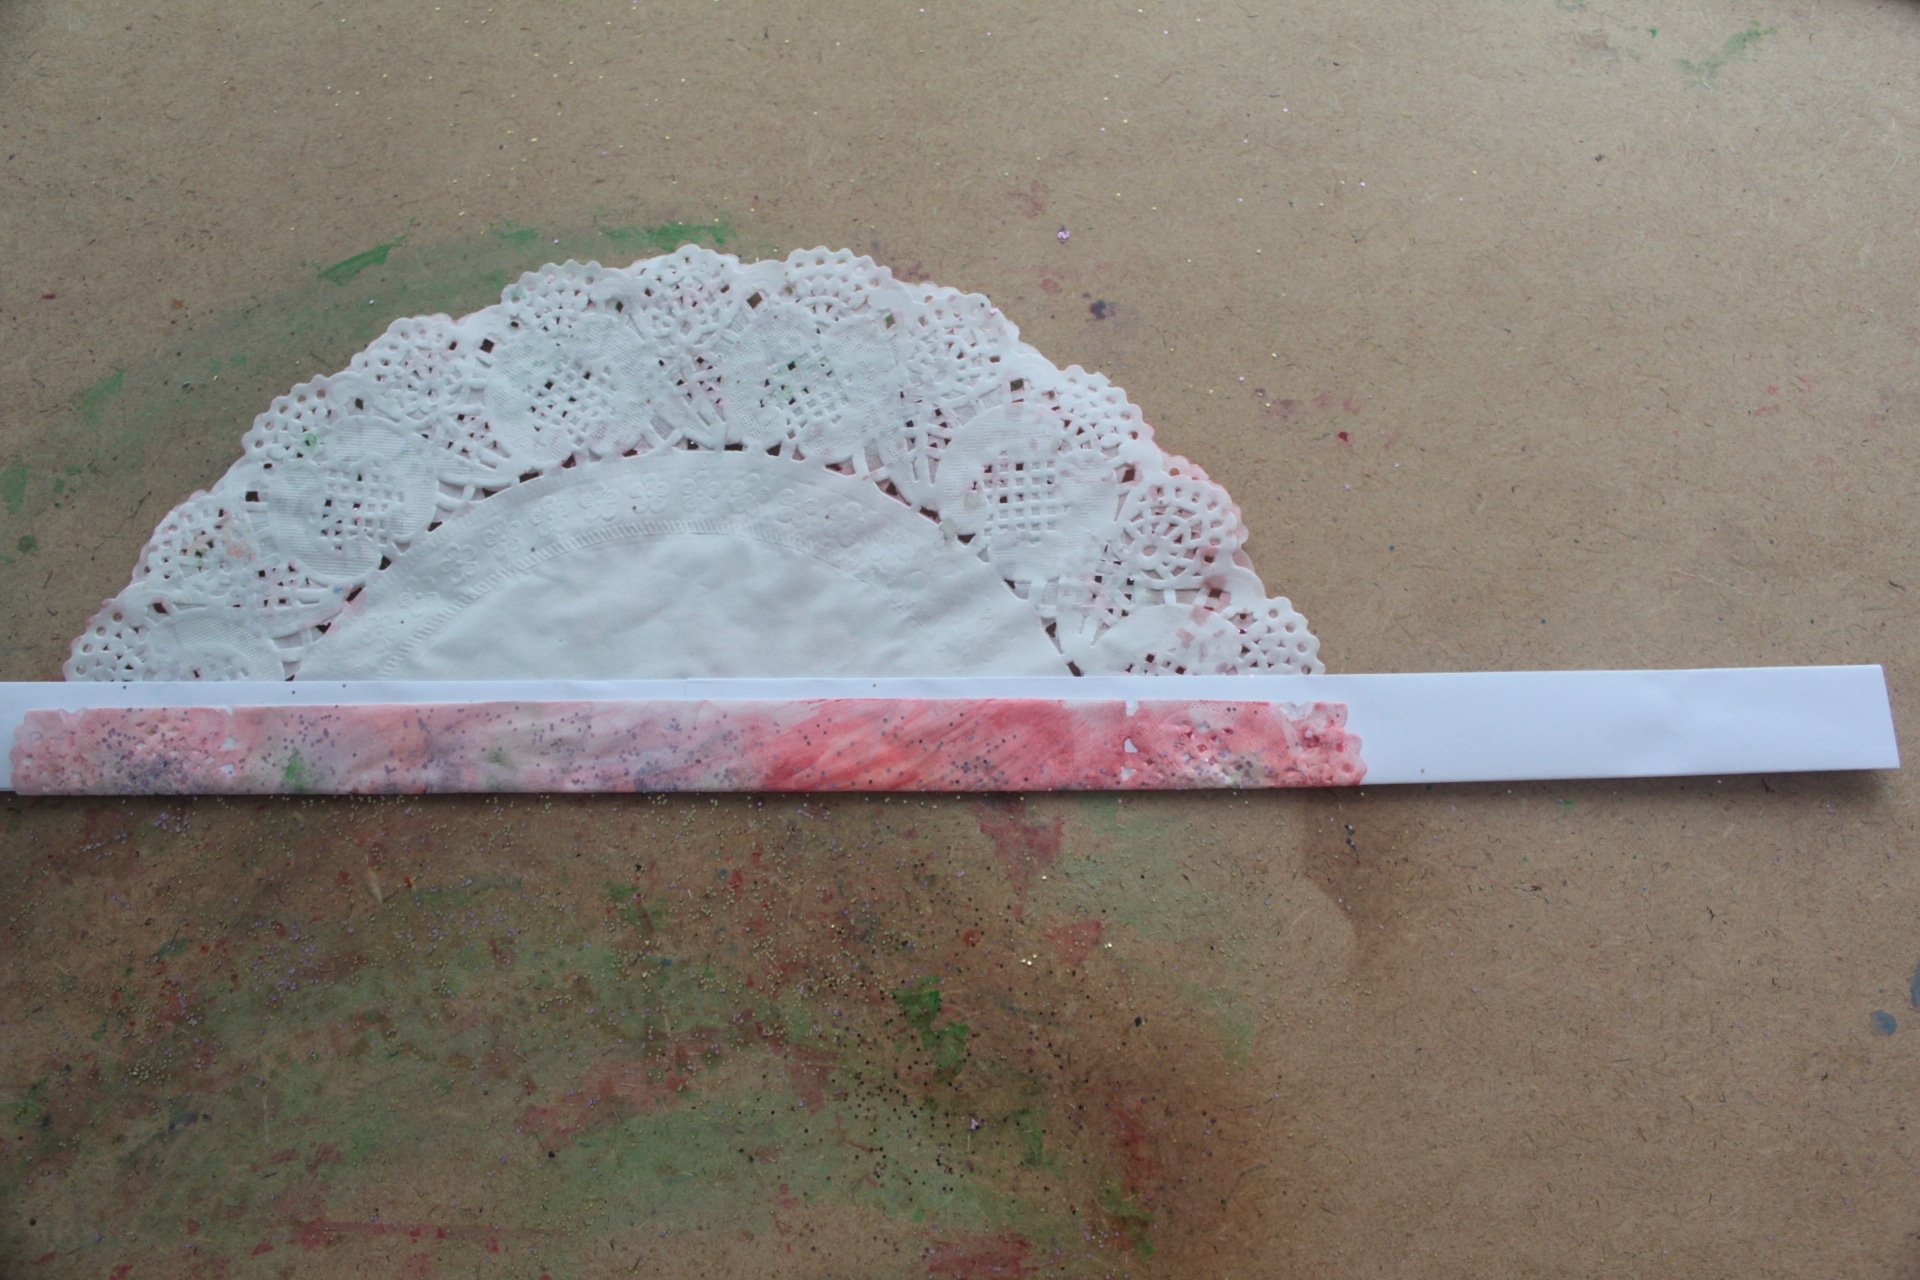
- Meanwhile prepare the headbands. Use cardstock to create a long headband or use paper, folded a few times until you get the desired stiffness.
- When the doilies are dry, sandwich the headband between the folded doilies. If the doilies are too big fold the bottom one more time. Add glue to the inside of the doilies, along the fold. You’ll need a big doily in the center and two smaller ones on the sides.
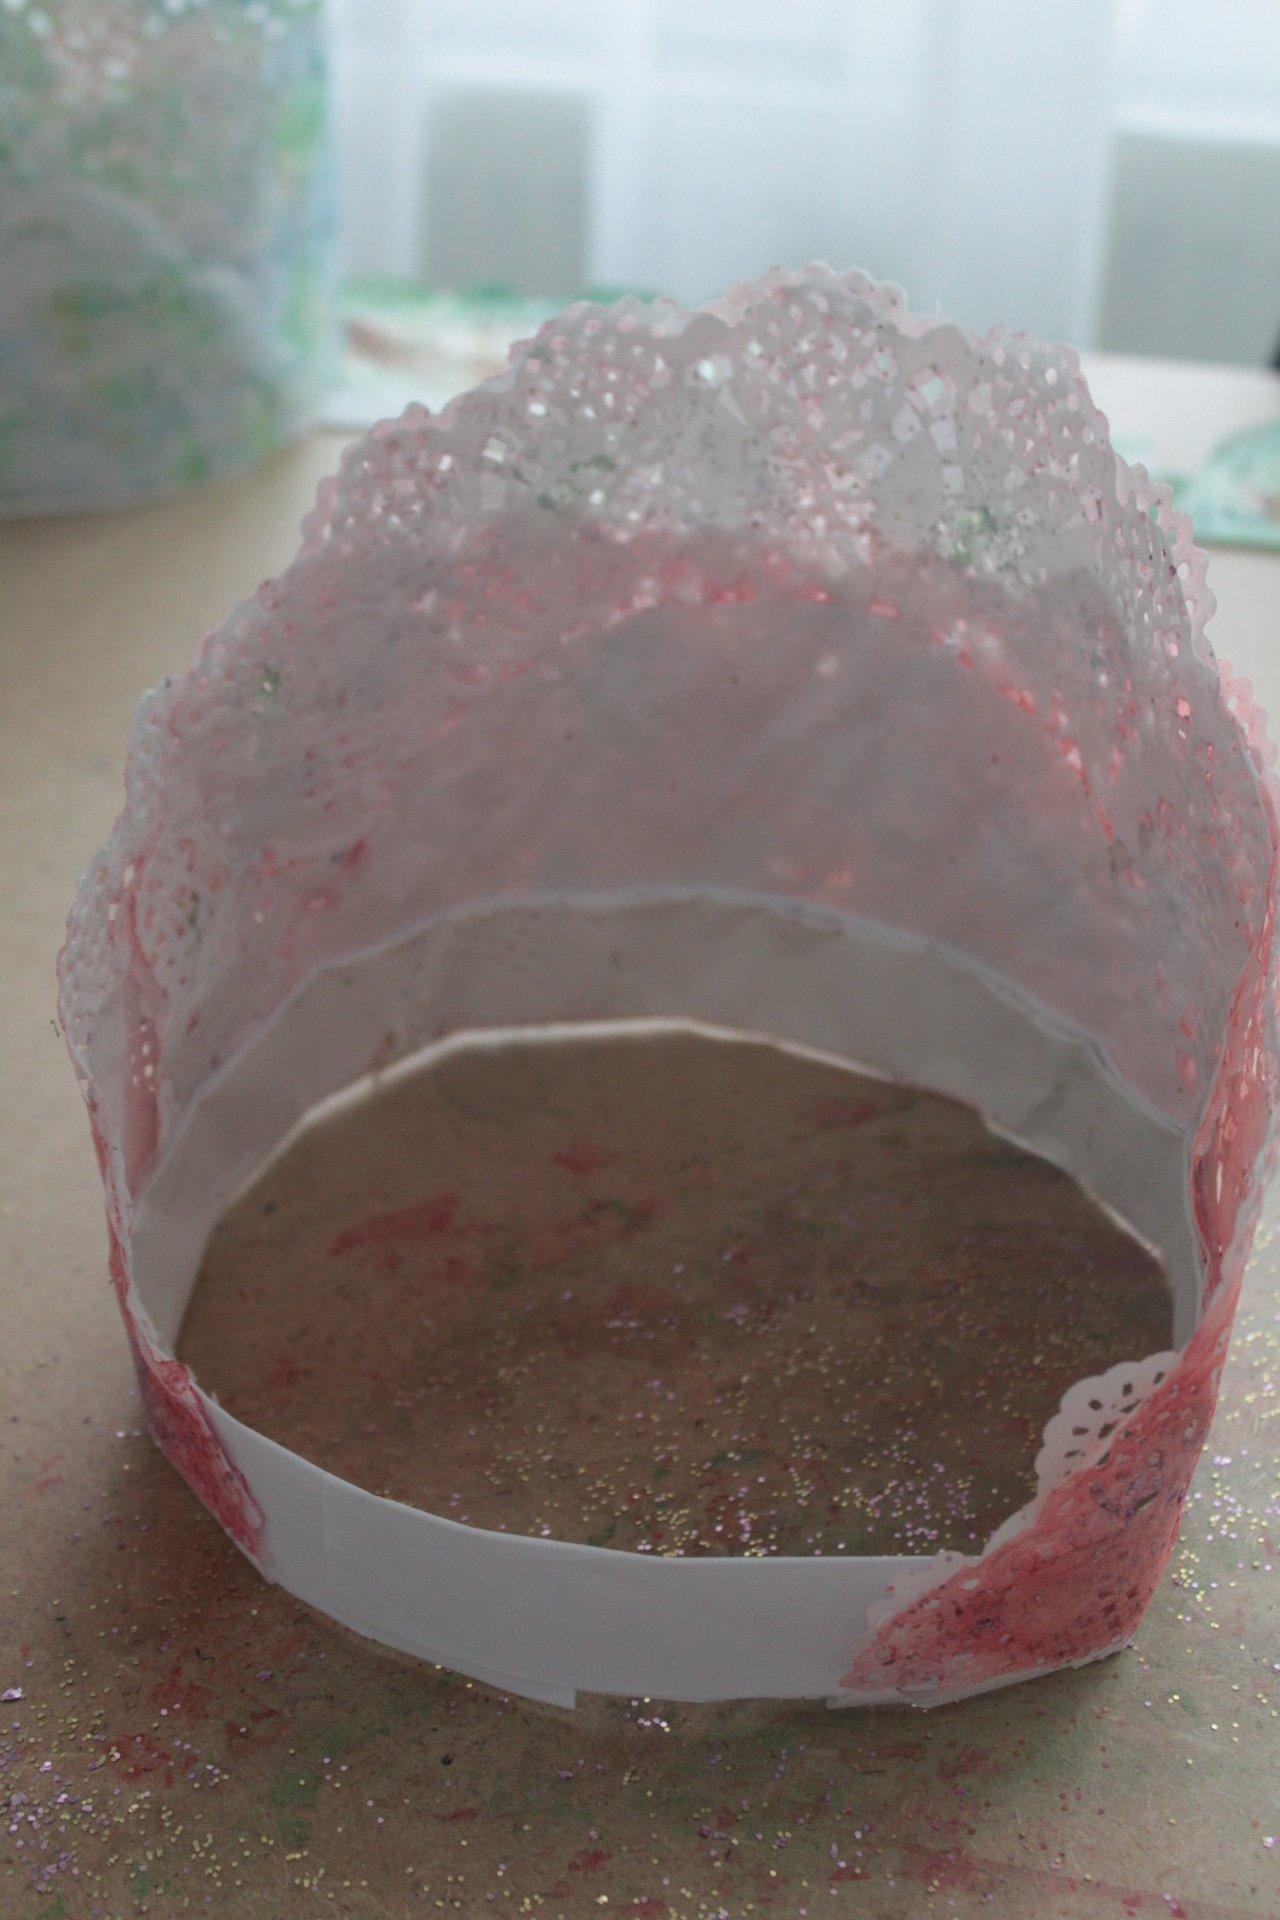
- Pu the crown on our kids and measure to fit.
- Secure with a piece of tape or glue.
- The paper crown craft is done and the kids are ready for a day full of fun play!
Paper Crown Craft
Ingredients
- 3 pieces paper doilies
- watercolor paint
- brush
- 2 sheets cardstock
- glitter
- spray glue
Instructions
- Ideally you should use different size doilies one for the center and two smaller ones for the sides. But this is not necessary, you can play around if you only have one size. That’s what we did, by double folding the side paper doilies to make them smaller than the center paper doily.
- Fold all doilies in half and paint using the desired colors.
- Allow to dry completely before moving to the next step.
- Spray some glue over the colored part then sprinkle glitter. Set the glitter in place with a second light coat of spray glue. Allow to dry.
- Meanwhile prepare the headbands. Use cardstock to create a long headband or use paper, folded a few times until you get the desired stiffness.
- When the doilies are dry, sandwich the headband between the folded doilies. If the doilies are too big fold the bottom one more time. Add glue to the inside of the doilies, along the fold. You’ll need a big doily in the center and two smaller ones on the sides.
- Pu the crown on our kids and measure to fit.
- Secure with a piece of tape or glue.
Video
If you liked this tutorial I’d love to know it so please leave a comment below and don’t forget to rate it! Thanks!
Pin to save for later
Most popular craft:
Article may contain Amazon & affiliate links. As an Amazon Associate I earn from qualifying purchases at no additional cost to you.


ABOUT PETRO
Hi, I’m Petro, author and founder of Easy Peasy Creative Ideas. Sewist, crafter, avid DIY-er, foodie, photographer, homemaker and mommy to one. I’m an expert at coming up with quick, clever sewing tips, recycling crafts and simple, easy recipes! You can find my ideas featured in reputable publications such as Country Living, Good House Keeping, Yahoo News, WikiHow, Shutterfly, Parade, Brit & Co and more. Thanks for stopping by and hope you’ll stay for a while, get to know me better and come back another time. Stick around for real fun projects! Read more…