How To Get A Fabulous PLASTIC BOTTLE BIRD FEEDER
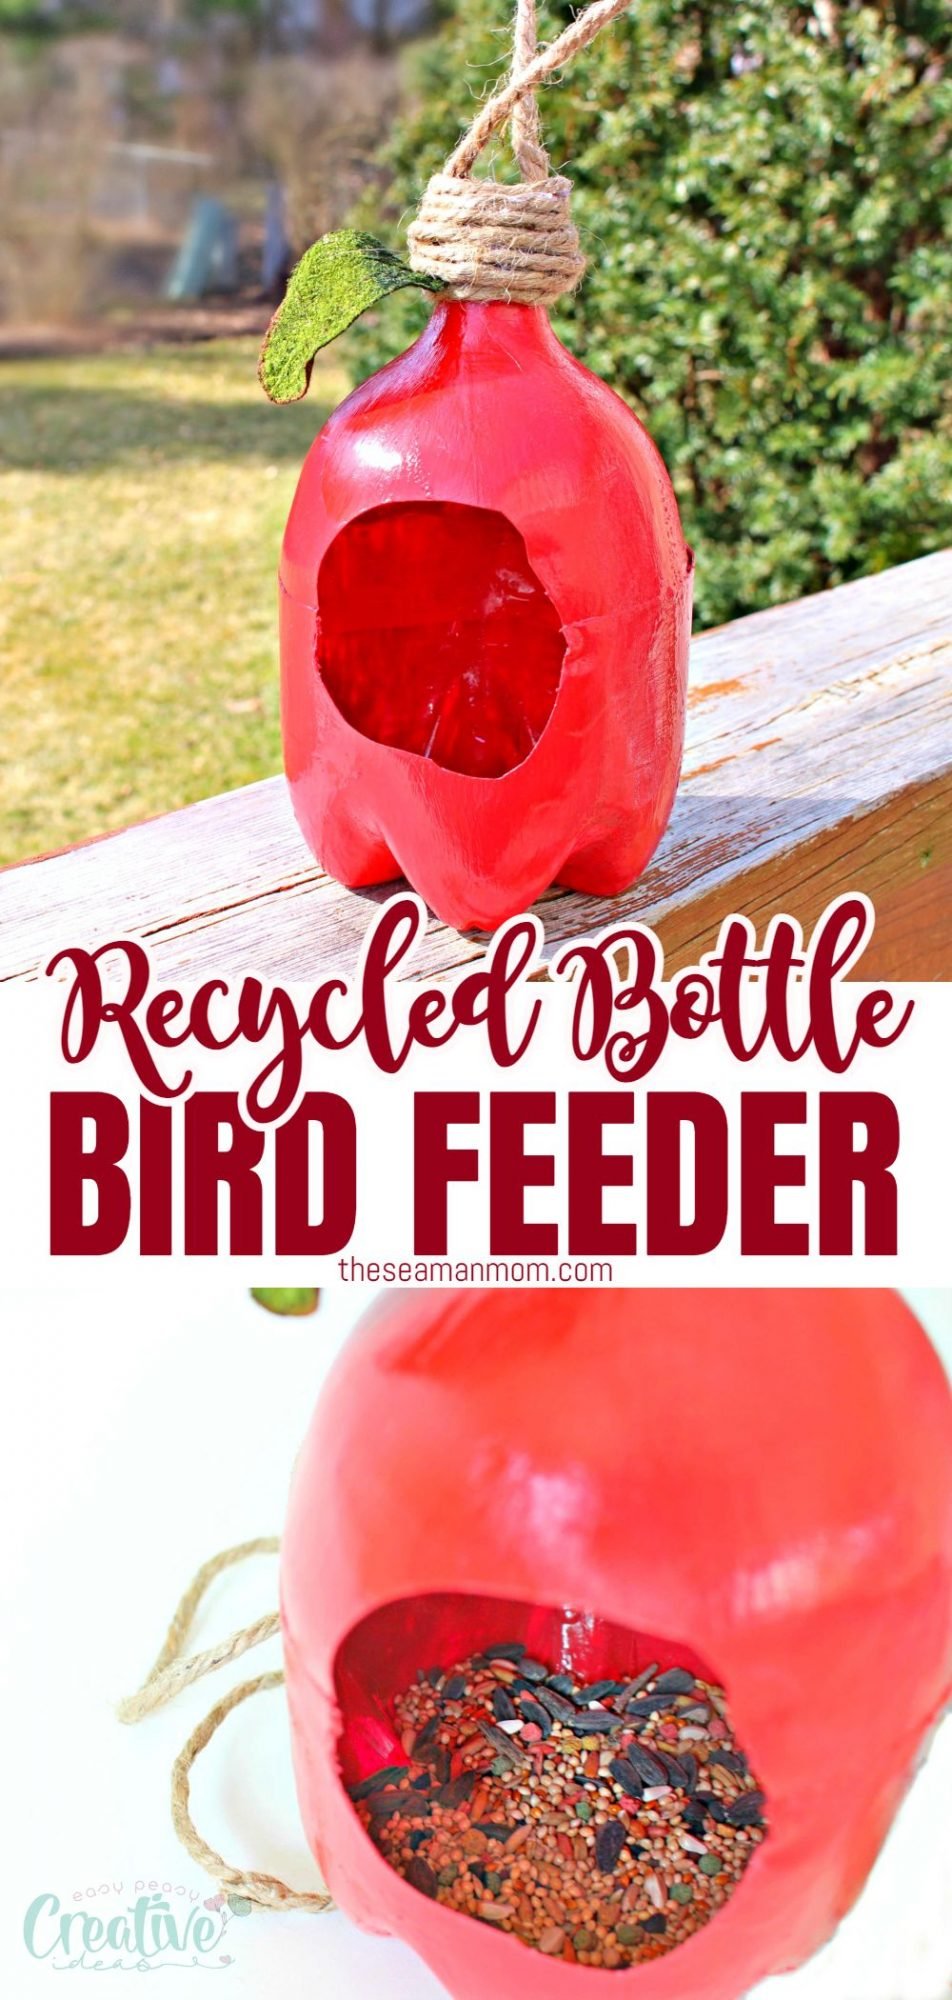
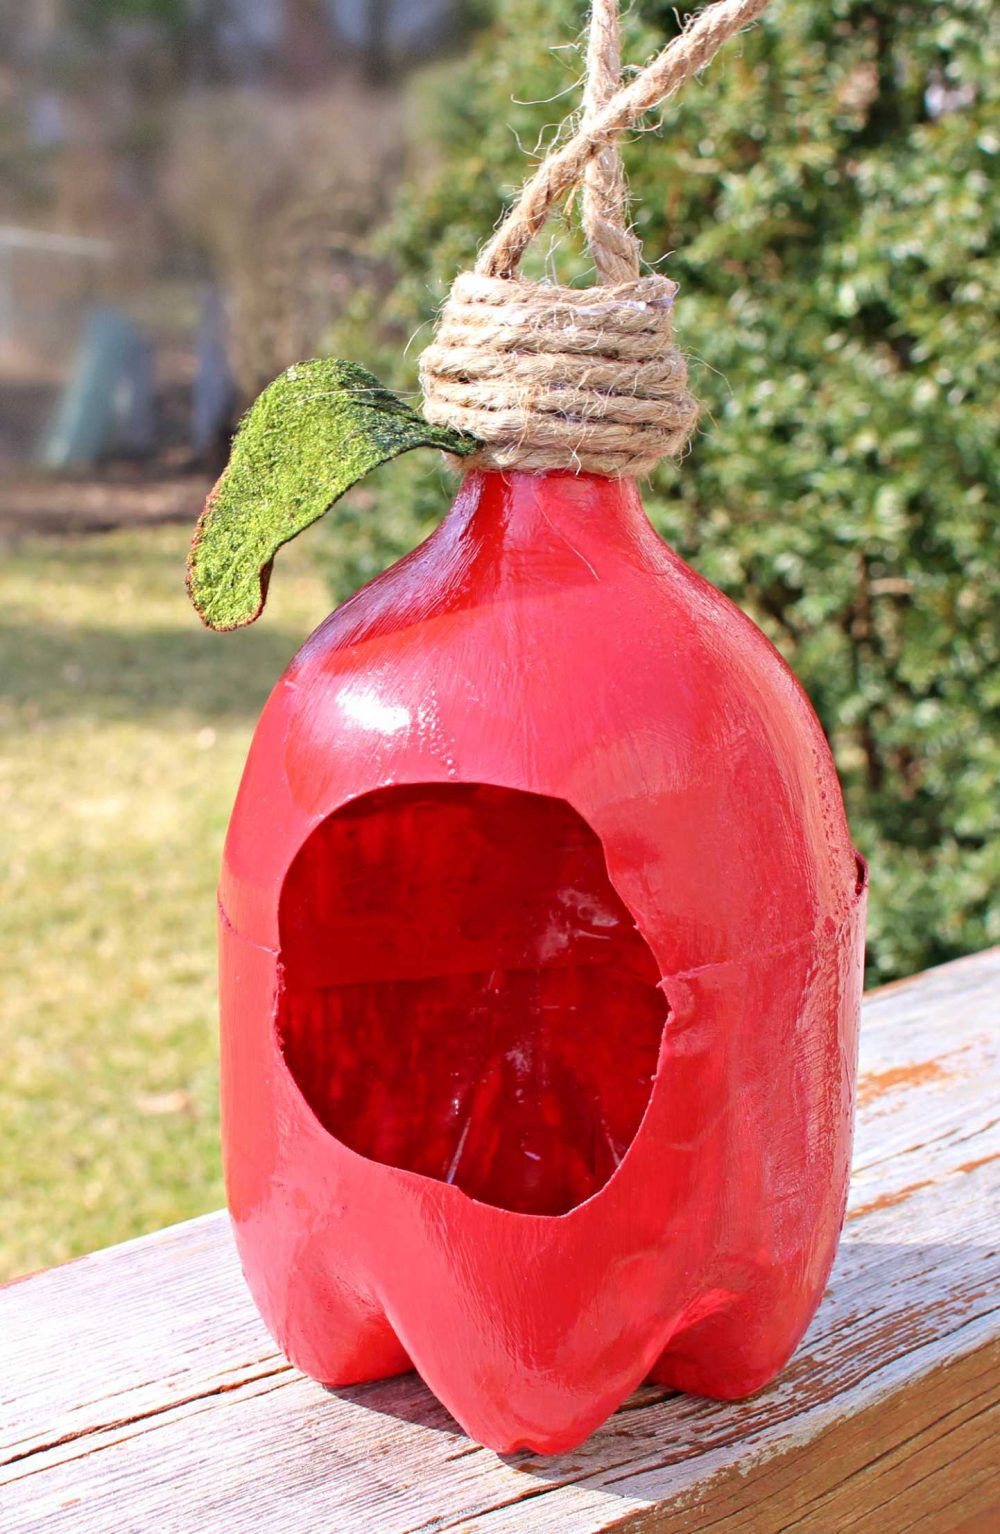
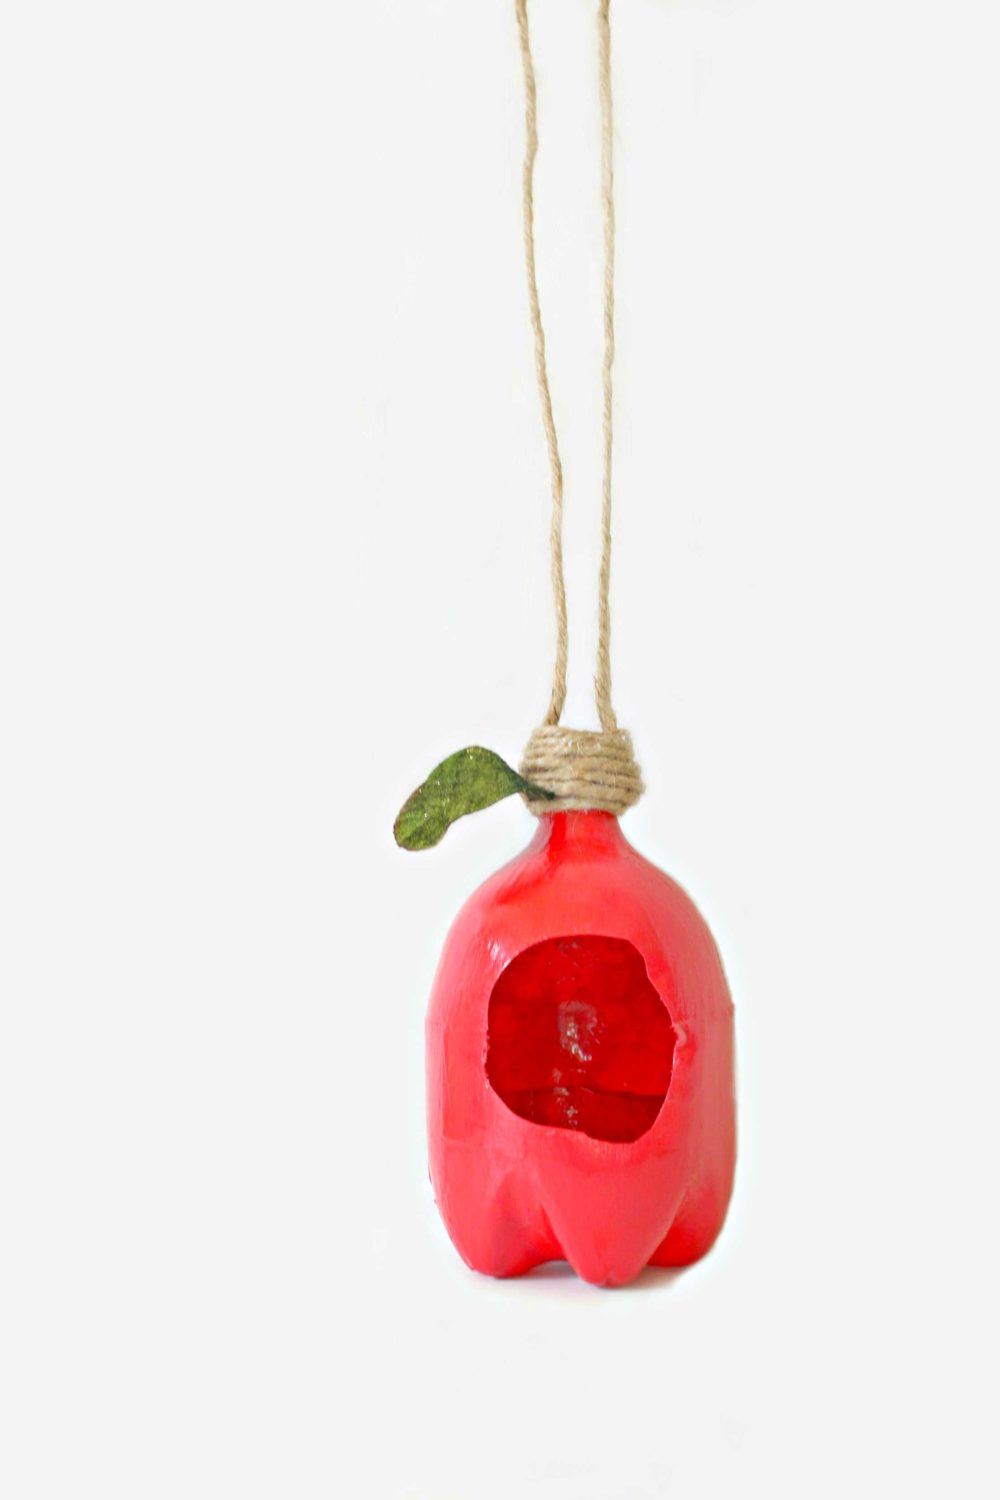
Get the birds to flock around your garden this spring and summer when making this adorable plastic bottle bird feeder! A great way to upcycle while having fun with the kiddos!
Plastic Bottle Bird Feeder tutorial
If you like upcycling, you’ll fall head over heels for this cute plastic bottle bird feeder! You and the kids will have so much fun you’ll want to make dozens of these apple bird feeder crafts this spring and summer!
It may not that hard for birds to find food in spring as in during the colder months of the year, when it can be real tough for them to find enough food. But why not make their life a little easier, why not do some good and give back to the nature a little?
More recycled ideas you will love:
- Recycled snack box with zipper
- Orange peel bird feeder
- DIY phone holder
- DIY terracotta pots
- Recycled phone charging station
Building a nice, little plastic bottle bird feeder in your garden or backyard is not only beneficial for them but for you too. Imagine your garden filled with happy birds, flocking around the recycled bird feeder you just made and chirping with joy! And they’ll also be a huge help with keeping those nasty garden pests under control. Doesn’t that make you feel proud and good about yourself already? I bet it does!
So next time you’re ready to trash a bunch of pop bottles, save at least one to make this cute bottle bird feeder. It’s a great activity to make with the kids, that will also teach them to care for the birds, animals and our environment. This bird feeder craft is so much fun and so easy to make and will keep kids busy in weekends or school breaks.
How to make a Bottle Bird Feeder
Materials:
- Plastic pop bottle (clean and dry)
- Craft scissors
- Craft Blade
- Red craft paint
- Kids paint brushes
- Green artificial leaf
- Medium sized twine
- Glue gun
- E600 glue
- Bird seed
Directions:
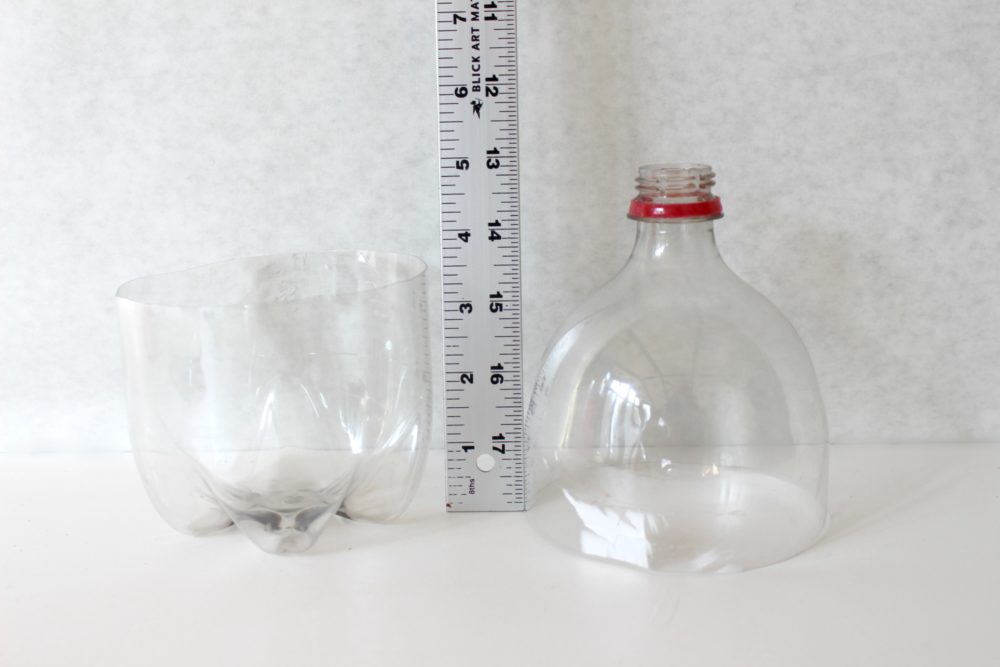
- Cut the pop bottle so that the bottom is 3 1/2 “ tall and the top is 5 inches tall.
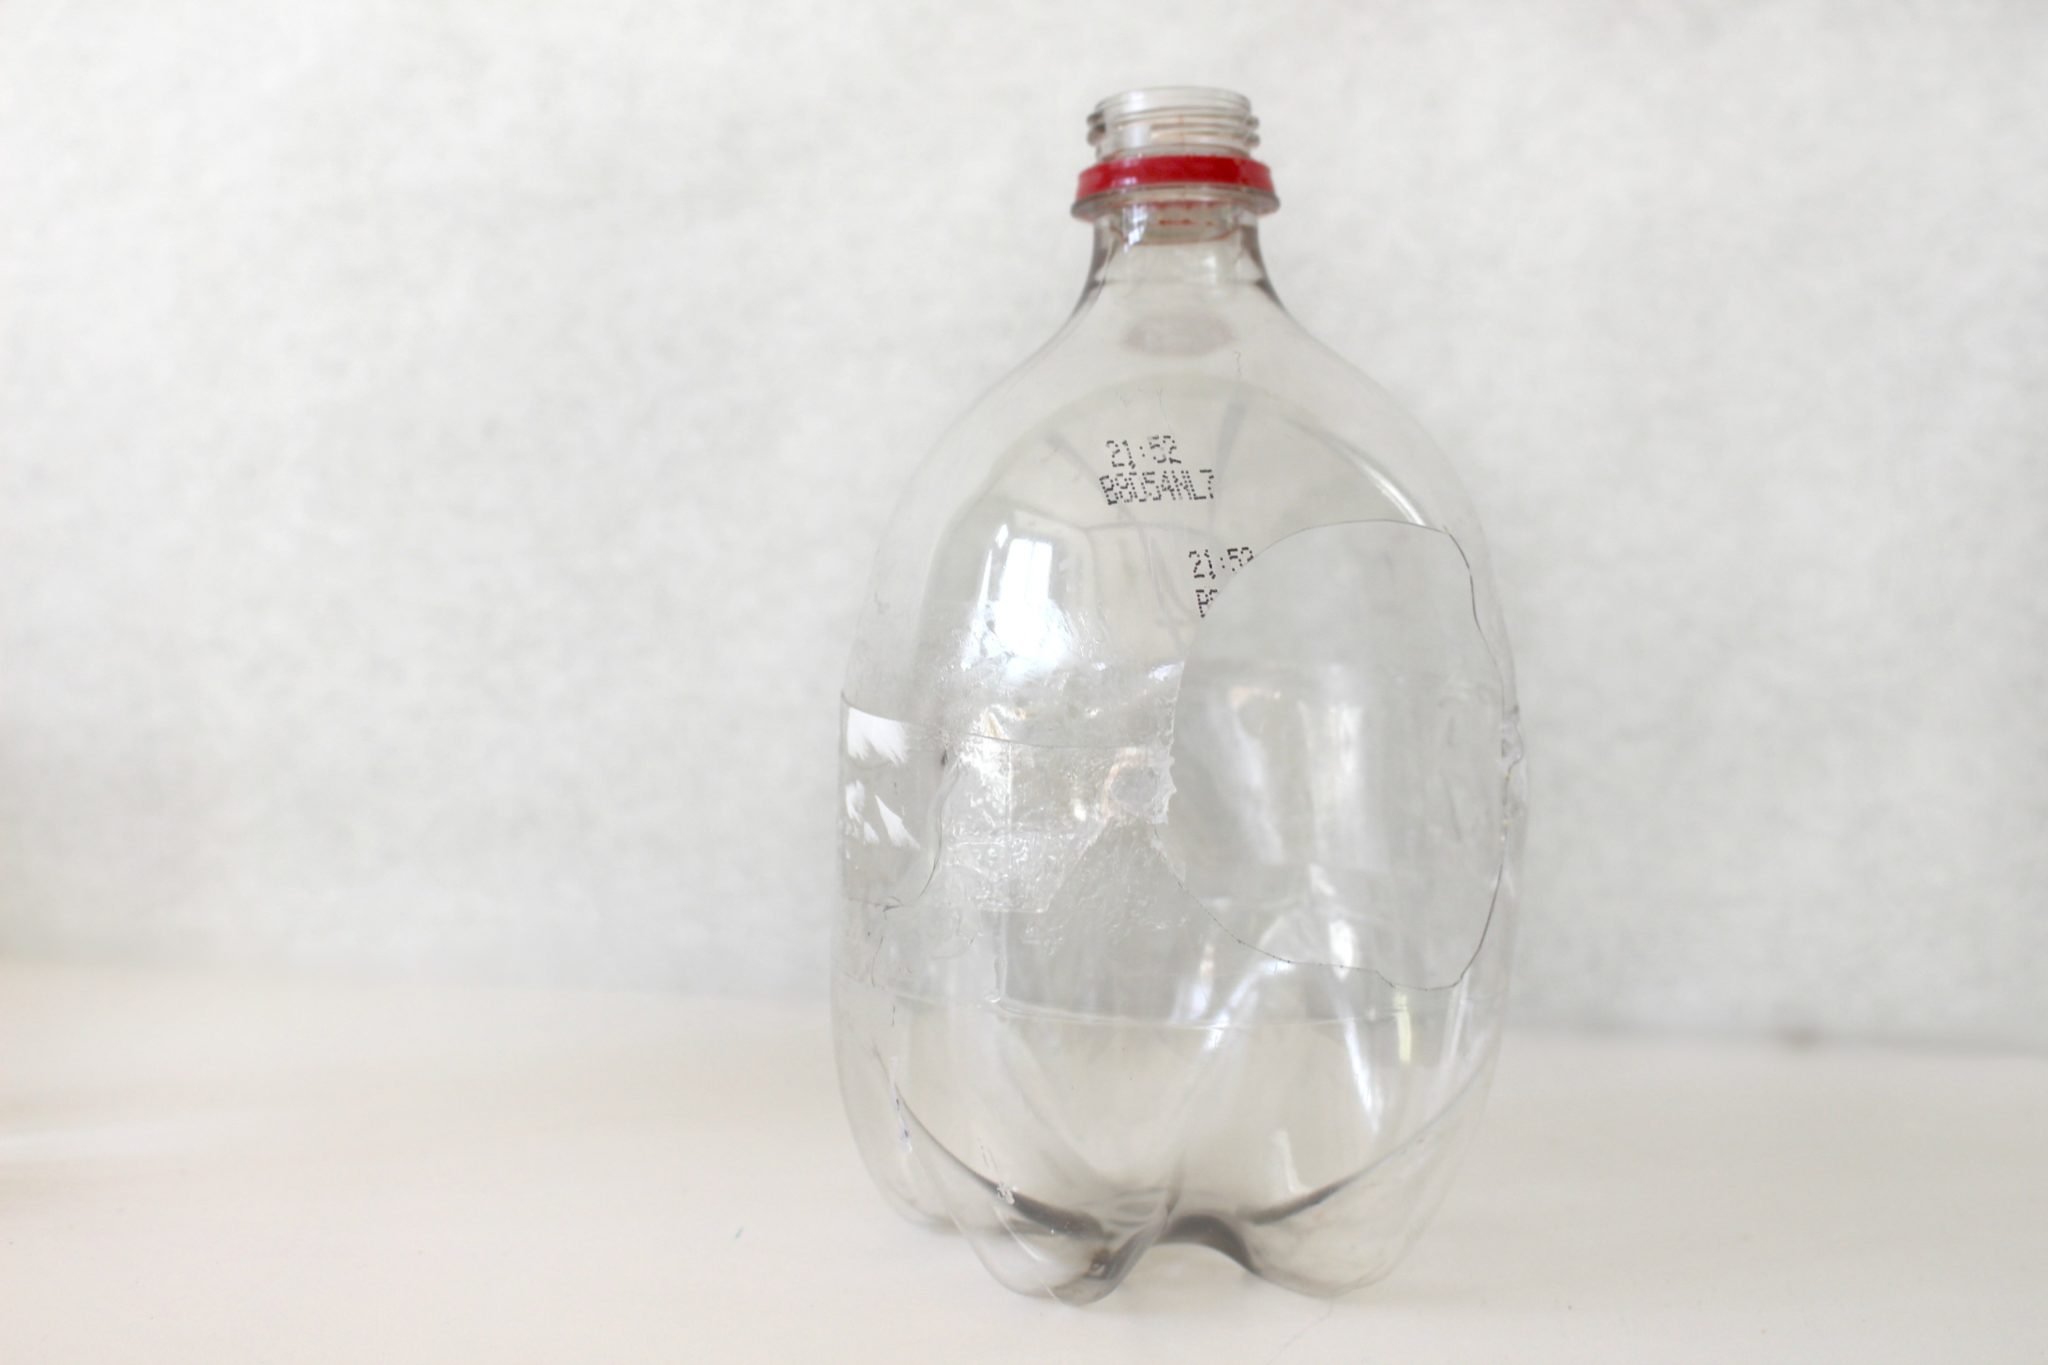
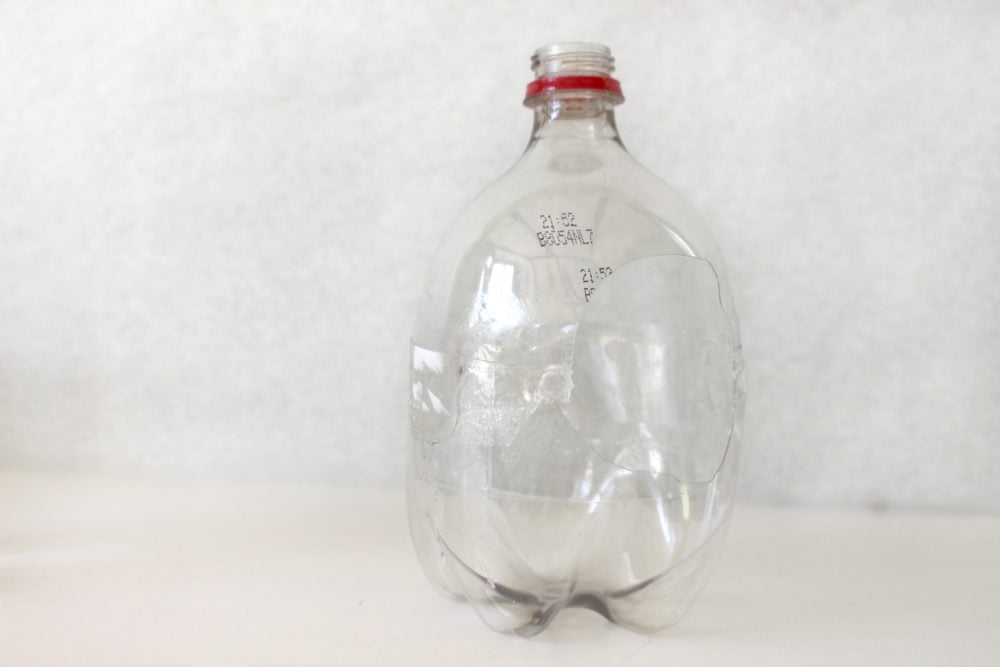
- Put the top piece of the bottle into the bottom piece. Use the blade to cut a hole into the side of the bottle. The circle should be about 2 inches above the bottom so there is room for the bird seed.
- Put a strip of E600 glue around the inside where the bottles meet. Move the two pieces around a bit to distribute the glue. Let this dry overnight in a well ventilated area.
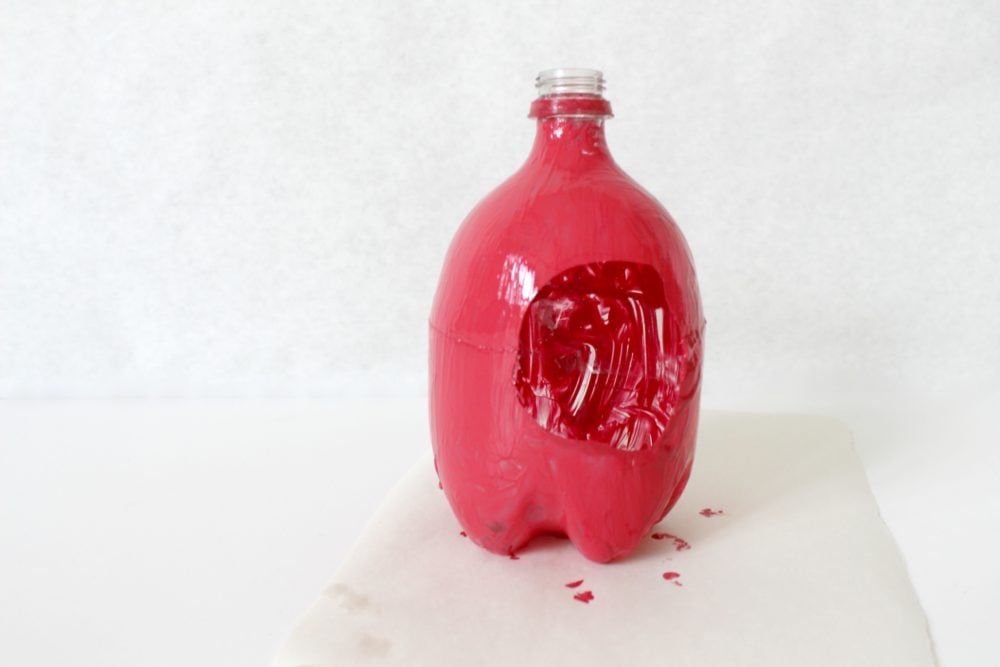
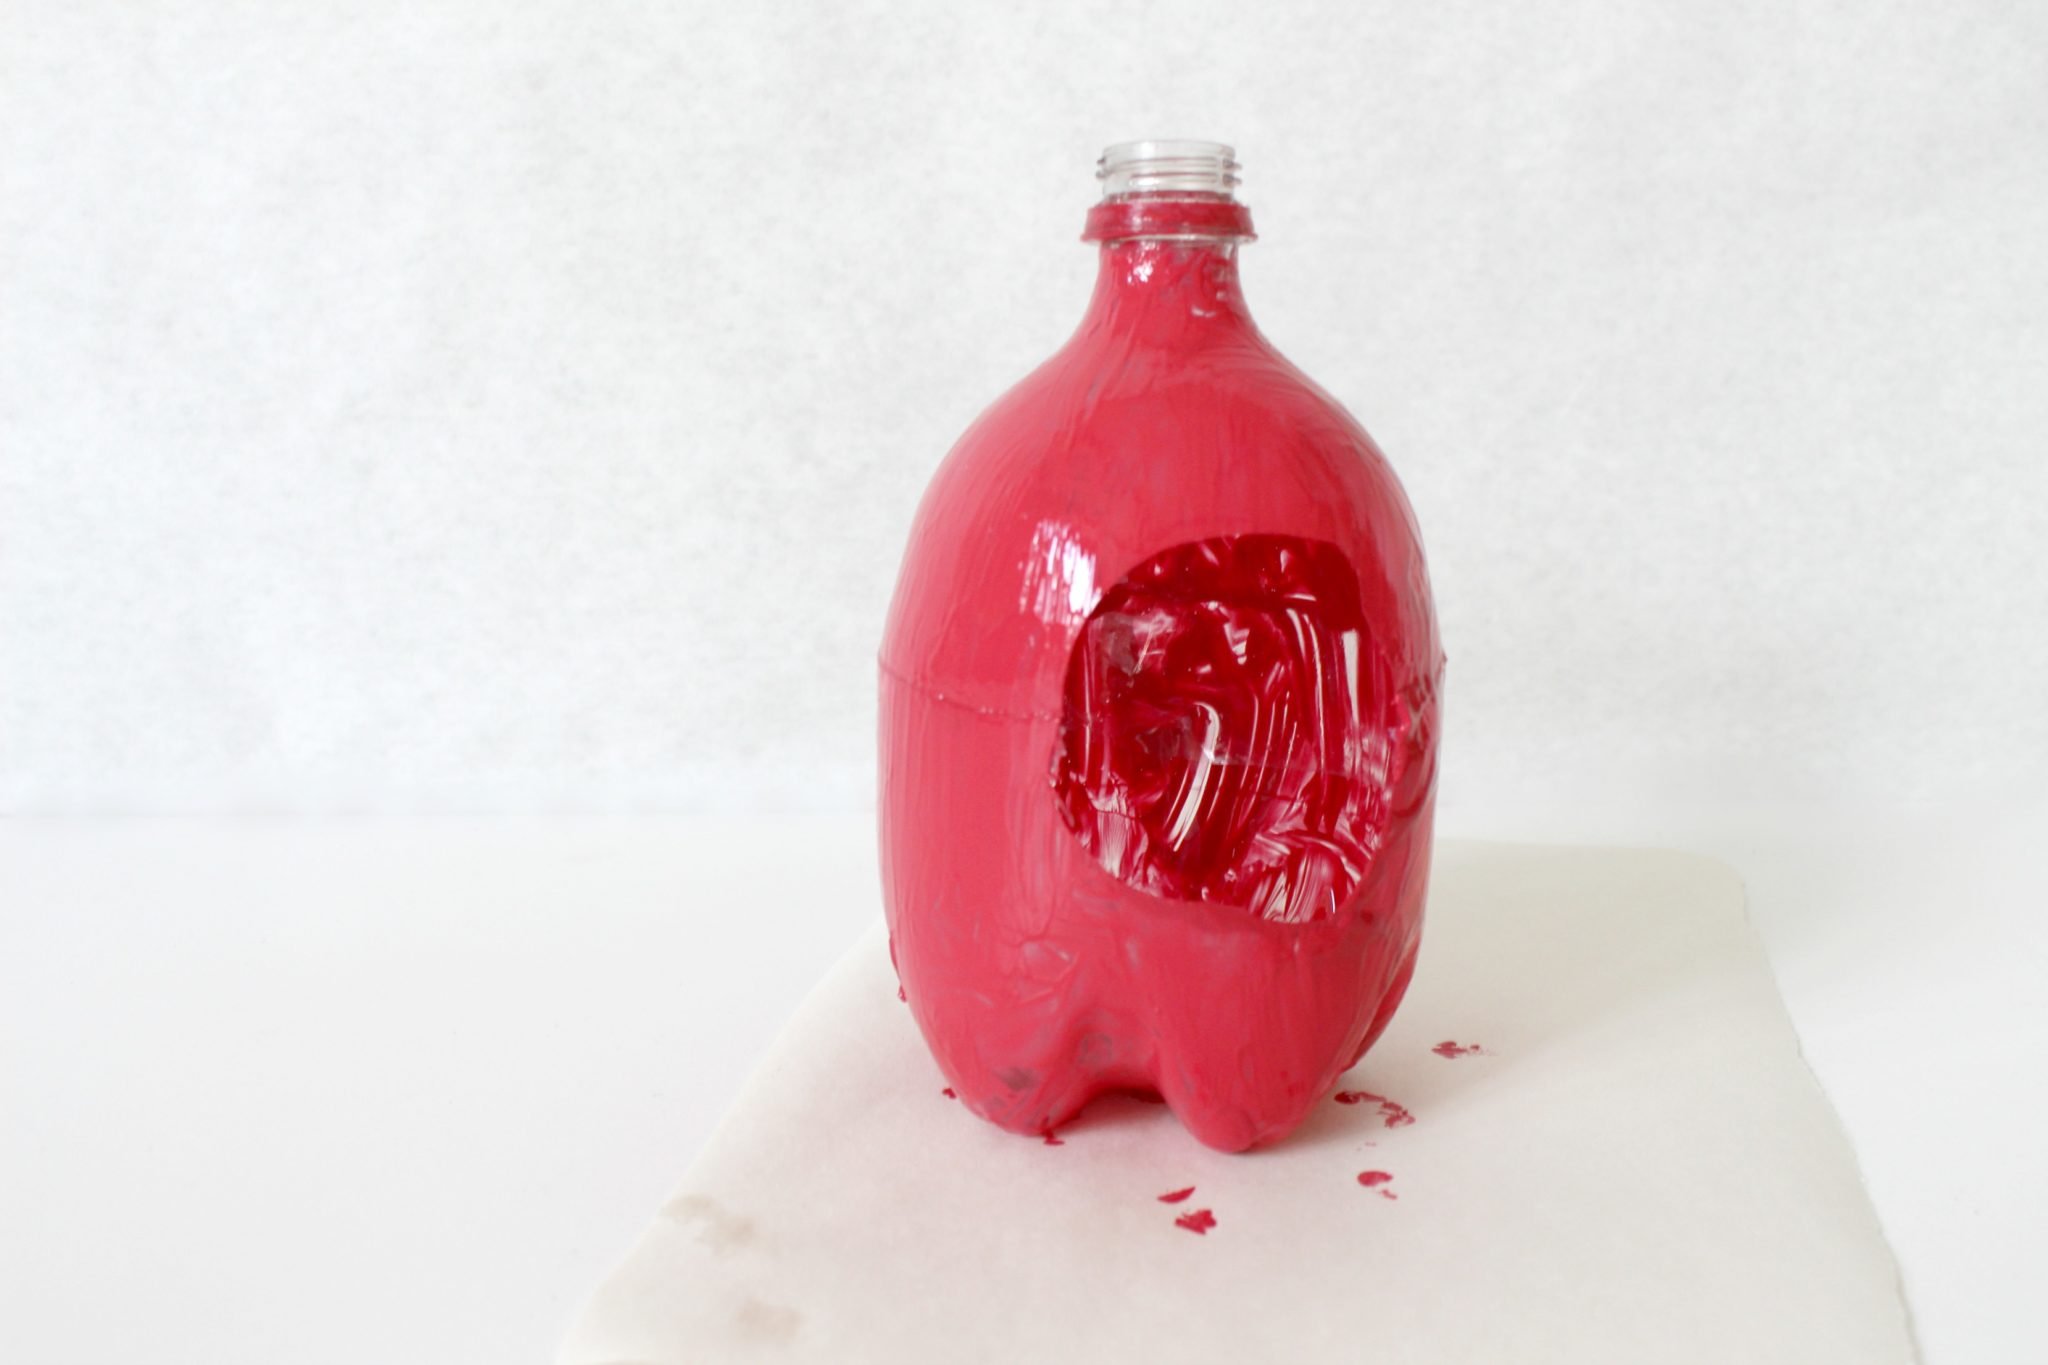
- Let your child paint the apple birdhouse red. (It can take a few coats of paint, letting each layer dry in between, to make it look solid.)
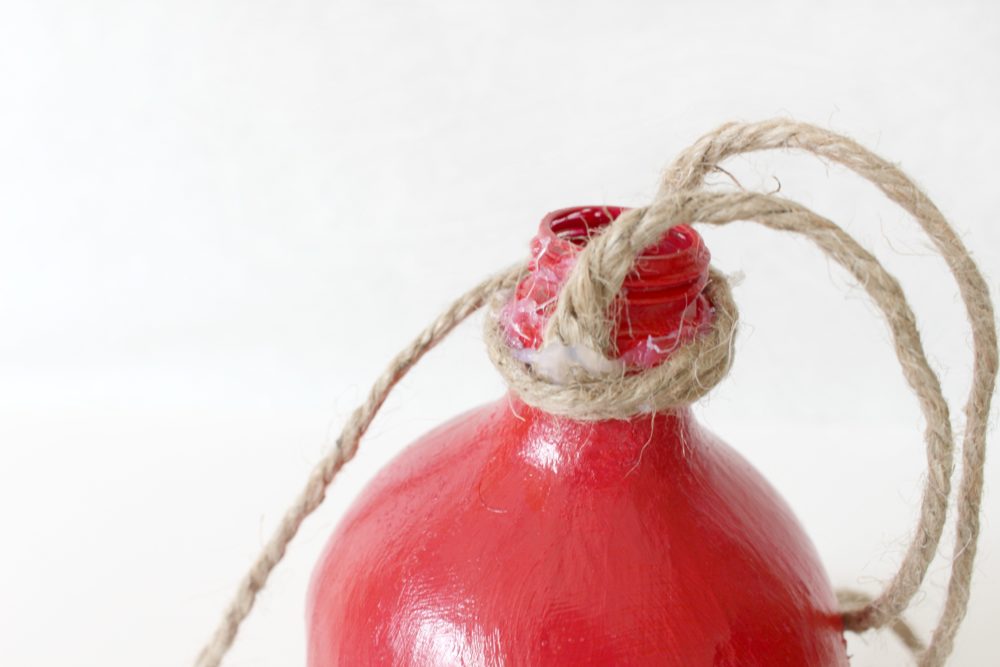
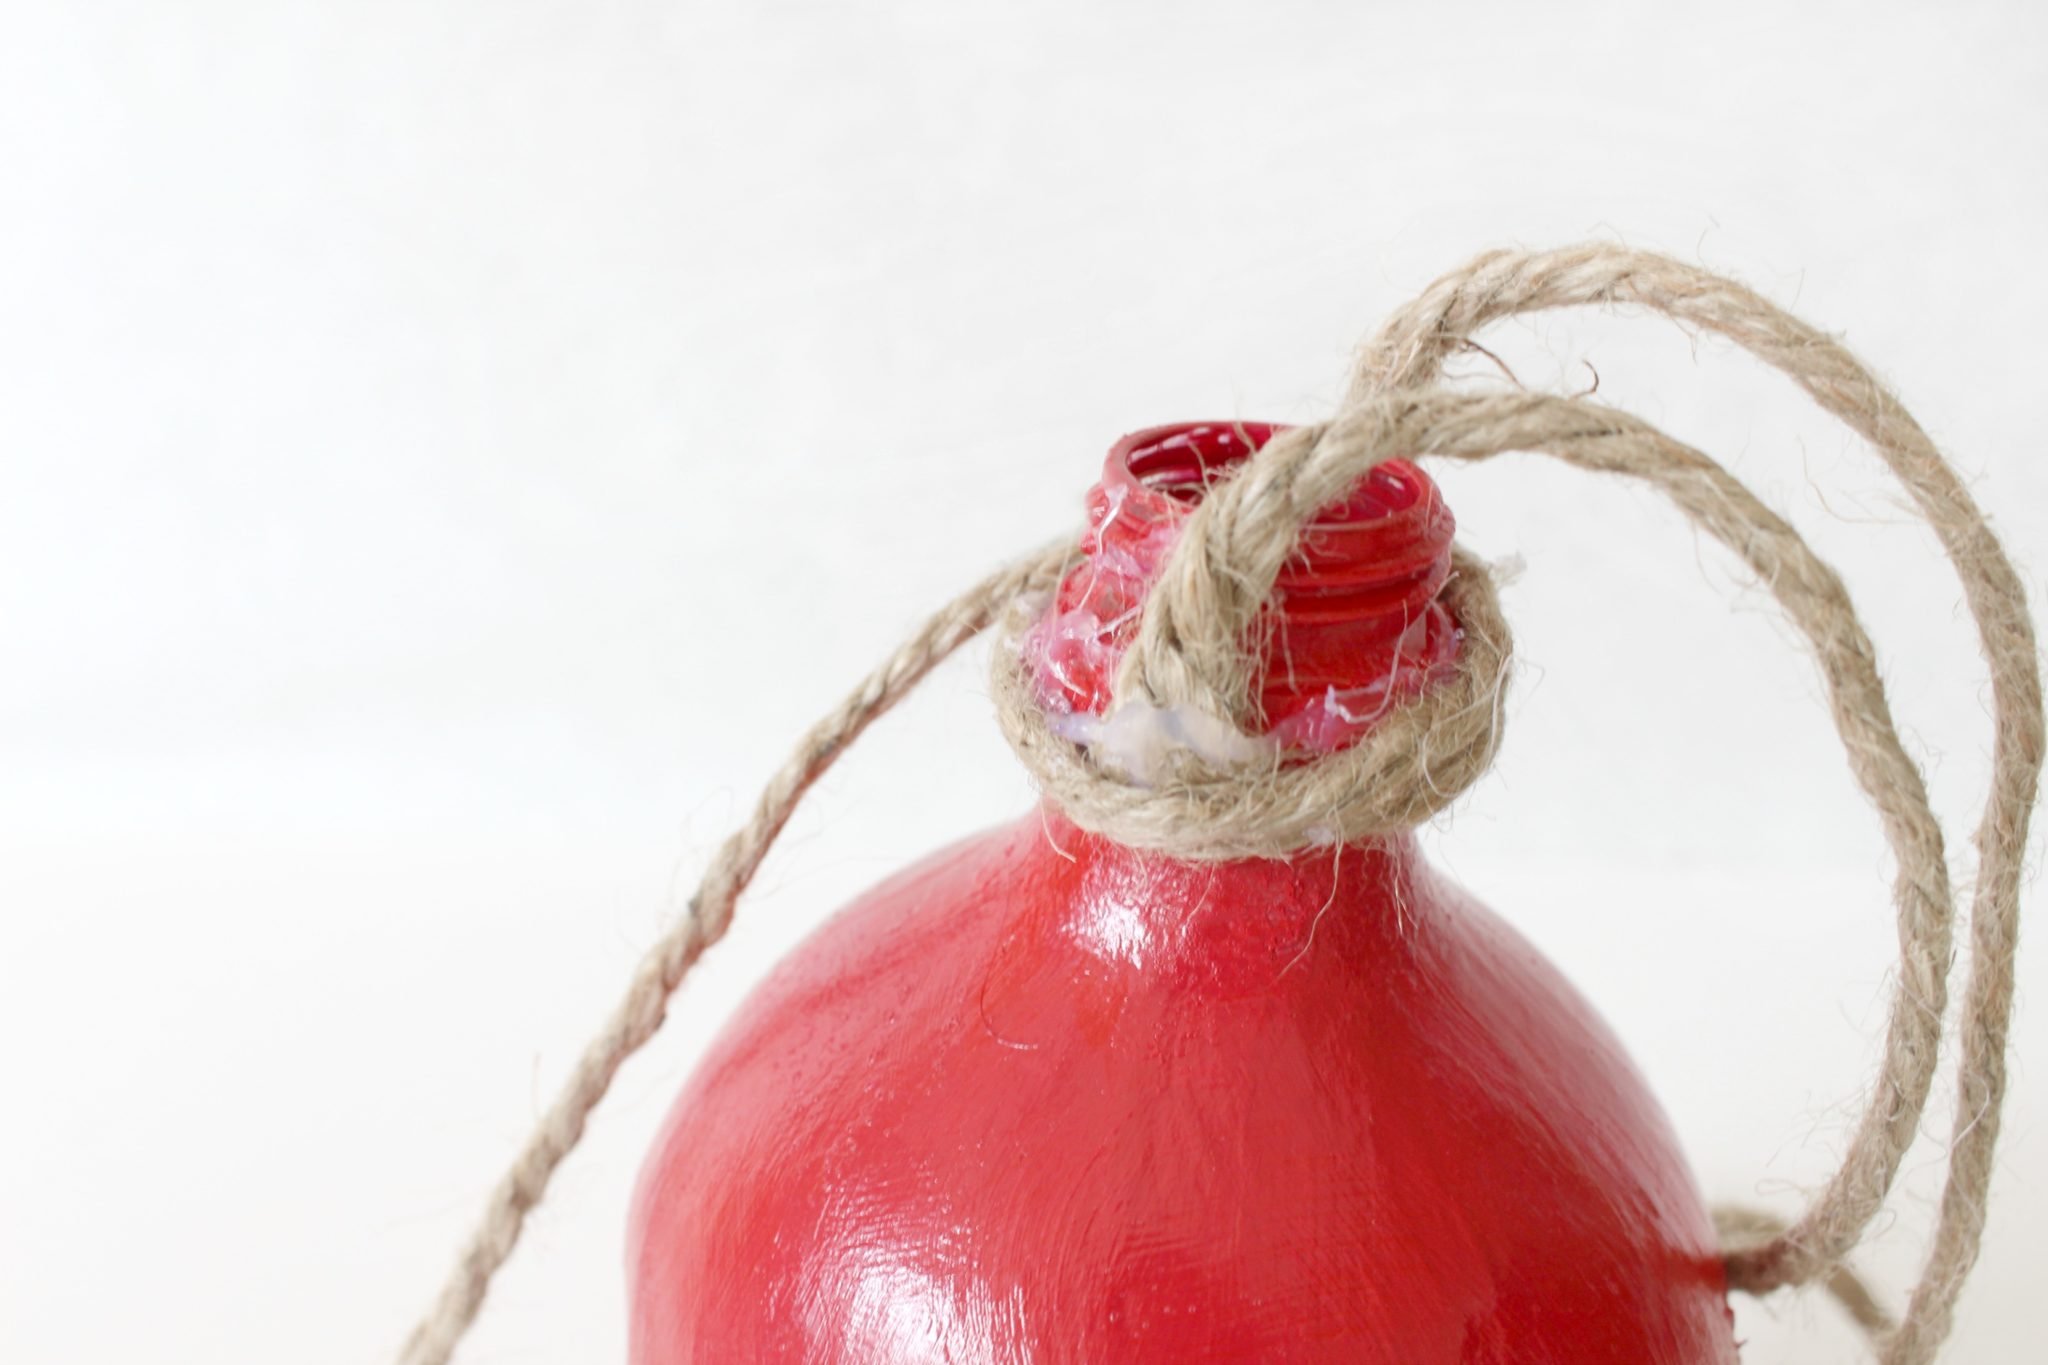
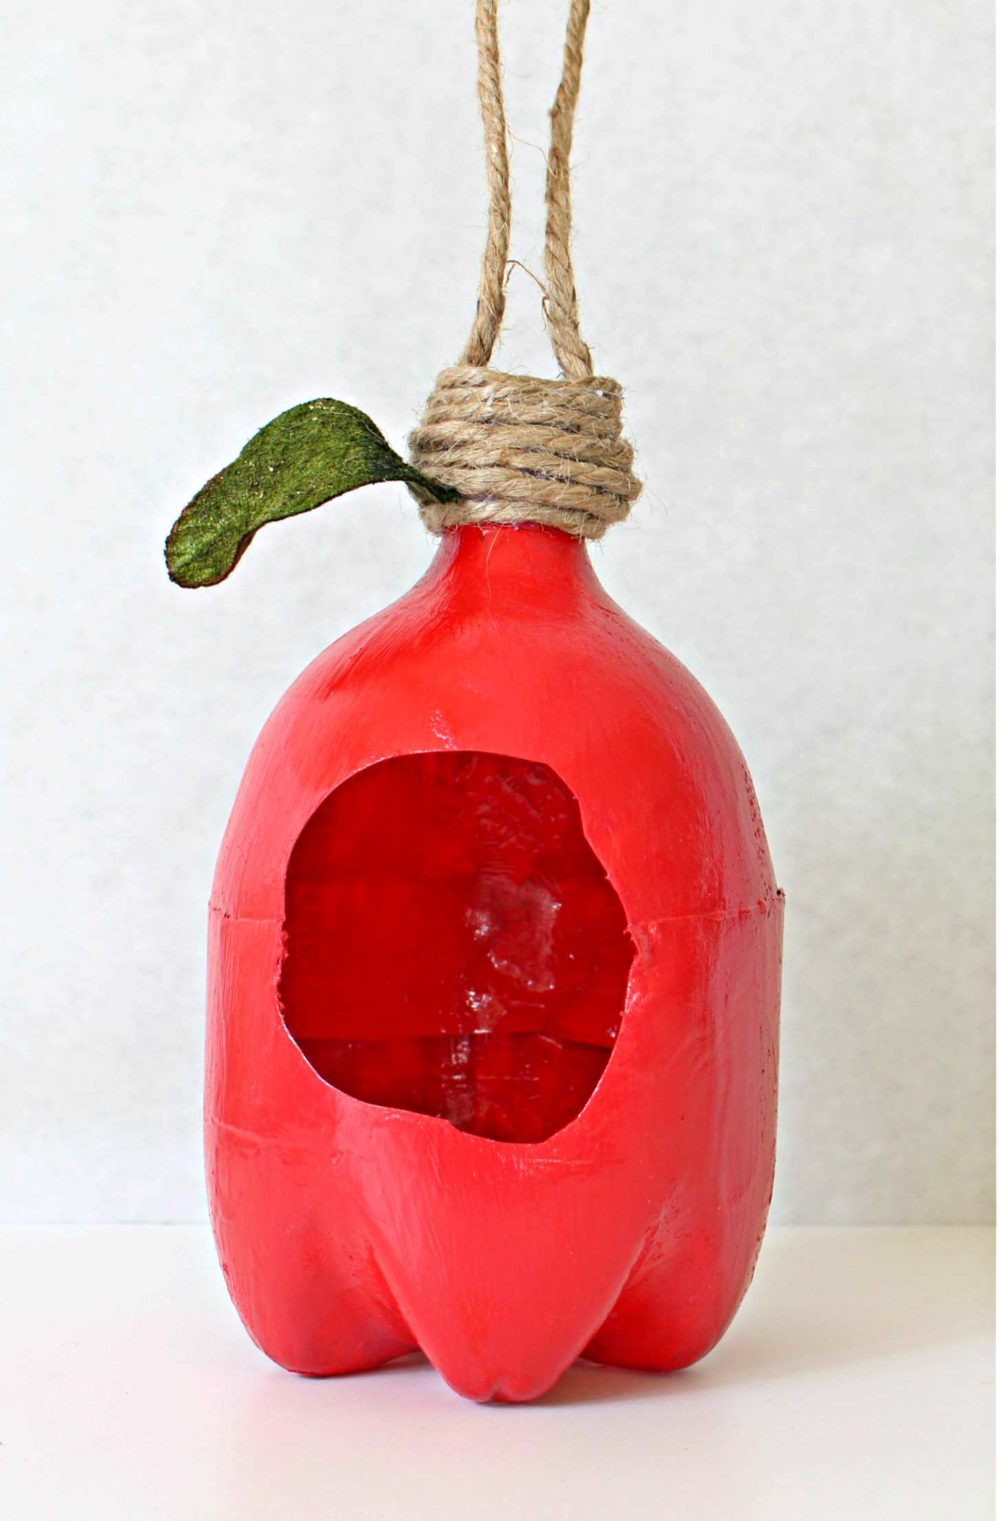
- Cut a length of twine at least 2 feet long. Use the hot glue gun to secure the ends of the twine to two sides of the birdfeeder (as shown).
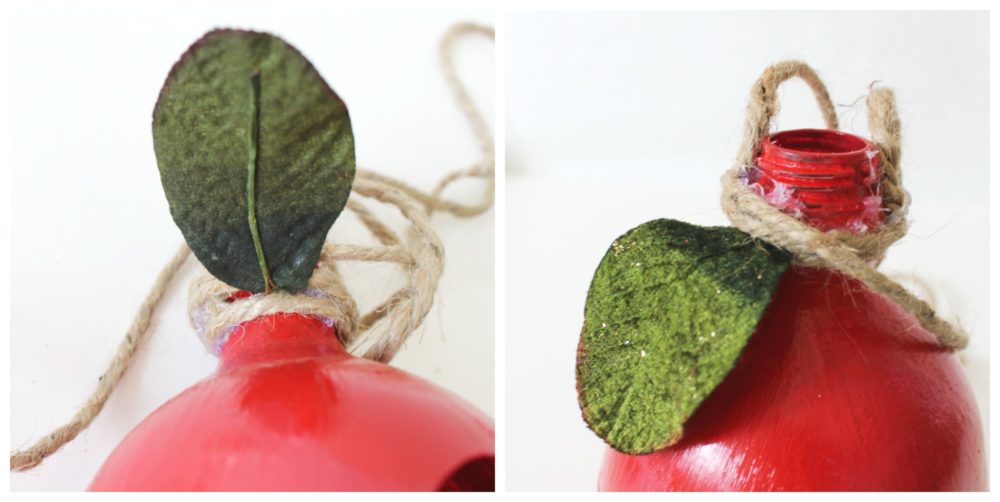
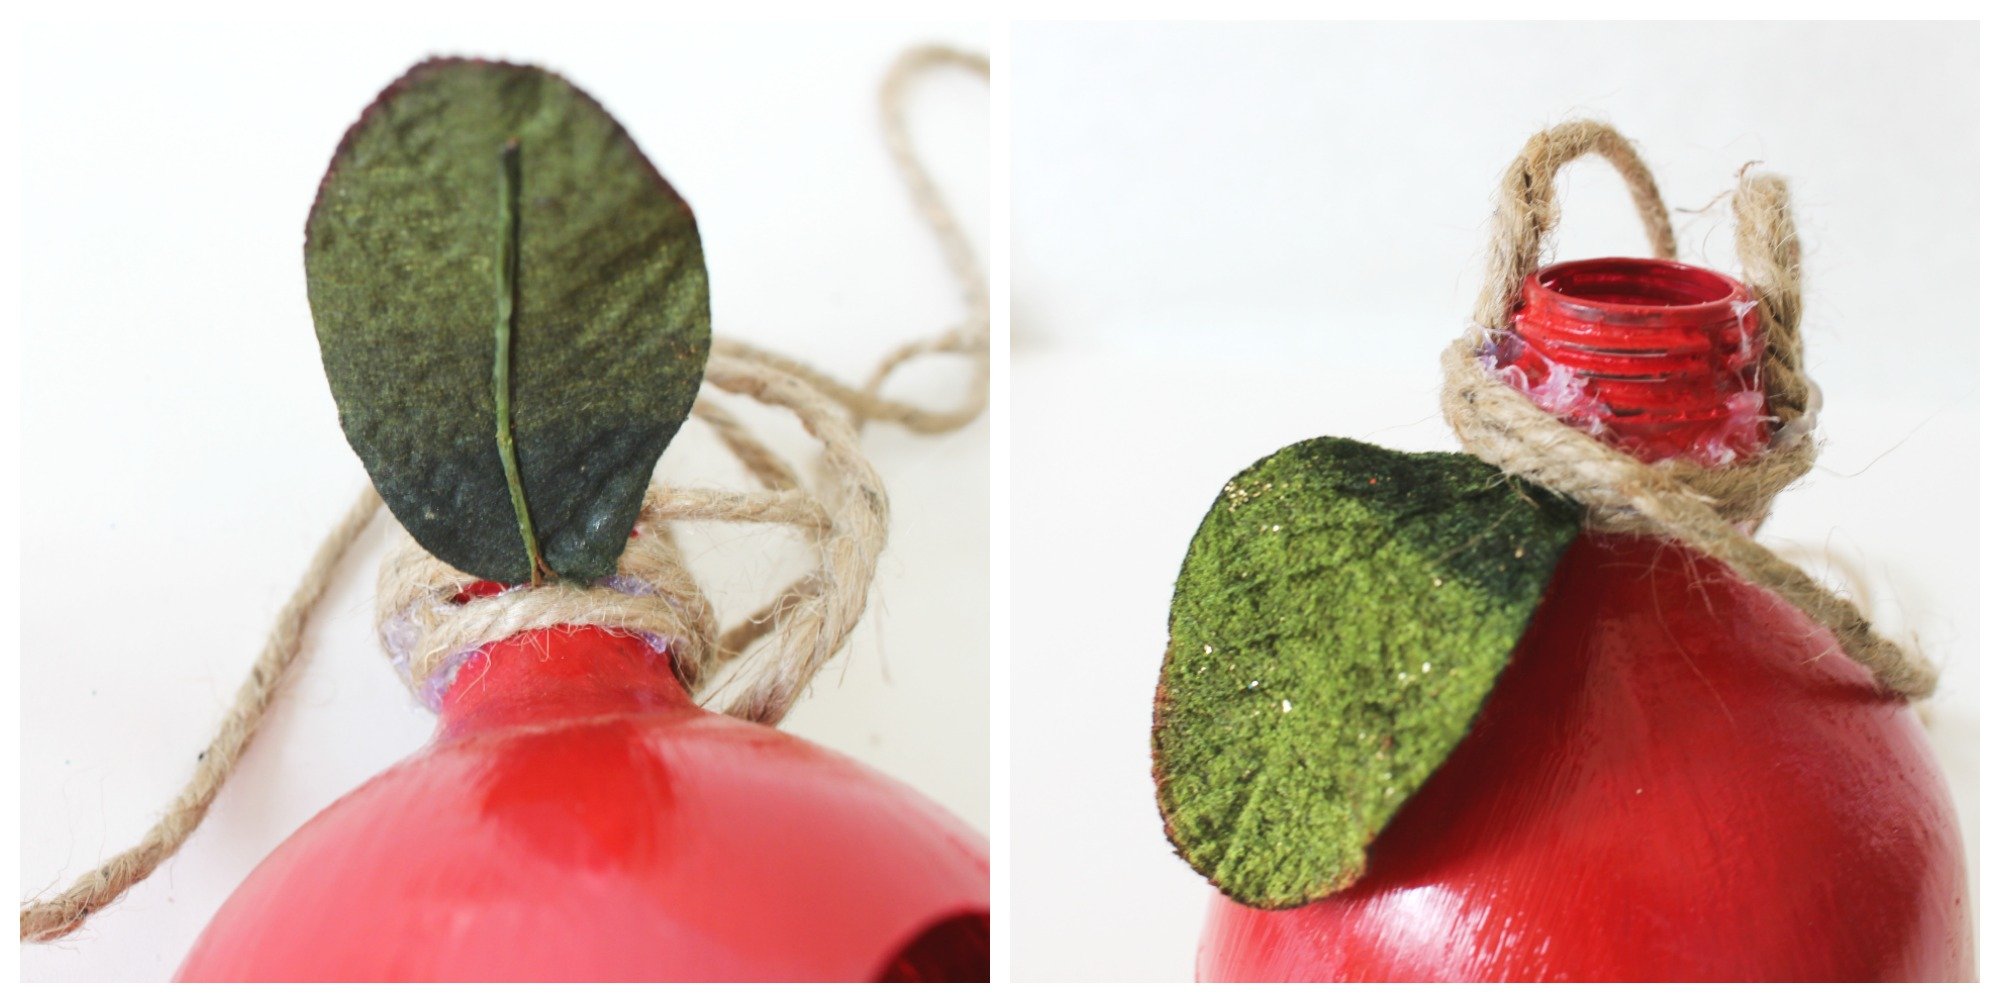
- Take the end of the roll of twine and glue it around the bottom of the “stem” area one or two times (as shown).
- Put some glue on the bottom of the artificial leaf and secure it into the twine.
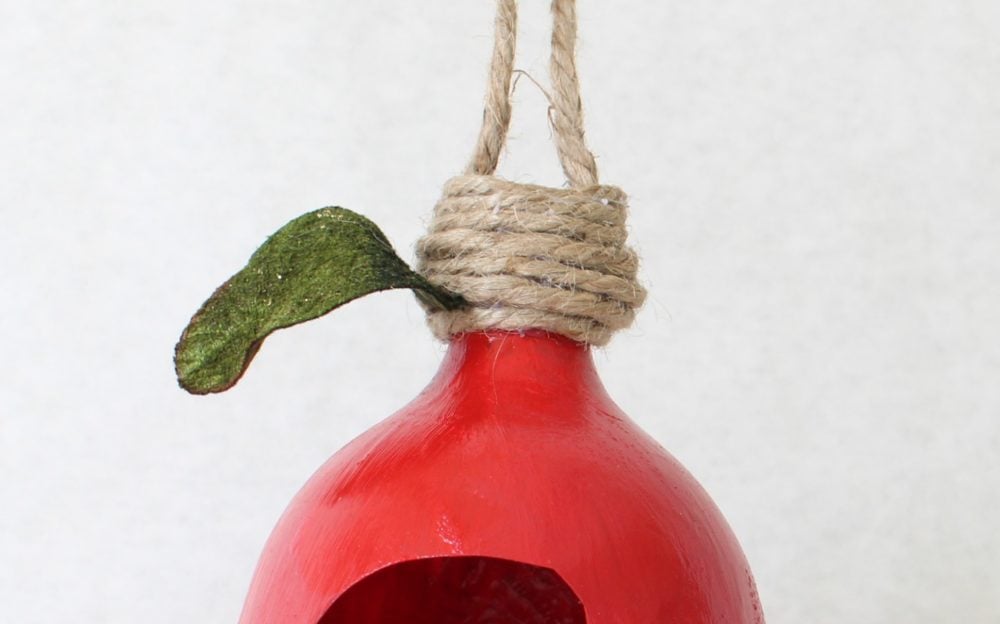
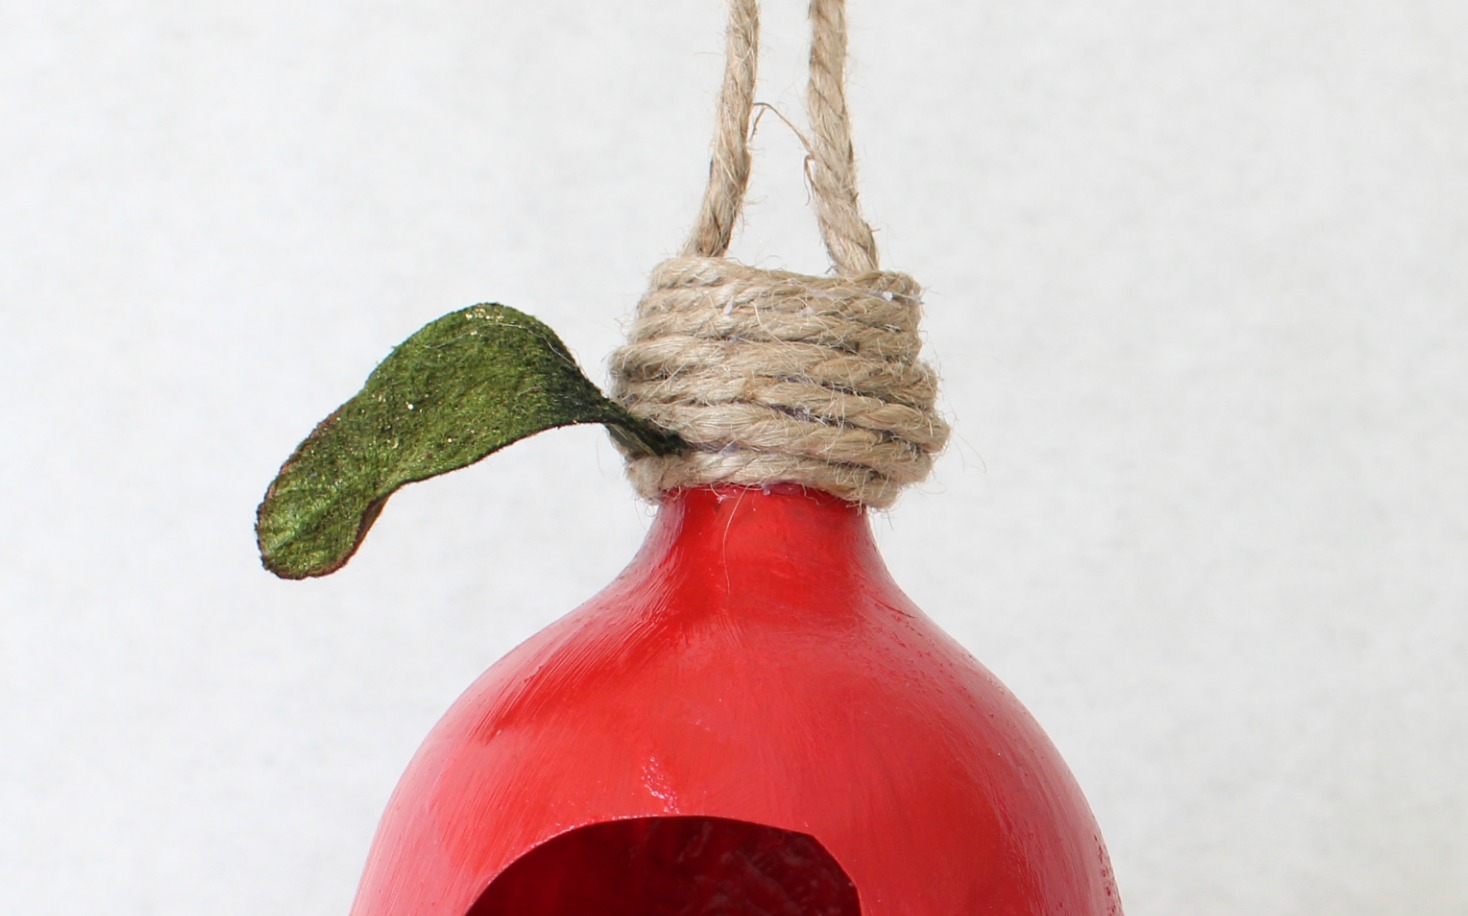
- Continue using the glue gun to secure the twine as you wrap it the rest of the way up the “stem”. Trim and secure the end with glue.
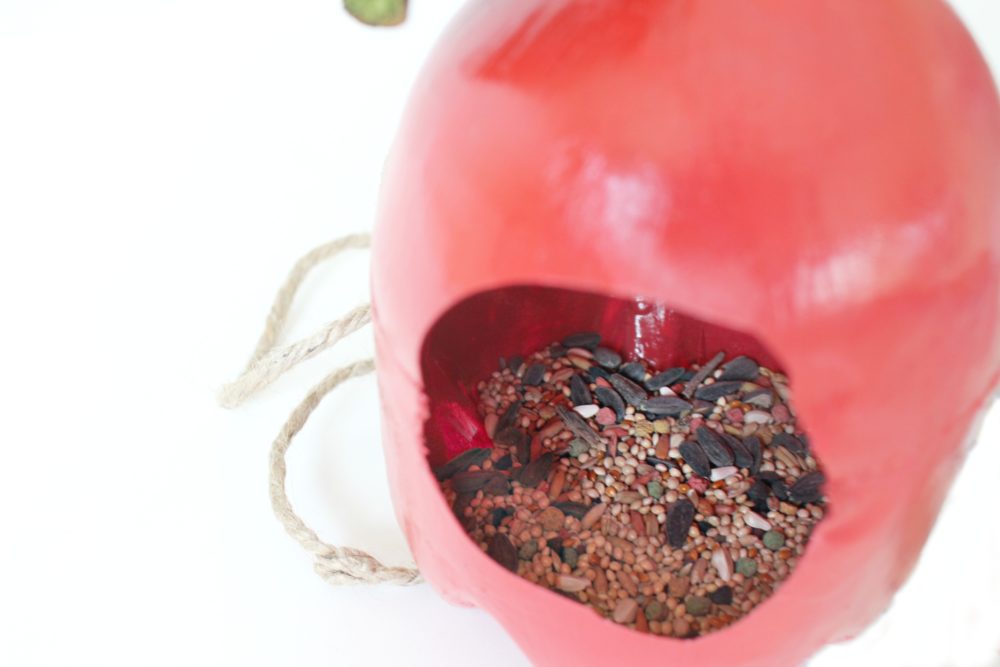
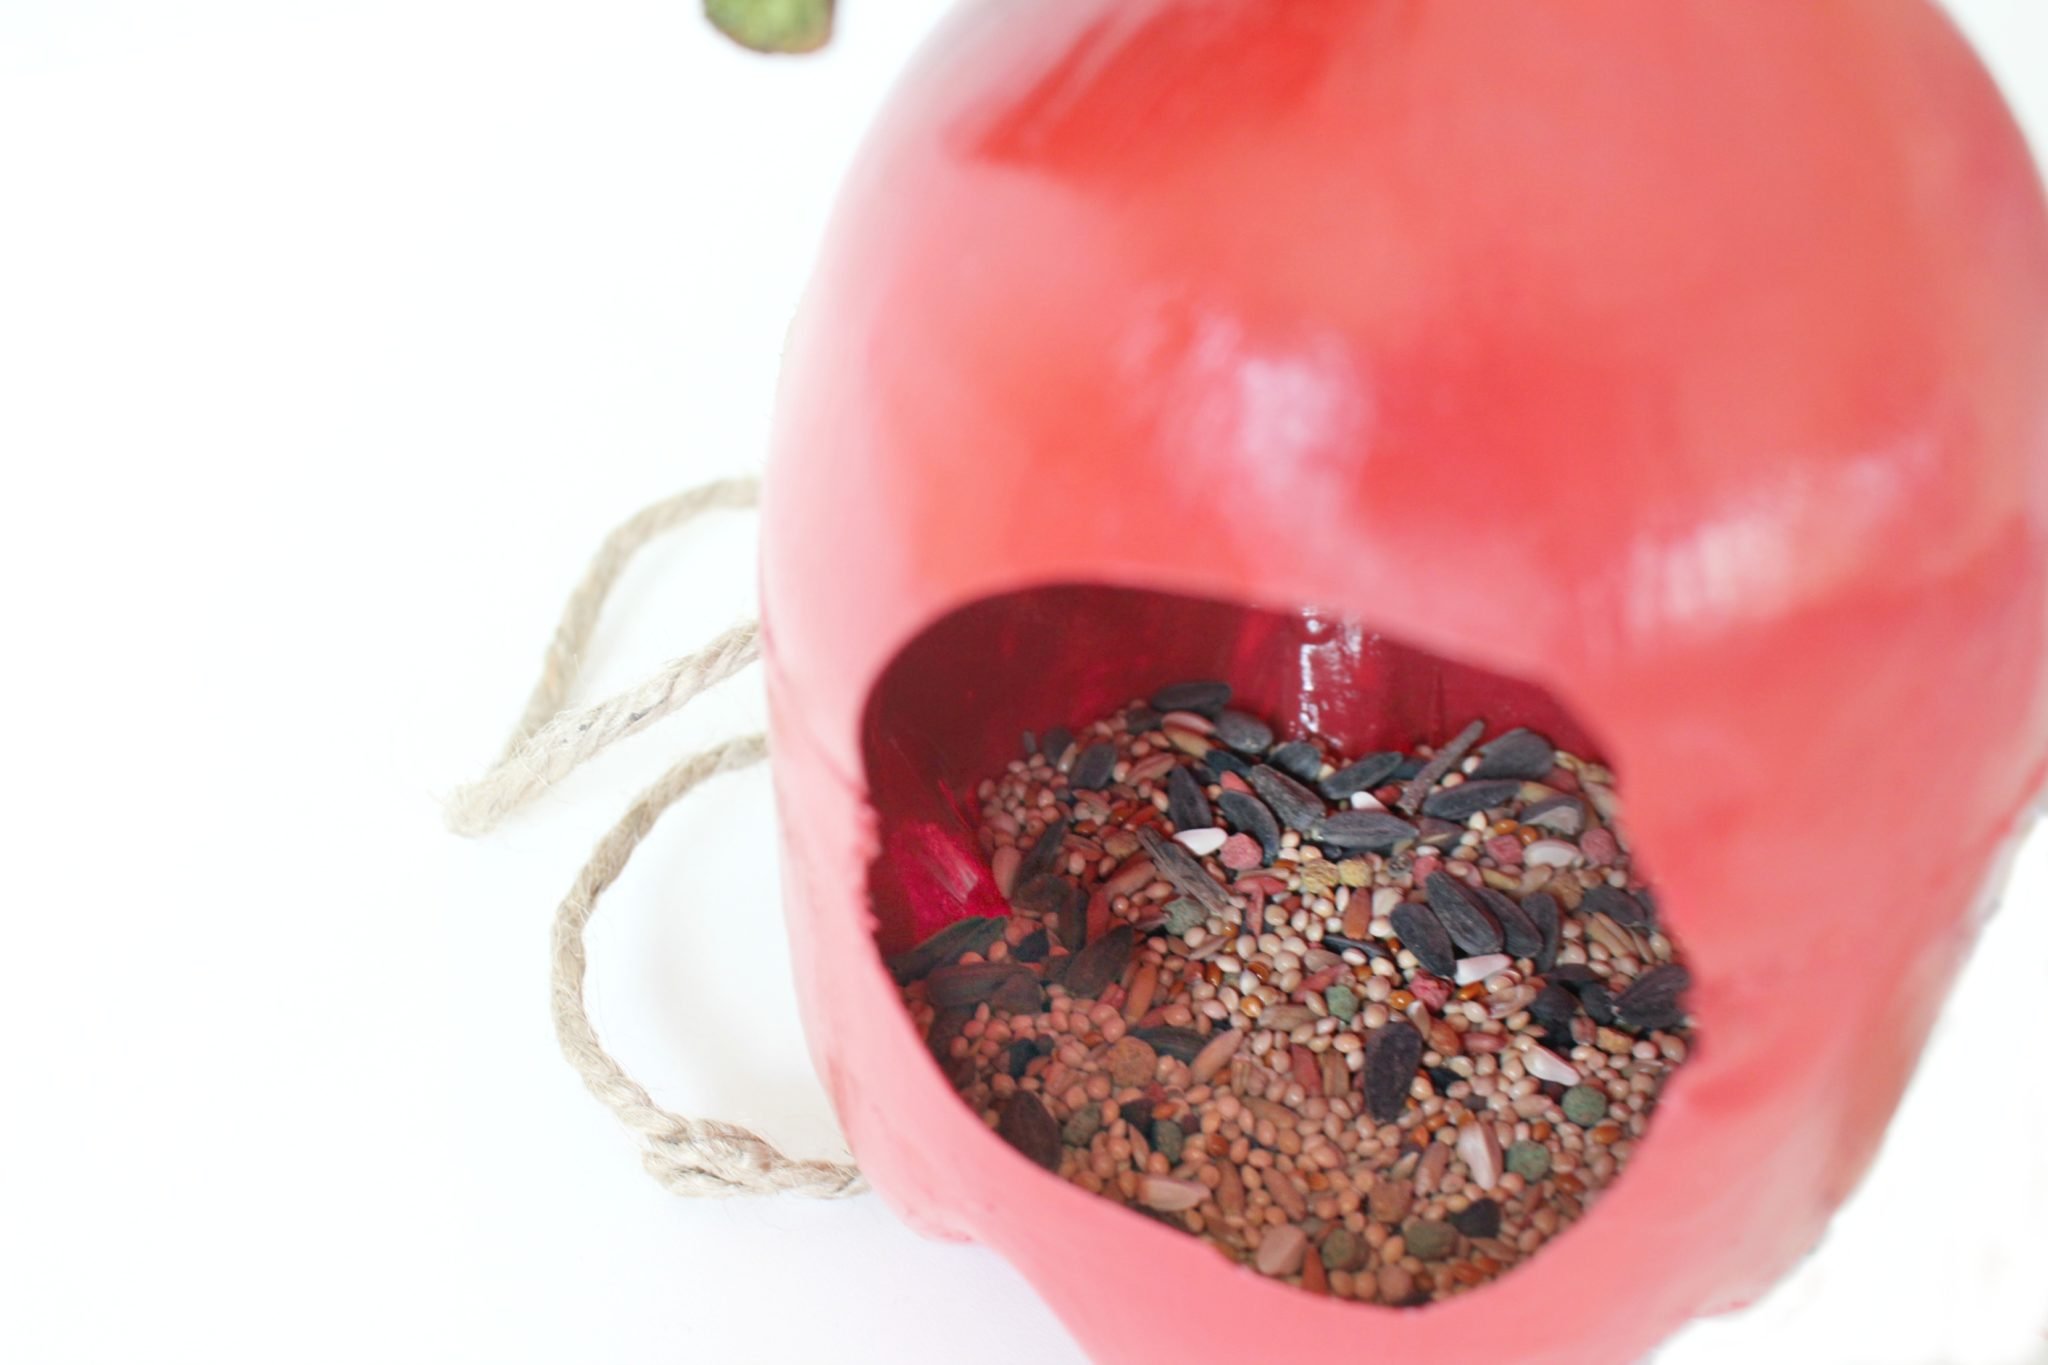
- Fill with bird seed and hang in a tree!
Pin to save for later
Print the craft card
Plastic bottle bird feeder
Materials
- Plastic pop bottle clean and dry
- Red craft paint
- Green artificial leaf
- Medium sized twine
- E600 glue
- Bird seed
Tools
- Kids paint brushes
- glue gun
Instructions
- Cut the pop bottle so that the bottom is 3 1/2 “ tall and the top is 5 inches tall.
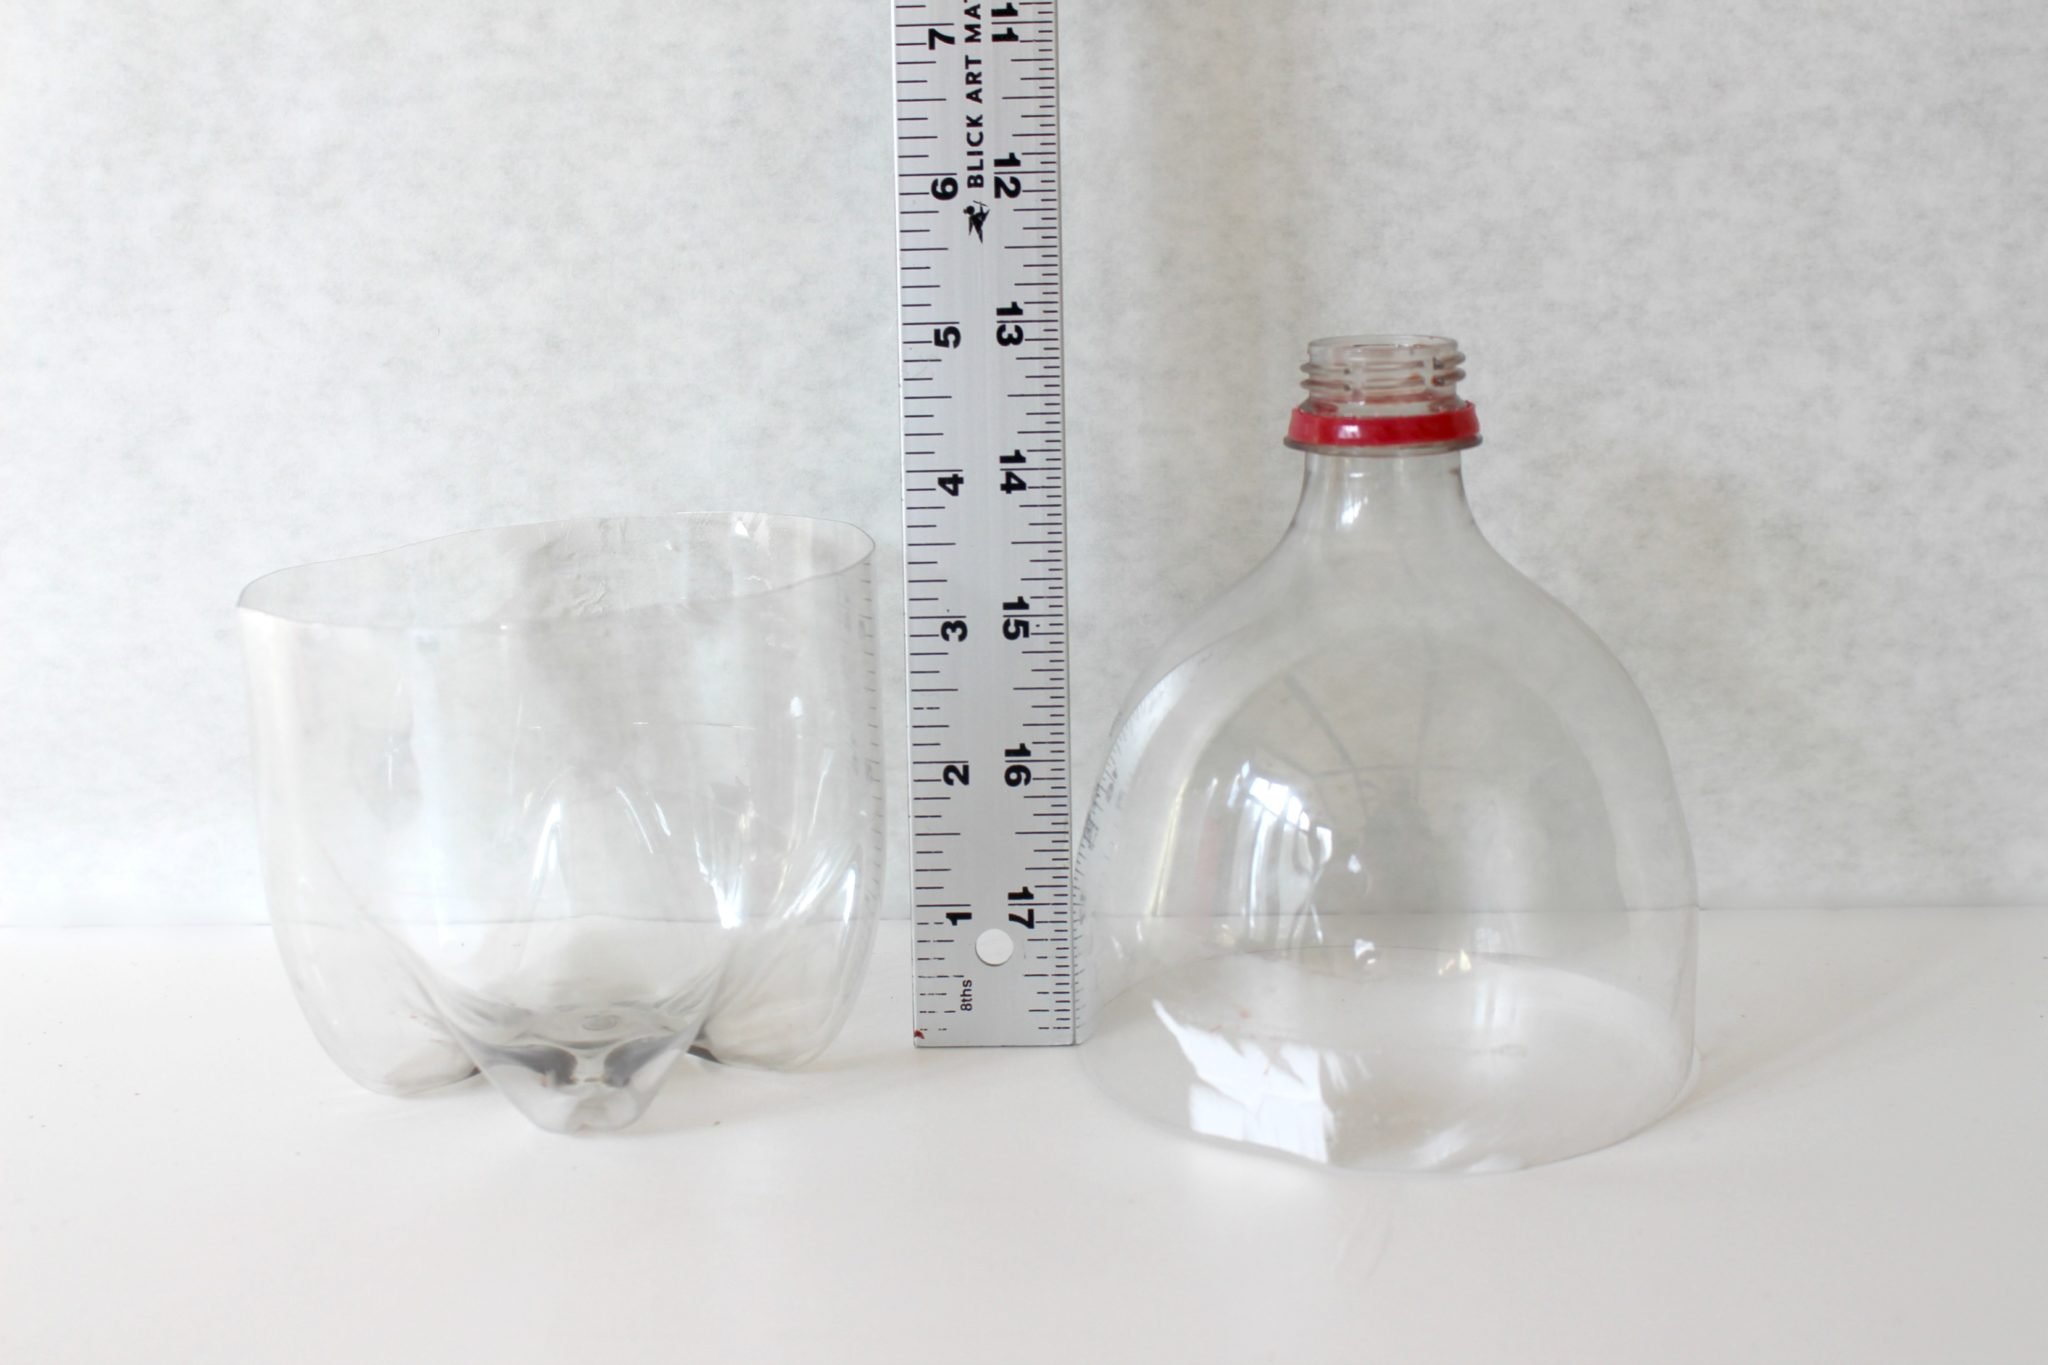
- Put the top piece of the bottle into the bottom piece. Use the blade to cut a hole into the side of the bottle. The circle should be about 2 inches above the bottom so there is room for the bird seed. Put a strip of E600 glue around the inside where the bottles meet. Move the two pieces around a bit to distribute the glue. Let this dry overnight in a well ventilated area.
- Let your child paint the apple birdhouse red. (It can take a few coats of paint, letting each layer dry in between, to make it look solid.)
- Cut a length of twine at least 2 feet long. Use the hot glue gun to secure the ends of the twine to two sides of the birdfeeder (as shown).
- Take the end of the roll of twine and glue it around the bottom of the “stem” area one or two times (as shown). Put some glue on the bottom of the artificial leaf and secure it into the twine.
- Continue using the glue gun to secure the twine as you wrap it the rest of the way up the “stem”. Trim and secure the end with glue.
- Fill with bird seed and hang in a tree!
Article may contain Amazon & affiliate links. As an Amazon Associate I earn from qualifying purchases at no additional cost to you.


ABOUT PETRO
Hi, I’m Petro, author and founder of Easy Peasy Creative Ideas. Sewist, crafter, avid DIY-er, foodie, photographer, homemaker and mommy to one. I’m an expert at coming up with quick, clever sewing tips, recycling crafts and simple, easy recipes! You can find my ideas featured in reputable publications such as Country Living, Good House Keeping, Yahoo News, WikiHow, Shutterfly, Parade, Brit & Co and more. Thanks for stopping by and hope you’ll stay for a while, get to know me better and come back another time. Stick around for real fun projects! Read more…