

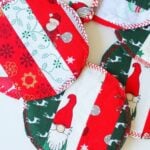
Super simple round quilted coasters to sew
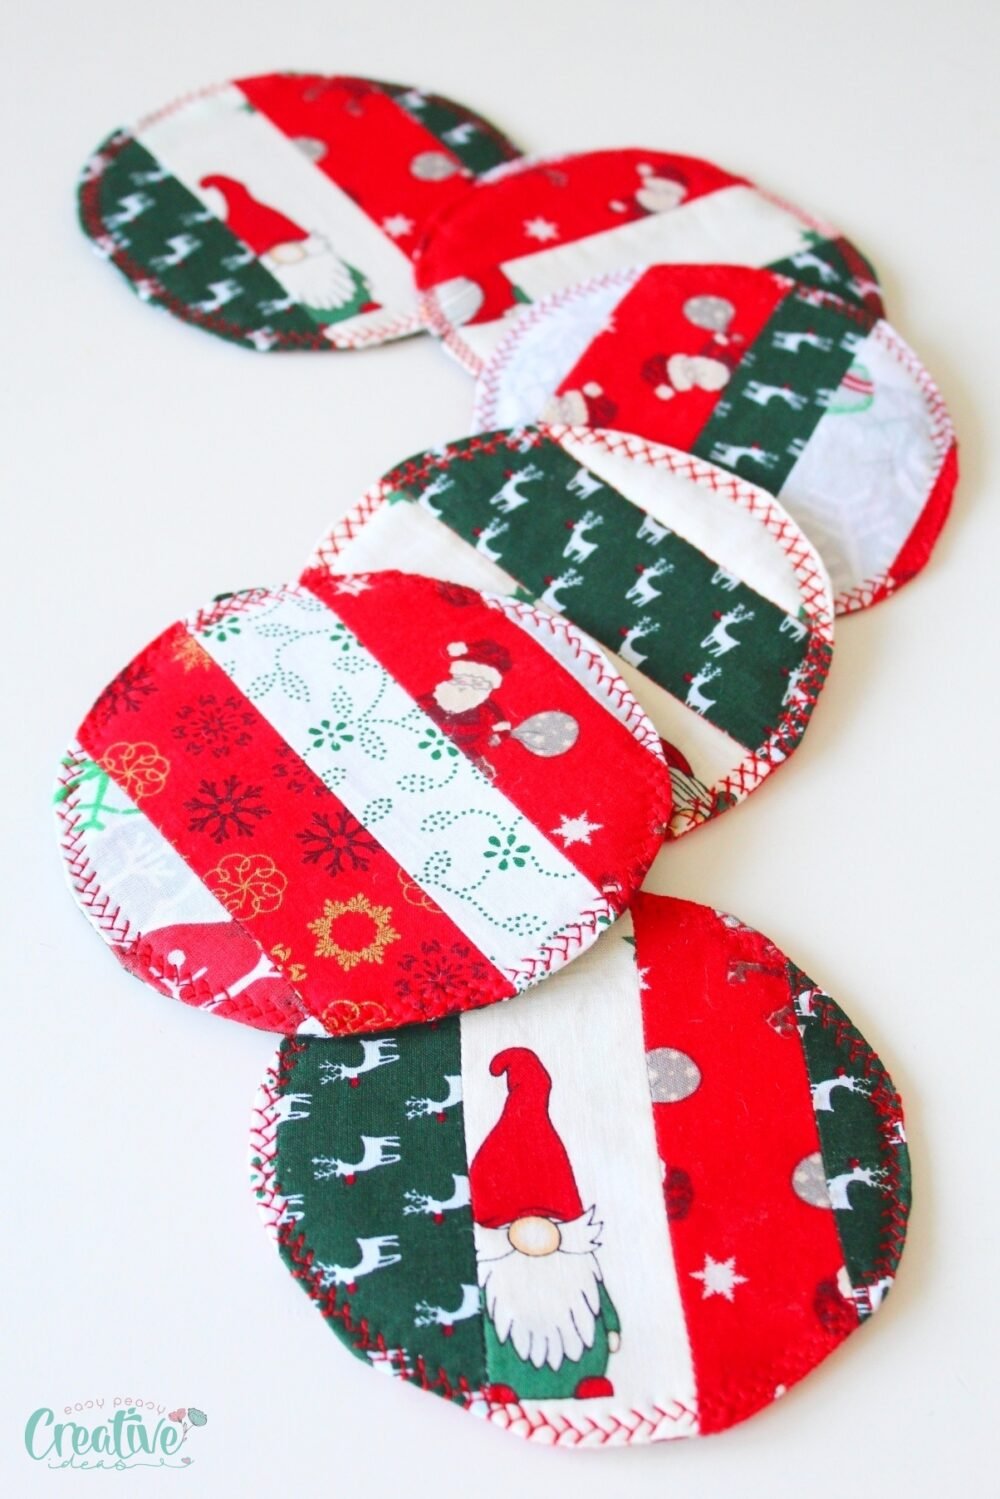
When you’re looking for a fun and practical sewing project that is ready in 10 minutes (per coaster), make these quilted coasters using fabric scraps from your stash.
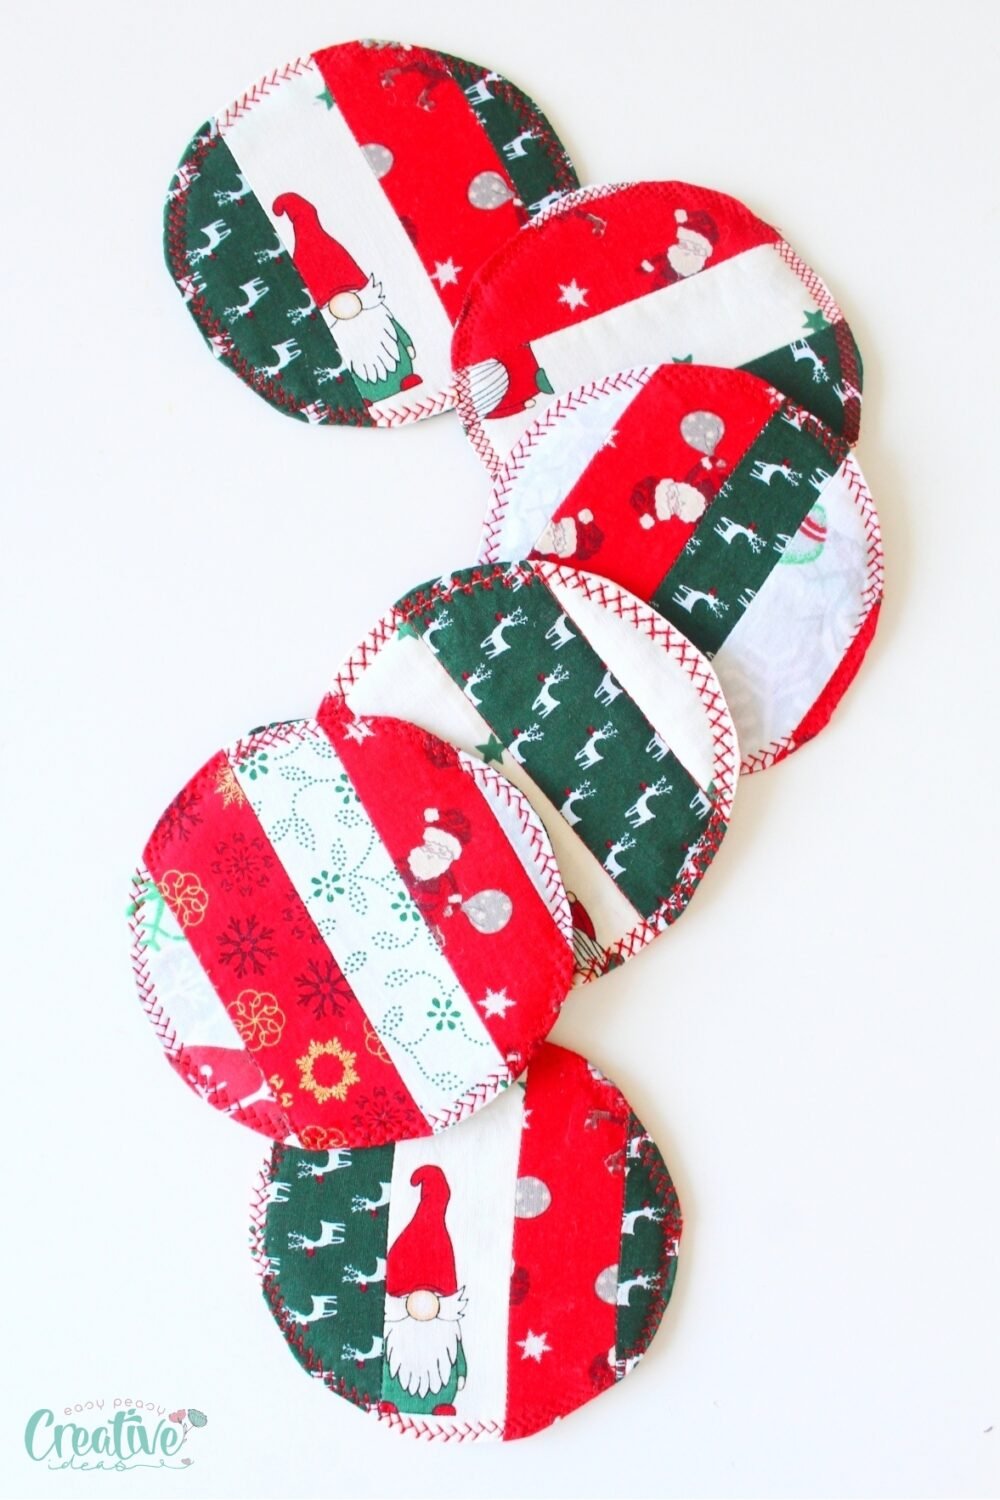
Creating handmade quilted coasters not only allows you to express your creativity, but it also adds a personal touch to your home décor. Making fabric coasters out of fabric scraps is one of my favorite projects. These patchwork coasters are not only functional, but they also add a unique and colorful element to any table setting.
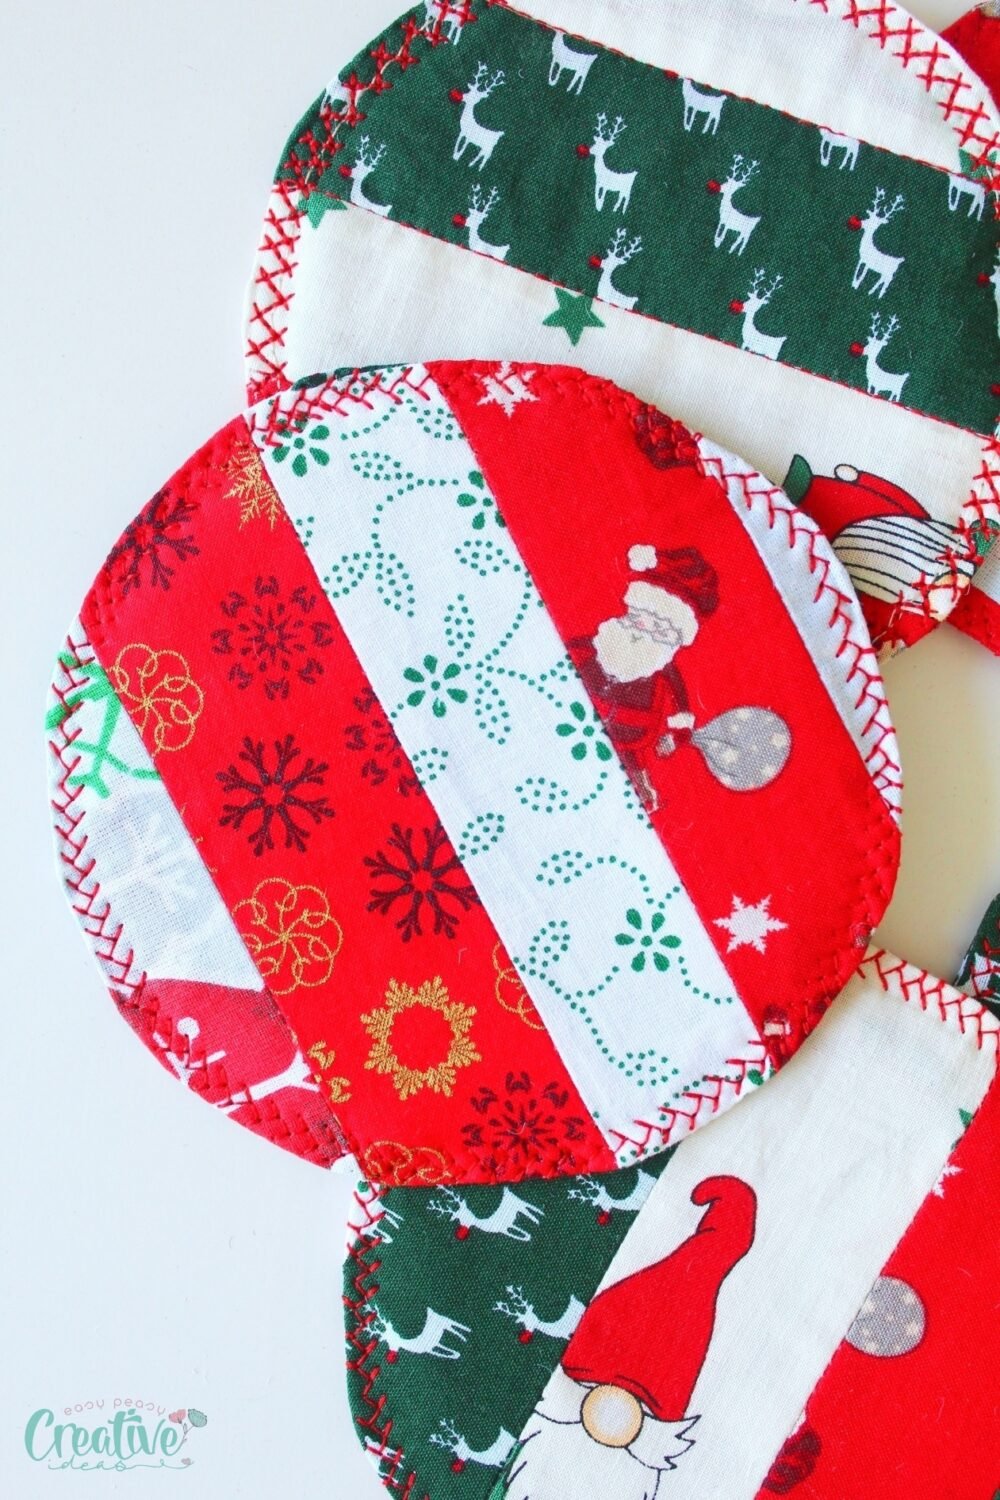
Quilted coasters blend practicality with creativity, transforming simple functional items into eye-catching décor pieces. Their charm lies in the choice of fabrics, offering endless possibilities to match any style or season. For this project I opted for fabric scraps from my leftover Christmas themed fabrics that I used for this easy quilted table runner.
How to sew quilted coasters
Materials you need
- Fabric Scraps: Begin with a variety of fabric scraps in your preferred widths and colors. These pieces allow for personalized designs, letting your creativity shine as you mix and match patterns and hues to create unique coasters.
- Backing Fabric: Choose a backing fabric that complements the strips you’ve selected. This fabric serves as the underside of the coaster, so it should harmonize with your design.
- Batting: Use a piece of batting or batting scraps to form the core of your coasters. Batting provides the necessary cushioning and stability, making your coasters functional by protecting surfaces from heat and moisture.
- Matching Thread: Select thread that matches your fabric choices. The right thread not only ensures your coasters are securely stitched but also adds a polished, professional finish to your creation.
- Double-Sided Interfacing: Incorporate double-sided interfacing to hold the layers of your batting and backing fabrics together. This material also adds structure, ensuring your coasters maintain their shape and durability over time.
Equipment
- Scissors: Essential for cutting fabric to the desired shapes and sizes, a good pair of sharp scissors ensures clean cuts, making it easier to piece together your coaster.
- Round Bowl (5-inch diameter): Use this as a template to trace the main shape of your coaster. Its diameter is perfect for crafting a standard-sized coaster, offering a consistent guide for cutting.
- Smaller Bowl (0.5-inch smaller): This bowl is used to trace slightly smaller circles for the batting and interfacing layers. It ensures a snug fit inside the main fabric, which helps in shaping and padding the coaster.
- Pins: These are crucial for holding fabric pieces together during assembly. They help to keep everything aligned, making sewing easier and more accurate.
- Fabric Marker: Use this tool to mark measurements and guide lines on your fabric. It’s especially useful for planning your cuts and ensuring everything lines up correctly without leaving permanent marks.
- Iron: Prepping your fabric with an iron sets the material, eliminating wrinkles and creases. This step is vital for smooth assembly and a professional-looking final product.
- Point Turning Tool: This tool is normally used to turn out corners but it’s great for smoothing seams out too to ensure they are crisp and even. It helps refine the coaster’s shape, enhancing its overall appearance and finish.
Instructions to sew the quilted coasters
Detailed step-by-step photos and video are available in the craft card at the bottom of the tutorial.
Preparations:
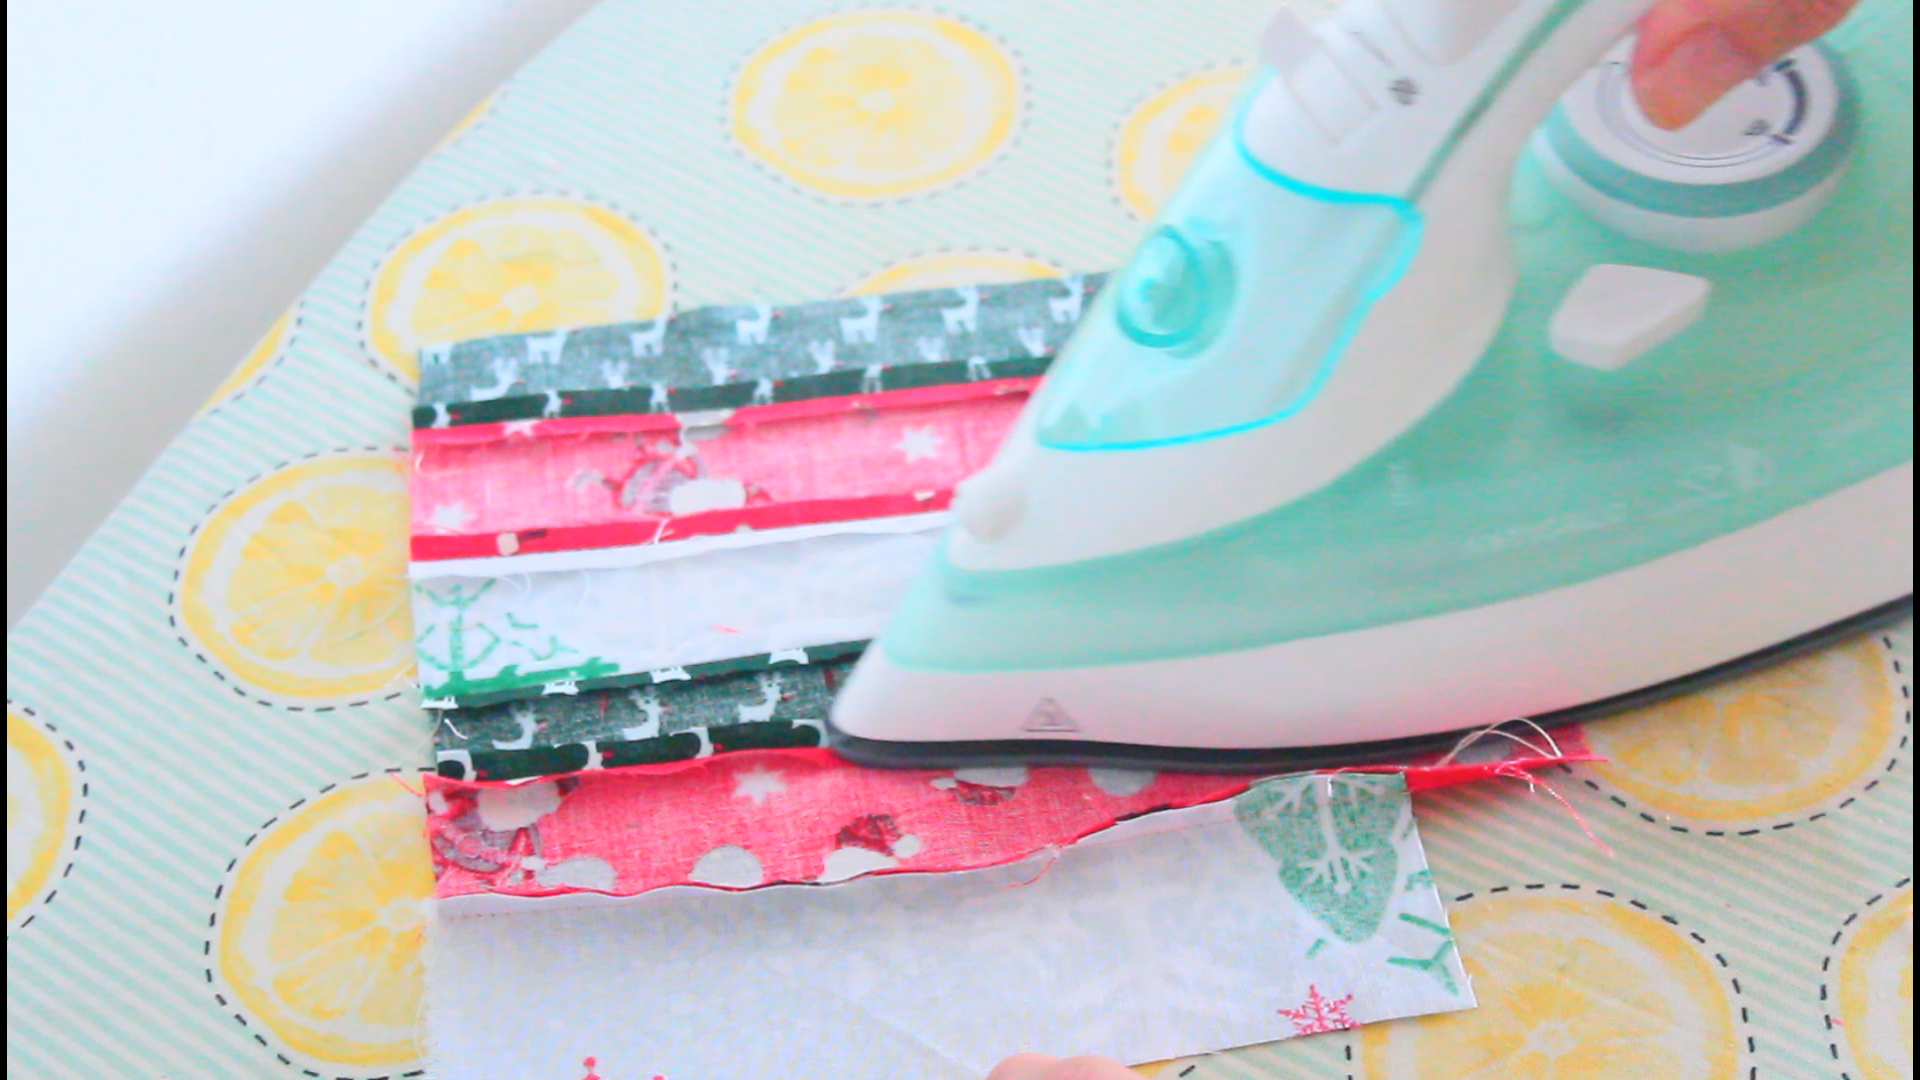
Start by sorting out your fabric scraps, matching them by length and color to get the look you want. Trim the edges to get rid of any fraying, and then iron the strips to prep the surface.
Sewing
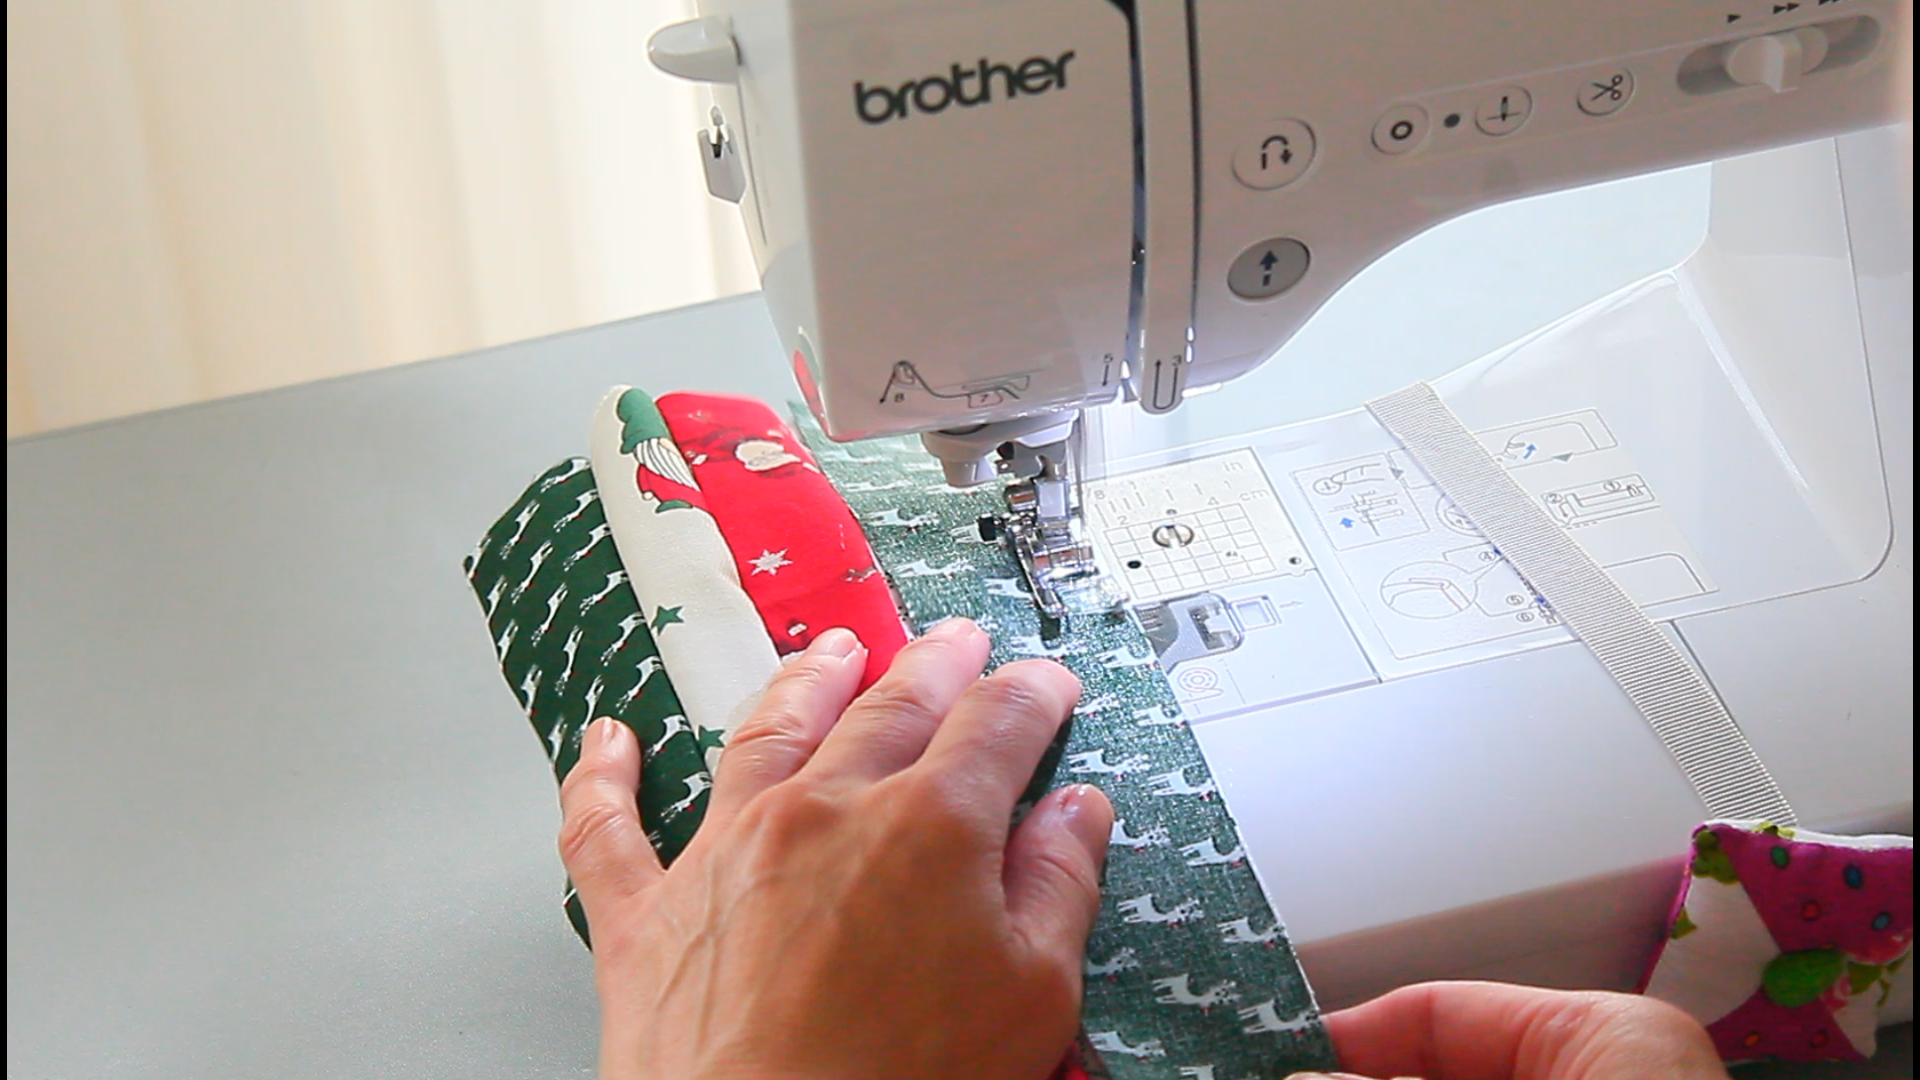
- Stitch the strips together along the longer sides, using a 1/4″ allowance.
- When you have panels large enough for 4-6 coasters, stop sewing and press the seams open.
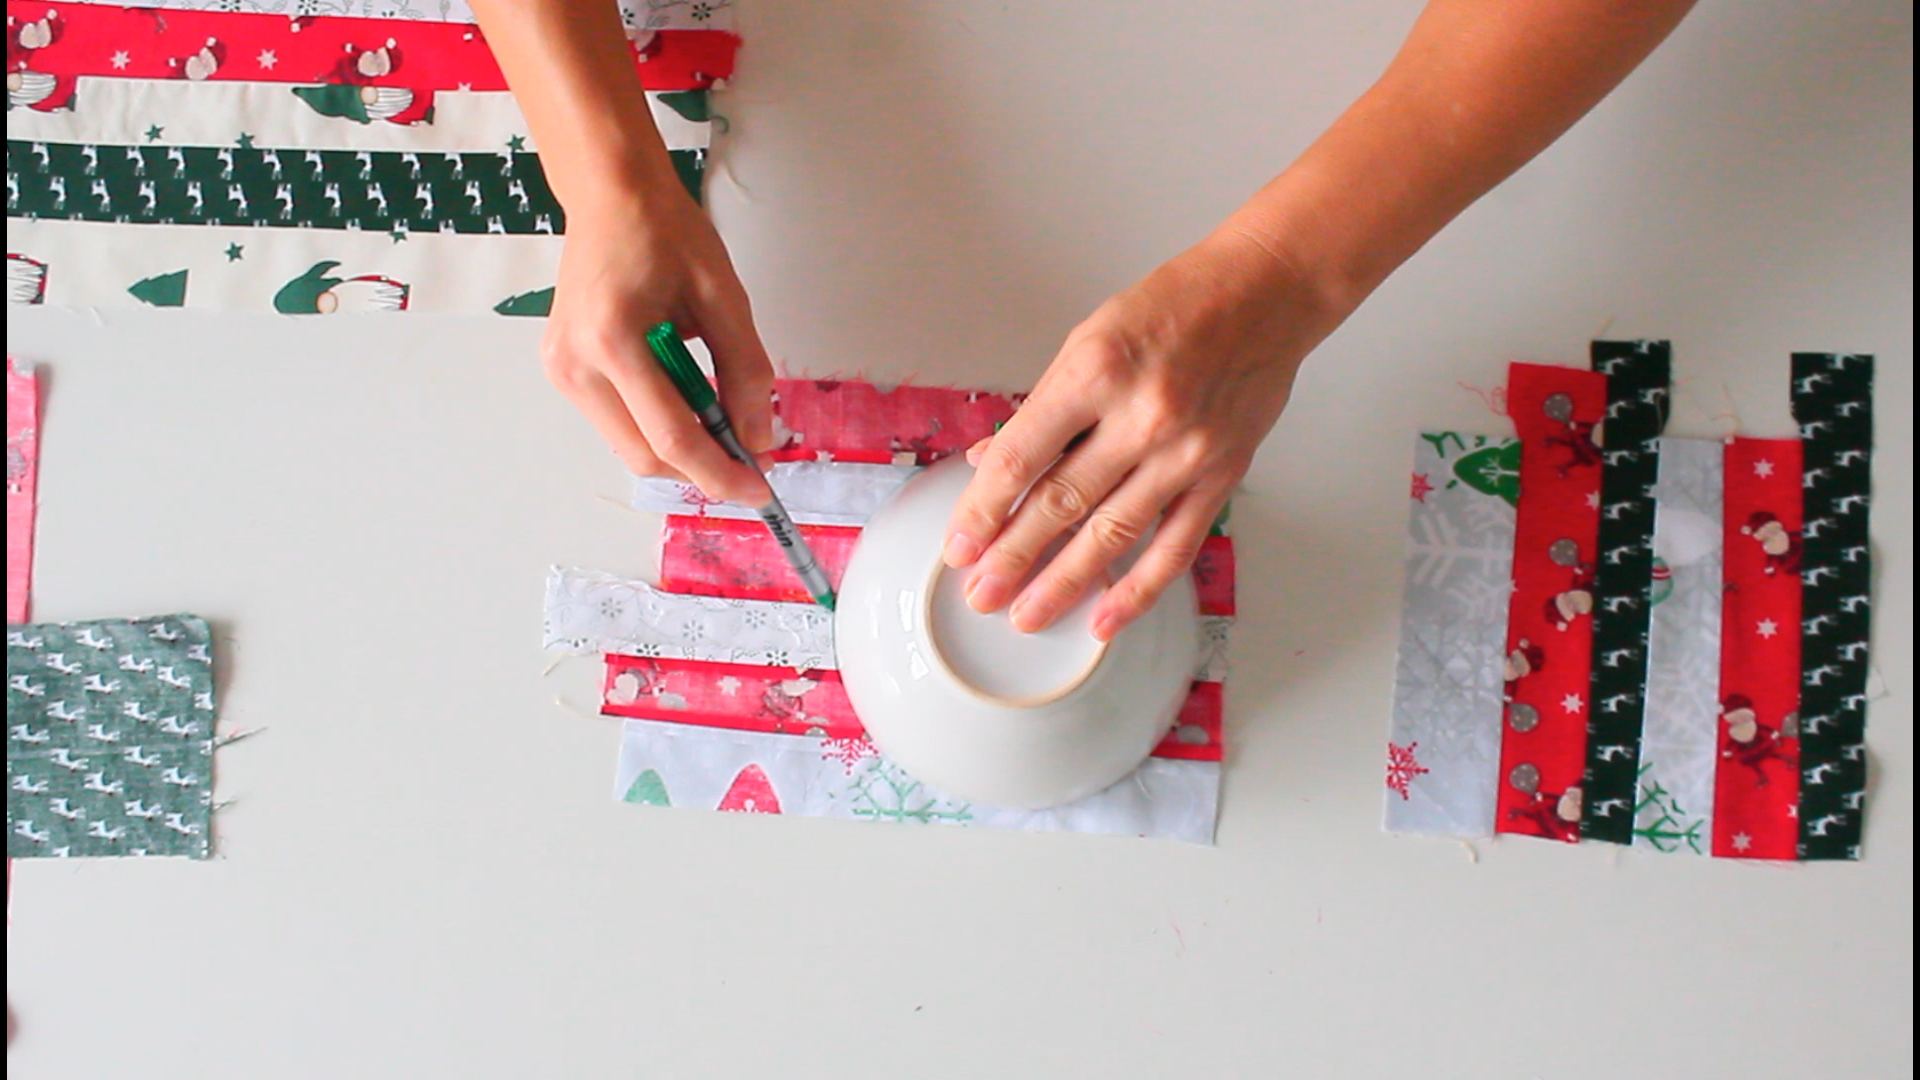
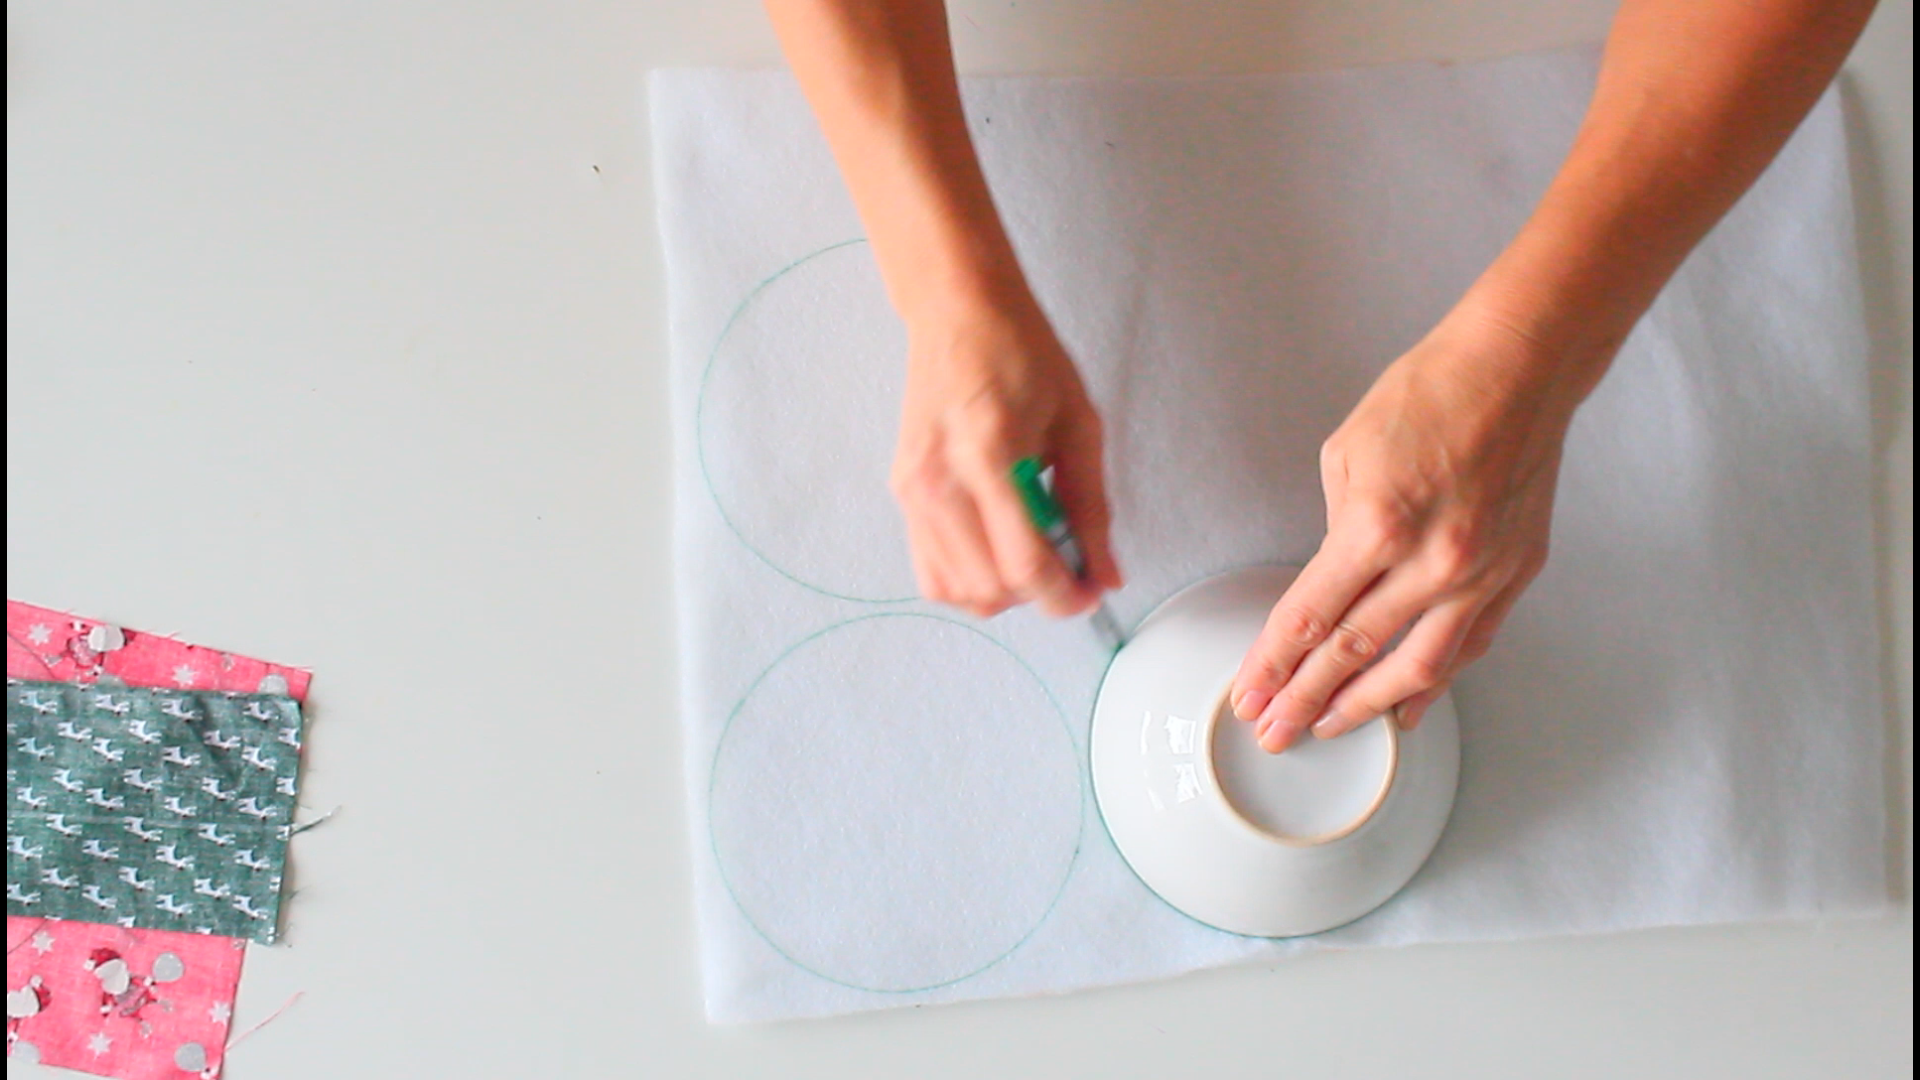
- Use the larger bowl to trace circles on the fabric panels and backing fabric.
- For the batting and interfacing, trace circles using the smaller bowl.
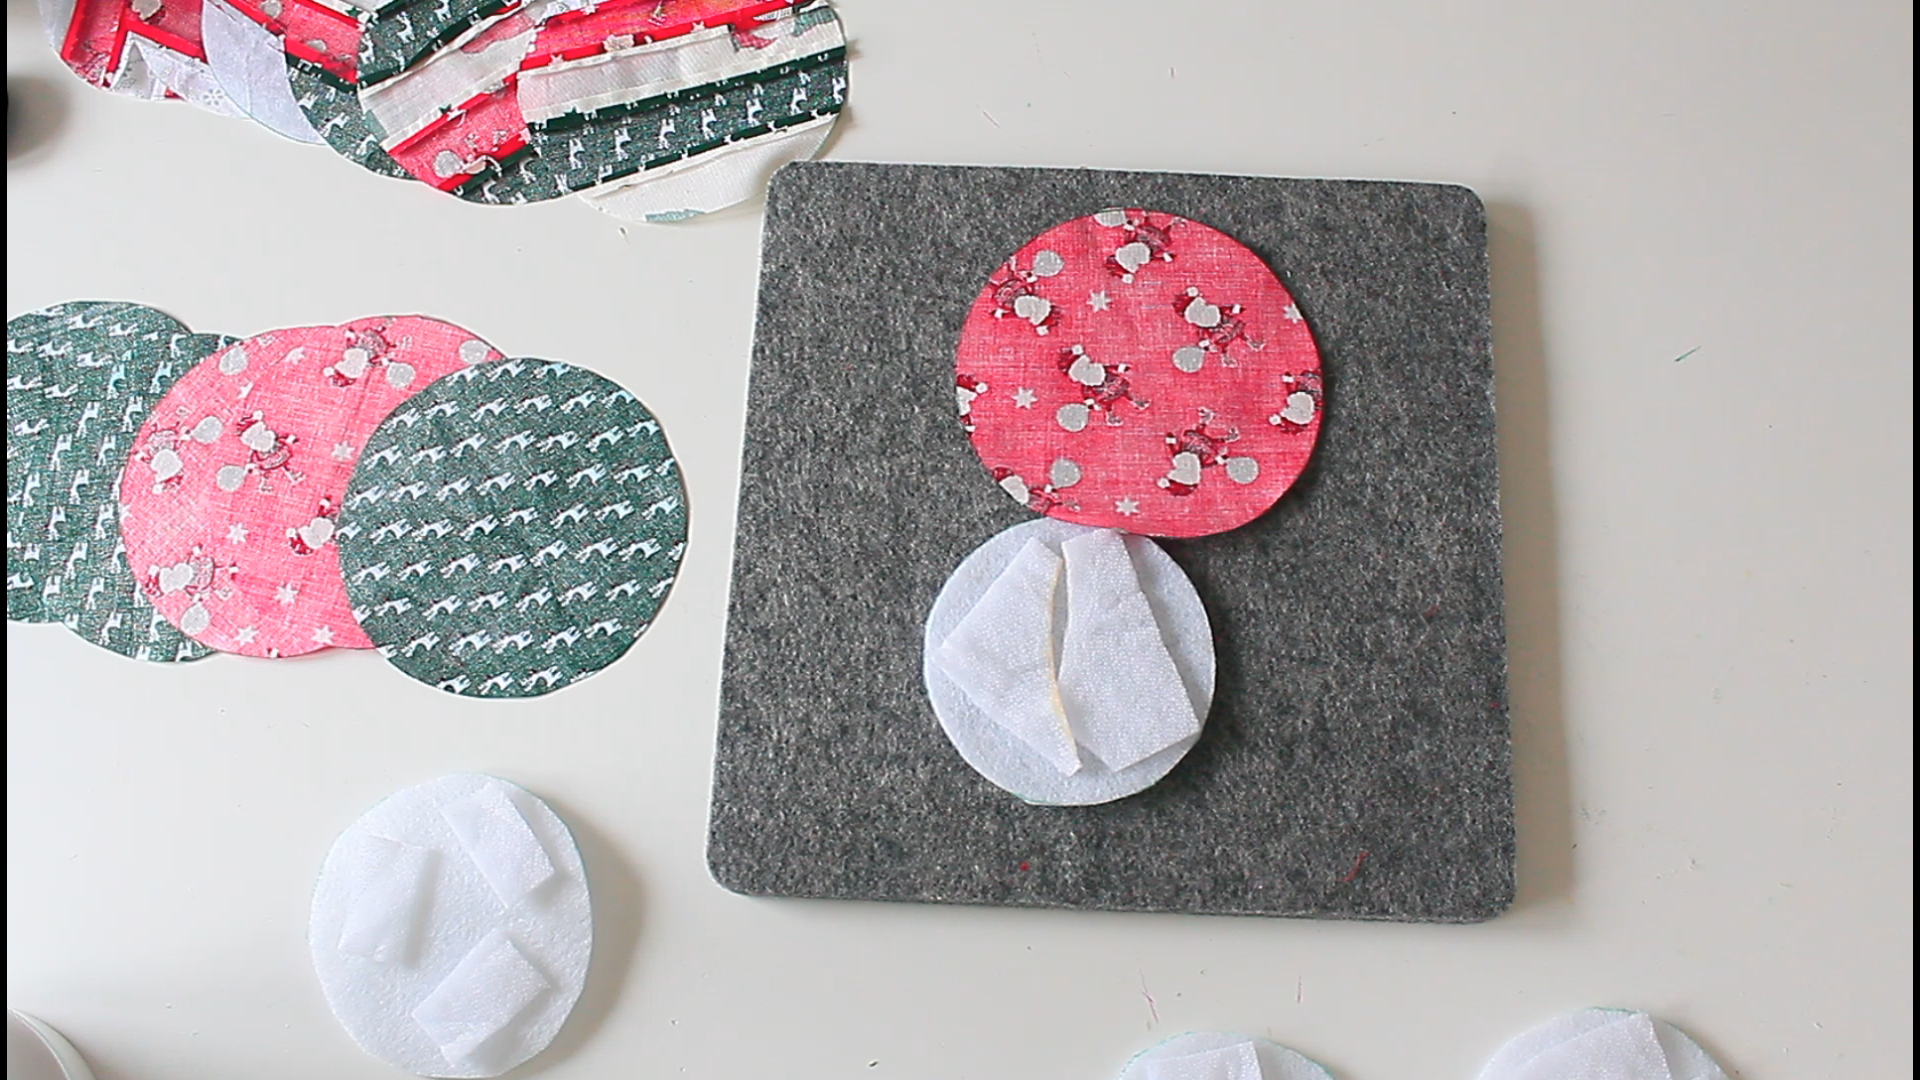
- Insert interfacing between one piece of the batting and one backing piece, centered, then press to fuse.
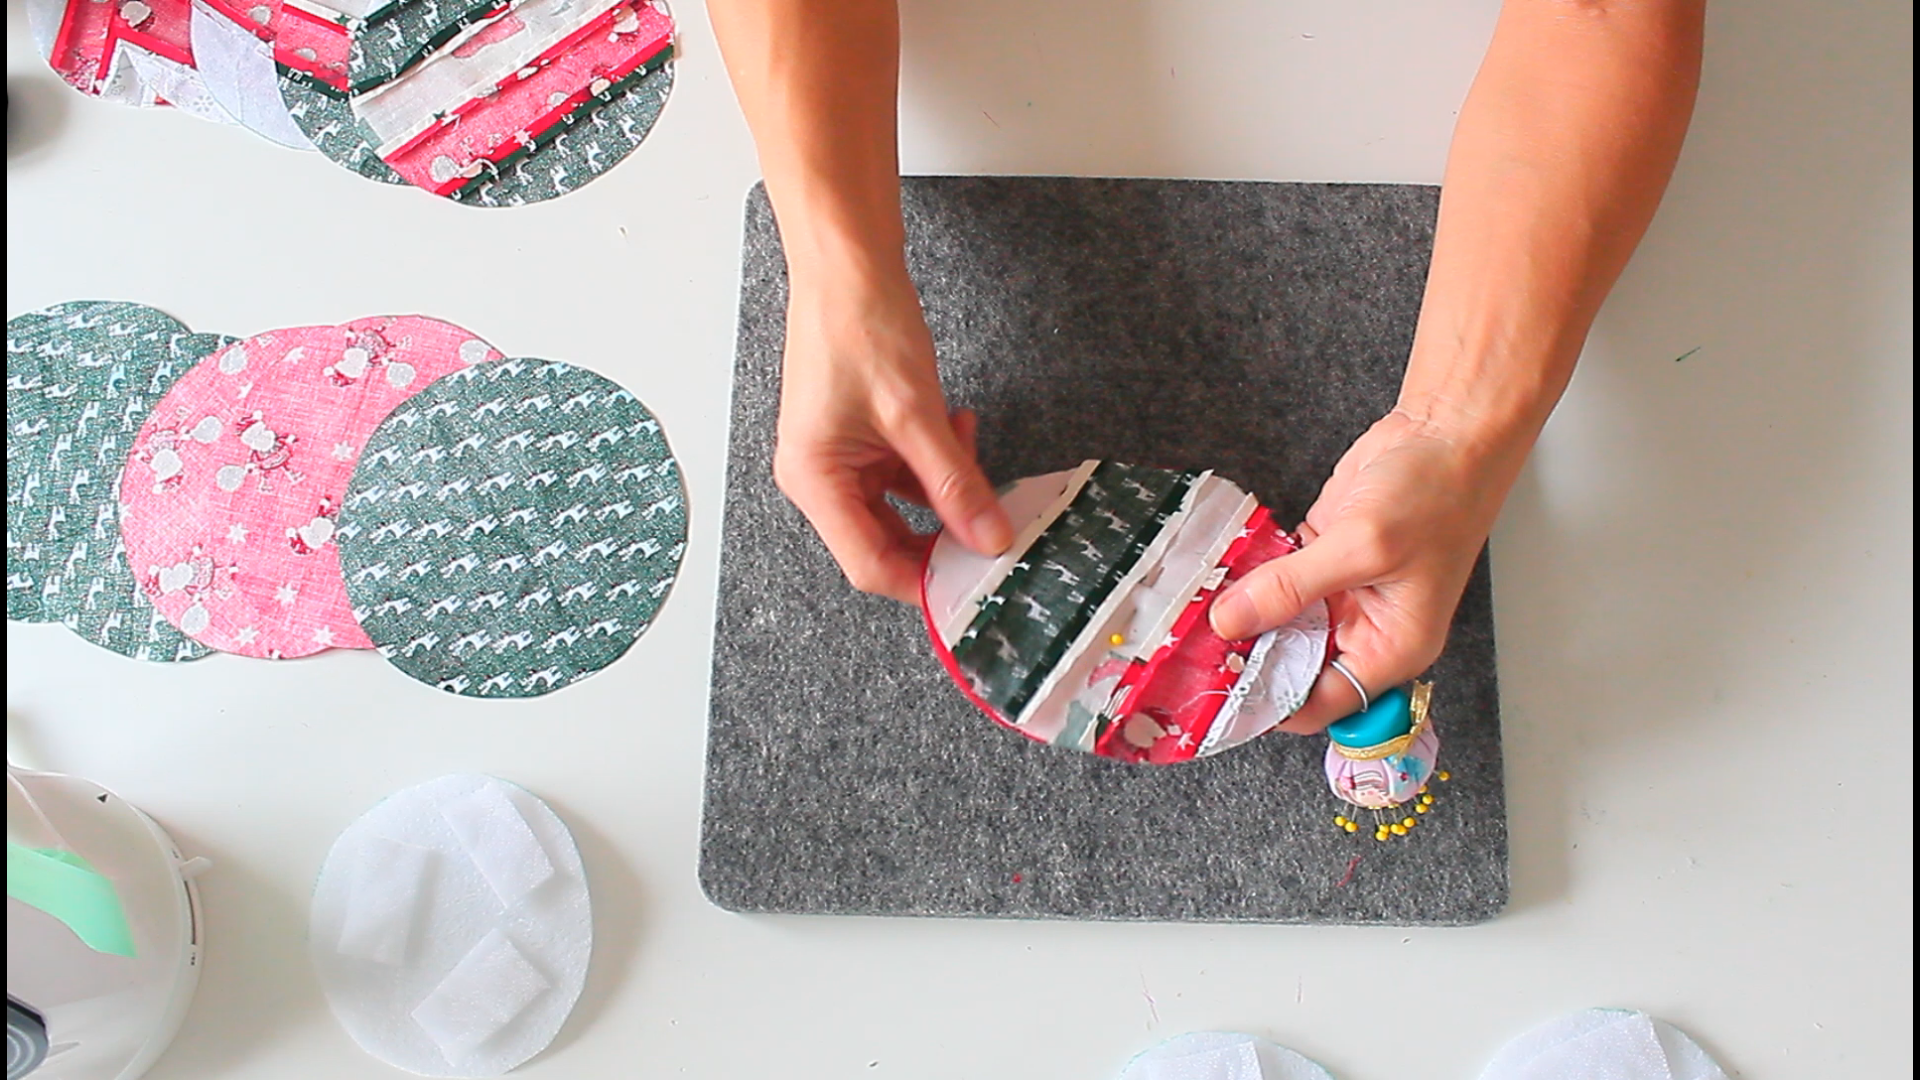
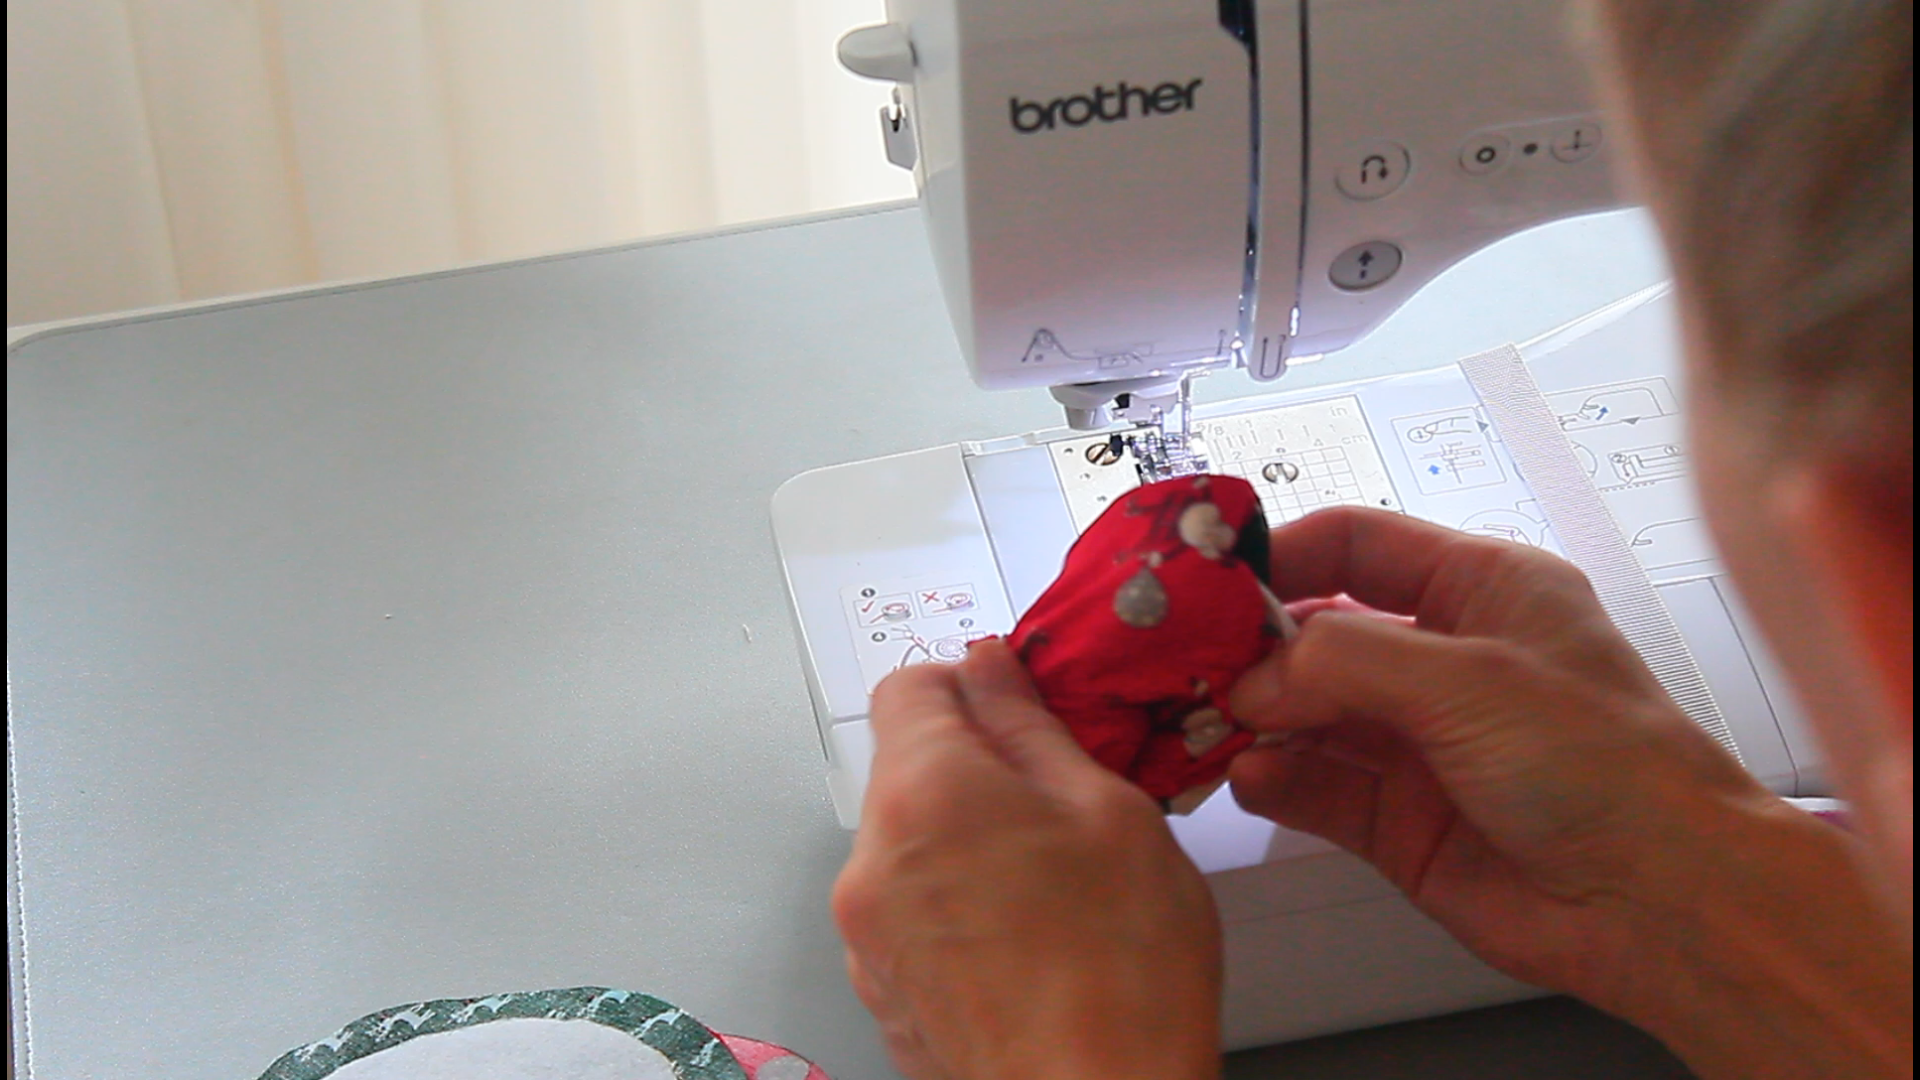
- Place the top fabric right side up, then add the backing right sides down.
- Pin through the center to keep the layers together.
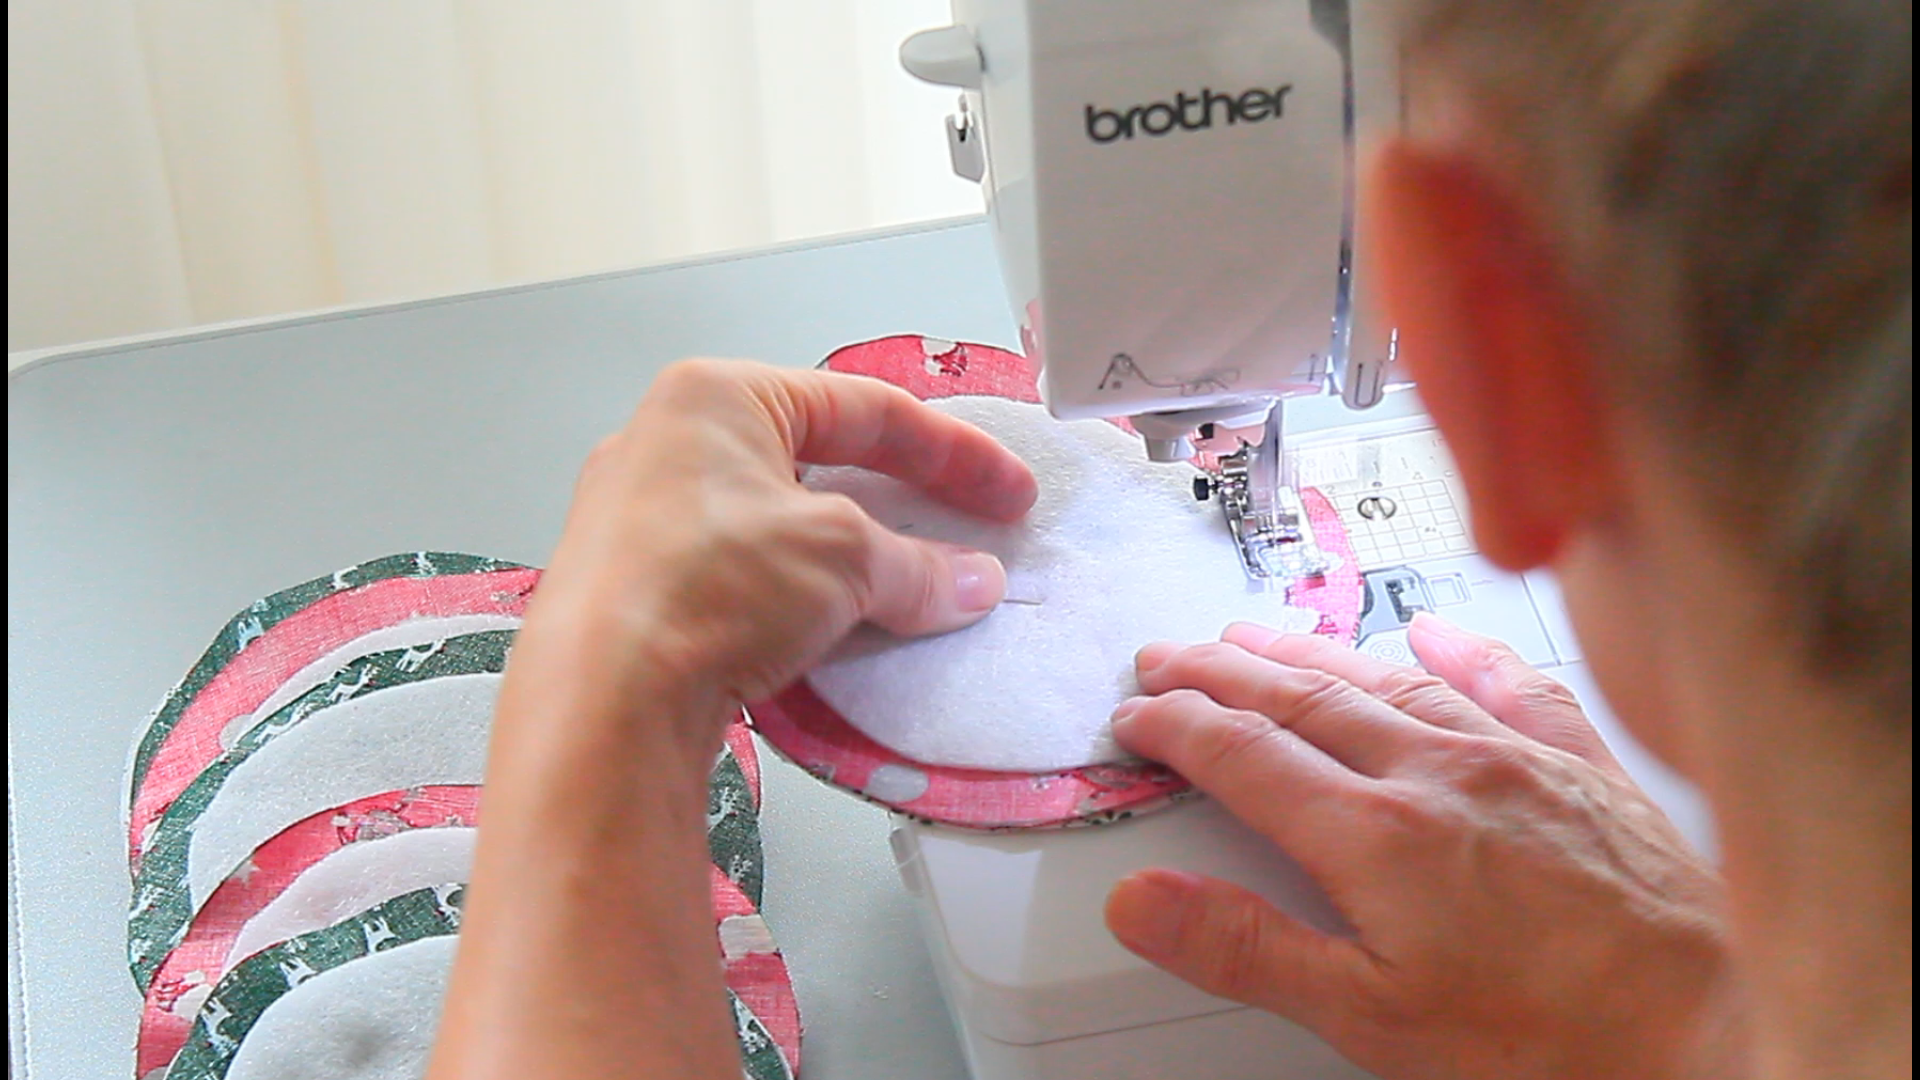
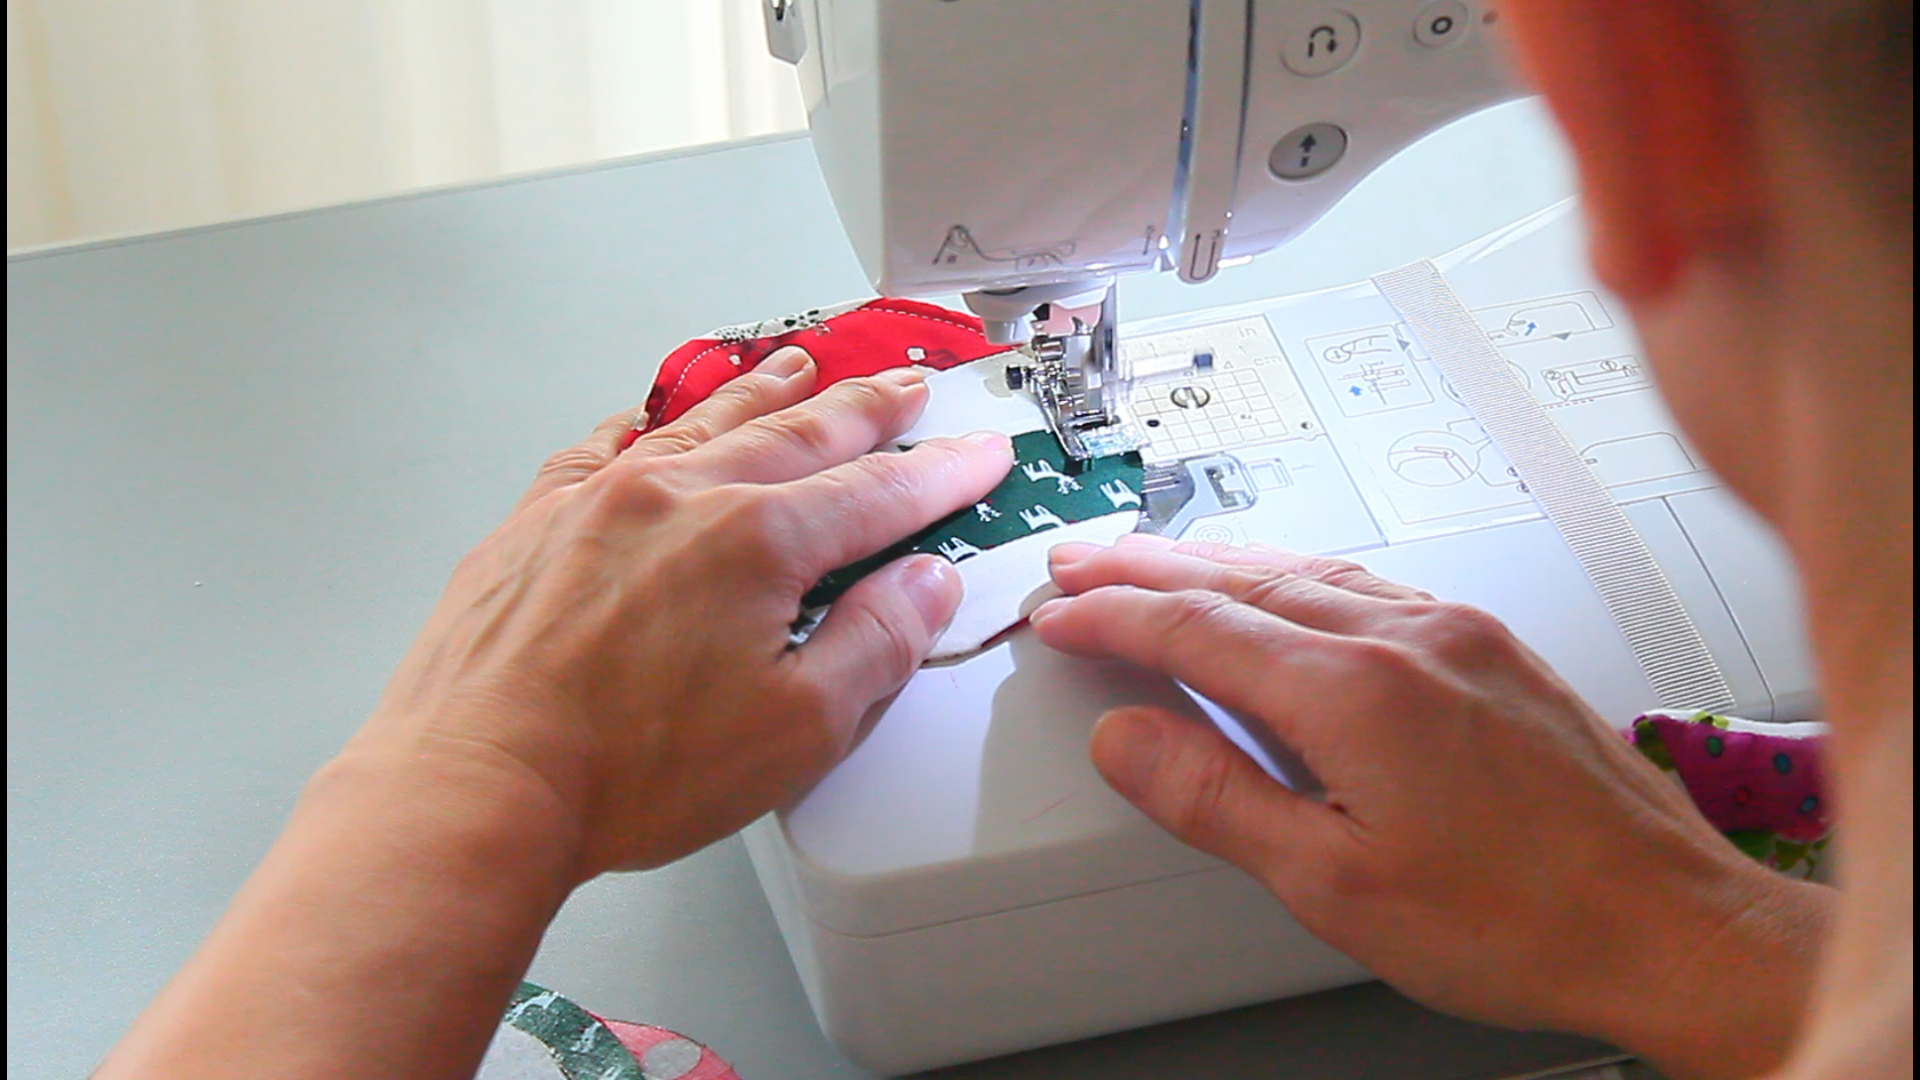
- Sew around with a 1/2″ allowance, backstitching both ends and leaving a 2-inch gap for turning.
- Turn the coaster right side out, smooth the seams out with a point turner, and press.
- Close the gap by pushing in the edges inside, pressing and edge stitching around the coaster.
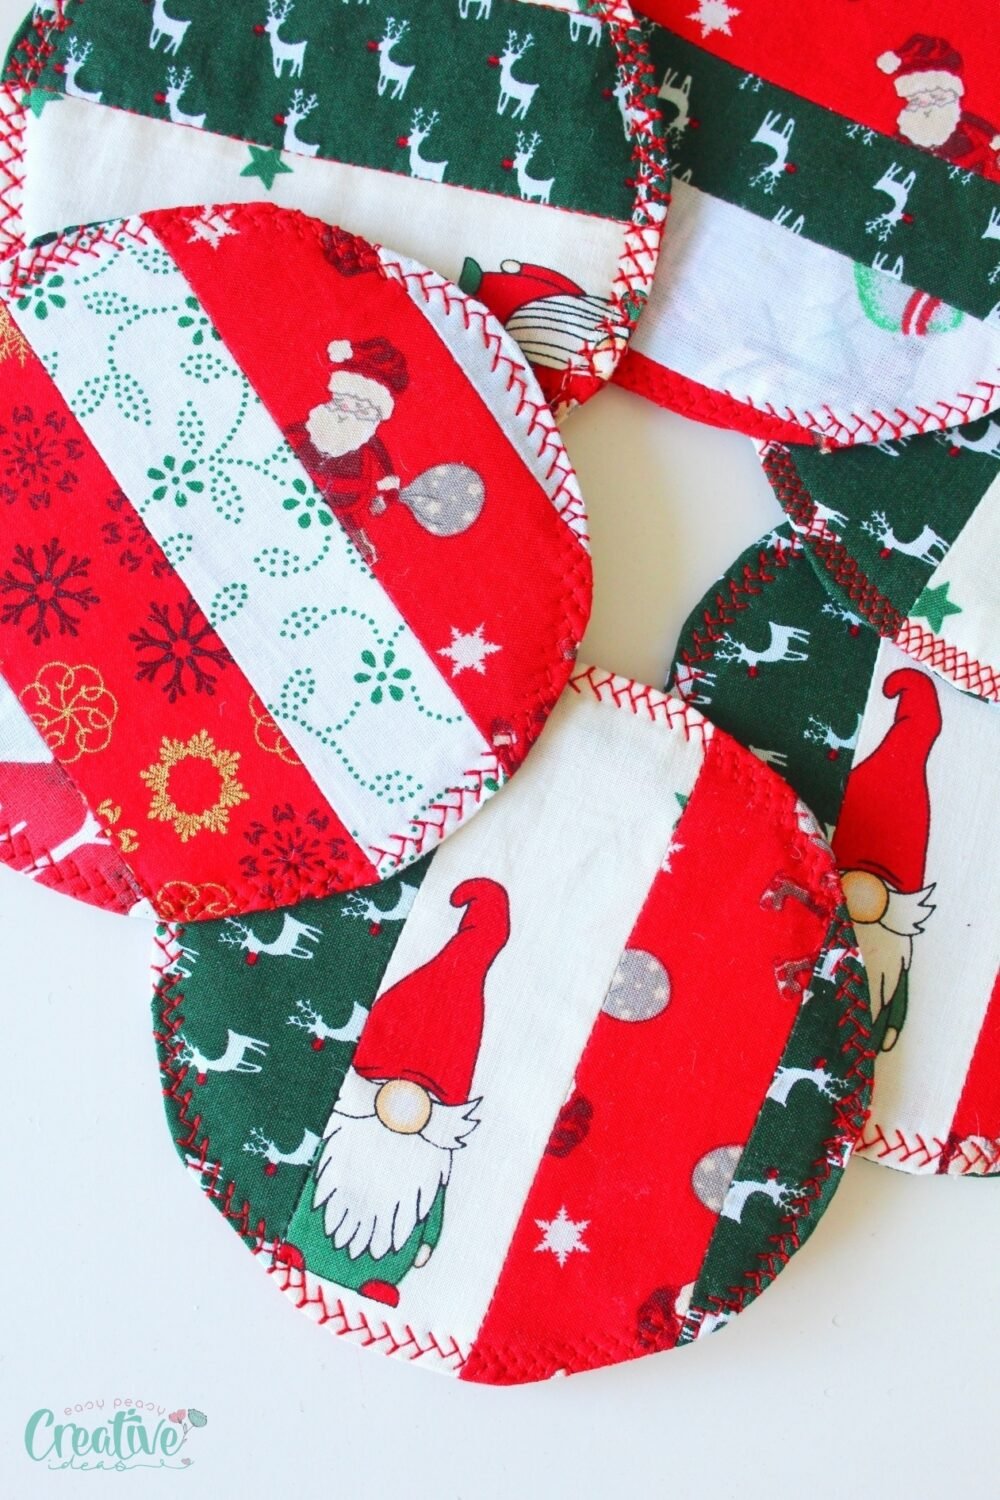
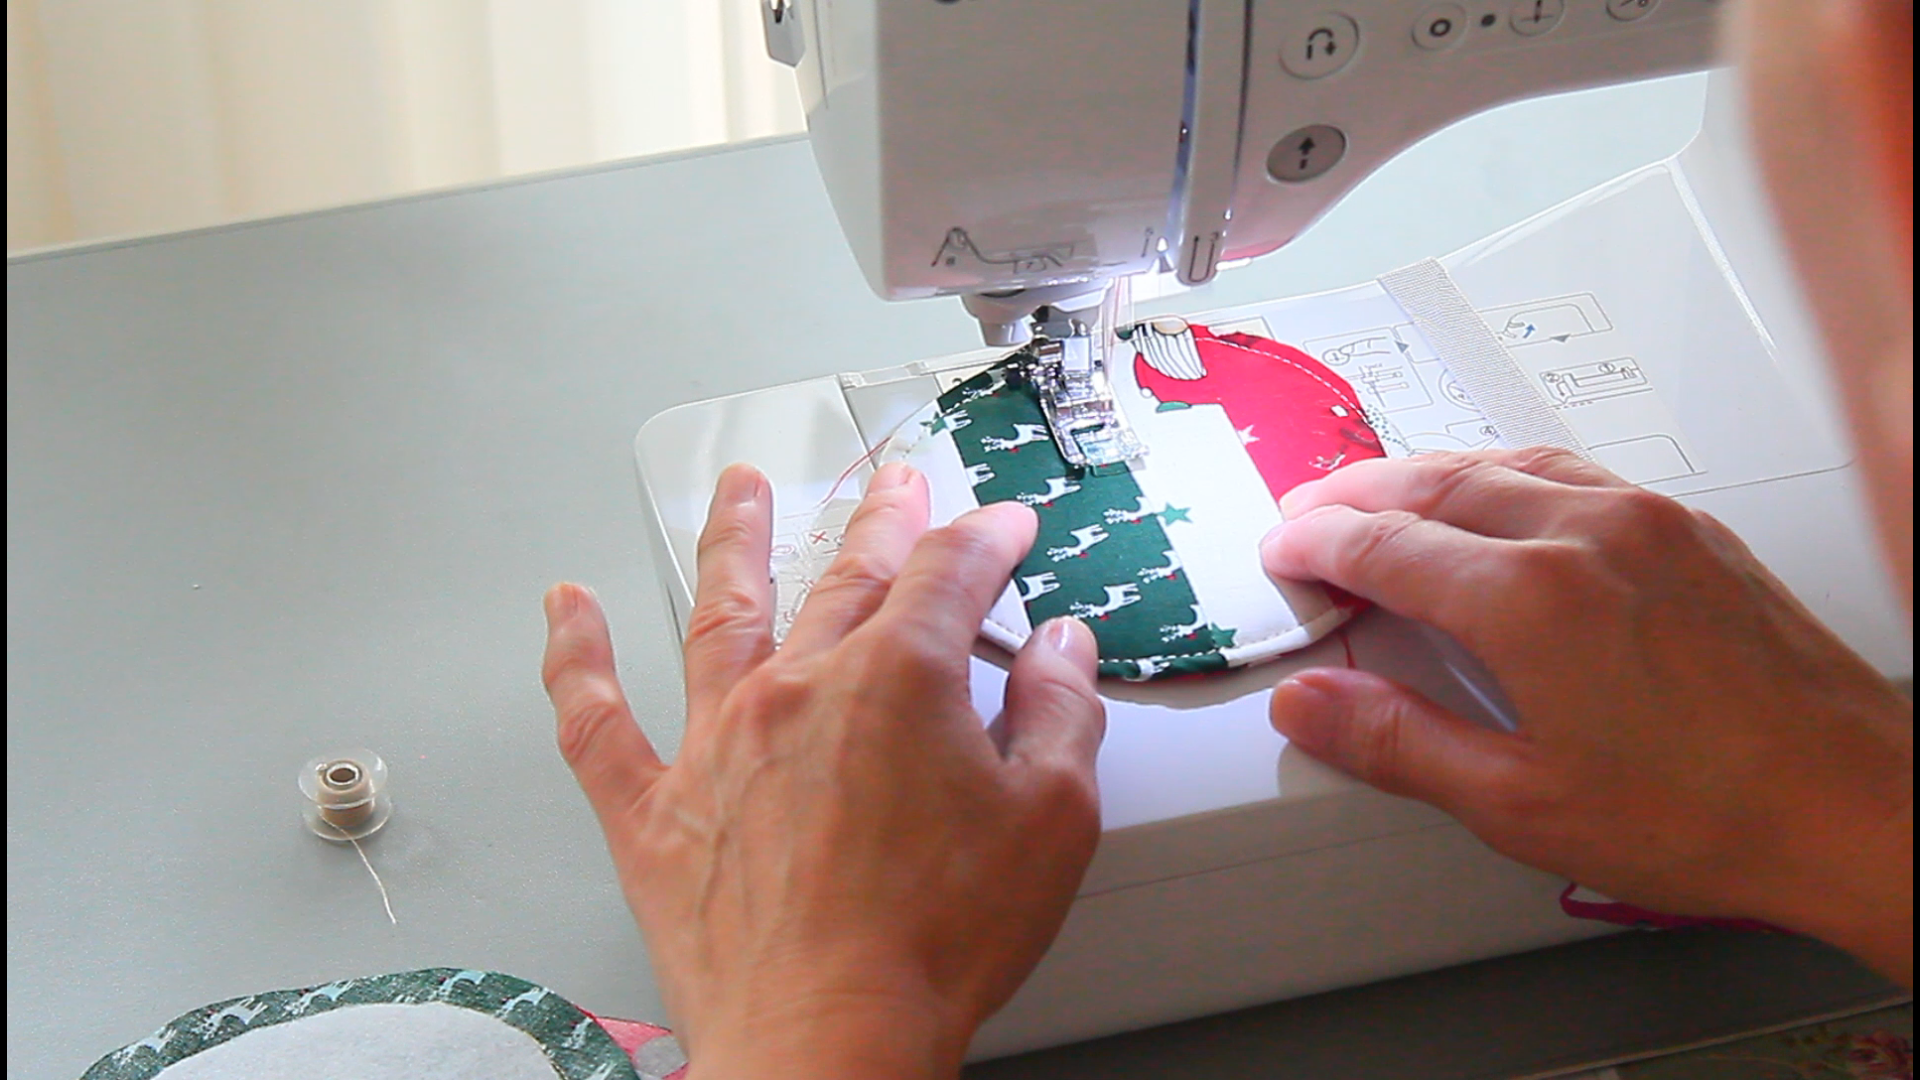
- Quilt by sewing along the seams between strips, adding decorative stitching along the edges if desired.
Tips
- Use a walking foot for sewing the layers together to ensure even stitching.
- Experiment with different quilted patterns and designs for a unique look.
- To sew a perfectly round coaster it might be helpful to draw the seam allowance onto the wrong side of the coaster before sewing.
- Pushing the gap inside might be a little bit tricky because of the round shape of the gap. Cut a few notches in the seam at the gap before turning the coasters right side out.
Sewing Project Variations
- Instead of using fabric scraps, try using old clothing items to create a sentimental keepsake coaster.
- Personalize your coasters by adding embroidery or applique designs onto the top fabric.
- Sewing decorative stitching all around the coasters is only optional but I highly recommend it if you’ll be using these coasters for a festive table setting.
Frequently Asked Questions
Can I use thicker batting for more cushioning?
Yes, but keep in mind that thicker batting may make it harder to sew through all layers. You may need to use a longer stitch length and sew more slowly.
Can I make larger or smaller coasters with this method?
Yes, you can adjust the size of your coasters by using different sized bowls as templates. Just remember to adjust your seam allowances accordingly.
Caring for Your Coasters
If necessary, lightly hand wash with warm water and mild detergent, then air dry. Iron on low heat if needed.
More Sewing Projects You’ll Enjoy!
Creating quilted coasters not only adds a personal touch to your home décor but also serves as a wonderful way to nurture your creativity and practice sustainable crafting. I hope you feel inspired to embark on this delightful sewing journey.
If you enjoyed this project, let me know in the comments below and be sure to sign up for my newsletter for more inspiring sewing ideas and tips. Happy sewing!
Round quilted coasters sewing tutorial
Materials
- Fabric Scraps
- Backing Fabric
- Batting
- Matching Thread
- Double-Sided Interfacing
Tools
- scissors
- Round Bowl (5-inch diameter)
- Smaller Bowl (0.5-inch smaller)
- Iron
Instructions
- Start by sorting out your fabric scraps, matching them by length and color to get the look you want. Trim the edges to get rid of any fraying, and then iron the strips to prep the surface.
- Stitch the strips together along the longer sides, using a 1/4" allowance.

- When you have panels large enough for 4-6 coasters, stop sewing and press the seams open.
- Use the larger bowl to trace circles onto the fabric panels and backing fabric.
- For the batting and interfacing, trace circles using the smaller bowl.
- Insert interfacing between one piece of the batting and one backing piece, centered, then press to fuse.
- Place the backing fabric right side up, then add the patchwork panel right side down (so the right sides match).
- Pin through the center to keep the layers together.
- Sew around with a 1/2" allowance, just outside the batting, backstitching both ends and leaving a 2-inch gap for turning.
- Turn the coaster right side out through the gap, smooth the seams out with a point turner, push the gap inside and press.
- Close the gap by edge stitching around the coaster.
- Quilt by sewing along the seams between strips, adding decorative stitching along the edges if desired.

Video
Article may contain Amazon & affiliate links. As an Amazon Associate I earn from qualifying purchases at no additional cost to you.

This is fun and easy to make. It will look good for various seasonal /holiday themes and in every fabric. I believe it would also make a nice present item for any occasion (wedding, birthday, anniversary, etc).
Thanks, Patricia! I’m glad you enjoy this project!