These adorable fabric coasters are the perfect slippers for your wine glass
Ever wondered if there’s a cute way of preventing glass marks on your furniture during a party? Well, look no more! In this easy peasy DIY fabric coasters tutorial I’m going to show you a super easy way of making a whole bunch of wine glass slipper in just a few minutes!
DIY fabric coasters
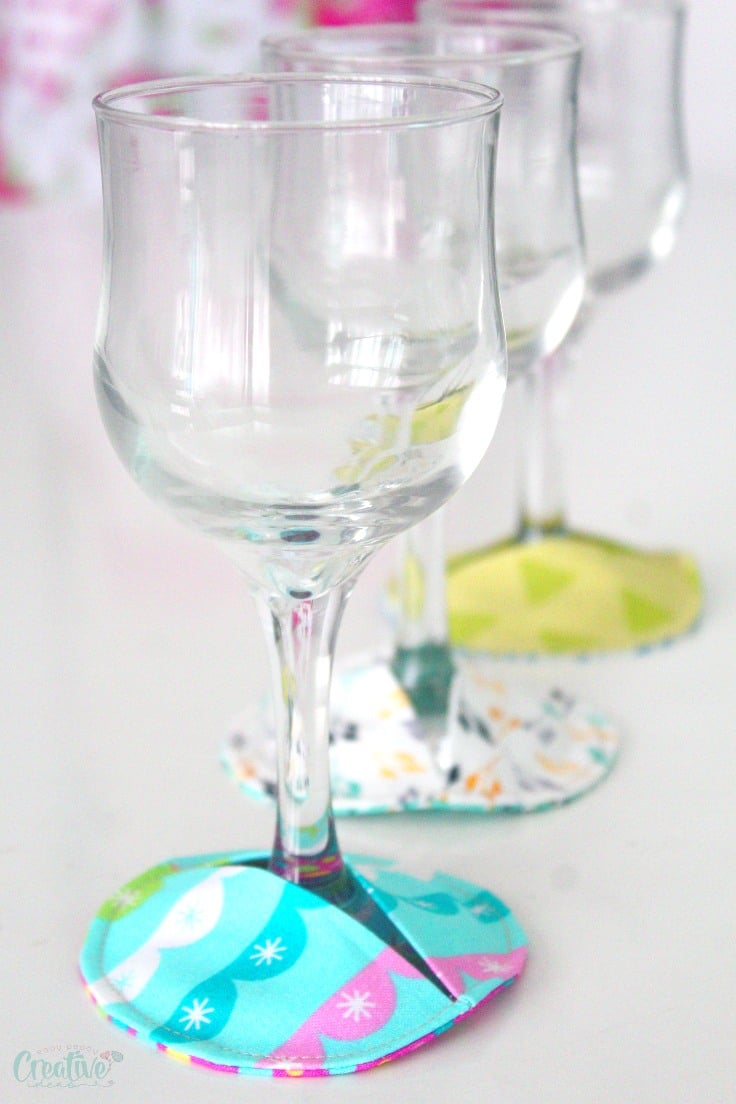
With this simple DIY fabric coasters tutorial, you will be able to make super fun fabric coasters for wine glasses that travel with the glasses and will protect any surface from accidental spills and glass marks. This way, you and your guests can have a lot of fun without worrying about damaging the furniture.
This tutorial has been converted to a PDF file, available to purchase here. This article is completely free to read.
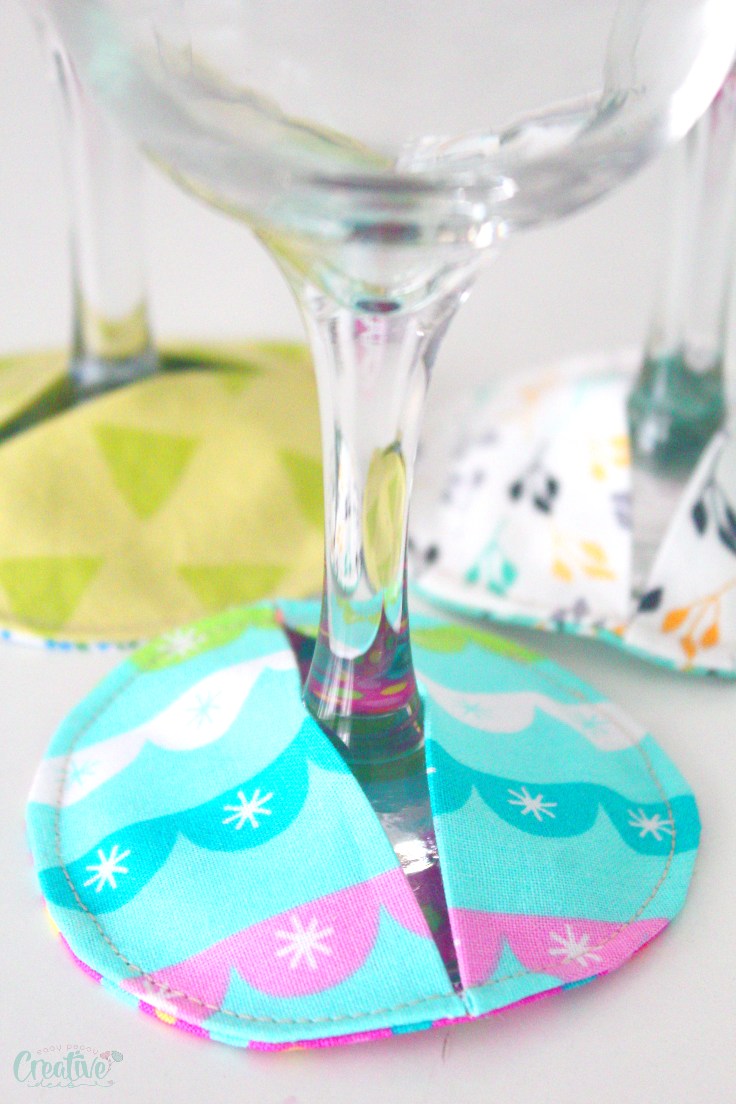
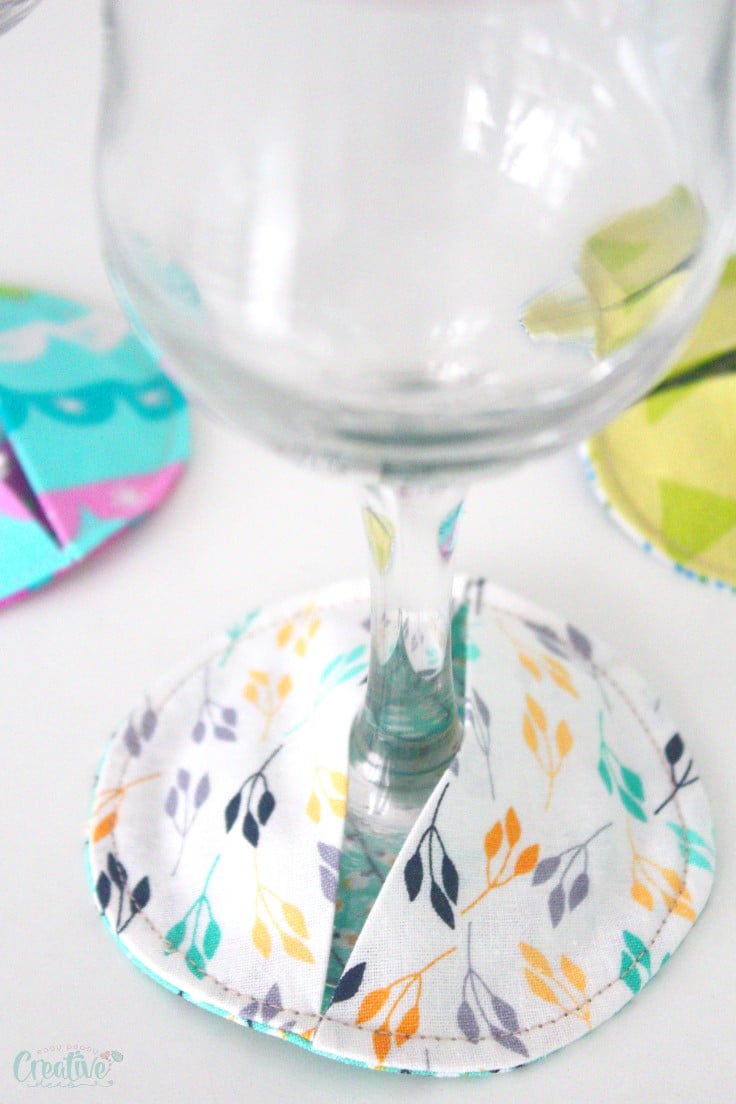
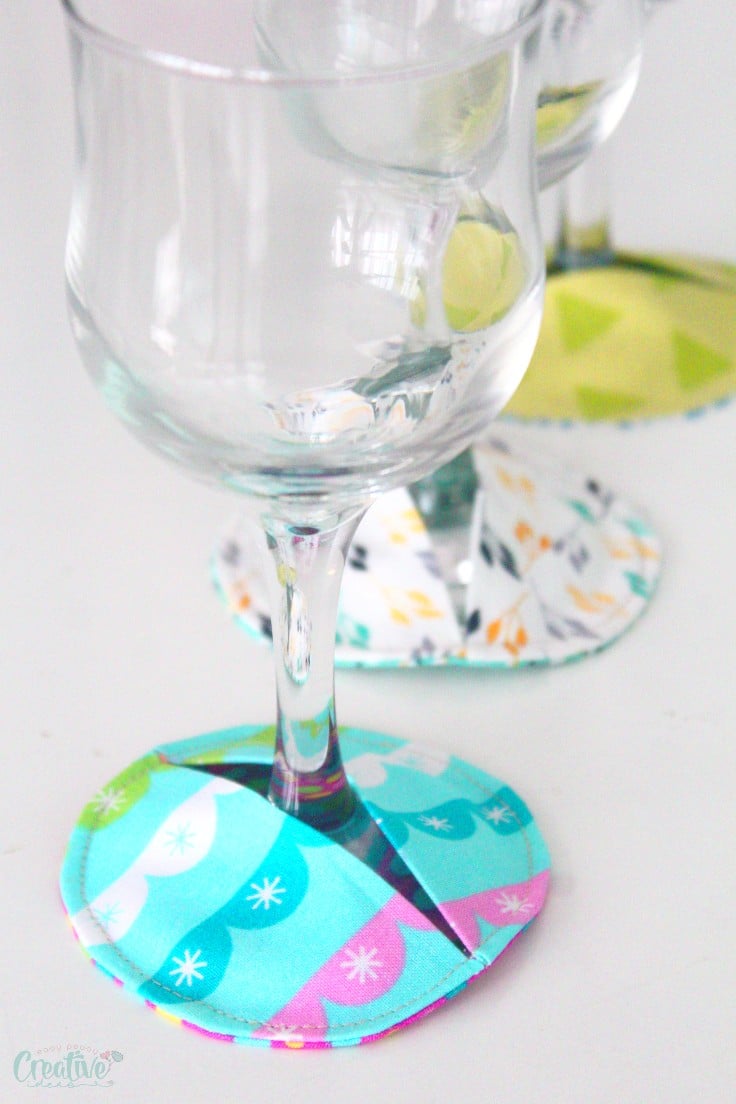
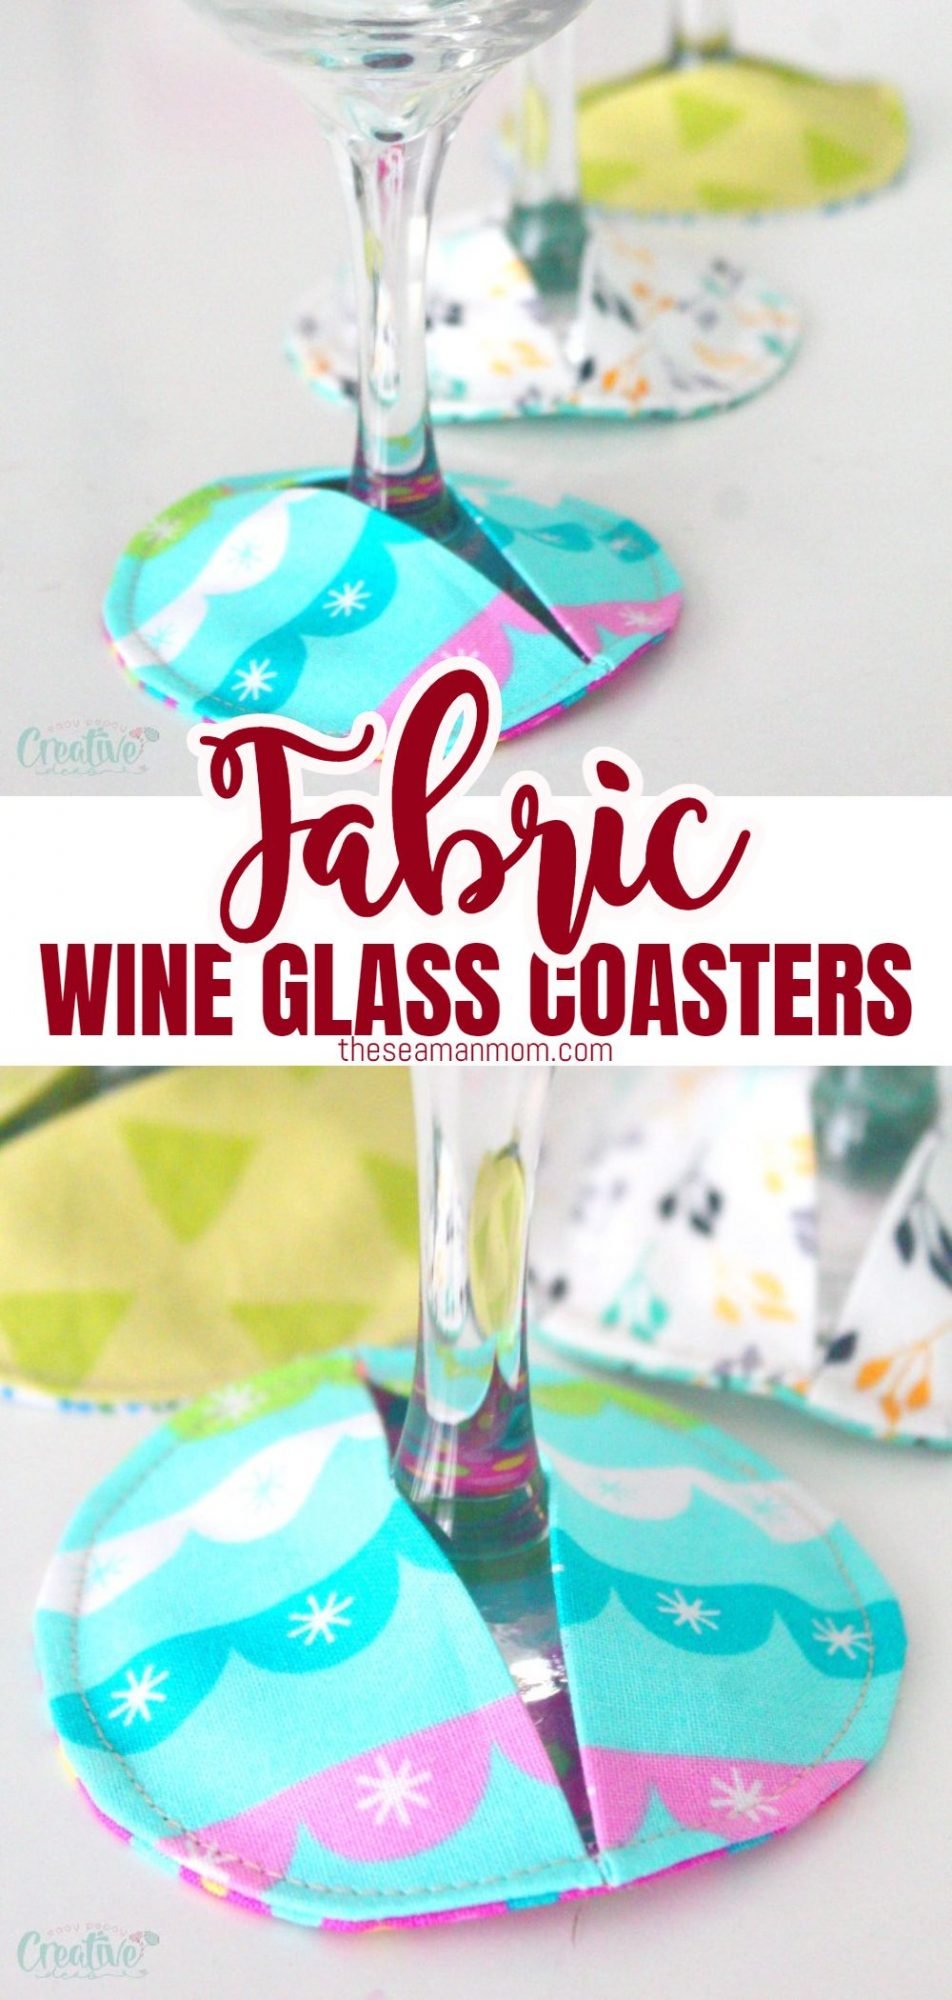
But what is a wine glass slipper, you may ask? Actually, it’s a small pocket-like covering made from fabric scraps, designed to cover the glass base with a slit in the middle. You just slip the base into the slit and protect your furniture from little drips of wine, as well as help everyone identify their glass, just like those little glass charms. These adorable fabric wine glass coasters can be used as regular coasters, or as glass slippers to move along with the glass.
More scrappy projects you will love:
- DIY fabric twine
- Quick and pretty lace headband
- 10 Minutes knotted hair ties
- Adorable bunny hair clips
- Cute fabric yoyo flowers
- How to sew a fabric bow
- Ghost coasters sewing pattern in 4 designs
- Round quilted coasters
This is a very quick and fun project even beginners can make, as it doesn’t require advanced sewing skills. I’m not sure whether this would be a good project for kids, as they aren’t supposed to drink alcohol, but if they are willing to help, you can allow them to.
Make a set of several coasters to give as holiday or birthday gifts. This way, they get to be used immediately and the person receiving them will be more than grateful for this present, as they won’t need to worry about cleaning the tables and furniture after the party.
What are some ways to make fabric coasters?
- You can make unique DIY fabric coasters so that everyone will be able to identify their glasses at a party. Use matching fabrics to get a coaster collection, or different fabrics from your stash. Another great opportunity to use up fabric scraps waiting for a pretty project!
- Make these seasonal by using patterns like snowflakes, snowmen, Santa, green colors for a Christmas party, or shiny and funny patterns for a birthday party.
- Make your coasters a little fancier with velvet, cotton, felt, brocade etc They are all great fabrics for making these pretty coasters, especially if you need them to look more festive. After all, we’re going to use them at a party, right?
- If making them out of plain fabrics, consider adding some cute embroidered motifs, decorative stitches or pretty bows to make each of them unique and more attractive. This will add an even more personal touch to your wine glass slippers.
- You can also make square coasters with a diagonal slit for a different design. It’s all up to you.
Please let me know if these coasters were just as fun and helpful for your latest party, as they were for me! Share your thoughts in the comments section below!
Download the PDF version of this tutorial here, if you prefer to work with a print out version.
Wine glass coasters
Materials:
- scraps of cotton fabric
- scissors
- fabric marker
- matching thread
- seam gauge
- pins
- interfacing
- pressing iron
- point turner/seam creaser
- sewing machine
How to make fabric coasters?
Make the base
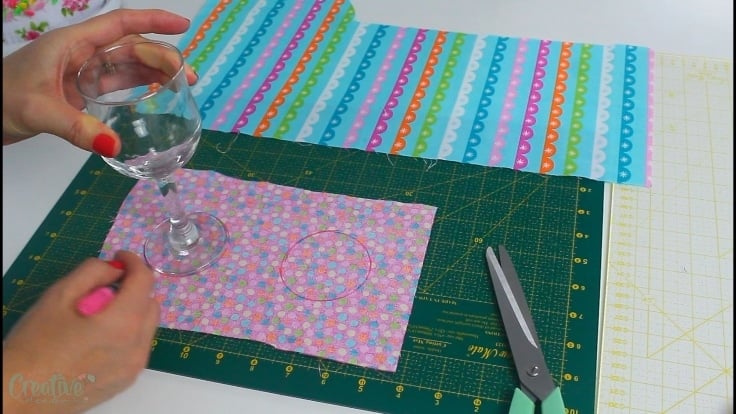
- You’ll need 2 pieces of fabric for the base. Start by placing your wine glass on the fabric and trace around the base with a fabric marker.
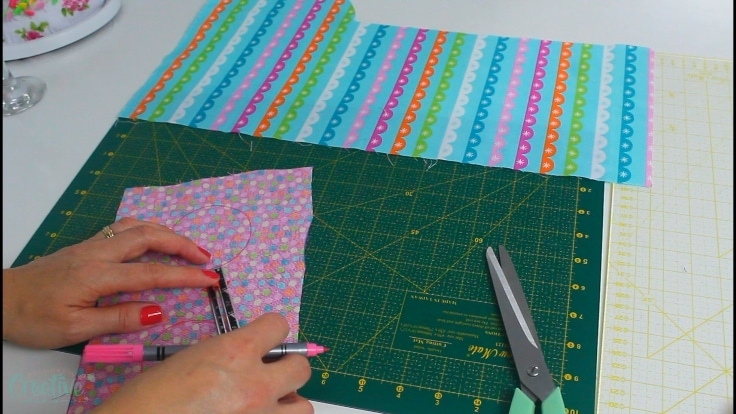
- Using a seam gauge, trace another circle, 1/2″ outside the original circle.
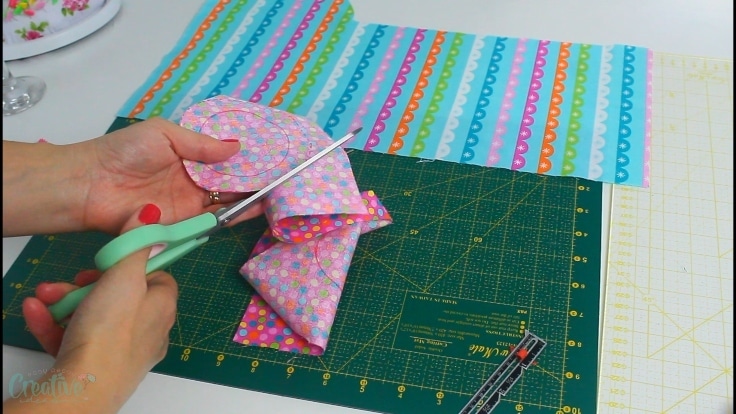
- Repeat for the second piece of fabric and cut out.
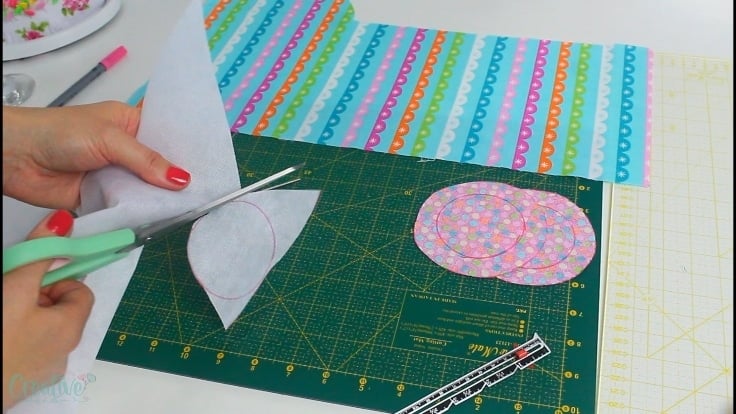
- Cut a circle out from interfacing, in the same size as the wine glass base and fuse it to one of the circles, onto the wrong side of the circle.
- If you want your base a little more stable, interface the second circle too. This is recommended if you’re using softer fabrics.
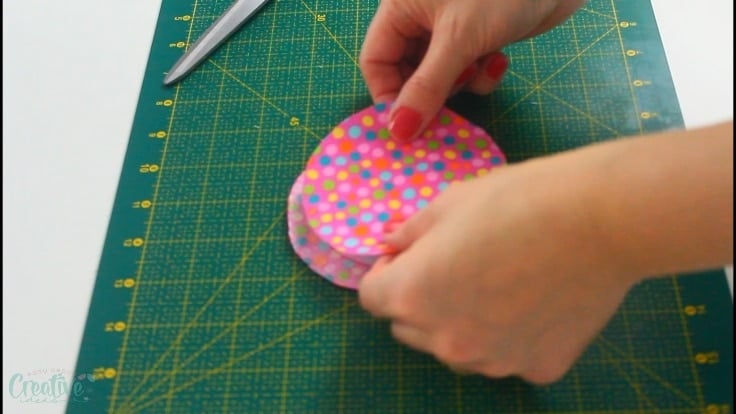
- Place the base fabrics wrong sides together.
Make the pocket/sleeve
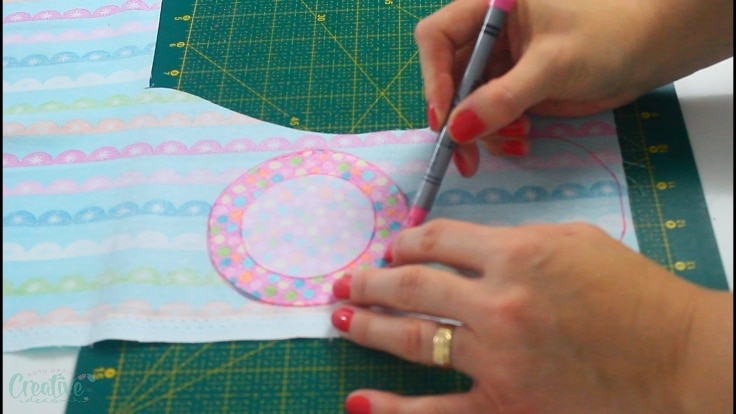
- Cut 2 more circles in the same size as the base circles.
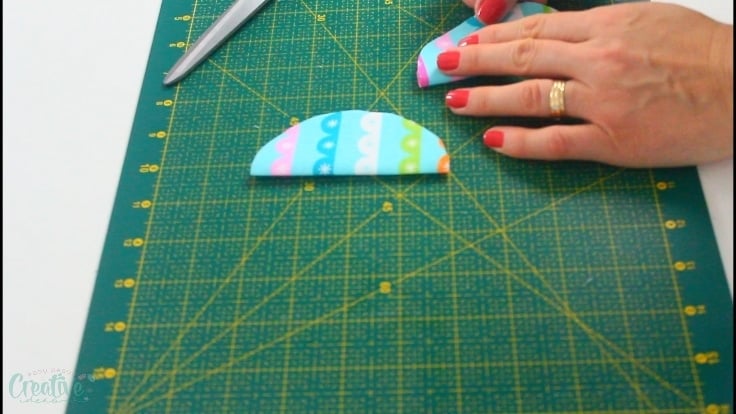
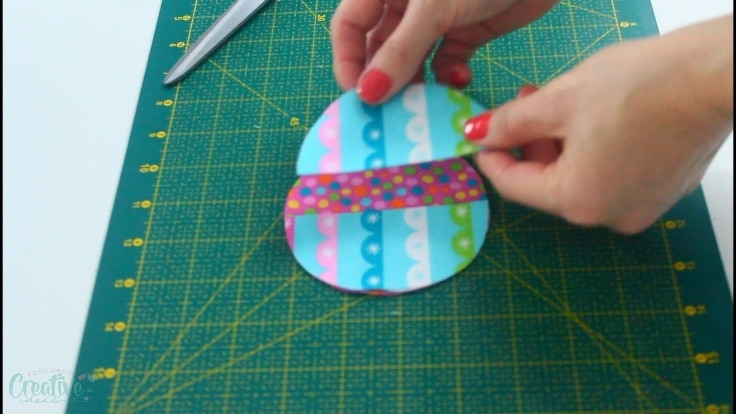
- Fold in half and press well with the iron on steam.
Construct the coaster
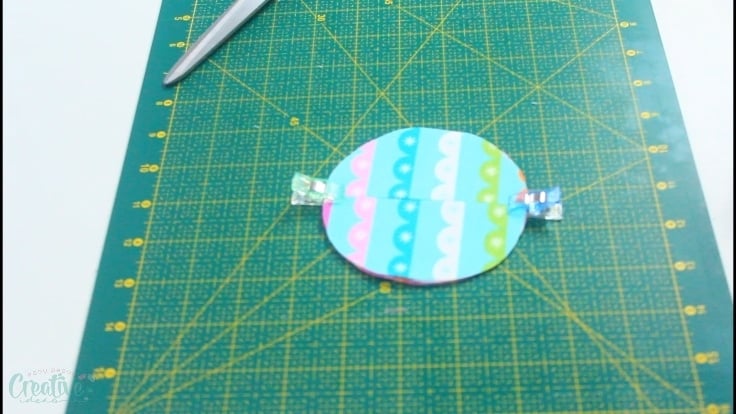
- Top the base circles with the sleeve circles folded in half and clip.
- Sew around the circles with 1/4″ allowance.
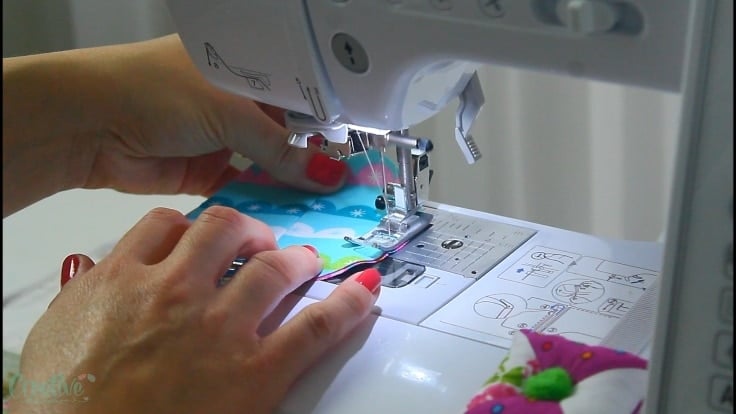
- Cut notches into the entire seam. Here’s a helpful tutorial if you need more information on clipping and notching seam allowances
- Trim the seam down to 1/8″.
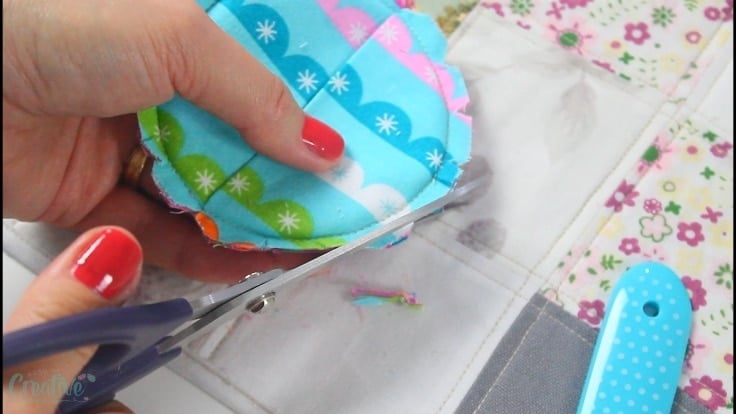
- Turn the coaster right side out (in other words hide the raw seam inside the coaster) and smooth out the seam with a point turner/seam creaser.
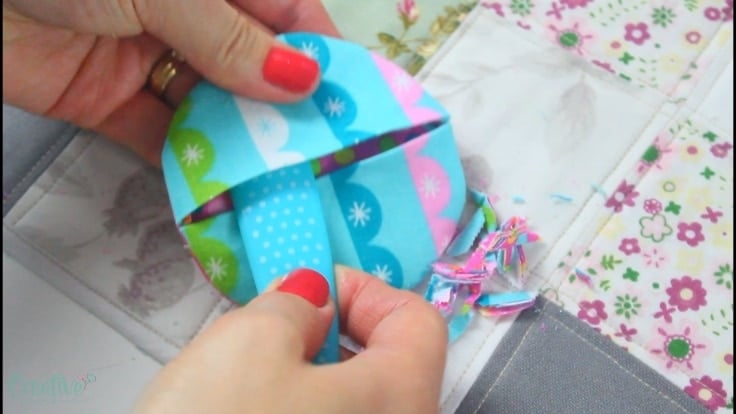
- Press the coaster well with the iron on steam.
- Return to your sewing machine and top stitch all around the coaster, using a 1/8″ allowance.
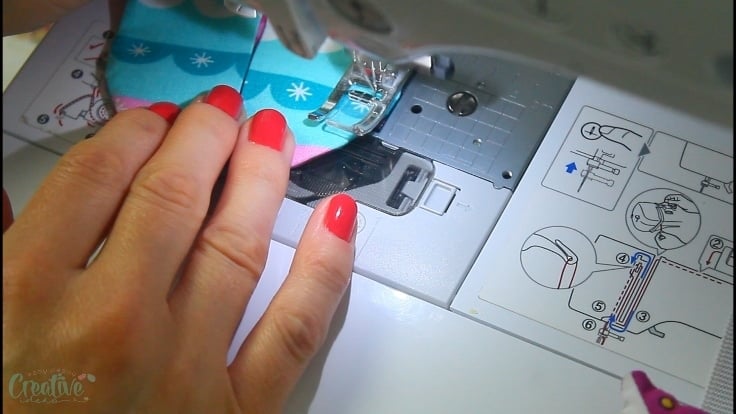
- And you’re done! Repeat these steps for as many coasters as you like/need.
Pin to save for later
Most popular sewing projects:
- Corded bag handles tutorial
- How to sew a round hem
- Flutter sleeve dress pattern
- Laminating cotton fabric
Article may contain Amazon & affiliate links. As an Amazon Associate I earn from qualifying purchases at no additional cost to you.




ABOUT PETRO
Hi, I’m Petro, author and founder of Easy Peasy Creative Ideas. Sewist, crafter, avid DIY-er, foodie, photographer, homemaker and mommy to one. I’m an expert at coming up with quick, clever sewing tips, recycling crafts and simple, easy recipes! You can find my ideas featured in reputable publications such as Country Living, Good House Keeping, Yahoo News, WikiHow, Shutterfly, Parade, Brit & Co and more. Thanks for stopping by and hope you’ll stay for a while, get to know me better and come back another time. Stick around for real fun projects! Read more…