DIY Sock Bunny Craft
Sock Bunny Craft

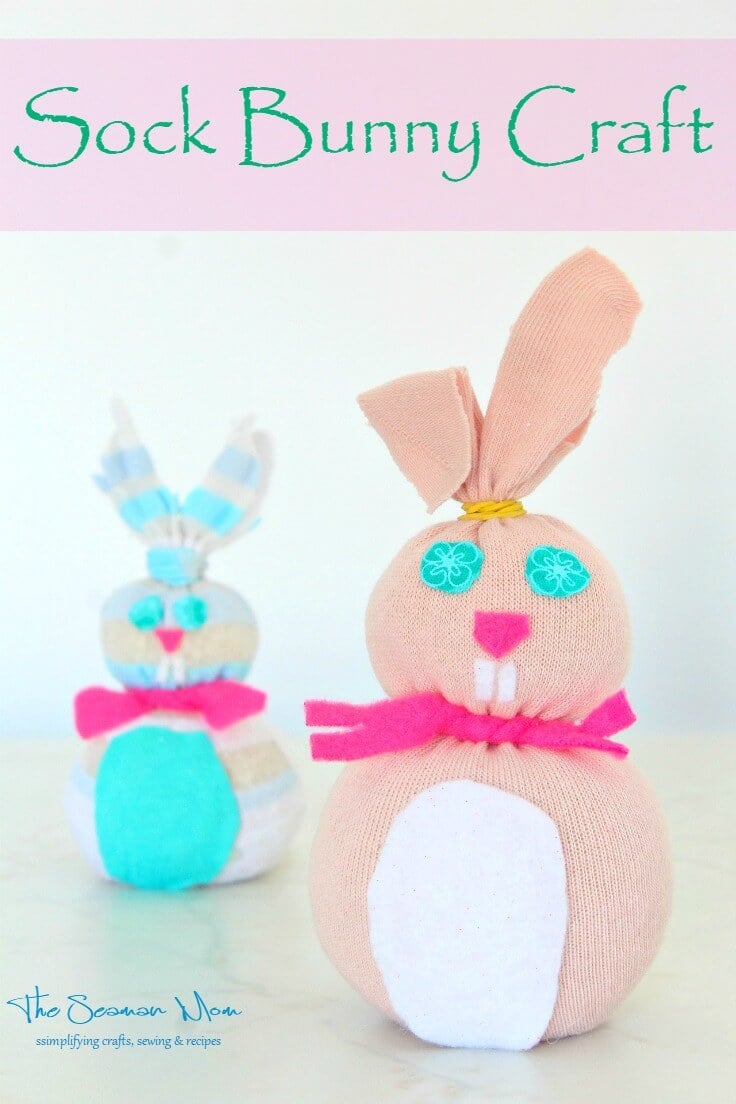
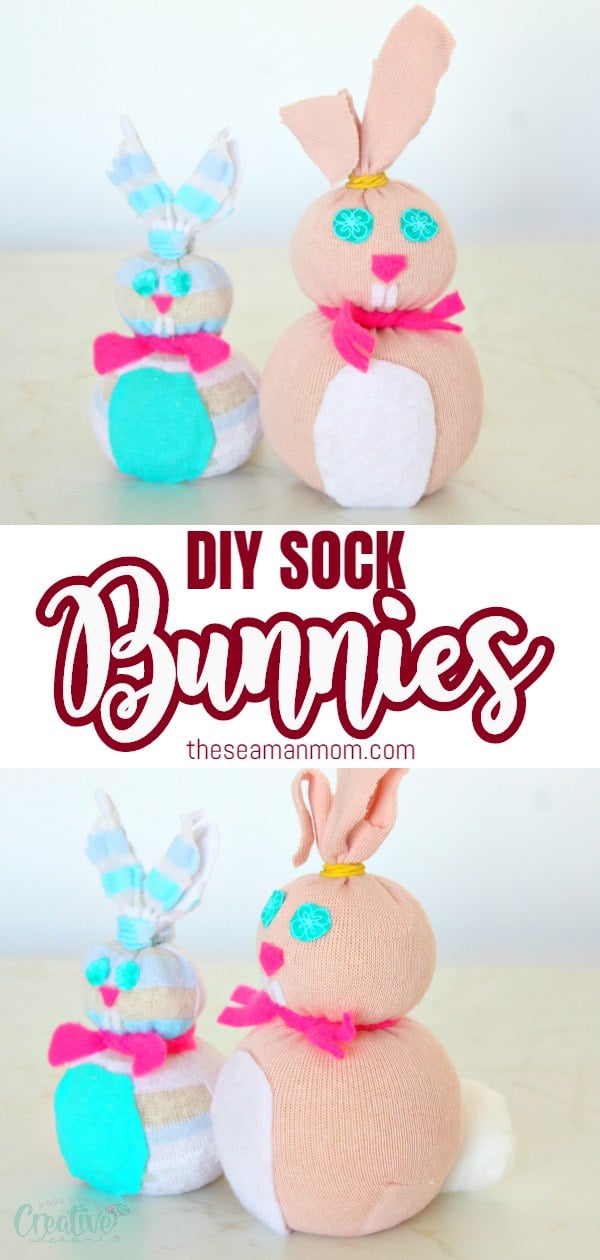
This Easter, give your little ones a wonderful surprise with a bunch of cute, little bunnies! This simple sock bunny craft is so easy and literally takes minutes to make, you’ll find yourself making bunny after bunny. It can also be a great Easter craft to make with kids or if you’re sewing, you could use these cuties as fabric weights!

More Easter ideas you will love:
- Easter bunny door hanger
- Bunny banner from fabric scraps
- Easter bunny cups
- Paper tube bunnies
- Easter basket craft with printable template
- Clay pot Easter bunny butts

And if you have friends or family who love handmade stuff, you could use this sock bunny craft to make gifts for them. It will be an adorable surprise they’ll absolutely love! If you want to make these bunnies as a toy for your kid, just swap rice for poly-fill and sew the eyes, nose, teeth and tummy onto your bunny. Also, this project is a great way to recycle old or outgrown socks.
No Sew Sock Bunny Craft

Materials:
- sock
- rice (quantity depends on the size of your sock)
- 2 rubber bands (clear are better if you have them)
- fabric scissors
- hot glue gun
- fabric for tummy (I used white felt)
- fabric for eyes (or googly eyes; I used knit)
- fabric for nose (I used fleece)
- fabric for teeth (I used the same as for tummy)
- 1 cotton ball
[amazon-related-products keywords=”product suggestions keywords”]
Directions:
- Fill sock with rice, just below the heel.
- Tie a rubber band on top of head.
- Tie rubber band around the neck.
- Cut the top of the sock in half to create ears on the sock bunny. Trim off as needed.
- Cut contrasting piece of felt or fleece for the tummy and glue on with a hot glue gun.
- Cut out 2 tiny circles from your fabric for eyes and glue onto the bunny.
- For nose, cut out a teeny tiny triangle from your fabric and glue on.
- Cut out 2 even tinier pieces of white felt for the teeth and glue on.
Note: If you’re doing this with kids, use tacky glue.
- Cut a little fabric strip and tie around the neck to make a bow.
- Glue on a cotton ball at the back and you’re done!
Pin to save for later

Article may contain Amazon & affiliate links. As an Amazon Associate I earn from qualifying purchases at no additional cost to you.


ABOUT PETRO
Hi, I’m Petro, author and founder of Easy Peasy Creative Ideas. Sewist, crafter, avid DIY-er, foodie, photographer, homemaker and mommy to one. I’m an expert at coming up with quick, clever sewing tips, recycling crafts and simple, easy recipes! You can find my ideas featured in reputable publications such as Country Living, Good House Keeping, Yahoo News, WikiHow, Shutterfly, Parade, Brit & Co and more. Thanks for stopping by and hope you’ll stay for a while, get to know me better and come back another time. Stick around for real fun projects! Read more…