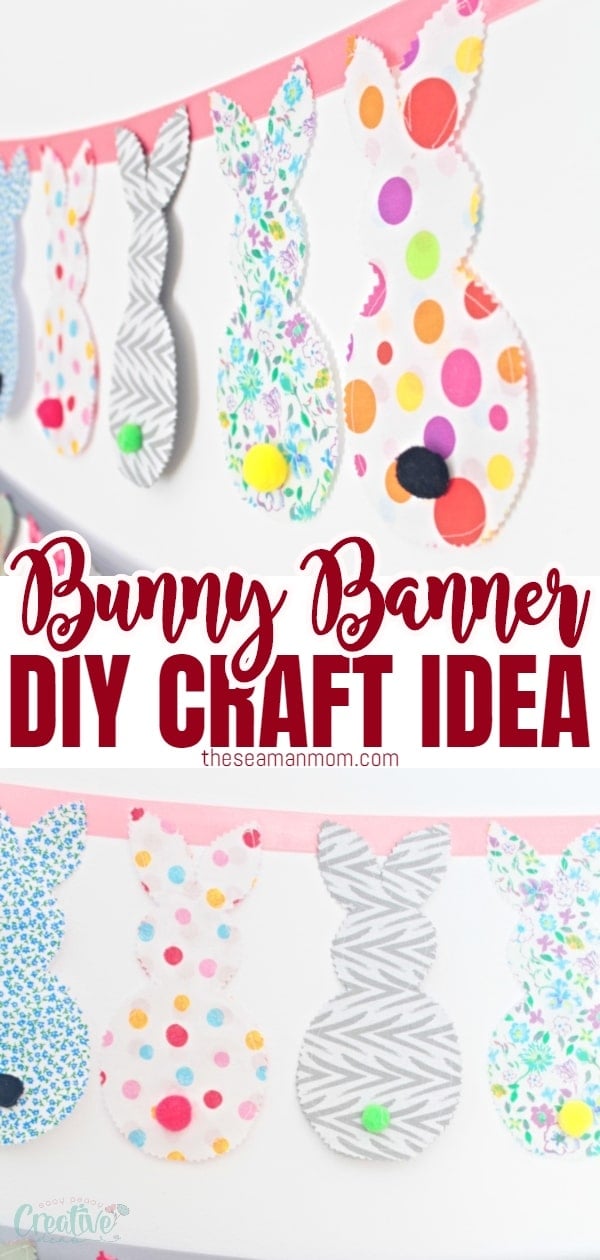
Adorable easy and quick bunny banner you need to sew today
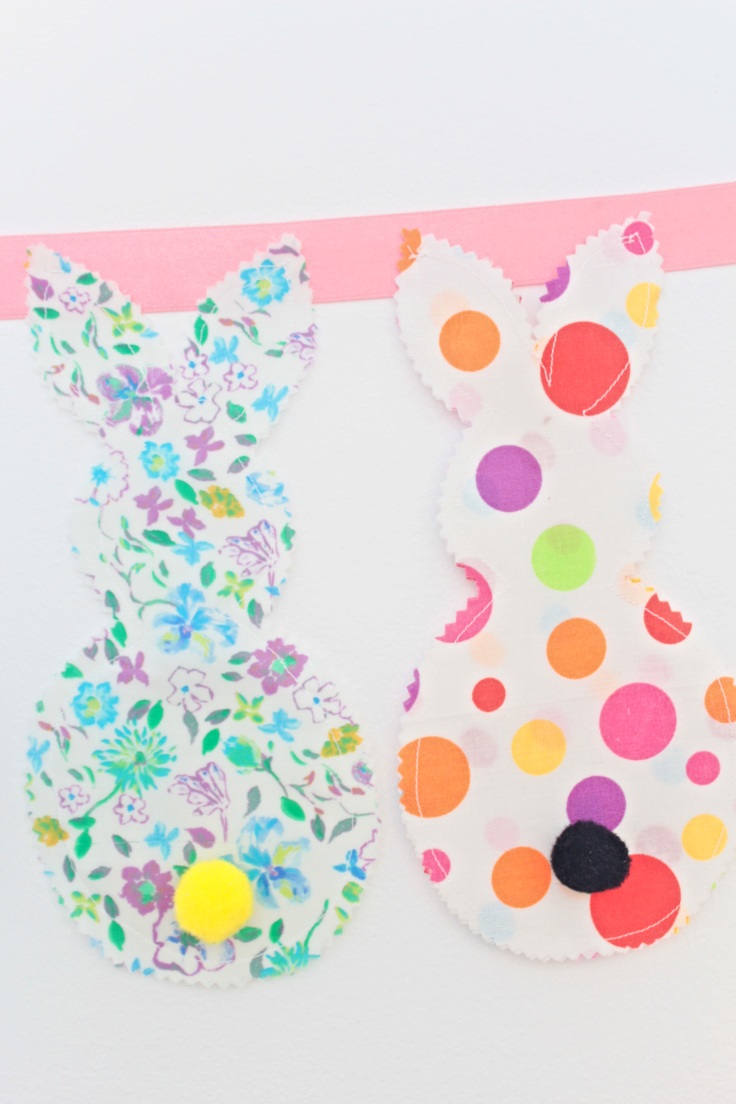
Spruce up your home decor this Spring with an adorable bunny banner! Made with fabric scraps, this bunny decor is perfect for kids room but works great as Easter banner too!
Easter bunny decorations
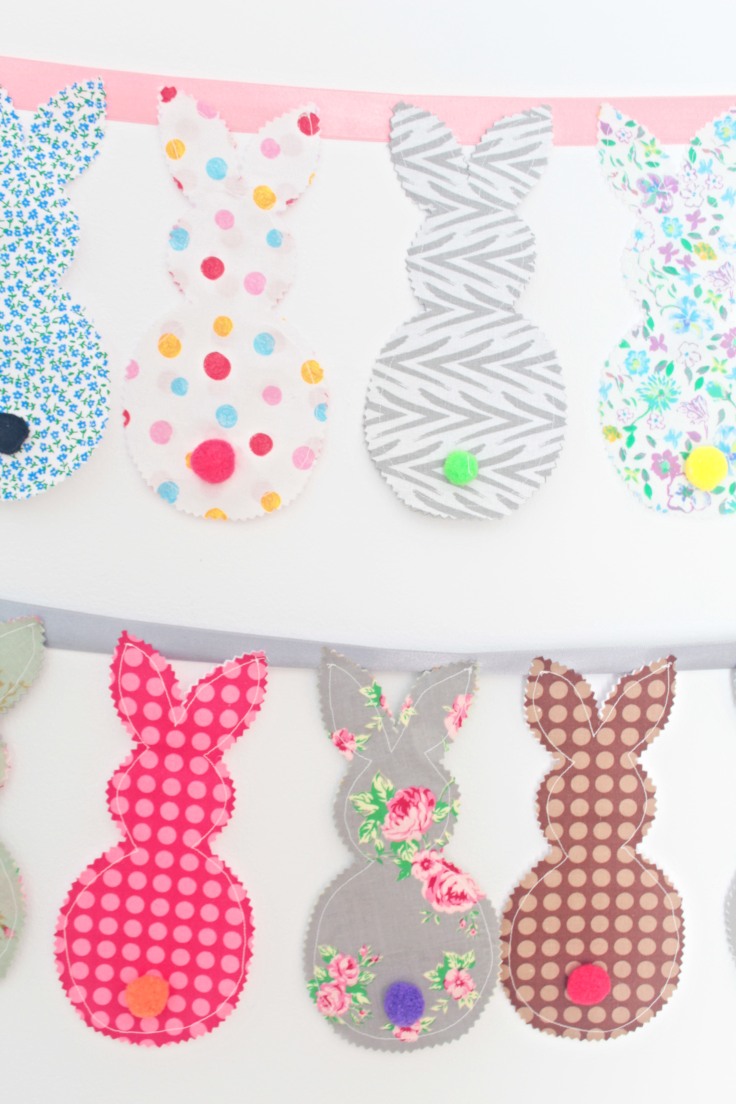
If you’ve been looking for Easter party decorations, this bunny banner is just perfect! So easy and quick to make, this Easter bunting is an adorable addition to your home decor and a great scrap buster project!
Want more bunny ideas?
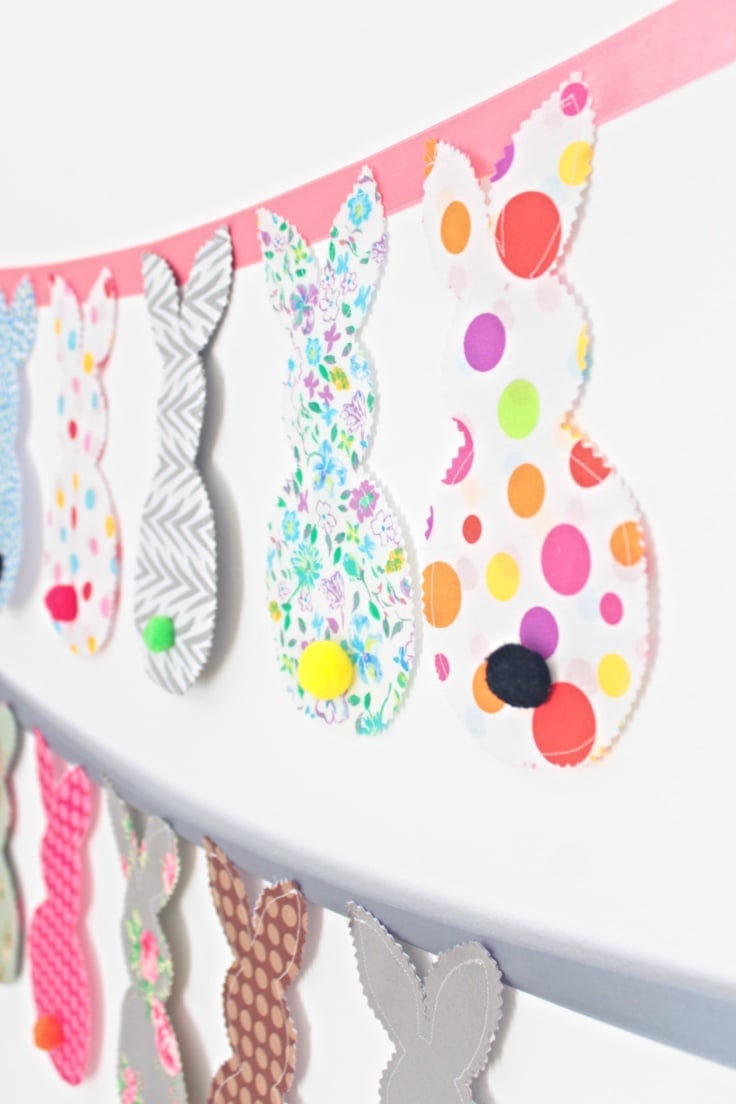
My little one is crazy about bunnies, we even got a real one as a gift for Ellie when she turned 6! She also loves decorating the house for holidays, parties or special events. Based on these and with Easter just around the corner I thought making a bunny banner would be a nice surprise for her! I was so sure she’ll absolutely love my bunny bunting, I decided to make two so she can use one of them for her room and one for the living room.
Most popular sewing projects:
- Corded bag handles
- Tips for sewing a round hem
- Flutter sleeve dress pattern
- How to laminate cotton fabric
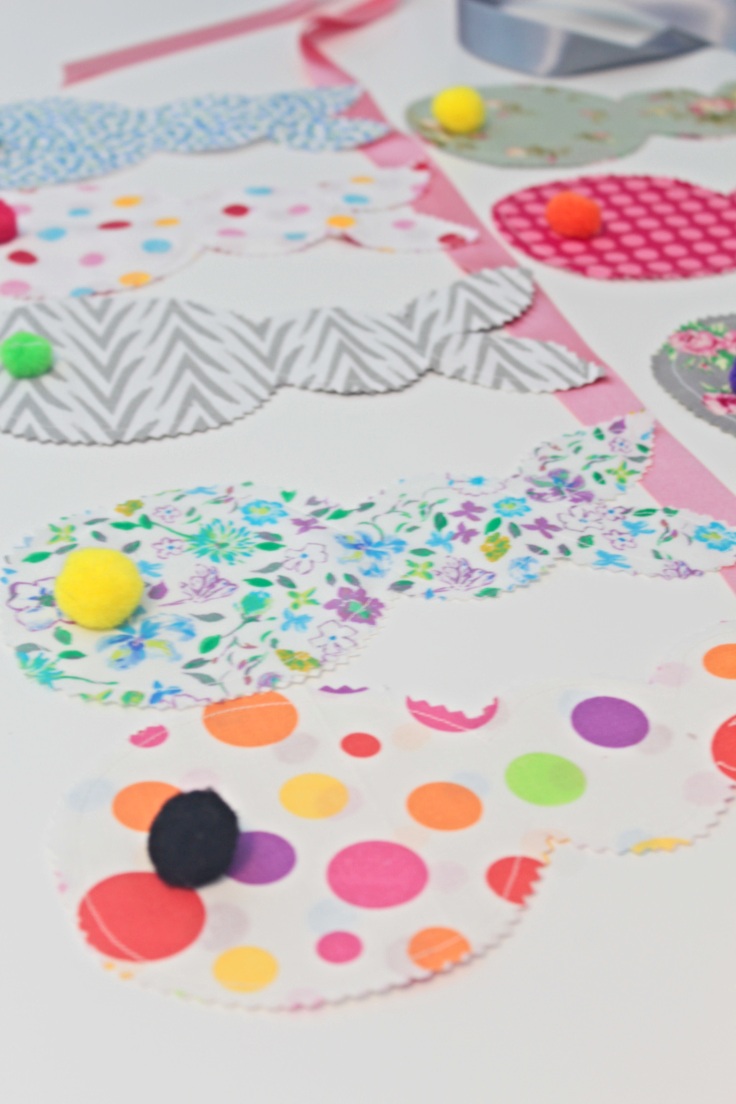
This Easter bunny banner is one of those projects that are the perfect match for beginner sewers but you just can’t help it, you absolutely HAVE to make it even if you’re an experienced sewer! And even if you don’t know how to use a sewing machine, this bunny banner is a doable project so crafters are welcome to make this too! Just use double sided fusible interfacing to join the two layers of fabric. Or use paper instead of fabric.
I made a template for the bunnies, available to purchase here.
Bunny banner
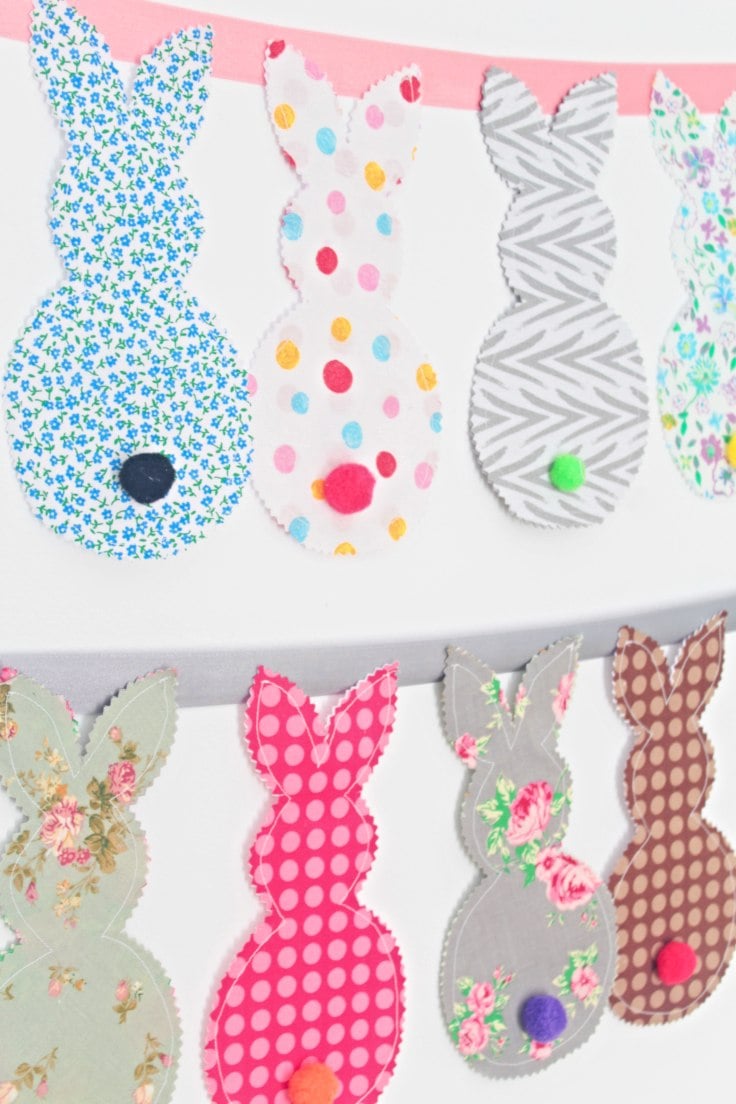
Materials:
- bunny template
- scrap fabric
- fabric pen
- scissors
- pinking shears
- pins
- matching thread
- hair spray
- pressing iron
- pom poms
- hand needle
- ribbon
Directions:
- Cut two strips of fabric a little larger than the bunny template and place them wrong sides together
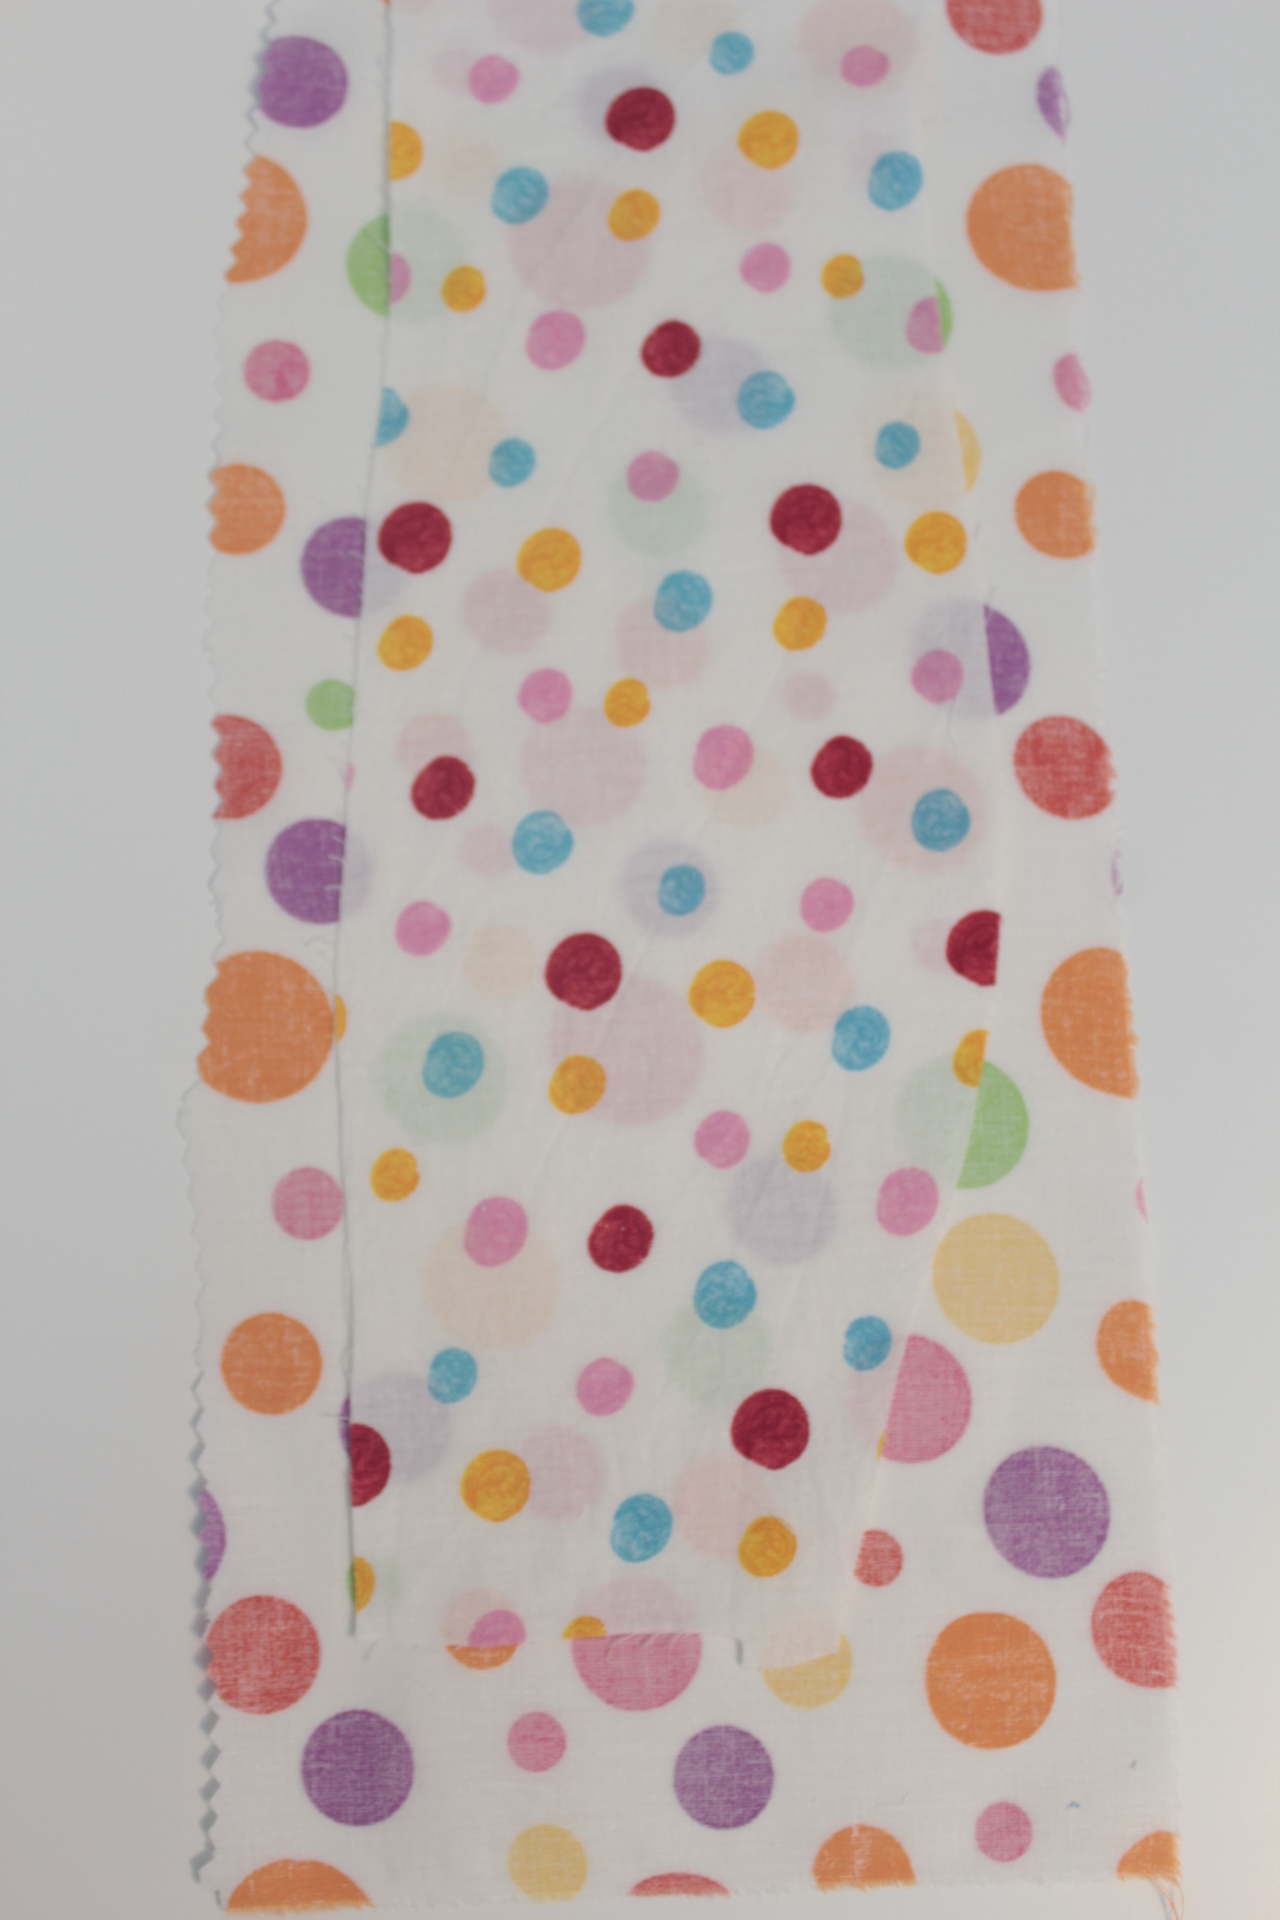
- Place the bunny template on and trace around it with a fabric pen.
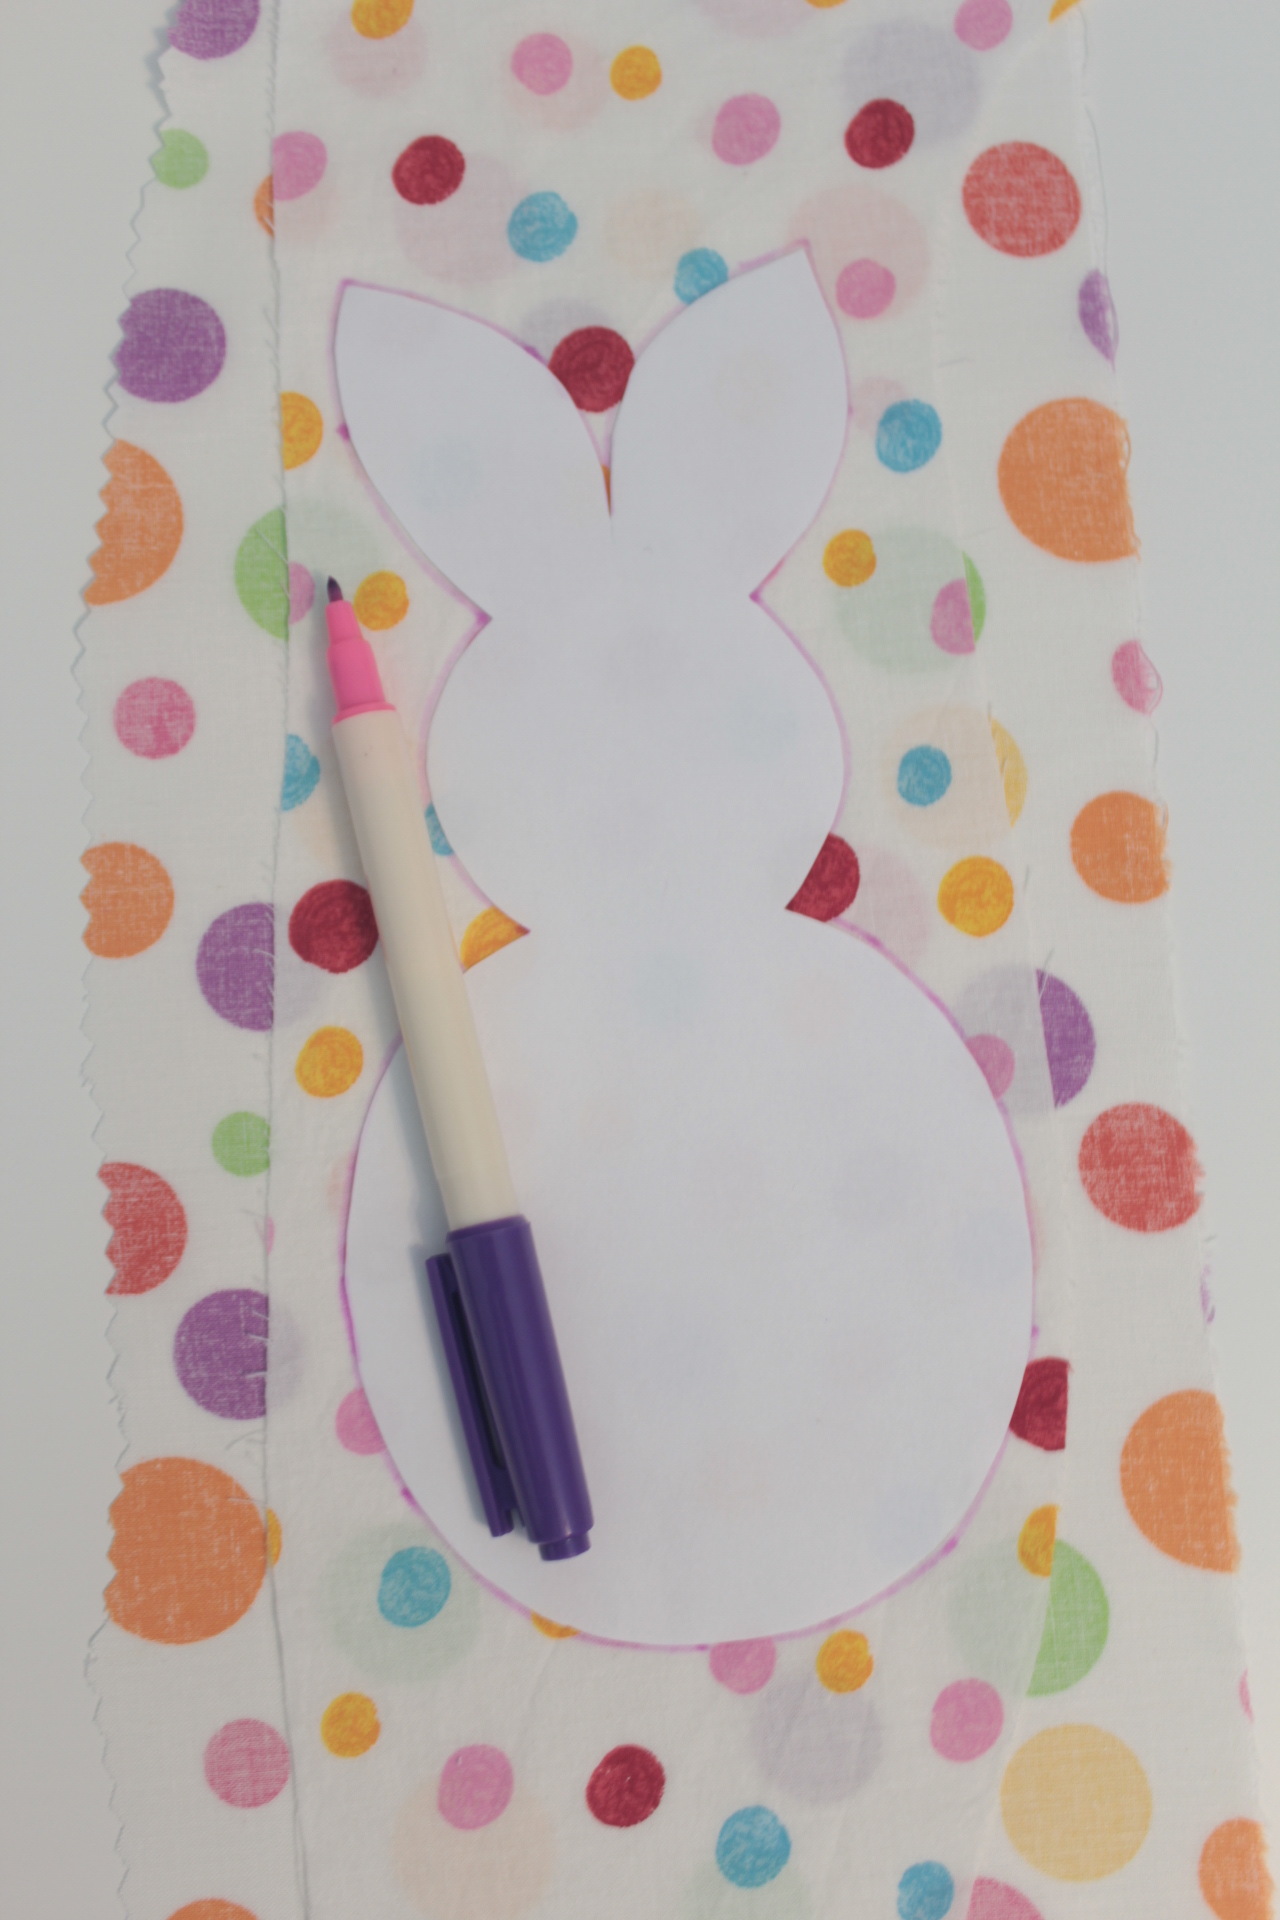
- Pin the fabrics together.
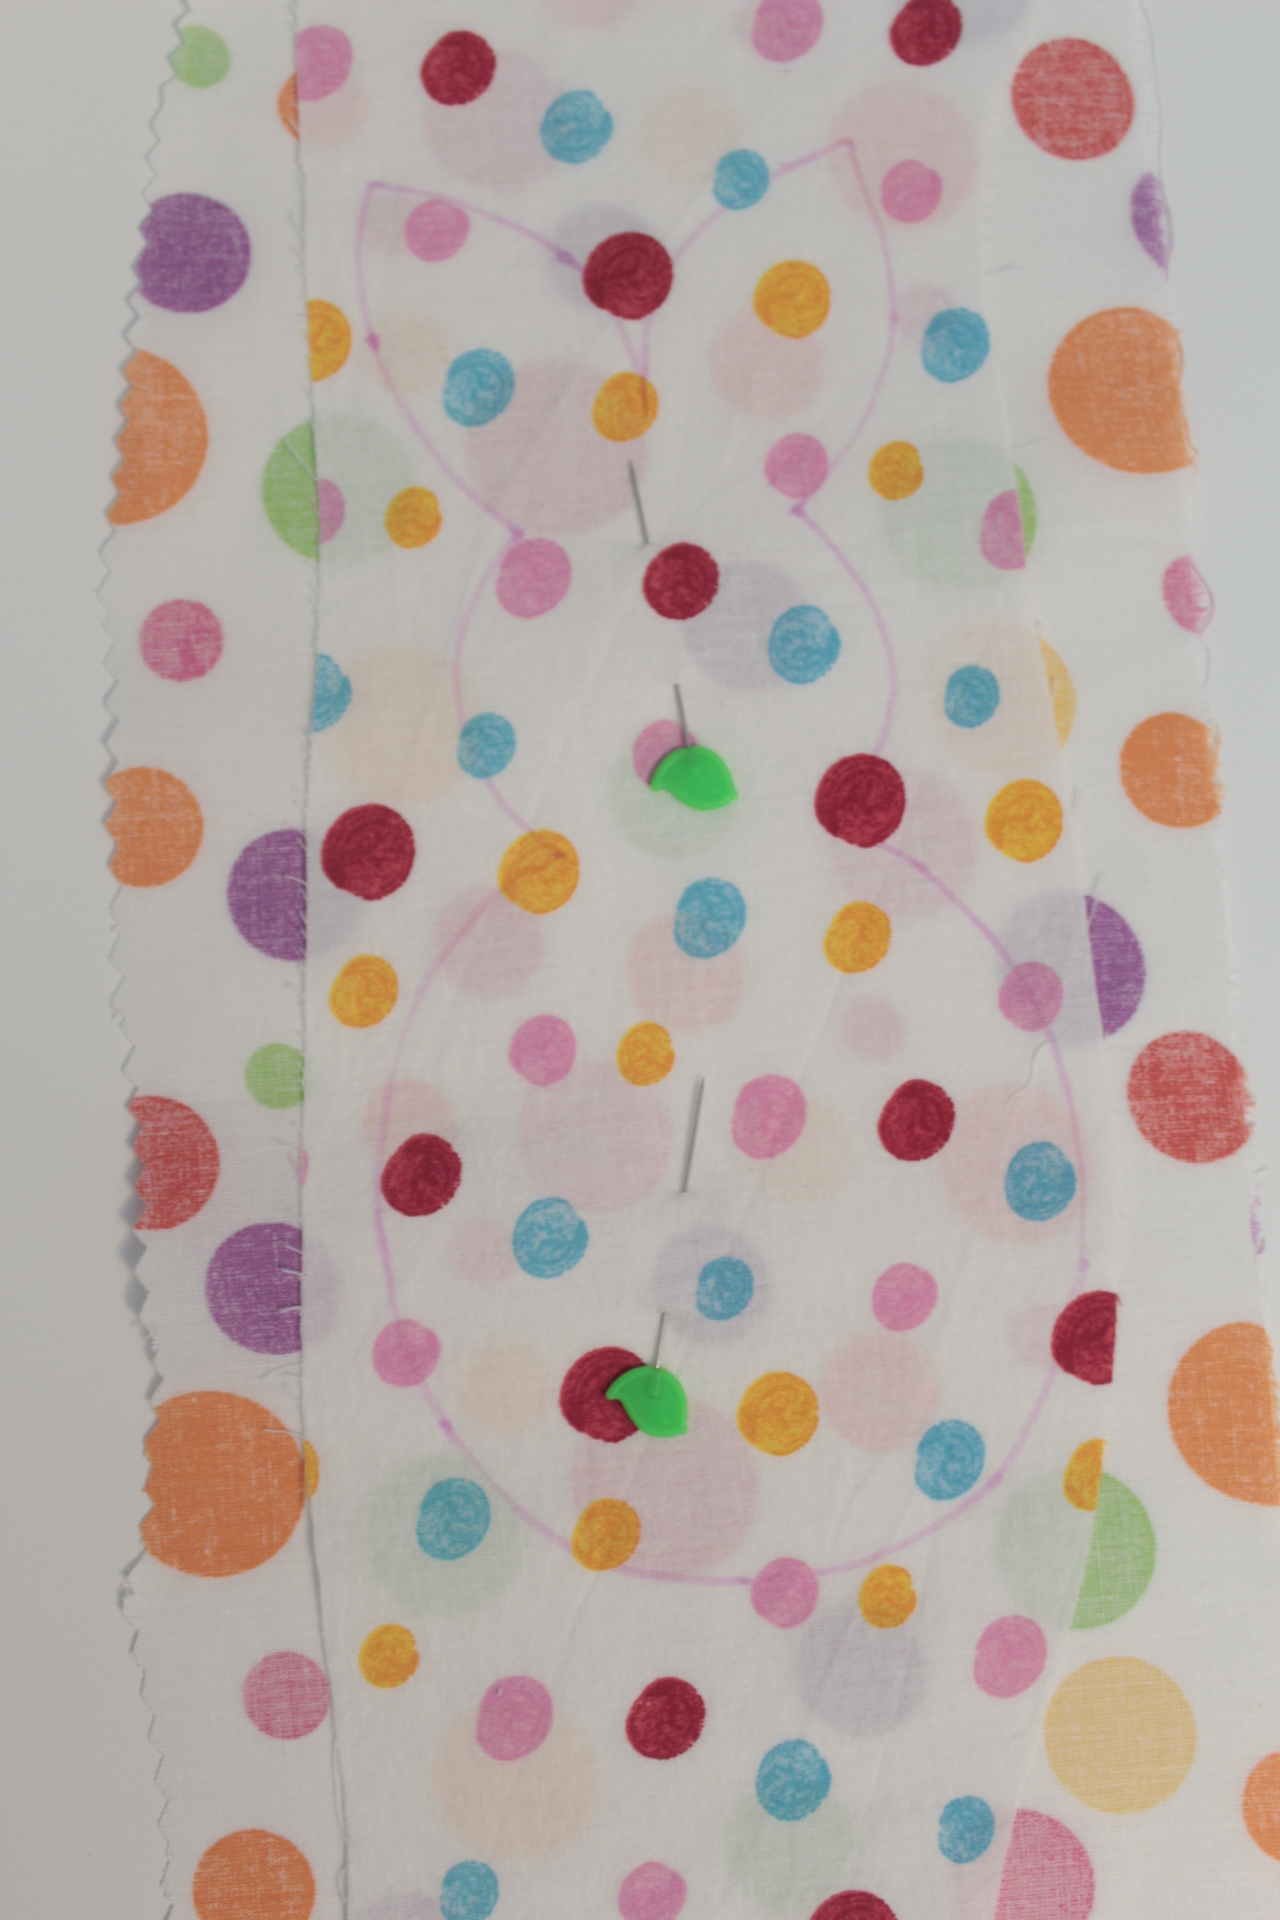
- Cut out with your pinking shears.
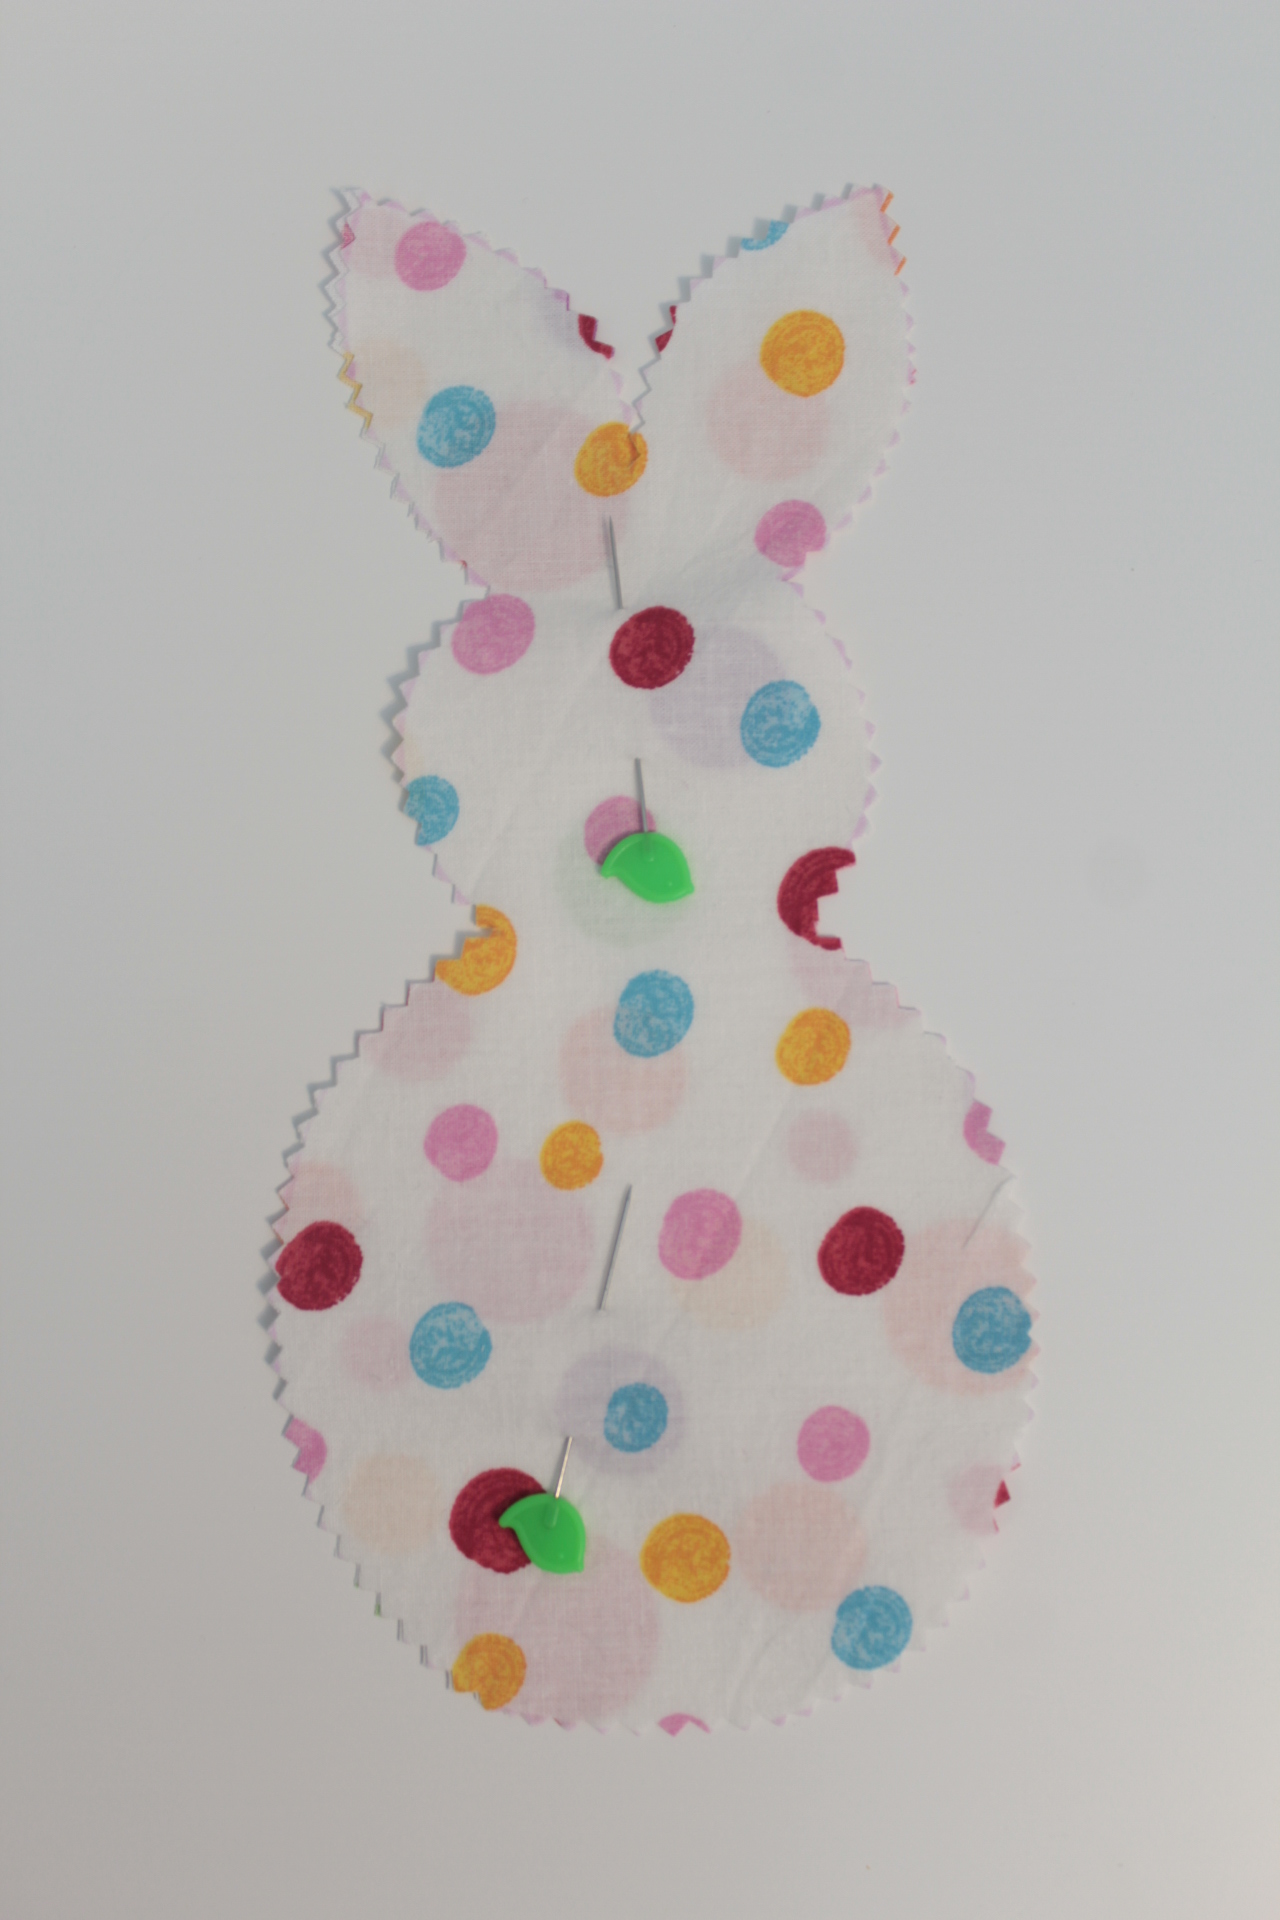
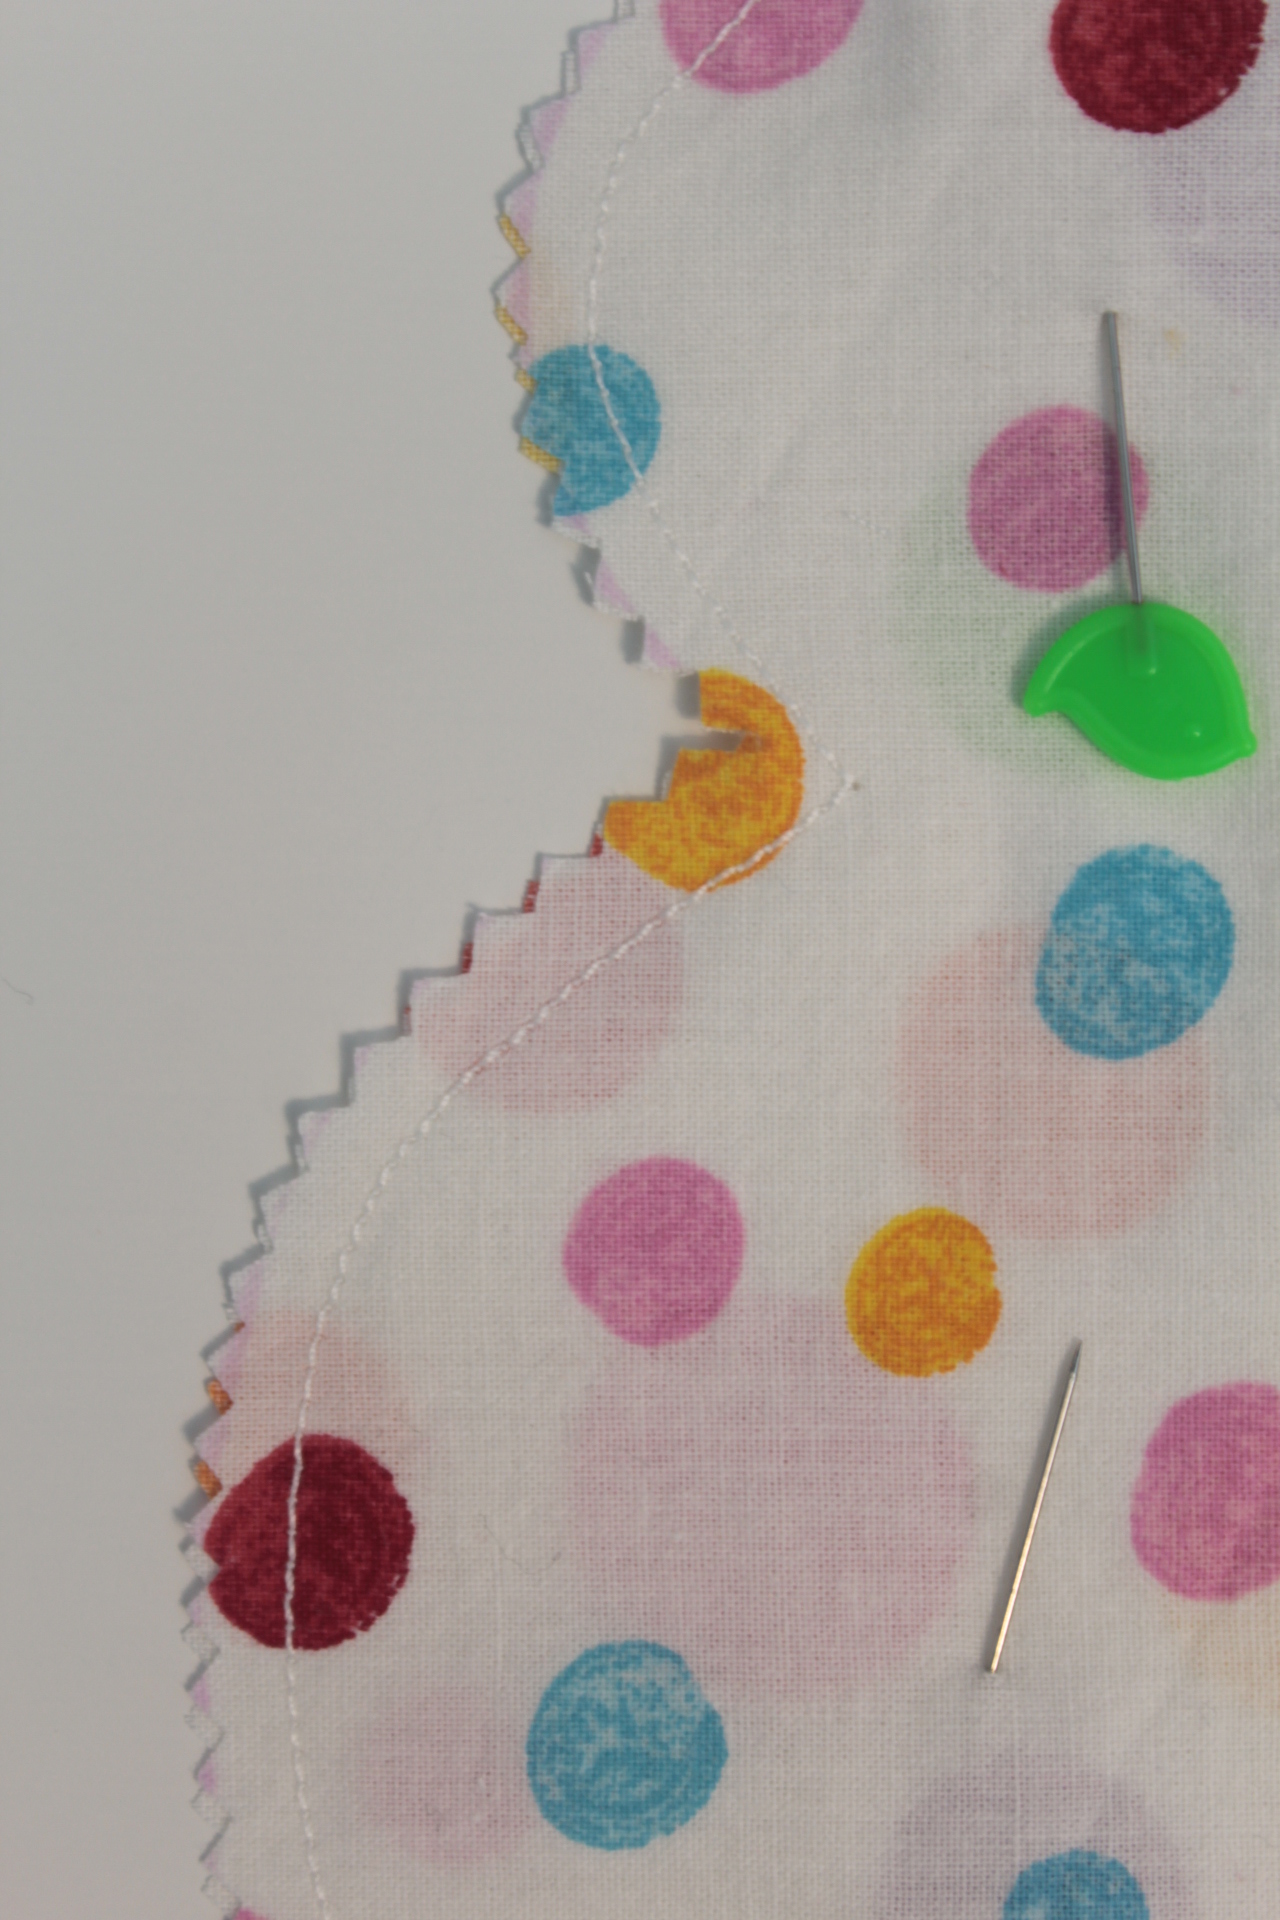
- Sew the fabrics together with 1/8″ allowance, sewing slow and using a small stitch (this will help you go easier over the curves).
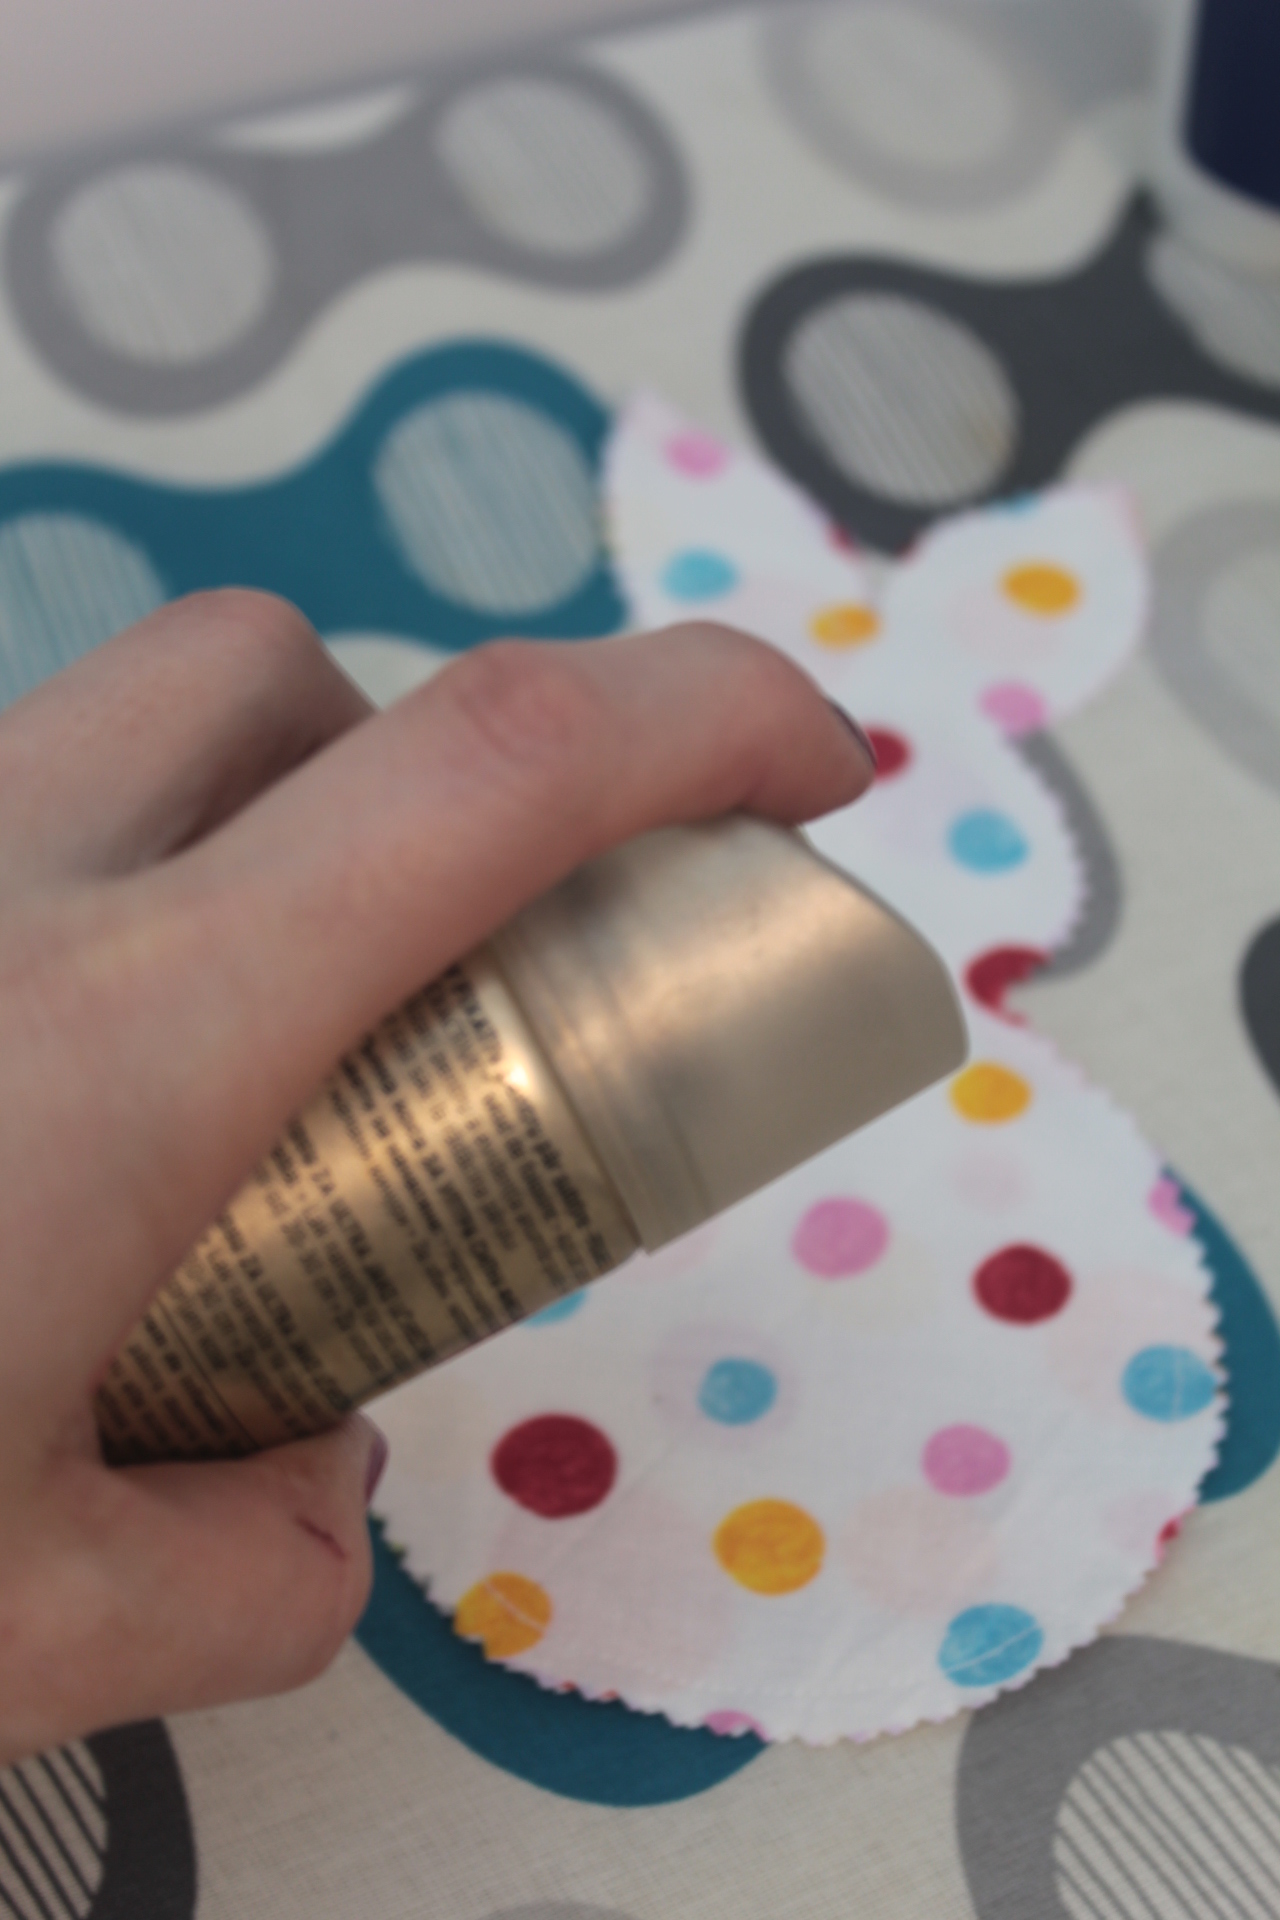
- Spray the bunny with some hair spray (you can skip this step if you decide to add some interfacing between the 2 layers of fabrics).
- Press with pressing iron.
- Hand stitch a pom pom as a tail.
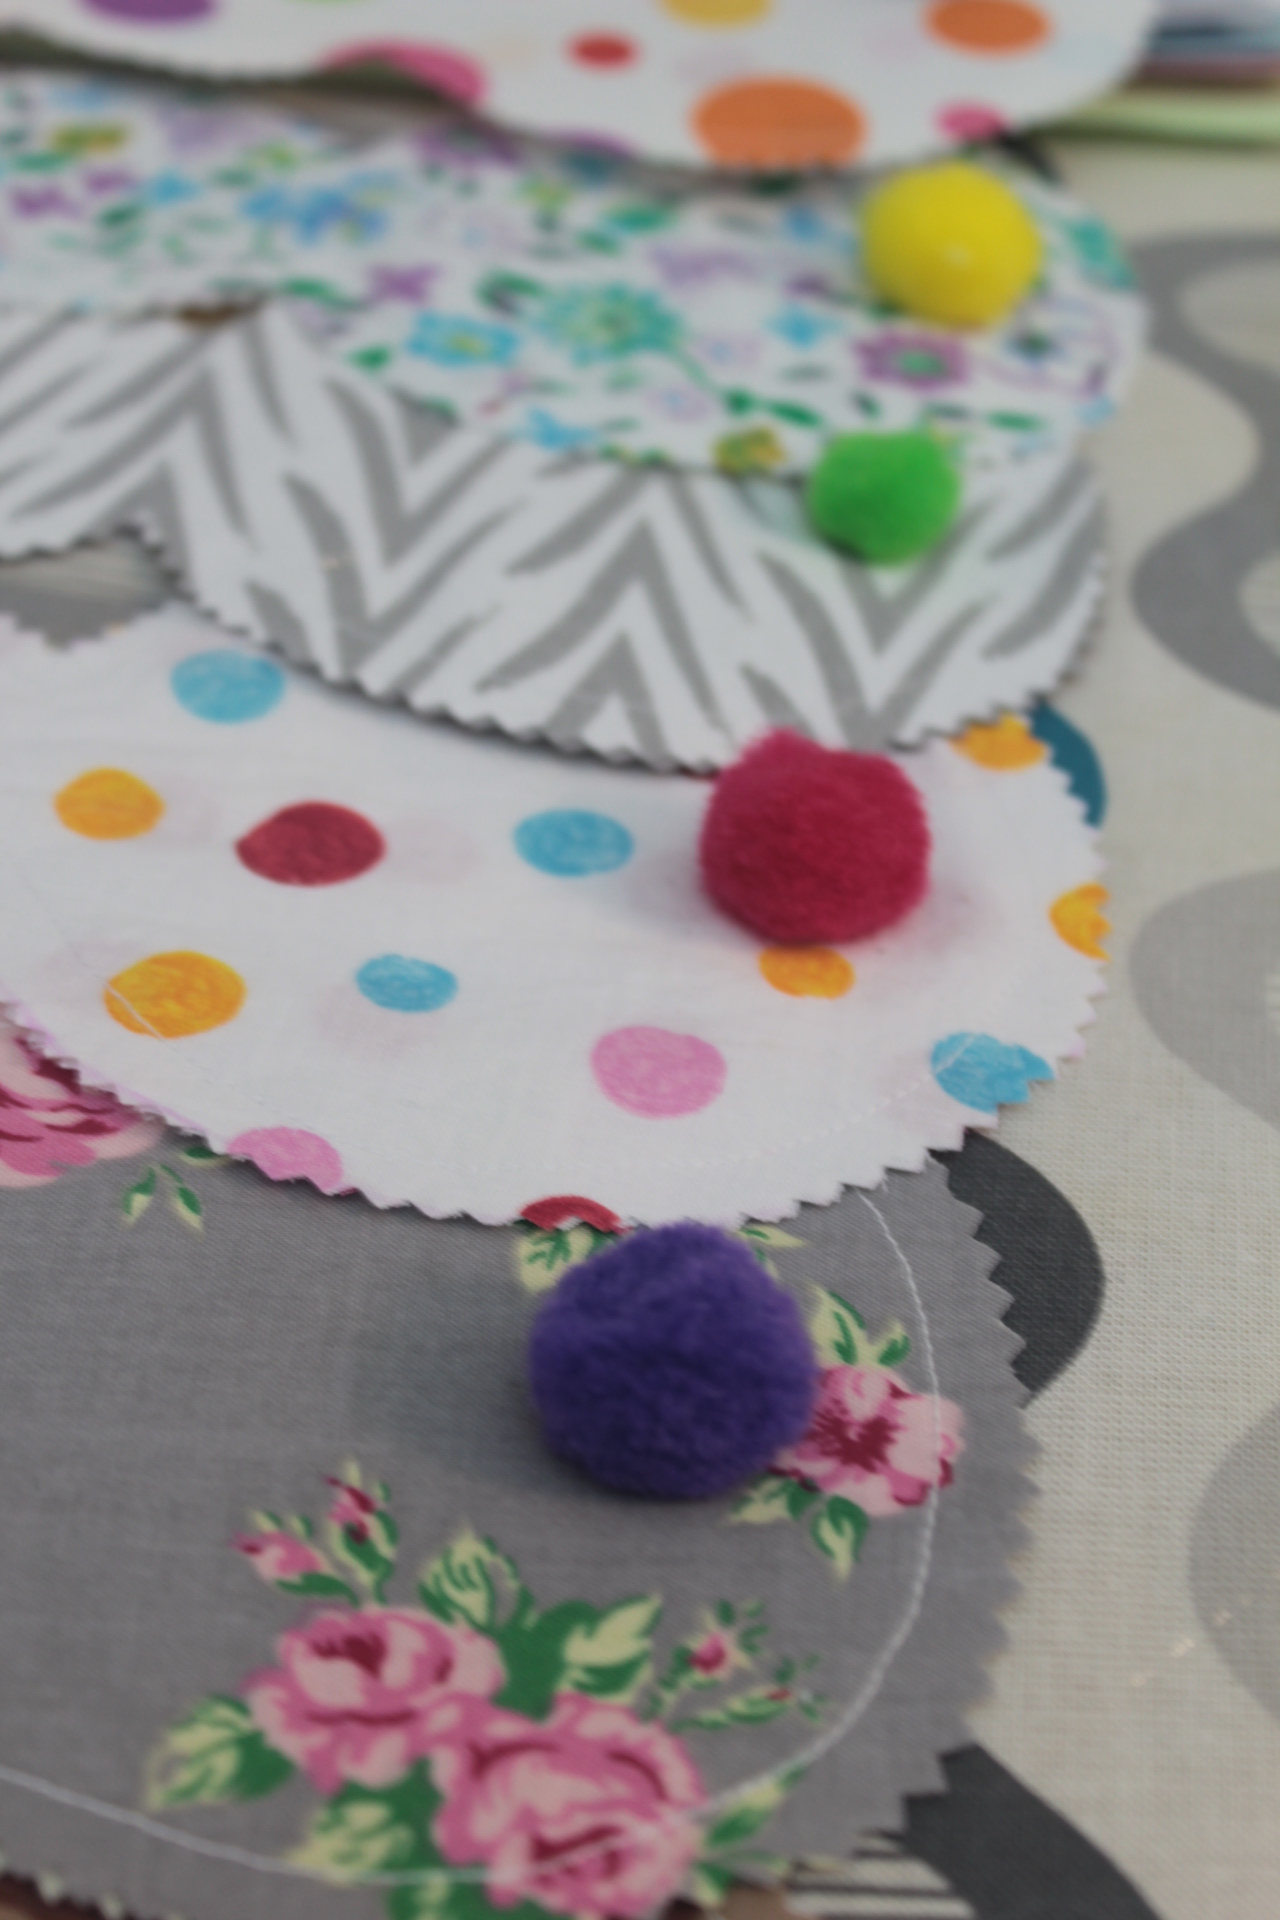
- Sew or hand stitch the bunny ears to the ribbon.

- Repeat for as many bunnies you like to have on the banner.
Pin to save for later
Article may contain Amazon & affiliate links. As an Amazon Associate I earn from qualifying purchases at no additional cost to you.


ABOUT PETRO
Hi, I’m Petro, author and founder of Easy Peasy Creative Ideas. Sewist, crafter, avid DIY-er, foodie, photographer, homemaker and mommy to one. I’m an expert at coming up with quick, clever sewing tips, recycling crafts and simple, easy recipes! You can find my ideas featured in reputable publications such as Country Living, Good House Keeping, Yahoo News, WikiHow, Shutterfly, Parade, Brit & Co and more. Thanks for stopping by and hope you’ll stay for a while, get to know me better and come back another time. Stick around for real fun projects! Read more…