DIY Stick Shelves With Craft Sticks
These geometric wall shelves are not only functional but they’re cute and beautiful as well. This stick shelves project is so easy and affordable, requiring just a handful of supplies.
Geometric Wall Shelves
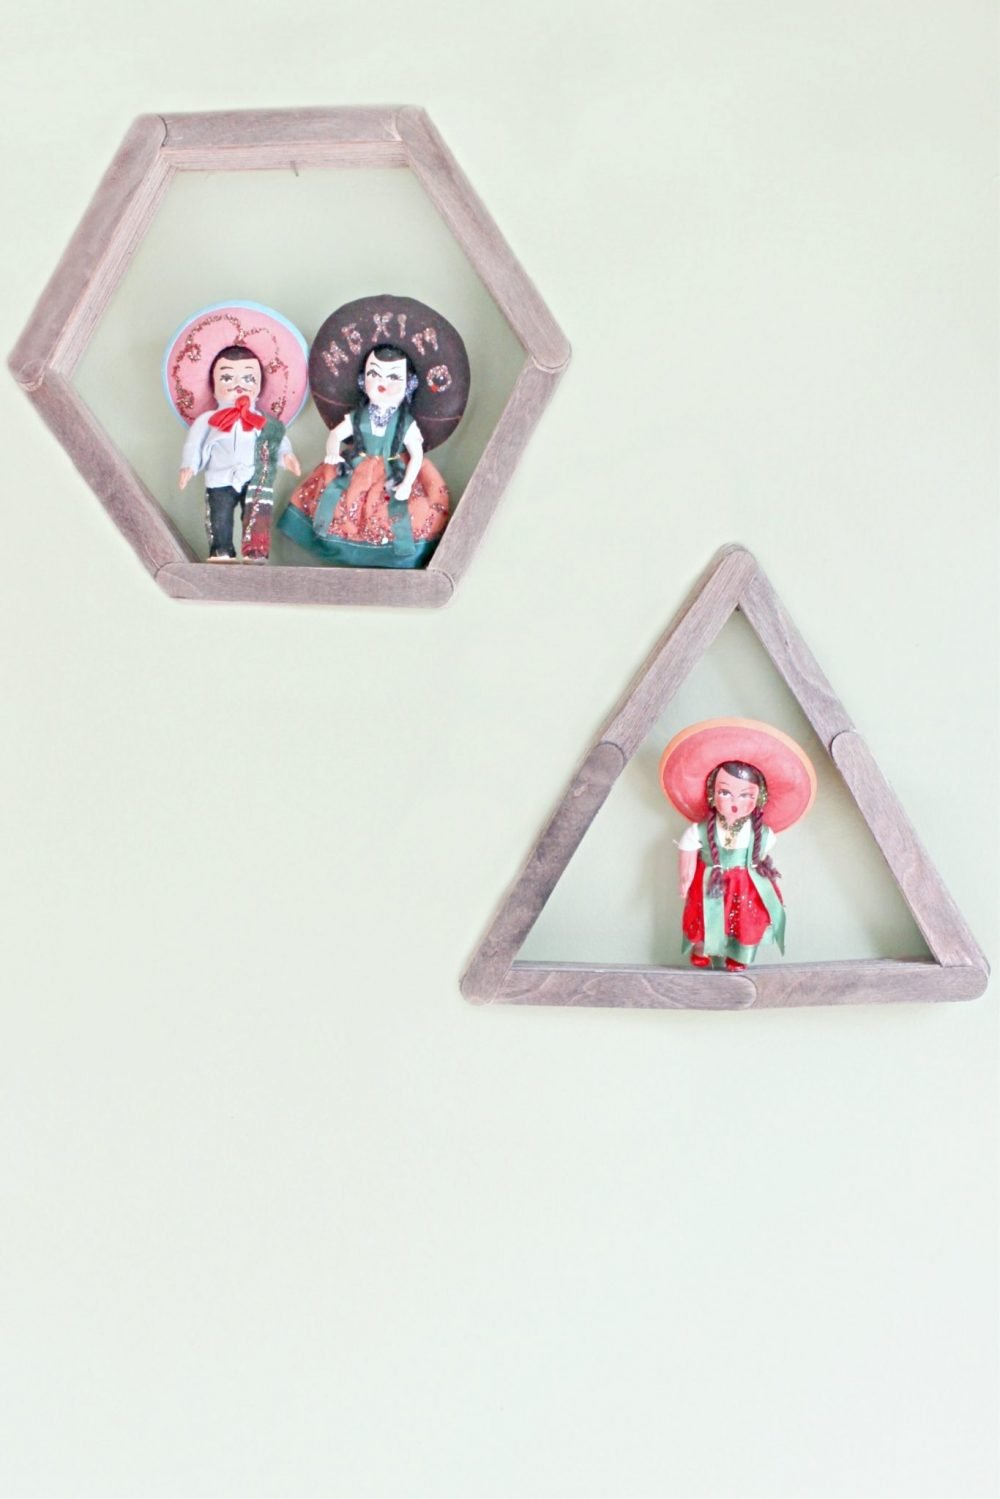
These stick shelves may just be the most affordable shelves you ever made and they’re a great match for any home decor. You just need craft or popsicle sticks, glue and stain which is totally optional. These are designed to hold small items so you can’t keep books or other heavy items.
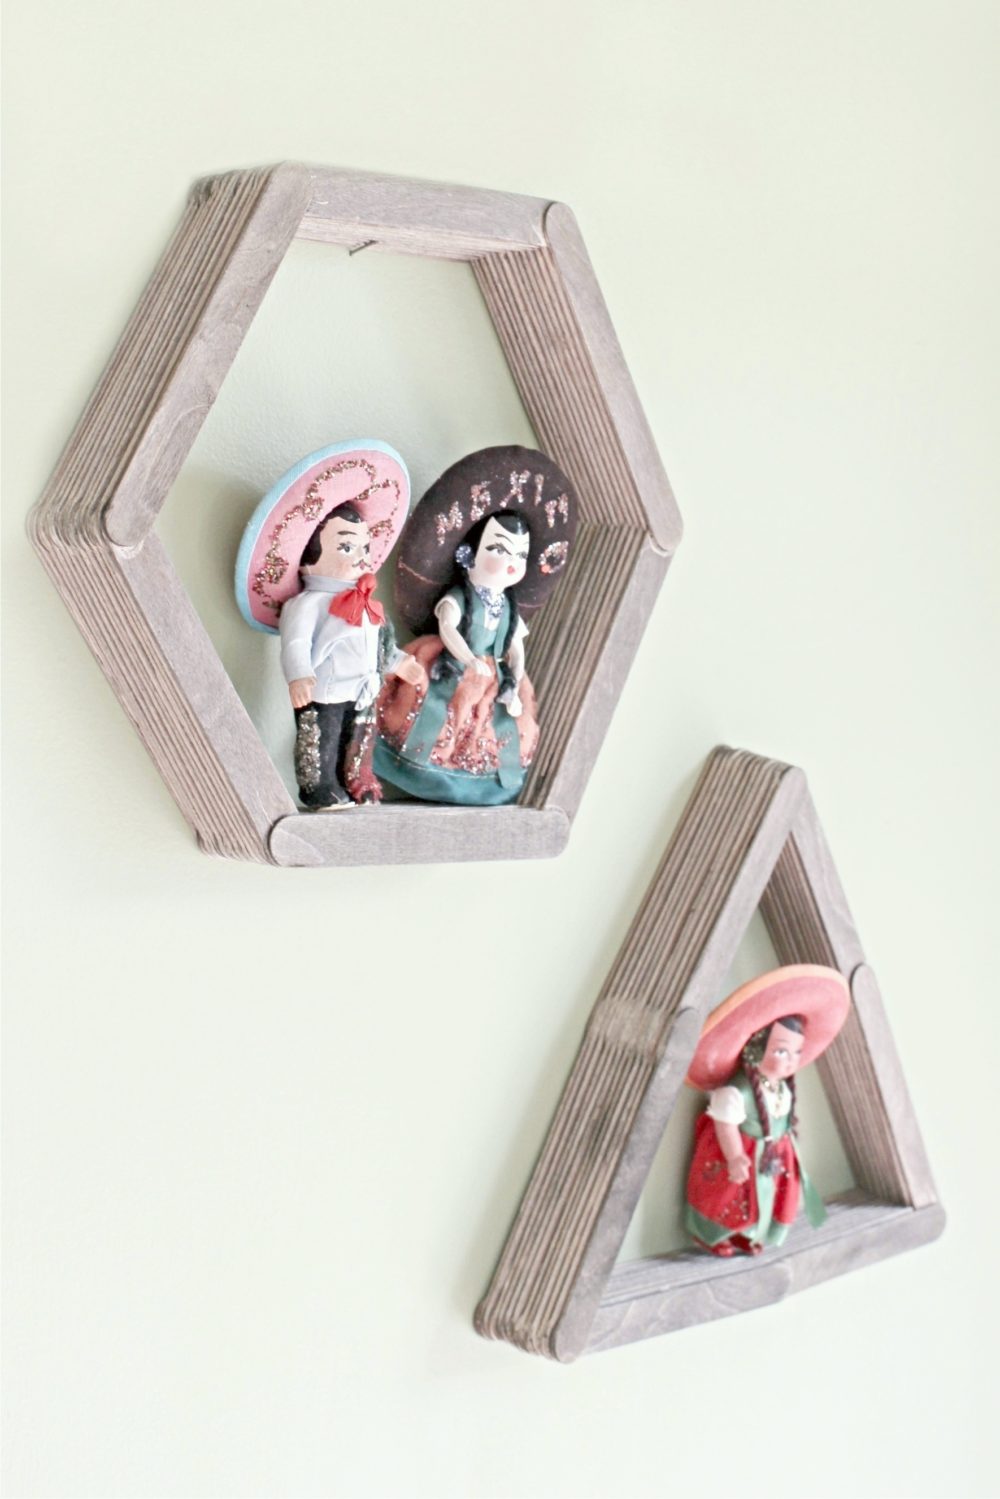
This stick wall hanging is a super easy project you could enjoy making together with kids. They’ll be thrilled to be able to create their own home decor and you’ll be happy to keep them occupied during all those long days of summer break!
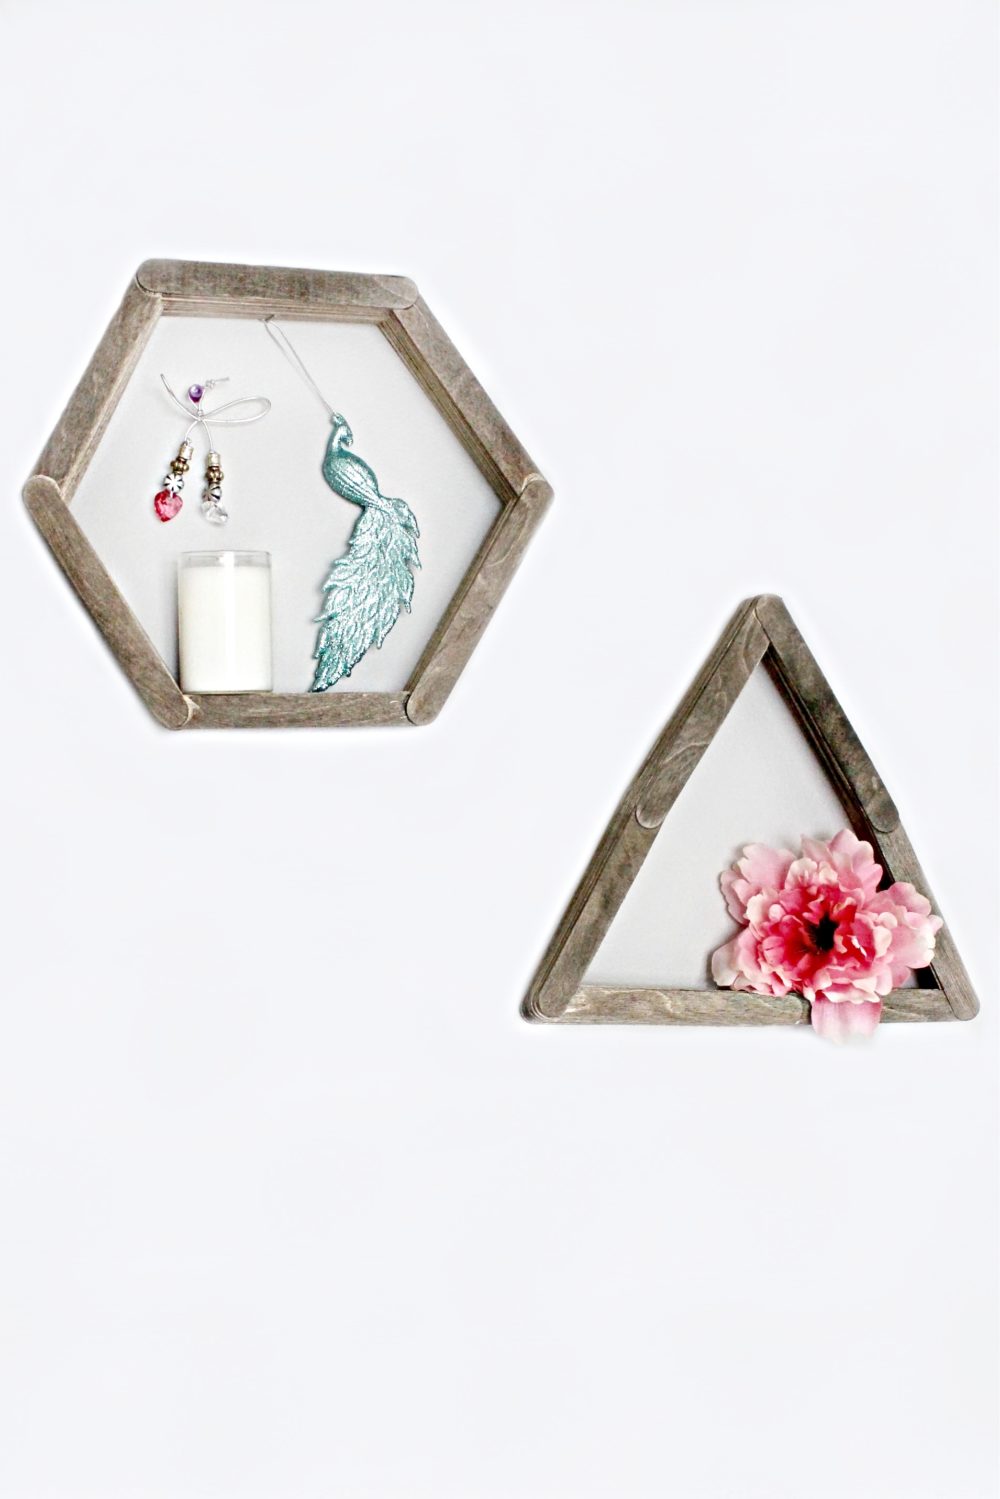
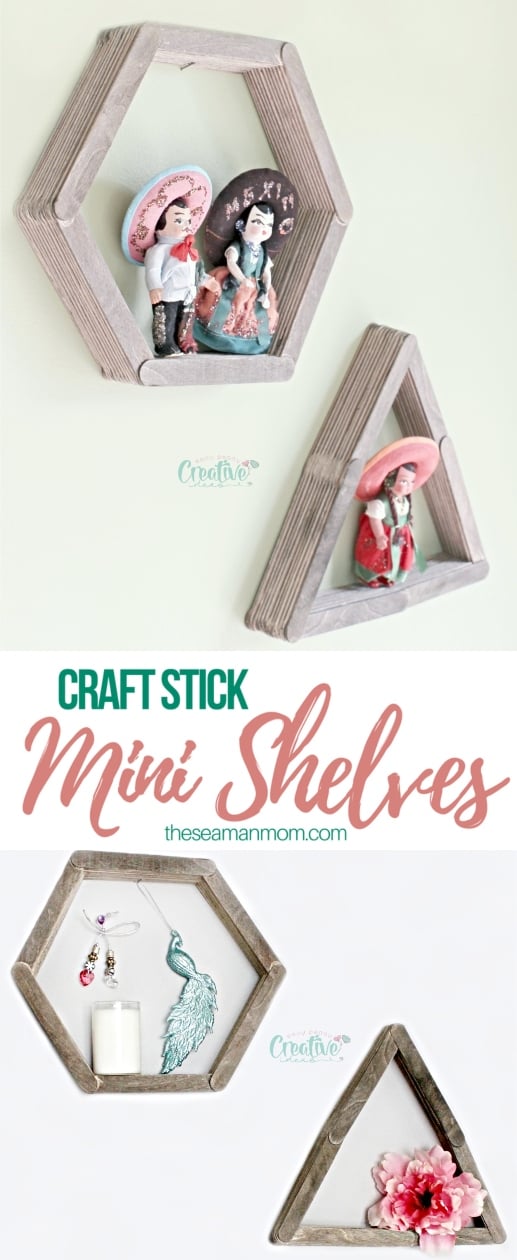
These stick shelves are very versatile! Make these DIY display shelves in all sorts of shapes for an interesting wall decor paint them a neutral color to match any decor or make them colorful for an eye catching pop of color in a minimalist decor!
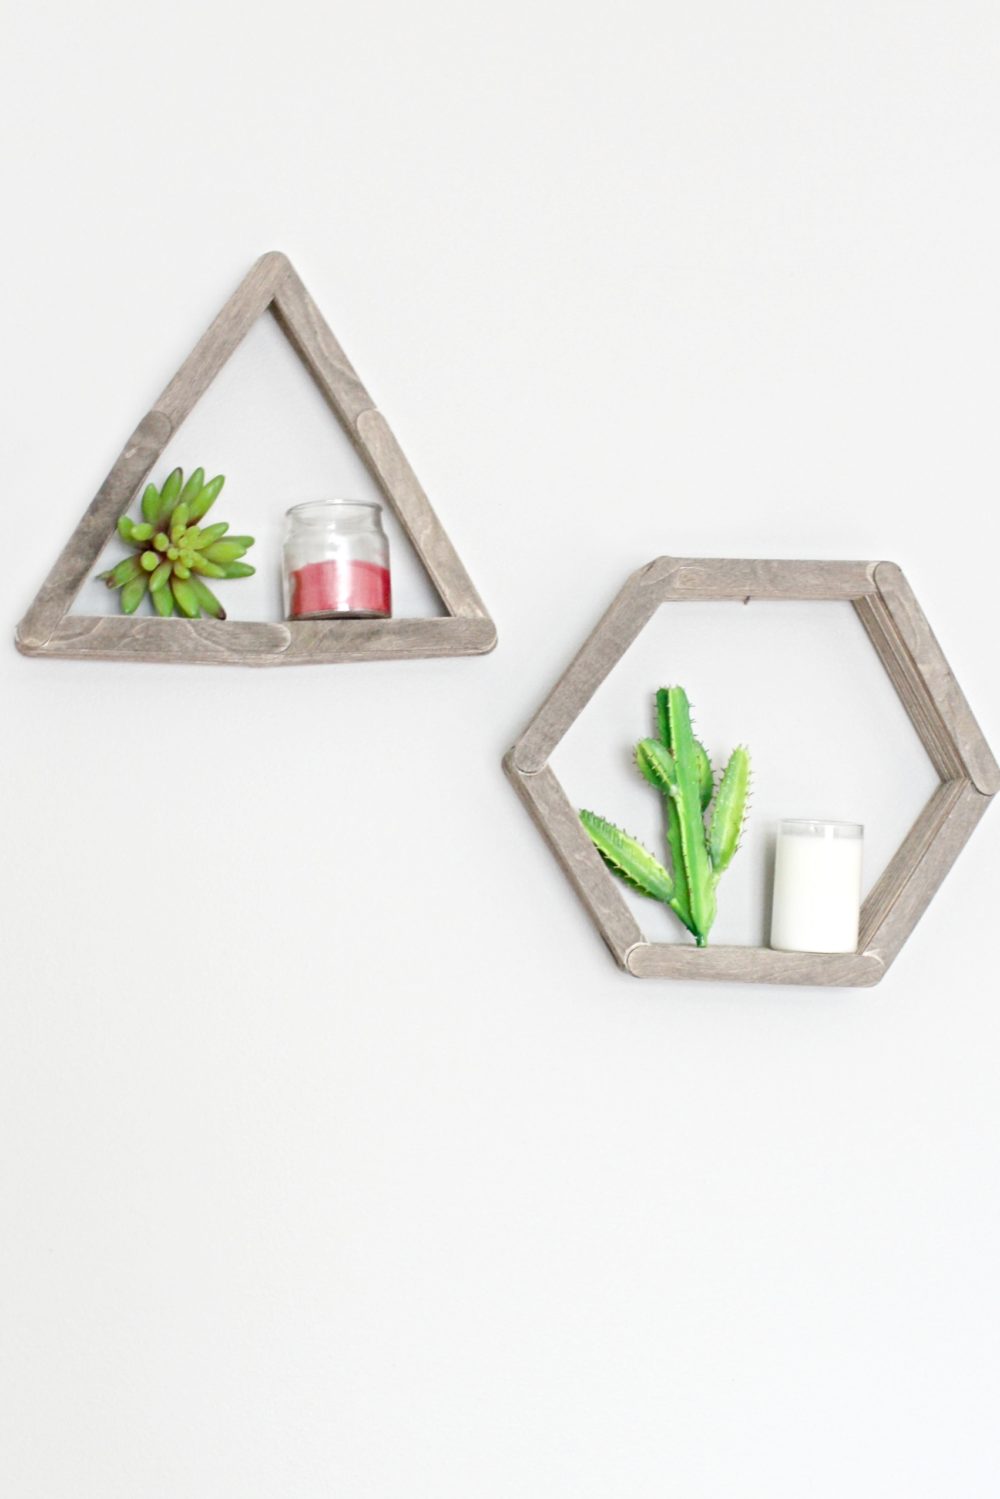
Make these DIY wall shelves as wide or narrow as you like to fit your decor and the items you intend to display in these. stick shelves. Just remember these are not meant to hold heavy items their purpose is more decorative but they can also be functional if used for small, light items.
Stick Shelves
Materials:
- 2 packs of over 70 large/jumbo crafts sticks each (get a 500 sticks bag here)
- White glue or craft glue
- Stain (can also use brown craft paint and water)
- Foam paint brush
Instructions:
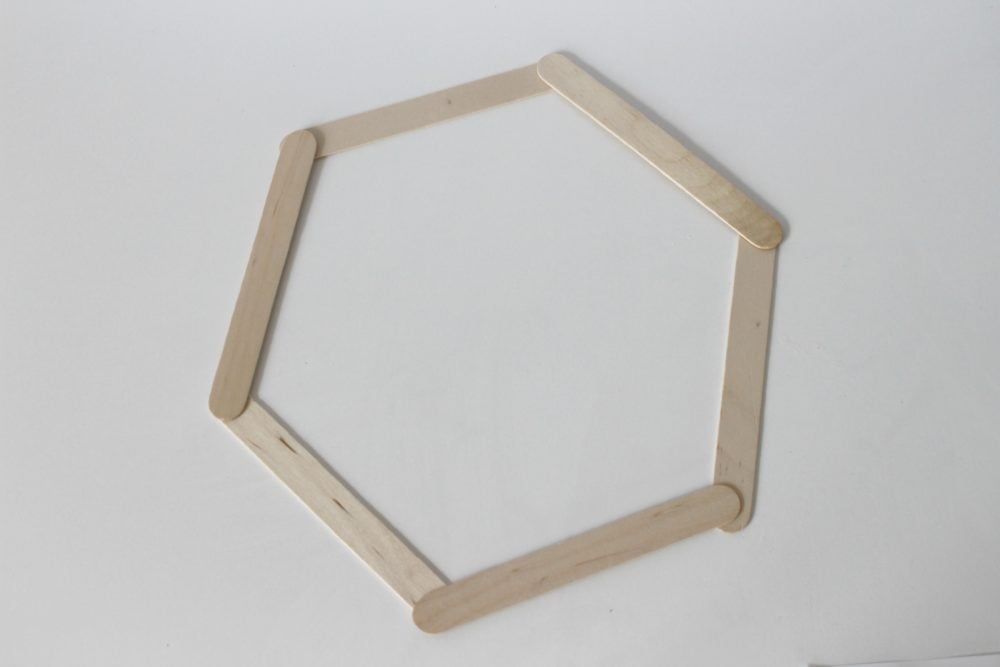
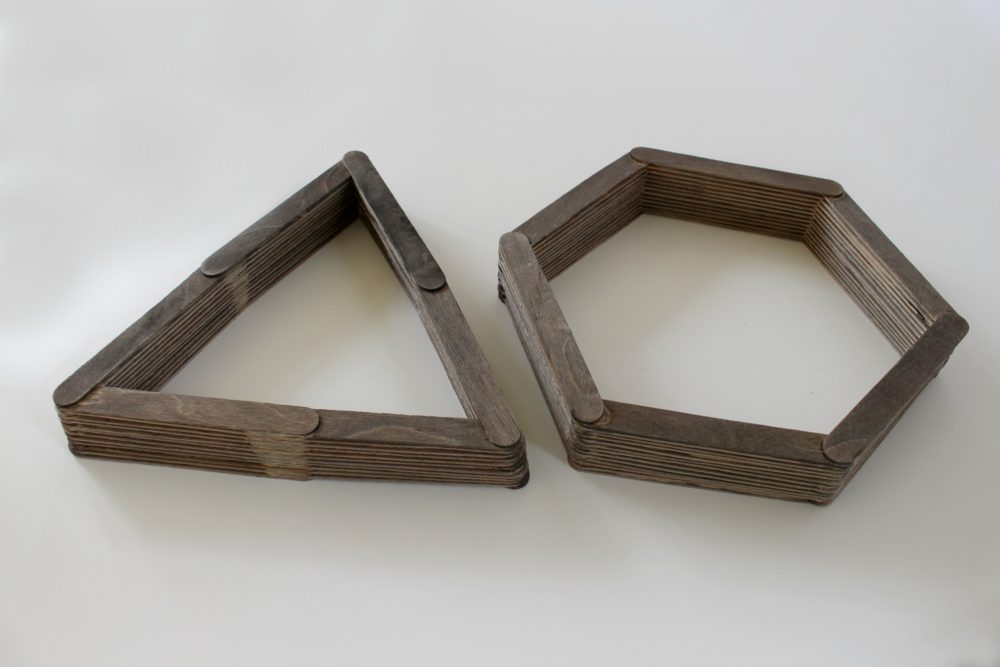
- Start with 6 craft sticks and make a polygon. You need to look at the photo below to see how the sticks overlap each other in a particular way. Every opposite one will either be over the others or under the others on either side. You must follow this pattern.
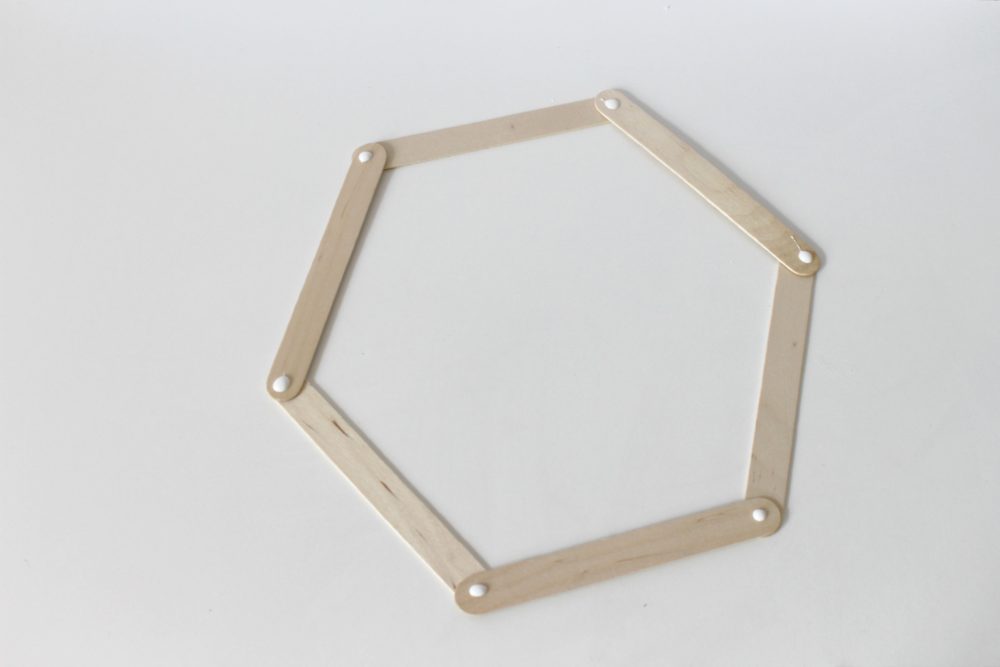
- Place drops of glue on the ends of the sticks that are sitting on top of the others. Add craft sticks, then repeat this process again.
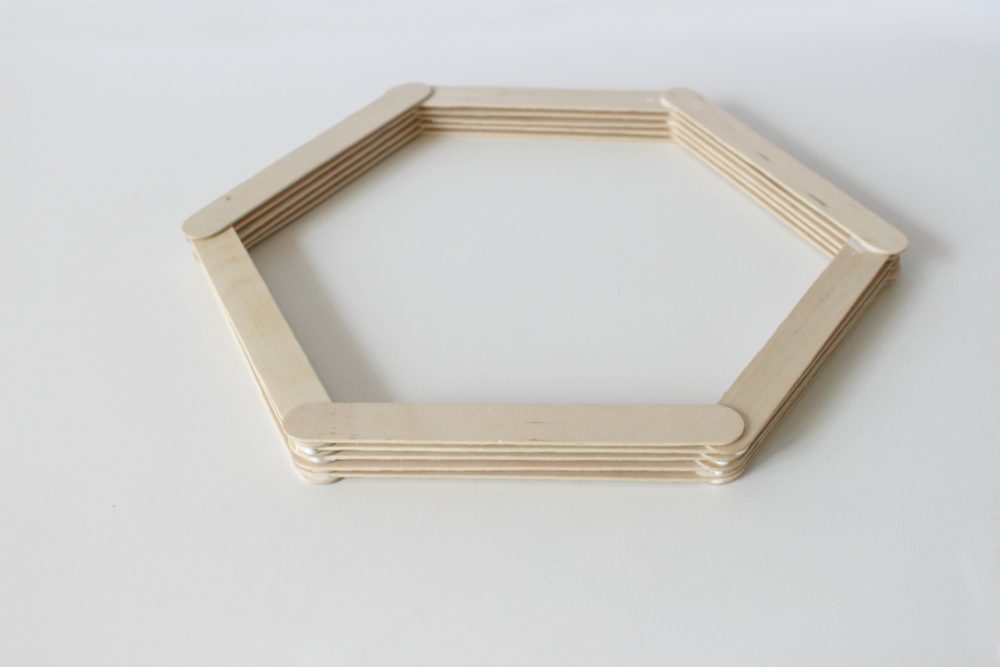
- Continue gluing the sticks in the same pattern and as you go, make sure that the corners are almost perfectly even and smooth.
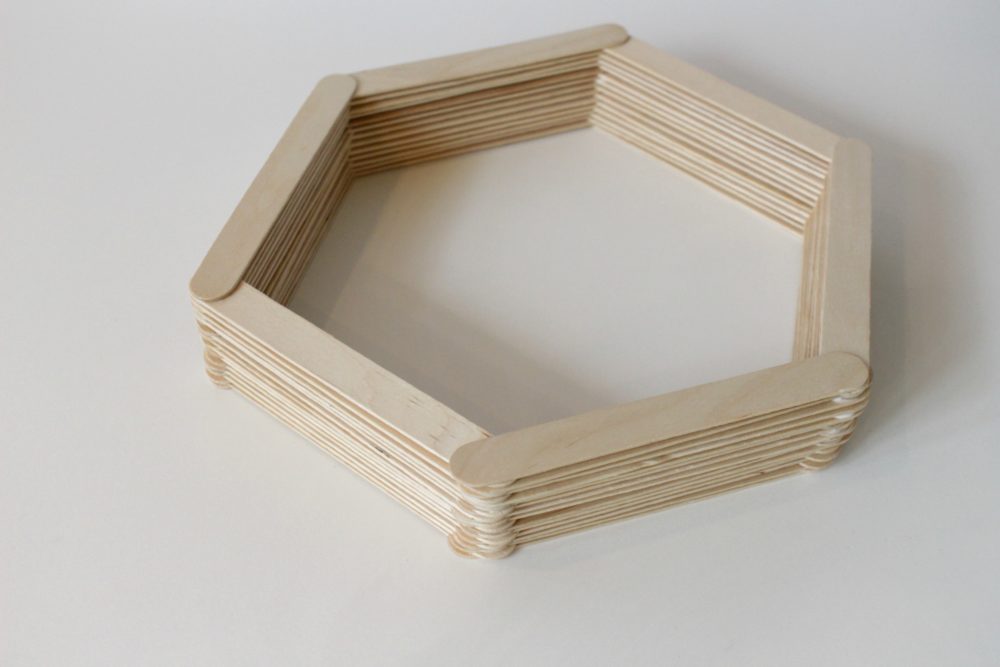
- Once you use a package of craft sticks you will have a depth of about 3 inches. At this point you stop building and set this one aside.
- Take the second bag and use 6 sticks to make a triangle. Look at the photo below to make sure that the sticks are in the correct position, one overlapping the next.
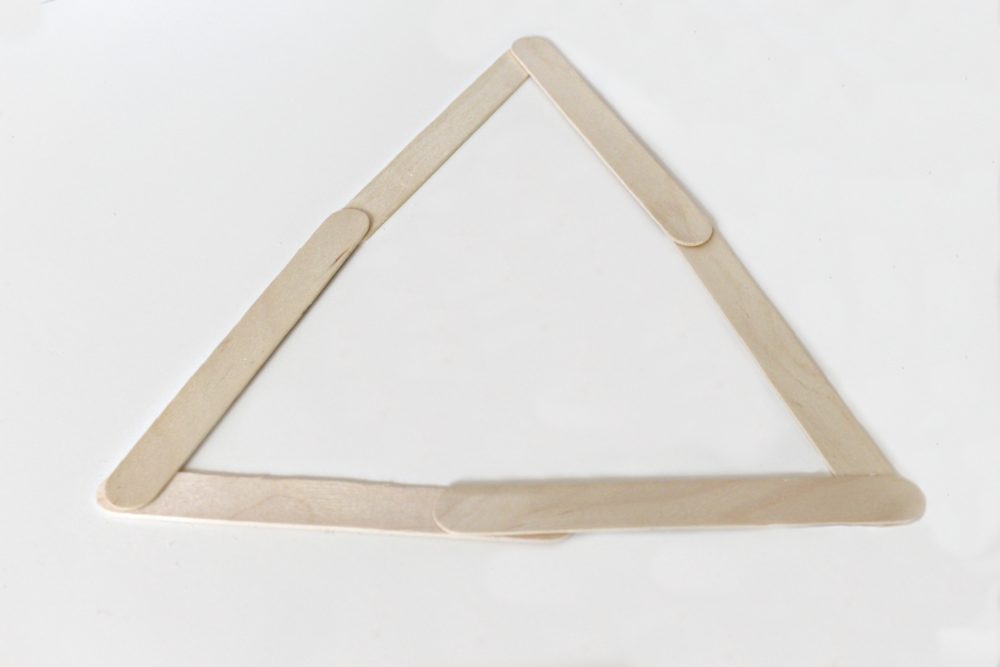
- Continue gluing the craft sticks as you did in the polygon making sure that the corners and edges are flush as you go. Continue until this triangle frame is the same width as the other.
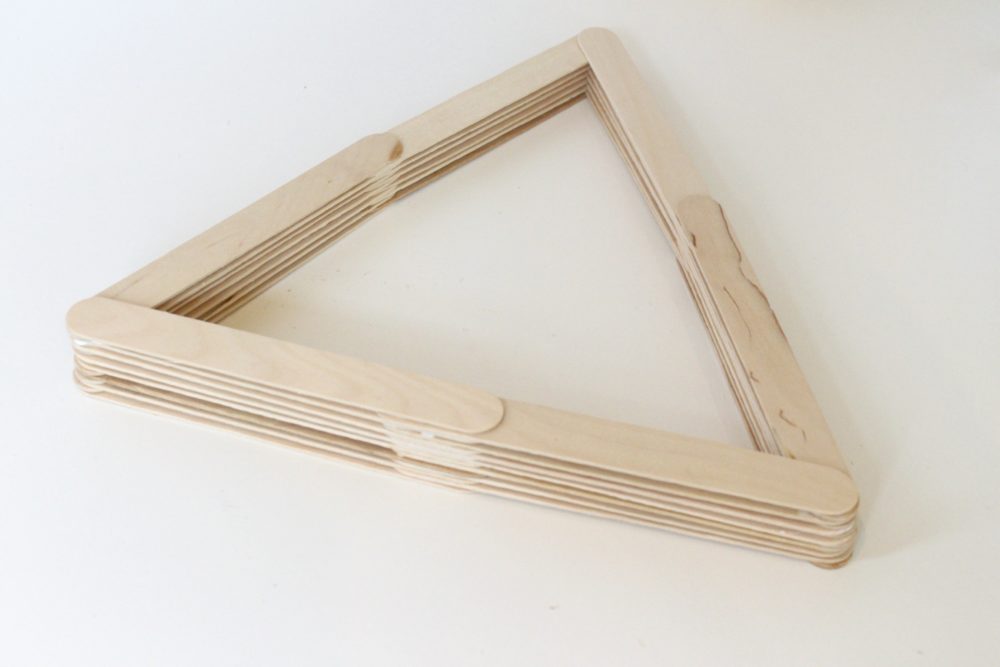
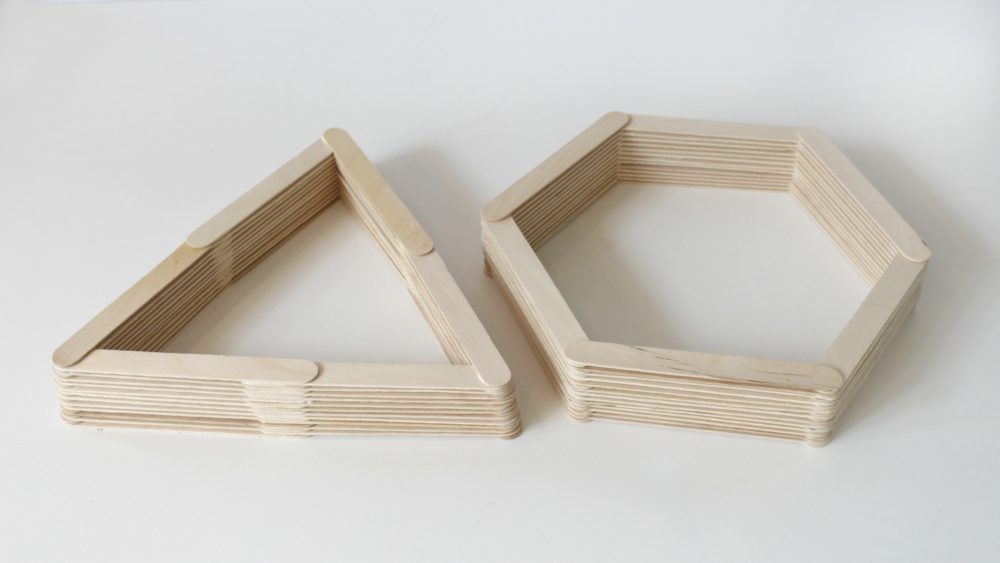
- Set both frames out overnight so that the glue can dry completely.
- Get your stain and brush, or you can mix a little brown paint with water.
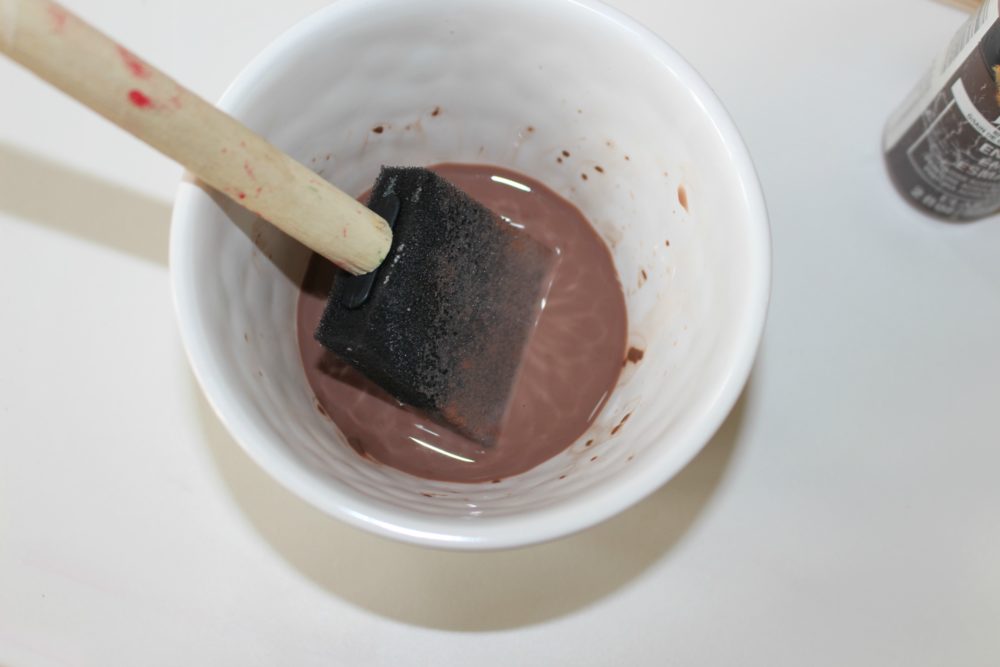
- Use the brush to deposit the stain on all areas of the frame. Get in the groves of the sticks as well so that everything looks evenly coated.
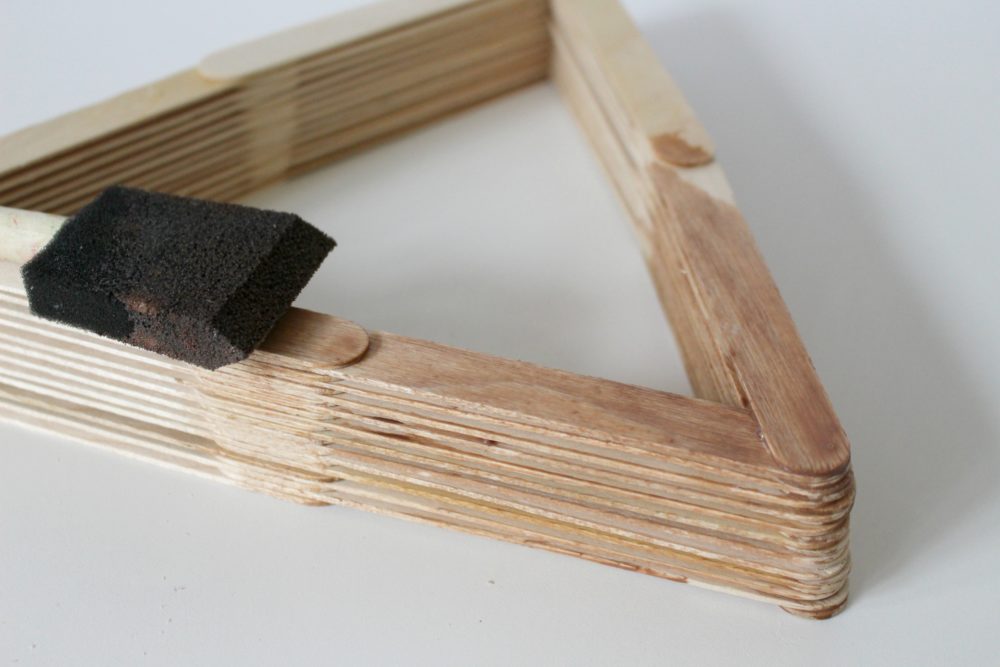
- Let these dry overnight and in the morning they will be ready to hang.
Pin to save for later
GET MORE INSPIRATION HERE >> FOLLOW ME ON PINTEREST
Similar posts you might like
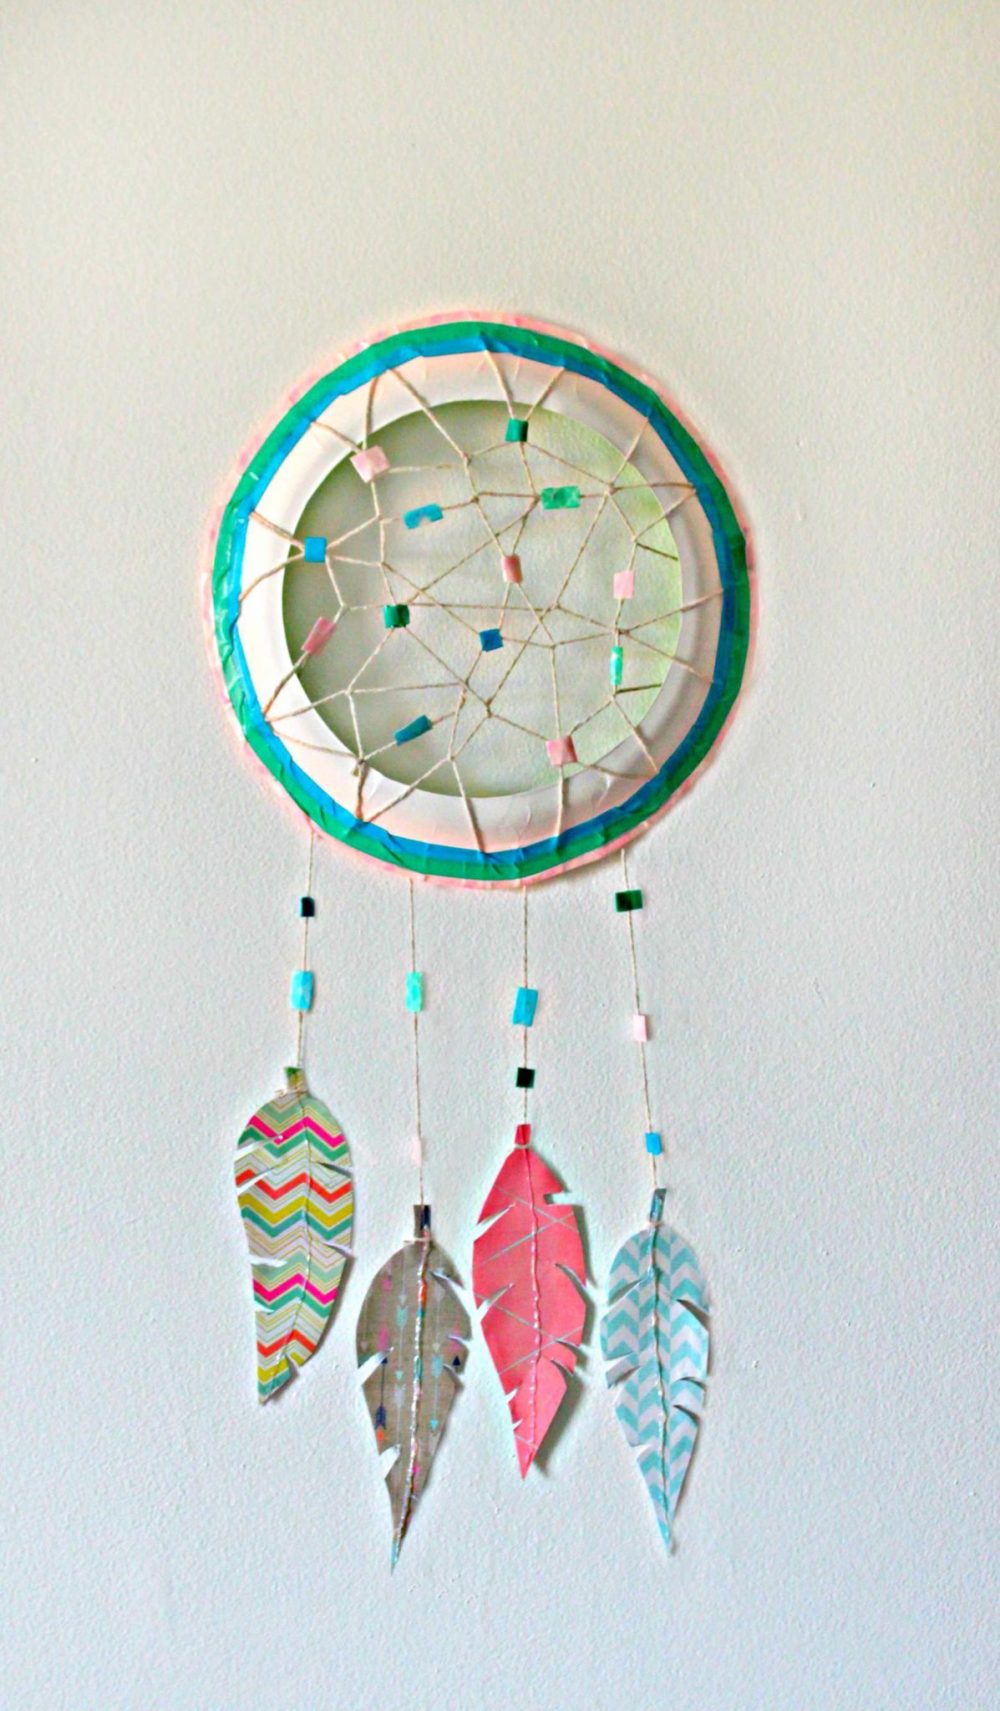
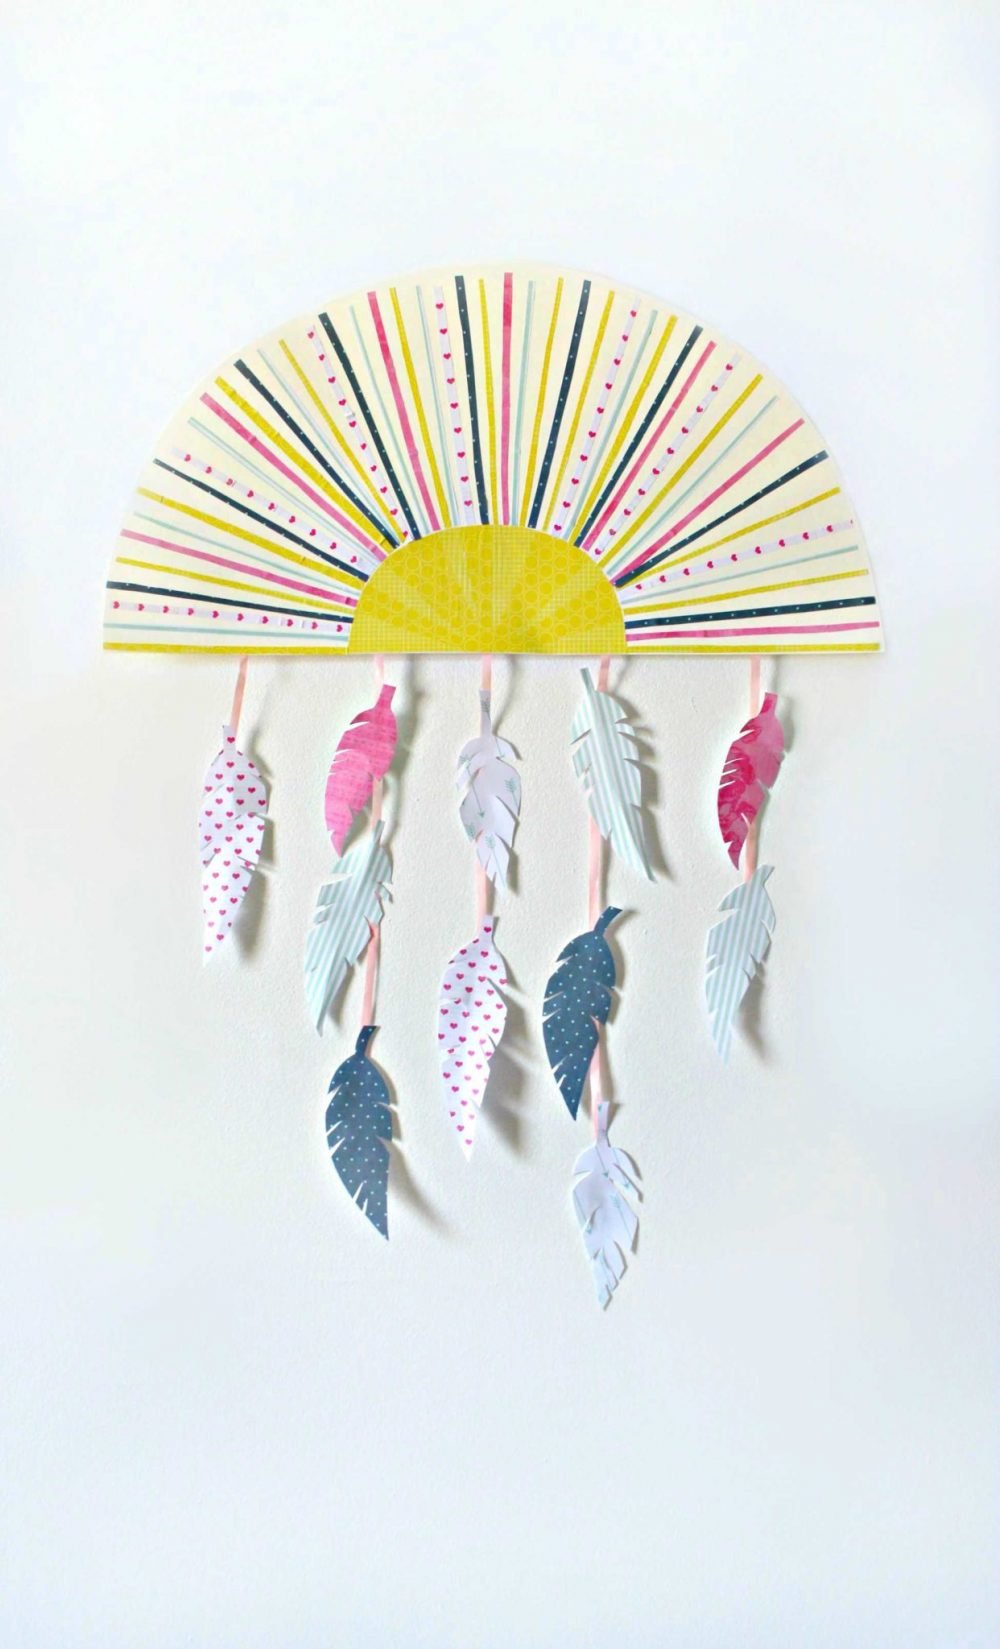
Feather dream catcher wall hanging
Most popular craft
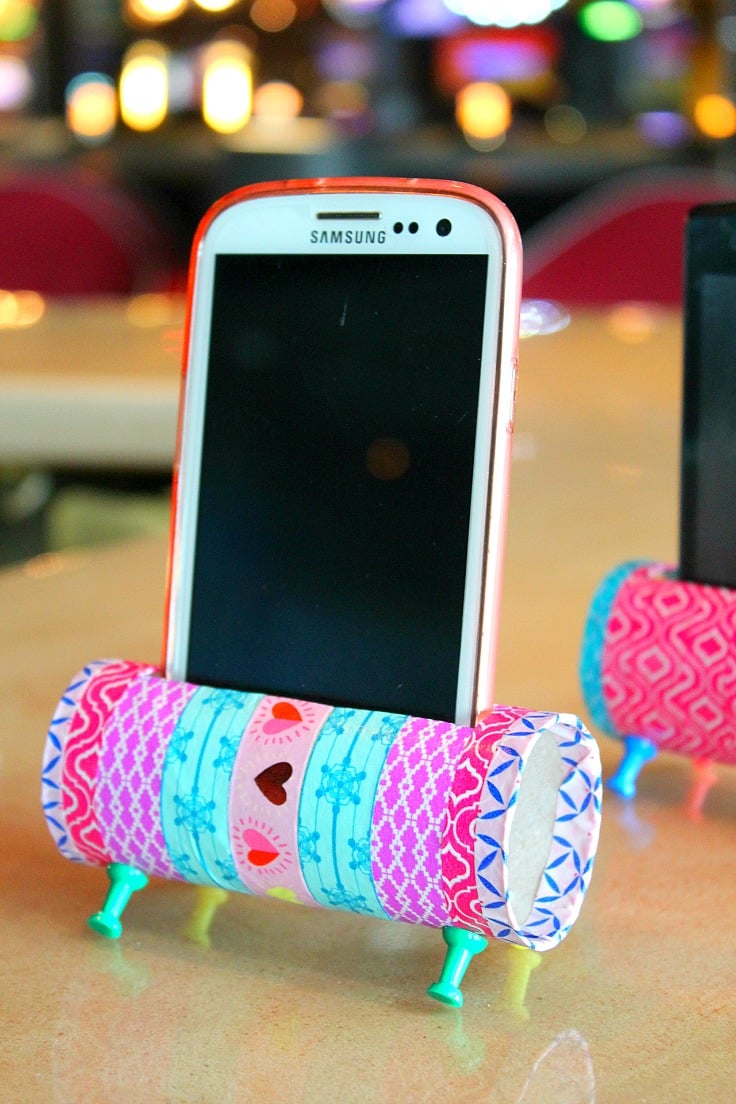
DIY phone holder with recycled toilet paper rolls
Article may contain Amazon & affiliate links. As an Amazon Associate I earn from qualifying purchases at no additional cost to you.


ABOUT PETRO
Hi, I’m Petro, author and founder of Easy Peasy Creative Ideas. Sewist, crafter, avid DIY-er, foodie, photographer, homemaker and mommy to one. I’m an expert at coming up with quick, clever sewing tips, recycling crafts and simple, easy recipes! You can find my ideas featured in reputable publications such as Country Living, Good House Keeping, Yahoo News, WikiHow, Shutterfly, Parade, Brit & Co and more. Thanks for stopping by and hope you’ll stay for a while, get to know me better and come back another time. Stick around for real fun projects! Read more…