Easy sew School supplies organizer
Have you been looking for easy to make school supply storage ideas? This super duper school supplies organizer is sewn with felt in just a few minutes and is the perfect way to get your life back in order! Be ready for any occasion and tidy up with this amazing DIY school supplies organizer!
Organizer sewing pattern
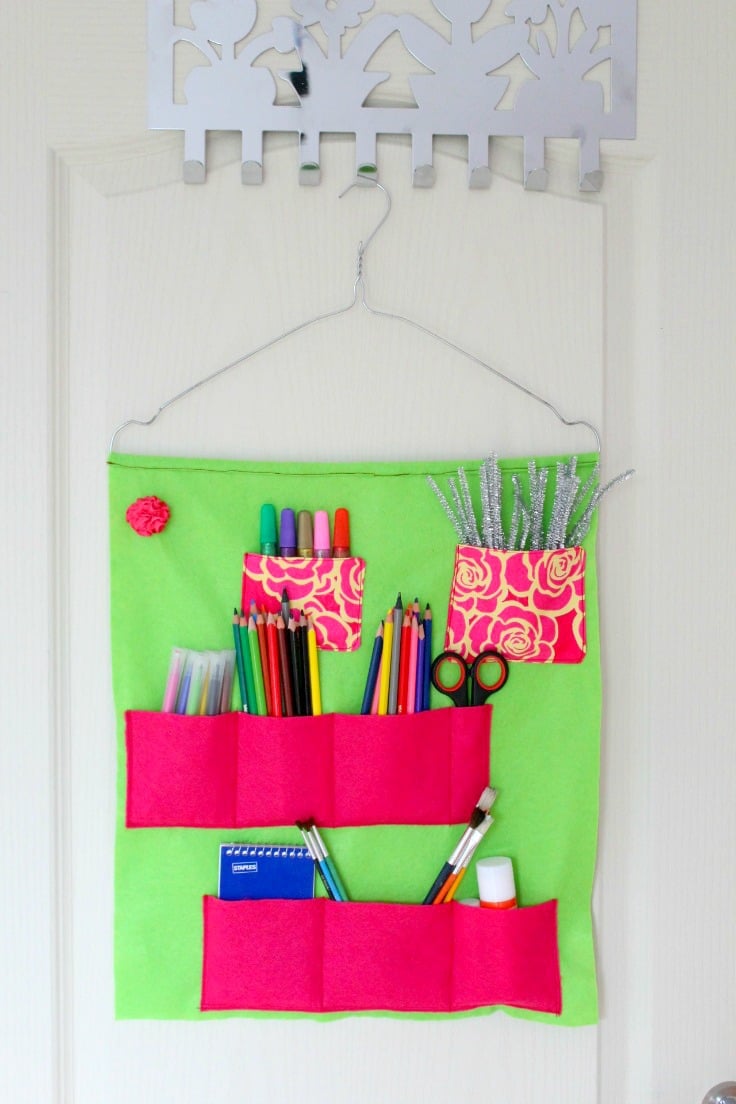
I was literally at the end of the rope when I made this school supplies organizer! I’ve been struggling for ages to keep my house organized and free from the chaos my little daughter creates with all of her school supplies. To quote her, she likes to “have them all on hand” and by that she means spreading them all around the house!
And just between you and I, my feet are not happy either! There have been countless occasions where I found myself on all fours after slipping on a bunch of crayons or when I almost cut myself in the scissors she “conveniently” left on the sofa for later use (God knows that will never happen anytime this century!). Or the times when her opened glue sticks left super hard to remove spots on my beloved hardwood flooring. And these are only a few, just to give you an idea of my wonderful, super “organized” life.
Before making this school supplies organizer, I got her a few boxes and some pen holders to put all of her stuff in but for some reason these are such time consuming, she says (OMG! this generation!). When she’s got an urge to create something really cool (her words exactly), she just can’t waste any time with opening boxes or looking for pen and crayons holders or any other organizer for school supplies I might unsuccessfully try to get her to use! They need to be ready to use, in open containers, she says. The girl know what she wants, I give you that! That’s when this felt organizer sewing tutorial came through my mind.
More organizing ideas:
- Lined zipper pouch
- Two cool bobbin storage ideas
- DIY card holder
- DIY pincushion from recycled photo frame
- Cord organizer sewing tutorial
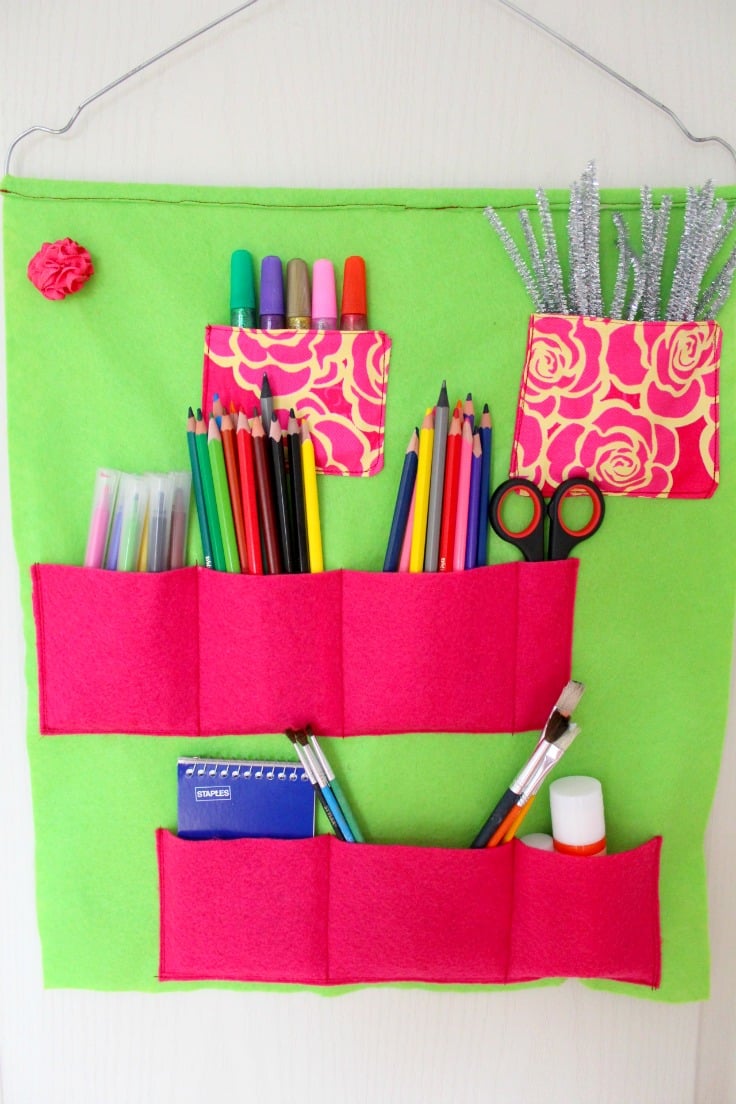
It’s not only super easy to make and a GREAT beginners project but it’s easy to hang anywhere in the house so she can just grab it and move it anywhere she likes in just a second. Plus, there’s no container to open, this school supplies organizer is designed to be permanently opened, as per the Queen’s request!
Also, this simple organizer can easily be adapted to become a closet or mail organizer, a magazines holder or even a makeup holder. And if you’re in need of more sewing storage ideas this can easily be used as a sewing organizer. I actually used a similar version as a sewing supplies organizer before doing a total revamp of my sewing room. The possibilities are endless! I’m simply in love with this project and there are definitely more to come in the near future. My house needs a lot of these babies, especially my pantry and my kitchen! Yes, this school supplies organizer is that versatile!
This particular one is far from perfect though, I’ve only used it to experiment and see if I can do one. The felt I found in my local shop is not sturdy enough and it kind of stretches, the pockets are not spread evenly and I made a few stitching mistakes as this felt left a lot of lint which got in the way of my sewing! But overall, I’m happy with this for now. I’ll do much better on the next ones.
School supplies organizer

Materials needed:
- Felt fabric in 2 different colors (I chose green for the base and fuchsia for the pockets).
- Fabric scraps to make 2 additional pockets if you don’t have enough felt (I got mine from when I made this pretty Flutter sleeve dress and these cool Fabric bowl covers)
- Scissors
- wire hanger
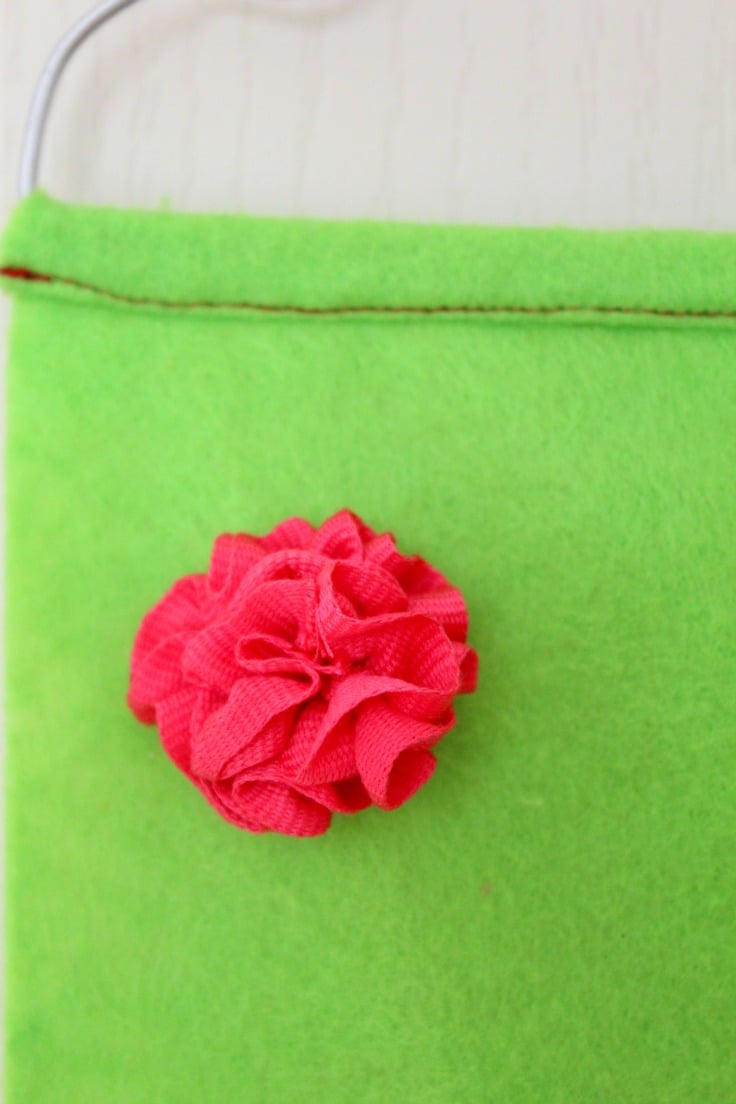
- Pink ribbon to make a small flower embellishment
- Contrast thread (or matching – your choice)
- Sewing machine (optional – you can sew this by hand too)

Directions:
Preparing the fabrics
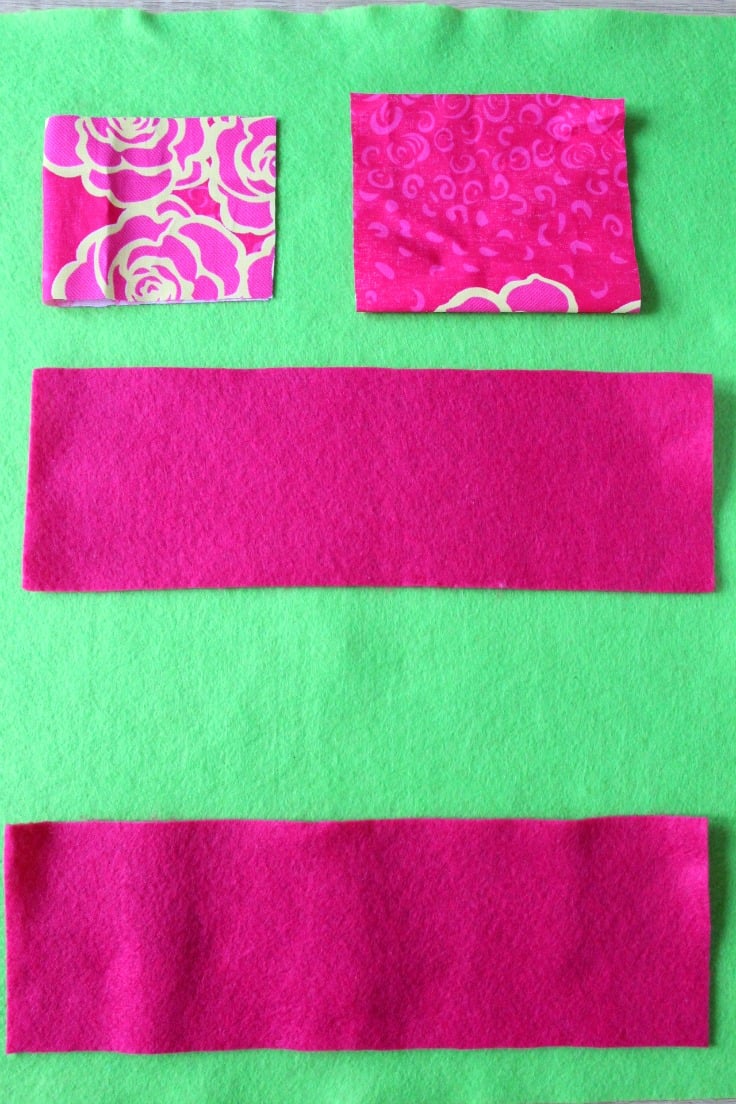
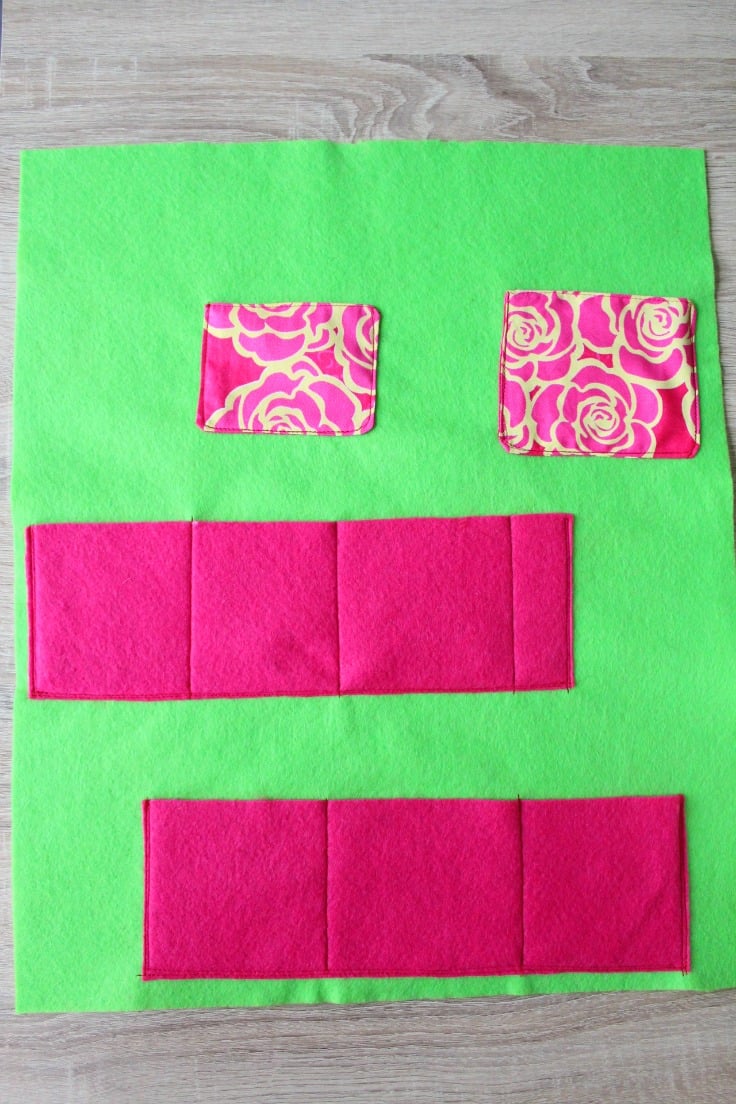
- Decide on the width and height of the organizer and the pockets. Also decide how many pockets you like to have. I wanted 2 large and 2 small at the top which I made from fabric scraps (I made my base 40 x 50 cm = 16″ x 20″ and the pockets 10 x 30 cm = 4″ x 12″). Bare in mind your base needs to fit through the hanger. I’ve noticed this only after starting to work on the project so I had to change the hanger; rookie mistake, of course lol
- Cut your fabrics for the base and the pockets according to your measurements.

- Cut your scraps for the additional pockets at the top.
Decide the layout
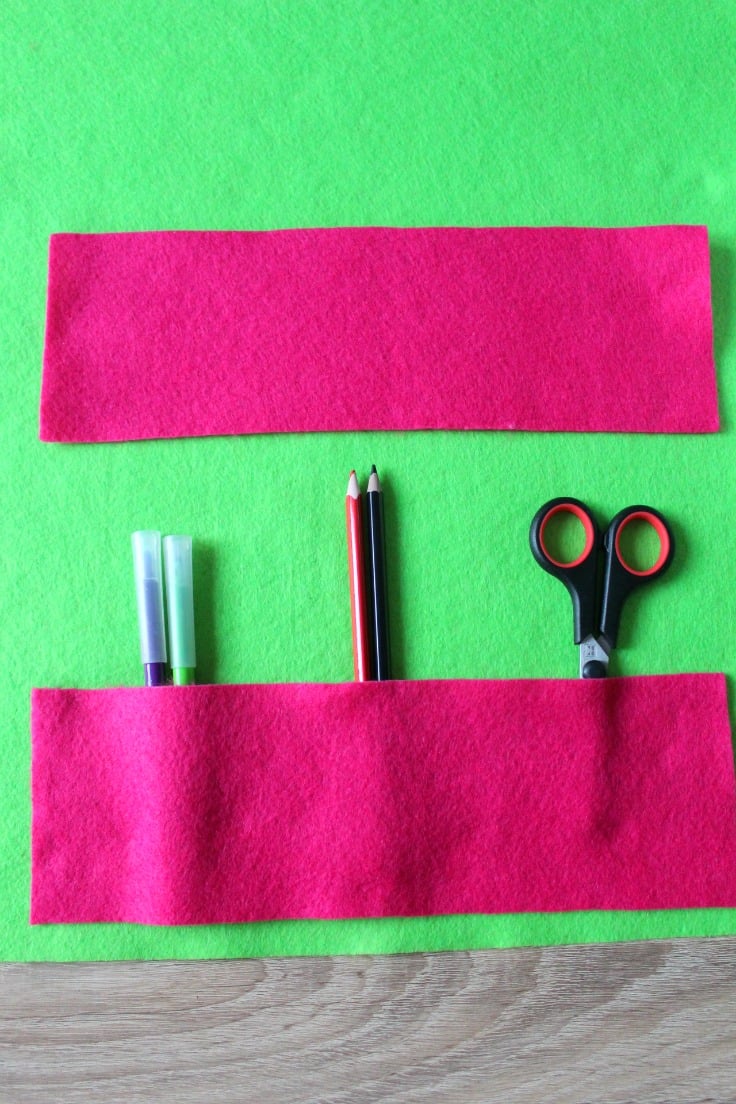
- Lay the fabric for pockets on the base and decide on the space you need to leave between them.
- Stick some supplies in to see how they fit.
Sew the pockets
- Make the top pockets by folding the fabric in half or, if you cut 2 strips for each pocket, place them right side together. Sew all around, leaving a small opening to turn the fabric right side out.
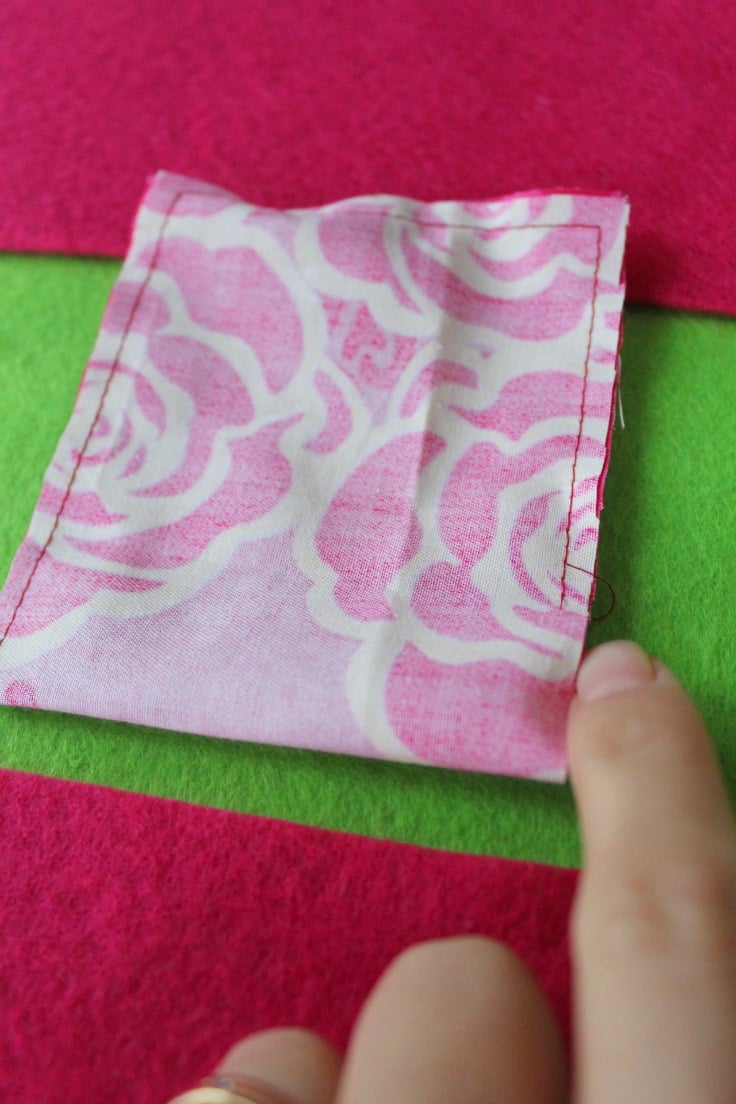
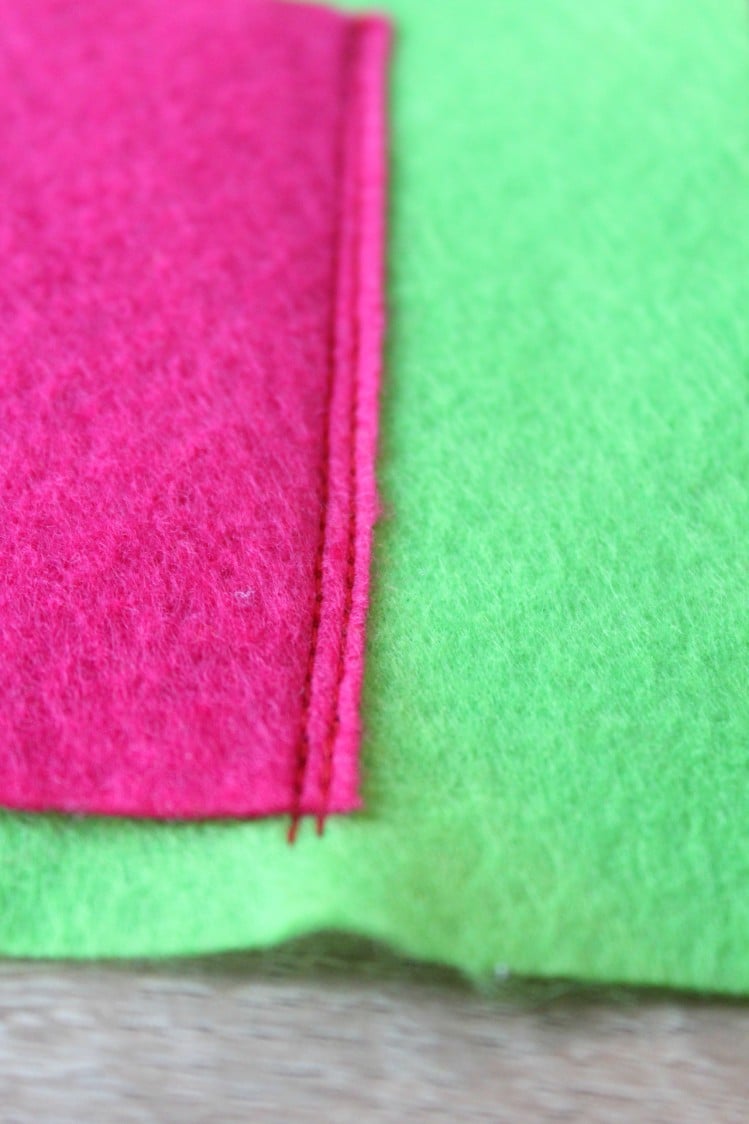
- Sew the main pockets to the base by double stitching all around the bottom and sides.
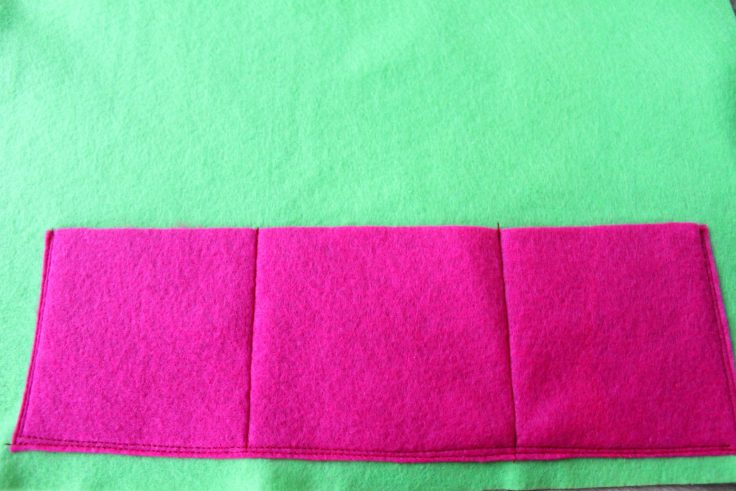
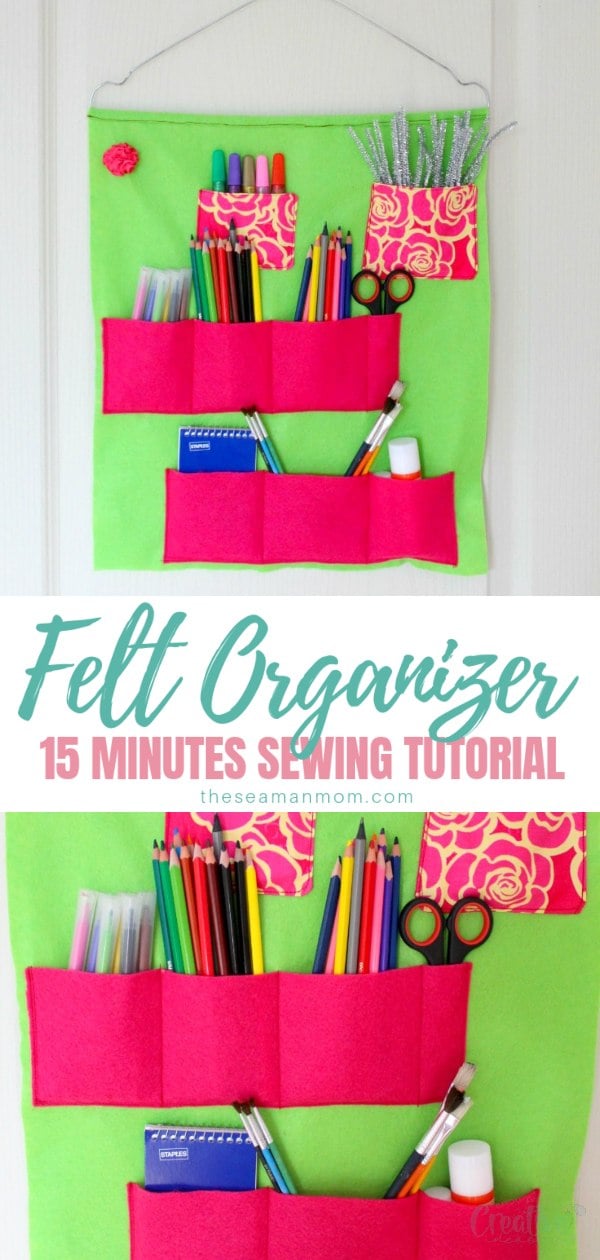
- Decide how many pockets you want for each main pocket and sew top to bottom. I wanted mini pockets to fit crayons, markers, glue sticks, glitter sticks, craft supplies, brushes, a small note pad and scissors.
- Stitch the small top pockets ( I wanted a funky look but I got a funny one instead lol)
Attach the hanger
- Time to sew the organizer to the hanger. Place the hanger on the top of the organizer, on the right side of the fabric and sew. If your felt is sturdy enough, you can just sew 2 stitches.

- If your felt is soft as mine, roll the fabric around the hanger and sew again to make the top of the organizer sturdier.

Add embellishments
- Grab the ribbon and gather to your liking. Stitch by hand to form a flower. Attach to the organizer.
- Hang on the door and fill with school supplies. Perfect to keep your floors free from unwanted stuff!
Note: If you don’t have thick felt but want a sturdier organizer and pockets, add fusible fleece on the wrong side and add another layer of felt for each the base and the pockets, on the back. You will probably need to use a heavy duty machine though.
Pin to save for later
Most popular sewing projects:
Article may contain Amazon & affiliate links. As an Amazon Associate I earn from qualifying purchases at no additional cost to you.


ABOUT PETRO
Hi, I’m Petro, author and founder of Easy Peasy Creative Ideas. Sewist, crafter, avid DIY-er, foodie, photographer, homemaker and mommy to one. I’m an expert at coming up with quick, clever sewing tips, recycling crafts and simple, easy recipes! You can find my ideas featured in reputable publications such as Country Living, Good House Keeping, Yahoo News, WikiHow, Shutterfly, Parade, Brit & Co and more. Thanks for stopping by and hope you’ll stay for a while, get to know me better and come back another time. Stick around for real fun projects! Read more…