

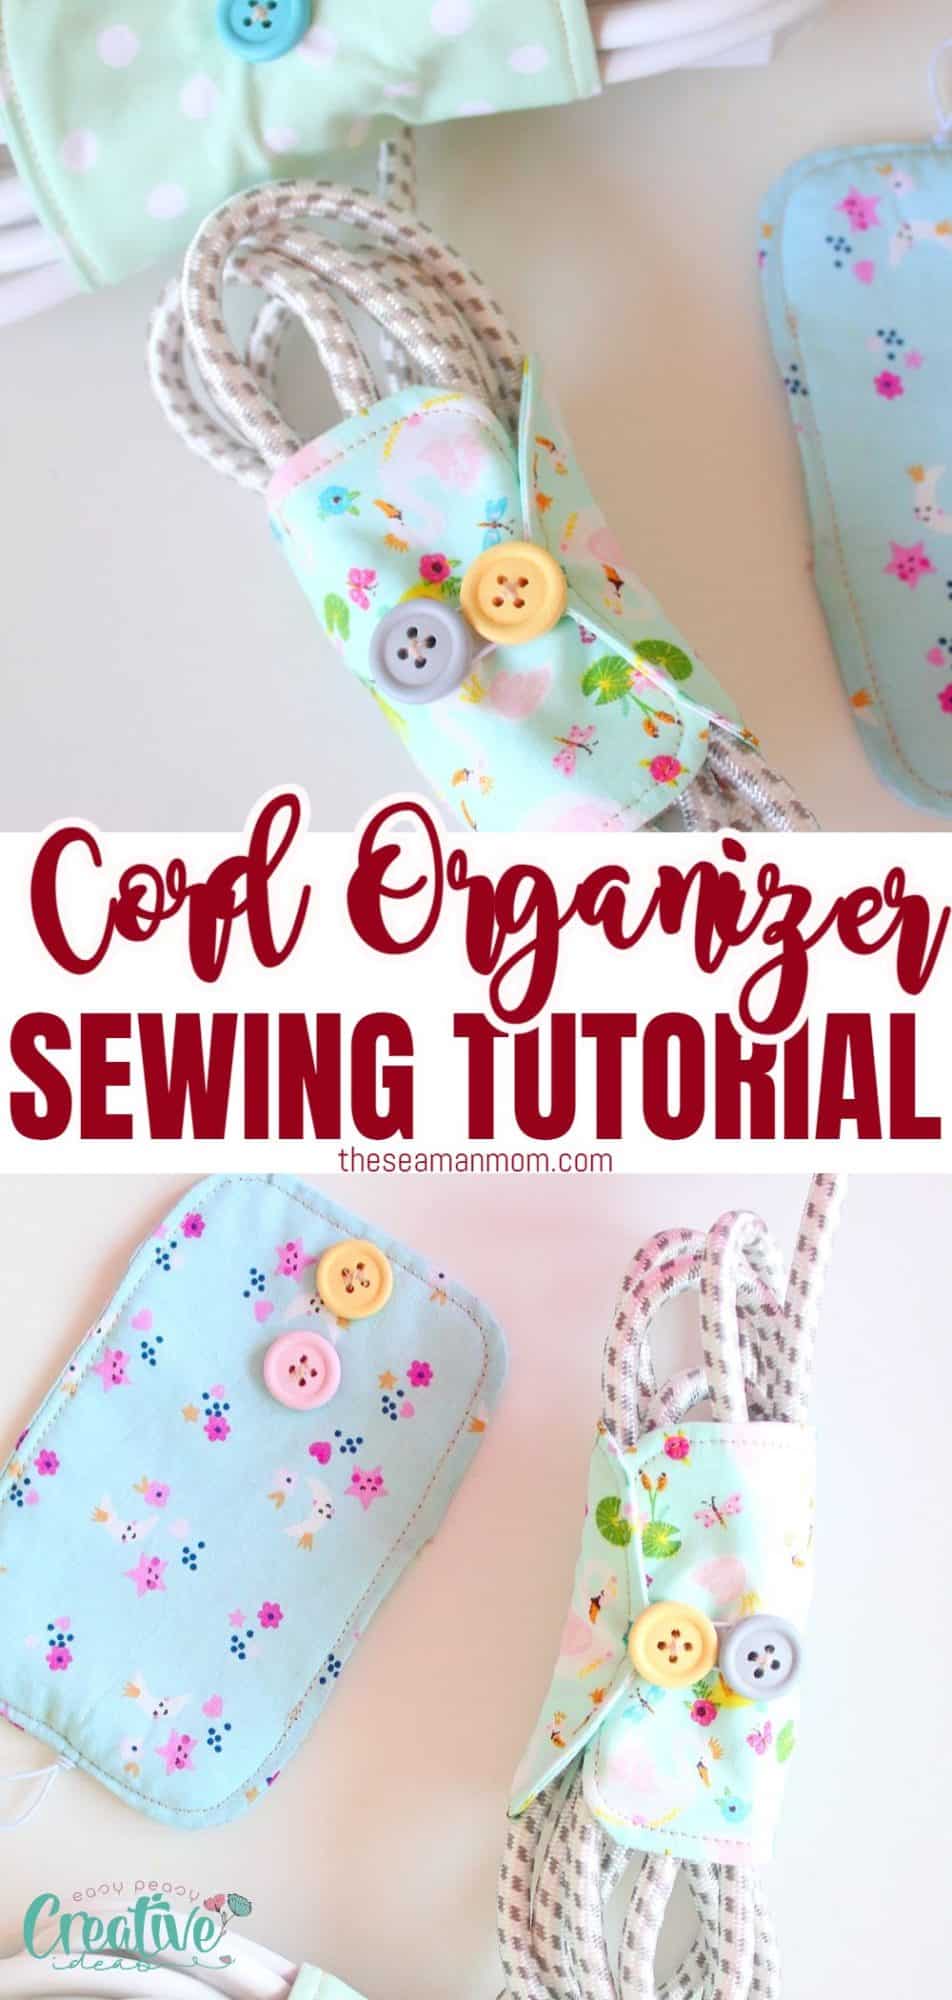
How to sew a DIY cord organizer
Don’t let your fabric scraps go to waste! Learn how to transform them into a practical gem by making a DIY cord organizer. This tutorial will guide you through the process of turning those unused fabrics into a stylish and functional organizer for all your cords. Save money, reduce waste, and create something truly unique with this innovative sewing project.
How to sew a DIY Cord Organizer
Do you have a pile of fabric scraps lying around, just waiting to be put to good use? Look no further! In this article, I will show you how to turn those seemingly useless pieces into a practical gem – a DIY cord organizer. Not only will you save money and reduce waste, but you’ll also have the opportunity to create something truly unique and stylish.
Get ready to transform your cluttered cords into a neat and organized space. Unleash your creativity and bring functionality to your space with this handy and cost-effective solution.
Other similar sewing ideas you will love:
Why DIY Cord Organizers Are Essential
In today’s digital age, we are surrounded by countless electronics, each with its own set of cords. From phone chargers to laptop cables, the jumble of cords can quickly become overwhelming and difficult to manage. That’s where a DIY cord organizer really comes in handy.
The first and most obvious benefit of using cord keepers is organization. By keeping your cords neatly organized, you can say goodbye to tangled messes and hello to a clean and clutter-free space. No more searching for the right cord or untangling a web of wires – with a DIY cord organizer, everything is easily accessible and organized.
Another significant advantage is cost-effectiveness. Instead of purchasing expensive cord organizing solutions, why not repurpose your fabric scraps? Not only will you save money, but you’ll also reduce waste by giving new life to materials that would otherwise be discarded.
Customization is yet another reason why handmade cord holders are essential. When you create your own DIY cord organizer, you have the freedom to personalize it to your liking. Whether you prefer a vibrant pattern, a minimalist design, or something in between, you can tailor your cord organizer to match your individual style. Plus, the satisfaction of knowing you created something unique adds an extra touch of pride.
Lastly, the choice of fabric for your DIY cord organizer is crucial. Opt for fabrics that are durable and can withstand everyday use. Denim, canvas, or upholstery fabrics are great choices because they are sturdy and will hold up well over time. Additionally, consider using fabrics that are easy to clean, as cords can accumulate dust and dirt.
Customize and Personalize Your Cord Organizer
Adding your own customization to the cord organizer allows you to infuse it with a sense of individuality. Have you ever wanted to showcase your favorite fandom or express your artistic side? Well, with a DIY cord organizer, you can easily incorporate these elements into the design. From superhero motifs to nature-inspired patterns, the possibilities are endless.
Adding details such as buttons, sequins, lace and other embellishments you can put your own spin on the organizer. You can even monogram your initials or add meaningful quotes that represent you. This level of personalization makes it not just a functional item, but also a reflection of your personality.
Apart from adding visual elements, you can also customize the cord organizer to fit your specific needs. If you have more cords for electronic devices than others, you can allocate larger pockets or add extra compartments to accommodate them. You can also choose the size and shape of your organizer based on how many cords you need to store.
Additionally, personalization extends beyond just the design and functionality of the cord organizer. You can also make it eco-friendly by using sustainable materials such as recycled fabrics or vegan leather. This adds another layer of personalization by aligning the organizer with your values and beliefs.
What kind of fabric works best for this project?
When it comes to transforming scrap fabrics into a practical cord organizer, the type of fabric you choose plays an important role in the overall functionality and durability of the final product. Different fabrics have different properties, and selecting the right one will ensure that your cord organizer serves its purpose effectively.
Ideally, you want to choose a fabric that is sturdy and able to withstand daily use. Fabrics such as quilting cotton, denim, canvas, or twill are excellent choices as they are durable and can handle the wear and tear that comes with organizing cords. These fabrics also provide a bit of structure, helping to keep the cords in place and preventing them from getting tangled.
Another factor to consider is the weight of the fabric. You don’t want to use something too heavy that will add unnecessary bulk to your cord organizer. Light to medium-weight fabrics like cotton or linen work well and provide a balance between strength and flexibility.
Additionally, it’s a good idea to opt for fabrics that are easy to clean or wash. Cord organizers often end up in bags or pockets, and having a fabric that can be easily wiped down or tossed in the washing machine will help maintain cleanliness and hygiene.
What kind of closure can I use?
DIY cord organizers offer a range of closure options to suit individual needs and preferences. From Velcro strips to buttons or snaps, there are plenty of ways to secure your cords and keep them in place. These closure mechanisms not only provide functionality but also add a touch of creativity and personalization to your cord organizer.
The use of Velcro strips as closure mechanisms ensures a secure hold while allowing for easy access to your cords. The Velcro system provides a quick and convenient way to roll up your cord organizer. Simply press the Velcro together, and your cords are neatly wrapped and securely stored.
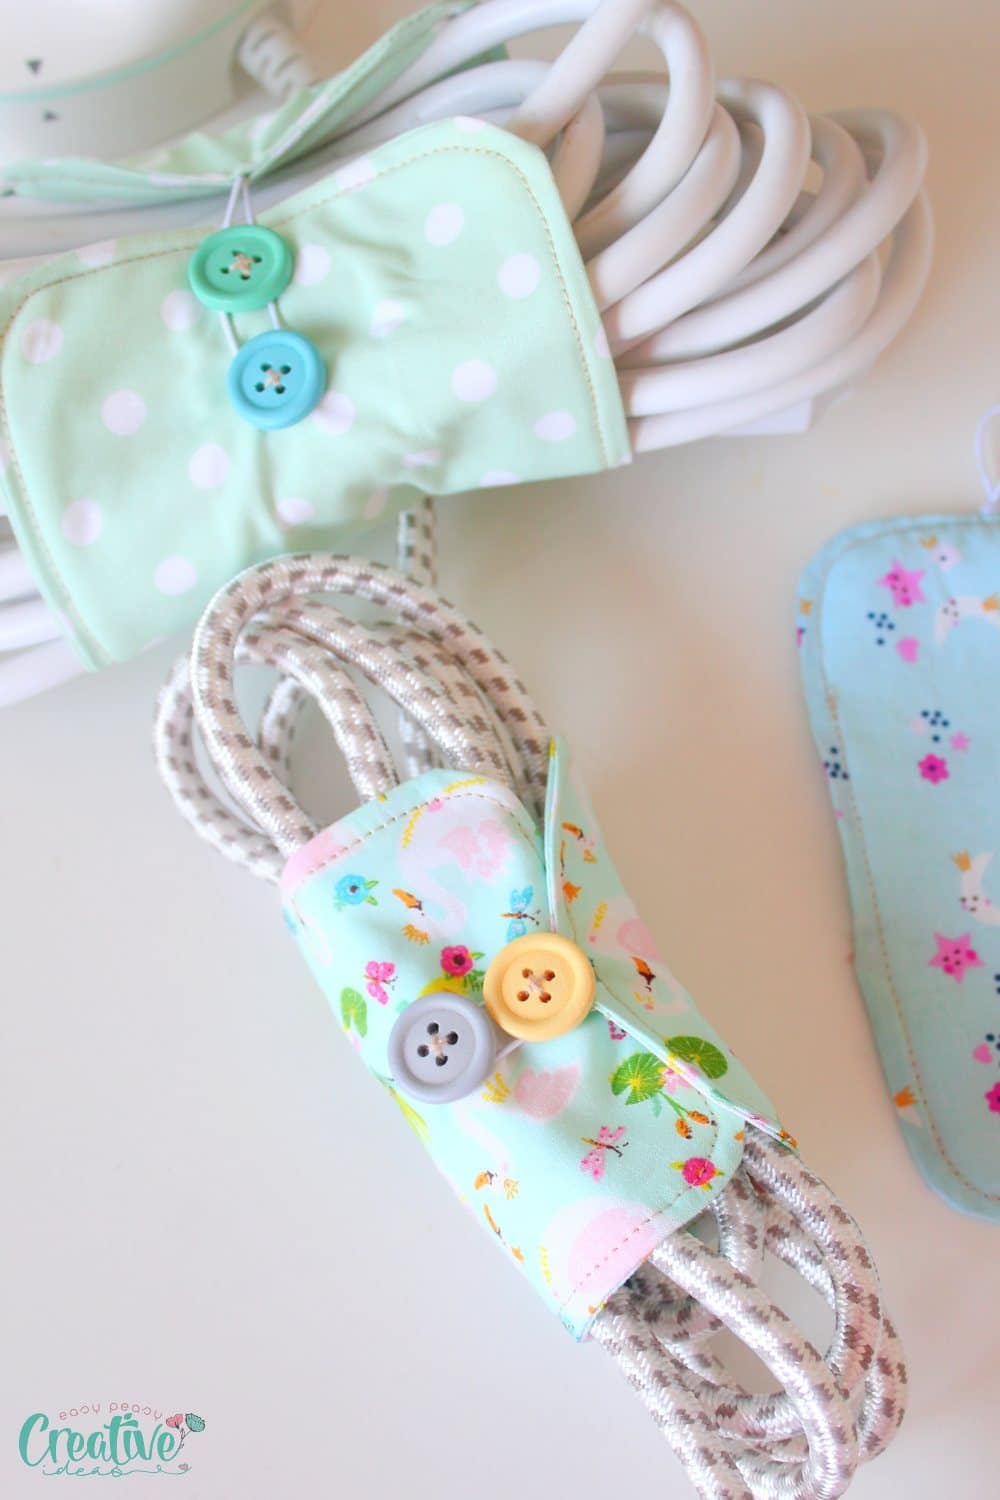
Buttons, on the other hand, offer a more traditional and decorative form of closure. Sewing buttons onto the fabric pockets creates a visually appealing and tactile closure option. This adds a touch of elegance to your cord organizer while serving its practical purpose. Plus you can add even more interest to your DIY cord organizer with pretty buttons and colorful elastics.
How to clean a fabric cord holder?
Like any other item that we use frequently, fabric cord organizers can accumulate dirt and grime over time. Cleaning them regularly will not only maintain their appearance but also prolong their lifespan. To clean a fabric cord holder, you will need a few basic supplies.
First, start by removing all cords from the organizer. You can now proceed with washing the fabric cord holder. In most cases, a mixture of mild detergent and water will suffice. You can hand wash it or simply toss it in the washing machine with similar laundry.
Finally, let the cord organizer air dry completely before using it again. Avoid using a dryer or applying direct heat, as this could shrink or melt the fabric.
Gather Your Materials and Tools
Now that you know how to clean your DIY cord keepers, let’s move on to gathering the materials and tools needed for this project. To create your very own practical cord organizer, you will need a few basic materials and tools. Don’t worry, you probably already have most of them lying around your home. Here’s what you’ll need:
- Pattern for the organizers (optional, available here).
- Scrap fabrics. Choose fabrics that are sturdy and durable, ensuring they can withstand the weight and strain of holding cords.
- Scrap batting to add structure to your cord holder. You can also interface it with double sided fusible interfacing if you want a stiffer holder.
- Double sided Hem tape
- Scissors: Make sure you have a good pair of fabric scissors handy. They will come in handy for cutting the fabrics to the desired size and shape.
- Cutting mat (optional)
- Fabric marker
- Ruler or measuring tape
- Matching needle
- Matching thread
- Sewing machine. (this project is simple enough to be done by hand)
- Buttons or Velcro strips. I used buttons.
- Elastic (you can use ribbon instead if you’re not familiar with sewing over elastic)
- Hand needle
- Pins or clips
- Pressing iron
DIY Cord Organizer Step-by-Step Tutorial
Now that you have all your materials and tools ready, it’s time to dive into the step-by-step tutorial and create your own DIY cord organizer. Let’s get started!
Measure and Cut the Fabric
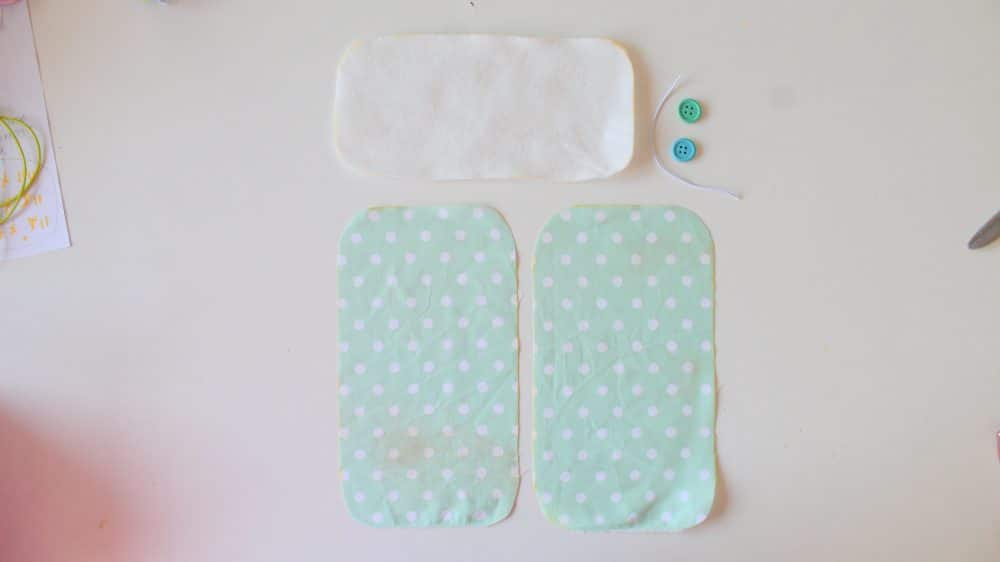
- Take your scrap fabric and lay it flat on a clean workspace or a cutting mat.
- Trace the pattern onto the fabric using a fabric marker.
- Cut out 2 pieces of fabric and 1 piece of batting.
Sew the elastic
- Place one piece of fabric right side up.
- Fold the elastic in half and place it at the top of the fabric, with the loop hanging downwards.
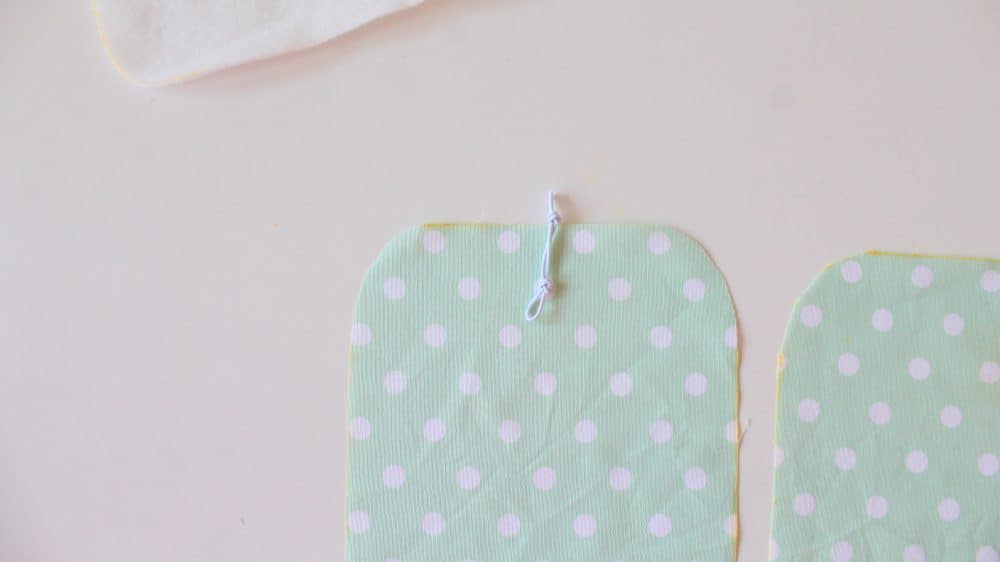
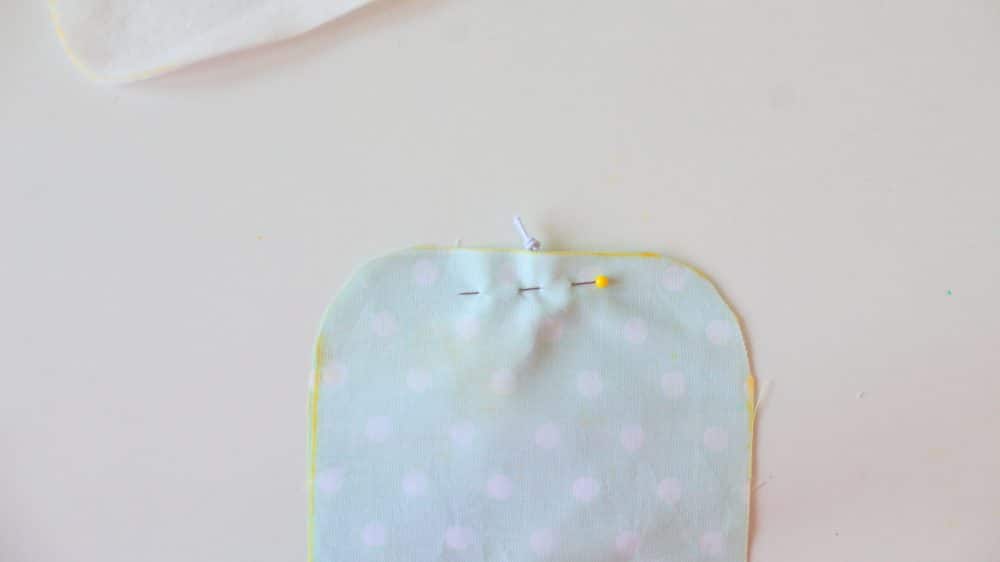
- Top with the second fabric piece wrong side up
- Pin in place and sew the top to catch the elastic.
Attach the hem tape
- Place 2-3 strips of double sided hem tape on the fabric and press. This will help keep the batting attached to the fabric.
- Remove the paper from the hem tape and add the batting.
- Press to adhere.
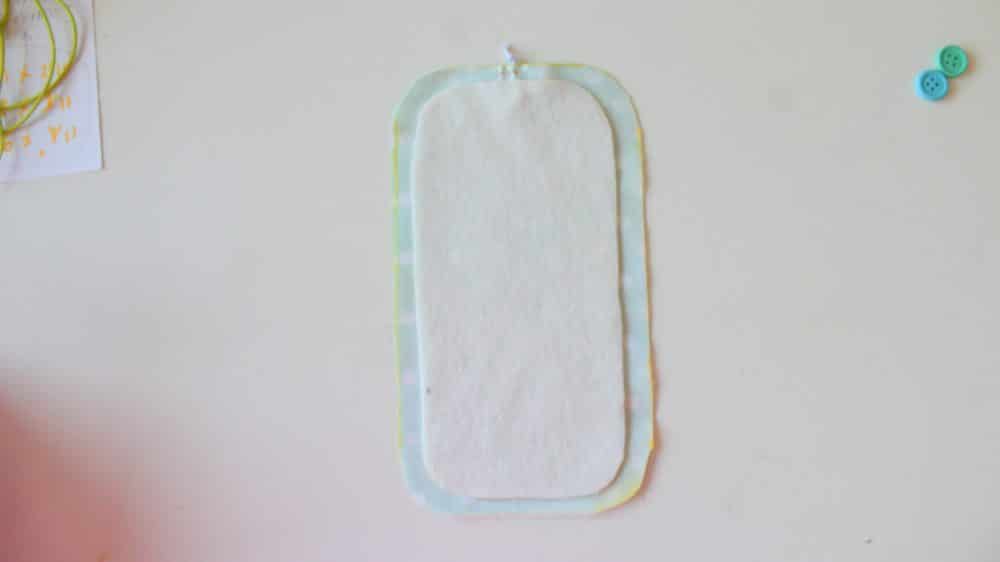
- Pin through all pieces.
Sew the cord holder
- Sew around the cord holder using a 1/4″ seam allowance.
- Leave a gap of about 2″ in one of the long sides for turning.
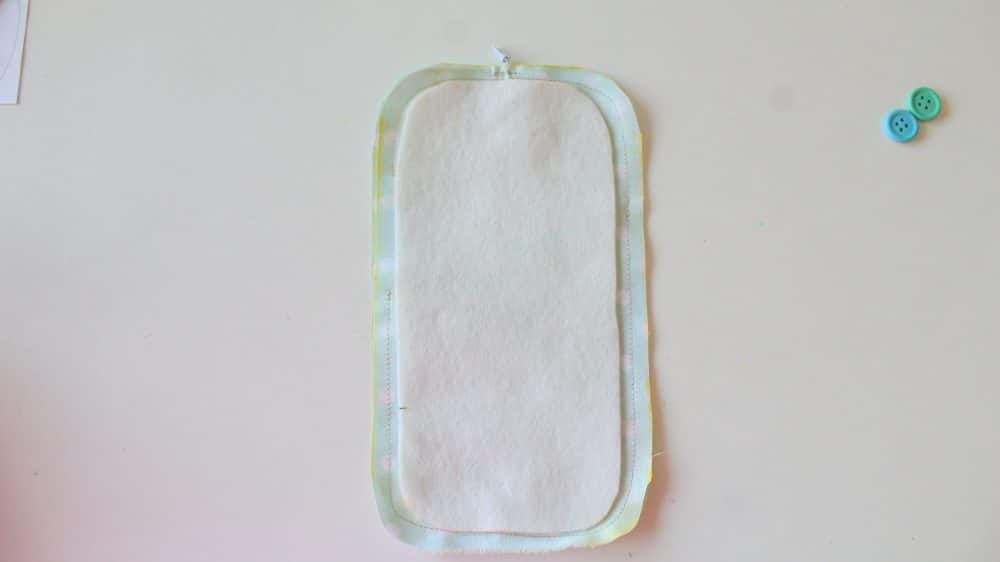
- Turn the organizer right side out through the gap.
- Press the gap in.
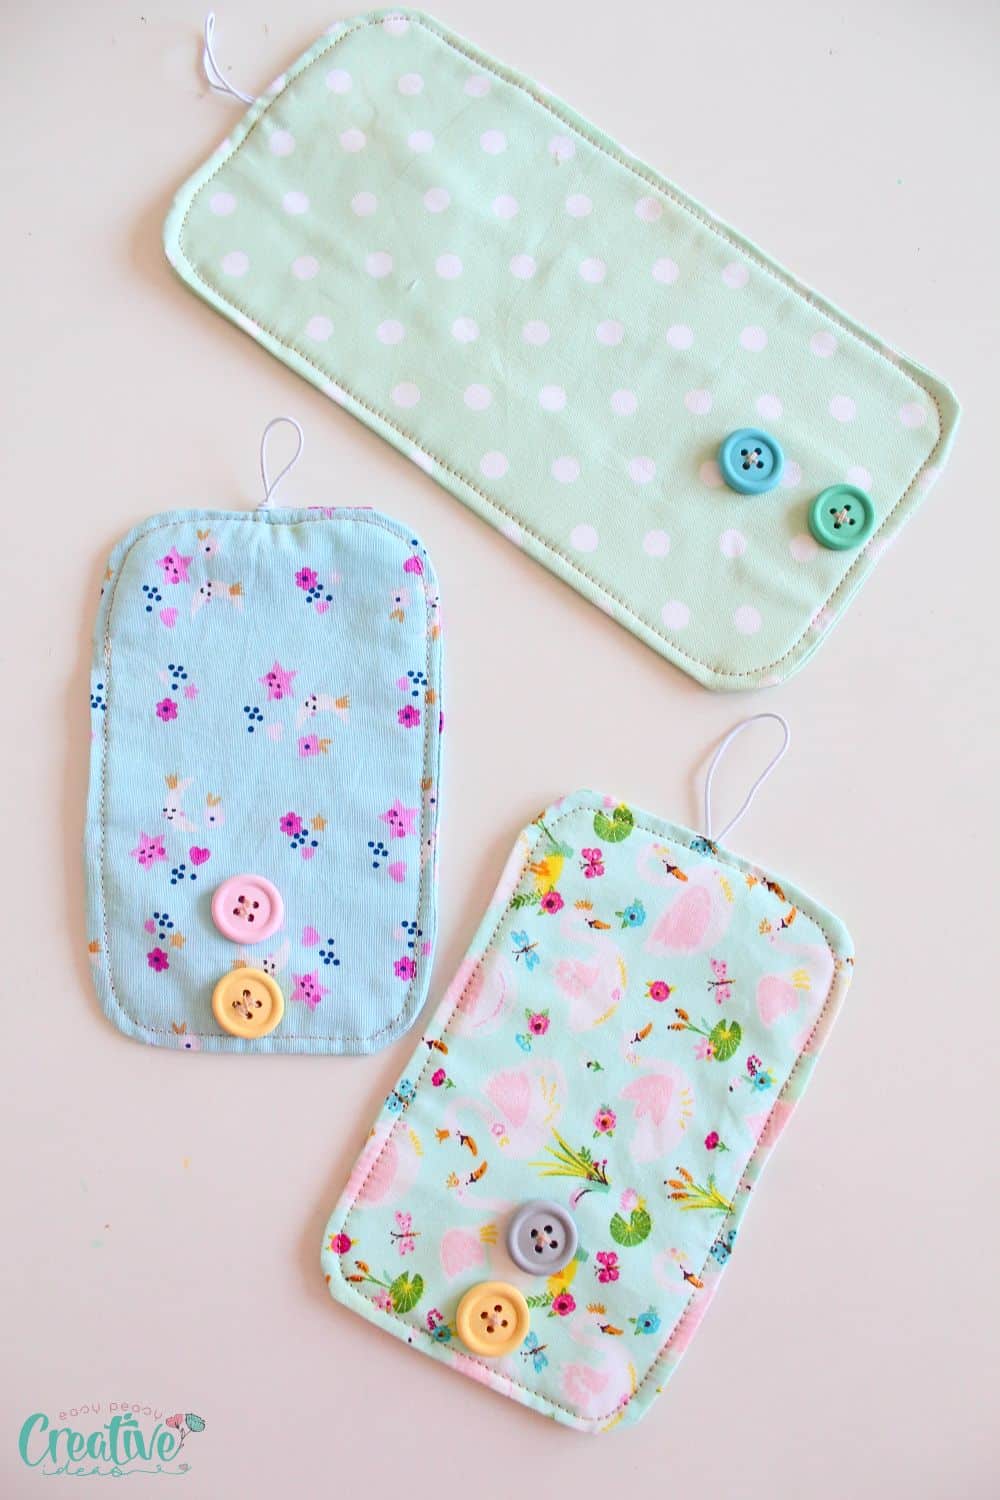
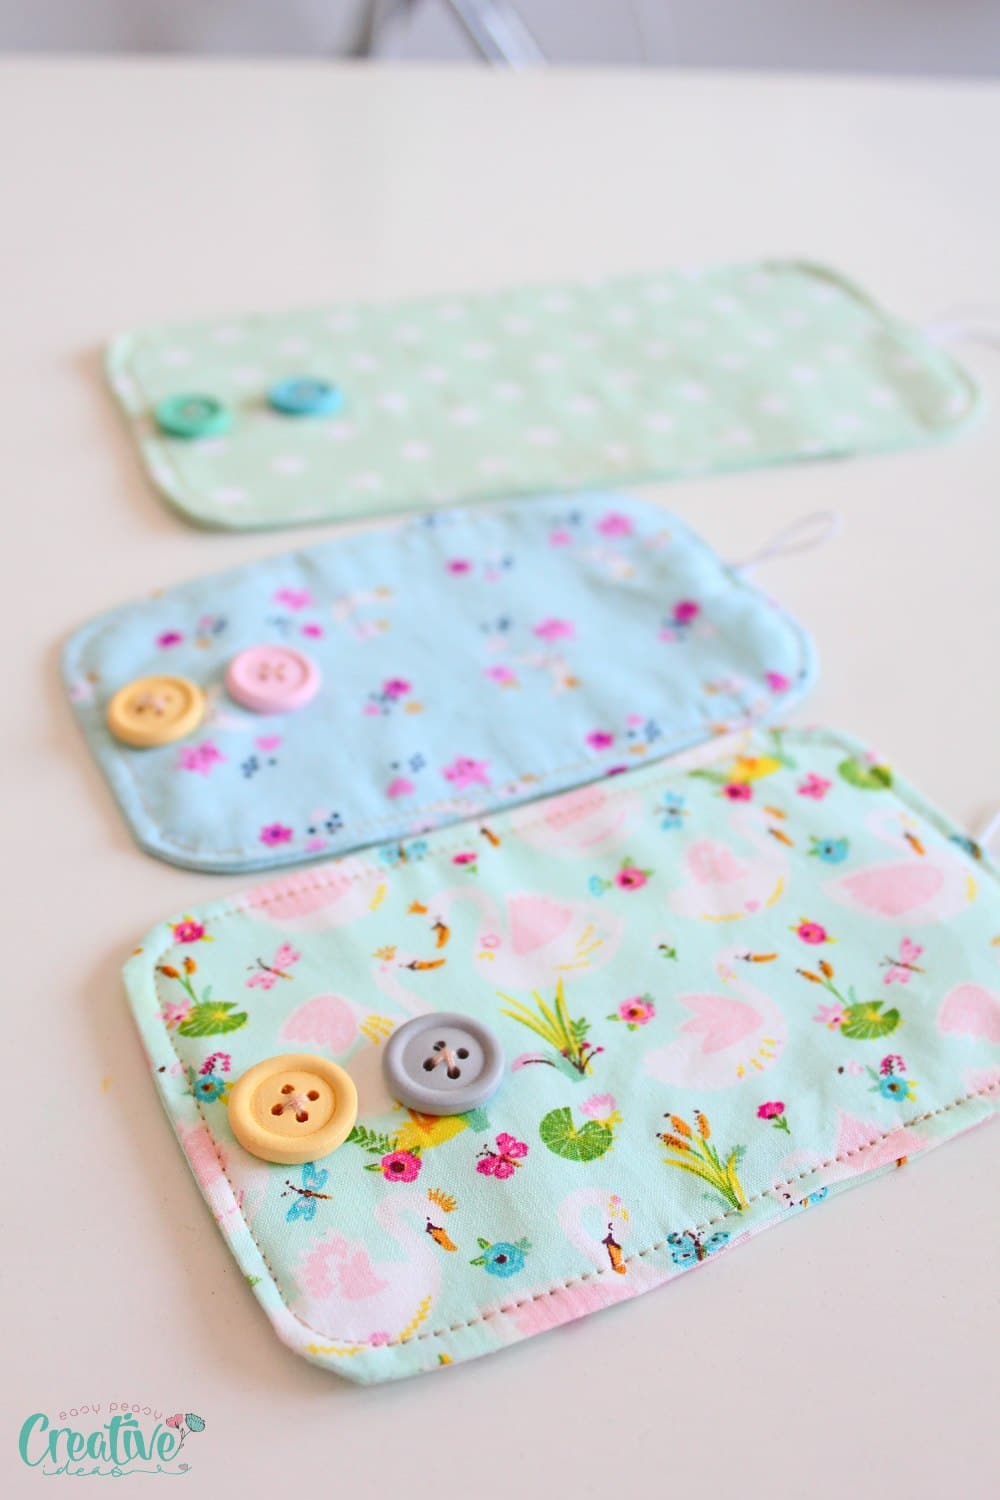
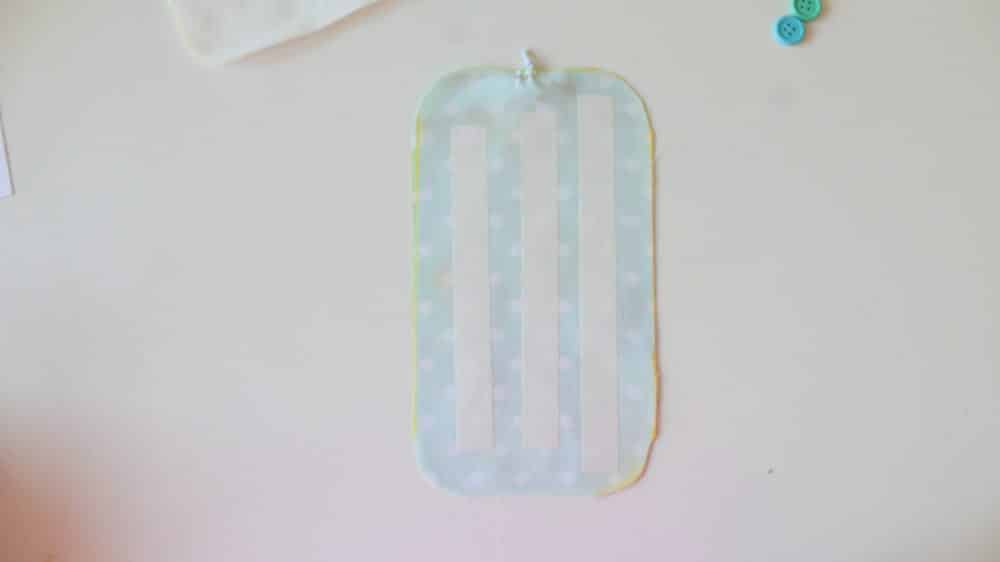
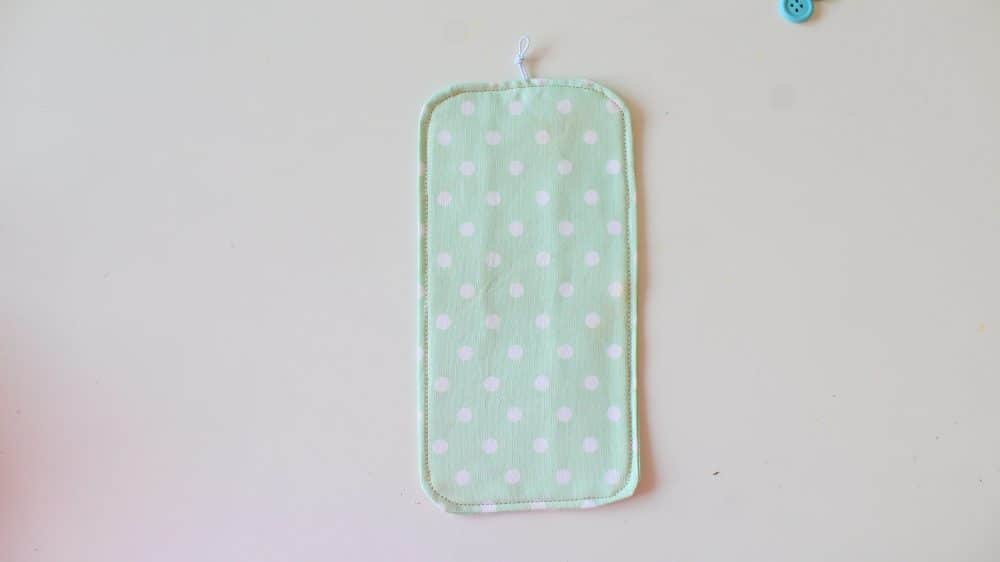
- Topstitch the organizer all around. At this step you can add a few lines of parallel stitches to quilt the organizer, for decorative purposes but also to make sure the batting is secure inside the organizer.
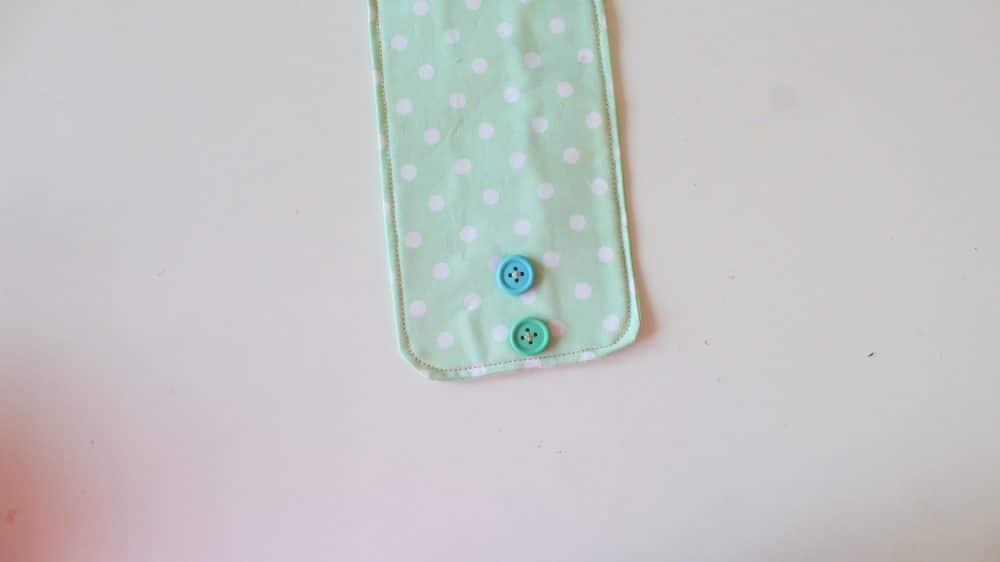
- Hand sew the buttons to the side opposite to the elastic.
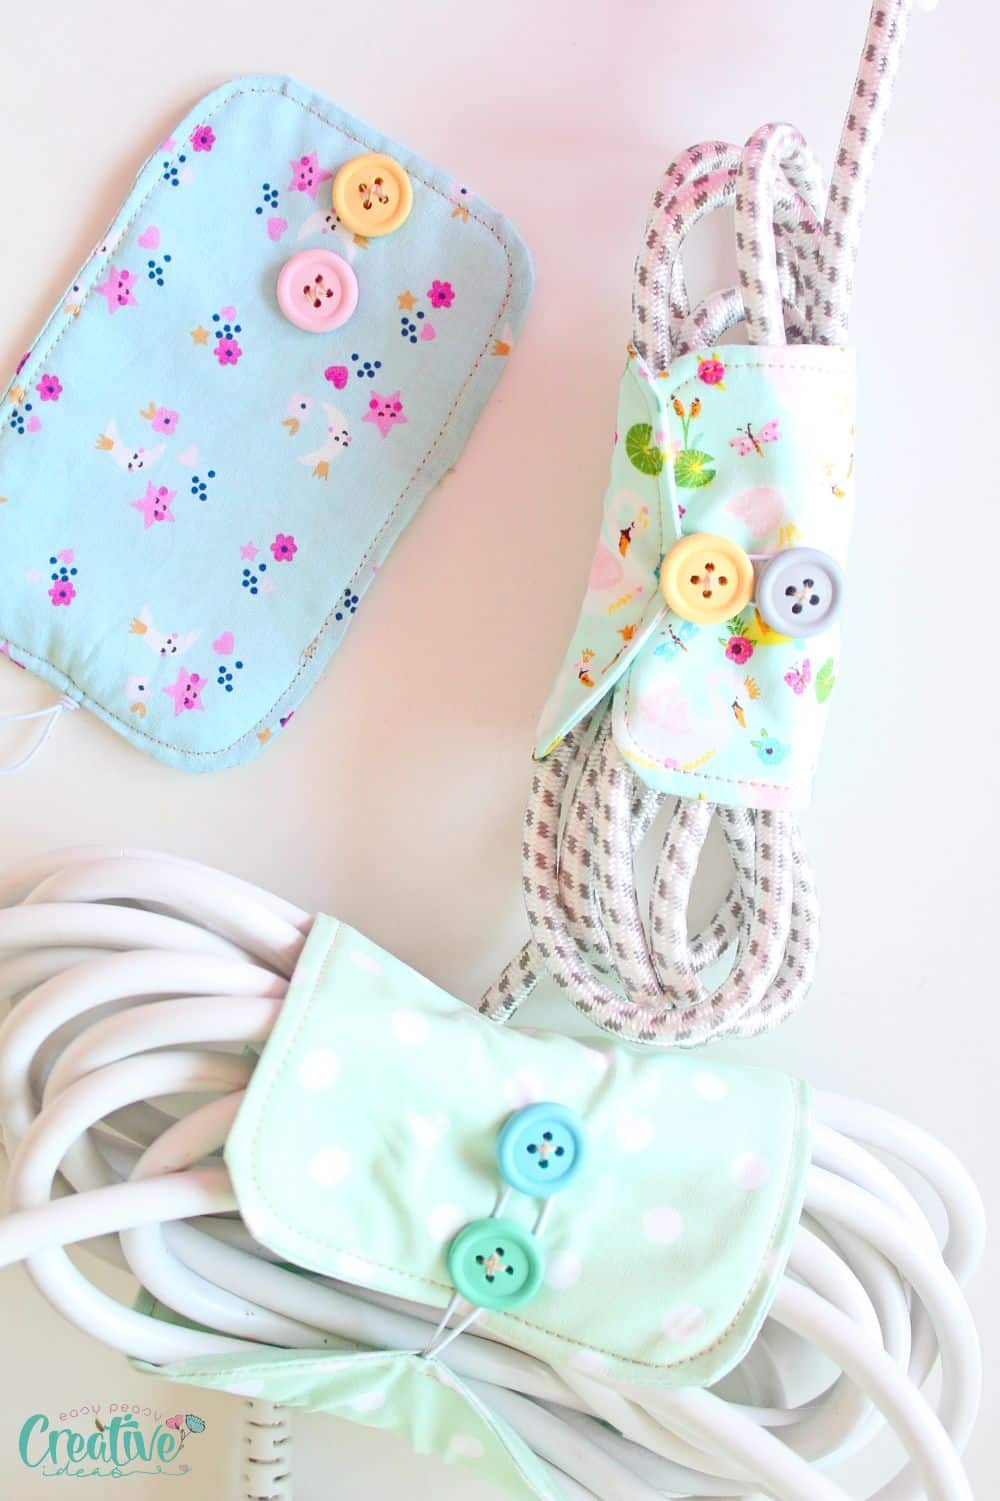
And voila! You have successfully created your very own DIY cord organizer. Not only is it practical for keeping your cords tidy and tangle-free, but it also adds a personal touch with its unique fabric design. Now you can say goodbye to the frustration of untangling cords and hello to a more organized and clutter-free space.
What are you waiting for? Get crafting and enjoy the benefits of your homemade fabric cord wraps today! Happy sewing!
Pin to save for later
Most popular sewing projects:
- Tips for sewing a round hem
- Corded bag handles
- Flutter sleeve dress pattern
- How to laminate cotton fabric


Article may contain Amazon & affiliate links. As an Amazon Associate I earn from qualifying purchases at no additional cost to you.

Hi Petro,
I’m having trouble downloading the pattern, on both Safari and Chrome, on my IPad, so as it’s quite simple, could you just tell me the length and width, and seam allowance? I can work it out from there.
Thanks, Nicki
Nicki, I just sent you the file via email
Bonjour’ pourquoi 2 boutons ? Merci
Isabelle, this is to allow for more room if you want to add more cords later on.