

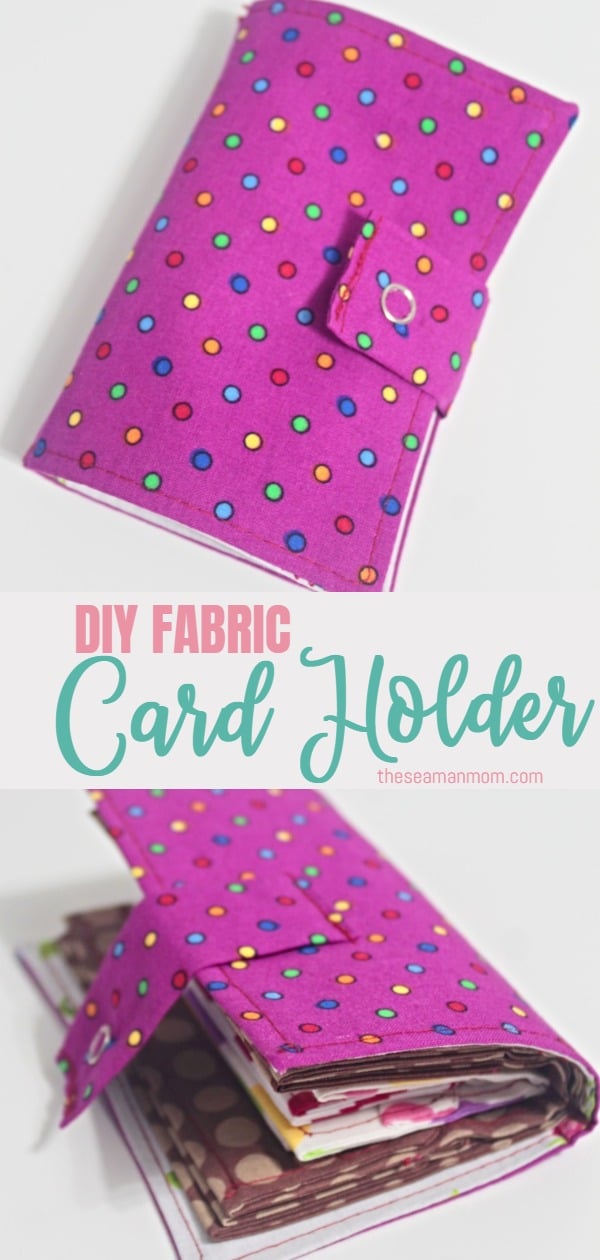
DIY Card Holder Sewing Tutorial
Need a safe place to store your credit cards, ID cards, business cards and even a little bit of cash when going out? Sew yourself a useful and practical DIY card holder!
Credit card holder

My plastic card holder has been a mess for a long time now and I’ve been on the lookout for a new one. But as I couldn’t find any to suit my needs and style I decided it’s time to put my sewing skills to work and make myself a lovely DIY card holder!
I was quite shocked when I started to pull out all of the stuff in the old wallet, I never realized how much stuff a woman has to carry around in terms of cards. It’s pretty handy to carry with me just a wallet instead of my whole bag so I had to think of a fabric card holder big enough to store all of my cards my driving license and ID’s but small enough to still be practical.
Similar posts you might like:
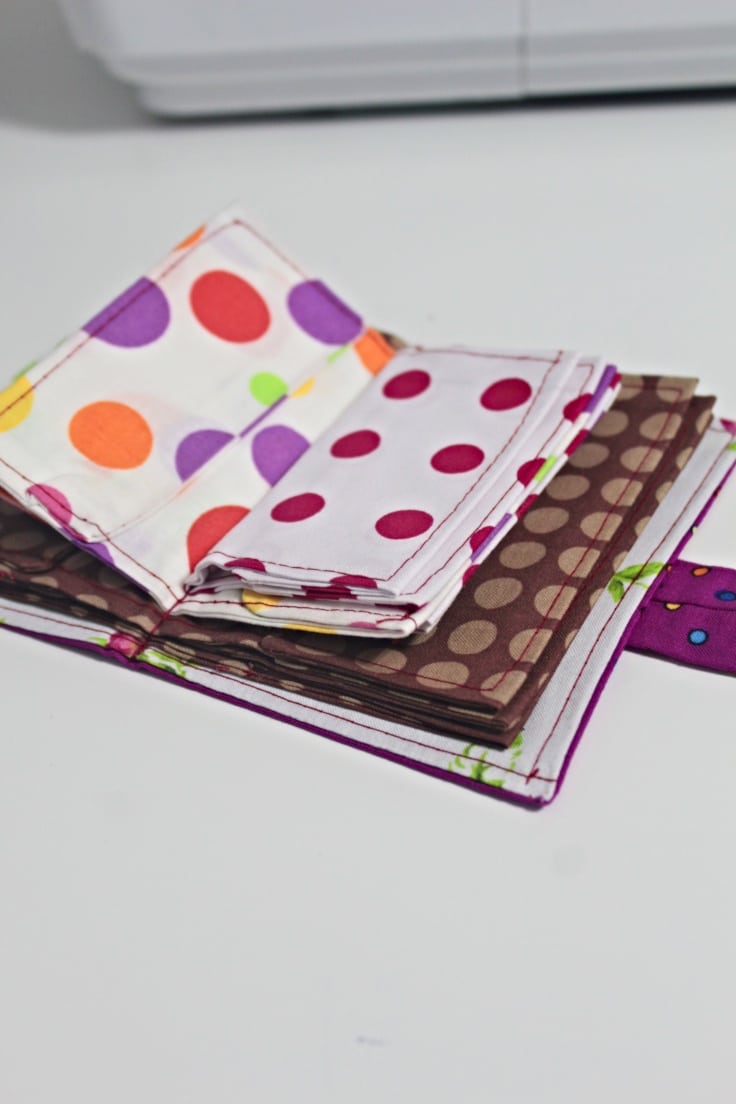
I must admit I went a little overboard, adding so many pockets to my fabric wallet pattern pockets I probably won’t need but better safe than sorry, right? When making your own, adjust the number of pockets to our own necessities. My DIY card holder is designed to store a lot of stuff, like credit cards, business cards, receipts, driving license, ID’s and cash.
This card holder pattern is very simple to make so there’s no actual template since all you need to trace and cut is a few rectangles. I didn’t use a lot of interfacing for my wallet because I knew it’s going to get pretty thick and interfacing will add too much bulk. Plus my fabric was stiff enough. But feel free to add interfacing to both sides of each pocket if you only add 2-3 pockets to your wallet.
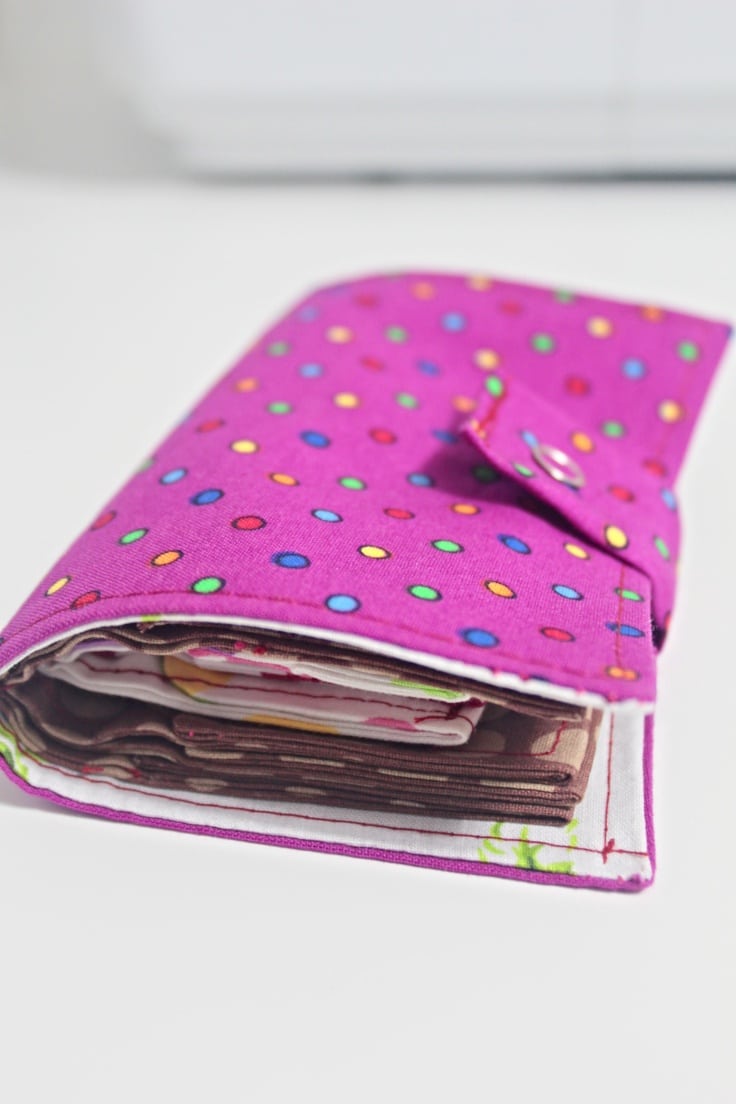
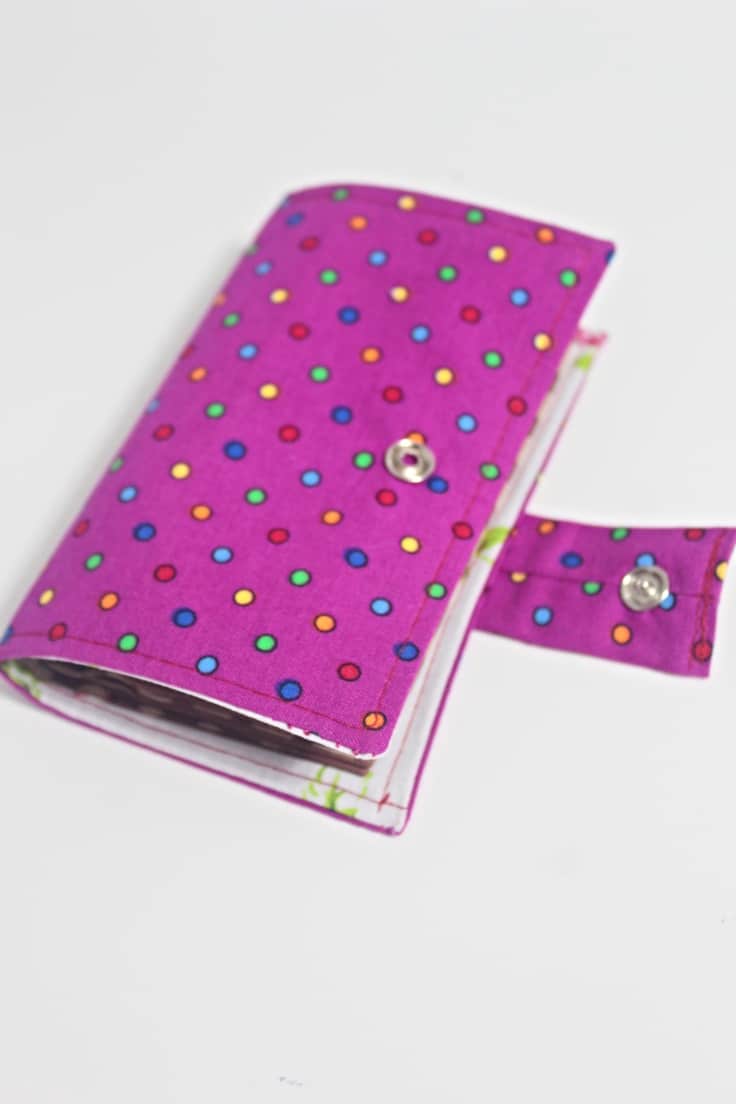
This DIY card holder features an easy snap closure to help you keep your cards safe and secured. It’s cute but also very practical, large enough to store all your cards but small enough to put in your purse, clutch or evening bag. Great for personal use or it even makes a great gift; it’s also a fun and creative way to wrap a gift card.
DIY card holder

Materials:
- Cotton fabric
- interfacing
- fabric marker
- ruler
- scissors
- pins
- matching thread
- swing machine
- snaps
- pressing iron
Directions:
- Measure your cards, ID’s, driving license business cards etc and make a template for each of these sizes (you may need to make more than one template if the sizes are different). I made 3 templates in 3 different sizes: a small size for credit cards and driving license, a medium one for the ID’s and a larger one for the cover.
- Trace these measurements onto a piece of paper then mirror the traced template. You will end up with a rectangle that is double in size than your card.
- Add 3-4″ to each of the sides of the rectangles.
- Add 1/4″ seam allowance. This will be your final rectangle.
- Continue in the same manner for all the cards, ID’s and the cover.
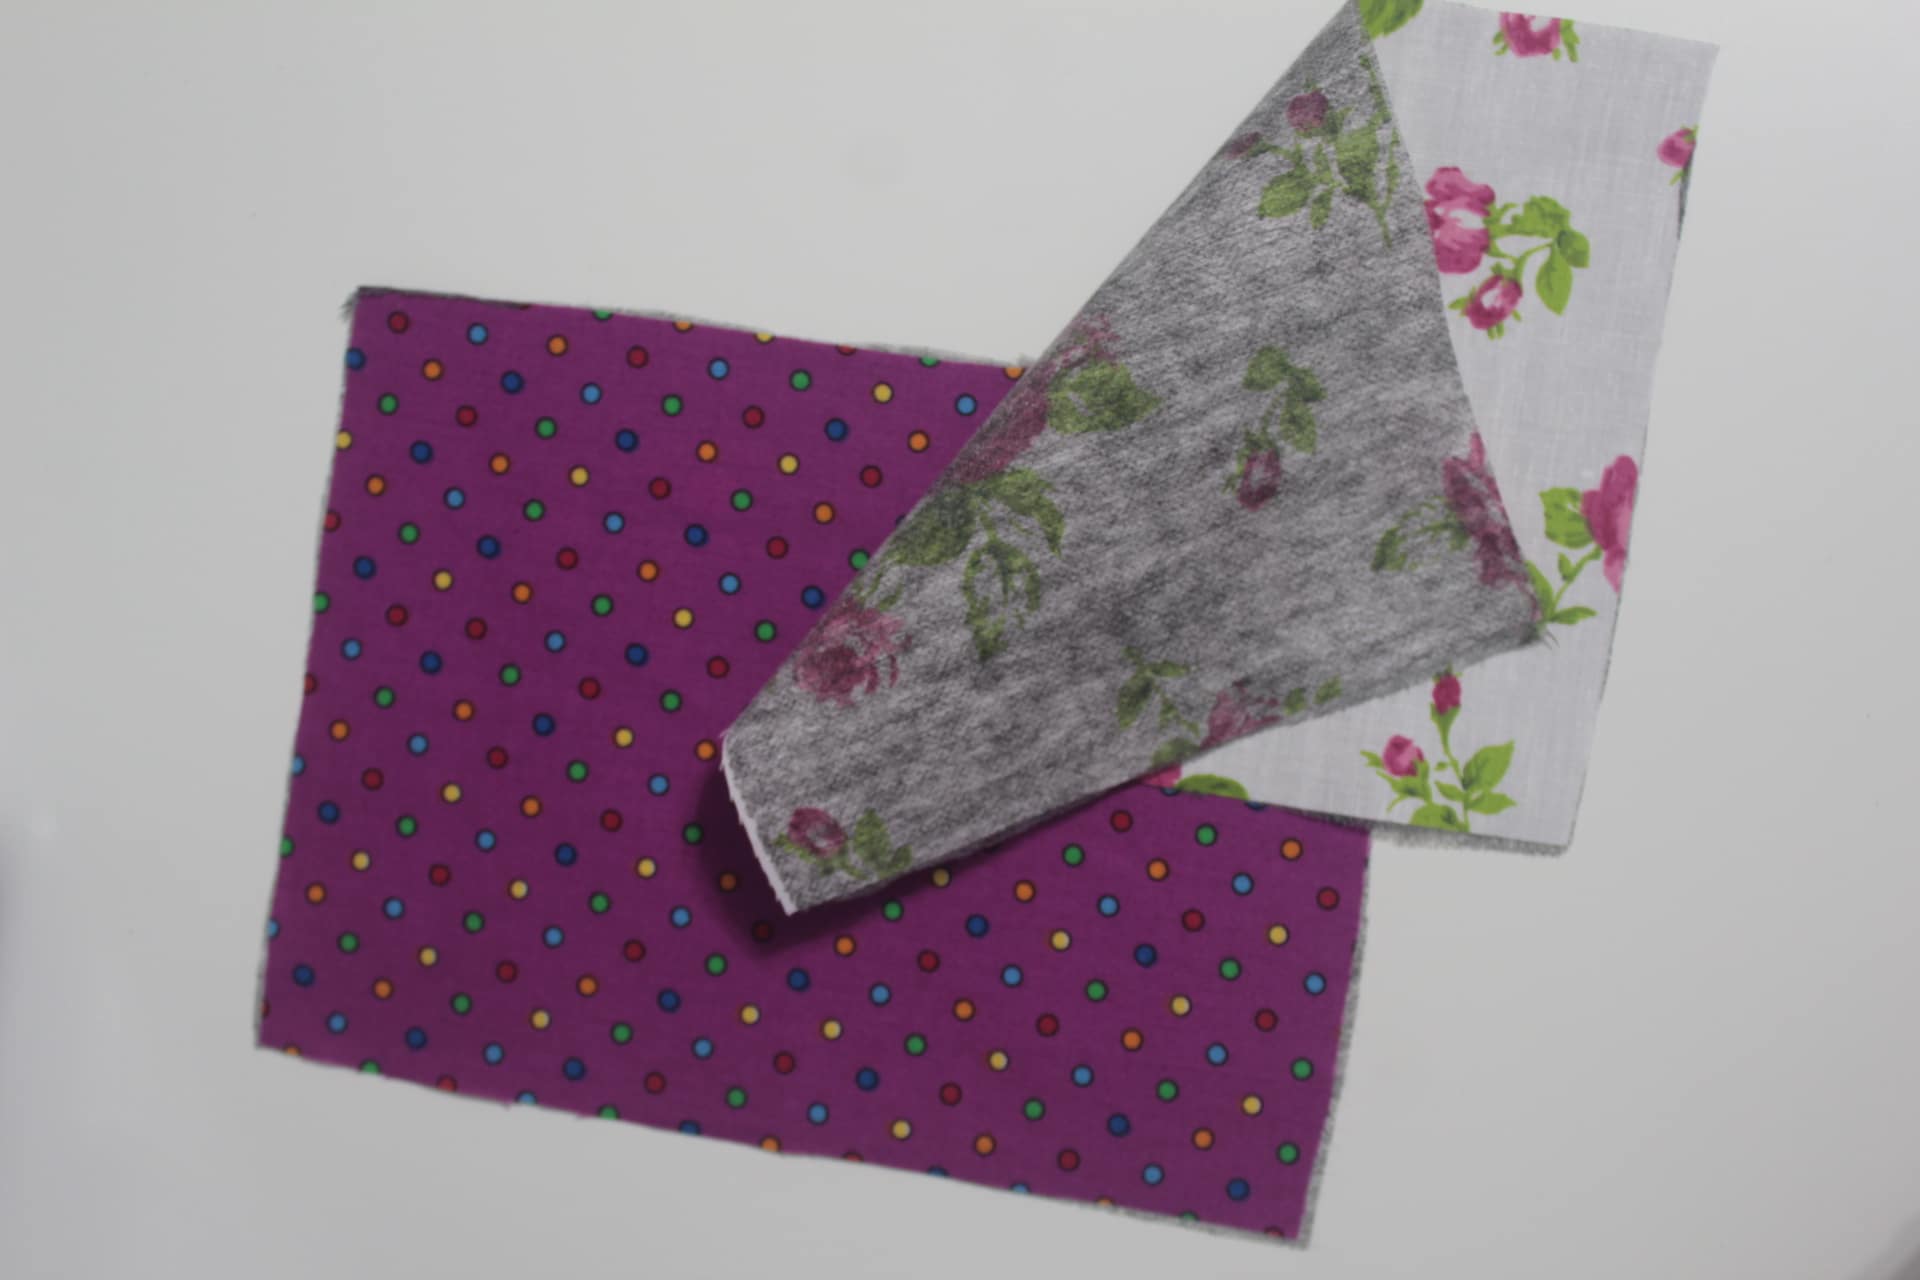
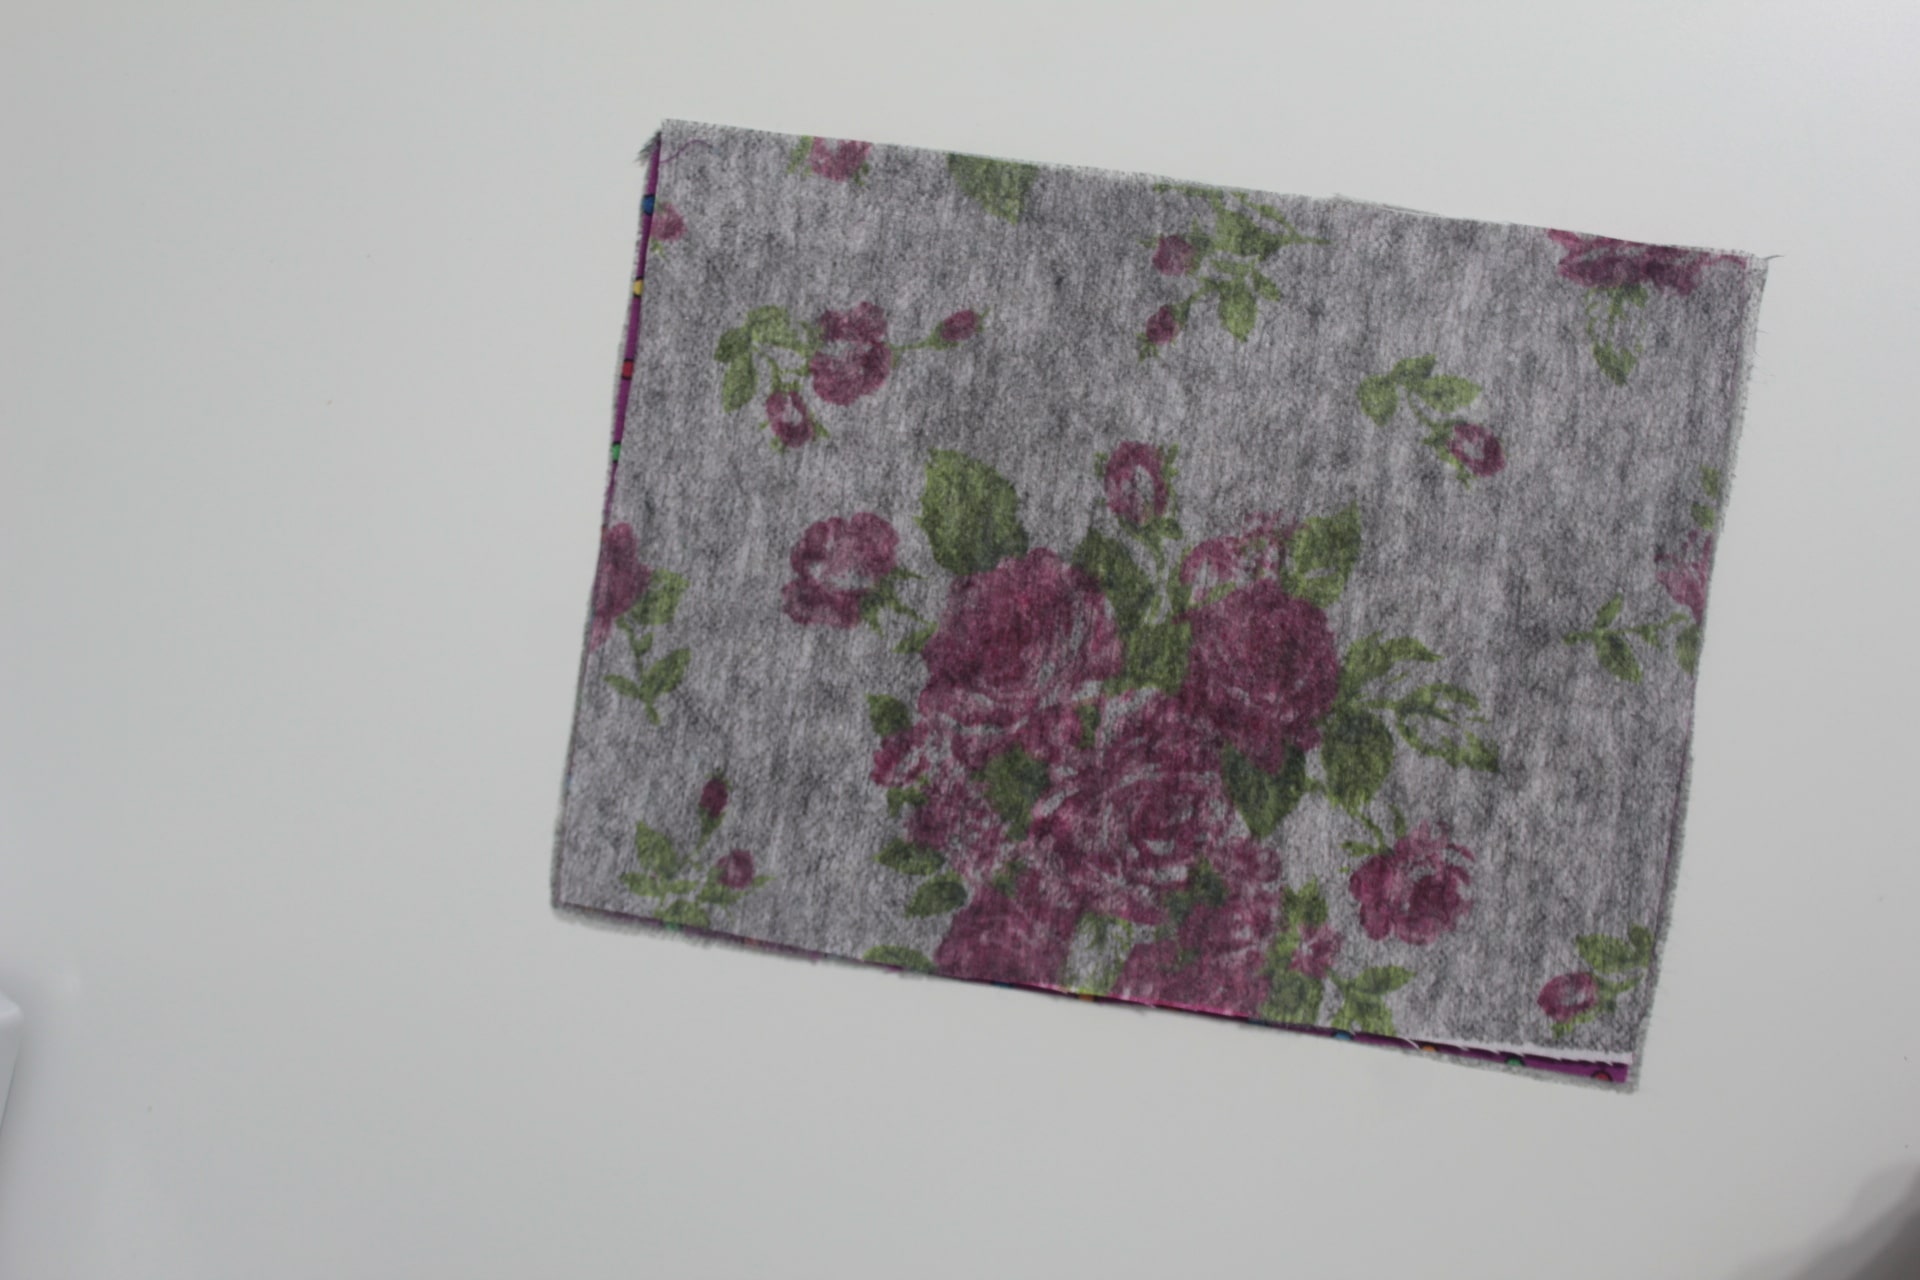
- Cut 2 pieces of fabric for each of the pockets and the cover, following the created templates.
- If you decided to add interfacing cut 2 pieces of interfacing for each pocket.
- Interface all of the fabric strips, making sure to continue keeping them in pairs.
- Place each of the fabric pairs right sides together and sew with 1/4″ allowance, leaving a gap for turning the fabrics out.

- Clip the corners and trim the seam just a bit, paying attention not to cut through the seam.
- Turn fabrics right side out through the gap, pushing the gap in and the corners out using a blunt tool and smoothing out the seams.
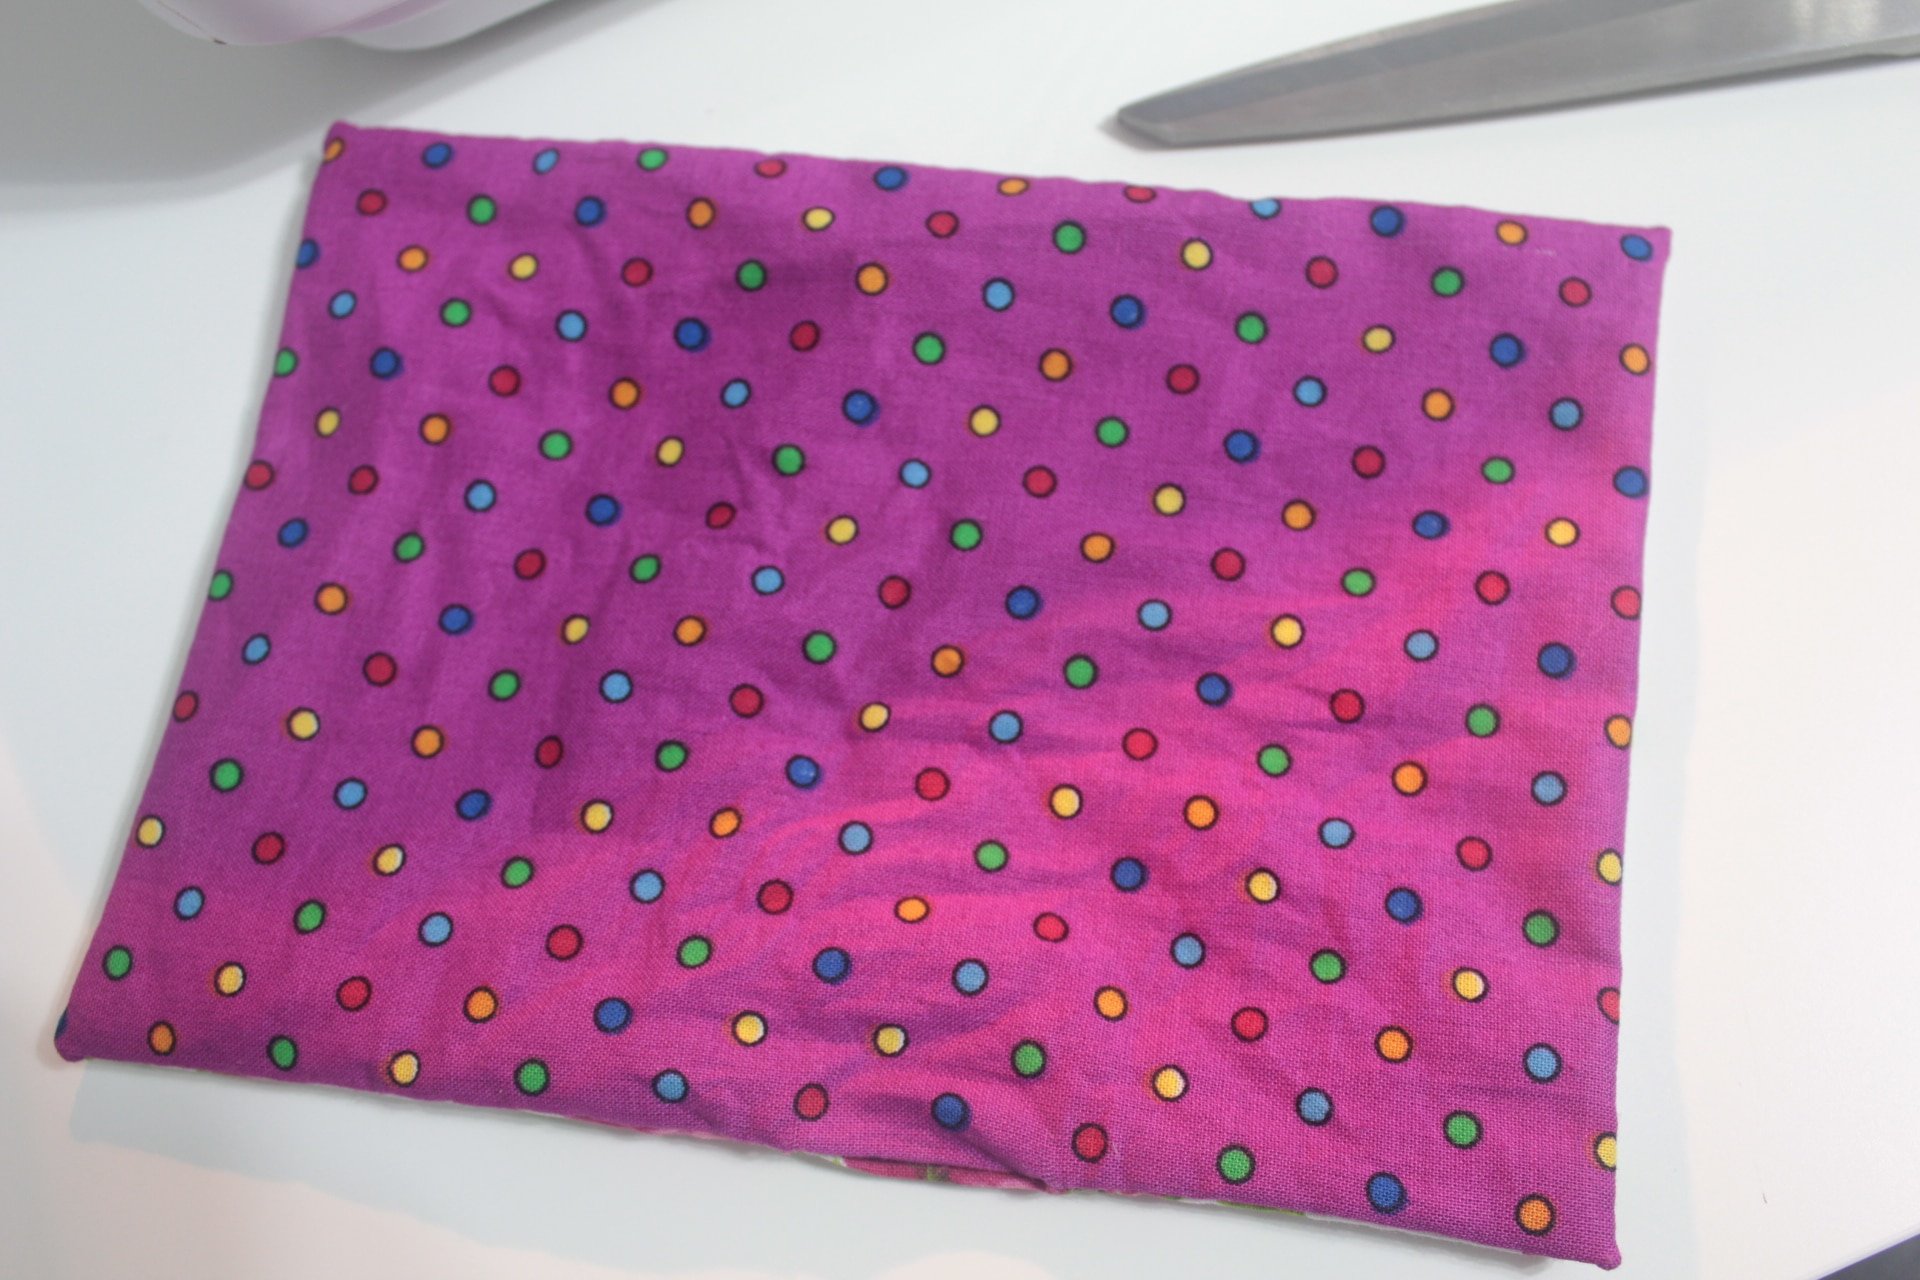
- Press well on both sides.
- Continue in the same manner until all pockets and the cover are done.
- Fold the sides of the pockets in about 3-4″ and press well. Don’t fold the cover unless you designed it to have pockets too.
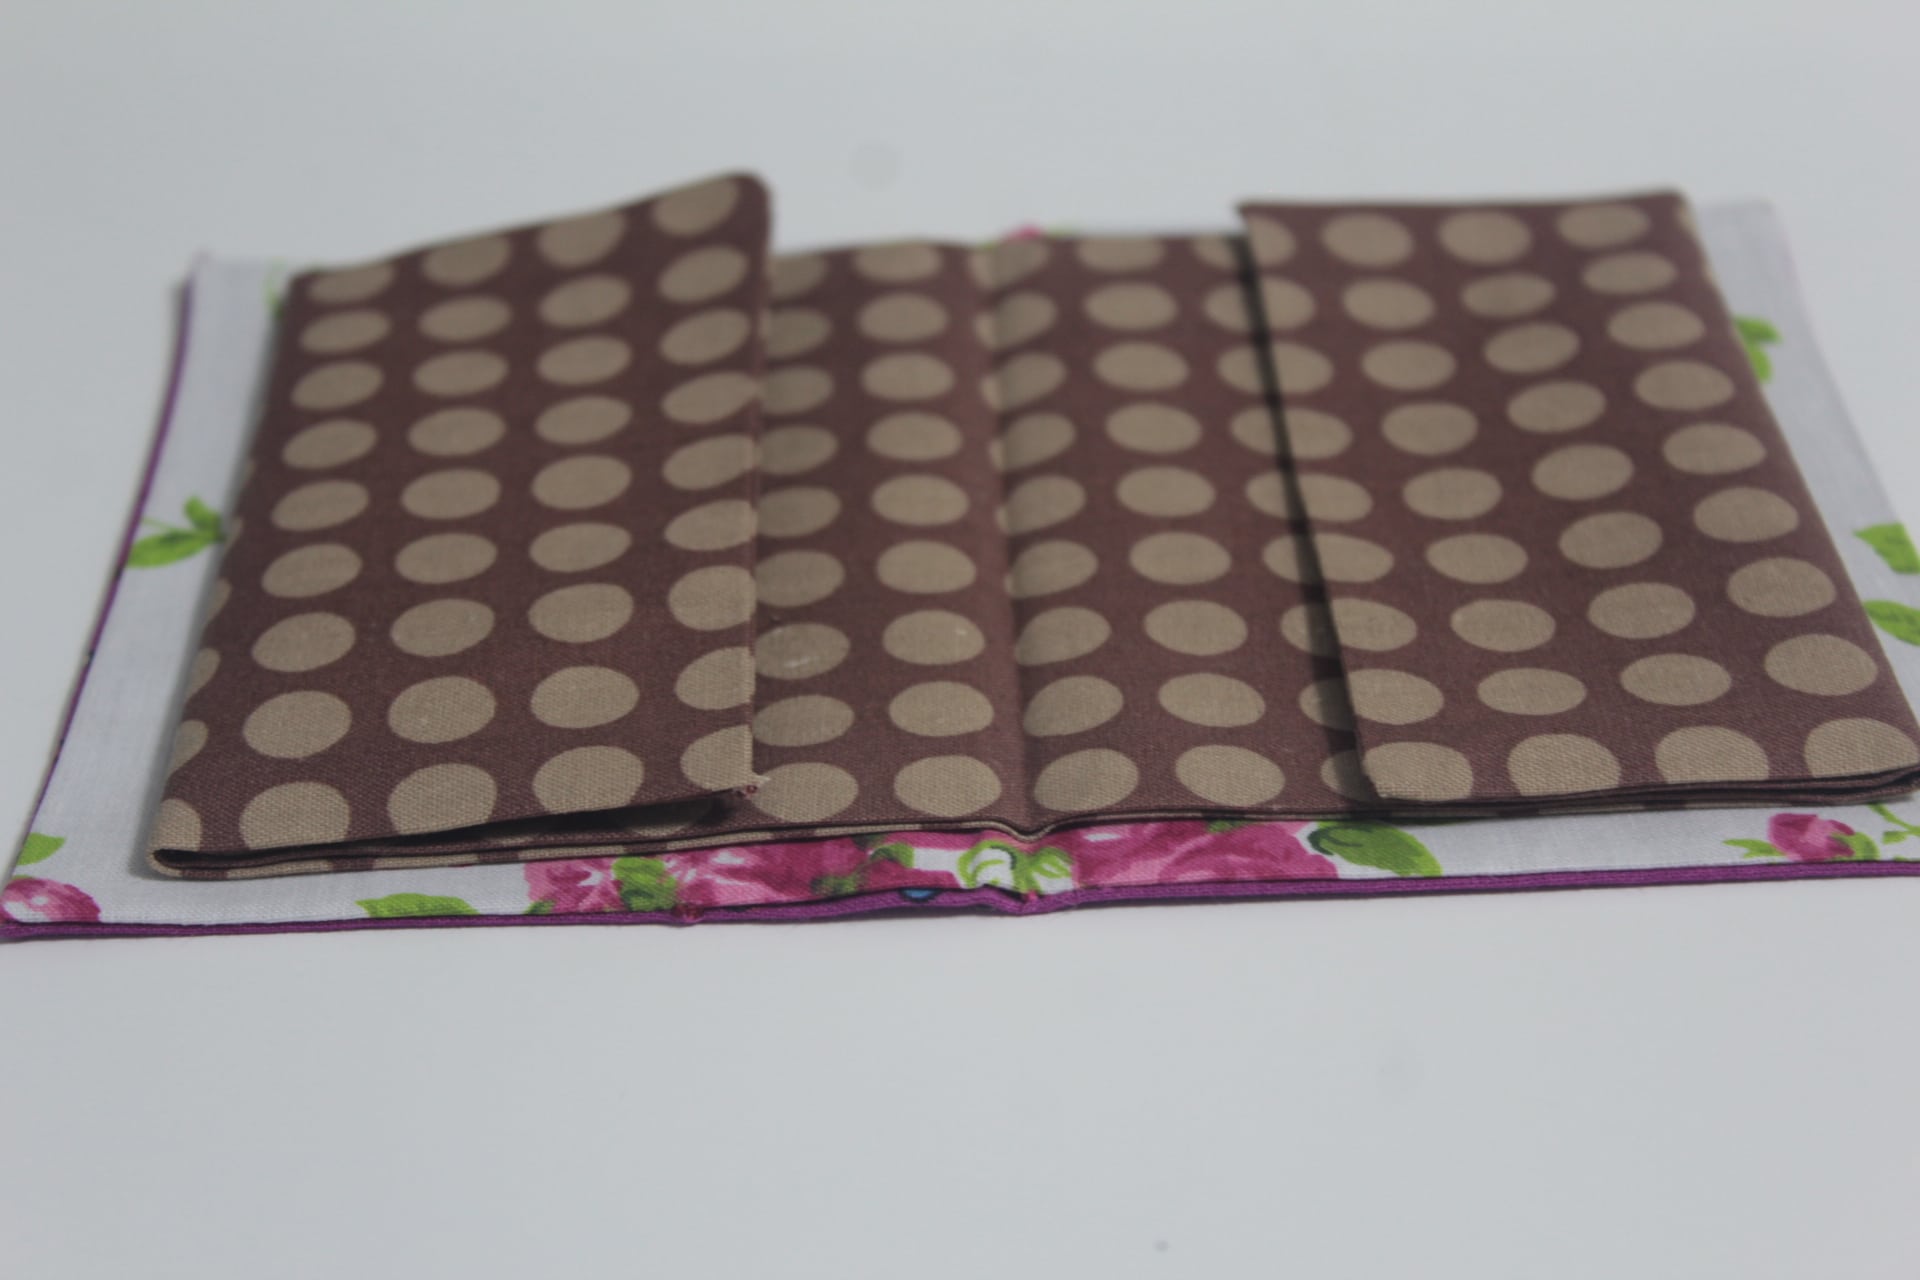
- Edge stitch all the pockets and the cover.

- Place the cover inner side out then top with the pockets, inner side out, starting from the largest to the smallest.
- Pin right through the middle then sew a straight line through the middle, backstitching at start and end.
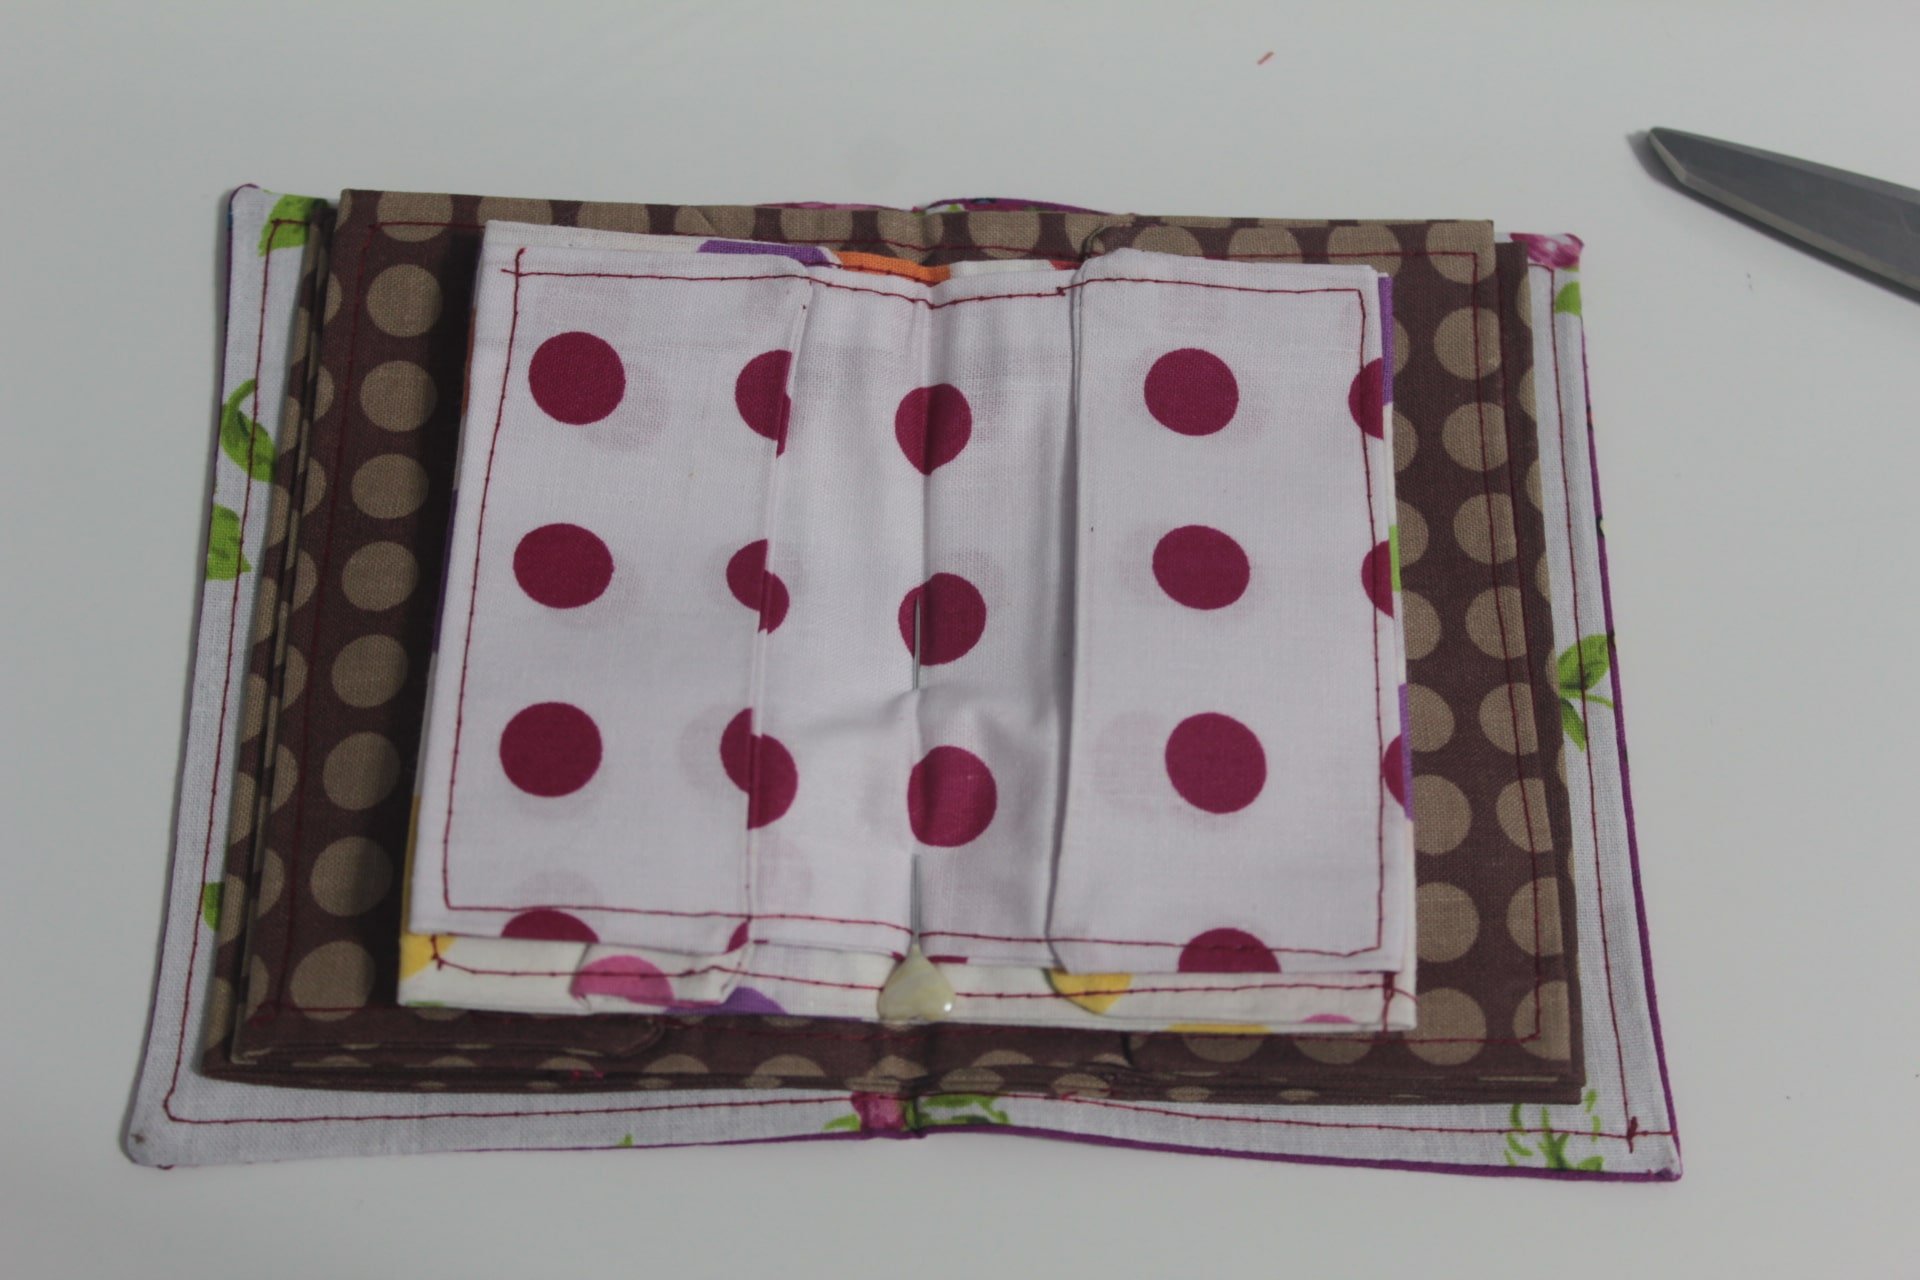
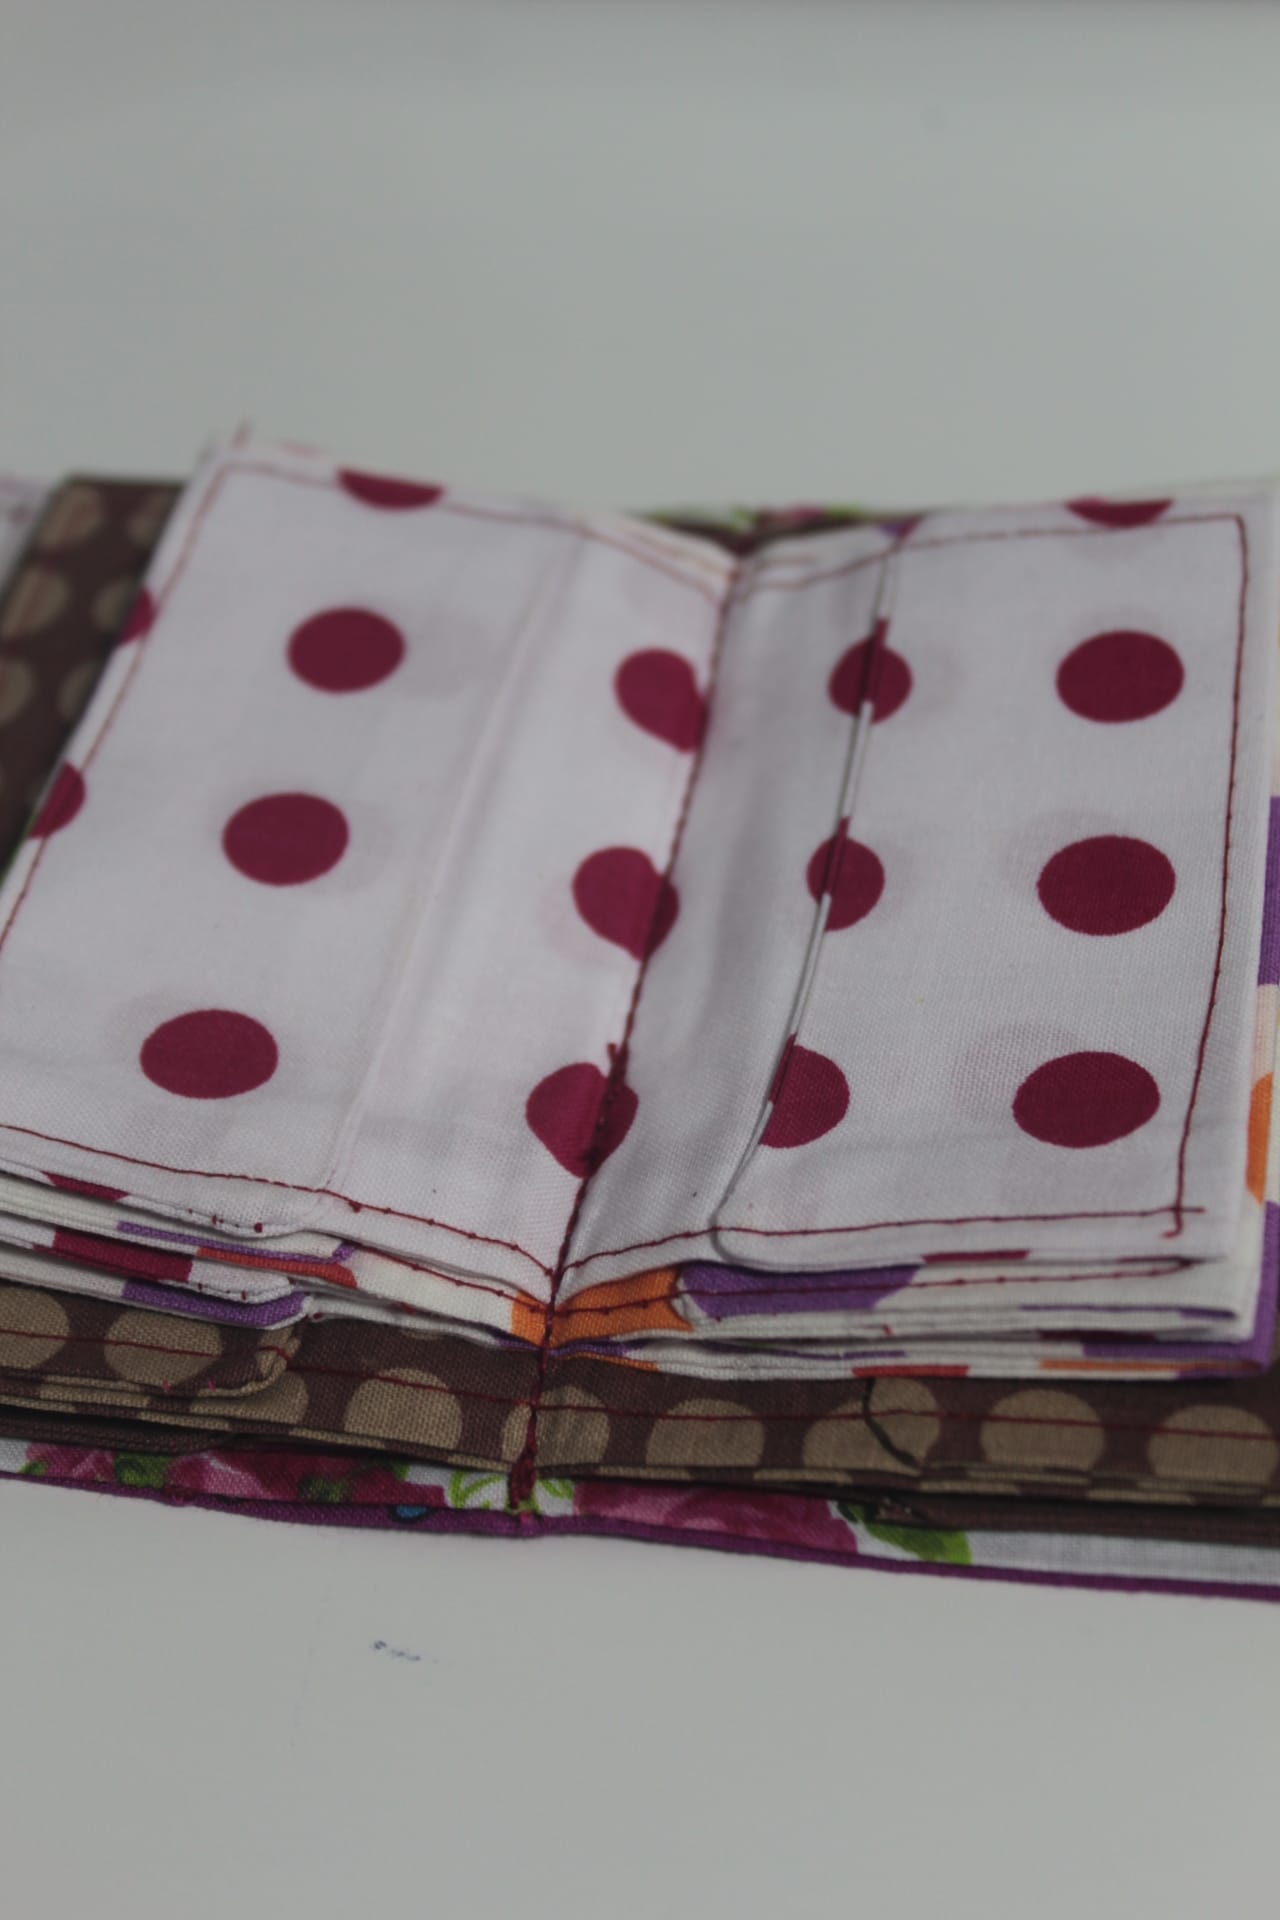
- Give it a last press then make the strip for the closure.
- Insert all your cards and ID’s into your wallet and close.
- Measure from one side to the other, starting and finishing about 1″ away from the edges.
- Cut a strip of fabric that is 1″ longer than these measurements and 2″ wide.
- Sew the strip into a tube then turn right side out.
- Place the seam in the middle and press.
- Push the ends in about 1/2″ on each side and press.
- Sew one end onto one side of the wallet and sew the other end with 1/8″ allowance.
- Attach the first half of the snap to this end.
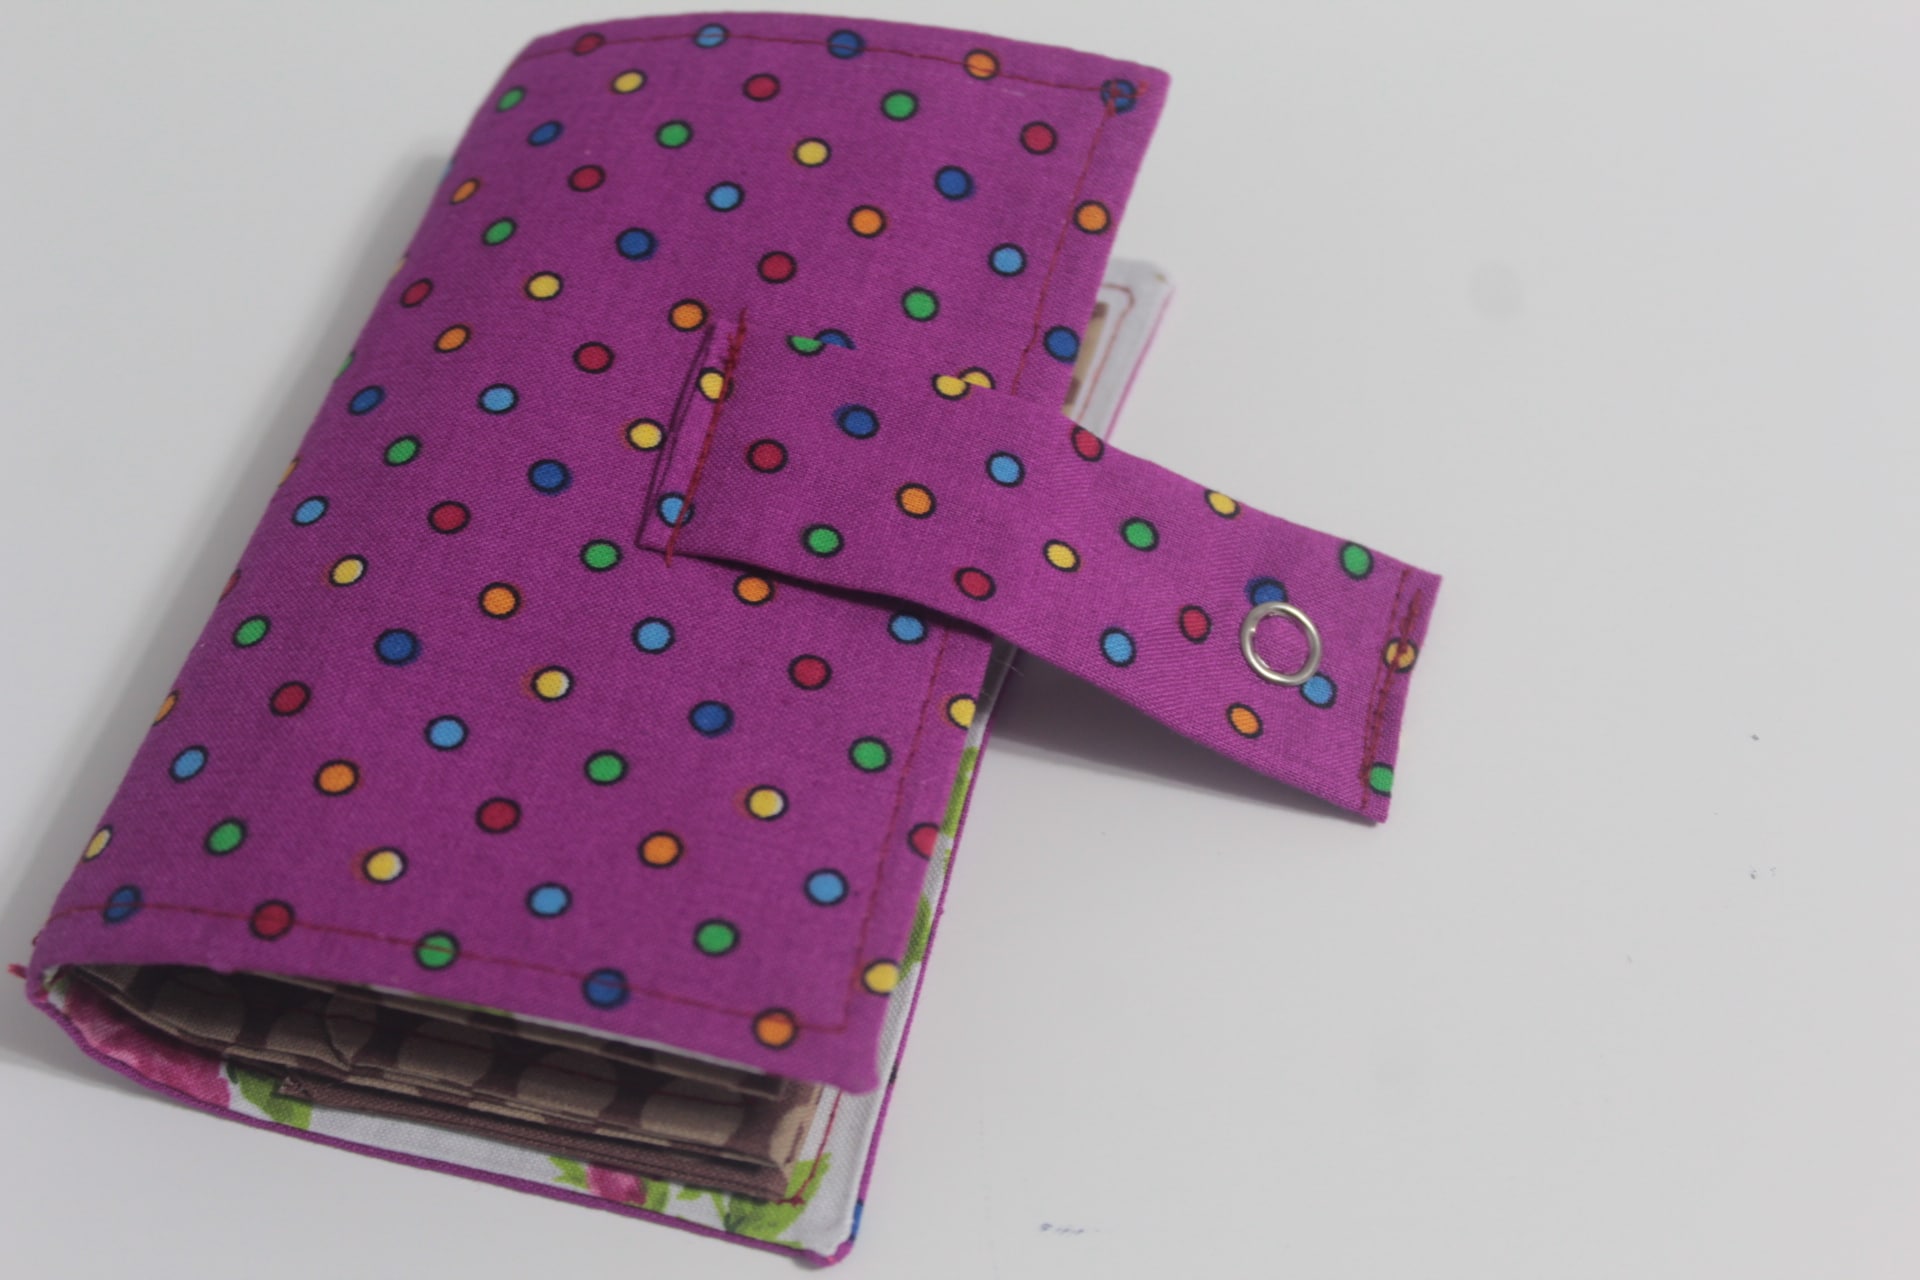
- Attach the second half of the snap to the opposite side of the wallet.
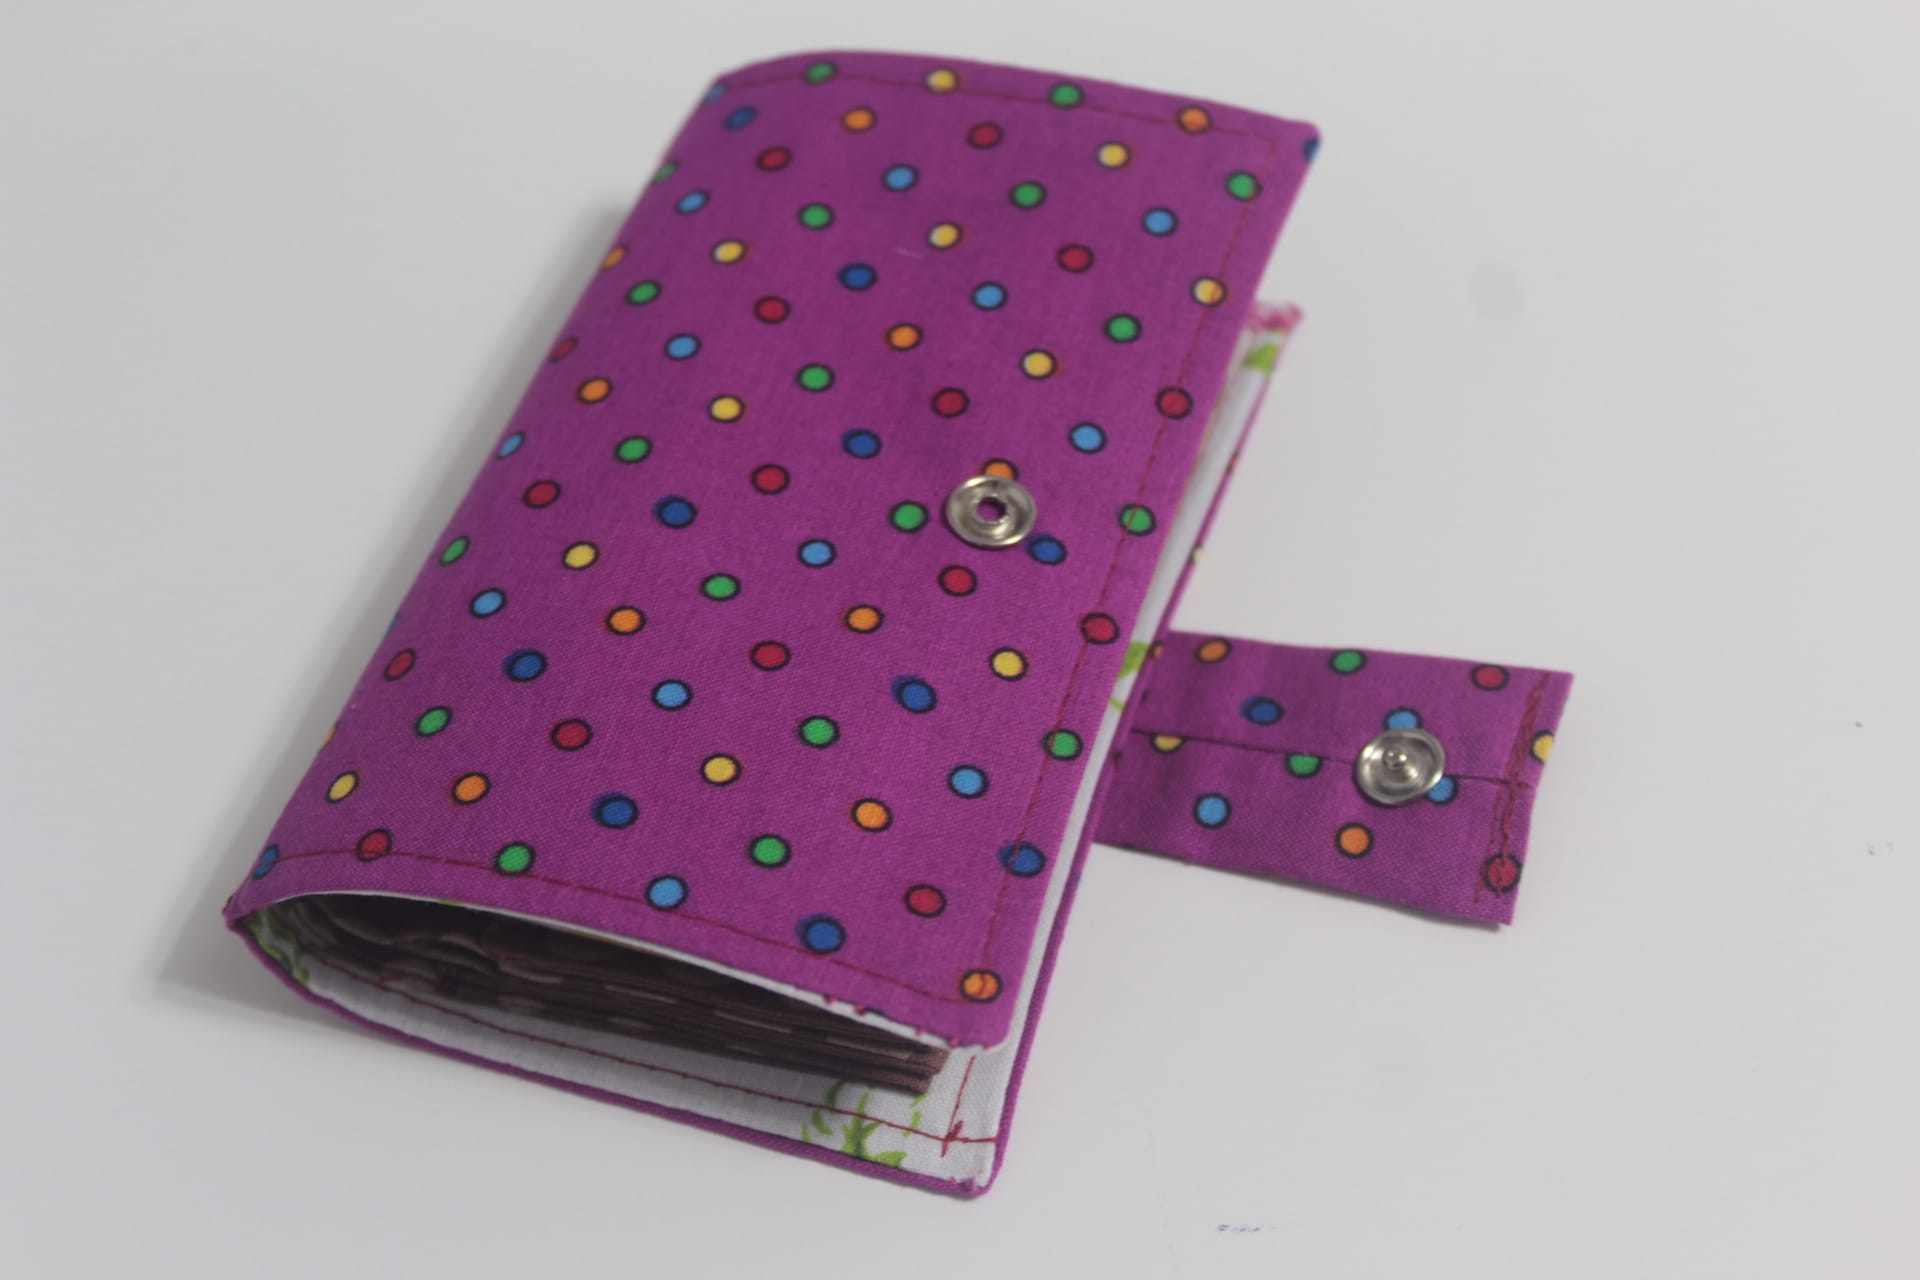
- And your DIY card holder is ready!
If you liked this tutorial please let me know in the comments section below and don’t forget to rate it! Thanks!
Pin to save for later
Most popular sewing projects:
Article may contain Amazon & affiliate links. As an Amazon Associate I earn from qualifying purchases at no additional cost to you.
ABOUT PETRO
Hi, I’m Petro, author and founder of Easy Peasy Creative Ideas. Sewist, crafter, avid DIY-er, foodie, photographer, homemaker and mommy to one. I’m an expert at coming up with quick, clever sewing tips, recycling crafts and simple, easy recipes! You can find my ideas featured in reputable publications such as Country Living, Good House Keeping, Yahoo News, WikiHow, Shutterfly, Parade, Brit & Co and more. Thanks for stopping by and hope you’ll stay for a while, get to know me better and come back another time. Stick around for real fun projects! Read more…